Home>Technology>Smart Home Devices>How To Load Photo Paper In A Canon Printer
Smart Home Devices
How To Load Photo Paper In A Canon Printer
Modified: May 6, 2024
Learn how to properly load photo paper in your Canon printer for high-quality prints. Get step-by-step instructions for smart home devices.
(Many of the links in this article redirect to a specific reviewed product. Your purchase of these products through affiliate links helps to generate commission for Storables.com, at no extra cost. Learn more)
Introduction
Welcome to the world of smart home devices, where convenience and innovation intersect to transform the way we interact with our living spaces. As smart home technology continues to evolve, the range of available devices has expanded to encompass a diverse array of products designed to enhance comfort, security, and efficiency within the home.
One of the most exciting aspects of smart home devices is their ability to seamlessly integrate into our daily lives, offering intuitive solutions to common tasks and challenges. From smart thermostats that adapt to our preferences to intelligent lighting systems that create the perfect ambiance, the possibilities are endless.
In this article, we will explore the fascinating realm of smart home devices, delving into the latest innovations and highlighting the ways in which these technologies can elevate the modern home experience. Whether you are a seasoned smart home enthusiast or just beginning to explore this exciting field, join us on a journey through the world of smart home devices, where imagination meets practicality to redefine the concept of home living.
Key Takeaways:
- Embrace the world of smart home devices for a more convenient and efficient living experience. From intuitive thermostats to advanced security systems, these technologies revolutionize home living.
- Follow the simple steps to load photo paper into your Canon printer for high-quality prints. Gather materials, adjust guides, load paper, set paper type, and print a test page for optimal results.
Read more: How To Load 4X6 Paper Into Canon Printer
Step 1: Gather the Necessary Materials
Before loading photo paper into your Canon printer, it’s essential to gather all the required materials to ensure a smooth and efficient process. Here’s what you’ll need:
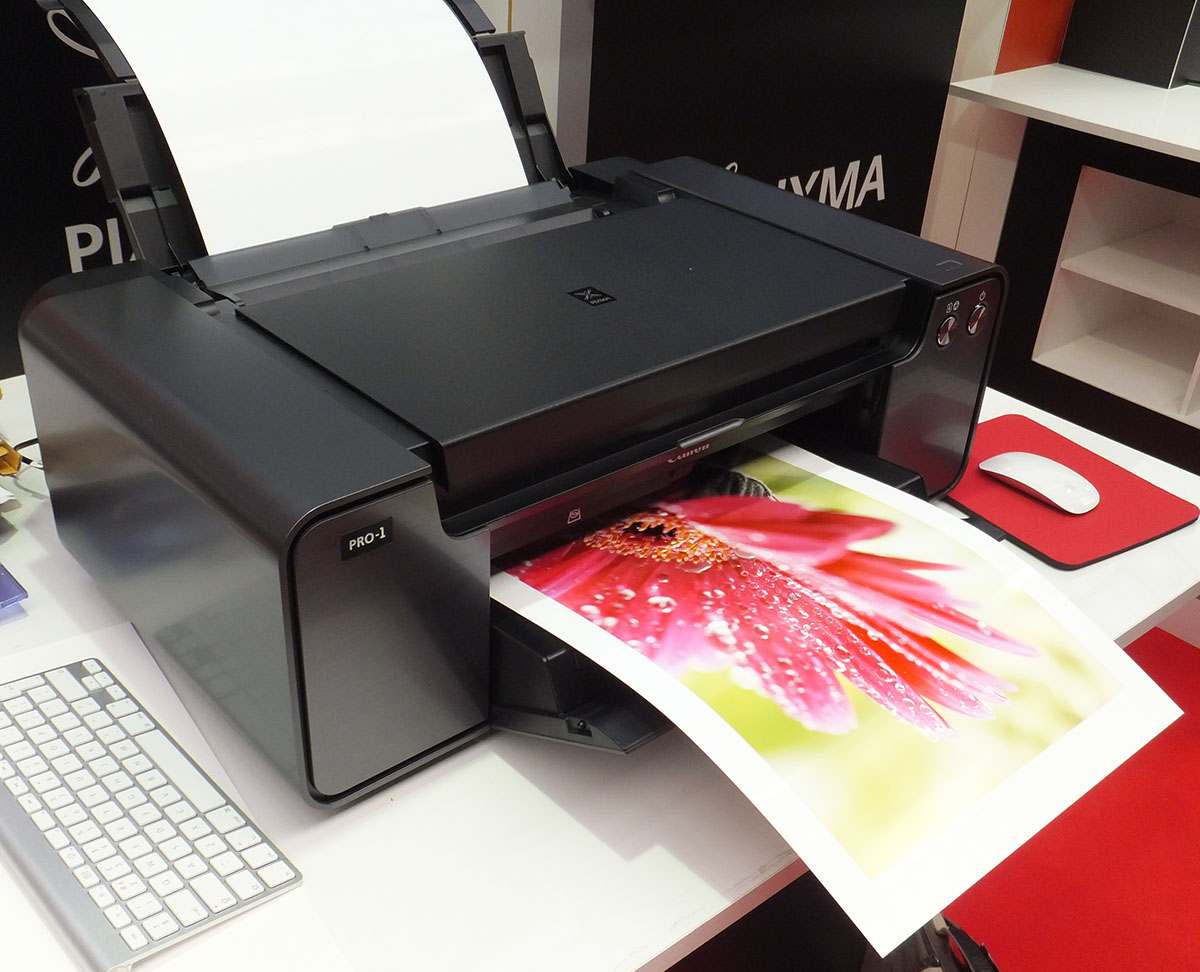
- Canon Printer: Ensure that your Canon printer is powered on and ready to receive the photo paper.
- Photo Paper: Select high-quality photo paper compatible with your Canon printer model. Different printers have specific paper requirements, so it’s crucial to use the recommended paper type for optimal results.
- Clean Hands: To prevent smudges and fingerprints on the photo paper, make sure your hands are clean and dry before handling the paper.
By gathering these materials beforehand, you can streamline the process of loading photo paper into your Canon printer and minimize the risk of potential issues during printing. With the necessary materials at hand, you’re ready to proceed to the next steps with confidence.
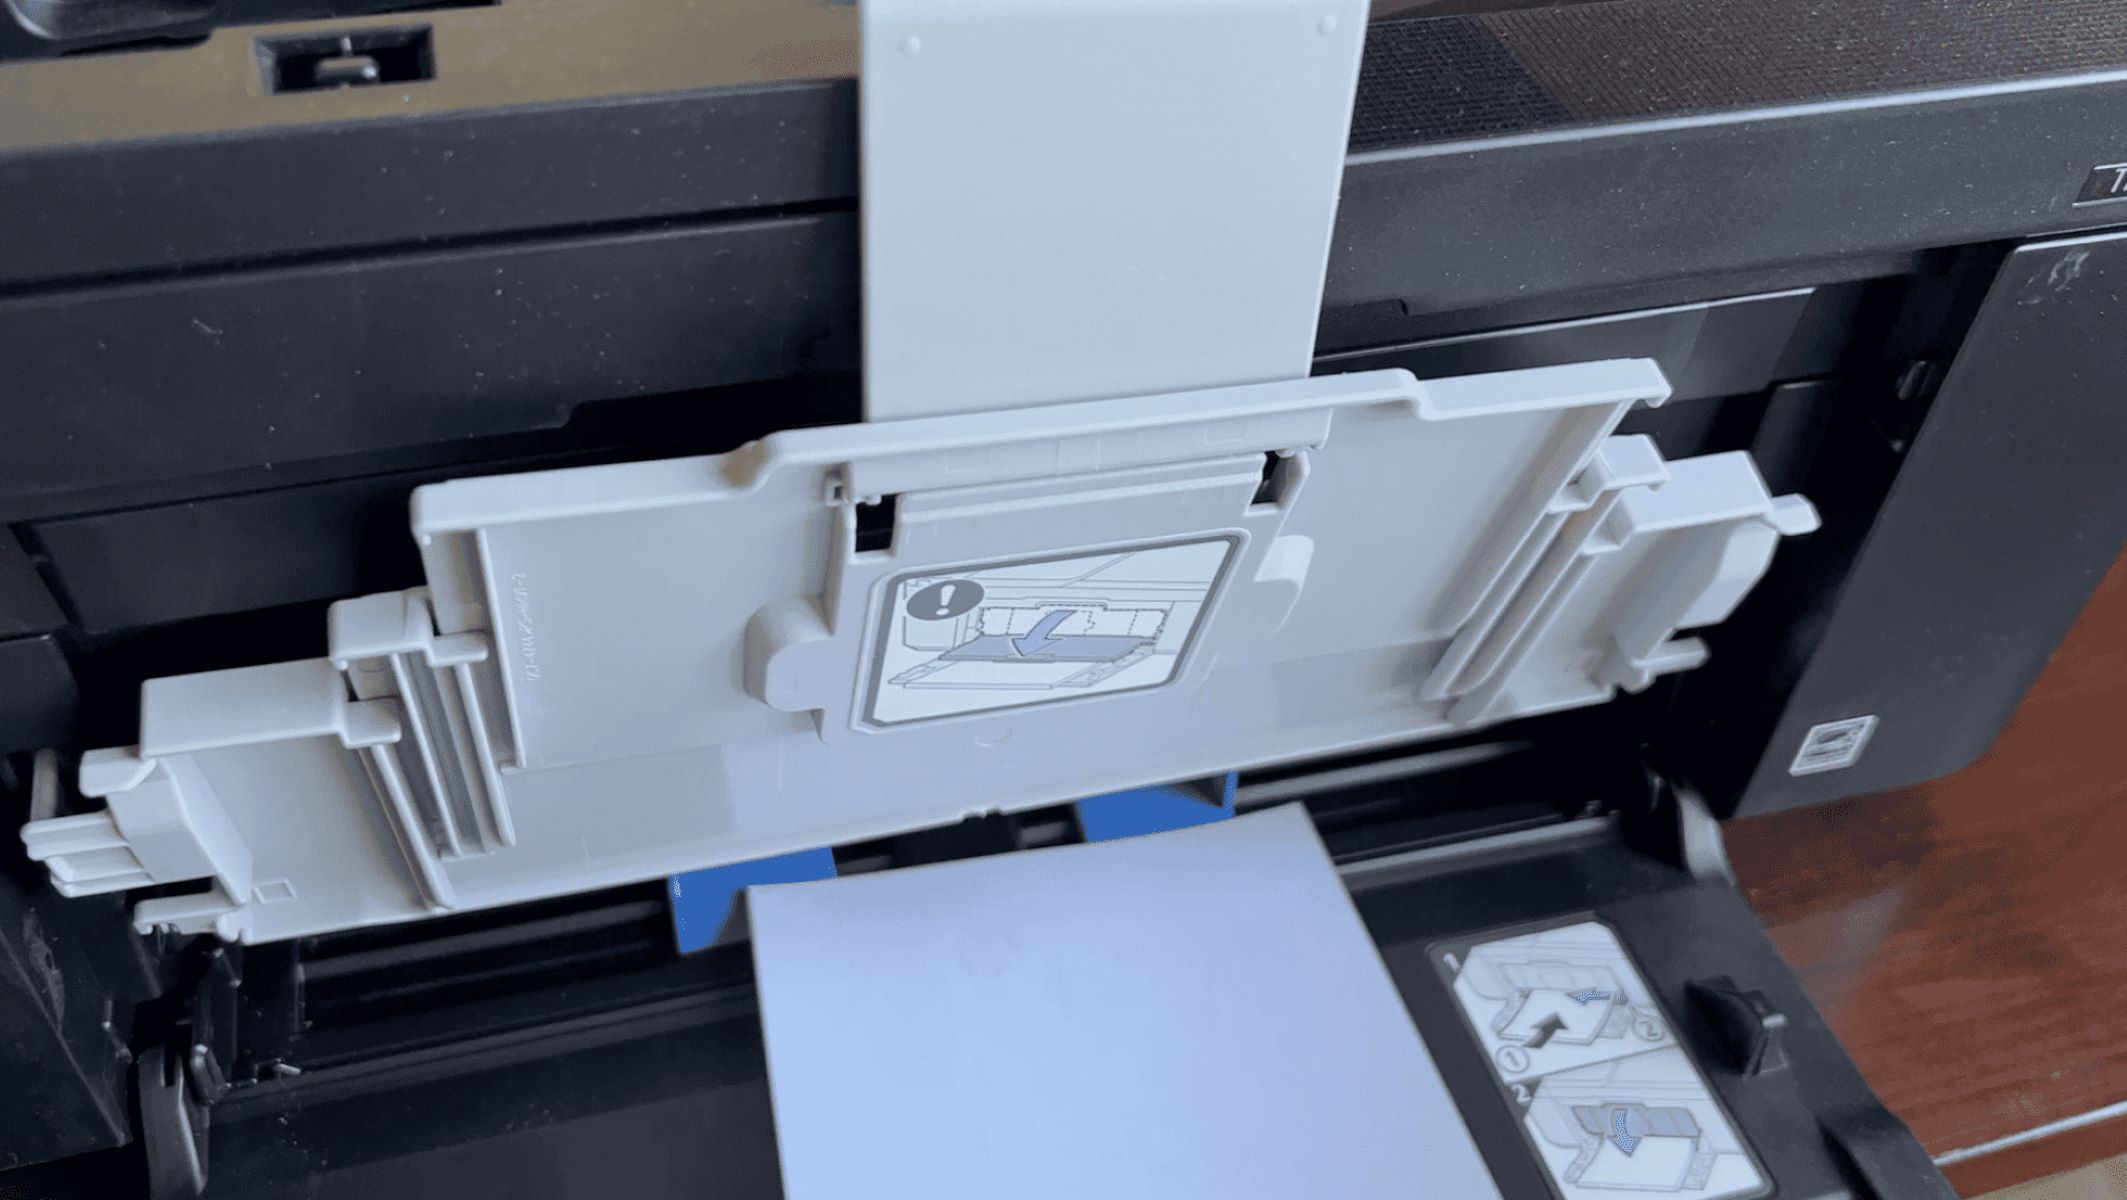
Step 2: Adjust the Paper Guides
Properly adjusting the paper guides in your Canon printer is crucial to ensure that the photo paper is aligned correctly and fed into the printer smoothly. Follow these steps to adjust the paper guides:
- Locate the Paper Tray: Identify the paper tray on your Canon printer. The paper tray is designed to hold the photo paper and guide it into the printing mechanism.
- Adjust the Width Guides: Slide the width guides of the paper tray to match the dimensions of the photo paper. Most Canon printers feature adjustable width guides that can be easily customized to accommodate different paper sizes. Aligning the guides with the edges of the photo paper helps prevent misalignment and ensures a consistent feed.
- Ensure a Snug Fit: After adjusting the width guides, gently press down on the photo paper to ensure it fits snugly against the guides. This helps maintain the paper’s alignment and prevents it from shifting during the printing process.
By carefully adjusting the paper guides, you can optimize the positioning of the photo paper within the printer, reducing the likelihood of paper jams and enhancing the overall print quality. With the guides properly set, you’re ready to proceed to the next step of loading the photo paper.
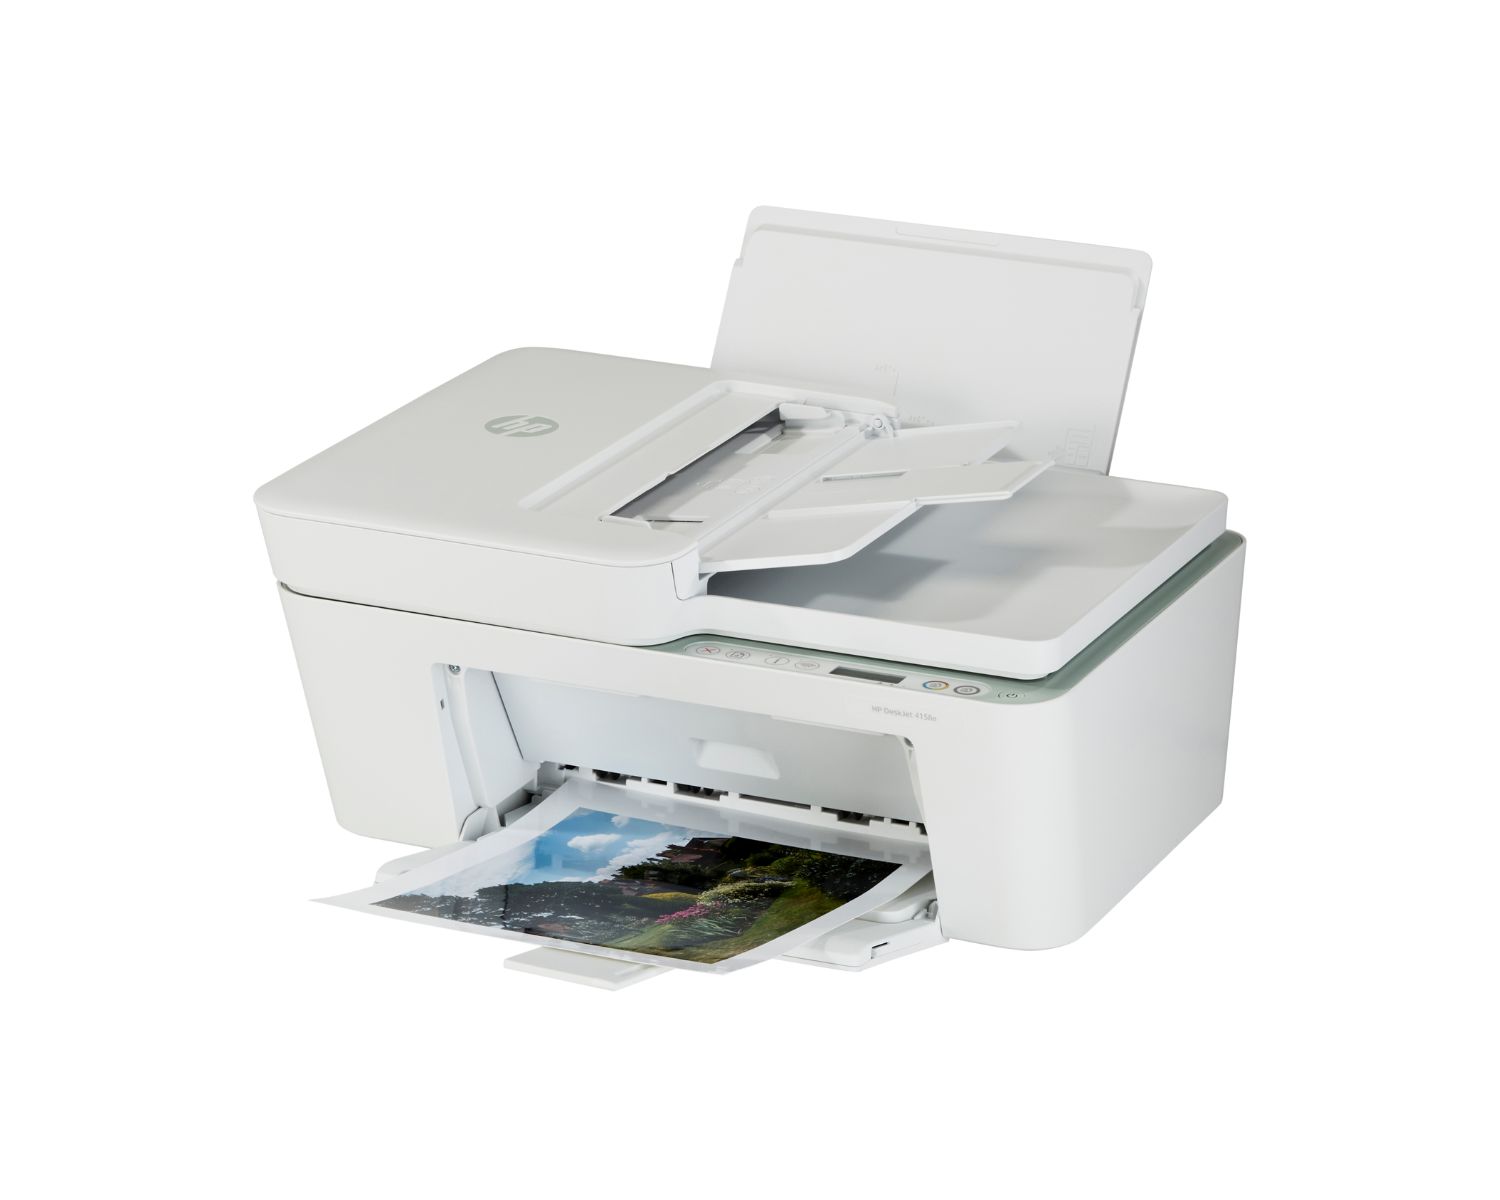
Step 3: Load the Photo Paper
Now that you’ve gathered the necessary materials and adjusted the paper guides, it’s time to load the photo paper into your Canon printer. Follow these steps to ensure a seamless loading process:
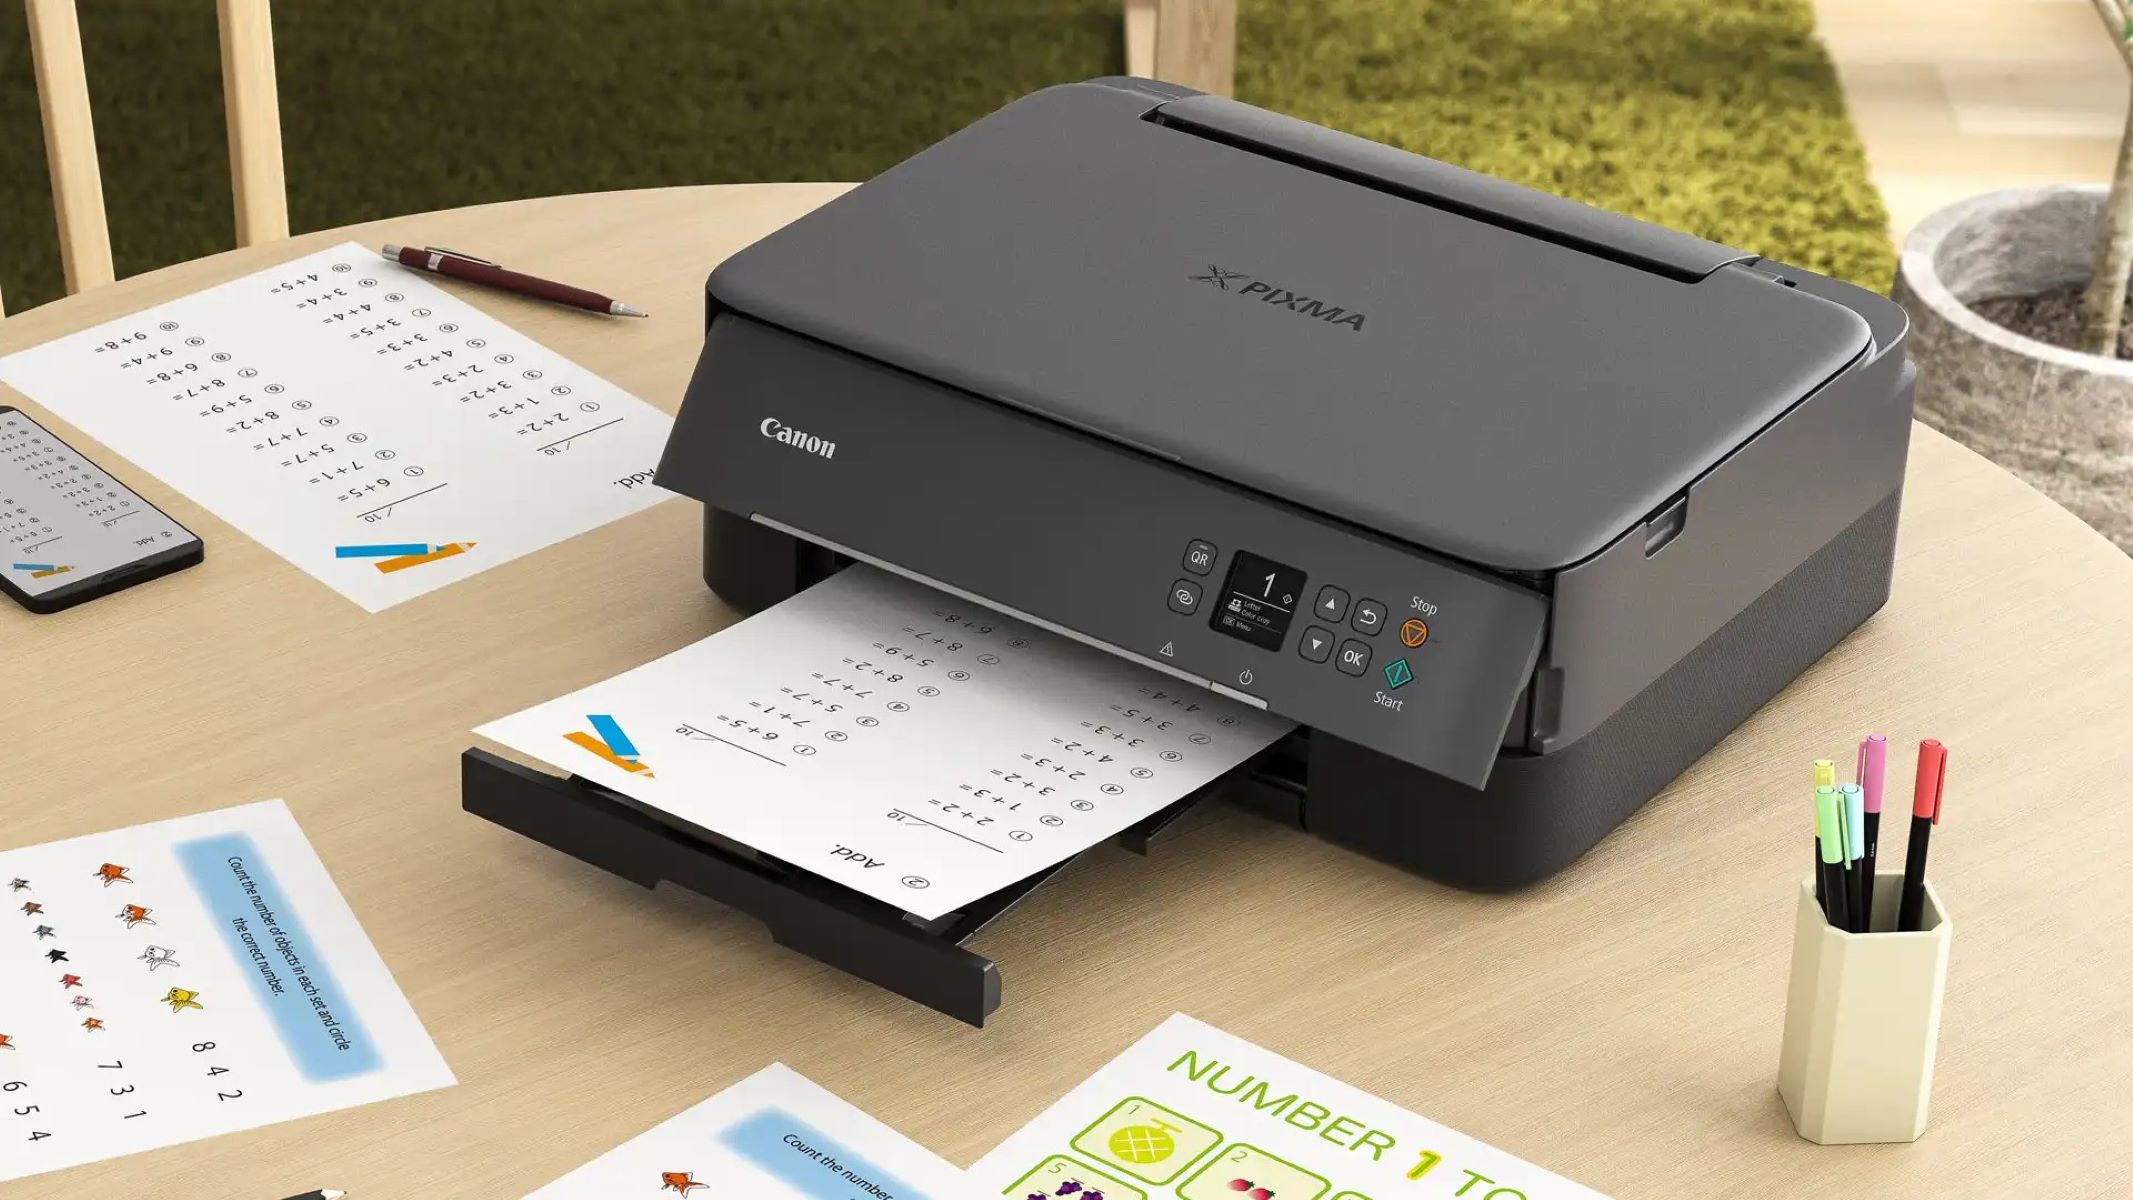
- Prepare the Paper Tray: Pull out the paper tray from the printer and extend it to create a stable platform for loading the photo paper.
- Align the Paper: Take a stack of photo paper and align it neatly, ensuring that the edges are squared off for a uniform fit within the paper tray. Proper alignment helps prevent paper misfeeds and ensures consistent printing results.
- Insert the Paper: Carefully place the stack of photo paper into the paper tray, making sure it rests securely against the adjusted width guides. Avoid overfilling the tray, as this can lead to feeding issues and paper jams during printing.
- Adjust the Length Guides: If your Canon printer features length guides in the paper tray, adjust them to match the dimensions of the photo paper. This helps maintain the paper’s position and prevents it from shifting as it is fed into the printer.
- Confirm Proper Alignment: Double-check that the photo paper is aligned with the width and length guides, ensuring that it sits flat and level within the paper tray. This step is crucial for preventing potential printing errors and ensuring smooth paper feed.
By following these steps, you can effectively load the photo paper into your Canon printer, setting the stage for high-quality prints that capture the essence of your cherished memories and creative projects. With the photo paper securely in place, you’re ready to move on to the next phase of the printing process.
When loading photo paper in a Canon printer, make sure to adjust the paper guides to fit the width of the paper, and load the paper with the printable side facing down. Be gentle to avoid paper jams.
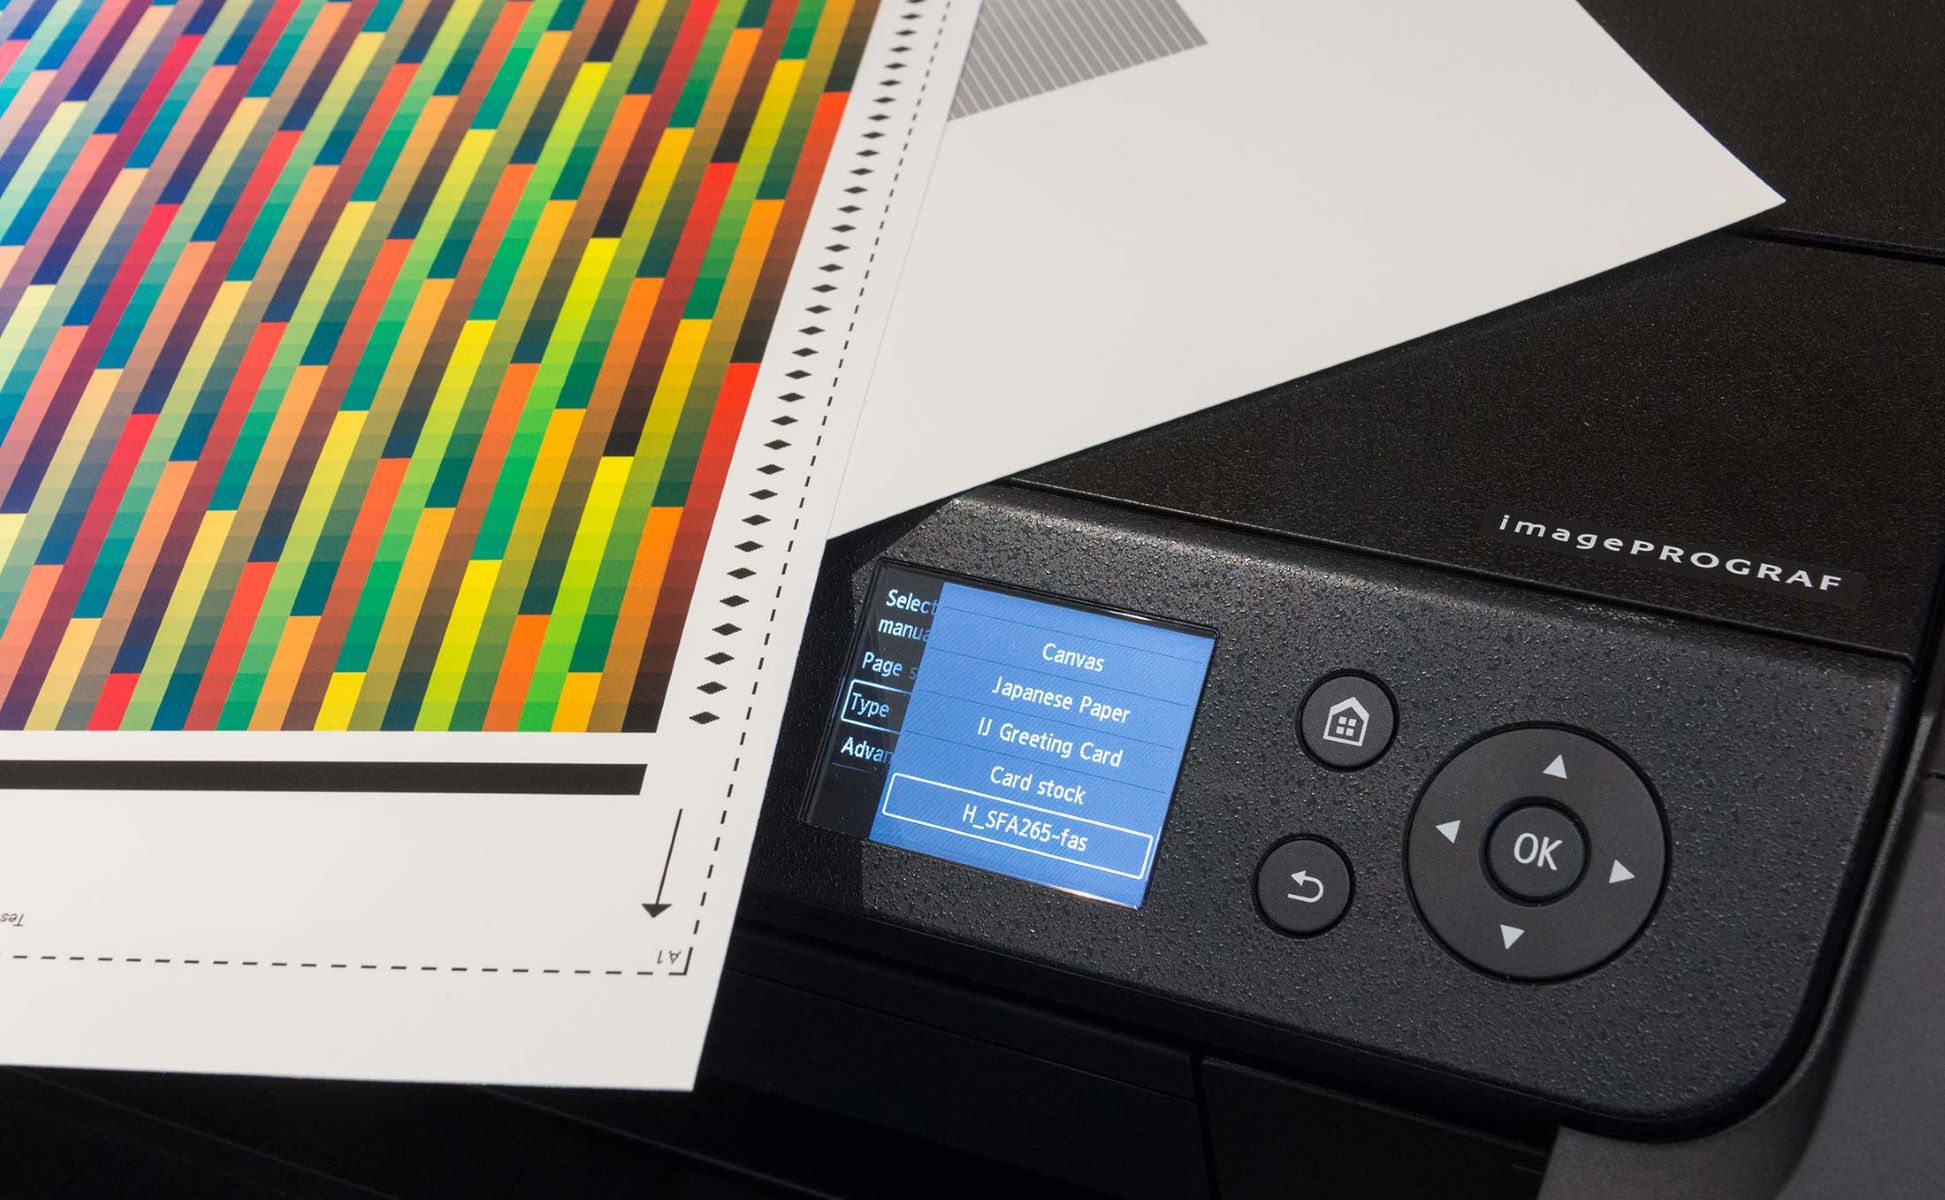
Step 4: Set the Paper Type
Setting the correct paper type on your Canon printer is essential for achieving optimal print results when using photo paper. Follow these steps to adjust the paper type settings:
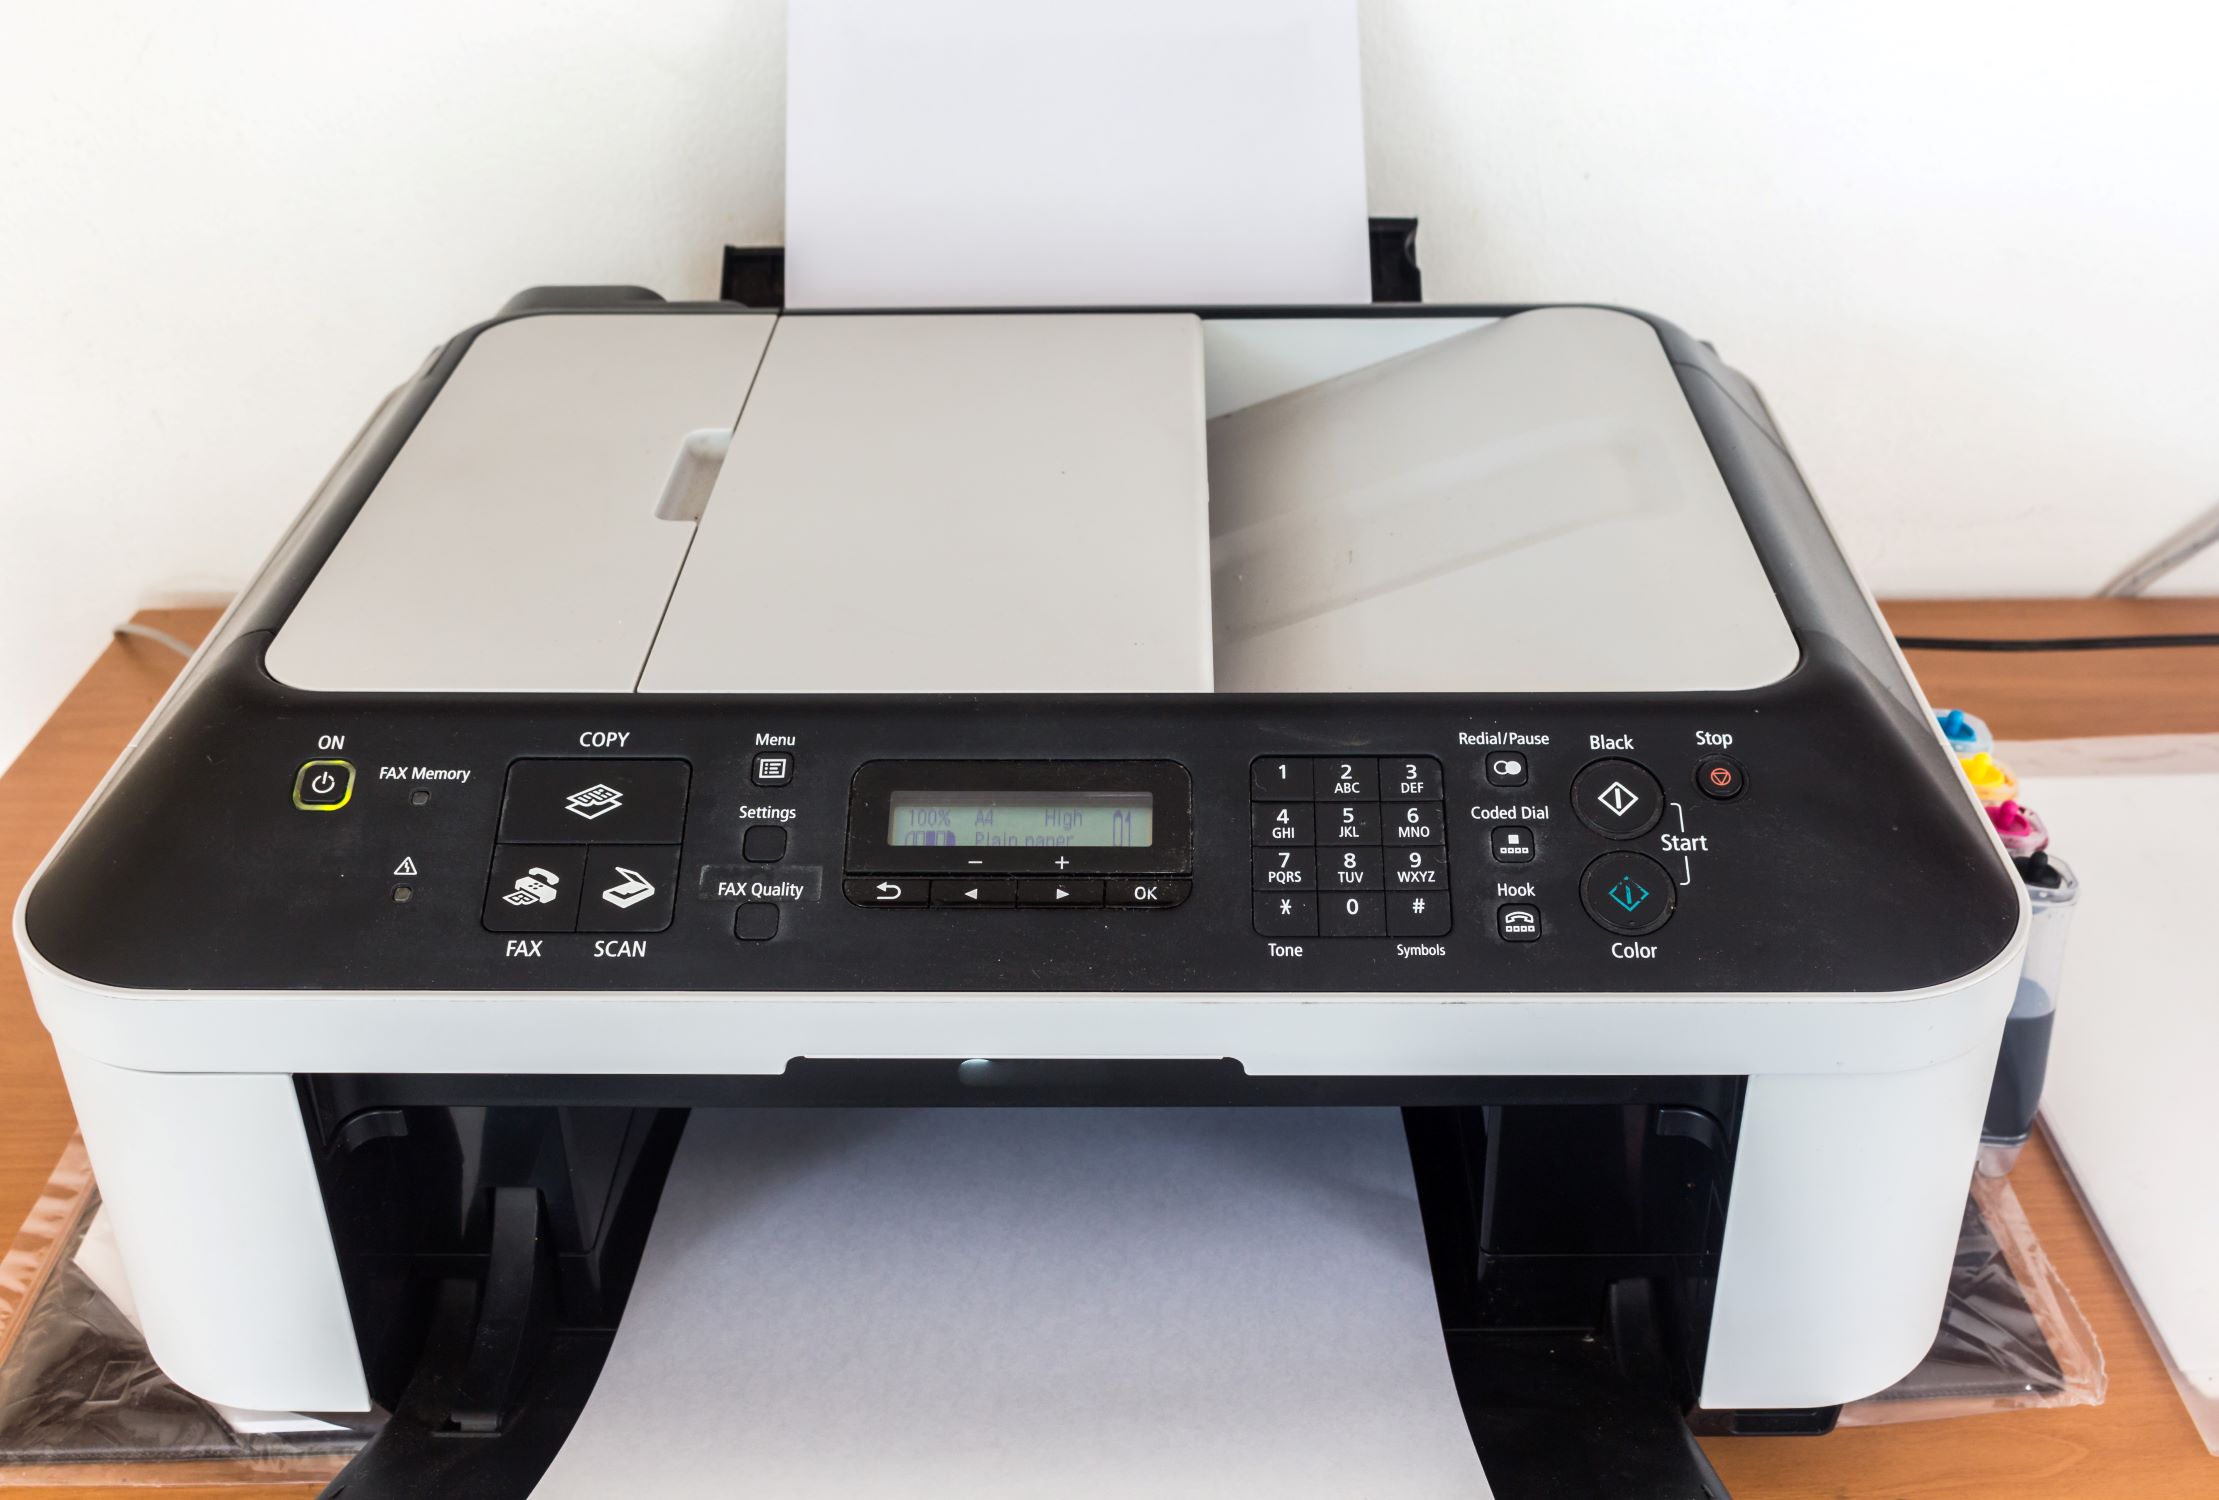
- Access the Printer Settings: Navigate to the printer settings on your computer or directly on the printer’s control panel, depending on the model. Look for the option to adjust paper settings or media type.
- Select Photo Paper: Locate the paper type settings and choose “Photo Paper” or the specific type of photo paper you are using, such as glossy, matte, or semi-gloss. Selecting the appropriate paper type ensures that the printer applies the correct ink saturation and drying time for optimal print quality.
- Confirm the Settings: Double-check the selected paper type to ensure that it aligns with the actual photo paper loaded in the printer. Verifying the settings helps prevent potential printing issues and ensures that the printer’s output matches the characteristics of the selected paper type.
By adjusting the paper type settings to match the specific photo paper being used, you can enhance the accuracy and vibrancy of your prints, bringing your images to life with stunning clarity and detail. With the paper type settings configured, your Canon printer is primed to deliver exceptional results that showcase the full potential of your photographic endeavors.
Read more: How To Load Paper In A Brother Printer
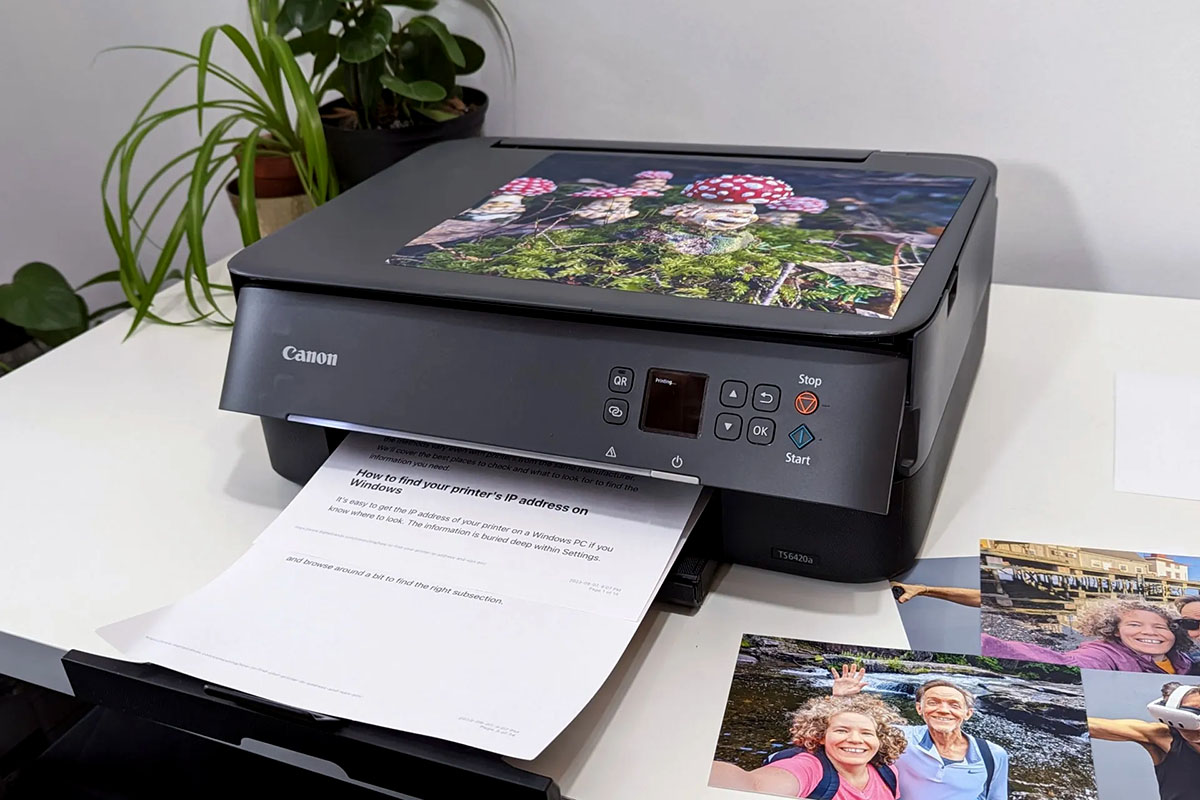
Step 5: Print a Test Page
Before embarking on your full printing project, it’s advisable to print a test page to ensure that the photo paper is properly loaded and that the print settings are optimized. Follow these steps to print a test page using your Canon printer:
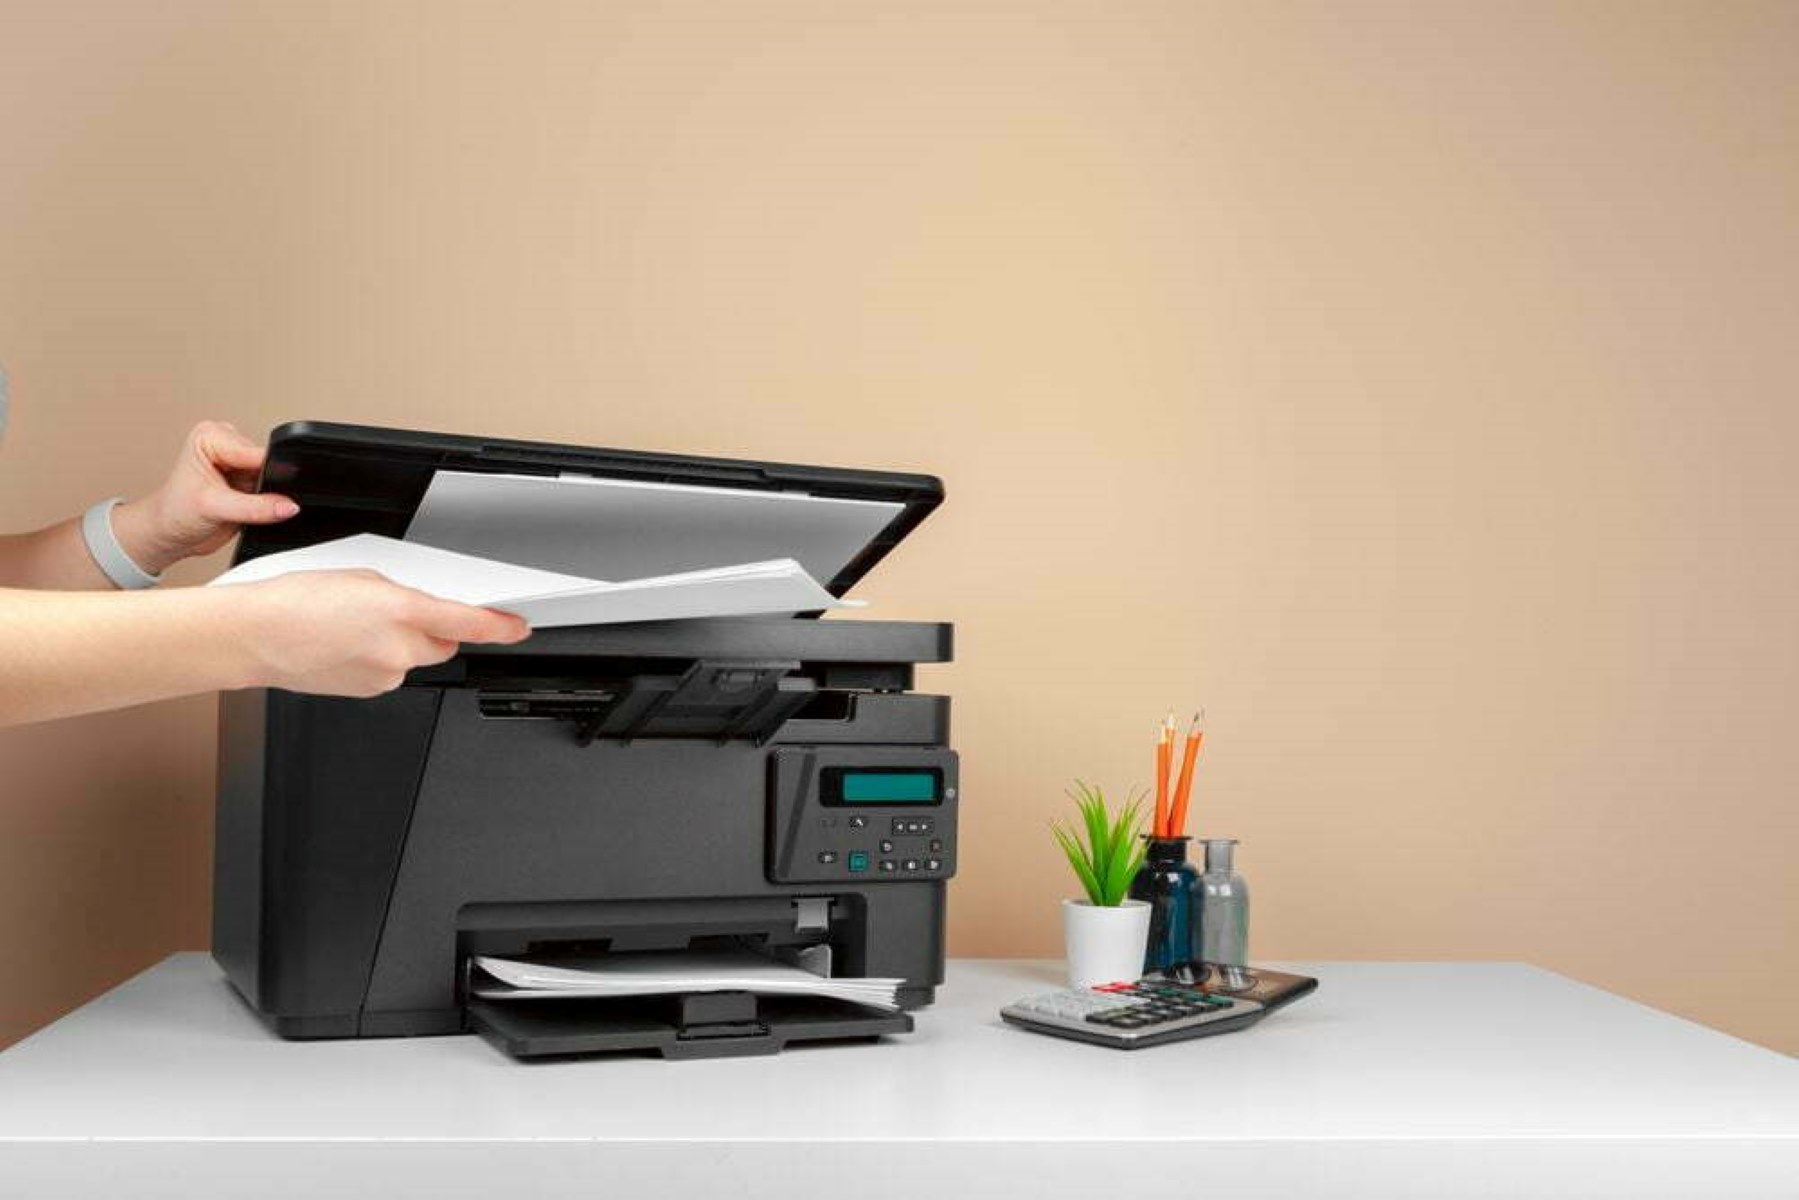
- Initiate the Print Command: Send a test print command from your computer or activate the test page option directly from the printer’s control panel, depending on your preferred method of operation.
- Observe the Print Output: As the test page begins to print, observe the quality of the output, paying attention to color accuracy, sharpness, and overall print clarity. This allows you to assess whether the printer settings and paper alignment are conducive to optimal print results.
- Adjust Settings if Necessary: If the test page reveals any issues such as color inconsistencies or misalignment, consider adjusting the print settings or rechecking the paper alignment to address the issues before proceeding with your actual printing task.
- Evaluate the Test Print: Take a close look at the test page to evaluate the overall print quality and ensure that it meets your expectations in terms of color vibrancy, detail reproduction, and overall visual appeal.
Printing a test page provides valuable insight into the performance of your Canon printer and the compatibility of the photo paper with your chosen print settings. By carefully assessing the test print, you can make any necessary adjustments to guarantee exceptional results when printing your photos or creative projects on the selected photo paper.
Conclusion
Exploring the realm of smart home devices offers a glimpse into the future of home living, where technology seamlessly integrates with our daily routines to elevate comfort, convenience, and efficiency. From intelligent thermostats that adapt to our preferences to advanced security systems that provide peace of mind, smart home devices are revolutionizing the way we interact with our living spaces.
As the smart home landscape continues to evolve, the possibilities for innovation and enhancement are virtually limitless. Whether you’re a seasoned enthusiast or just beginning to explore the world of smart home devices, embracing these technologies can lead to a more streamlined, connected, and enjoyable living experience.
By staying informed about the latest advancements and incorporating smart home devices into your living environment, you can unlock new levels of comfort, security, and energy efficiency. Embracing the potential of smart home technology allows you to create a personalized and responsive home environment that caters to your unique needs and preferences.
As you embark on your smart home journey, consider the diverse range of devices available and envision the ways in which they can enhance your daily life. From voice-activated assistants to automated lighting and climate control, these technologies offer a glimpse into a future where homes are not just smart, but truly intuitive and responsive to our individual lifestyles.
Join us in exploring the transformative world of smart home devices, where imagination meets practicality to redefine the concept of home living. Embrace the potential of smart home technology and discover the myriad ways it can enrich your daily experiences within the comfort of your own home.
Now that you've mastered loading photo paper into your Canon printer, why stop there? Setting up your printer correctly is just as crucial for ensuring top-notch performance and print quality. If you're ready to get your Canon device up and running smoothly, our next guide walks you through every step of Canon Printer Setup. It's filled with handy tips to make the process a breeze. Don't miss out on achieving the best results with your prints!
Frequently Asked Questions about How To Load Photo Paper In A Canon Printer
Was this page helpful?
At Storables.com, we guarantee accurate and reliable information. Our content, validated by Expert Board Contributors, is crafted following stringent Editorial Policies. We're committed to providing you with well-researched, expert-backed insights for all your informational needs.
0 thoughts on “How To Load Photo Paper In A Canon Printer”