
Articles
How To Hide Washer Hoses In Laundry Room
Modified: October 20, 2024
Learn effective techniques to hide washer hoses in your laundry room with these informative articles. Discover smart solutions for a clutter-free and organized space.
(Many of the links in this article redirect to a specific reviewed product. Your purchase of these products through affiliate links helps to generate commission for Storables.com, at no extra cost. Learn more)
Introduction
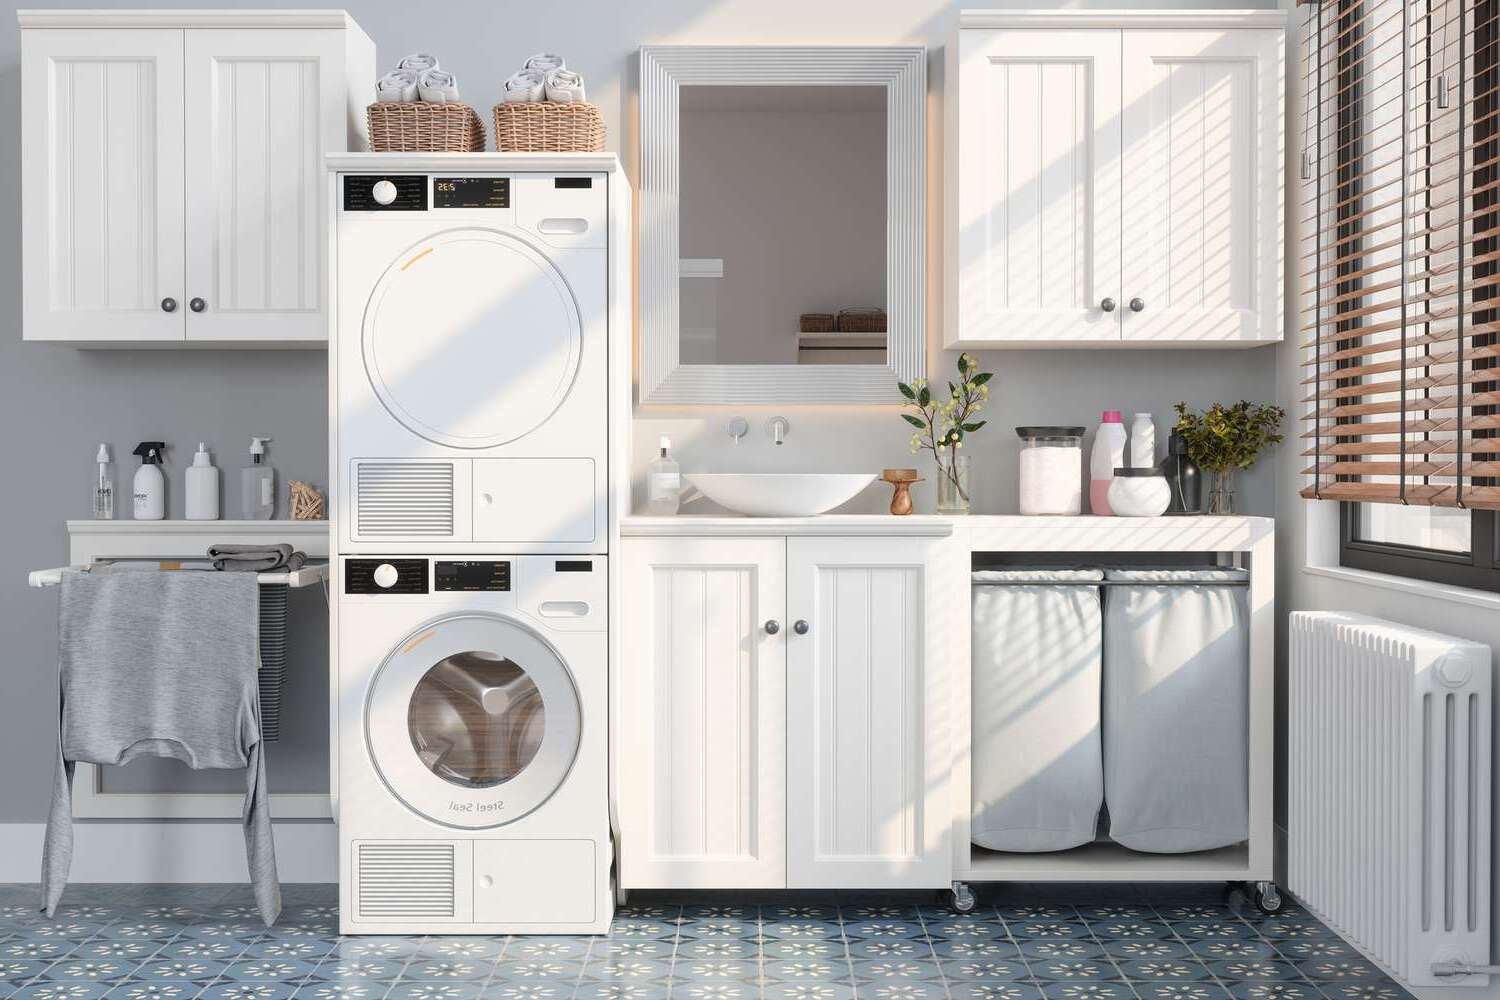
In any laundry room, it’s essential to have a functional and organized space. One common issue that homeowners face is how to hide the unsightly washer hoses that connect their washing machine to the water supply. These hoses can often disrupt the aesthetic appeal of the room and create a cluttered look.
Fortunately, there are several clever solutions available to hide washer hoses and maintain a neat and tidy laundry room. Whether you prefer a discreet built-in storage option or a more decorative approach, this article will guide you through different methods to effectively conceal those hoses.
Before diving into the various strategies, it’s important to assess your laundry room’s setup and determine the ideal placement for hiding the hoses. This will help you choose the most suitable solution for your specific needs.
Key Takeaways:
- Concealing washer hoses in your laundry room is essential for maintaining a clean and organized space. Assess your setup, choose the ideal placement, and select a method that complements your room’s aesthetics.
- From built-in cabinetry to retractable systems, various options are available to effectively hide washer hoses. Prioritize accessibility and aesthetics to create a visually pleasing and functional laundry room.
Read more: How To Hide Furnace In Laundry Room
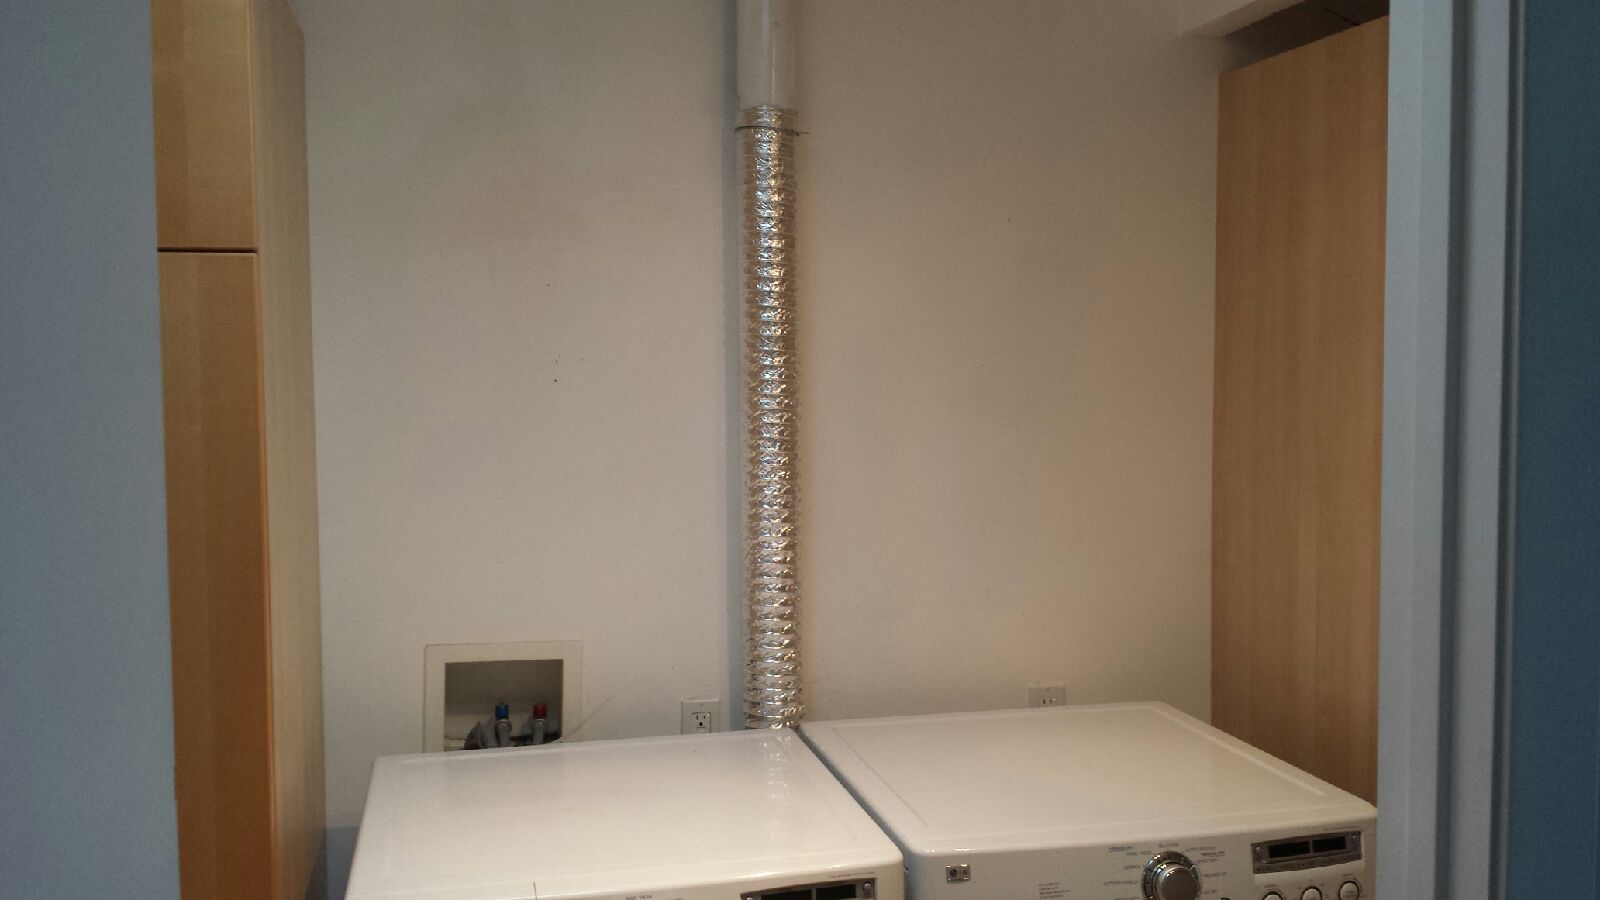
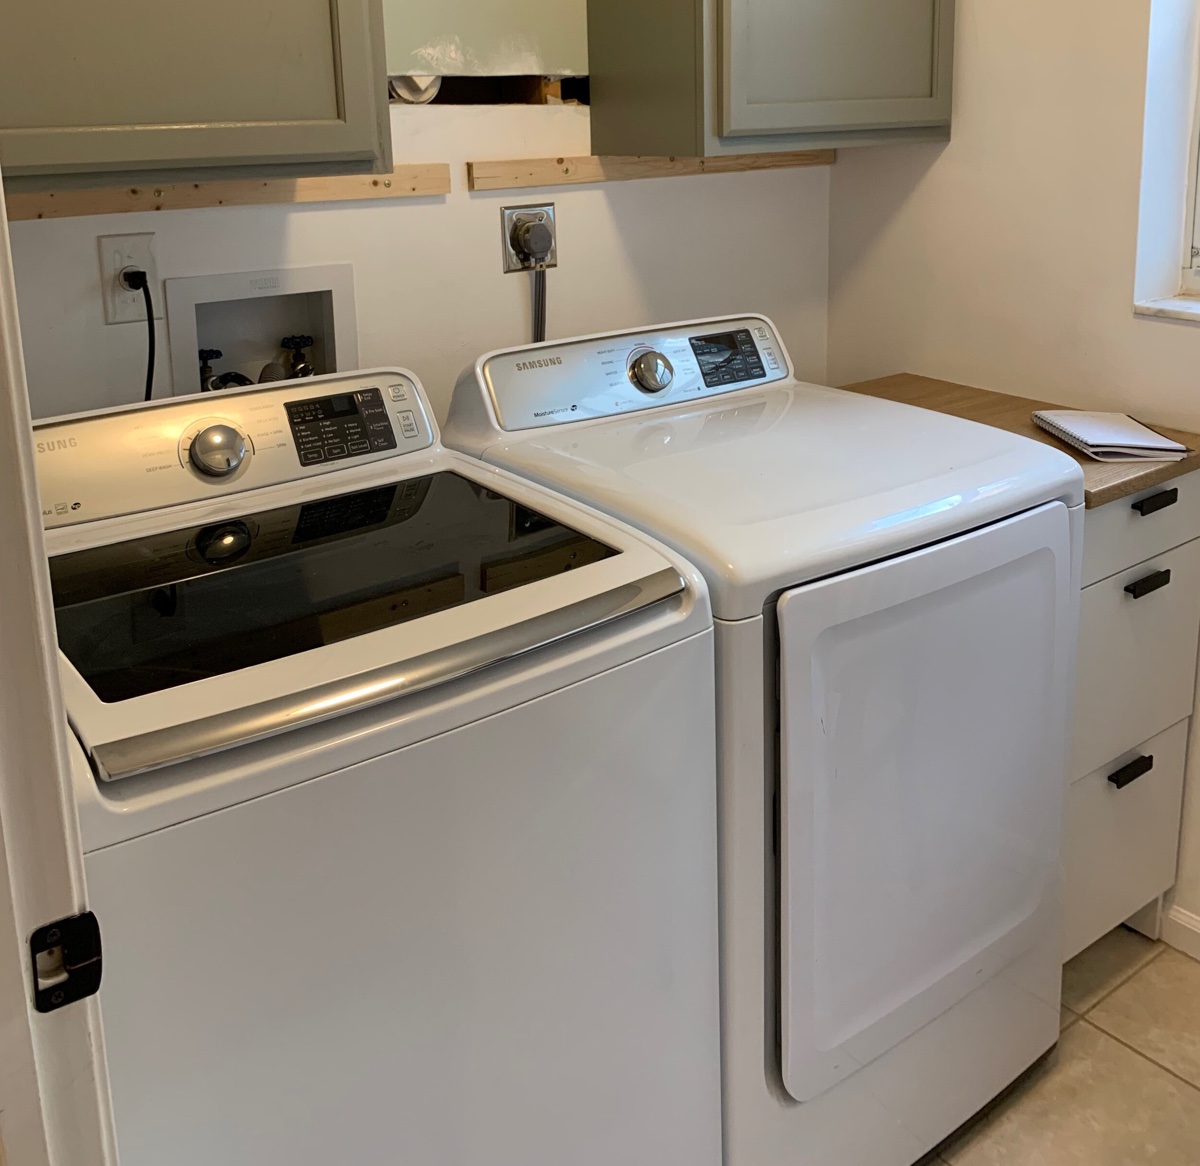
Assessing the Laundry Room Setup
Before making any decisions on how to hide your washer hoses, it’s crucial to assess the layout and design of your laundry room. Understanding the space available and the existing fixtures will help you determine the best approach.
Start by taking measurements of the area where your washing machine is situated, as well as the distance between the machine and the nearest water source. This will give you a clear idea of how much hose you need to conceal and the potential options for hiding them.
If your laundry room has built-in cabinets or shelves, take note of their dimensions. These structures can be utilized to disguise the hoses, making them a seamless part of the room’s design.
Consider the proximity of electrical outlets and any other obstructions that may affect the placement of the hoses. You’ll want to ensure that the hidden hoses will have enough space to connect to the water supply without being pinched or tangled.
Additionally, take note of any ventilation requirements for your washing machine. Ensure that any method used to hide the hoses does not obstruct the necessary airflow and ventilation for the machine to function properly.
By thoroughly assessing your laundry room setup, you can make informed decisions on how to effectively conceal the washer hoses, ensuring both a visually pleasing space and functional operation of your washing machine.
Determining the Ideal Hose Placement
Once you’ve assessed your laundry room setup, it’s important to determine the ideal placement for hiding your washer hoses. Consider the following factors to help you make this decision:
- Accessibility: Ensure that the hoses are easily accessible for maintenance or repair purposes. While it’s important to hide them, you don’t want to make it difficult to reach them when necessary.
- Proximity to the Water Source: Ideally, the hoses should be close to the water source to minimize the length of exposed hose. This not only improves the aesthetics but also reduces the risk of tripping hazards or accidental damage.
- Space Availability: Take into account the available space in your laundry room. If you have limited room, you may need to explore creative solutions to maximize space utilization while still concealing the hoses effectively.
- Aesthetics: Consider the overall look and style of your laundry room. The ideal hose placement should complement the décor and blend seamlessly with the rest of the room. It’s important to achieve a neat and uncluttered appearance.
Once you have determined where the hoses should be located, you can explore various methods to hide them in a way that best suits your space and personal preferences. From built-in cabinetry and curtain dividers to retractable systems and wall-mounted holders, there are several solutions available to effectively conceal washer hoses and maintain an organized laundry room.
Remember to always prioritize functionality and accessibility when deciding on the ideal hose placement. By considering these factors, you can ensure ease of use and maintain the aesthetics of your laundry room while hiding those unsightly washer hoses.
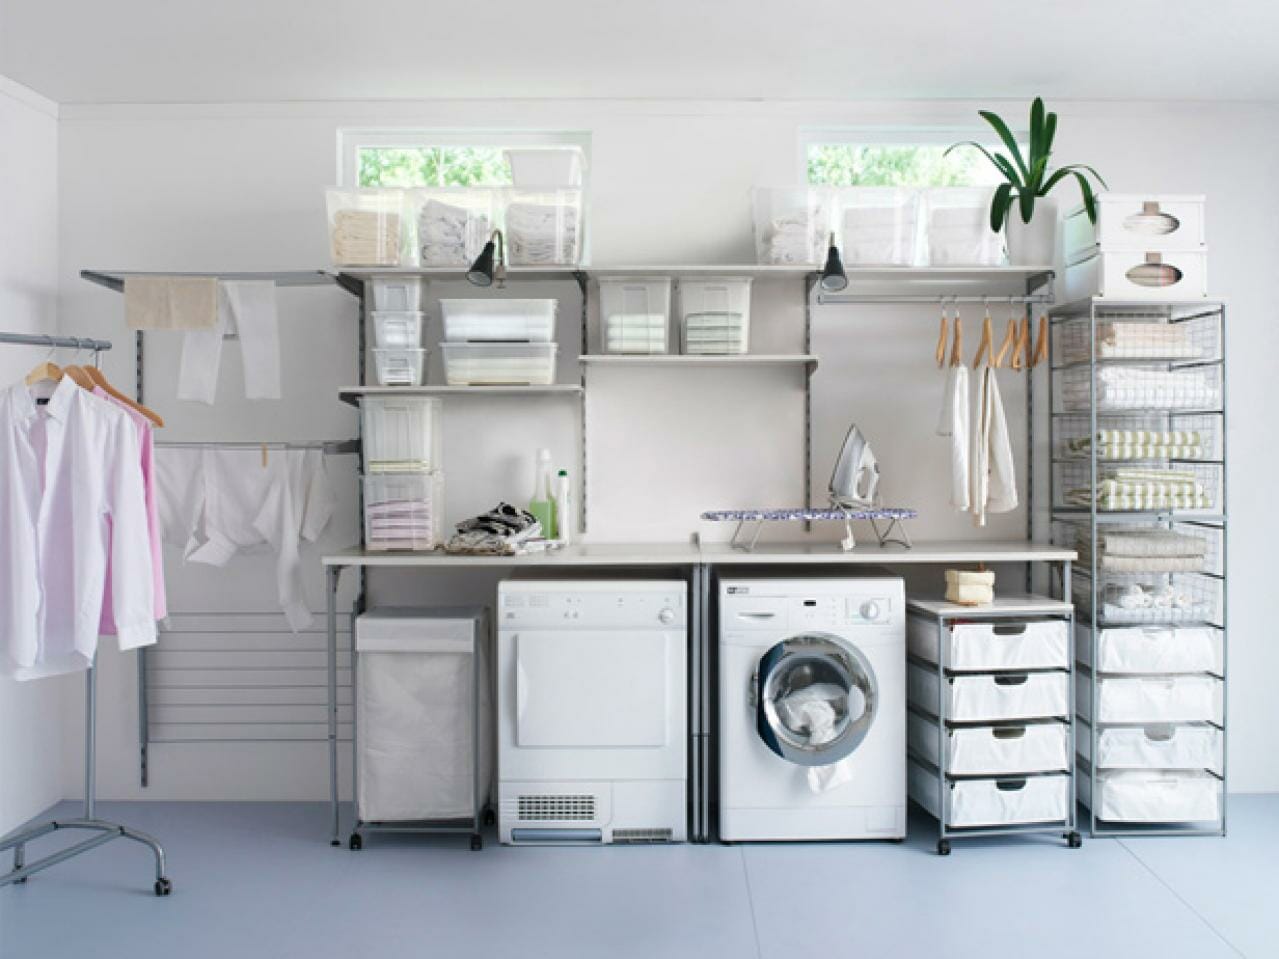
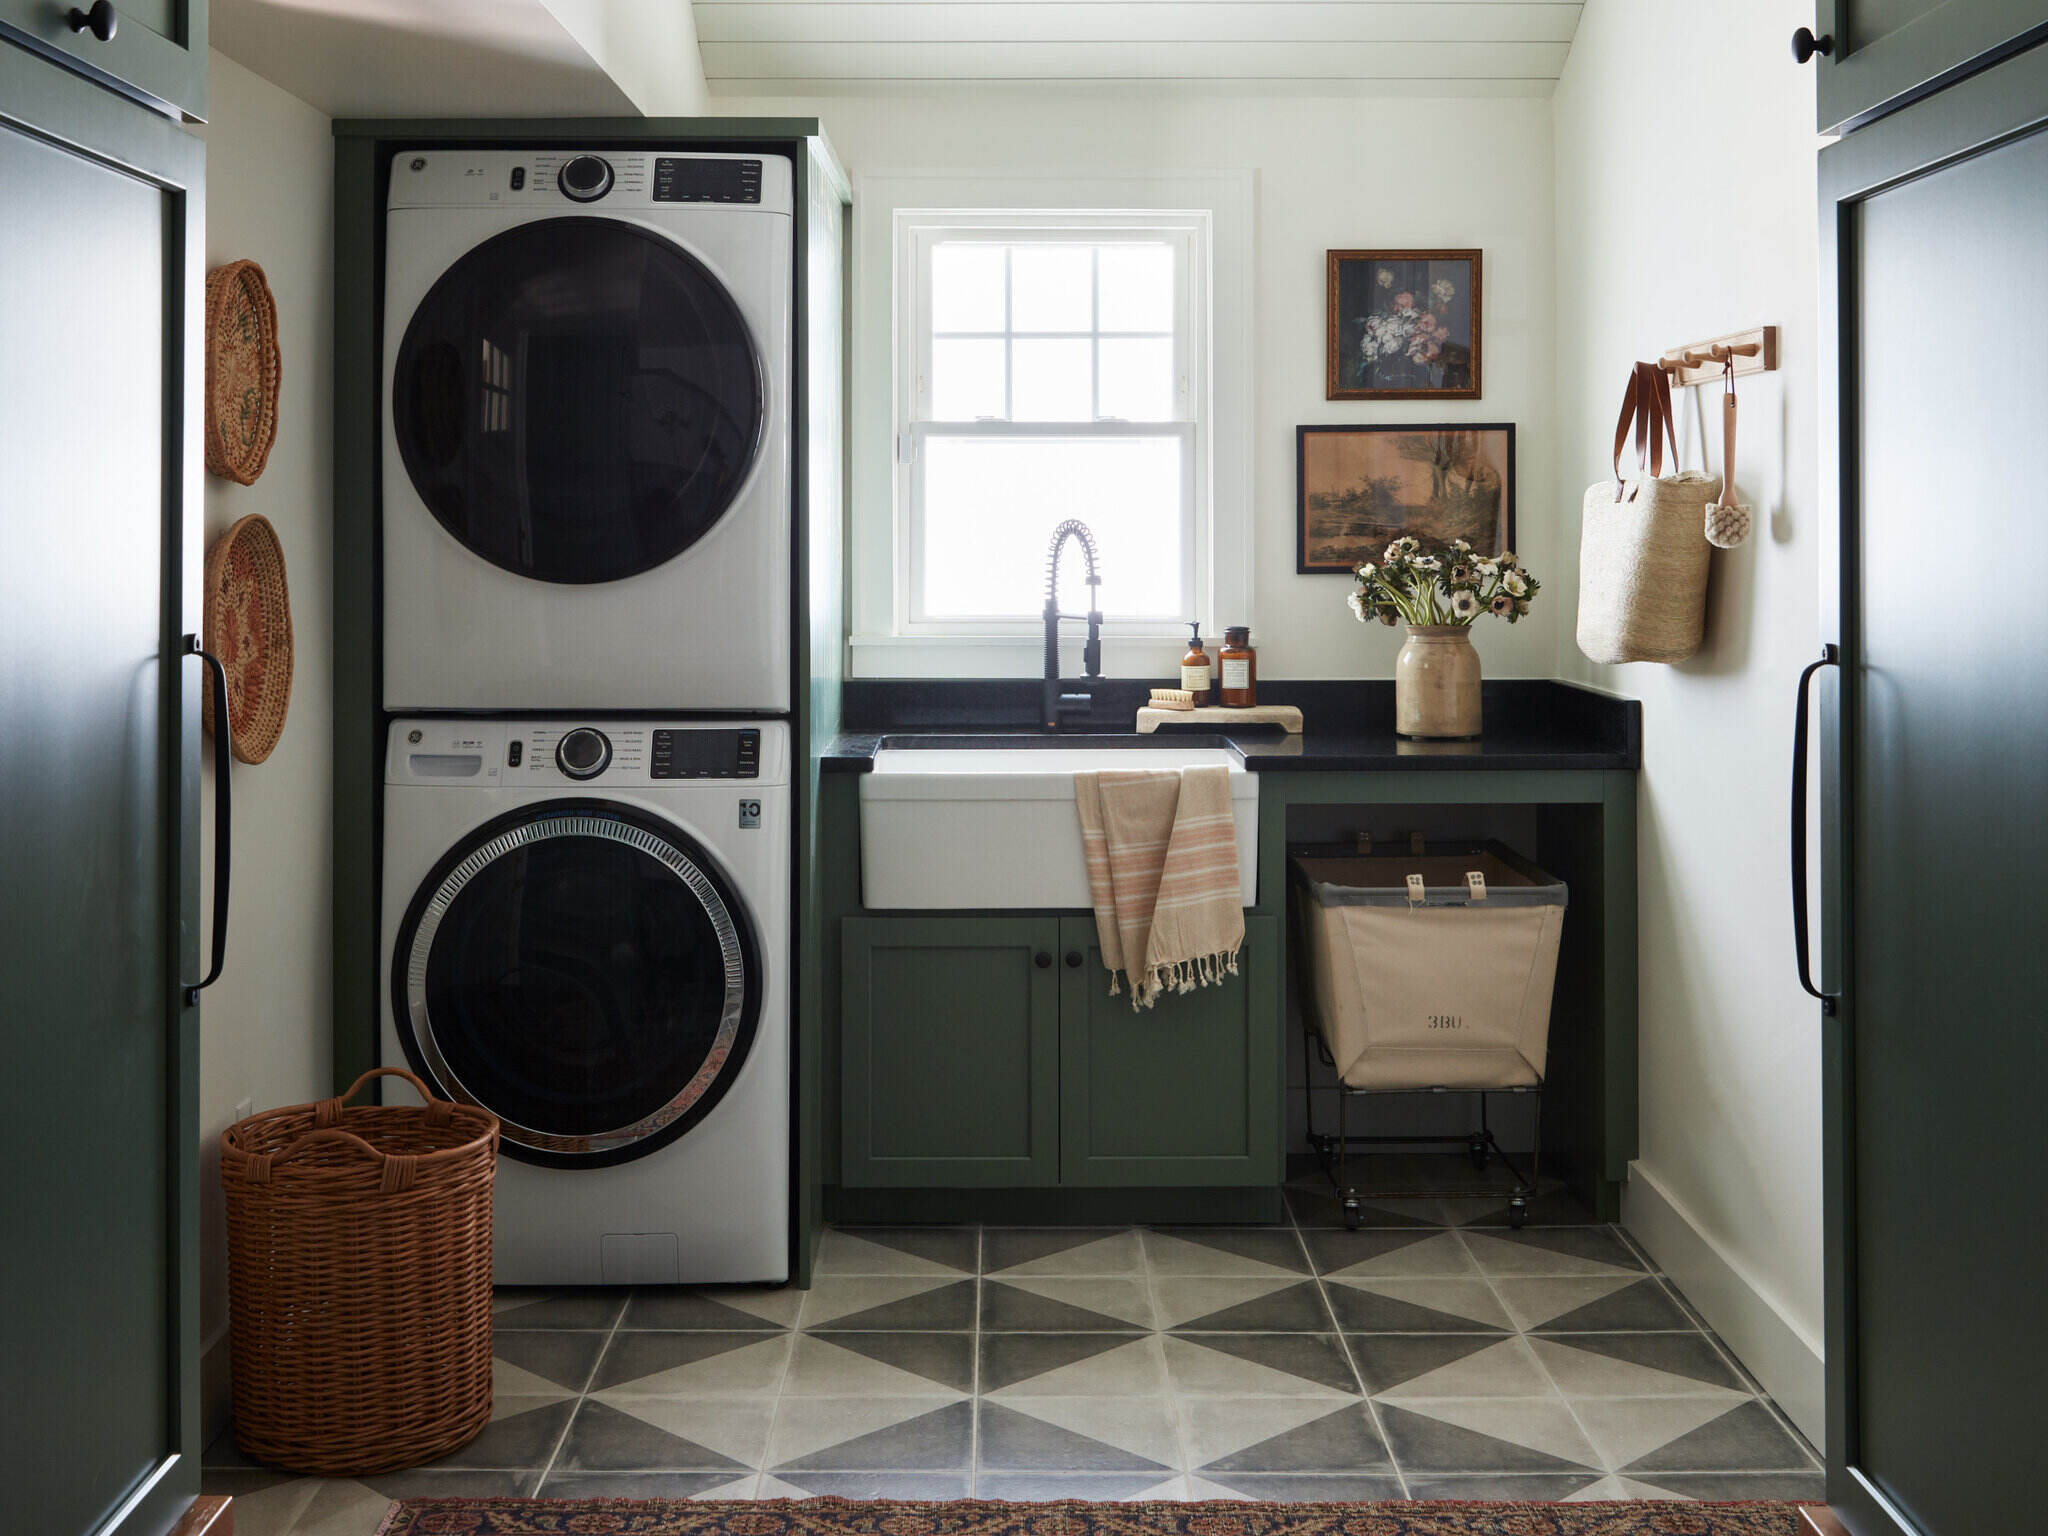
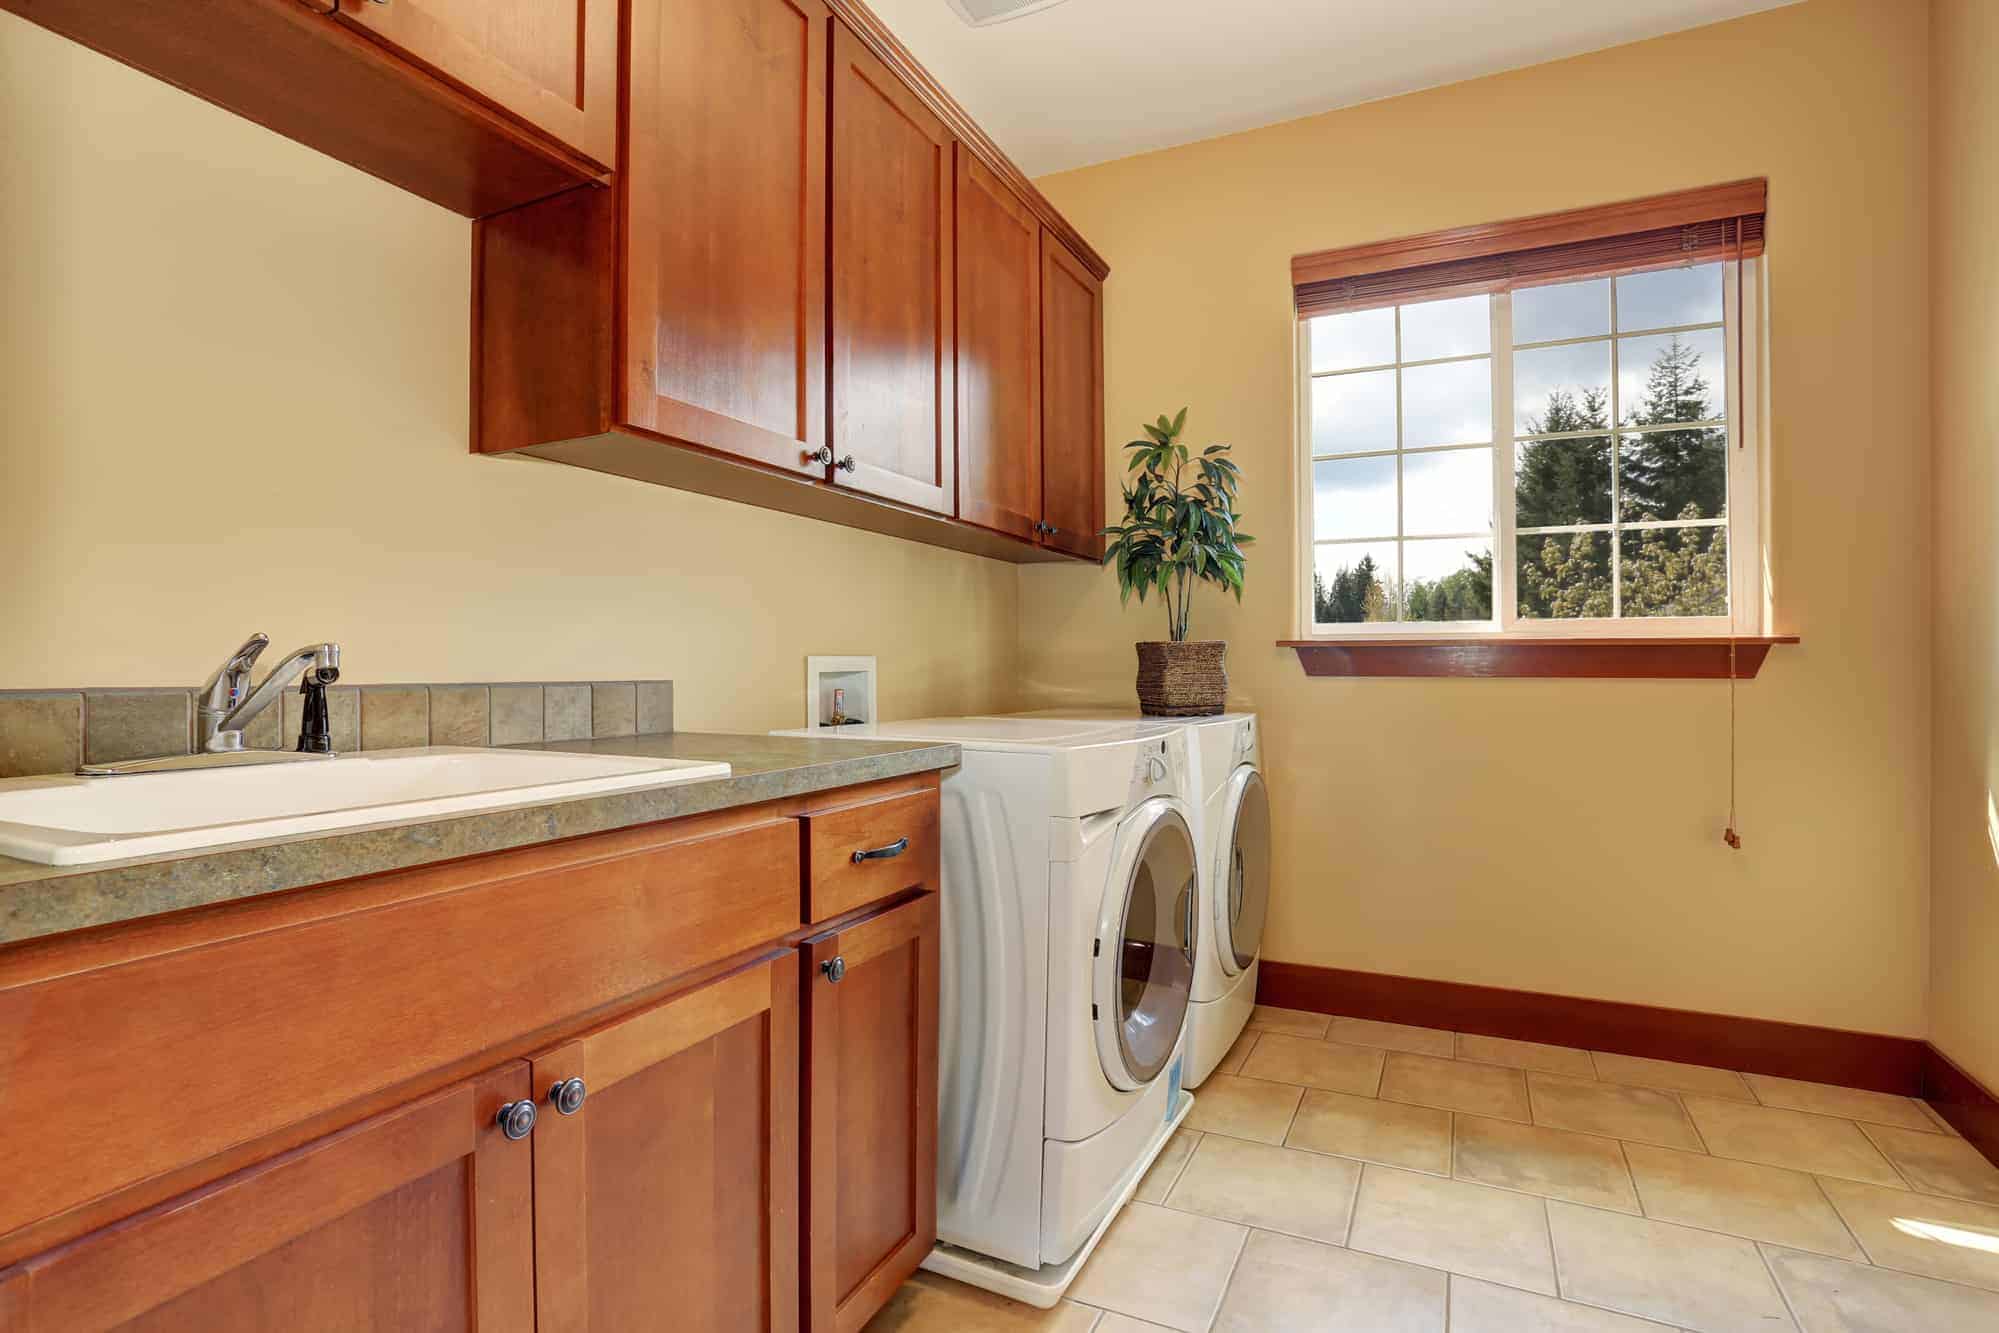
Hiding Washer Hoses Behind Cabinetry
If you have existing cabinetry in your laundry room, utilizing it to hide your washer hoses can be a seamless and effective solution. Here’s how you can achieve this:
- Assess the space: Examine your cabinetry to determine if there is enough room behind it to accommodate the hoses. Measure the available space and ensure that it is wide enough and deep enough to hide the hoses without causing any obstructions.
- Create access points: Cut small openings at the back of the cabinetry for the hoses to pass through. This allows you to easily connect the hoses to the water source while keeping them hidden.
- Add finishing touches: Depending on the design of your cabinetry, you may want to consider adding additional trim or molding to the openings to create a more seamless appearance. This will help blend the hoses with the rest of the cabinetry.
Hiding washer hoses behind cabinetry not only conceals them from view but also provides a clean and organized look in your laundry room. When done correctly, this method allows for easy access to the hoses while maintaining the functionality and aesthetics of the space.
If you don’t already have cabinetry in your laundry room, you may consider installing new cabinetry or retrofitting the existing space with specially designed storage units that include a compartment for hiding the washer hoses. These options provide a custom solution and can be tailored to match your room’s style and design.
Creating a Built-In Hose Storage Solution
If you’re looking for a more dedicated and organized approach to hiding your washer hoses, consider creating a built-in hose storage solution. This method involves designing a specific compartment or storage area within your laundry room to house the hoses.
Here’s how you can create a built-in hose storage solution:
- Select a location: Identify a suitable area in your laundry room where you can build or install a dedicated storage space for the hoses. This could be a corner, an unused wall, or even a recessed area.
- Plan the size and dimensions: Measure the length and diameter of the hoses to determine the appropriate size for the storage compartment. Account for any additional space needed for connectors or potential hose expansions.
- Build or install the storage unit: Depending on your DIY skills and preferences, you can either build a custom storage unit or purchase a pre-made one that fits your requirements. This could be a cabinet, a shelving unit, or even a recessed alcove with a hinged door.
- Create hose access points: Install small openings or grommets at the back or side of the storage unit to allow the hoses to pass through. This will enable easy connection to the water source without compromising the integrity of the storage space.
- Secure the hoses: Ensure the hoses are neatly organized and secured within the storage unit. You can use cable ties, clips, or hooks to prevent them from tangling or becoming entangled with other items.
- Add finishing touches: Consider adding a removable panel or door to the front of the storage unit to completely conceal the hoses when not in use. This panel should be easy to open or remove for maintenance or repairs.
A built-in hose storage solution offers a dedicated space for your washer hoses, keeping them neatly organized and hidden from view. This method not only enhances the aesthetics of your laundry room but also provides easy access and maintenance of the hoses when needed.
Remember to choose a storage solution that complements the overall design and style of your laundry room. With a built-in hose storage solution, you can maintain a clutter-free space while having the peace of mind that your washer hoses are stored securely and discreetly.
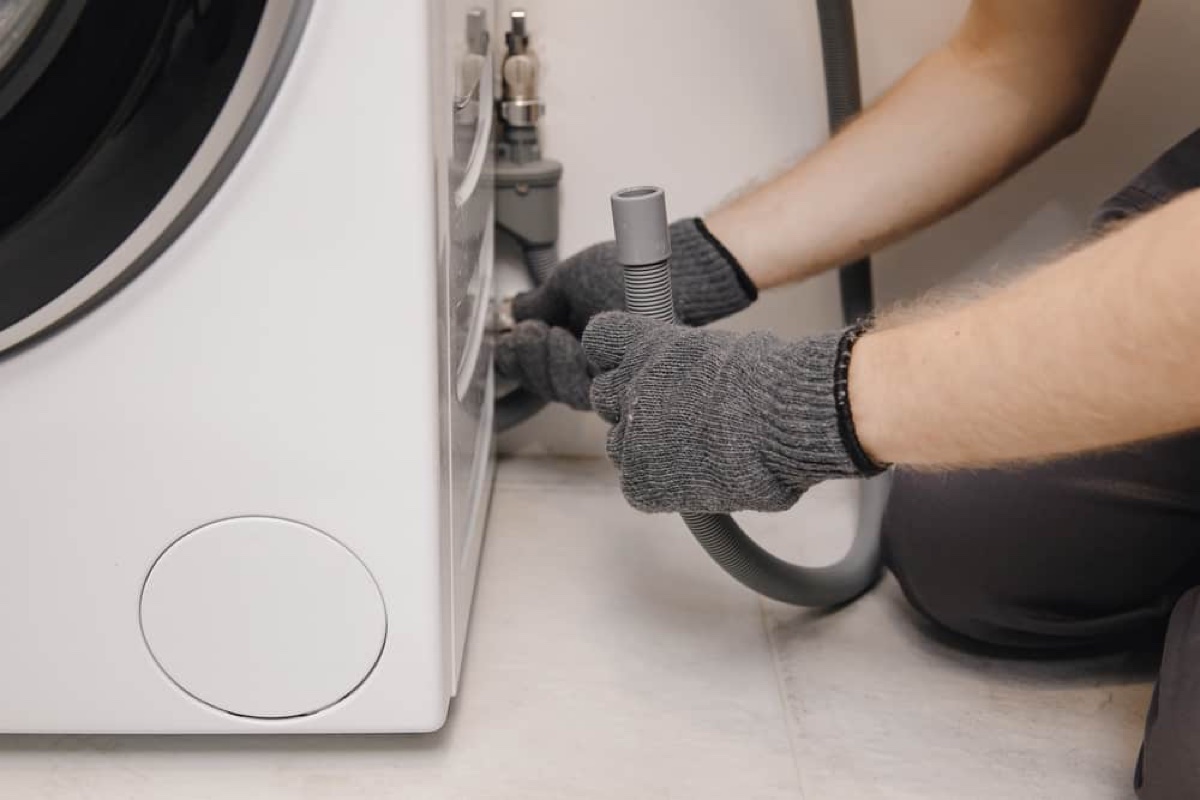
Use a cable management system to neatly tuck away washer hoses in the laundry room. You can use adhesive cable clips or zip ties to secure the hoses along the back of the washer or along the wall to keep them out of sight.
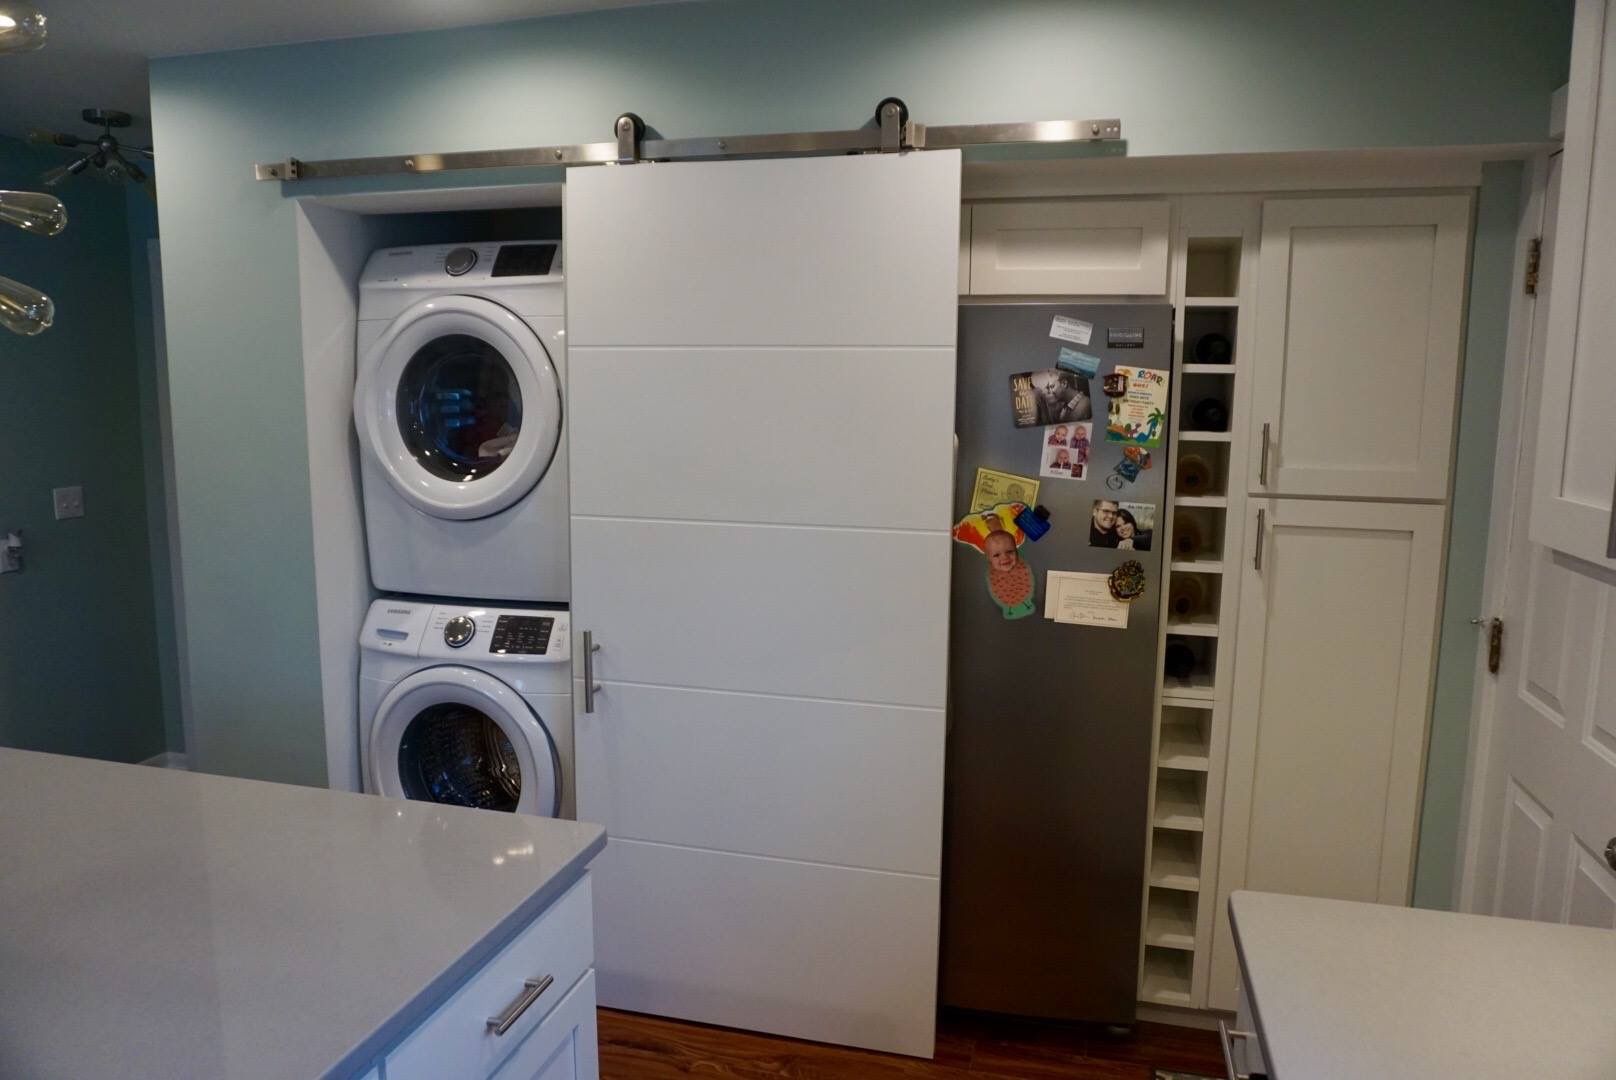
Concealing Washer Hoses with a Curtain or Room Divider
For those who prefer a more decorative and flexible approach to hiding washer hoses, using a curtain or room divider can be an excellent solution. This method allows you to easily conceal the hoses while adding a touch of style to your laundry room.
Here’s how you can use a curtain or room divider to conceal washer hoses:
- Select a curtain or room divider: Choose a curtain or room divider that complements the style and decor of your laundry room. You can opt for a fabric curtain, a beaded curtain, or a decorative room divider screen, depending on your personal preferences.
- Mount the curtain or room divider: Install curtain rods or mount the room divider according to the manufacturer’s instructions. Ensure that it is securely fastened to the walls or ceiling, providing a stable structure for the curtain or divider.
- Position the curtain or room divider: Place the curtain or room divider in front of the area where the washer hoses are exposed. Adjust it to cover the hoses completely, ensuring that they are hidden from view.
- Secure the curtain or room divider: Depending on the type of curtain or room divider chosen, you may need to attach it securely to prevent it from accidentally moving or falling. This can be done using hooks, clips, or adhesive strips.
- Enhance the look: Consider adding decorative elements such as tiebacks, tassels, or other accessories to further enhance the look of the curtain or room divider. This will create a cohesive and stylish appearance within your laundry room.
Using a curtain or room divider to conceal washer hoses offers versatility and allows you to easily access the hoses when needed. You can simply slide the curtain or move the room divider aside to connect or disconnect the hoses without any hassle.
This method not only hides the hoses from view but also adds a decorative element to your laundry room. It provides a quick and simple solution for concealing washer hoses while allowing you to maintain the overall aesthetics of the space.
Remember to choose a curtain or room divider that is easy to clean, as the laundry room can be a high-moisture area. Regularly inspect and clean the curtain or divider to ensure it remains in good condition and continues to effectively conceal the washer hoses.
Installing a Hose Hideaway or Retractable System
If you prefer a convenient and space-saving option for concealing your washer hoses, installing a hose hideaway or retractable system is an excellent choice. This method provides a hassle-free solution that keeps the hoses neatly stored when not in use.
Here’s how you can install a hose hideaway or retractable system:
- Select the appropriate product: Research and choose a hose hideaway or retractable system that is specifically designed to accommodate washing machine hoses. Look for features such as a durable casing and a reliable retraction mechanism.
- Identify the installation location: Determine where you want to install the hose hideaway or retractable system. It should be a convenient and easily accessible spot, preferably close to the water source and the washing machine.
- Prepare the installation area: Ensure that the area is clean and free of any obstructions. Clear out any clutter or objects that may interfere with the installation or operation of the hideaway or retractable system.
- Mount the system: Follow the manufacturer’s instructions to mount the hose hideaway or retractable system securely. This typically involves attaching it to a wall or post using screws or brackets provided.
- Connect the hoses: Once the system is mounted, connect the washer hoses to the water source and to the washing machine. Ensure that the hoses are properly aligned and securely fastened to prevent any leaks or issues.
- Operate the hideaway or retractable system: Test the functionality of the hose hideaway or retractable system by extending and retracting the hoses. Ensure that the hoses retract smoothly and fully into the system when not in use.
An advantage of using a hose hideaway or retractable system is that it provides a compact and concealed storage solution for your washer hoses. The hoses are easily accessible when needed and can be retracted with a simple tug, keeping them out of sight when not in use.
These systems often come with a protective casing that shields the hoses from the elements, reducing the risk of damage or deterioration over time. This makes them suitable for both indoor and outdoor laundry spaces.
When choosing a hose hideaway or retractable system, opt for a high-quality product that is durable and reliable. Regularly inspect and maintain the system to ensure its proper functioning and extend its lifespan.
Installing a hose hideaway or retractable system offers a practical and space-saving solution for hiding your washer hoses. With this method, you can keep your laundry room organized and clutter-free while enjoying the convenience of easily retracting and extending the hoses as needed.
Utilizing Wall-Mounted Hose Holders
If you’re looking for a straightforward and cost-effective way to hide your washer hoses, utilizing wall-mounted hose holders is a practical solution. This method keeps the hoses neatly organized and off the floor, creating a clean and uncluttered laundry room.
Here’s how you can utilize wall-mounted hose holders:
- Choose the right hose holders: Select wall-mounted hose holders that are specifically designed for washer hoses. Look for sturdy and durable holders that can securely hold the weight of the hoses.
- Select the installation location: Identify a suitable location on the wall where you want to mount the hose holders. It should be near the washing machine and water source for easy access.
- Prepare the installation area: Clean the selected area and ensure it is free from any wall damage or obstructions. If needed, use a stud finder to locate the wall studs for secure installation of the holders.
- Mark the positions: Measure and mark the positions where you will mount the hose holders on the wall. Take into consideration the length of the hoses and the distance needed to ensure proper connection to the washing machine.
- Install the hose holders: Use screws or nails appropriate for your wall type to secure the hose holders in place. Ensure that they are securely fastened and able to support the weight of the hoses.
- Route and secure the hoses: Guide the hoses through the holders, organizing them neatly. Use cable ties or clips to secure the hoses to the holders and prevent them from sagging or tangling.
- Test the setup: Confirm that the hoses are securely held by the holders and check that they have enough slack for the washing machine to move during operation. Make any necessary adjustments to the positioning or tension of the hoses.
Wall-mounted hose holders offer a simple and effective way to hide your washer hoses, keeping them off the floor and out of sight. This reduces the risk of tripping hazards and creates a clean and organized laundry room.
Ensure that the holders are installed at a height that allows for easy access to the hoses when needed. Regularly inspect the holders and hoses for any signs of wear or damage and make any necessary adjustments or replacements.
Utilizing wall-mounted hose holders not only provides a practical storage solution but also adds a functional design element to your laundry room. You can choose from a variety of styles and designs to match your room’s decor, creating a cohesive look.
With wall-mounted hose holders, you can enjoy the convenience of easily accessing your washer hoses while maintaining a neat and tidy laundry space.
Using Cable Raceways or Conduit for Hose Concealment
If you’re looking for a sleek and professional solution to hide your washer hoses, using cable raceways or conduit is a great option. This method offers a clean and streamlined look while effectively concealing the hoses in your laundry room.
Here’s how you can use cable raceways or conduit for hose concealment:
- Choose the right raceways or conduit: Select cable raceways or conduit that are suitable for the size and number of your washer hoses. Consider the material and design of the raceways or conduit, ensuring they are durable and compatible with your laundry room’s aesthetics.
- Measure and plan the route: Identify the path where you want to conceal the hoses using the raceways or conduit. Measure the length and determine the necessary angles or curves to achieve a neat and hidden installation.
- Prepare the area and walls: Clear the area and ensure that the walls are clean and free from any dust or debris. If needed, use a stud finder to locate the wall studs for secure installation of the raceways or conduit.
- Mount the raceways or conduit: Attach the raceways or conduit to the walls using appropriate fasteners such as screws or adhesive strips. Make sure they are level and securely positioned to support the weight of the hoses.
- Route the hoses: Thread the washer hoses through the raceways or conduit, following the planned route. Use cable ties or clips to secure the hoses within the raceways or conduit, ensuring they are neatly organized and properly supported.
- Conceal the connections: Install additional raceway or conduit fittings at points where the hoses connect to the water source or washing machine. This conceals the hose connections and gives a polished finish to the installation.
- Check for proper alignment: Double-check that the hoses are properly aligned and have enough slack for the washing machine to move during operation. Make any necessary adjustments to the positioning or tension of the hoses within the raceways or conduit.
Using cable raceways or conduit provides a sleek and professional appearance to your laundry room while effectively hiding your washer hoses. This method ensures that the hoses are protected and neatly organized, reducing the risk of damage and creating a clutter-free space.
When selecting cable raceways or conduit, choose a color and design that matches your room’s aesthetic. This allows for a seamless integration with the overall decor and enhances the visual appeal of your laundry room.
Regularly inspect the raceways or conduit and hoses for any signs of wear or damage. Make any necessary adjustments or replacements to ensure the hoses remain concealed and in proper working condition.
By using cable raceways or conduit for hose concealment, you can achieve a professional and organized look in your laundry room while keeping your washer hoses hidden from view.
Read more: How To Hide Washing Machine Hoses
Conclusion
Concealing washer hoses in your laundry room not only improves the aesthetic appeal of the space but also creates a clean and organized environment. With various methods available, you can find the ideal solution to suit your preferences and the layout of your laundry room.
Assessing your laundry room setup is the first step in determining the ideal hose placement. Consider factors such as accessibility, proximity to the water source, available space, and overall aesthetics. This will help you make an informed decision on the best method to hide the washer hoses.
Depending on your needs and design preferences, there are several options to consider. Utilizing built-in cabinetry offers a seamless and discreet storage solution, hiding the hoses behind closed doors. Creating a built-in hose storage solution allows for a dedicated compartment to keep the hoses neatly organized and hidden from view.
If you prefer a more decorative approach, using a curtain or room divider can add a stylish touch to your laundry room while effectively concealing the hoses. Installing a hose hideaway or retractable system provides a convenient and space-saving solution, allowing you to easily retract and store the hoses when not in use.
Wall-mounted hose holders offer a simple and cost-effective way to keep your hoses off the floor and neatly organized. Cable raceways or conduit provide a sleek and professional look, hiding the hoses while maintaining a clean and streamlined appearance.
Select the method that best suits your needs, taking into account the available space, ease of access, and desired visual impact. Regularly inspect and maintain the chosen solution to ensure its functionality and longevity.
By effectively concealing your washer hoses, you can create a laundry room that is not only functional but also visually pleasing. Say goodbye to unsightly hoses and hello to a clean and organized space that enhances your laundry experience.
Remember, a well-hidden hose is the secret to a beautiful and functional laundry room!
Frequently Asked Questions about How To Hide Washer Hoses In Laundry Room
Was this page helpful?
At Storables.com, we guarantee accurate and reliable information. Our content, validated by Expert Board Contributors, is crafted following stringent Editorial Policies. We're committed to providing you with well-researched, expert-backed insights for all your informational needs.


0 thoughts on “How To Hide Washer Hoses In Laundry Room”