
Articles
How To Take Apart Ninja Blender
Modified: August 17, 2024
Learn how to take apart your Ninja Blender with our informative articles. Follow simple steps and keep your blender in perfect condition.
(Many of the links in this article redirect to a specific reviewed product. Your purchase of these products through affiliate links helps to generate commission for Storables.com, at no extra cost. Learn more)
Introduction
The Ninja Blender is a popular and versatile kitchen appliance that can handle a wide range of blending tasks. Whether you’re making smoothies, sauces, or soups, the Ninja Blender provides the power and performance needed to achieve the perfect consistency. However, over time, you may find the need to take apart your Ninja Blender for cleaning or maintenance purposes.
In this article, we will guide you through the process of taking apart your Ninja Blender step by step. With a few simple tools and a little bit of patience, you’ll be able to disassemble your blender, clean the individual components thoroughly, and reassemble it with ease.
Before you begin the disassembly process, it is important to ensure your safety and protect the longevity of your blender. By following a few safety precautions, you can minimize the risk of accidents and damage to your blender.
Key Takeaways:
- Safety First
Before disassembling your Ninja Blender, prioritize safety by unplugging the appliance, wearing protective gloves, and working in a well-lit area. Following safety precautions ensures a smooth and accident-free cleaning process. - Proper Maintenance for Longevity
Regularly cleaning and maintaining your Ninja Blender, including the pitcher, blade assembly, lid, gasket, and base unit, will prolong its lifespan and ensure efficient blending results. Refer to the user manual for specific instructions.
Read more: How To Start The Ninja Blender
Safety Precautions
Before you start taking apart your Ninja Blender, it’s important to take some safety precautions to ensure that the process goes smoothly and safely. Here are a few key safety tips to keep in mind:
1. Unplug the Blender: Before you begin the disassembly process, always make sure that your Ninja Blender is unplugged from the power source. This will prevent any electrical accidents or injuries.
2. Allow the Blender to Cool Down: If you have been using your Ninja Blender recently, give it some time to cool down before you start taking it apart. The blades and other components may still be hot, which can result in burns if not handled with caution.
3. Wear Protective Gloves: It’s a good idea to wear protective gloves while disassembling the blender to avoid any cuts or injuries. The blades and other sharp parts can be hazardous, so using gloves will provide an extra layer of protection.
4. Work in a Well-Lit Area: Make sure you have adequate lighting in your workspace. This will help you see what you’re doing and minimize the chances of making mistakes or accidentally damaging the blender.
5. Keep Children and Pets Away: While disassembling and cleaning your Ninja Blender, it’s important to keep children and pets away from the area to prevent any accidents or injuries. The small components and sharp blades can be tempting for curious little hands.
6. Follow Manufacturer’s Instructions: It’s always a good idea to consult the user manual provided by the manufacturer for specific instructions on how to safely disassemble and clean your Ninja Blender. The manual will provide valuable information and guidance to ensure you do the process correctly.
By following these safety precautions, you can ensure a smooth and accident-free disassembly process of your Ninja Blender. Now that you’re aware of the safety measures, let’s move on to the tools you’ll need to have on hand.
Tools Needed
Before you start taking apart your Ninja Blender, make sure you have the following tools on hand:
- Screwdriver: A screwdriver will be needed to remove any screws or fasteners in the blender.
- Soft Brush or Toothbrush: This will be used to clean small crevices and hard-to-reach areas of the blender.
- Warm Water and Dish Soap: These common household items will be essential for cleaning the disassembled parts of the blender.
- Microfiber Cloth or Towel: This will be used to dry the components after cleaning.
- Optional: Rubber Gloves: If you prefer to use rubber gloves for added protection, consider having a pair handy during the process.
By having these tools readily available, you’ll be prepared to disassemble and clean your Ninja Blender without any interruptions. Now that you’re equipped with the necessary tools, let’s move on to the step-by-step process of taking apart your blender.
Step 1: Unplug the Blender
The first step in taking apart your Ninja Blender is to ensure that it is completely unplugged from the power source. This is a crucial safety measure to prevent any electrical accidents or injuries during the disassembly process.
Locate the power cord of your Ninja Blender and follow it to the plug. Gently but firmly pull the plug out of the electrical outlet. Make sure that the blender is no longer receiving any power before proceeding.
Unplugging the blender also helps to prevent any accidental starts or movements of the blades while you are disassembling it. This minimizes the risk of cuts or injuries that could occur if the blades were to unexpectedly start spinning.
Once you have unplugged the blender, it’s a good idea to visually inspect the power cord for any signs of damage or wear. If you notice any frayed wires or other issues with the cord, it’s best to have it repaired or replaced by a professional before continuing with the disassembly process.
Now that you have safely disconnected the blender from the power source, you can move on to the next step of the disassembly process, which involves removing the blender pitcher.
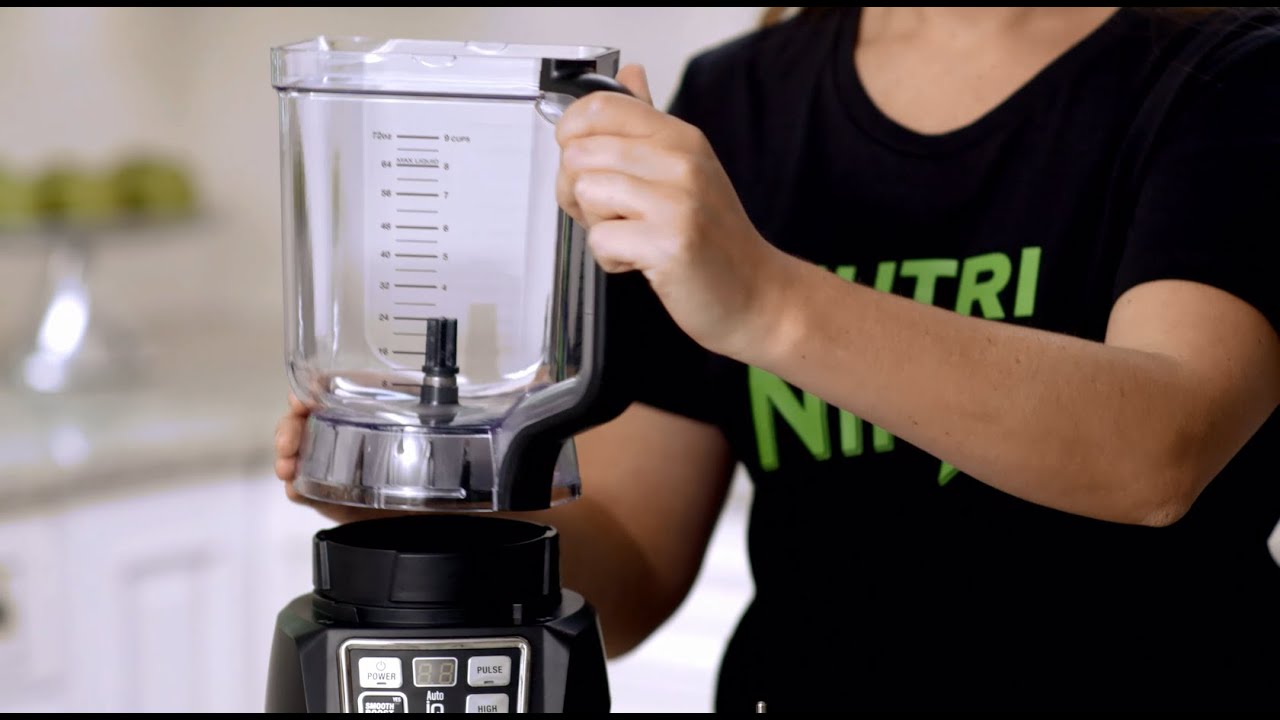
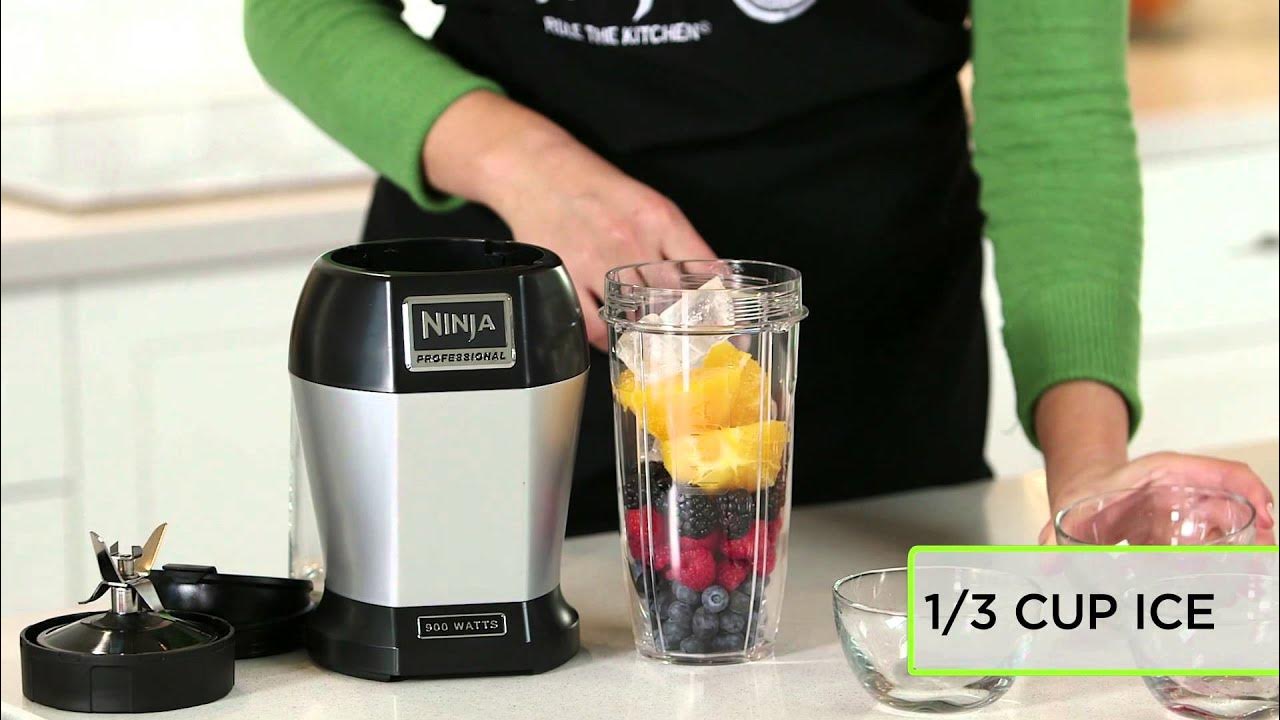
Step 2: Remove the Blender Pitcher
After ensuring that the blender is unplugged, the next step is to remove the blender pitcher. The pitcher is the container that holds the ingredients you want to blend.
To remove the blender pitcher, locate the release button or lever on the base unit. This is usually located near the bottom of the blender. Press or slide the release button/lever to release the pitcher from the base.
Once the pitcher is released, carefully lift it off the base unit. Be cautious as the pitcher may still contain liquids or food particles. To avoid any spills or mess, hold the pitcher upright and keep it level while removing it.
Place the pitcher on a clean and stable surface. Inspect the pitcher for any signs of damage or wear. If you notice any cracks or broken parts, it’s recommended to replace the pitcher before reassembling the blender.
At this point, you can proceed to clean the blender pitcher separately. Refer to the manufacturer’s instructions for the appropriate cleaning method based on the material of the pitcher. Generally, a combination of warm water and mild dish soap works well for cleaning the pitcher. Rinse it thoroughly and let it air dry or dry it with a clean cloth before reassembling the blender.
Once the blender pitcher is removed and cleaned, you can move on to the next step of the disassembly process, which involves detaching the blade assembly.
When taking apart a Ninja blender, always unplug it first to avoid any accidents. Then, carefully remove the pitcher from the base and disassemble the blades for cleaning. Be sure to follow the manufacturer’s instructions for safe disassembly.
Read more: How To Open A Ninja Blender
Step 3: Detach the Blade Assembly
After removing the blender pitcher, the next step is to detach the blade assembly from the blender. The blade assembly is responsible for blending and chopping the ingredients.
First, locate the blade assembly at the bottom of the blender pitcher. On most Ninja Blender models, the blade assembly is screwed onto the bottom of the pitcher.
Using a screwdriver, carefully unscrew the blade assembly in a counterclockwise direction. Turn the screwdriver gently, ensuring not to apply excessive force to avoid damaging the blade assembly or the blender.
Once the blade assembly is unscrewed, lift it off the pitcher. Be cautious as the blades may be sharp, so handle them carefully to avoid any cuts or injuries.
Inspect the blade assembly for any buildup of residue or food particles. To clean it, you can use warm water and a soft brush or toothbrush to gently scrub the blades and remove any debris. Be thorough in cleaning all the nooks and crannies of the blade assembly.
After cleaning, rinse the blade assembly thoroughly and let it air dry or dry it with a clean cloth before reassembling it with the blender.
With the blade assembly detached and cleaned, you can now move on to the next step of the disassembly process, which involves taking apart the lid and gasket.
Step 4: Take Apart the Lid and Gasket
After detaching the blade assembly, it’s time to take apart the lid and gasket of your Ninja Blender. The lid and gasket create a seal to prevent any leaks or spills during the blending process.
Start by removing the lid from the blender pitcher. Depending on the model of your Ninja Blender, the lid may be attached using clips, latches, or a twist-lock mechanism. Carefully follow the instructions provided by the manufacturer to remove the lid properly.
Once the lid is removed, you will find the gasket, also known as the sealing ring, which is located on the underside of the lid. Gently lift the gasket out of its groove.
Inspect both the lid and gasket for any residue, food particles, or signs of wear. Wash them thoroughly using warm water and mild dish soap. Pay close attention to cleaning the grooves and crevices of the lid and the gasket.
Rinse the lid and gasket well to remove any soap residue and let them air dry or dry them with a clean cloth.
While cleaning the lid and gasket, also check for any damage or wear. If you notice any cracks or elasticity loss in the gasket, it’s a good idea to replace it to ensure a proper seal when you reassemble the blender.
With the lid and gasket taken apart, cleaned, and inspected, you’re now ready to move on to the next step, which involves disassembling the base unit of the blender.
Step 5: Disassemble the Base Unit
After taking apart the lid and gasket, the next step is to disassemble the base unit of your Ninja Blender. This step will allow you to access the motor and other internal components of the blender for cleaning or maintenance.
Before you begin, make sure the blender is still unplugged to ensure your safety.
Start by locating any screws or fasteners on the bottom or back of the base unit. Use a screwdriver to carefully remove these screws or fasteners. Keep track of the screws as you will need them later for reassembly.
Once the screws are removed, gently lift or separate the base unit to expose the internal components. Be cautious as there may be wires and other delicate parts connected to the base unit. Take note of how the components are arranged to make reassembly easier.
With access to the internals of the base unit, you can now clean the motor and any other components that may have accumulated dirt or debris. Use a soft brush or toothbrush to gently clean these components, being careful not to damage any electrical connections.
It’s important to note that not all Ninja Blender models have a fully disassemblable base unit. Some models may have sealed or non-removable components. If this is the case for your blender, you can still use a soft brush or cloth to clean the accessible areas.
After cleaning, inspect the components for any signs of damage or wear. If you notice any issues, it’s best to consult the manufacturer for further guidance or contact a professional if needed.
With the base unit disassembled, cleaned, and inspected, you can now proceed to the final step, which involves cleaning and reassembling the blender.
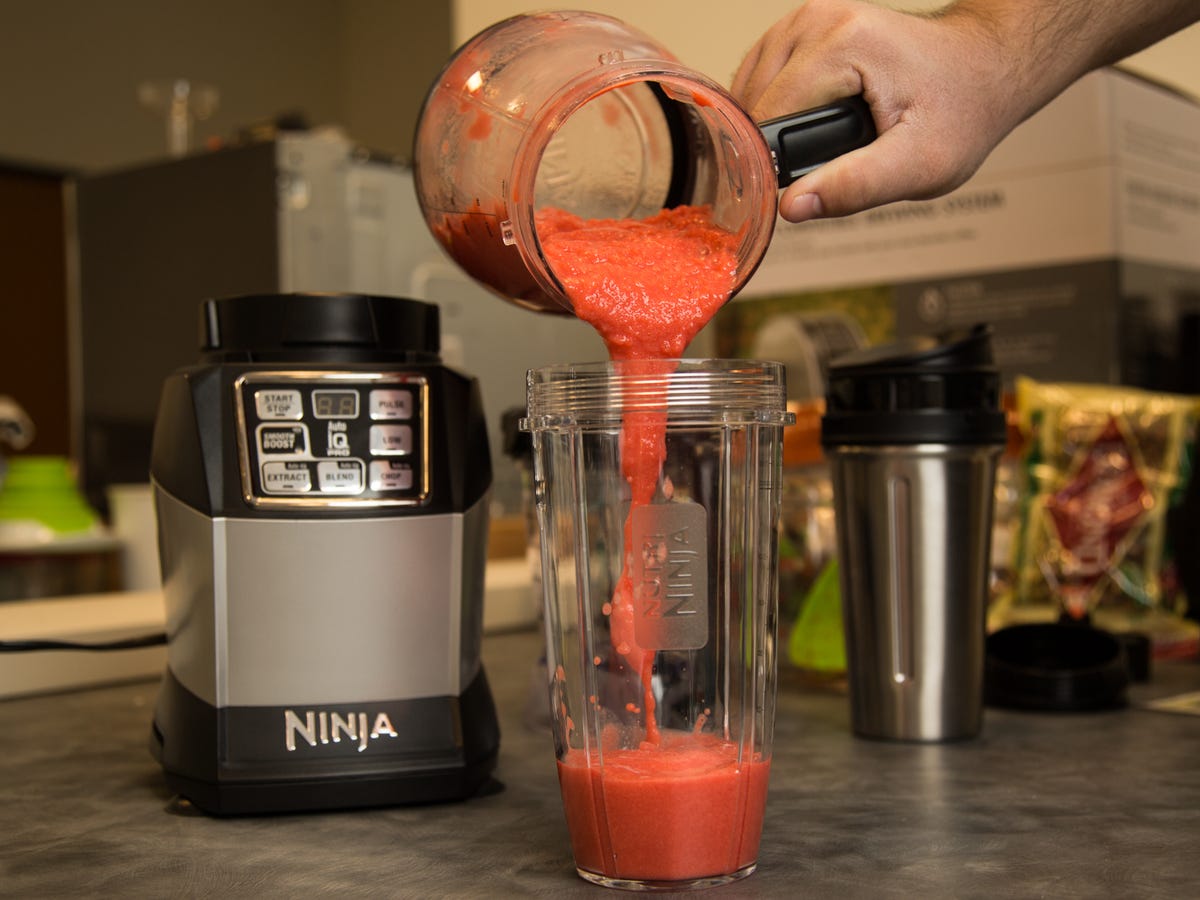
Step 6: Clean and Reassemble the Blender
After disassembling and cleaning the individual components of your Ninja Blender, it’s time to clean and reassemble the blender for future use.
Start by cleaning the blender pitcher, blade assembly, lid, gasket, and any other removable parts that you have taken apart. Use warm water and mild dish soap to thoroughly clean each component. Pay attention to any hard-to-reach areas and ensure that all residue and debris are removed.
Rinse each component well to remove any soap residue and let them air dry completely or dry them with a clean cloth.
Once all the components are dry, it’s time to reassemble the blender. Follow these steps to ensure proper reassembly:
- Start by placing the gasket back into the groove on the underside of the lid. Ensure that it sits securely and creates a tight seal when the lid is attached to the blender pitcher.
- Next, attach the blade assembly back onto the bottom of the blender pitcher. Screw it on in a clockwise direction until it is securely tightened. Be careful not to overtighten.
- Place the cleaned blender pitcher back onto the base unit. Make sure it is aligned properly, and if necessary, secure it using the release button or lever.
- Finally, if you disassembled the base unit, gently place the components back in their original positions. Make sure any wires are properly connected and the screws or fasteners are tightened securely. Refer to any markings or labels to ensure correct placement.
Once the blender is reassembled, perform a quick visual check to ensure that all components are securely in place and there are no loose parts.
Now your Ninja Blender is clean and reassembled, ready to be used for your blending needs. Enjoy the convenience and functionality of your newly cleaned and maintained blender!
Remember to consult the user manual or contact the manufacturer if you have any specific questions or concerns during the reassembly process.
With these steps and proper maintenance, you can keep your Ninja Blender in excellent condition for years to come.
Read more: How To Turn On A Ninja Blender
Conclusion
Taking apart and cleaning your Ninja Blender is a straightforward process that can help maintain its performance and prolong its lifespan. By following the step-by-step guide provided in this article, you can safely disassemble the blender, clean each component thoroughly, and reassemble it for future use.
Remember to prioritize safety by unplugging the blender before starting the disassembly process and wearing protective gloves when necessary. Always follow the manufacturer’s instructions and consult the user manual for specific guidance.
The tools needed for disassembling the blender include a screwdriver, a soft brush or toothbrush, warm water, and dish soap. These common household items are sufficient for cleaning the individual components and removing any residue or debris.
Throughout the disassembly and cleaning process, it’s important to inspect each component for signs of damage or wear. Replace any damaged parts to ensure optimal performance and safety.
Once the blender is clean, make sure to properly reassemble it, ensuring that each component is securely in place. Perform a final check to ensure that all parts are properly aligned and tightened.
Regularly cleaning and maintaining your Ninja Blender will not only help improve its longevity but also ensure that it continues to provide efficient and high-quality blending results. Clean the blender pitcher, blade assembly, lid, gasket, and base unit regularly to prevent any buildup of residue or debris.
With a clean and properly maintained Ninja Blender, you can confidently create your favorite smoothies, sauces, soups, and more, knowing that your blender is in optimal condition.
Remember, always refer to the manufacturer’s guidelines and user manual for any specific instructions or concerns related to your specific model of the Ninja Blender.
Take the time to clean and maintain your Ninja Blender regularly, and it will reward you with smooth, delicious blends for years to come.
Now that you've mastered disassembling your Ninja Blender, keep up the momentum by learning how to maintain its base squeaky clean. Debris and residue can accumulate, leading to odor and decreased performance. Our guide on cleaning the blender base will show you effective, straightforward methods to keep your appliance in tip-top shape. Don't let grime dampen your blending efficiency!
Frequently Asked Questions about How To Take Apart Ninja Blender
Was this page helpful?
At Storables.com, we guarantee accurate and reliable information. Our content, validated by Expert Board Contributors, is crafted following stringent Editorial Policies. We're committed to providing you with well-researched, expert-backed insights for all your informational needs.


0 thoughts on “How To Take Apart Ninja Blender”