Articles
How To Clean The Ninja Blender Base
Modified: September 2, 2024
Looking for articles on how to clean the Ninja blender base? Learn simple steps to keep your blender clean and functioning smoothly.
(Many of the links in this article redirect to a specific reviewed product. Your purchase of these products through affiliate links helps to generate commission for Storables.com, at no extra cost. Learn more)
Introduction
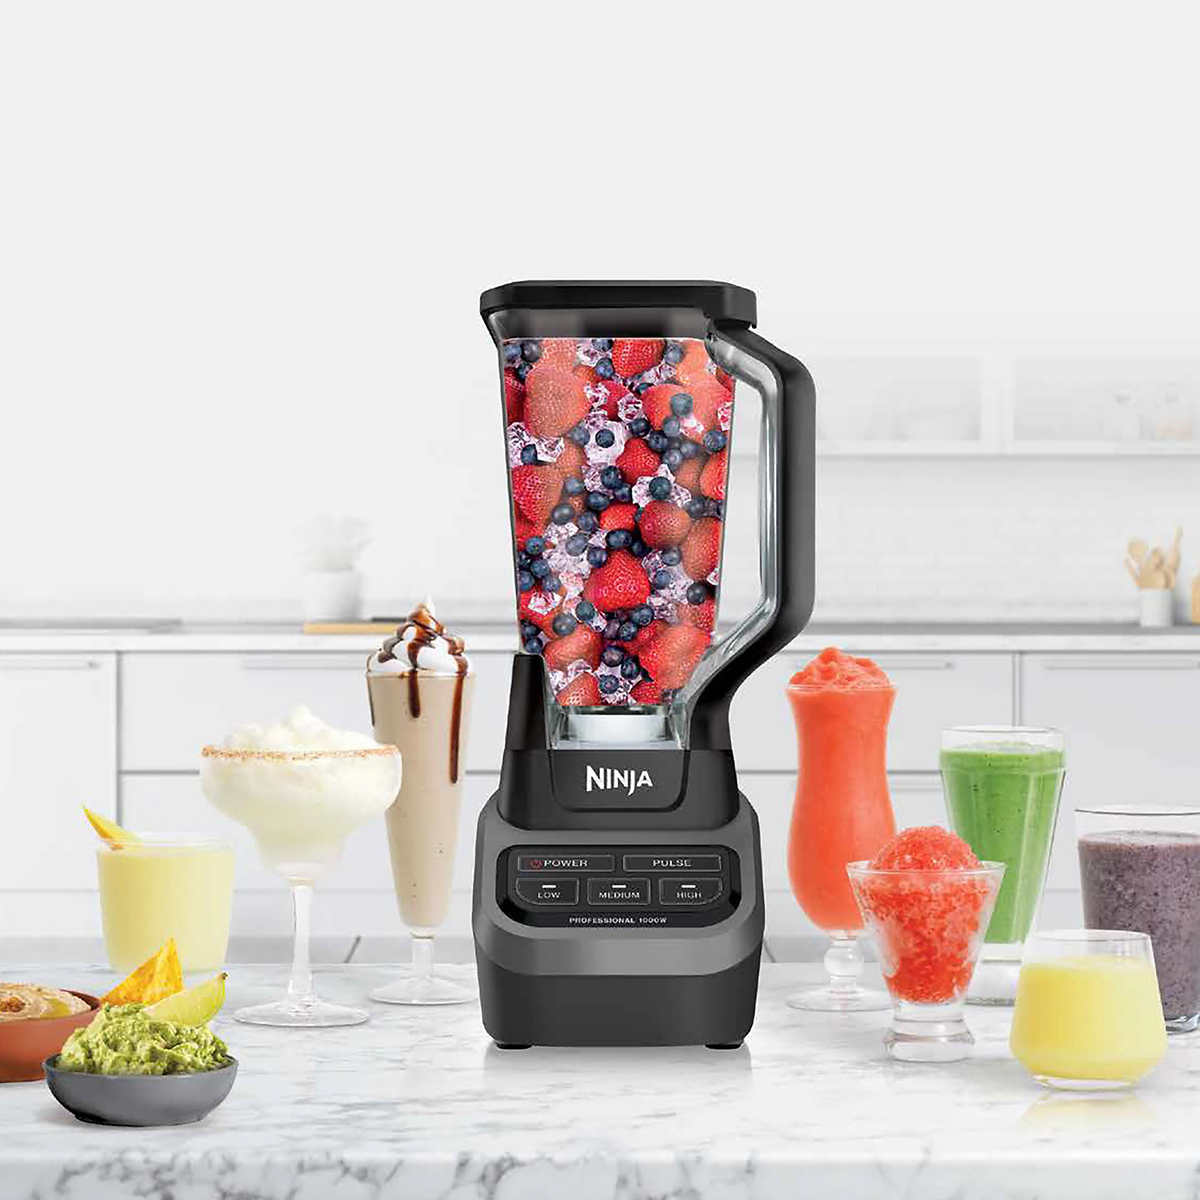
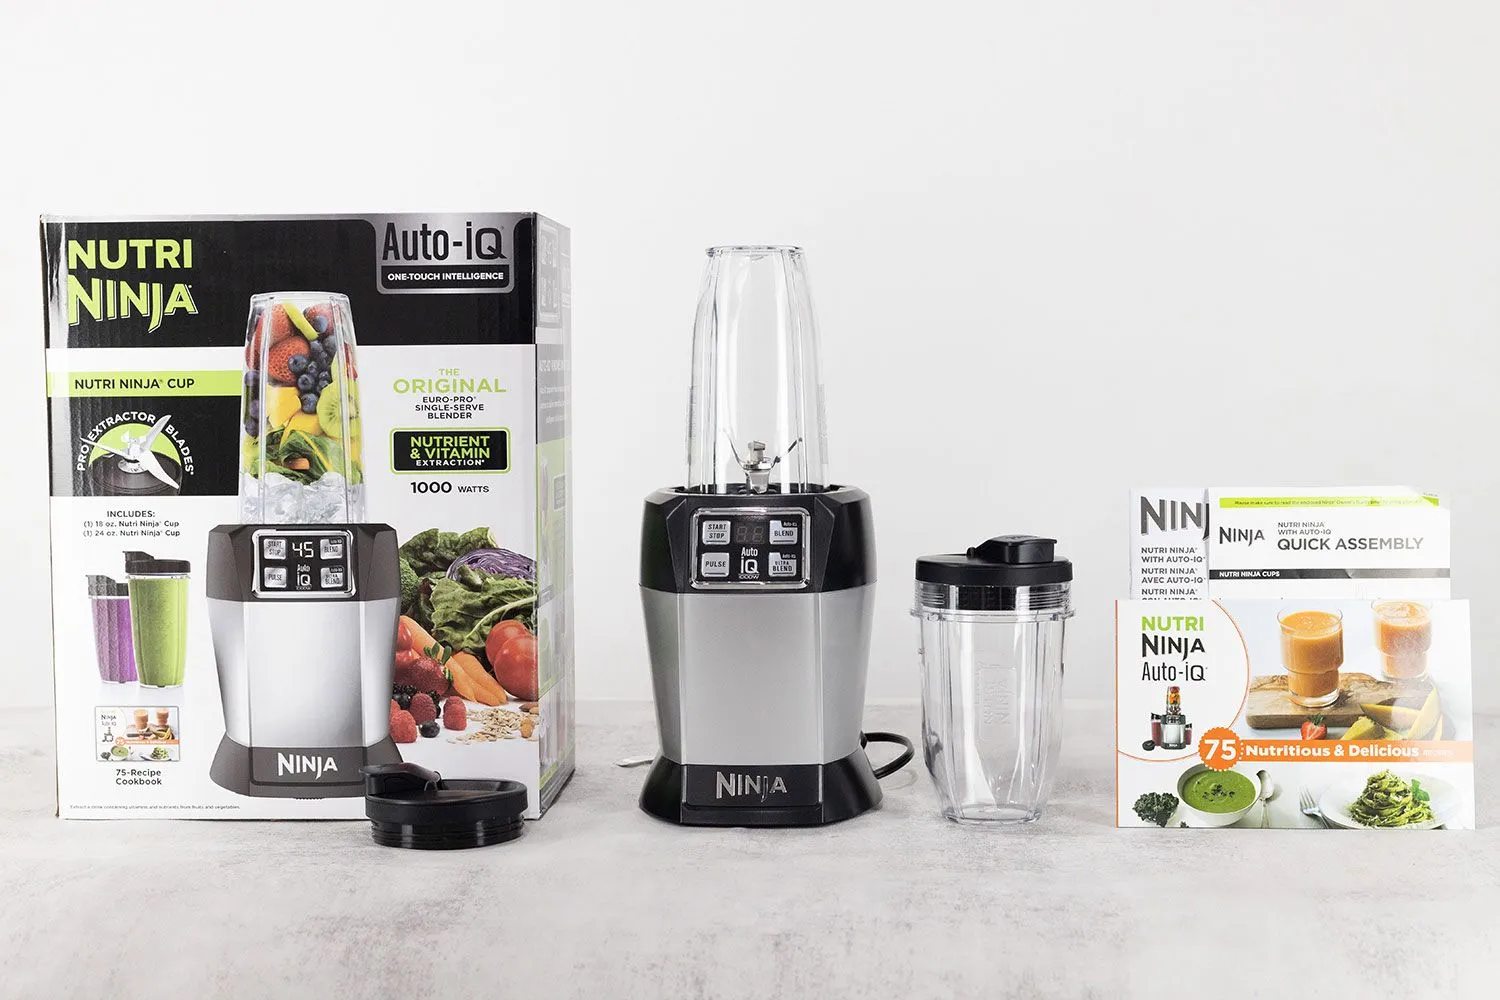
Having a blender in your kitchen can greatly simplify your food preparation process. The Ninja blender, known for its powerful performance and versatility, is a popular choice among homeowners. To keep your Ninja blender functioning at its best, regular cleaning is essential, especially for the blender base.
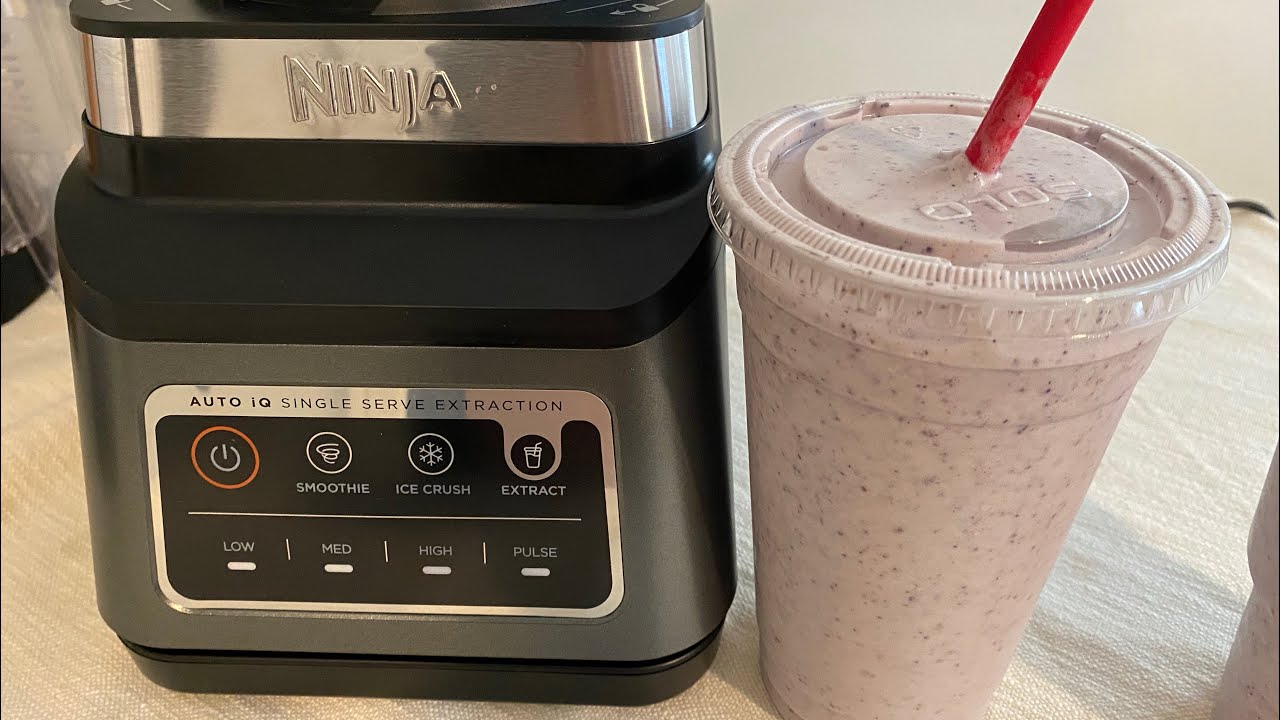
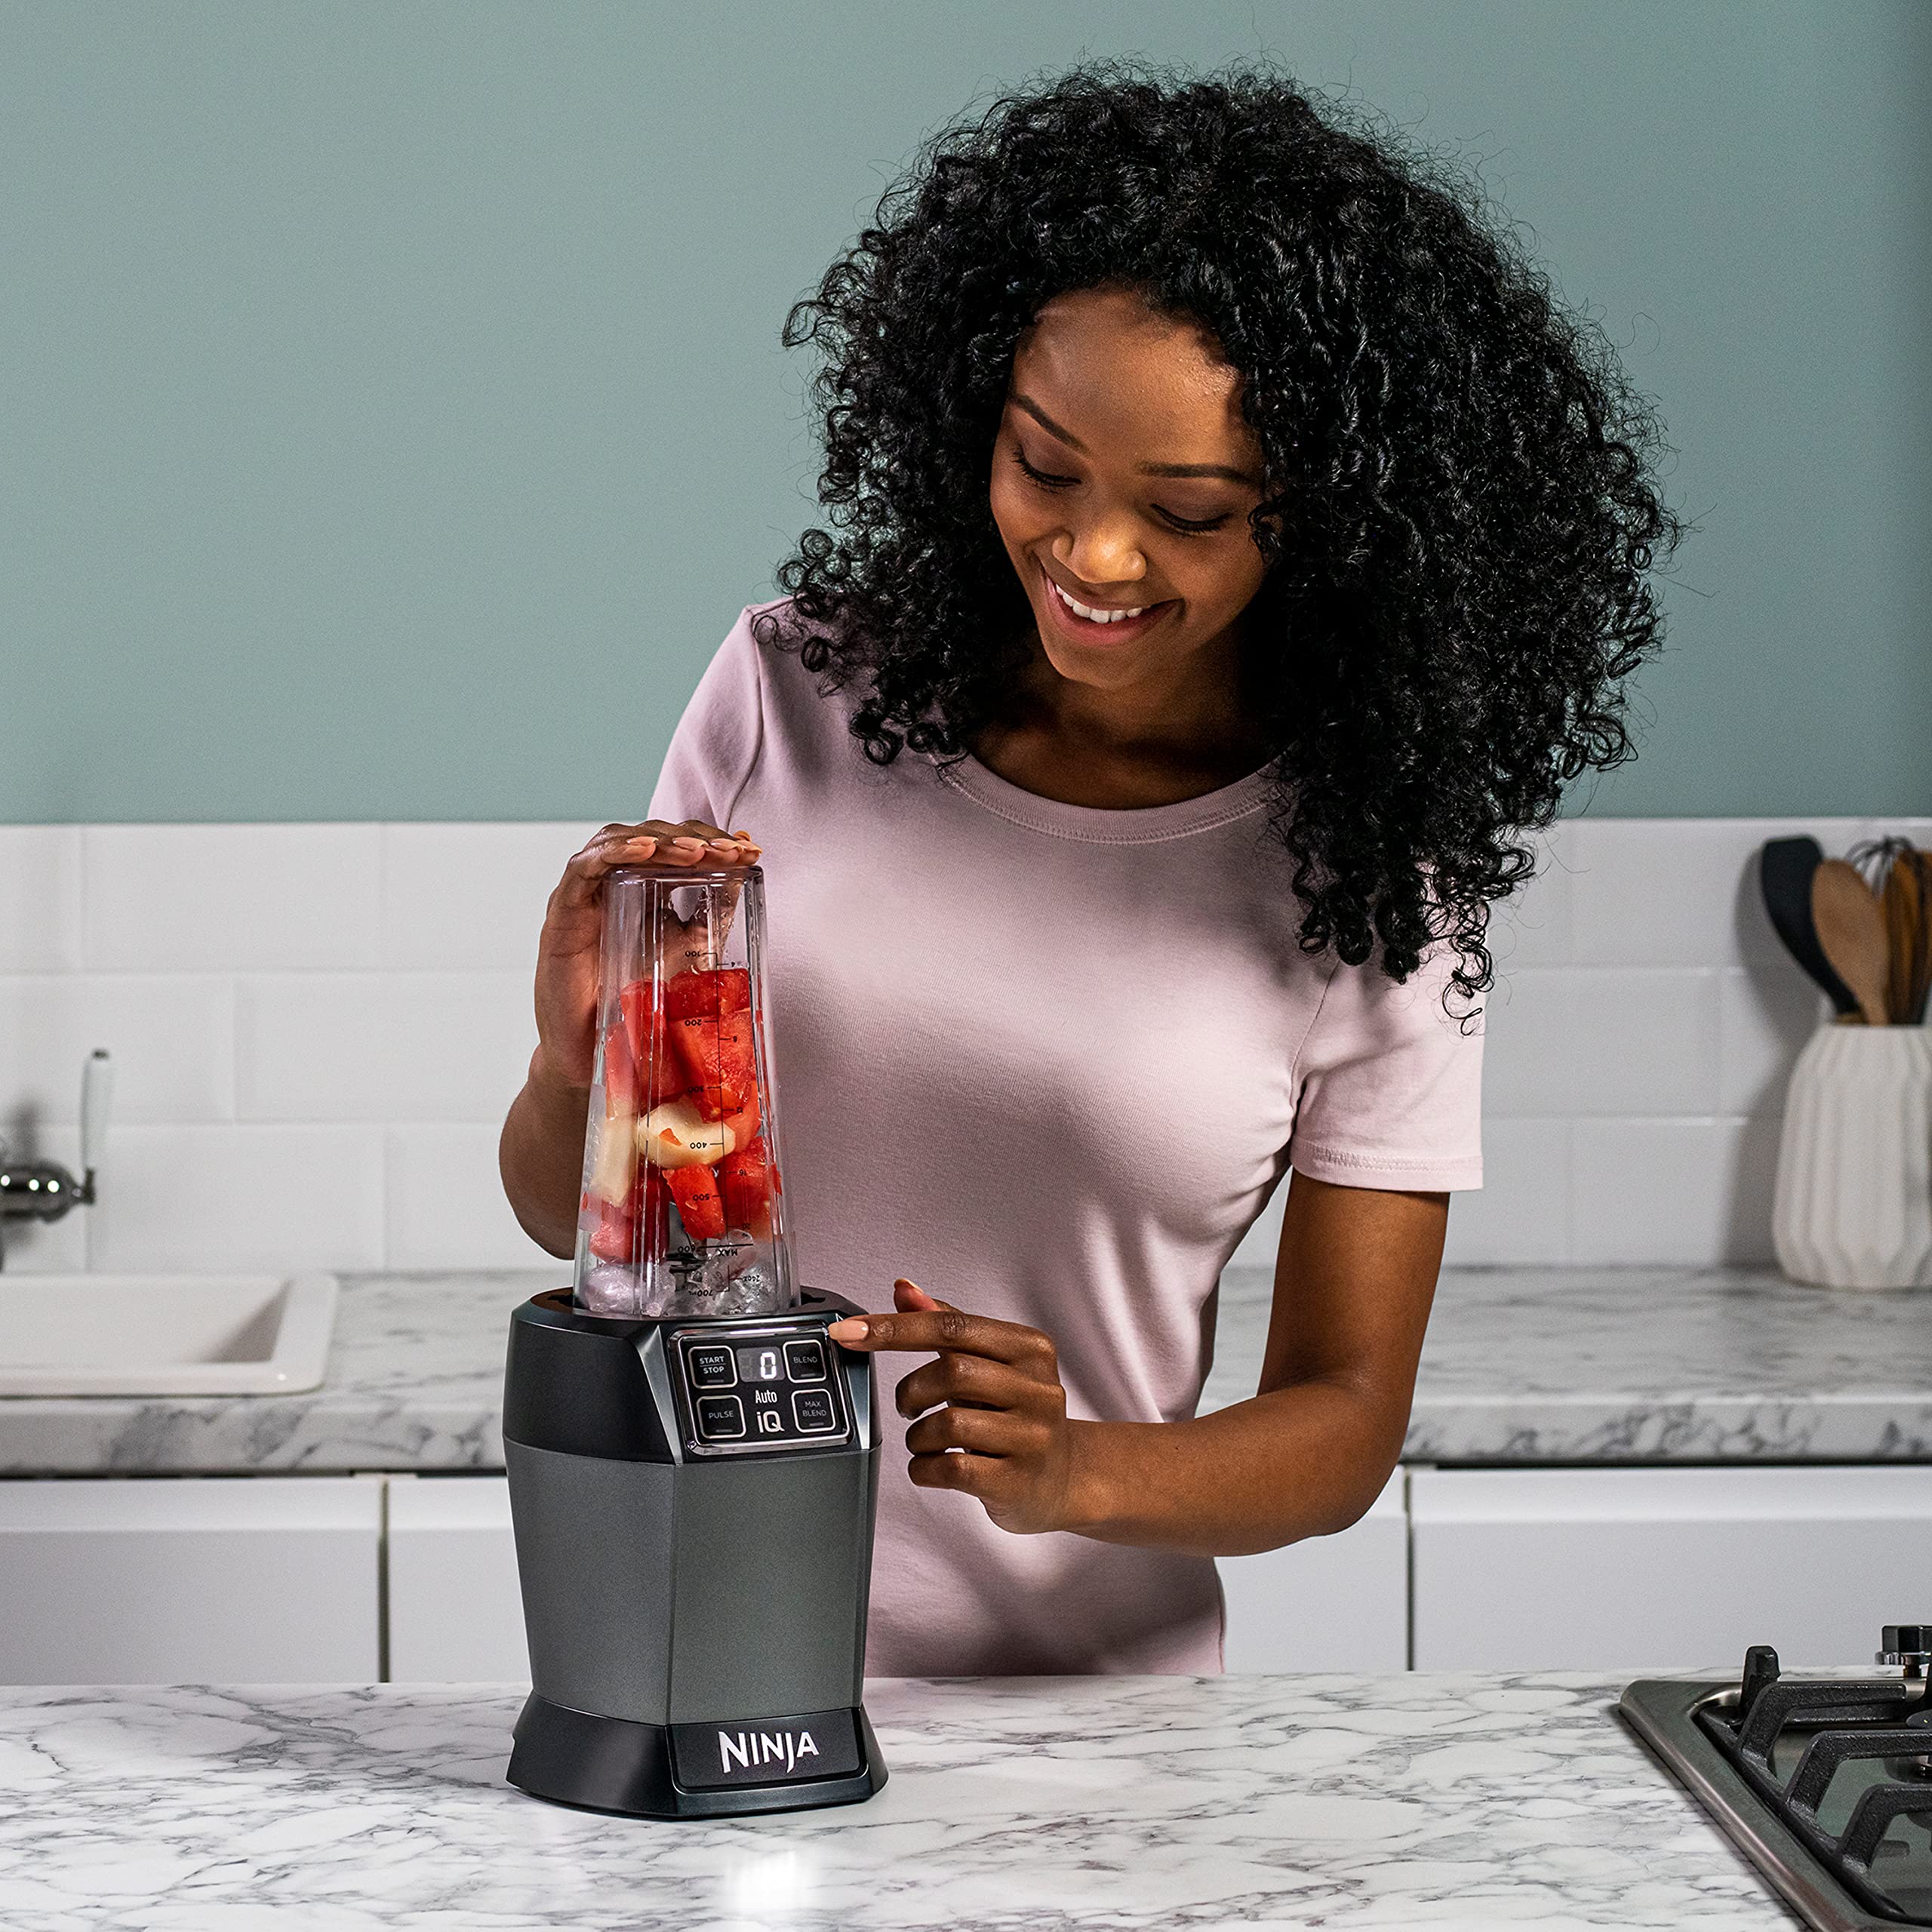
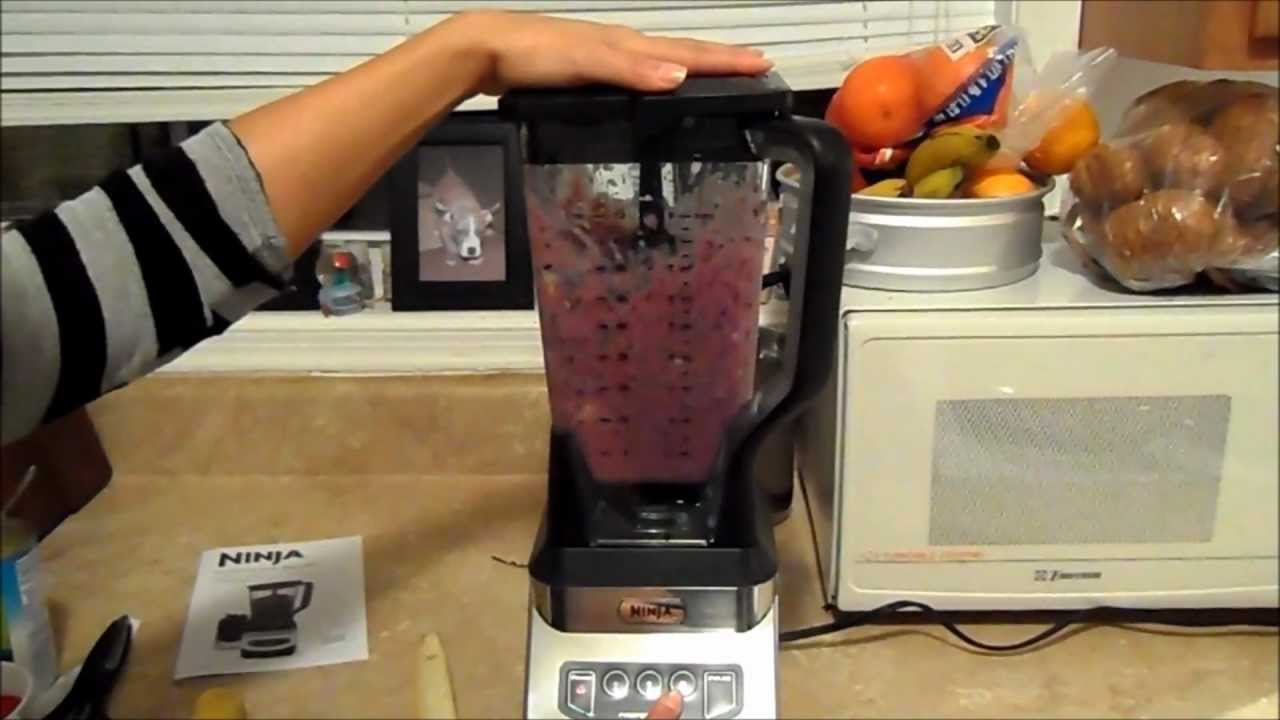
The blender base is the foundation of the Ninja blender, housing the motor and control buttons. Over time, food particles and spills can accumulate on the base, leading to unsightly stains and even potential damage. Cleaning the blender base is a simple task that can be done with some basic materials and a few easy steps.
In this article, we will walk you through the process of cleaning the Ninja blender base, ensuring that you can maintain a hygienic and well-maintained kitchen appliance.
Key Takeaways:
- Regularly cleaning the Ninja blender base with mild dish soap, warm water, and soft cloths/sponges ensures optimal performance, longevity, and a hygienic kitchen appliance.
- Remember to unplug the blender, remove the jar, and follow manufacturer’s instructions for maintaining a clean and well-maintained Ninja blender base.
Read more: How To Get Ninja Blender Off Base
Materials needed for cleaning
Before you begin cleaning your Ninja blender base, gather the following materials:
- Mild dish soap
- Warm water
- Soft cloth or sponge
- Soft-bristle brush
- Old toothbrush
- Microfiber cloth
These materials are readily available in most households and will be sufficient for a thorough cleaning of the blender base.
It is important to note that you should never submerge the blender base in water or place it in the dishwasher. The blender base contains electrical components, and immersing it in water can cause damage or electrical hazards.
Step 1: Unplug the blender
Before you start the cleaning process, ensure that the Ninja blender is unplugged from the power source. This step is crucial for your safety and to prevent any damage to the blender while handling it.
Unplugging the blender ensures that there is no risk of electrical shock or accidental activation of the blender during the cleaning process. It is always better to be safe than sorry, so double-check that the blender is disconnected from the power outlet before proceeding.
If your blender has a detachable power cord, you can remove it for easier handling and to avoid any tangling while cleaning the base.
Once the blender is unplugged, you can proceed to the next step of removing the blender jar for cleaning.
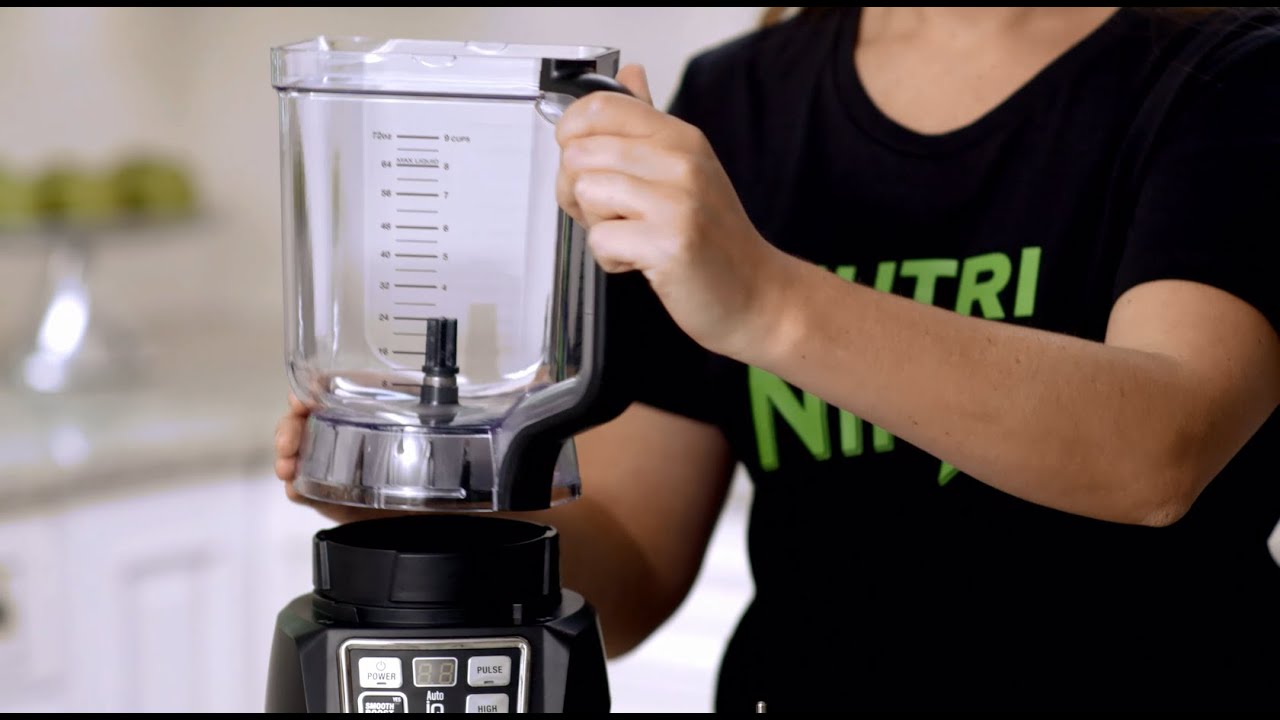
Step 2: Remove the blender jar
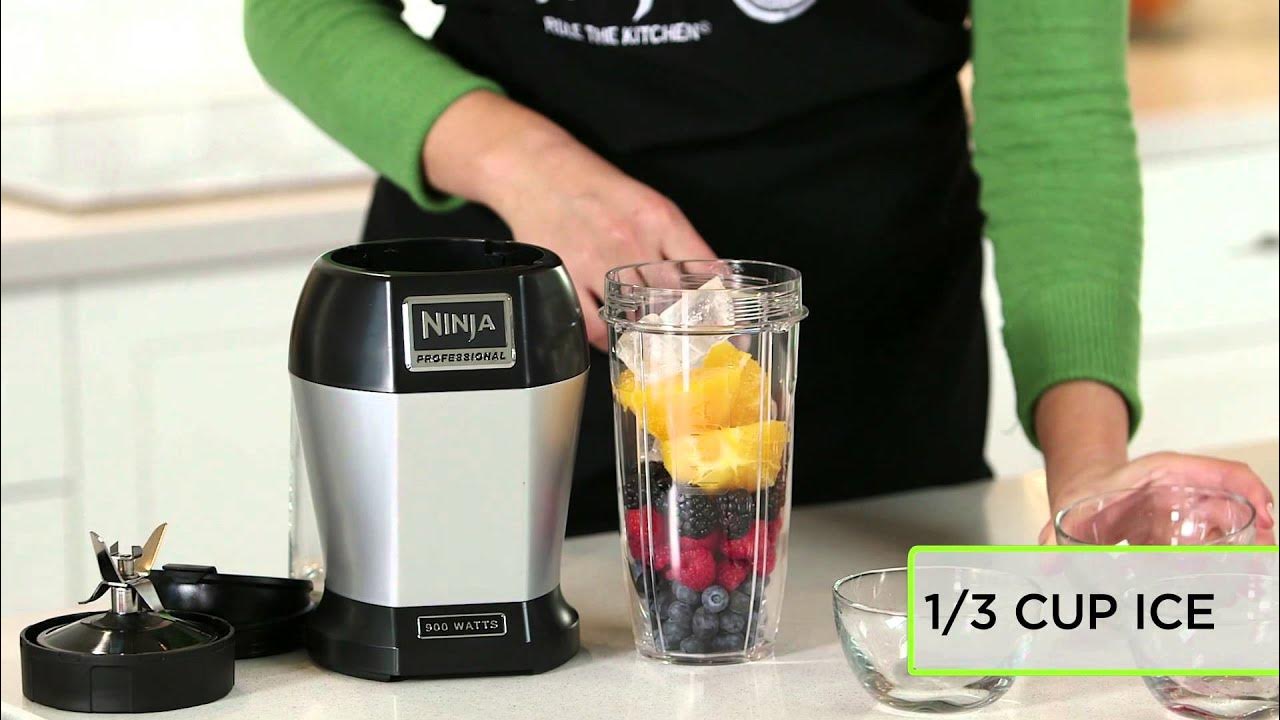
After ensuring that the blender is unplugged, the next step is to remove the blender jar from the base. The blender jar is the container where you place your ingredients and attach it to the base for blending. Removing the jar will allow you to access and clean the base more effectively.
To remove the blender jar, simply lift it straight up and away from the base. Most Ninja blenders have a secure and easy-to-use locking mechanism that holds the jar in place during operation. Look for the release button or lever located on the base, typically near the handle or base attachment area.
Press or slide the release button/lever while gently lifting the jar to detach it from the base. Be cautious not to force it or use excessive pressure, as this may cause damage to the blender or yourself.
Once the blender jar is removed, set it aside for cleaning separately. This will ensure that the base and the blender jar can be cleaned thoroughly and effectively.
With the blender jar out of the way, you are now ready to move on to the next step – cleaning the blender base exterior.
Step 3: Clean the blender base exterior
Now that the blender jar has been removed, it’s time to focus on cleaning the exterior of the blender base. Over time, the base can accumulate spills, splatters, and grease, which can make it look dirty and unappealing. Cleaning the exterior of the blender base will not only give it a fresh and clean appearance but also prevent any buildup that could affect its performance.
Start by dampening a soft cloth or sponge with warm water. You can add a small amount of mild dish soap to the cloth or sponge for extra cleaning power, but be sure to rinse it thoroughly before using it on the blender base.
Gently wipe down the entire exterior surface of the blender base, paying extra attention to areas with visible stains or spills. Use circular motions to remove any dirt or grime without applying excessive pressure, as this can damage the finish of the base.
If there are stubborn stains or dried-on residue, you can use a soft-bristle brush to scrub the affected areas. Be gentle and avoid scrubbing too vigorously, as this can scratch or damage the surface of the blender base.
Once you have thoroughly cleaned the exterior of the base, use a clean damp cloth or sponge to remove any soap residue. Rinse the cloth or sponge frequently to ensure effective cleaning.
After the base is clean and free from any dirt or soap residue, use a dry microfiber cloth to gently dry and buff the surface. This will help to restore the shine and give the blender base a polished look.
With the blender base exterior cleaned, it’s time to move on to the next step – cleaning the blender base interior.
To clean the Ninja Blender base, unplug the unit and wipe the base with a damp cloth. Avoid submerging the base in water to prevent damage to the motor and electrical components.
Read more: How To Start The Ninja Blender
Step 4: Wipe down the blender base interior
Now that the exterior of the blender base is clean, it’s time to focus on cleaning the interior. It’s common for spills and food particles to make their way inside the base, so cleaning the interior is crucial for maintaining the performance and longevity of your Ninja blender.
Start by using a soft cloth or sponge dampened with warm water to wipe down the inside of the base. Gently maneuver the cloth or sponge to remove any visible debris or residue. Be careful not to get the cloth or sponge too wet, as excess water can seep into the electrical components of the base and cause damage.
For harder-to-reach areas or stubborn stains, you can use an old toothbrush dipped in warm soapy water. Carefully scrub these areas, ensuring that no water or soap seeps into any crevices or openings in the base.
After wiping down and scrubbing the interior, use a clean damp cloth or sponge to remove any soap residue. Ensure that you rinse the cloth or sponge frequently to ensure effective cleaning.
Once the interior is clean and free from any dirt or soap residue, use a dry microfiber cloth or towel to dry the inside of the base completely. It is important to ensure that there is no moisture left behind, as this can lead to mold or damage to the electrical components.
With the blender base interior cleaned, it’s time to move on to the next step – cleaning the blender jar.
Step 5: Clean the blender jar
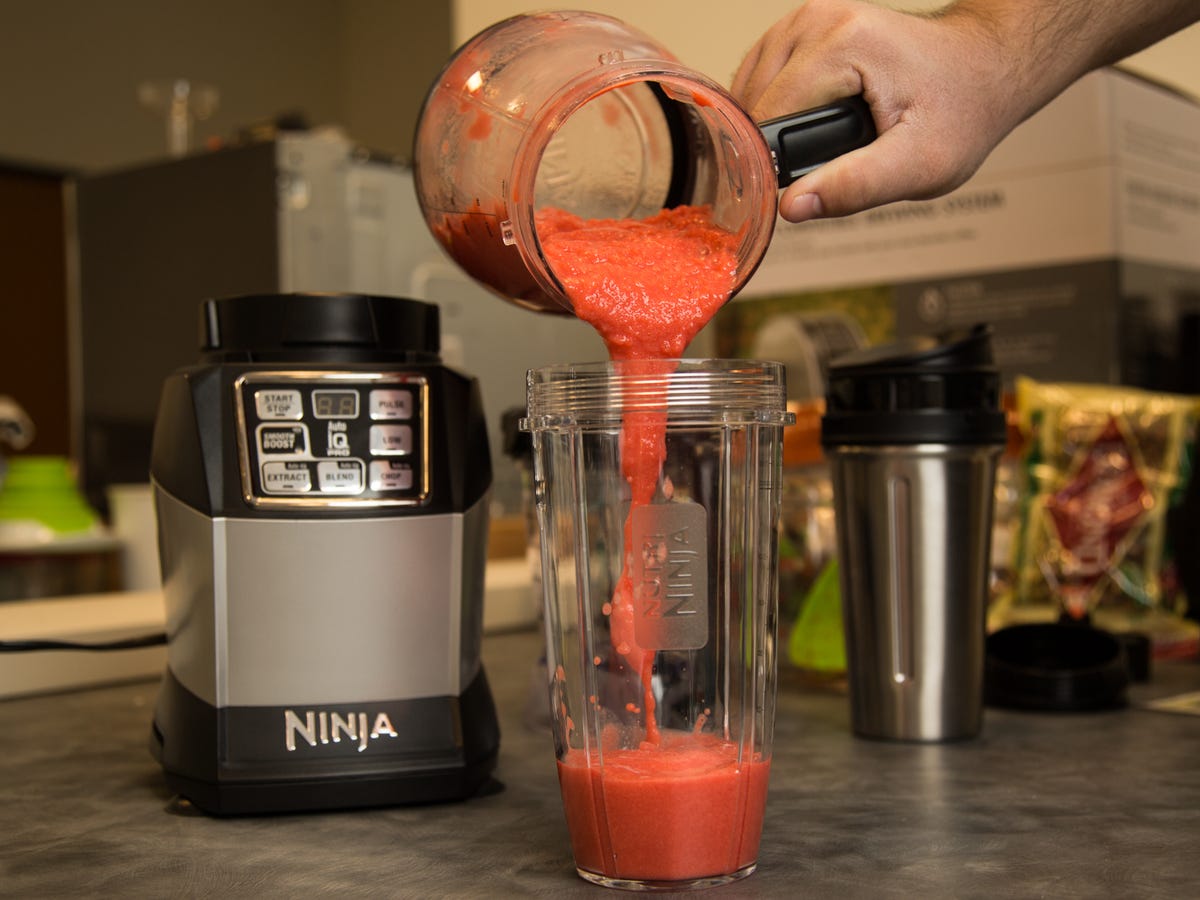
Now that the blender base is clean, it’s time to focus on cleaning the blender jar. The blender jar is where you place your ingredients for blending, so it is important to clean it regularly to prevent the buildup of residue and odors.
Start by filling the blender jar halfway with warm water and adding a small amount of mild dish soap. Use a gentle dish brush or sponge to scrub the inside of the jar, paying extra attention to any areas with stubborn residue.
For tough stains or lingering odors, you can also add a mixture of baking soda and water to the blender jar. Let the mixture sit in the jar for a few minutes before scrubbing it with the dish brush or sponge.
After scrubbing the inside of the jar, rinse it thoroughly with warm water to remove any soap or baking soda residue. Ensure that you rinse all the parts of the jar, including the lid and the blade assembly.
Once the blender jar is clean, use a microfiber cloth or towel to dry it thoroughly. It is important to ensure that there is no moisture left in the jar, as this can lead to the growth of mold or bacteria.
Once the blender jar is clean and dry, you can reattach it to the blender base. Ensure that it is securely locked in place before using the blender again.
With the blender jar clean and ready for use, you have completed the cleaning process for your Ninja blender!
Step 6: Reassemble the blender
Now that you have cleaned both the blender base and the blender jar, it’s time to reassemble the Ninja blender so that it is ready for use.
Start by placing the clean blender jar back onto the blender base. Align the jar with the base and lower it into position. Make sure it fits securely and feels stable before proceeding.
Once the blender jar is in place, lock it onto the base according to the specific locking mechanism of your Ninja blender. This may involve twisting the jar clockwise or using a locking lever located on the base.
Ensure that the jar is securely attached to the base, as a loose connection can result in malfunction or leakage during operation. Give it a gentle tug or twist to verify that it is properly locked in.
After reassembling the blender, you can plug it back into the power source. Ensure that it is securely connected and that the cord is properly positioned to avoid any accidents or tangling during use.
With the blender reassembled and plugged in, it’s a good idea to do a quick test run to ensure that everything is functioning properly. Turn on the blender and let it run for a few seconds to make sure it operates smoothly without any unusual noises or issues.
Once you have verified that the blender is functioning correctly, you are ready to start creating delicious smoothies, soups, or sauces with your freshly cleaned Ninja blender!
Remember to follow proper cleaning and maintenance practices regularly to keep your blender in optimal condition and ensure its longevity.
Tips for maintaining a clean blender base
Keeping the blender base clean on a regular basis is essential for maintaining the performance and appearance of your Ninja blender. Here are some tips to help you maintain a clean blender base:
- Wipe the base after each use: After you finish using the blender, take a moment to wipe down the base with a damp cloth or sponge. This will help prevent any spills or stains from drying and becoming harder to remove.
- Avoid submerging the base in water: Remember to never immerse the blender base in water or place it in the dishwasher. The base contains electrical components, and exposure to water can cause damage or pose a safety hazard.
- Use a soft cloth or sponge: When cleaning the base, opt for a soft cloth or sponge to avoid scratching the surface. Avoid using abrasive materials or harsh chemicals that may damage the finish.
- Clean spills and stains immediately: If you accidentally spill any liquids or foods on the base, clean them up promptly to prevent them from drying and staining the surface. This will make cleaning easier and maintain the appearance of the blender base.
- Keep the area surrounding the blender clean: While cleaning the blender base, also ensure that the surrounding area is free from any food particles or spills. This will prevent cross-contamination and keep your workspace clean and hygienic.
- Regularly check and clean the vents: The blender base may have vents that allow for proper airflow and cooling of the motor. Periodically check these vents and clean them with a soft brush to remove any dust or debris that may accumulate over time.
- Store the blender properly: When not in use, store the blender in a clean and dry area to prevent dust and dirt from settling on the base. Use the blender’s designated storage area or cover it with a clean cloth to keep it protected.
- Follow the manufacturer’s instructions: Read and follow the cleaning and maintenance instructions provided by the manufacturer. These instructions are specific to your Ninja blender model and will help you maintain its performance and longevity.
By following these tips and taking regular care of your blender base, you can enjoy a clean and well-maintained appliance that will continue to blend your favorite recipes with ease.
Read more: How To Open A Ninja Blender
Conclusion
Cleaning the Ninja blender base is an important task to keep your appliance in optimal condition. By following these steps and tips, you can maintain a clean and hygienic blender base, ensuring its longevity and performance.
Remember to always unplug the blender before starting the cleaning process and handle it with care. Remove the blender jar to access and clean both the exterior and interior of the base. Use mild dish soap, warm water, and soft cloths or sponges to gently clean the surfaces.
Reassembling the blender correctly and doing a quick test run will ensure that everything is in working order. By maintaining a clean blender base, you not only enhance its appearance but also prevent the buildup of stains, odors, and potential damage.
In addition to periodic deep cleaning, wipe down the blender base after each use and keep the surrounding area clean. Regularly check and clean the vents to ensure proper airflow and cooling of the motor.
By following these cleaning and maintenance practices, you can enjoy optimal performance and longevity from your Ninja blender, creating delicious recipes with confidence.
So, don’t forget to dedicate some time to clean your Ninja blender base regularly and enjoy the benefits of a clean and well-maintained kitchen appliance!
Frequently Asked Questions about How To Clean The Ninja Blender Base
Was this page helpful?
At Storables.com, we guarantee accurate and reliable information. Our content, validated by Expert Board Contributors, is crafted following stringent Editorial Policies. We're committed to providing you with well-researched, expert-backed insights for all your informational needs.


0 thoughts on “How To Clean The Ninja Blender Base”