Articles
How To Lower Window Blinds Without A Cord
Modified: October 20, 2024
Discover effective techniques and step-by-step instructions in our comprehensive articles on how to effortlessly lower window blinds without a cord.
(Many of the links in this article redirect to a specific reviewed product. Your purchase of these products through affiliate links helps to generate commission for Storables.com, at no extra cost. Learn more)
Introduction
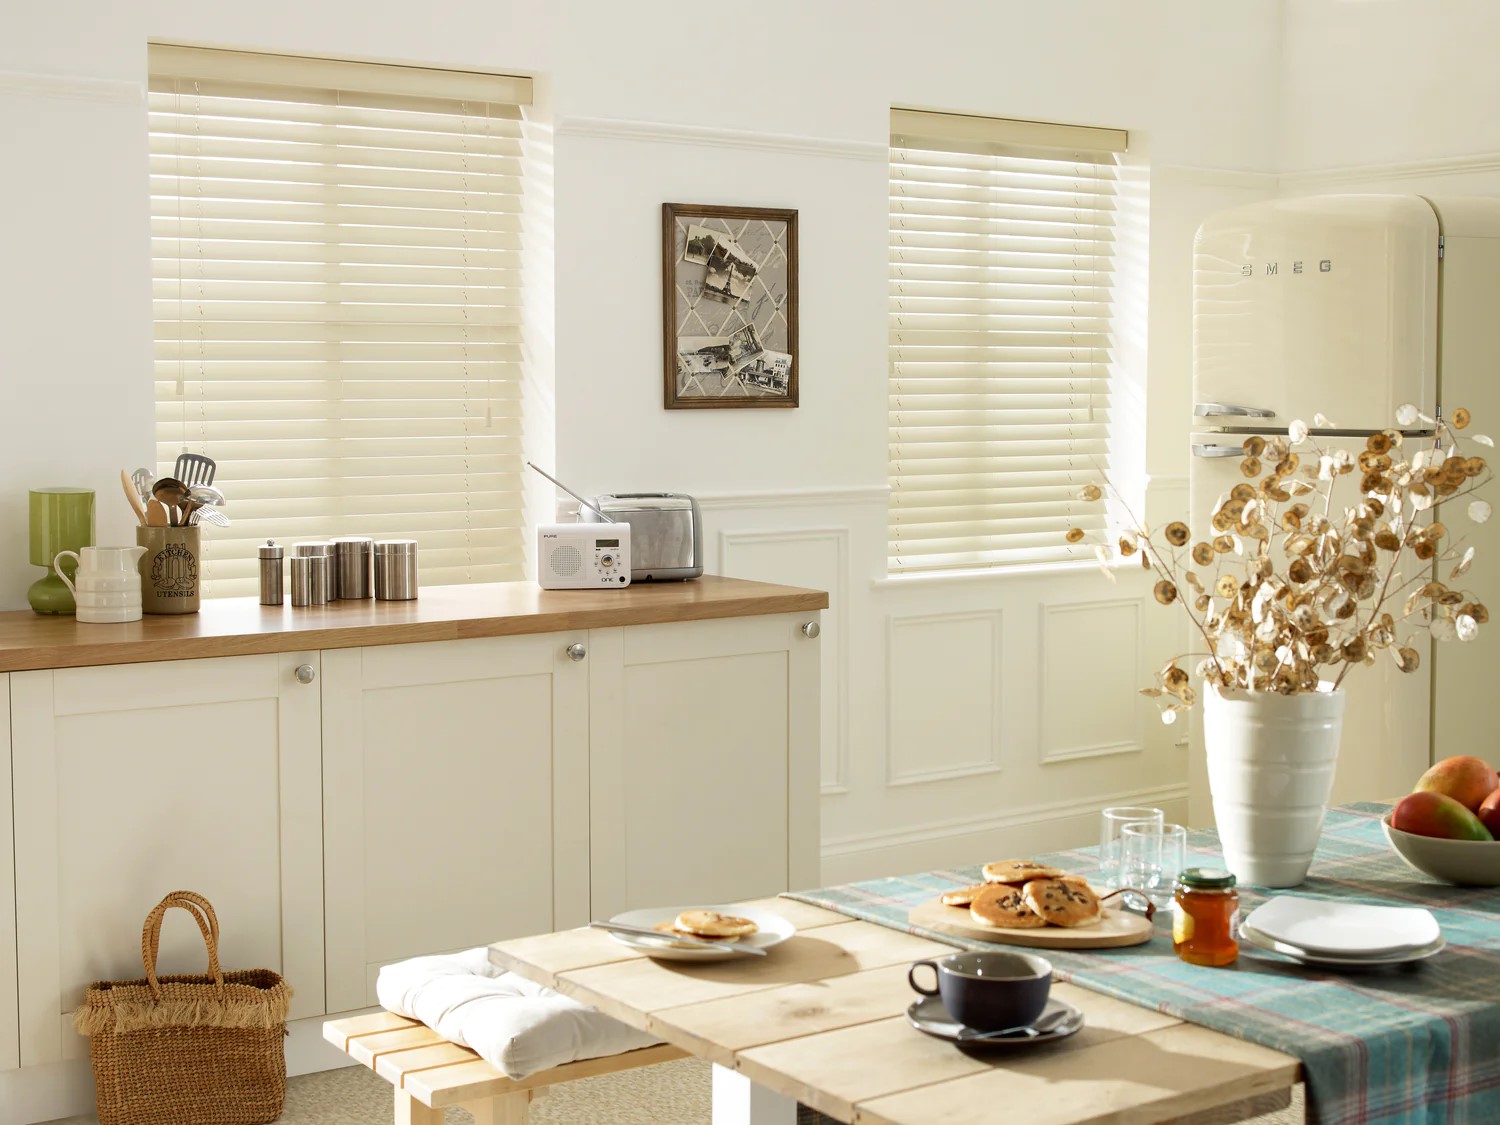
Window blinds are a popular choice for controlling light and privacy in homes and offices. Traditionally, blinds have been equipped with cords that are used to raise and lower them. However, concerns about safety and aesthetics have led to the development of cordless options. In this article, we will explore how to lower window blinds without a cord.
Imagine having the convenience of operating your window blinds effortlessly, without the hassle of dealing with tangled cords or the fear of potential hazards, especially in homes with young children or pets. Fortunately, there are several methods available to achieve this, ranging from cordless blinds to motorized options.
In this article, we will delve into each method in detail, outlining the benefits and considerations of each. By the end of this article, you will have a clear understanding of the various options and be equipped to choose the best solution for your specific needs.
Key Takeaways:
- Say goodbye to tangled cords and safety hazards with cordless, motorized, wand-controlled, or spring-assisted window blinds. Enjoy convenience, style, and safety in lowering your blinds without the hassle of cords.
- Elevate your space with modern and sleek window blinds that offer convenience, automation, and enhanced safety. Choose from cordless, motorized, wand-controlled, or spring-assisted options to lower your blinds without cords.
Read more: How To Lower Window Blinds Without Strings
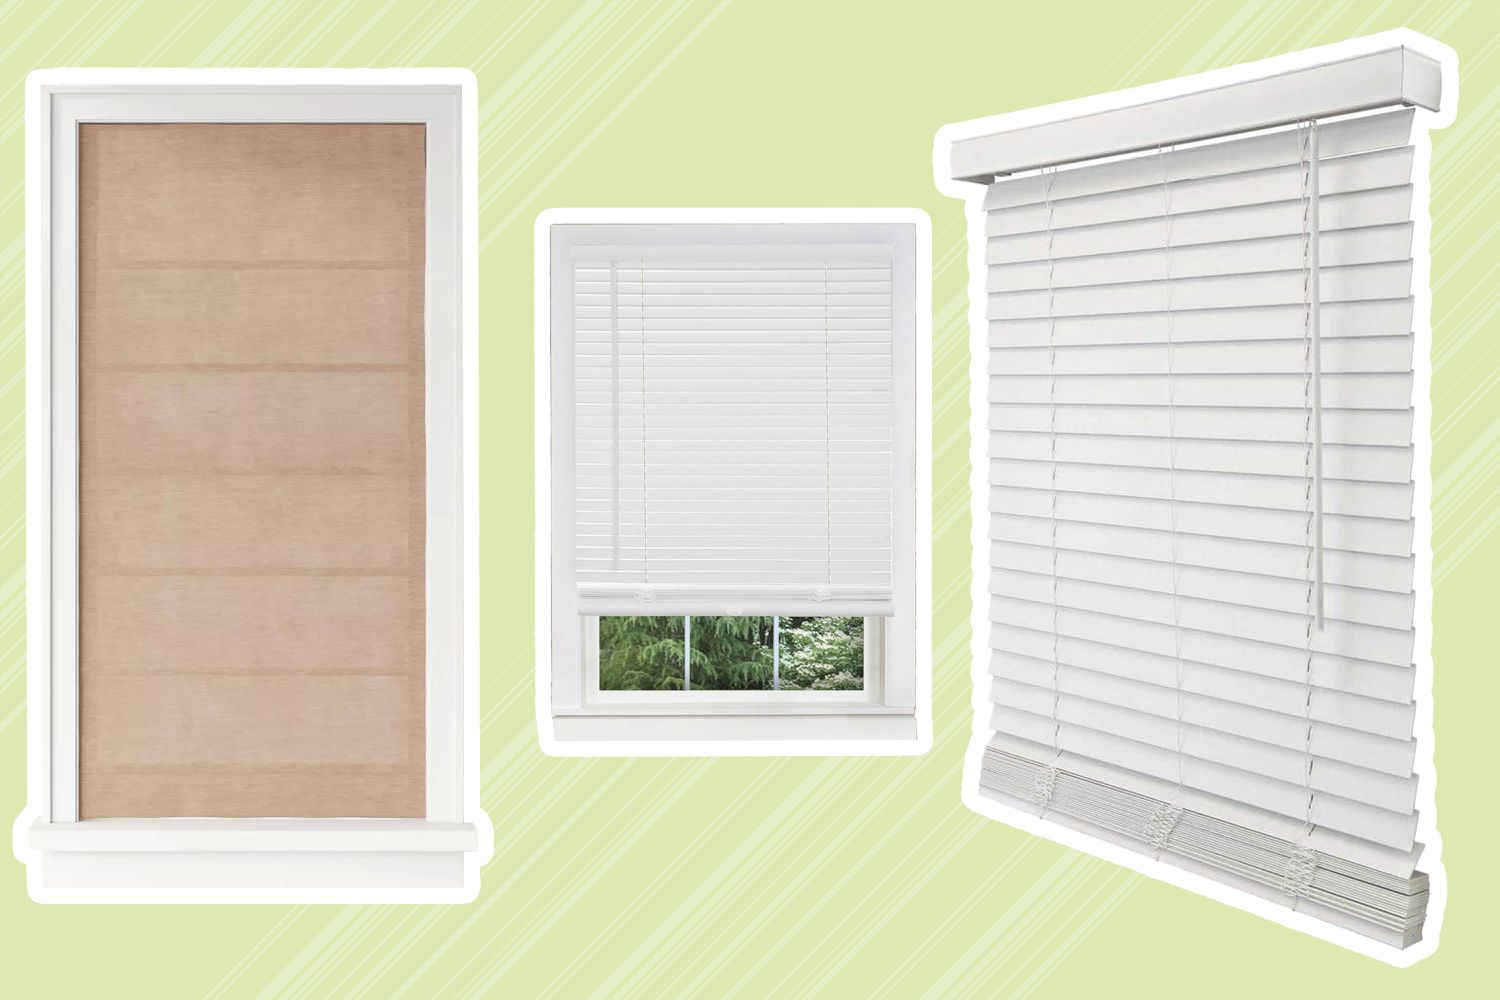
Understanding Window Blinds without Cords
Window blinds without cords are designed with convenience, safety, and aesthetics in mind. These innovative blinds eliminate the need for traditional cords, providing a sleek and modern look. Without cords, there are fewer hazards for children and pets, making them an ideal choice for families.
There are several different types of window blinds without cords, each offering its own unique features. Let’s explore a few of the most popular options:
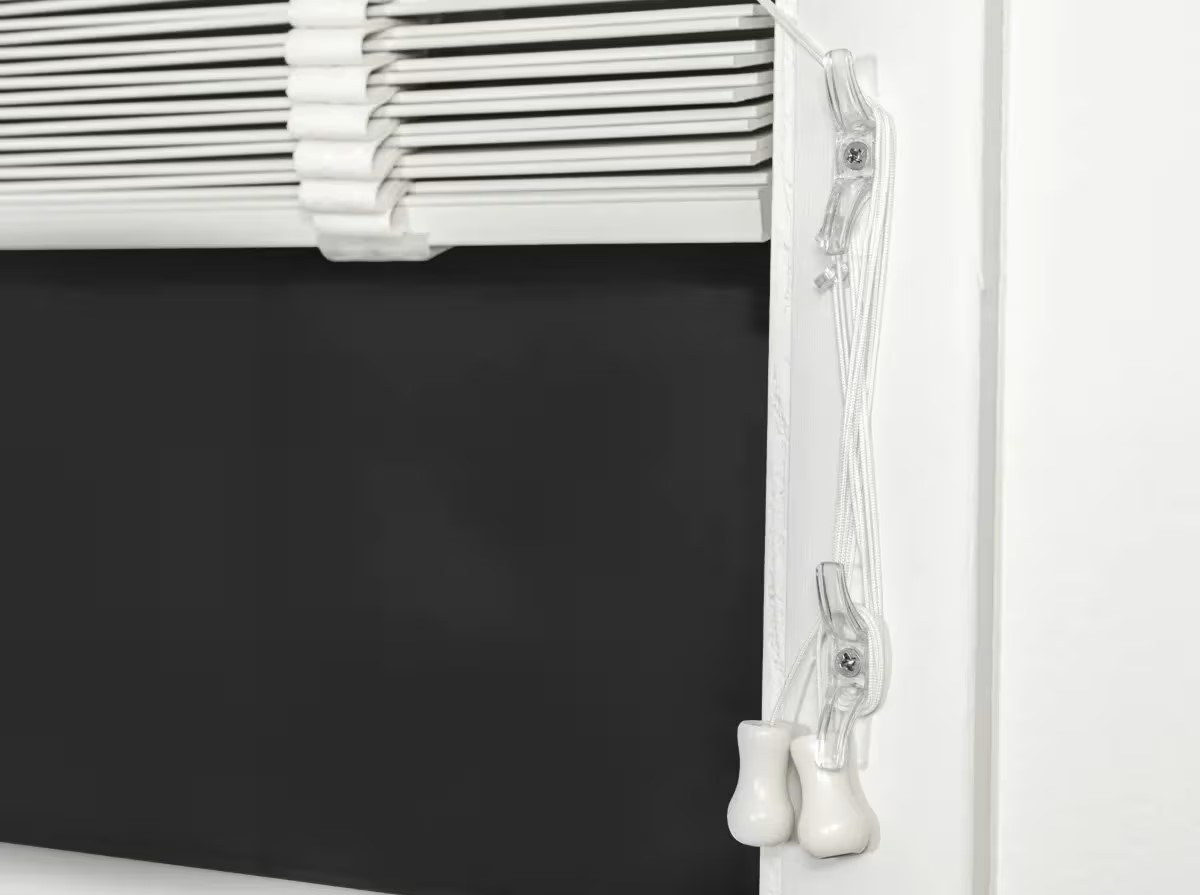
- Cordless Window Blinds: Cordless blinds operate by utilizing a spring mechanism or a specialized lifting system. To lower the blinds, simply push or pull on the bottom rail. This mechanism ensures smooth and easy operation, eliminating the need for cords.
- Motorized Window Blinds: Motorized blinds are controlled by an electric motor that is either battery-powered or hardwired into the electrical system. With the push of a button or the use of a remote control, you can effortlessly lower or raise the blinds. Motorized blinds are not only convenient but also provide added benefits, such as the ability to schedule automated adjustments or integrate them with smart home systems.
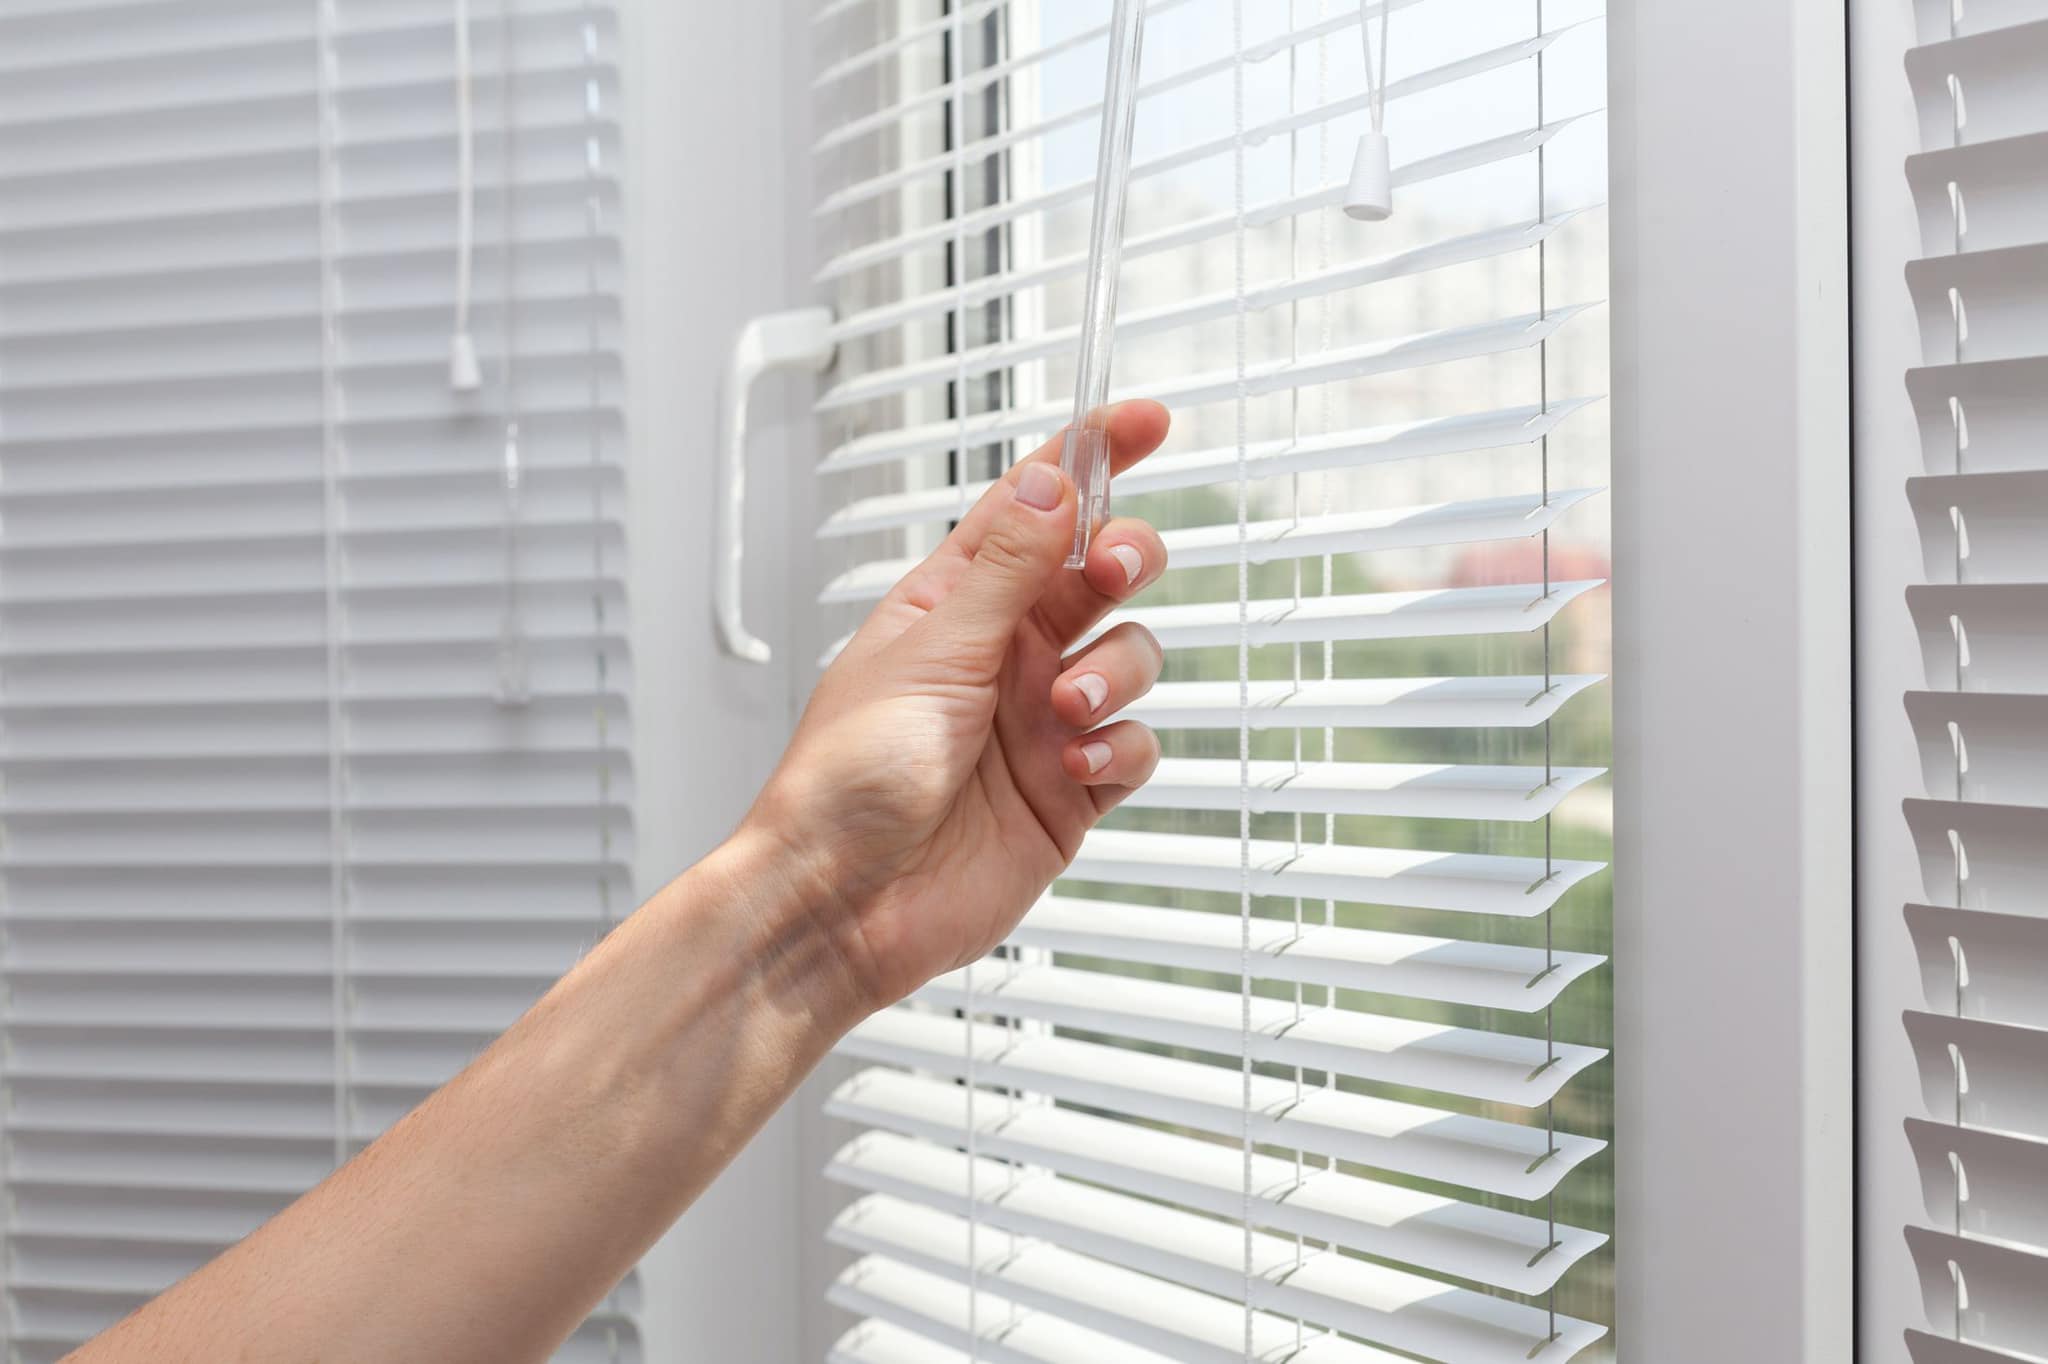
- Wand-Controlled Window Blinds: Wand-controlled blinds feature a wand attached to the side of the blinds instead of using cords. By simply twisting the wand, you can tilt the slats to control the amount of light entering the room. To raise or lower the blinds, a separate wand or a cord loop mechanism may be used.
- Spring-Assisted Window Blinds: Spring-assisted blinds utilize a spring-loaded mechanism that allows for easy lifting and lowering of the blinds. By grabbing the bottom rail and gently raising or lowering it, the blinds effortlessly glide into position. The spring mechanism ensures smooth and controlled movement, eliminating the need for cords.
Choosing the right type of window blinds without cords depends on your specific needs, preferences, and budget. Consider factors such as ease of use, desired automation features, and the overall aesthetic appeal. Keep in mind that different rooms in your home may require different types of blinds. For example, motorized blinds may be ideal for large windows in the living room, while cordless blinds could work well in bedrooms or nursery rooms.
Now that we have covered the different types of window blinds without cords, let’s explore each method in more detail to understand how they work and which one might be the best fit for your needs.
Methods to Lower Window Blinds without a Cord
There are several effective methods available to lower window blinds without the use of cords. These methods not only provide convenience and safety but also offer a stylish and modern look. Let’s explore each method in detail:
1. Cordless Window Blinds
Cordless window blinds operate on a spring mechanism or a specialized lifting system. To lower the blinds, simply push or pull on the bottom rail. This mechanism ensures smooth and effortless operation without the need for cords. Cordless blinds are available in various styles, such as Roman shades, cellular shades, roller shades, and more. They are a popular choice for homeowners seeking a clean and minimalist look.
2. Motorized Window Blinds
Motorized window blinds offer the ultimate convenience in blind operation. These blinds are equipped with an electric motor that allows for remote-controlled or automated adjustments. With just a push of a button or a command from a smart home system, you can effortlessly lower or raise the blinds. Motorized blinds are available in a wide range of styles, including roller blinds, Venetian blinds, and vertical blinds. They are an excellent option for hard-to-reach windows or for those who desire a touch of luxury and automation in their living space.
Read more: How To Lower Levolor Window Blinds
3. Wand-Controlled Window Blinds
Wand-controlled window blinds are designed with a wand attached to the side of the blinds. By twisting the wand, you can easily tilt the slats to control the amount of light entering the room. To lower or raise the blinds, a separate wand or a cord loop mechanism might be used. Wand-controlled blinds offer a sleek and modern look while providing effortless control over light and privacy. They are commonly available in Venetian blinds and vertical blinds.
4. Spring-Assisted Window Blinds
Spring-assisted window blinds feature a spring-loaded mechanism that allows for easy lifting and lowering. By grabbing the bottom rail and gently raising or lowering it, the blinds glide into position smoothly. The spring mechanism provides balanced tension, ensuring controlled movement without the need for cords. Spring-assisted blinds are available in various styles, including roller blinds, Roman shades, and cellular shades. They offer a clean and modern appearance while providing easy and hassle-free operation.
When choosing the right method to lower window blinds without a cord, consider factors such as ease of use, desired automation features, and the overall aesthetic appeal. Additionally, take into account the specific requirements of each room in your home. It is important to select blinds that complement your interior design while providing the functionality and convenience you desire.
Now that we have explored the different methods to lower window blinds without a cord, it’s time to choose the option that best suits your needs and style preferences.
Cordless Window Blinds
Cordless window blinds are a popular choice for those seeking a sleek and modern look, as well as enhanced safety and convenience. These blinds are designed with a mechanism that eliminates the need for cords, providing a clean and minimalist appearance.
There are two main types of cordless window blinds: those that operate using a spring mechanism and those with a specialized lifting system.
Spring Mechanism: Cordless blinds with a spring mechanism use tension to control the movement of the blinds. To lower the blinds, simply push or pull on the bottom rail. The tension in the spring allows the blinds to easily glide into place. Once lowered, the blinds will stay in position until you decide to raise them again. This design provides a smooth and effortless operation without the need for cords.
Specialized Lifting System: Some cordless blinds are equipped with a lifting system that allows for easy adjustment. These blinds often have a handle or a button located on the bottom rail. By pressing the button or pulling the handle, you can effortlessly raise or lower the blinds to your desired position. The lifting system provides a convenient way to control the blinds without the use of cords.
Cordless window blinds are available in a variety of styles, including roller blinds, Roman shades, cellular shades, and more. They can be customized to match your interior design and provide a seamless and sleek look for any window.
One of the primary benefits of cordless window blinds is the enhanced safety they provide, particularly for households with young children or pets. With no cords present, there is no risk of entanglement or strangulation, ensuring a safer environment for your loved ones.
In addition to safety, cordless blinds offer convenience and ease of use. With just a simple push or pull, you can easily adjust the blinds to control the amount of light entering the room or to maintain your desired level of privacy. This effortless operation makes cordless blinds a popular choice for homeowners looking for a hassle-free solution.
When selecting cordless window blinds, consider factors such as the material, color, and opacity of the blinds to ensure they match your décor and meet your functional needs. Additionally, assess the level of light and privacy control offered by the blinds, as this can vary depending on the style and fabric chosen.
Overall, cordless window blinds provide a stylish and safe option for lowering and raising your blinds without the need for cords. With their sleek appearance, convenience, and improved safety features, they are an excellent choice for any room in your home.
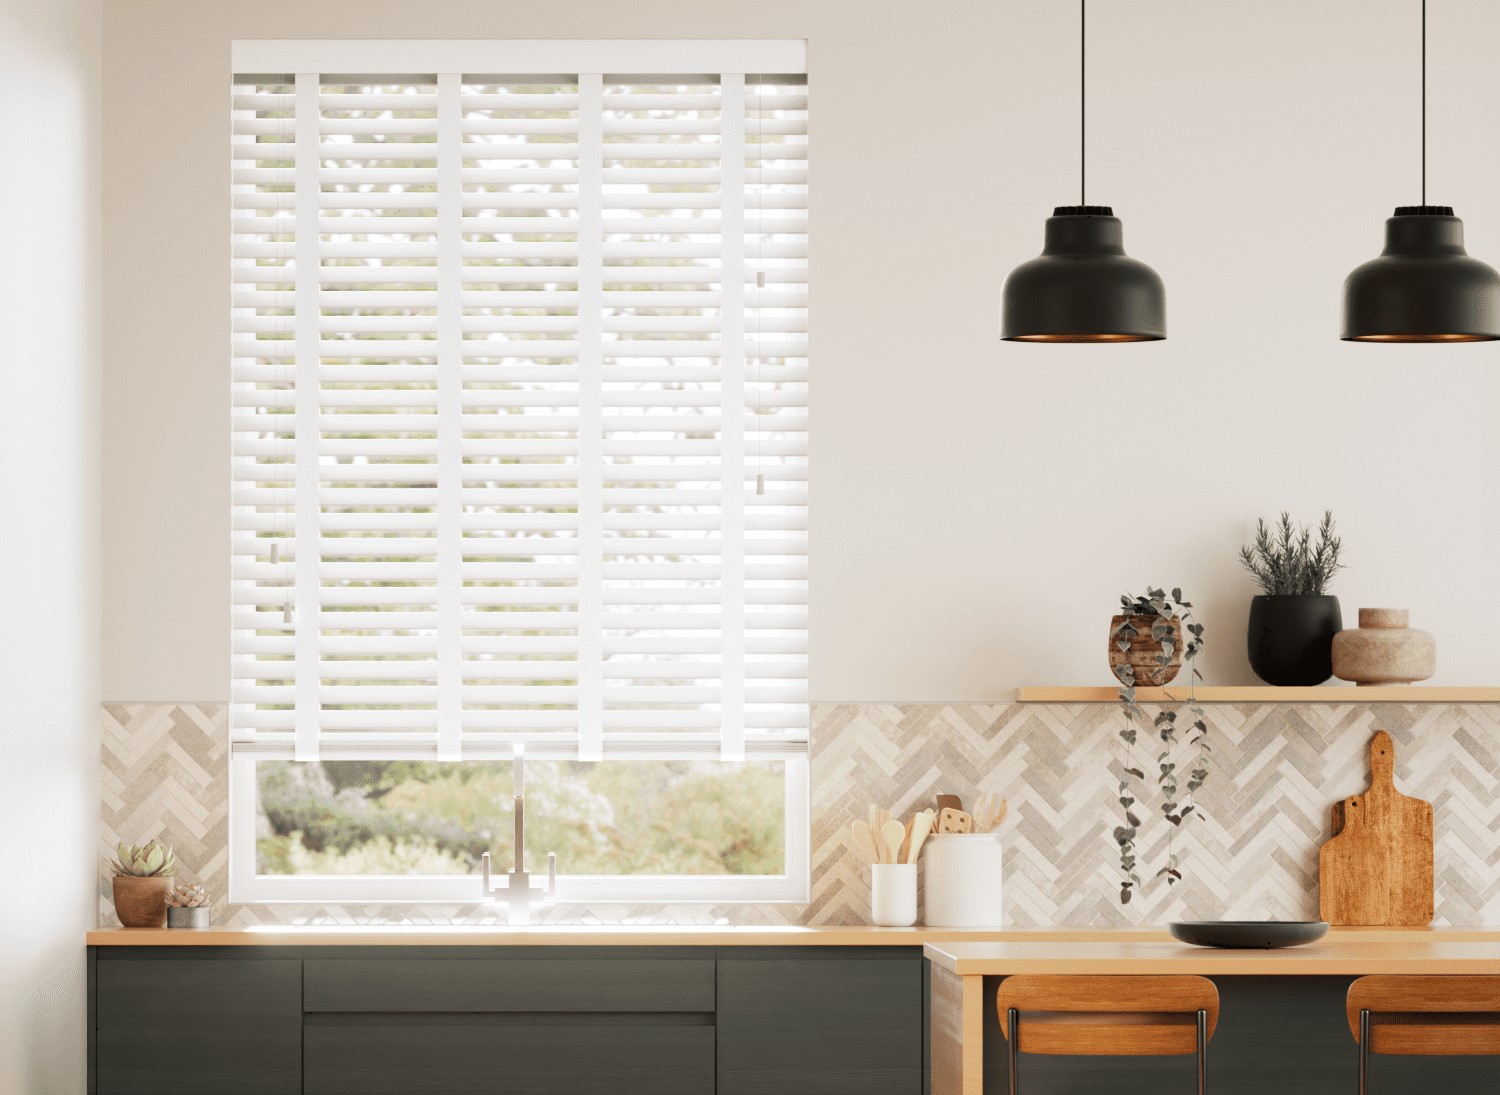
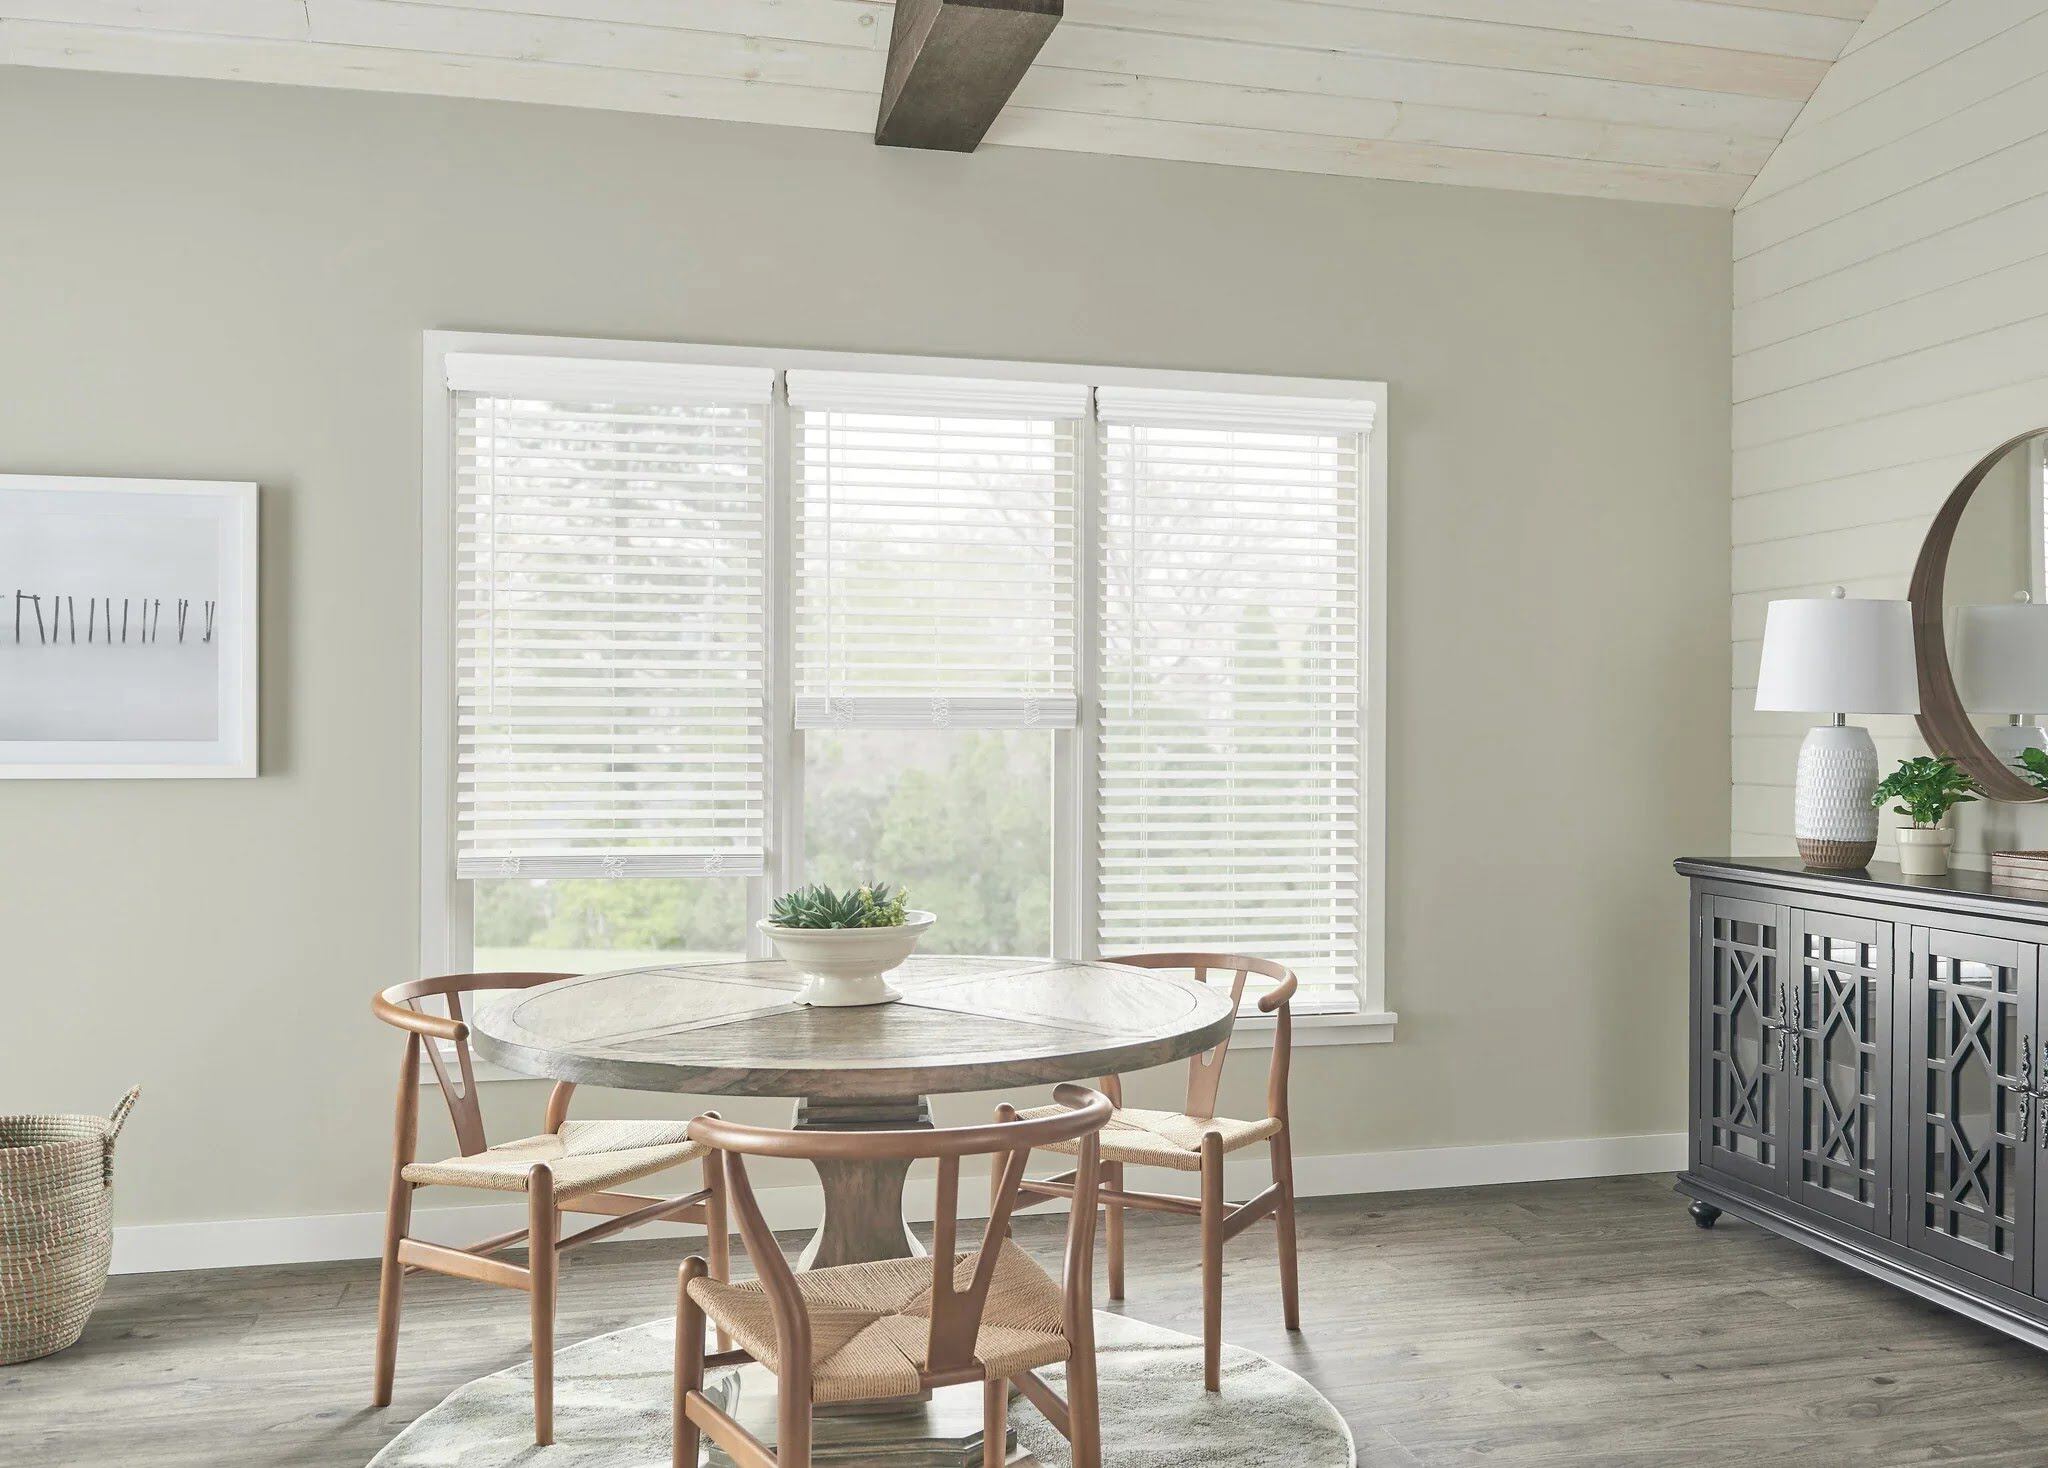
Motorized Window Blinds
Motorized window blinds offer a high level of convenience and automation, allowing you to effortlessly lower and raise your blinds with the push of a button or the use of a remote control. With motorized blinds, you can easily adjust the amount of light and privacy in your space, all without the need for cords.
Motorized blinds are equipped with an electric motor that is either battery-powered or hardwired into the electrical system of your home. This motor allows for seamless control of the blinds, providing an elegant and modern solution for window coverings.
There are several advantages to choosing motorized window blinds:
- Convenience: With motorized blinds, you can control multiple blinds in a room or even throughout your entire home with just a touch of a button. This convenience is particularly beneficial for large windows or hard-to-reach areas where manual operation may be challenging.
- Automation: Motorized blinds can be programmed for automated operation. You can schedule the blinds to lower or raise at specific times of the day, providing energy efficiency and added security by creating the appearance of an occupied home even when you’re away. Some motorized blinds can even be integrated into smart home systems, allowing you to control them using voice commands or through smartphone apps.
- Precision: Motorized blinds offer precise control over the positioning of the blinds. You can adjust the blinds to your desired height or tilt angle, allowing you to easily control the amount of light and privacy in the room.
- Safety: Like cordless blinds, motorized blinds provide a safer option, especially for homes with children or pets. With no cords, there is no risk of entanglement or choking hazards.
Motorized blinds are available in a wide range of styles, including roller blinds, Venetian blinds, and vertical blinds. You can choose from various materials, colors, and opacity levels to match your interior design and meet your specific needs.
When considering motorized blinds, you will need to determine whether you want a battery-powered or hardwired system. Battery-powered motorized blinds are a more flexible option as they can be easily installed without the need for an electrical connection. On the other hand, hardwired systems require professional installation and may be more suitable for new constructions or renovations where electrical wiring can be integrated.
Overall, motorized window blinds provide a convenient and sophisticated solution for controlling light and privacy in your space. With their automation capabilities, safety features, and precise control, they offer a luxurious and modern touch to any room.
Read more: How To Cover A Window Without Blinds
Wand-Controlled Window Blinds
Wand-controlled window blinds offer a practical and stylish alternative to traditional cord-operated blinds. With a wand attached to the side of the blinds, you can easily control the tilt of the slats to adjust the amount of light and privacy in your space.
There are two main types of wand-controlled blinds: those that solely control the tilt of the slats and those that combine both slat tilting and lifting functions.
Slats Tilt Control: With this type of wand-controlled blinds, the wand is used to adjust the angle of the slats. By twisting or rotating the wand, you can conveniently tilt the slats to let in or block out light. This allows you to effortlessly control the amount of privacy and natural light in the room without the need for cords.
Combination of Slats Tilt and Lifting: Some wand-controlled blinds not only allow you to control the tilt of the slats but also provide the ability to raise and lower the blinds. In addition to twisting the wand to adjust the slats, you can pull or push the wand to easily raise or lower the blinds to your desired position.
Wand-controlled blinds are available in various styles, such as Venetian blinds and vertical blinds. They offer a sleek and modern appearance, enhancing the overall aesthetic of your space. You can choose from different materials, colors, and slat sizes to match your interior design and functional requirements.
One of the key benefits of wand-controlled blinds is the ease of use. With just a simple twist or combination of twist and pull, you have precise control over the positioning of the blinds, allowing you to achieve the perfect balance of light and privacy in your room.
Moreover, wand-controlled blinds provide a safer option compared to cord-operated blinds, particularly in households with children or pets. With the wand located on the side, there are no dangling cords that pose a risk of entanglement or strangulation. This makes wand-controlled blinds a popular choice for families seeking a safer window covering solution.
When selecting wand-controlled blinds, consider the length and design of the wand. Ensure that the length is comfortable for you to reach and operate easily. Additionally, assess the quality and durability of the wand mechanism, as it plays a crucial role in the functionality and longevity of the blinds.
Overall, wand-controlled window blinds offer a practical and visually appealing option for controlling light and privacy in your space. With their effortless operation, enhanced safety features, and stylish design, they are a fantastic choice for any room in your home or office.
Spring-Assisted Window Blinds
Spring-assisted window blinds are designed with a spring-loaded mechanism that provides smooth and effortless operation without the need for cords. This type of blinds offers a balance between convenience and simplicity, making them a popular choice for many homeowners.
The spring mechanism in these blinds allows for easy lifting and lowering of the blinds. By grabbing the bottom rail and gently raising or lowering it, the blinds glide into position with controlled movement. The tension from the spring ensures that the blinds remain securely in place once they are lowered or raised.
Spring-assisted window blinds are available in various styles, including roller blinds, Roman shades, and cellular shades. They can be customized with different fabrics, colors, and opacities to match your interior design and functional needs.
One of the key benefits of spring-assisted blinds is their effortless operation. You can easily raise or lower the blinds with minimal effort, thanks to the tension provided by the spring mechanism. This makes them particularly suitable for individuals with limited mobility or those who prefer a simpler way of controlling their window coverings.
In addition to their ease of use, spring-assisted blinds offer a clean and uncluttered look. Unlike cord-operated blinds, there are no cords hanging down, creating a more aesthetically pleasing appearance. This sleek design can complement various interior styles and contribute to a visually appealing space.
Another advantage of spring-assisted blinds is their enhanced safety features. With no cords involved, there is no risk of entanglement or strangulation, making them a suitable option for households with children or pets. This peace of mind ensures a safer environment for your loved ones.
When choosing spring-assisted window blinds, consider the quality and durability of the spring mechanism. Ensure that it is built to last and can withstand frequent use without losing its tension. It is also important to select the right type of blinds that suit your light control and privacy preferences, as different styles offer varying levels of opacity.
Overall, spring-assisted window blinds provide a convenient and hassle-free solution for controlling light and privacy in your space. With their effortless operation, sleek design, and enhanced safety features, they are a practical and stylish choice for any room in your home.
Consider installing cordless window blinds or using a wand to lower them. You can also retrofit existing blinds with cordless options for added safety.
Choosing the Right Option for Your Window Blinds
With the variety of options available for lowering window blinds without cords, it’s essential to consider your specific needs and preferences before making a decision. Here are some factors to consider when choosing the right option for your window blinds:
Style and Aesthetics: Consider the interior design of your space and choose a window blind option that complements it. Whether you prefer a sleek and modern look or a more traditional style, there are cordless, motorized, wand-controlled, and spring-assisted blinds available in various colors, materials, and designs. Select blinds that enhance the overall aesthetics of your room.
Functionality and Convenience: Assess the functionality and convenience offered by each type of window blind. Identify how easily you can operate the blinds and how well they meet your specific light control and privacy needs. For example, if you want precise control over slat orientation, wand-controlled blinds might be the best choice. If you’re looking for automation and remote control options, motorized blinds could be the ideal solution.
Safety: Safety should always be a top priority, especially for households with young children or pets. Cordless blinds, motorized blinds, wand-controlled blinds, and spring-assisted blinds all offer safer alternatives to cord-operated blinds. Choose a blind option that eliminates the risk of entanglement or strangulation hazards.
Budget: Consider your budget when selecting window blinds. Cordless blinds and wand-controlled blinds tend to be more affordable options, while motorized blinds may require a larger investment. Evaluate the features and benefits of each option in relation to your budget to make an informed decision.
Room Requirements: Different rooms may have specific requirements for window blinds. For example, if you have large windows in your living room, motorized blinds may provide the convenience and flexibility you need. Consider factors such as size, location, and desired functionality of the blinds when choosing the right option for each room.
Energy Efficiency: Some window blinds, such as cellular shades, offer enhanced insulation properties, helping to regulate temperature and save on energy costs. If energy efficiency is a priority for you, consider blinds that provide insulation and reduce heat or cold transfer.
By considering these factors, you can make an informed decision when choosing the right option for your window blinds. Remember to evaluate your specific needs, functionality requirements, safety concerns, budget, and room requirements to find the perfect solution that fits your style and enhances the functionality of your space.
Conclusion
Lowering window blinds without a cord offers both functional and aesthetic benefits. From cordless blinds to motorized options, wand-controlled blinds, and spring-assisted blinds, there are various methods available to enhance the convenience, safety, and overall appeal of your window coverings.
First and foremost, safety should be a priority when selecting window blinds, especially for households with young children or pets. Cordless blinds, motorized blinds, wand-controlled blinds, and spring-assisted blinds all provide safer alternatives to cord-operated blinds, eliminating the risk of entanglement and strangulation hazards.
Each method offers unique benefits and features. Cordless blinds provide a modern and minimalist look, with either a spring mechanism or a specialized lifting system for easy operation. Motorized blinds provide the ultimate convenience and automation, allowing you to control the blinds with the push of a button or by using a remote control. Wand-controlled blinds offer precise control over slat tilting or a combination of slat tilting and lifting, adding a touch of elegance to your room. Spring-assisted blinds provide a balanced tension for effortless lifting and lowering without cords, providing simplicity and ease of use.
When choosing the right option for your window blinds, consider factors such as style, functionality, safety, budget, and room requirements. Assess the overall aesthetics of your space and select blinds that complement your interior design. Evaluate the ease of operation and consider the level of automation or control that you desire. Prioritize safety features and consider the specific needs of each room when selecting the best option.
Ultimately, the choice of how to lower your window blinds without a cord depends on your personal preferences, style, and functional requirements. By considering these factors and understanding the various options available, you can confidently choose the method that best suits your needs and enhances the beauty and functionality of your space.
Whether you opt for cordless blinds, motorized blinds, wand-controlled blinds, or spring-assisted blinds, you can enjoy the convenience, safety, and aesthetic appeal of lowering your window blinds without the hassle of cords. Upgrade your window coverings to enhance your living space and create a comfortable and stylish environment.
Frequently Asked Questions about How To Lower Window Blinds Without A Cord
Was this page helpful?
At Storables.com, we guarantee accurate and reliable information. Our content, validated by Expert Board Contributors, is crafted following stringent Editorial Policies. We're committed to providing you with well-researched, expert-backed insights for all your informational needs.