Articles
How To Lower Graber Blinds
Modified: March 1, 2024
Learn useful articles on how to effectively lower your Graber blinds and improve your home's ambiance. Discover step-by-step guides and expert tips now!
(Many of the links in this article redirect to a specific reviewed product. Your purchase of these products through affiliate links helps to generate commission for Storables.com, at no extra cost. Learn more)
Introduction
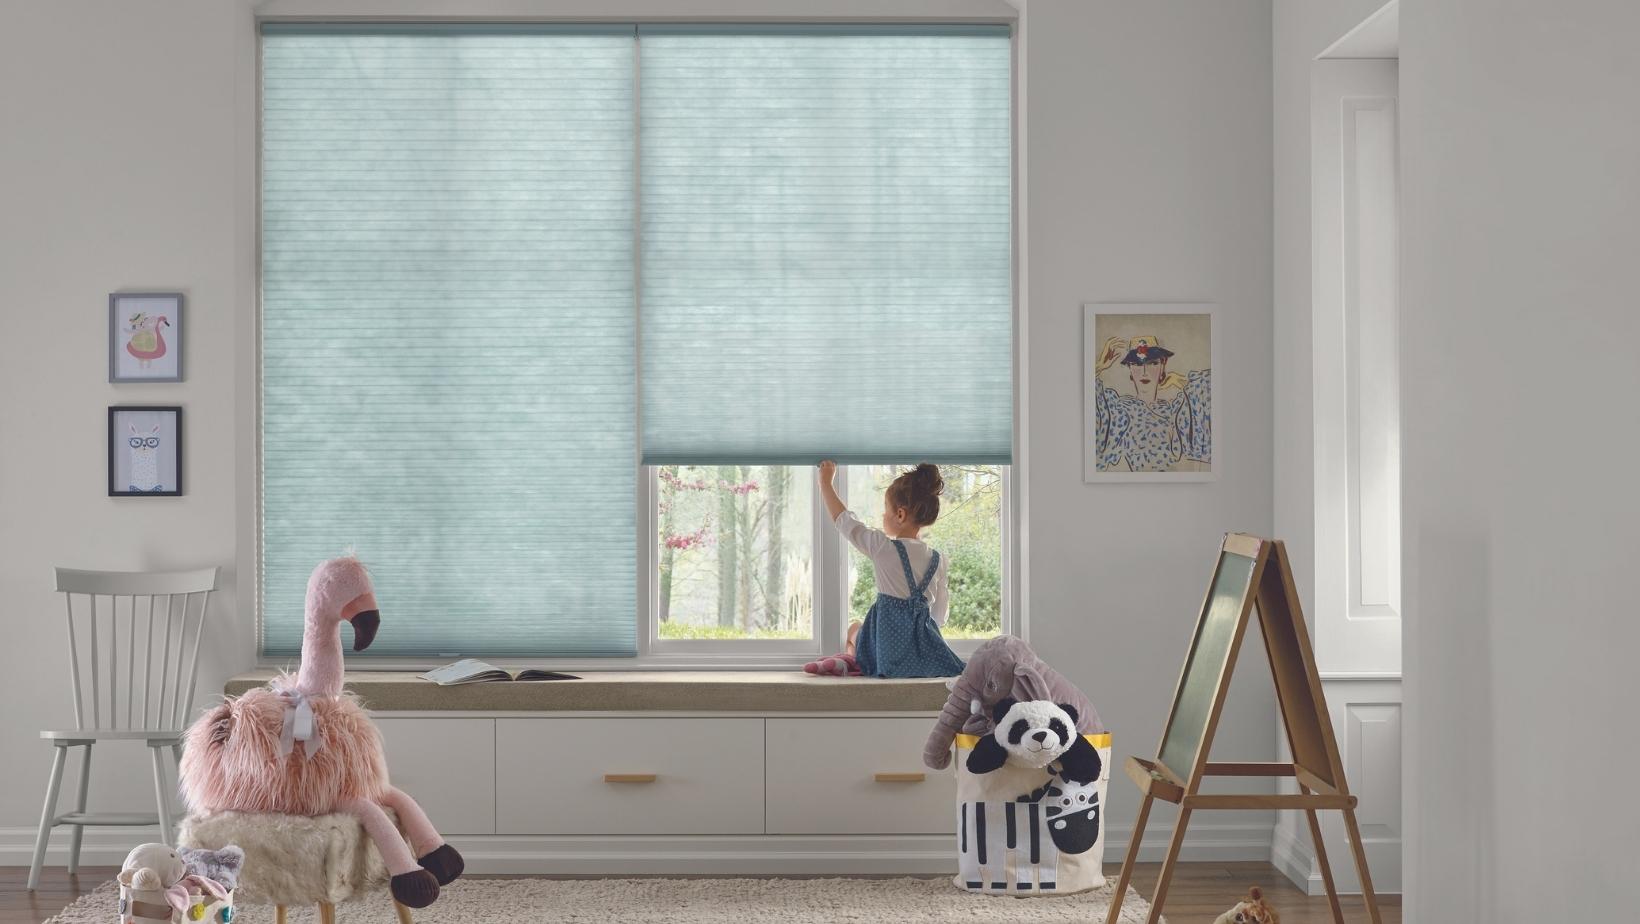
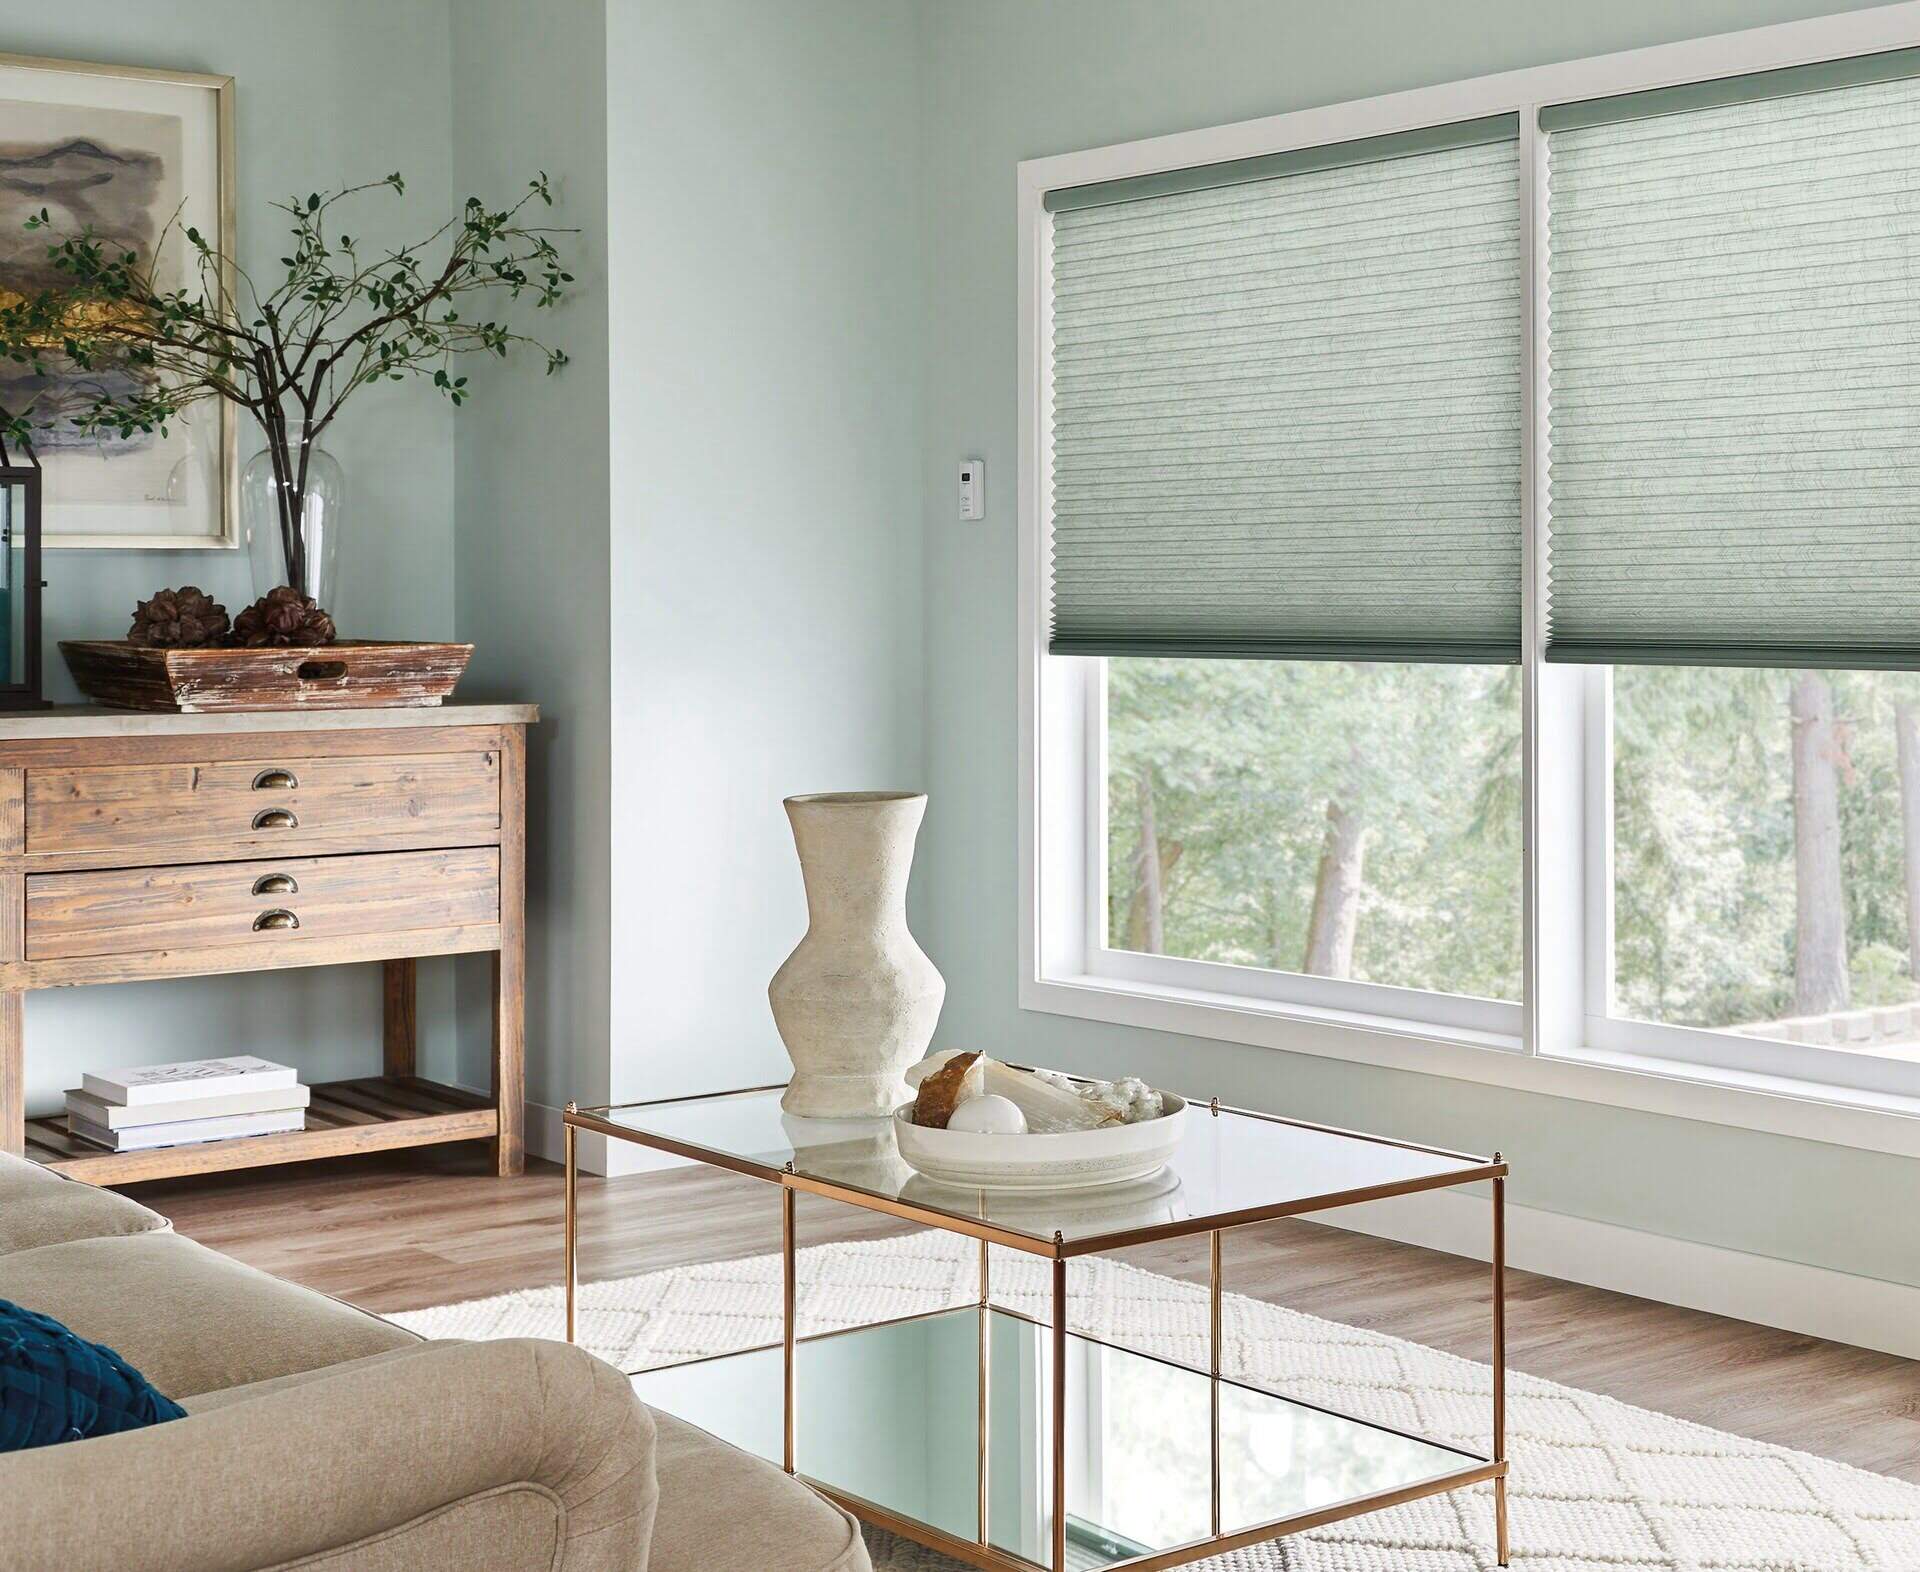
Welcome to the world of Graber blinds! Whether you are looking to create a cozy ambiance or add privacy to your home, Graber blinds are a popular and stylish option. These blinds not only provide functionality but also elevate the overall aesthetic of any space. However, sometimes you may find that your Graber blinds are not at the desired height. Perhaps they are blocking the view or letting in too much sunlight. In such cases, it becomes necessary to lower the Graber blinds to achieve the desired effect.
Lucky for you, lowering Graber blinds is a simple process that can be done with just a few tools and a little bit of patience. In this article, we will guide you through the steps to successfully lower your Graber blinds and create the perfect atmosphere in your home.
Before we dive into the specific steps, let’s take a moment to understand what Graber blinds are and why they are a popular choice among homeowners.
Key Takeaways:
- Elevate your living space with Graber blinds by easily lowering them to achieve improved privacy, light control, and energy efficiency. Enjoy a cozy ambiance and unobstructed views with this simple yet impactful process.
- Lowering Graber blinds is a breeze with the right tools and step-by-step guidance. Enhance your home’s aesthetic appeal, create a private sanctuary, and regulate natural light for a comfortable and stylish living environment.
Read more: Who Sells Graber Blinds
Understanding Graber Blinds
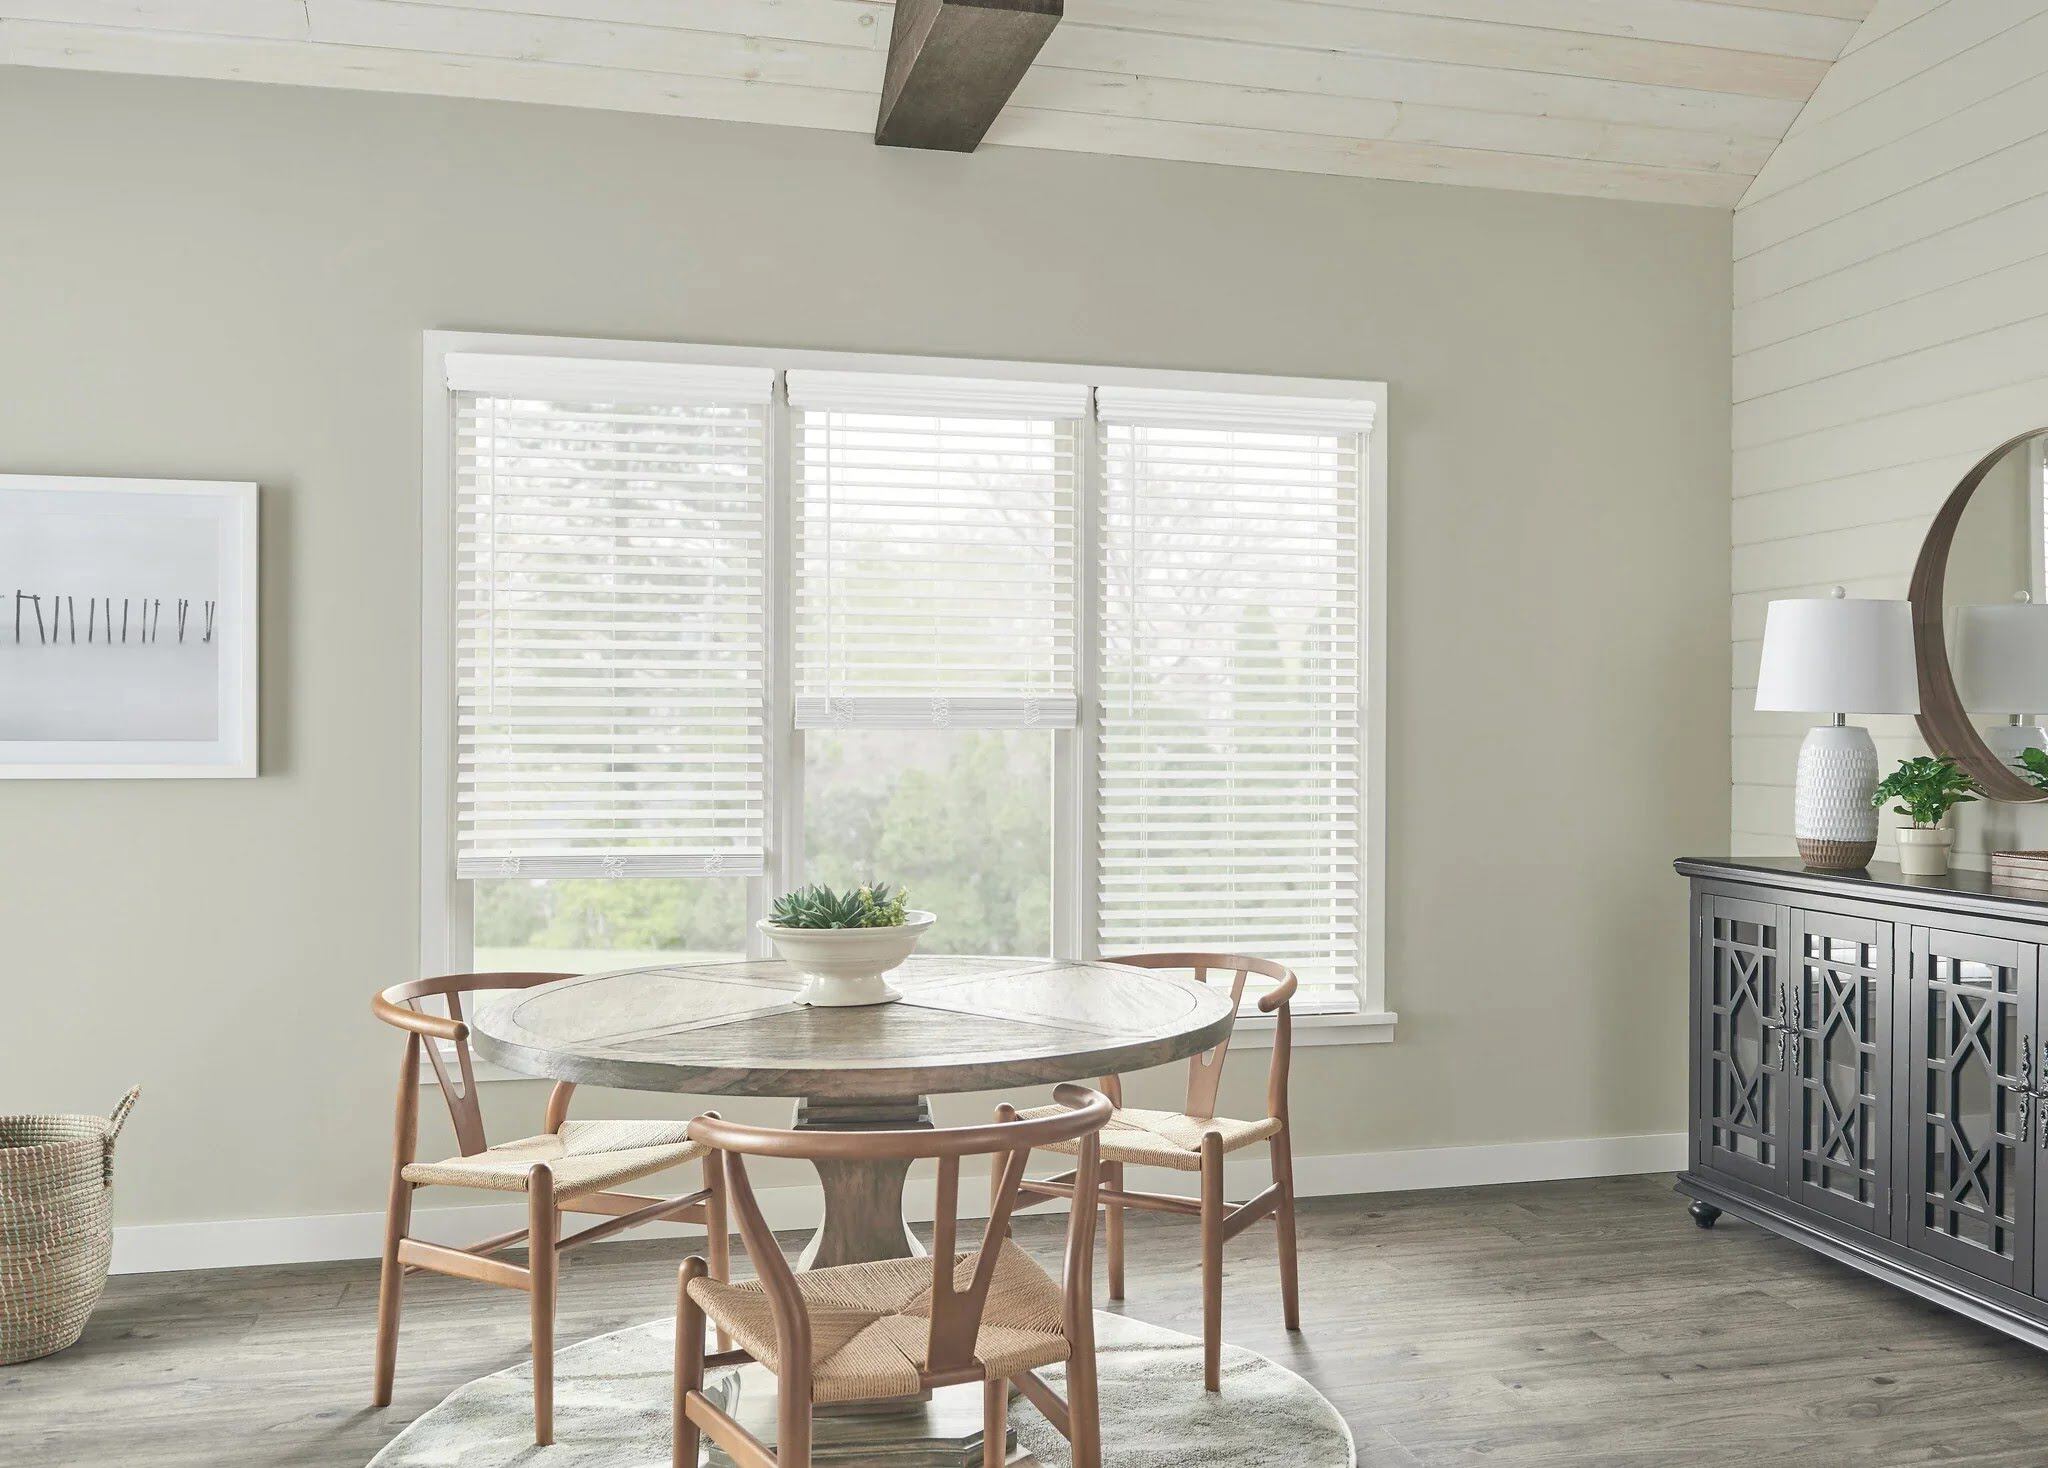
Graber blinds are high-quality window coverings that are known for their durability and versatility. They are crafted with precision and attention to detail, making them a popular choice for homeowners around the world. These blinds are available in a wide range of styles, colors, and materials, allowing you to customize them according to your specific needs and preferences. Whether you want a classic and elegant look or a modern and sleek design, Graber blinds have got you covered.
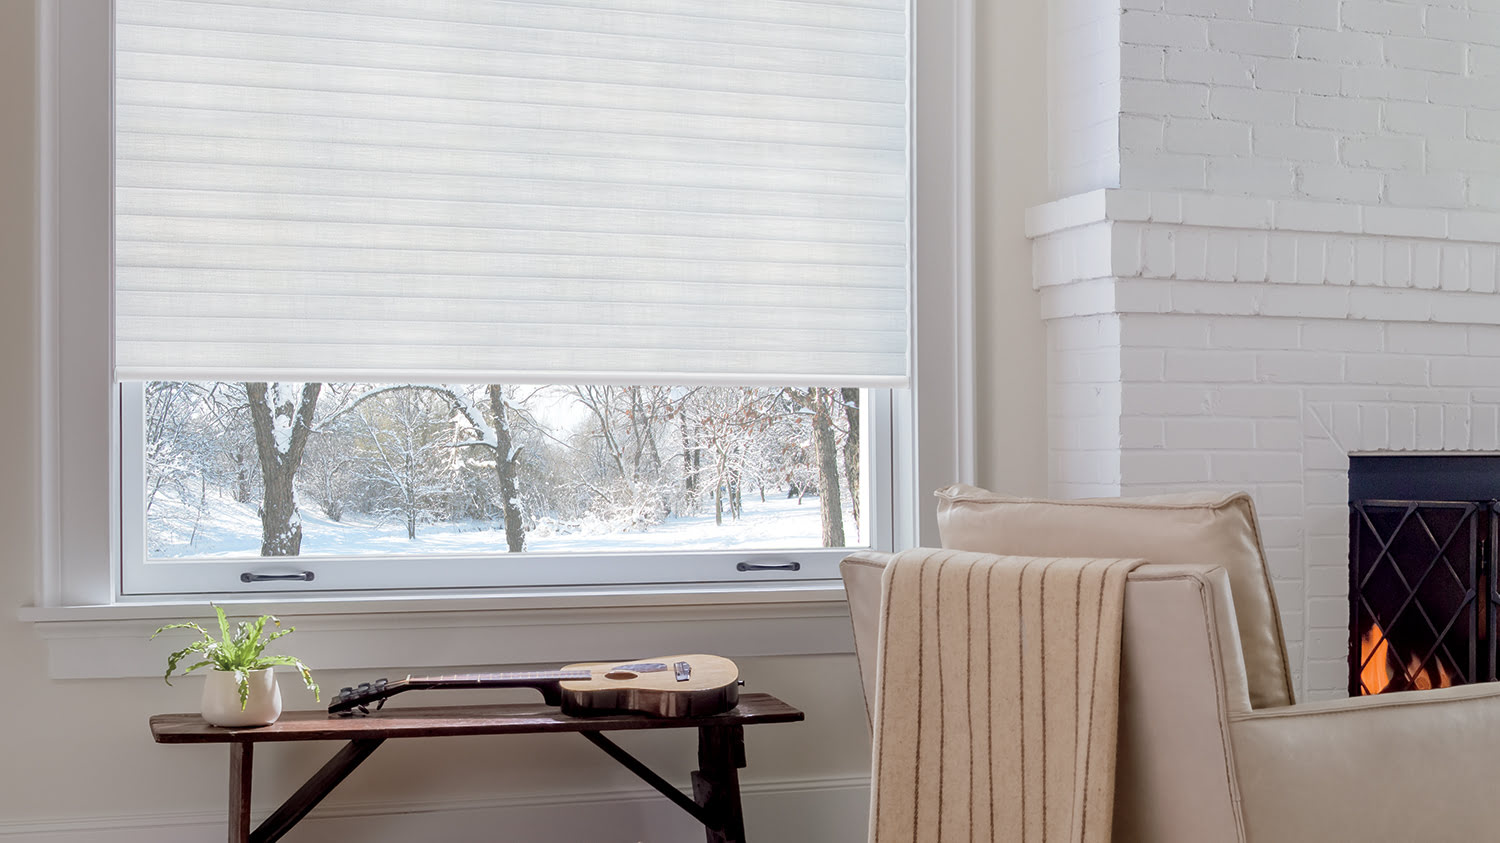
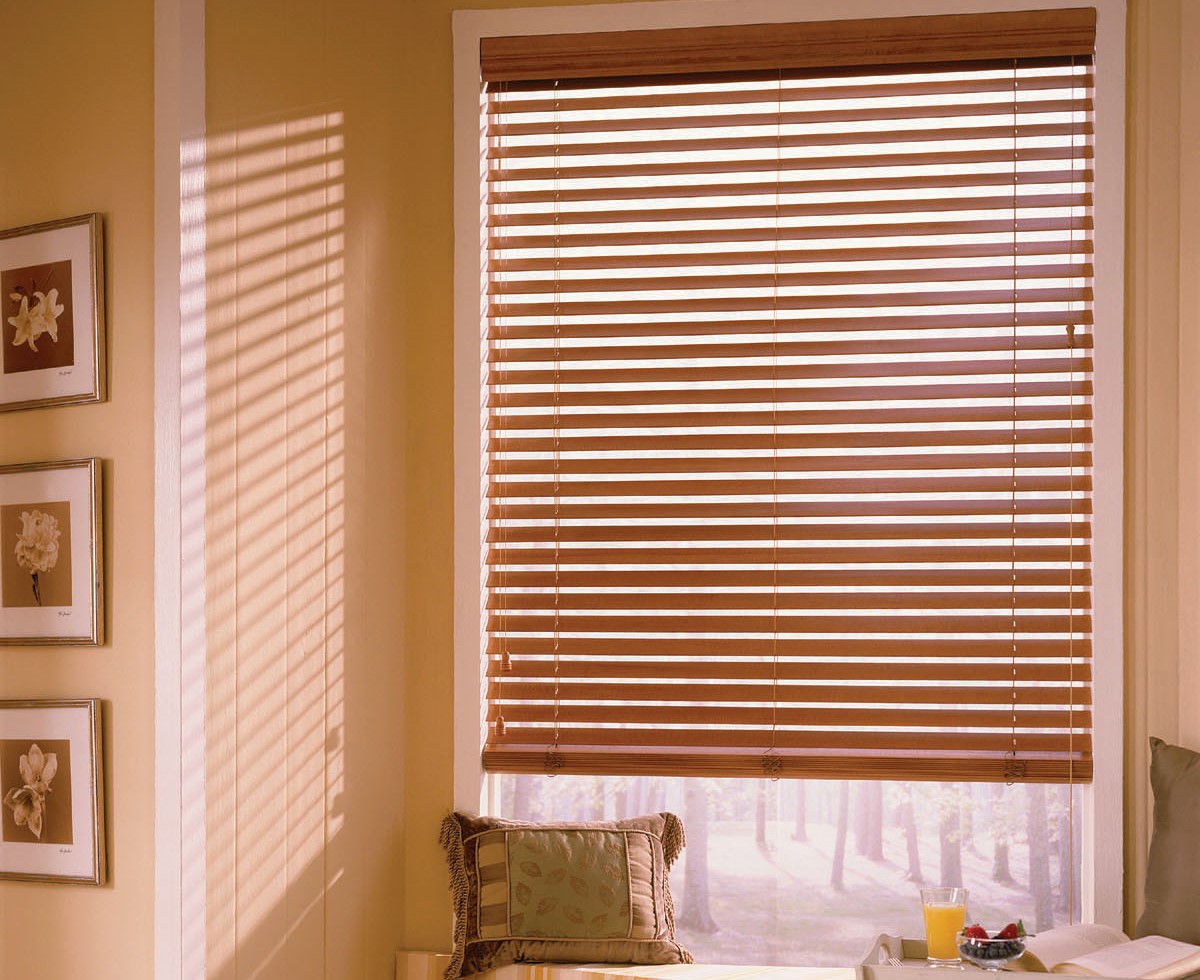
One of the key features of Graber blinds is their superior light control capabilities. With these blinds, you have the power to control the amount of light entering your space. Whether you want to let in a soft, diffused glow or completely block out the sunlight for a restful sleep, Graber blinds offer a solution for every lighting preference.
Another advantage of Graber blinds is their ability to enhance privacy. With precise control over the tilting and lifting mechanisms, you can easily adjust the level of privacy in your home. Whether you want an untouched view of the outside world or completely block out prying eyes, Graber blinds give you the flexibility to create the desired level of privacy.
Graber blinds are not just functional but also contribute to energy efficiency. With their excellent insulation properties, these blinds help to regulate the temperature inside your home. By blocking out or allowing in sunlight as needed, Graber blinds can reduce heat loss during winter and prevent excessive heat gain during summer, ultimately lowering your energy bills.
Furthermore, Graber blinds are designed to be easy to use and maintain. The high-quality materials and construction ensure long-lasting performance, while the user-friendly controls make adjusting the blinds a breeze. With regular cleaning and maintenance, Graber blinds will continue to enhance your living spaces for years to come.
Now that you have a better understanding of the benefits offered by Graber blinds, it’s time to explore how to lower them to achieve the desired height and functionality. Keep reading to learn the step-by-step process.
Benefits of Lowering Graber Blinds
Lowering your Graber blinds can offer several benefits that improve both the aesthetic appeal and functionality of your living spaces. Let’s explore the advantages of lowering Graber blinds:
- Improved Privacy: Lowering your Graber blinds allows you to create a private sanctuary within your home. Whether you live in a busy neighborhood or simply want some alone time, lowering the blinds provides an extra layer of privacy, shielding your space from prying eyes.
- Light Control: By lowering your Graber blinds, you can have better control over the amount of natural light entering your space. Whether you want to enjoy a sunny day or create a cozy atmosphere, adjusting the blinds allows you to regulate the lighting conditions according to your preference.
- Glare Reduction: Lowering the blinds can help reduce glare on your TV or computer screen. The slats of the blinds can be tilted to redirect sunlight and minimize glare, making it easier for you to work or enjoy your favorite shows without straining your eyes.
- Energy Efficiency: Lowering the Graber blinds can help you save on energy costs. By blocking out direct sunlight, the blinds prevent excessive heat gain during the hot summer months, reducing the need for air conditioning. Likewise, during colder seasons, the lowered blinds can provide an extra layer of insulation, reducing heat loss and keeping your home warmer.
- Enhanced View: Adjusting the blinds to a lower position can provide an unobstructed view of the outside world. Whether you have a beautiful garden or picturesque scenery, lowering the Graber blinds allows you to fully appreciate the views from your windows.
- Aesthetic Appeal: Lowering the blinds can also have a positive impact on the overall aesthetic of your space. By customizing them to the desired height, you can create a clean and streamlined look that complements your interior design style.
Now that you are aware of the various benefits of lowering Graber blinds, it’s time to gather the tools and materials needed to complete the task. Let’s move on to the next section.
Tools and Materials Needed
Before you begin lowering your Graber blinds, it’s important to ensure you have the necessary tools and materials on hand. Here’s what you’ll need:
- Tape Measure: A tape measure will help you accurately measure the height at which you want to lower your Graber blinds.
- Screwdriver: Depending on the type of Graber blinds you have, you may need either a flathead or a Phillips-head screwdriver to loosen the mounting brackets.
- Pliers: Pliers can be useful for loosening any control mechanisms that may be securing the blinds in place.
- Ladder or Step Stool: If your Graber blinds are mounted higher up, it may be necessary to use a ladder or step stool to reach them safely.
- Optional: Level: A level can be handy to ensure that the blinds are straight and level once they are lowered to the desired position.
In addition to these tools, it’s recommended to have a clean cloth or duster to wipe down the blinds before and after the adjustment process. This will help maintain their cleanliness and appearance.
Now that you have gathered the necessary tools and materials, it’s time to move on to the step-by-step process of lowering your Graber blinds. In the next section, we will discuss how to assess your blinds before making any adjustments.
Step 1: Assess Your Graber Blinds
Before you begin the process of lowering your Graber blinds, it’s important to assess the current state of your blinds. This will help you determine the adjustments needed and ensure a smooth and successful lowering process. Here are the steps to assess your Graber blinds:
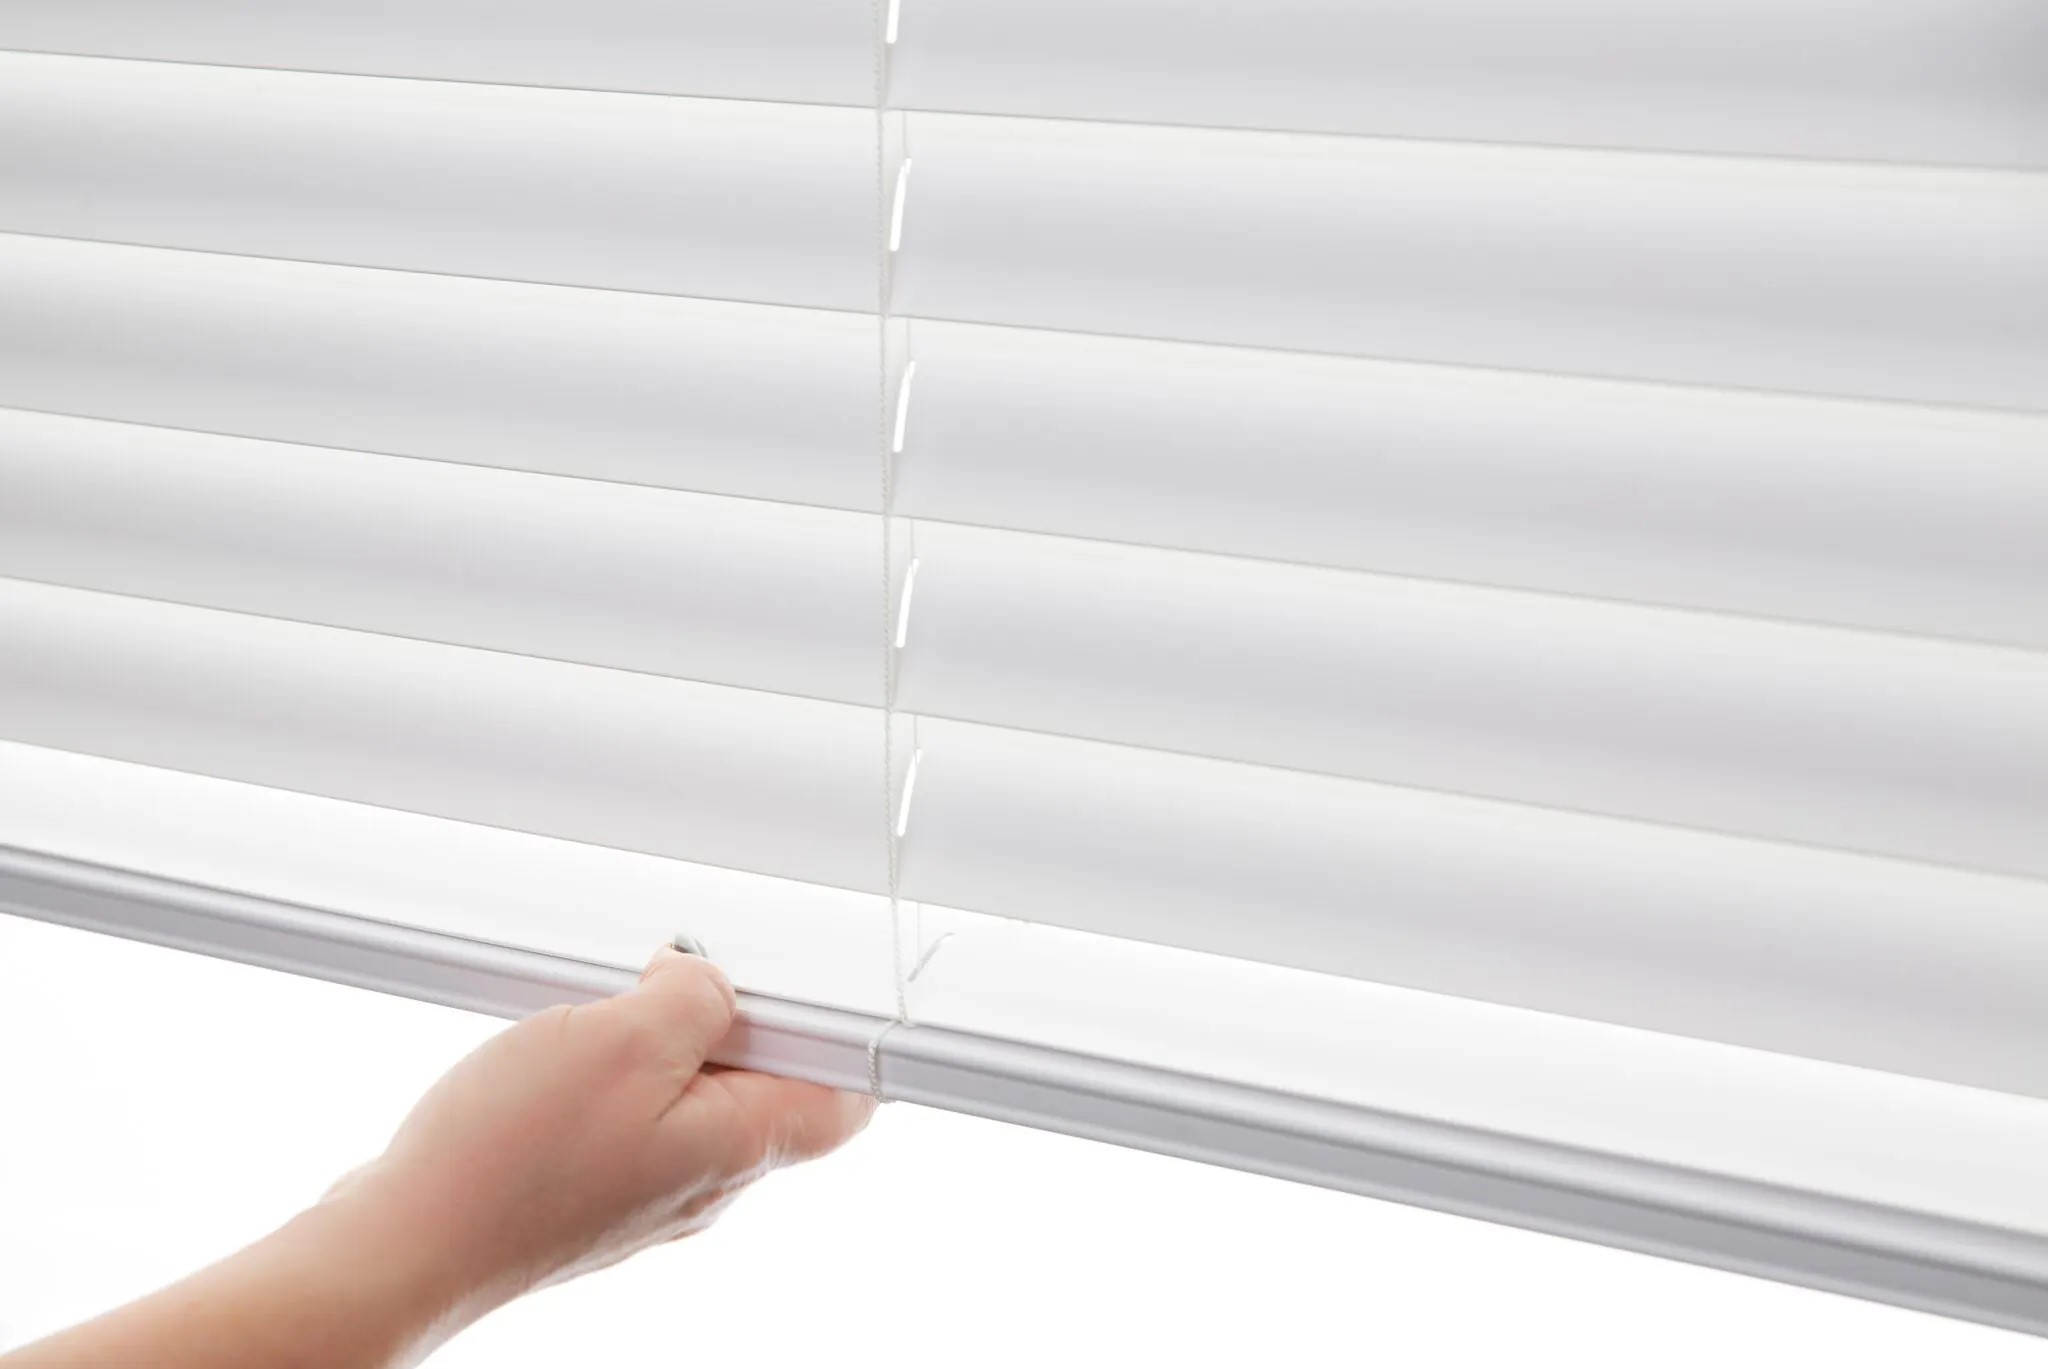
- Inspect the Mounting Brackets: Examine the mounting brackets that hold your Graber blinds in place. Take note of any screws or fasteners that may need to be loosened in order to lower the blinds.
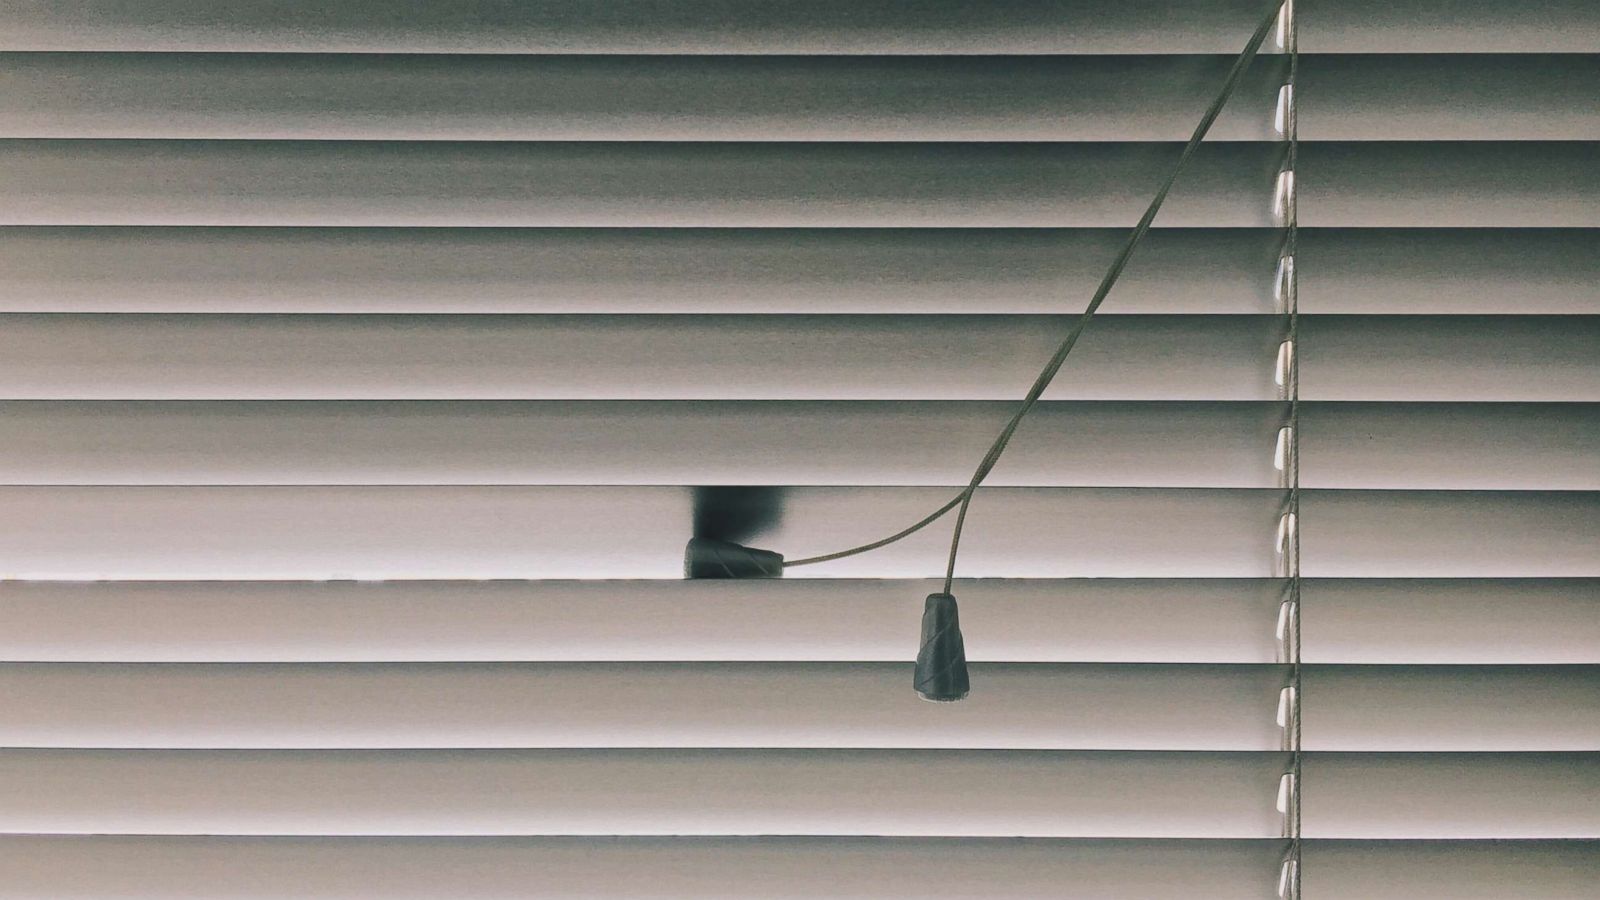
- Observe the Control Mechanism: Identify the control mechanism of your blinds, whether it’s a cord, wand, or remote control. Determine if the blinds are secured in place by the control mechanism and if any adjustments need to be made to allow lowering.
- Measure the Desired Height: Use a tape measure to measure the height at which you want to lower your Graber blinds. This will help you ensure that the blinds are lowered to your specific preference.
- Consider the Blinds’ Appearance: Evaluate the overall appearance of the blinds. Note any dust, dirt, or stains that may need to be cleaned before or after the lowering process.
By carefully assessing your Graber blinds, you will have a clear understanding of any adjustments required and be better equipped to proceed with lowering them. Once you have completed the assessment, you can move on to the next step, which involves adjusting the mounting brackets.
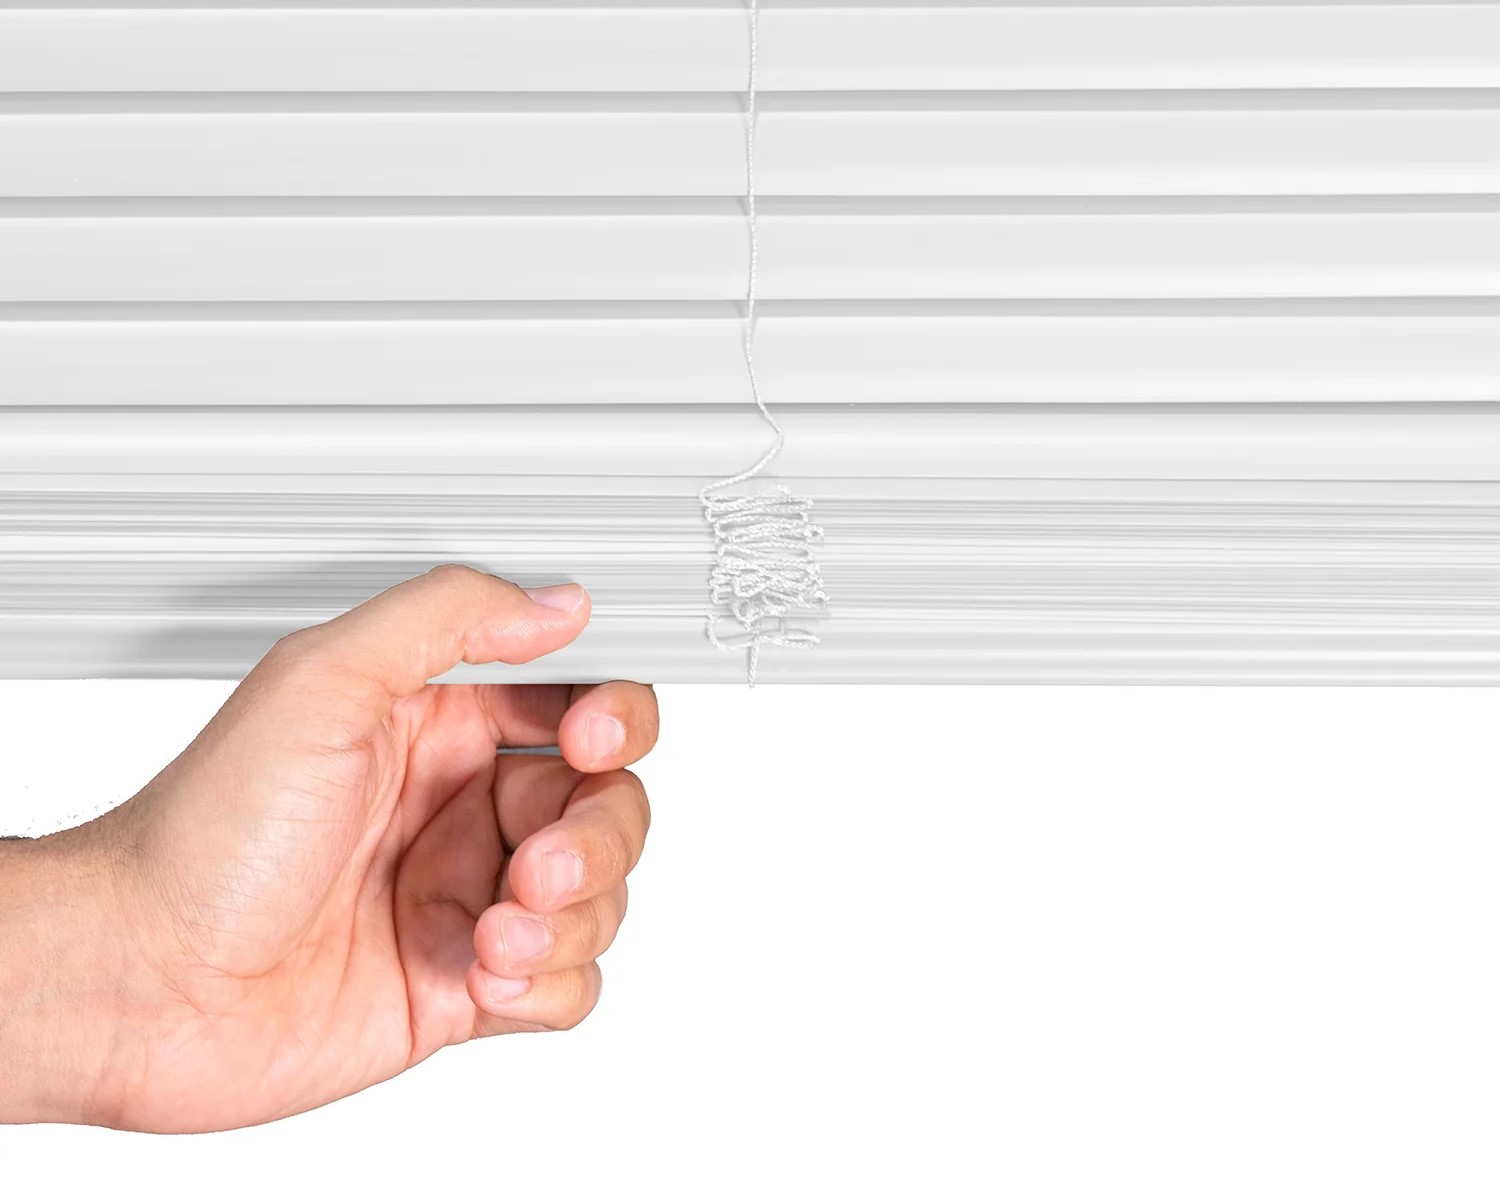
When lowering Graber blinds, always use the cord or wand provided to gently guide the blinds down. Avoid pulling on the blinds themselves to prevent damage.
Read more: How To Lower Blinds
Step 2: Adjust the Mounting Brackets
Once you have assessed your Graber blinds and determined that adjustments need to be made, it’s time to focus on the mounting brackets. The mounting brackets hold the blinds in place, and by loosening them, you can lower the blinds to your desired height. Follow these steps to adjust the mounting brackets:
- Locate the Mounting Brackets: Identify the location of the mounting brackets on either side of the window frame. These brackets are typically secured with screws.
- Loosen the Mounting Bracket Screws: Using a screwdriver (either flathead or Phillips-head, depending on the type of screws), gently loosen the screws on both brackets. Be careful not to remove the screws completely, as they are essential for holding the brackets in place.
- Lower the Blinds: With the mounting brackets slightly loosened, gently pull down on the bottom rail of the blinds to lower them to the desired height. Take your time to ensure that the blinds are level and aligned with the window frame.
- Tighten the Mounting Bracket Screws: Once the blinds are lowered to the desired height, use the screwdriver to tighten the mounting bracket screws. Ensure that the brackets are securely fastened to prevent any wobbling or instability.
By adjusting the mounting brackets, you have successfully lowered your Graber blinds to the desired height. Now, it’s time to move on to the next step, which involves loosening the control mechanism.
Step 3: Loosen the Control Mechanism
After adjusting the mounting brackets and lowering your Graber blinds to the desired height, you may need to address the control mechanism to ensure that it allows for smooth operation. Depending on the type of control mechanism your blinds have, it may be necessary to loosen it in order to fully lower the blinds. Follow these steps to loosen the control mechanism:
- Identify the Control Mechanism: Determine the type of control mechanism your Graber blinds have. It could be a cord, wand, or remote control.
- Inspect the Control Mechanism: Examine the control mechanism and look for any securing devices or mechanisms that may prevent the blinds from being fully lowered. This could include cord locks, tension devices, or remote control settings.
- Loosen or Release the Mechanism: Depending on the specific control mechanism, follow the manufacturer’s instructions to loosen or release any securing devices. This may involve pressing a release button, adjusting tension settings, or releasing cord locks.
- Test the Control Mechanism: Once you have loosened or released the control mechanism, test it by gently pulling or operating it to ensure that it allows for smooth movement and complete lowering of the blinds.
By loosening the control mechanism, you have ensured that there are no restrictions or obstructions preventing the blinds from being lowered to the desired height. Now, it’s time to move on to the next step and actually lower the Graber blinds.
Step 4: Lower the Graber Blinds
With the mounting brackets adjusted and the control mechanism loosened, you are now ready to lower your Graber blinds to the desired height. This step involves physically lowering the blinds to achieve the perfect balance between privacy, sunlight control, and aesthetic appeal. Follow these steps to lower your Graber blinds:
- Position Yourself: Stand in front of the window or area where the blinds are installed. Ensure that you have a clear view of the blinds and easy access to the control mechanism.
- Gently Lower the Blinds: Depending on the type of control mechanism, start gradually lowering the blinds by pulling the cord, wand, or using the remote control feature. Maintain control and guide the blinds as they descend to the desired height.
- Ensure Levelness: As you lower the blinds, keep an eye on their position and ensure that they are level and aligned with the window frame. Adjust if necessary by gently pushing or pulling on the bottom rail of the blinds.
- Stop at the Desired Height: Lower the blinds until they reach the desired height, providing the level of privacy and sunlight control you desire. Double-check that they are level and evenly positioned.
- Secure Control Mechanism: If the control mechanism has any securing devices or mechanisms, make sure to re-engage or lock them in place once the blinds have been lowered.
By following these steps, you have successfully lowered your Graber blinds to the desired height. However, before you wrap up the process, it’s important to test and make any final adjustments if needed. Let’s move on to the next step to ensure the blinds are functioning correctly.
Step 5: Test and Final Adjustments
Once you have lowered your Graber blinds to the desired height, it’s essential to test their functionality and make any final adjustments to ensure they are operating correctly. This step allows you to fine-tune the blinds and address any issues that may have arisen during the lowering process. Follow these steps to test and make final adjustments to your Graber blinds:
- Operate the Control Mechanism: Test the control mechanism, whether it’s a cord, wand, or remote control, to ensure smooth operation. Ensure that the blinds can be raised and lowered without any resistance or difficulty.
- Check for Levelness: Observe the blinds from both inside and outside the room to check their levelness. Adjust if necessary by gently pushing or pulling on the bottom rail until they are level with the window frame.
- Inspect for Proper Alignment: Examine the blinds and ensure that they are evenly aligned and evenly spaced within the window frame. Adjust if needed to achieve a visually pleasing and symmetrical look.
- Clean the Blinds: Take a clean cloth or duster and gently wipe down the blinds to remove any dust or dirt that may have accumulated during the adjustment process. This will help maintain the blinds’ appearance and cleanliness.
- Make Note of Further Adjustments: If you notice any issues or imperfections that cannot be fixed with the current adjustments, make note of them for further adjustments or professional assistance if needed.
By thoroughly testing and making any necessary final adjustments, you can ensure that your Graber blinds are functioning correctly and provide the desired privacy and light control. With these steps completed, you have successfully lowered your Graber blinds and created the perfect ambiance in your living space.
Congratulations on the successful completion of lowering your Graber blinds! Enjoy the benefits of enhanced privacy, light control, and aesthetic appeal that they bring to your home.
If you ever need to readjust or make changes to your Graber blinds in the future, you can refer back to this guide for a quick and easy process.
Happy decorating!
Read more: How To Take Down Graber Blinds
Conclusion
Lowering your Graber blinds is a simple yet impactful way to enhance the functionality and aesthetic appeal of your living spaces. By following the step-by-step process, you can achieve the desired level of privacy, light control, and visual harmony in your home. From assessing the blinds to adjusting the mounting brackets, loosening the control mechanism, and ultimately lowering the blinds to the desired height, each step plays a crucial role in achieving the perfect result.
By lowering your Graber blinds, you can enjoy a multitude of benefits. Improved privacy allows you to create a cozy and intimate atmosphere, while the ability to control natural light enhances your comfort and helps reduce glare. Lowering the blinds also contributes to energy efficiency by regulating temperature and reducing heat loss. Additionally, the unobstructed view of the outside world adds to the overall appeal of your living spaces.
Remember to gather the necessary tools and materials before starting the process. A tape measure, screwdriver, pliers, and a ladder or step stool are essential tools that will help you complete the task efficiently. Taking the time to assess your blinds, adjust the mounting brackets, loosen the control mechanism, and make any final adjustments ensures that your Graber blinds are functioning correctly and provide the desired benefits.
With lowered Graber blinds, you can create a space that is both visually pleasing and functional. Whether you are seeking a tranquil retreat or a productive work environment, the versatility of Graber blinds makes them the perfect choice for any room in your home.
Now that you have learned how to lower your Graber blinds, it’s time to put this knowledge into action. Begin the process with confidence, knowing that you have the tools, materials, and steps necessary to achieve the desired results. Enjoy the enhanced ambiance, privacy, and light control that lowering your Graber blinds brings to your living spaces.
Thank you for joining us in this guide. Happy lowering!
Frequently Asked Questions about How To Lower Graber Blinds
Was this page helpful?
At Storables.com, we guarantee accurate and reliable information. Our content, validated by Expert Board Contributors, is crafted following stringent Editorial Policies. We're committed to providing you with well-researched, expert-backed insights for all your informational needs.