Articles
How To Replace Window Blinds
Modified: January 9, 2024
Learn how to replace window blinds with our helpful articles. From measuring to installation, we have all the tips and tricks you need for a successful blind replacement.
(Many of the links in this article redirect to a specific reviewed product. Your purchase of these products through affiliate links helps to generate commission for Storables.com, at no extra cost. Learn more)
Introduction
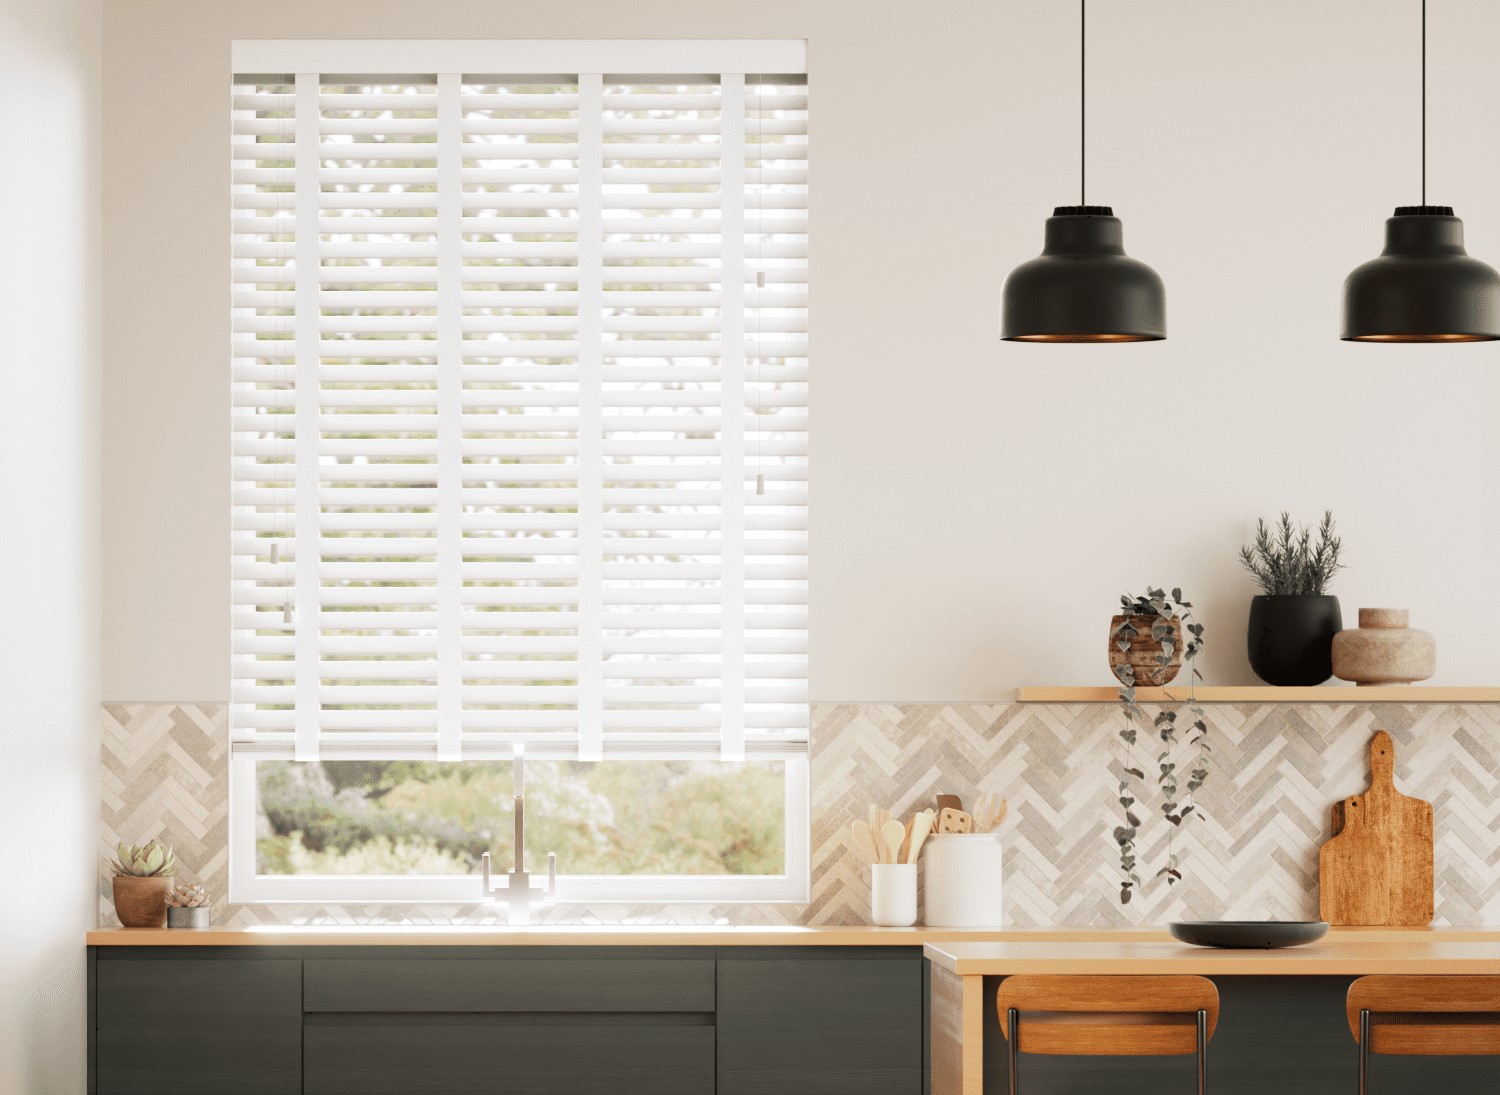
Window blinds serve as both a functional and decorative element in our homes. They provide privacy, control the amount of sunlight entering a room, and add a touch of style to any window. However, over time, blinds may become worn out or outdated, requiring replacement. If you’re looking to upgrade your window blinds and give your space a fresh new look, this article will guide you through the process of replacing them.
Before diving into the steps, it’s important to gather the necessary tools and materials. Having everything at hand will streamline the installation process and ensure a smooth transition from old to new blinds.
Here are the tools and materials you’ll need:
- Tape measure
- Drill or screwdriver
- Level
- Pencil
- New blinds
- Mounting brackets
- Screws
- Wand or cord (for blinds with manual operation)
- Instructions from the blind manufacturer
Once you have the necessary tools and materials ready, it’s time to move on to the first step – measuring the window. This step is crucial to ensure the new blinds fit perfectly and provide proper coverage.
Key Takeaways:
- Proper preparation, accurate measurements, and careful installation are crucial for successfully replacing window blinds. This DIY project can enhance the aesthetic appeal and functionality of any room.
- By following the step-by-step guide, homeowners can confidently tackle the process of replacing window blinds, creating a fresh and stylish look while improving privacy and light control.
Tools and Materials Needed
Before you can embark on replacing your window blinds, it’s important to gather the necessary tools and materials. Having everything prepared beforehand will make the process smoother and more efficient. Here is a list of the essential tools and materials you will need:
- Tape measure: This is an essential tool for accurately measuring the dimensions of your window. Make sure to take multiple measurements to ensure accuracy.
- Drill or screwdriver: Depending on the type of mounting brackets, you may need a drill or screwdriver to secure them in place.
- Level: A level will help you ensure that your blinds are straight and properly aligned during installation.
- Pencil: You’ll need a pencil to mark the placement of the mounting brackets and other necessary measurements on your window frame.
- New blinds: Choose the style, material, and color of blinds that best suit your preference and the decor of your room.
- Mounting brackets: These are the brackets that will hold your blinds in place. Make sure to choose the correct type of brackets based on the style and weight of your blinds.
- Screws: Depending on the mounting brackets, you may need screws to secure them to the window frame or wall.
- Wand or cord (for blinds with manual operation): If your blinds have a manual operation, you’ll need a wand or cord to control their movement.
- Instructions from the blind manufacturer: It’s always a good idea to refer to the manufacturer’s instructions specific to the blinds you’ve purchased. These will provide valuable guidance throughout the installation process.
Having these tools and materials ready will ensure that you’re well-prepared to replace your window blinds efficiently and with minimum hassle. With everything in place, you can now move on to the following steps to successfully complete the installation.
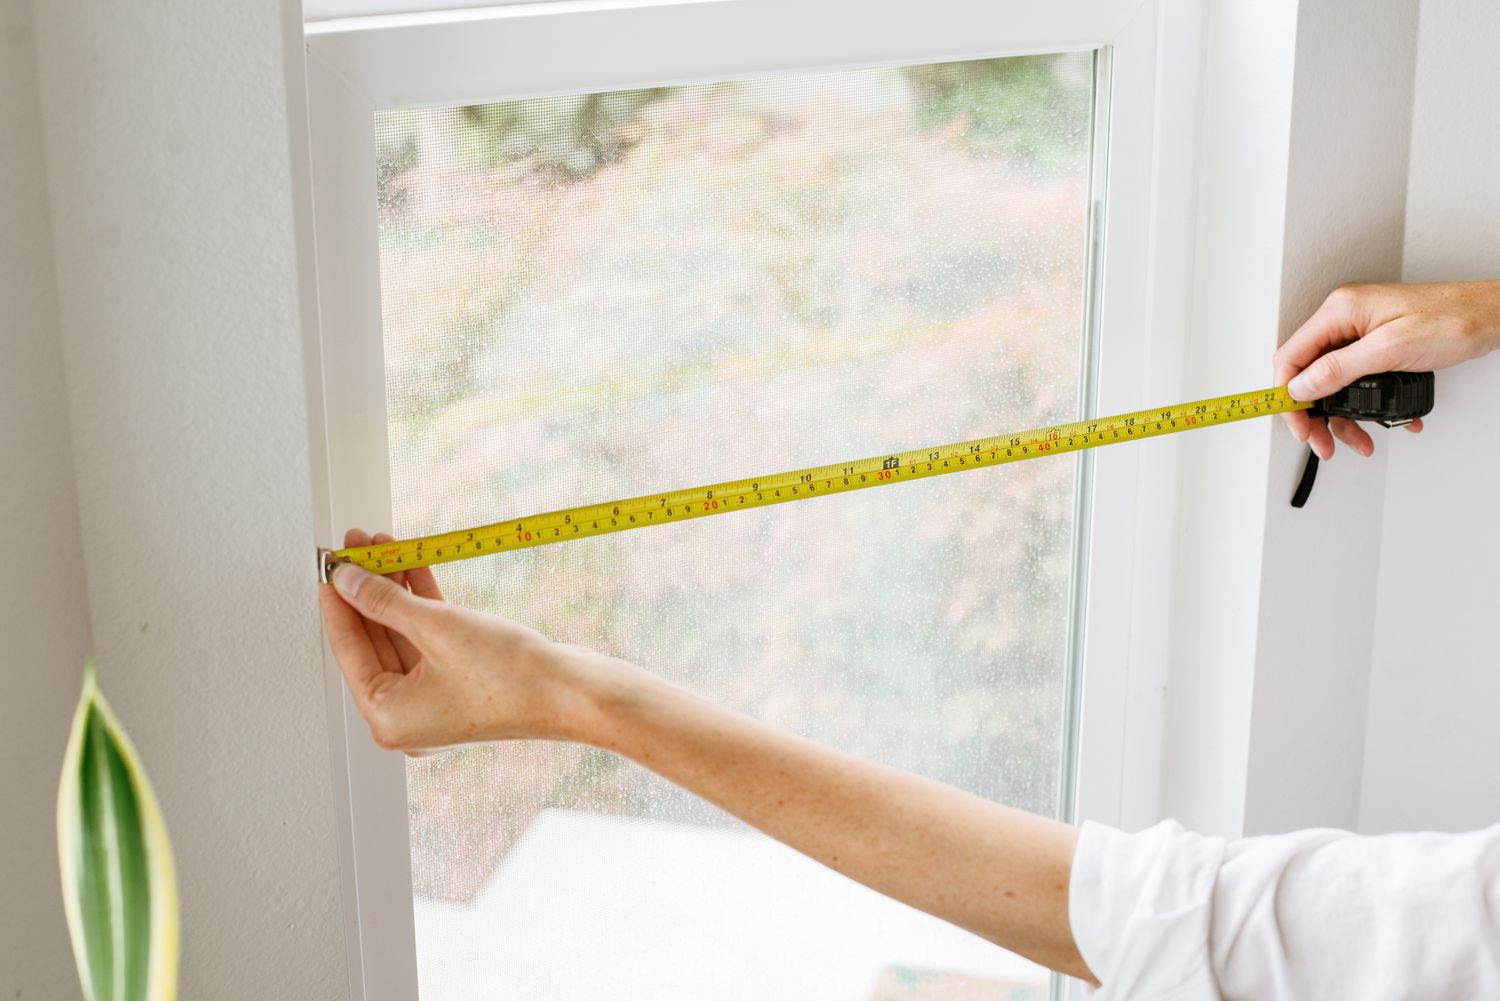
Step 1: Measure the Window
Before you can begin replacing your window blinds, it’s crucial to get accurate measurements of the window. This step ensures that the new blinds will fit perfectly and provide proper coverage. Here’s a step-by-step guide on how to measure your window:
- Start by opening the existing blinds and removing any window treatments like curtains or valances. This will give you unobstructed access to the window frame.
- Take the tape measure and start from the top left corner of the window frame. Measure the width in three places: the top, middle, and bottom. Take note of the narrowest measurement as this will be the width of your blinds.
- Next, move on to measuring the height of the window. Again, measure in three places: the left side, middle, and right side. Take note of the longest measurement as this will be the height of your blinds.
- If you plan to mount your blinds inside the window frame, subtract a small amount (usually 1/4 inch) from both the width and height measurements to allow for a proper fit. If you prefer an outside mount, where the blinds will be mounted on the window frame or wall above the window, you can skip this step.
- Double-check your measurements to ensure accuracy before proceeding to purchase the new blinds. It’s always better to be too precise than to end up with blinds that are too small or too large for your window.
By taking the time to measure your window correctly, you’ll avoid the frustration of purchasing blinds that don’t fit properly. With this crucial step completed, you’re now ready to move on to the next step of removing the old blinds.
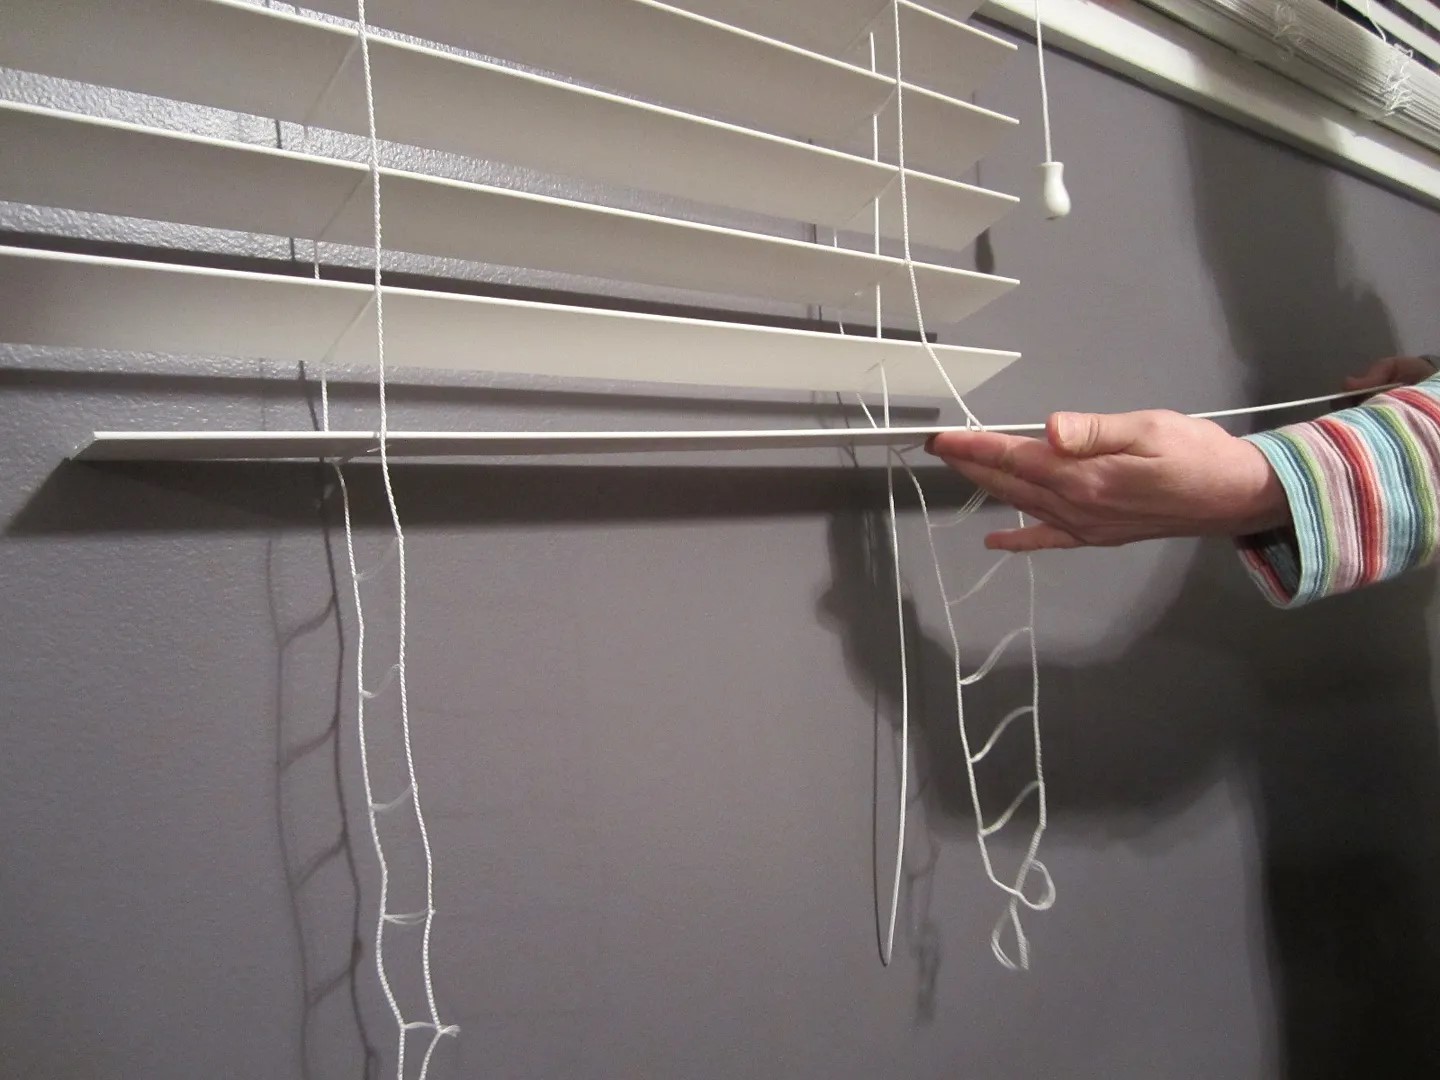
Step 2: Remove the Old Blinds
With the measurements in hand, it’s time to remove the old blinds from your window. Clearing the way for the new blinds will ensure a smooth installation process. Here’s how to remove the old blinds:
- Begin by fully opening the blinds to expose the mounting brackets or hardware.
- Inspect the blinds and identify the brackets holding them in place. Depending on the type of blinds, the brackets could be located on either end or along the top of the headrail.
- Unattach the blinds from the brackets by either sliding them out or releasing any hooks or clips holding them in place. Be cautious when handling the blinds to avoid any damage or injury.
- Once the blinds are detached, carefully remove them from the window. Set them aside or dispose of them, depending on their condition and your preferences.
- With the blinds removed, take a moment to clean the window frame and remove any dust, dirt, or debris that may have accumulated. This will provide a clean surface for the installation of the new blinds.
Removing the old blinds may seem like a simple task, but it’s important to do so with care to avoid any damage to the window frame or surrounding areas. Once the old blinds are successfully removed, you’re now ready to move on to the exciting step of purchasing new blinds that will transform your window.
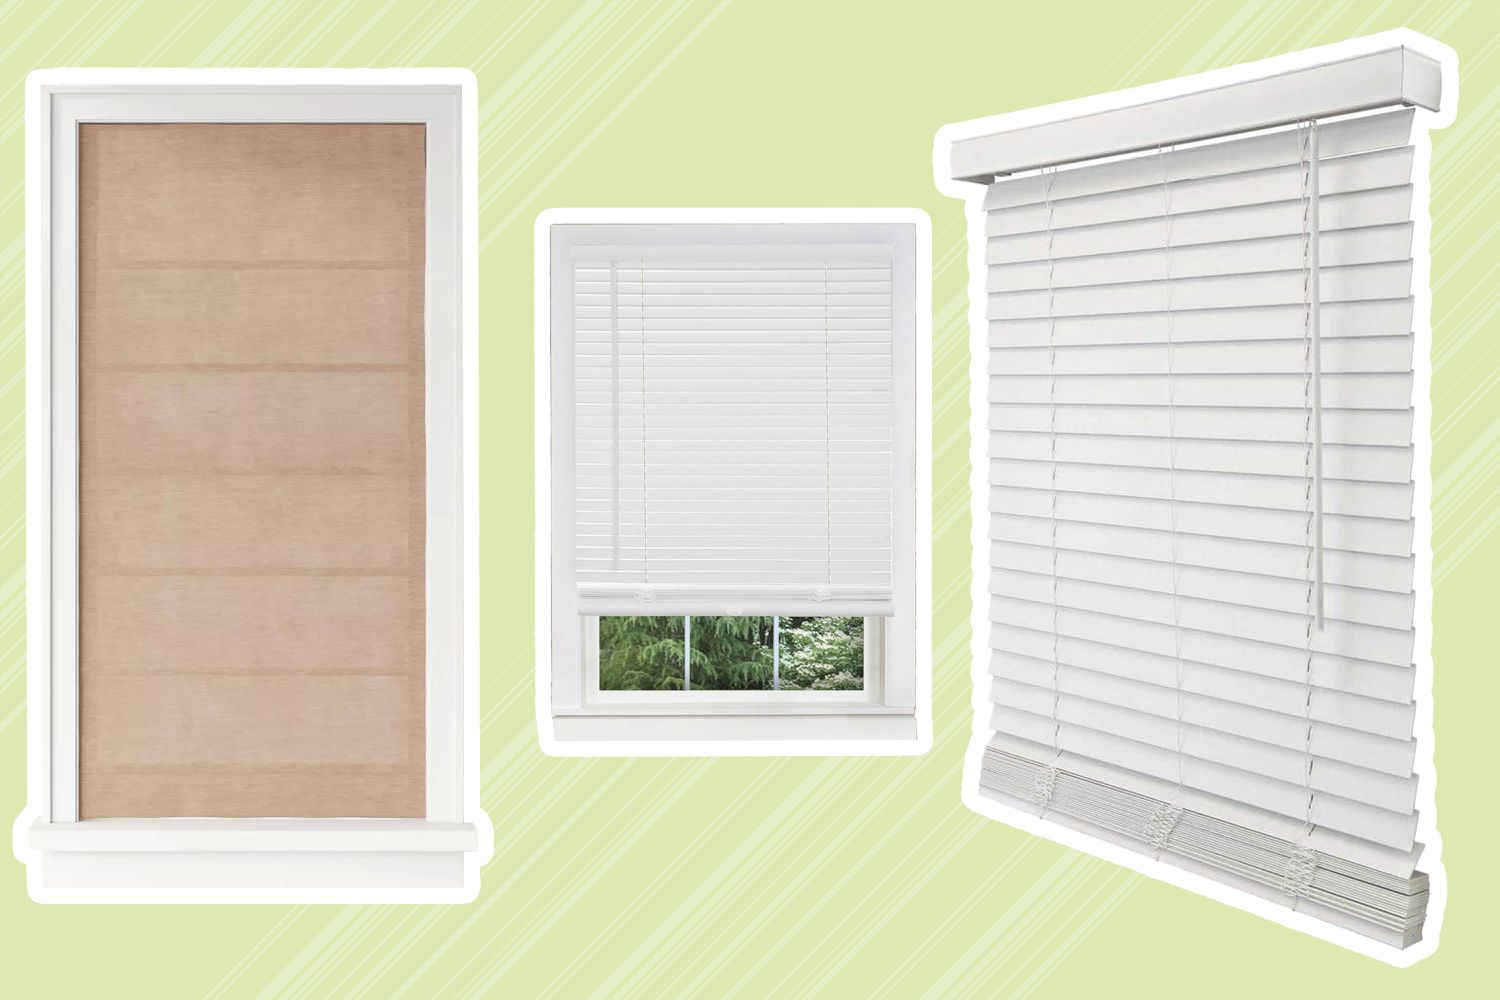
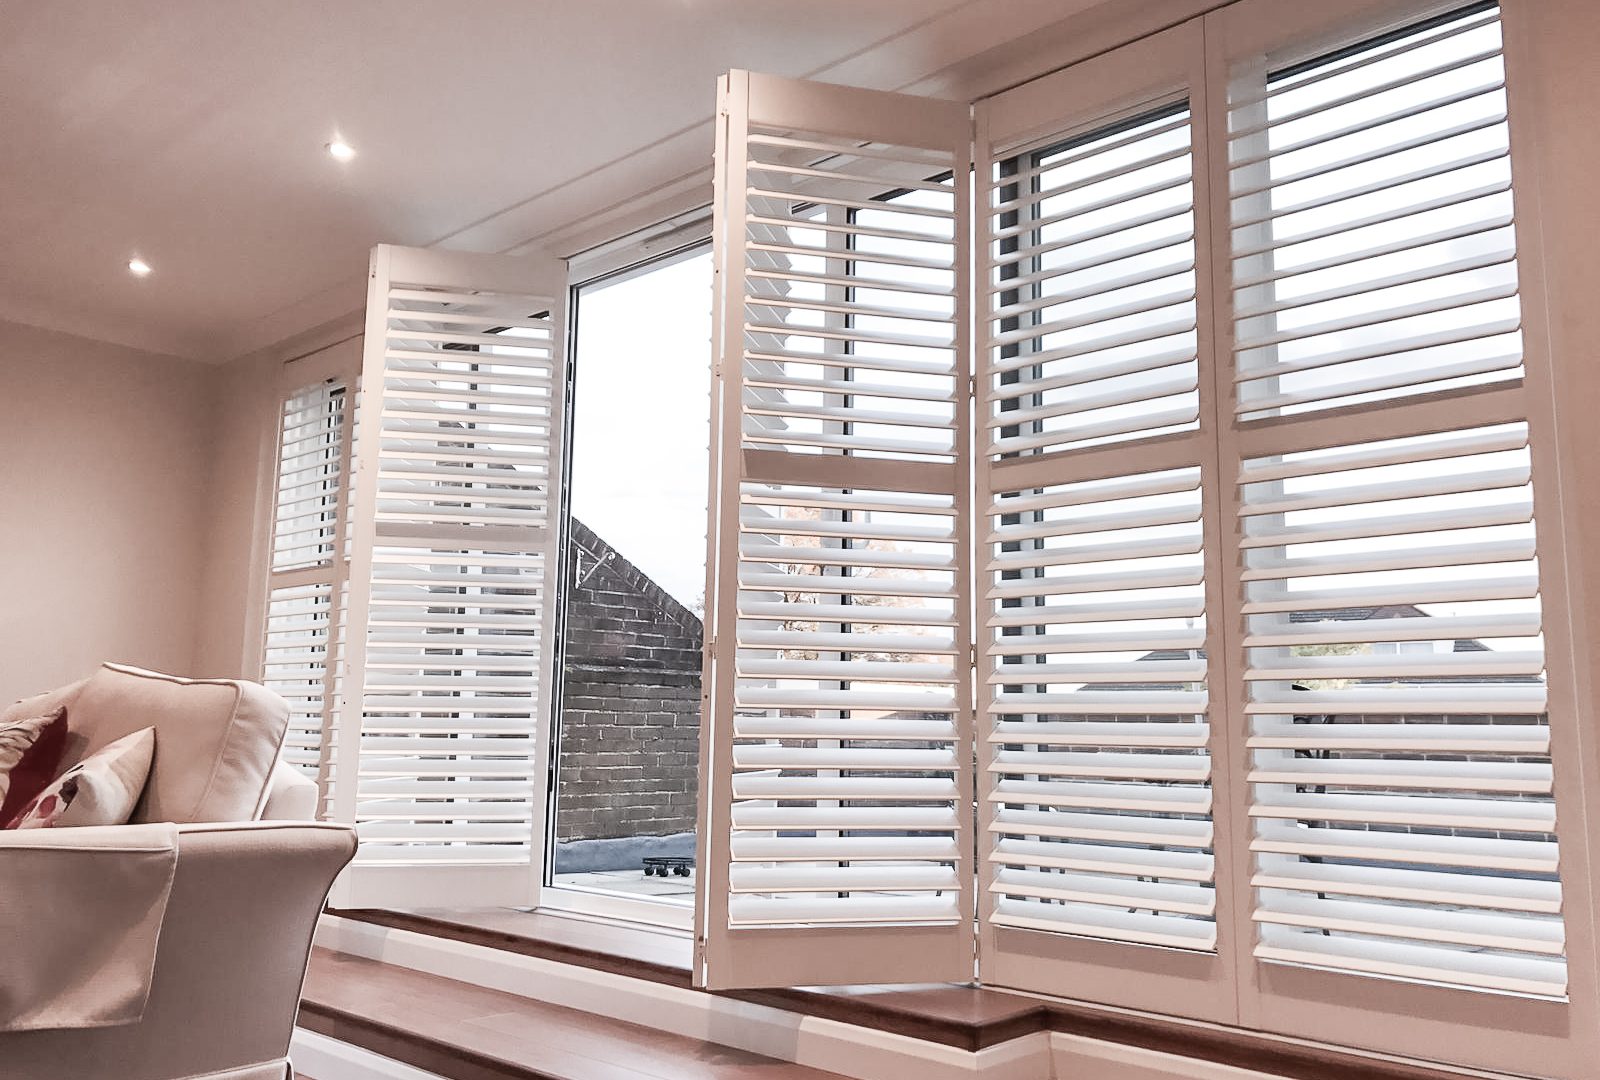
Step 3: Purchase New Blinds
Now that you have removed the old blinds, it’s time to select and purchase new blinds that will complement your window and enhance the overall look of your space. Here’s a step-by-step guide to purchasing new blinds:
- Consider the style and functionality: Determine the type of blinds you want based on your preferences and specific needs. Whether it’s roller blinds, Roman shades, vertical blinds, or another style, choose blinds that align with your aesthetic vision and provide the desired level of light control and privacy.
- Measurements: Use the measurements you took earlier to ensure you choose blinds that fit your window perfectly. Pay close attention to the width and height when selecting the size of your blinds.
- Material and color: Select blinds made from high-quality materials that match your interior décor. Consider factors such as the durability of the material, ease of maintenance, and your overall color scheme to make the best choice.
- Budget: Set a budget for your new blinds and explore different options within your price range. It’s important to find a balance between affordability and quality when making your selection.
- Research and compare: Take the time to research different brands and read customer reviews. Compare prices, warranties, and any additional features or benefits offered by different manufacturers.
- Purchase: Once you have made your decision, purchase your new blinds either online or from a local store. Ensure that you double-check the specifications, including the size and color, to avoid any discrepancies or regrets.
By following these steps, you can confidently purchase the ideal blinds that meet your style preferences, fit your window perfectly, and suit your budget. With your new blinds ready, you’re now ready to move on to the next step – installing the mounting brackets.
Read more: What Is Window Blinds
Step 4: Install Mounting Brackets
With your new blinds in hand, it’s time to install the mounting brackets that will hold them securely in place. Proper installation of the brackets is essential for the stability and functionality of your blinds. Here’s a step-by-step guide on how to install the mounting brackets:
- Refer to the manufacturer’s instructions: Before you begin, carefully read the instructions provided by the blind manufacturer. These instructions will give you specific guidance on how to install the mounting brackets for your particular blinds.
- Decide on the mounting position: Based on your preference, decide whether you want to install the brackets inside the window frame or on the wall/ceiling above the window. This will depend on the type of blinds and your desired aesthetic.
- Measure and mark: Use a pencil and tape measure to mark the exact positions where the brackets will be installed. Ensure that the markings are level and aligned properly.
- Drilling: If required, use a drill to create pilot holes for the screws. This will ensure that the screws go in smoothly and securely. Be cautious when drilling to avoid any damage to the window frame or wall.
- Install the brackets: Place the brackets in the marked positions and attach them using the screws provided. Tighten the screws securely to ensure the brackets are firmly in place.
- Double-check the level: Use a level to ensure that the brackets are straight and properly aligned. Adjust if necessary.
By following these steps, you can effectively install the mounting brackets for your new blinds, ensuring they are secure and well-positioned. With the brackets in place, you’re now ready to move on to the next step of attaching the headrail.
When replacing window blinds, be sure to measure the width and length of the window accurately to ensure you purchase the correct size. It’s also important to consider the type of mounting brackets needed for your specific window frame.
Step 5: Attach the Headrail
Now that the mounting brackets are securely installed, it’s time to attach the headrail of your new blinds. The headrail is the horizontal component that holds the slats or panels of the blinds. Here’s a step-by-step guide on how to attach the headrail:
- Check the manufacturer’s instructions: Before you begin, refer to the manufacturer’s instructions specific to your blinds. These instructions will provide you with any specific guidance on how to attach the headrail.
- Position the headrail: Carefully position the headrail on top of the mounting brackets. Align it with the brackets so that it fits snugly.
- Secure the headrail: Depending on the type of blinds, there might be different methods of securing the headrail in place. It may involve sliding the headrail into the brackets or locking it using provided clips or screws. Follow the instructions closely to ensure a secure attachment.
- Ensure smooth operation: Once the headrail is attached, test its movement by slightly opening and closing the blinds. This will ensure that the headrail is properly aligned and allows the blinds to operate smoothly.
- Make adjustments if necessary: If the headrail is not aligned properly or if the blinds are not opening or closing smoothly, make any necessary adjustments to achieve proper functionality.
Taking the time to correctly attach the headrail will ensure that your blinds are securely held in place and can be operated with ease. With the headrail successfully attached, you can now proceed to the next step of installing the wand or cord for manual operation, if applicable.
Step 6: Install the Wand or Cord
If your blinds have a manual operation system, such as a wand or cord, it’s time to install and attach it. The wand or cord allows you to control the movement and positioning of the blinds. Here’s a step-by-step guide on how to install the wand or cord:
- Refer to the manufacturer’s instructions: Before starting, carefully read the manufacturer’s instructions specific to your blinds. These instructions will provide you with any specific guidance on how to install the wand or cord.
- Identify the wand or cord attachment point: Determine where the wand or cord should be attached to the blinds. This is typically located on the side of the headrail or along the bottom of the blinds.
- Slide the wand or cord into the attachment mechanism: Depending on your blinds, you may need to slide the wand into a holder or loop the cord through a pulley mechanism. Follow the instructions provided by the manufacturer to ensure proper installation.
- Secure the wand or cord: Once the wand or cord is in place, ensure that it is securely attached and will not easily detach during use. Test the movement to confirm that the wand or cord operates the blinds smoothly and effortlessly.
- Make any necessary adjustments: If the wand or cord is not functioning properly or if there are any issues with its attachment, make any required adjustments to ensure optimal operation.
By correctly installing the wand or cord, you will have a functional manual operation system for your blinds. This will allow you to easily adjust the position and angle of the blinds to control light and privacy in your space. With the wand or cord successfully installed, you’re now ready to move on to the next step of testing the blinds.
Step 7: Test the Blinds
After all the components have been installed, it’s crucial to test the functionality of your newly installed blinds. Testing the blinds will ensure they operate smoothly and meet your light control and privacy needs. Here’s a step-by-step guide on how to test the blinds:
- Close the blinds: Use the wand, cord, or any provided control mechanism to fully close the blinds. Observe if all the slats or panels close completely and evenly.
- Open the blinds: Use the same control mechanism to fully open the blinds. Confirm that they open smoothly and that all the slats or panels align properly. Check that the blinds allow enough light to enter the room when fully open.
- Adjust the slats or panels: If your blinds have adjustable slats or panels, experiment with adjusting them to different angles. Ensure that they move effortlessly and stay in the desired position without slipping or tilting.
- Check for any obstructions: During the testing process, ensure that there are no obstructions or sticking points that hinder the smooth movement of the blinds. If you encounter any issues, troubleshoot and make any necessary adjustments.
- Test the control mechanism: If your blinds have a wand or cord, ensure that it operates smoothly, without any resistance or tangling. Test various movements—lifting, lowering, and tilting—to ensure all functions work correctly.
By thoroughly testing your blinds, you can identify and resolve any issues or adjustments that may be necessary. This step ensures that your blinds are fully functional and operate seamlessly. With the blinds successfully tested, you can now move on to making any final adjustments for a perfect fit.
Read more: How To Close Window Blinds
Step 8: Make Final Adjustments
After testing the blinds, it’s time to make any final adjustments to ensure they are properly aligned, level, and function seamlessly. Making these final adjustments will guarantee a polished and professional look for your newly installed blinds. Here’s a step-by-step guide on how to make final adjustments:
- Check for alignment: Step back and assess the overall alignment of the blinds. Ensure that they are level and properly centered within the window frame.
- Reposition the brackets if needed: If you notice any misalignment or unevenness, you may need to slightly reposition the brackets. Loosen the screws and make the necessary adjustments to achieve the desired alignment.
- Secure the brackets: Once you have repositioned the brackets, tighten the screws securely to ensure they are firmly in place.
- Check for smooth operation: Open and close the blinds multiple times to verify that they operate smoothly and without any friction or resistance. Adjust the tightness of the control mechanism if needed.
- Make minor adjustments to the slats or panels: If the slats or panels are not perfectly aligned, gently adjust them to create an even appearance. Take care not to apply excessive force, as it may damage the blinds.
- Double-check the measurements: Verify once again that the blinds perfectly fit the window frame and provide adequate coverage. Make any necessary adjustments to achieve a precise fit.
Making these final adjustments will ensure that your blinds are perfectly aligned and functioning as intended. It’s important to take the time to make these tweaks to achieve the best results and a finished look. With the final adjustments completed, you can now step back and admire your newly installed window blinds.
Now that you have successfully replaced your window blinds and made the final adjustments, you can enjoy the enhanced privacy, light control, and aesthetic appeal they bring to your space. Not only do new blinds provide a fresh look, but they also serve a functional purpose in creating a comfortable and inviting atmosphere in your home.
Congratulations on completing the process of replacing your window blinds! By following these steps, it’s safe to say that you are now equipped with the knowledge and skills to tackle this DIY project with confidence.
Conclusion
Replacing window blinds is a satisfying home improvement project that can upgrade the appearance and functionality of any room. By following the steps outlined in this guide, you can confidently replace your old blinds and enjoy the benefits of fresh, stylish, and properly functioning window coverings.
Remember, preparation is key. Before starting the replacement process, gather all the necessary tools and materials, and carefully measure your window to ensure a proper fit for the new blinds. Removing the old blinds is a straightforward task, while the selection and purchase of new blinds should be based on your style preferences, measurement accuracy, and budget.
Installation begins with mounting the brackets securely onto the window frame or wall. Aligning the headrail and attaching it to the brackets is the next step. If required, install the wand or cord for manual operation. Once everything is in place, test the blinds to make sure they open, close, and adjust smoothly.
Finally, make any necessary adjustments to achieve a perfect fit and alignment. This includes repositioning the brackets, ensuring levelness, and adjusting the slats or panels if needed. Taking the time to make these final adjustments will guarantee a professional finish and optimal functionality.
By successfully replacing your window blinds, you’ll not only refresh the look of your space but also enhance privacy, control sunlight, and improve the overall ambiance of your room. So, gather your tools, measure your windows, and follow the steps outlined in this guide to embark on a rewarding DIY journey.
Enjoy the process of transforming your windows and revel in the beauty and functionality of your newly installed blinds.
Frequently Asked Questions about How To Replace Window Blinds
Was this page helpful?
At Storables.com, we guarantee accurate and reliable information. Our content, validated by Expert Board Contributors, is crafted following stringent Editorial Policies. We're committed to providing you with well-researched, expert-backed insights for all your informational needs.