Articles
How To Make A Finger Joint With Hand Tools
Modified: December 7, 2023
Learn how to create a sturdy and precise finger joint using only hand tools. Discover useful tips and techniques in this informative article.
(Many of the links in this article redirect to a specific reviewed product. Your purchase of these products through affiliate links helps to generate commission for Storables.com, at no extra cost. Learn more)
Introduction
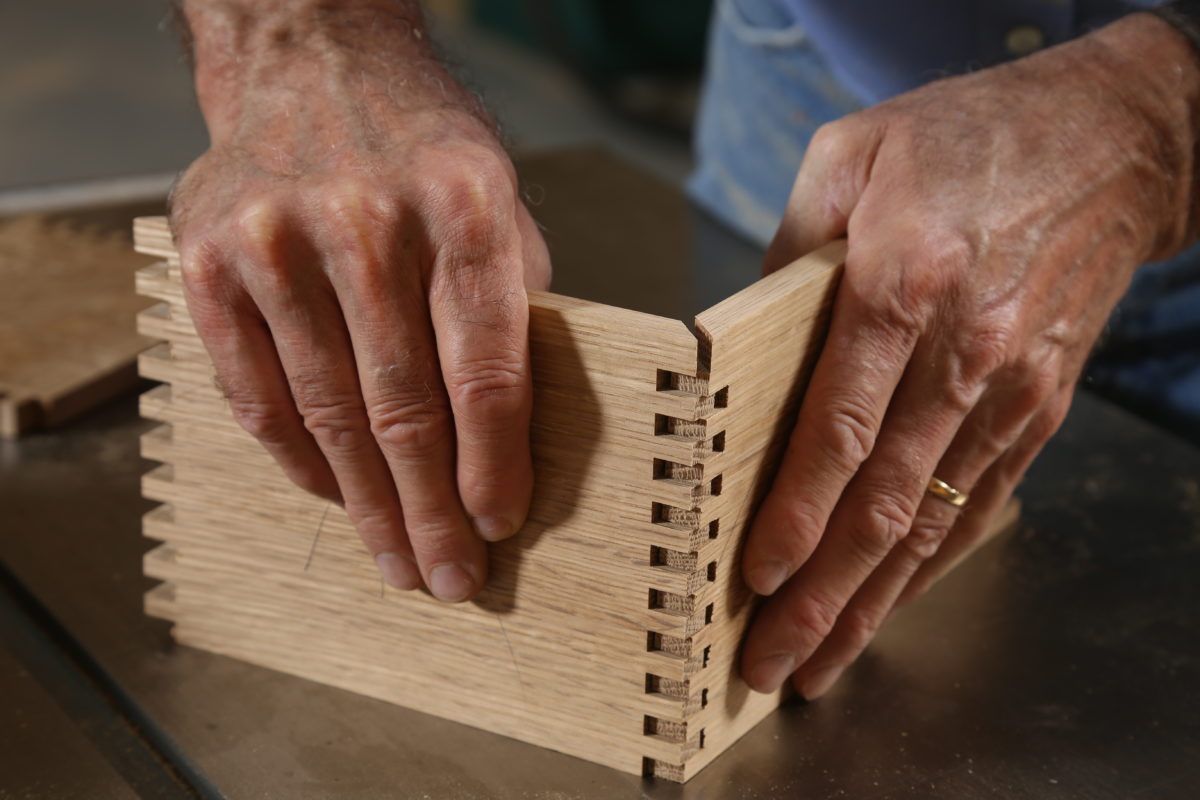
Creating a finger joint is a woodworking technique that allows two pieces of wood to be securely joined together. This strong and durable joint is not only functional but also adds an aesthetic touch to your woodworking projects. While it may seem intimidating at first, making a finger joint with hand tools is a rewarding and fulfilling craft that can be achieved by woodworkers of all levels of experience.
In this article, we will walk you through the step-by-step process of creating a finger joint with hand tools. We will cover the tools and materials you will need, as well as provide detailed instructions on preparing the wood, marking the joint, cutting the fingers, removing the waste, fitting the joint, and finishing the project. So, grab your tools and let’s get started!
Key Takeaways:
- Master the art of creating strong and elegant finger joints with hand tools, enhancing the quality and aesthetics of your woodworking projects.
- Exercise patience, precision, and diligence to achieve seamless and durable finger joints, opening up a world of possibilities for unique and customized woodworking creations.
Read more: How To Make Dovetail Joints With Hand Tools
Tools and Materials Needed
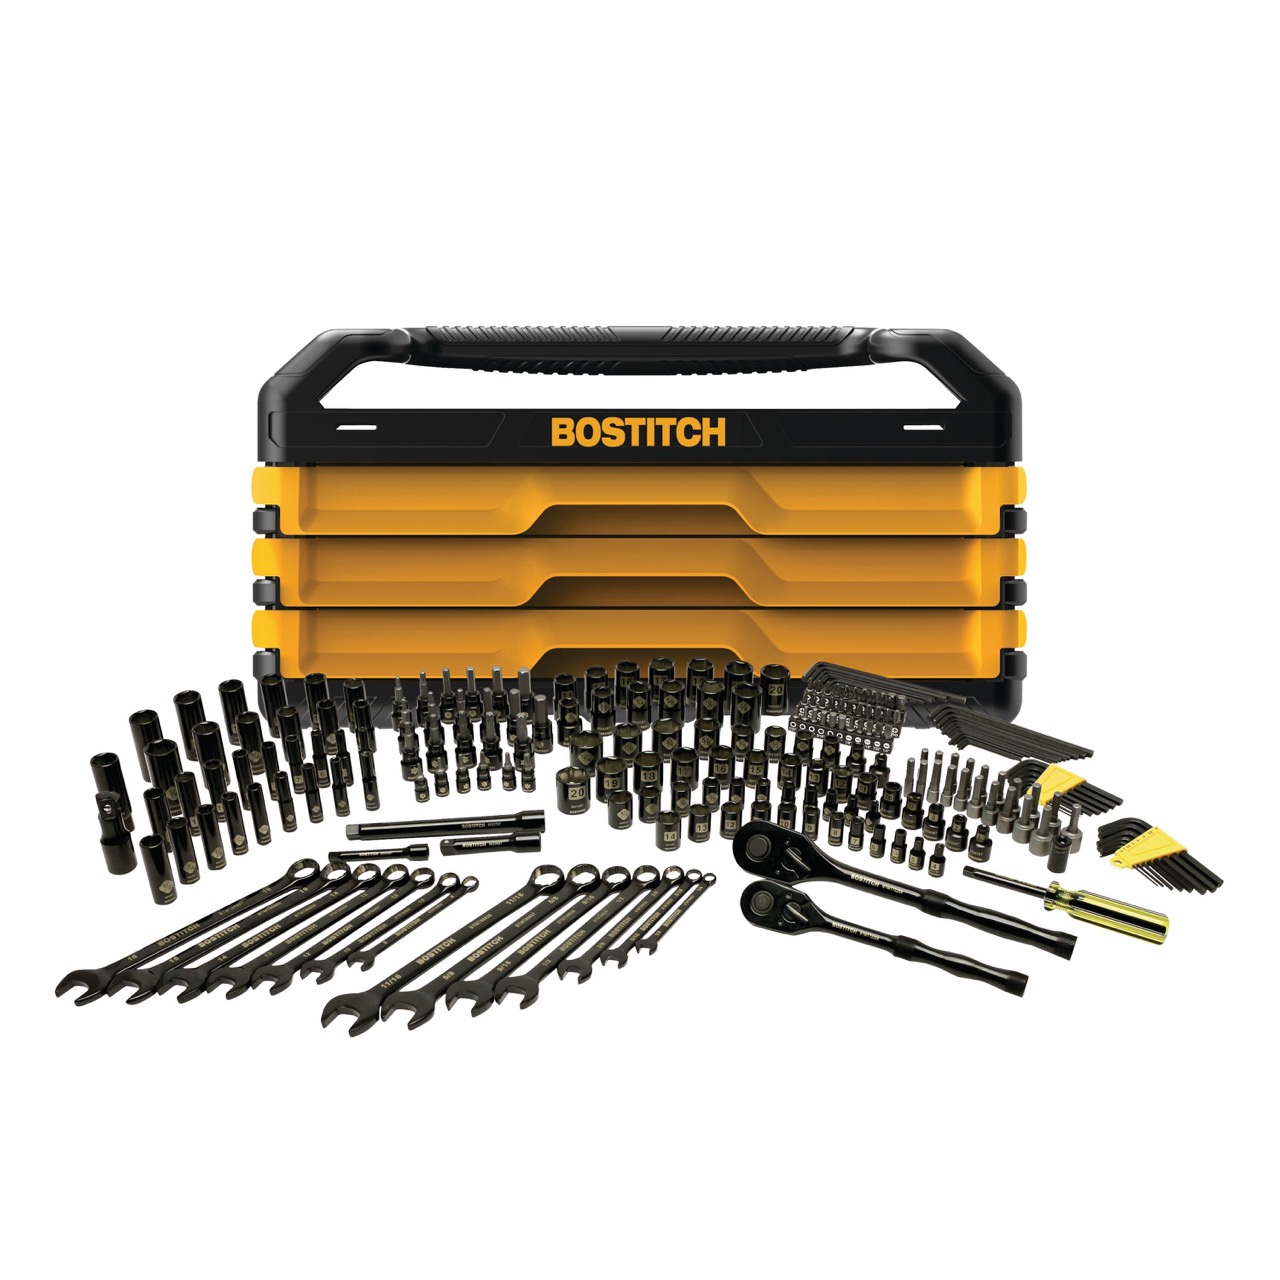
Before diving into the process of making a finger joint, it’s important to gather all the necessary tools and materials. Here’s a list of what you’ll need:
- Wood – Select the type of wood that is suitable for your project. Ensure that it is a hardwood, as softwood may not provide the necessary strength for a finger joint.
- Measuring tools – A tape measure, a square, and a marking gauge will be essential for precise measurements.
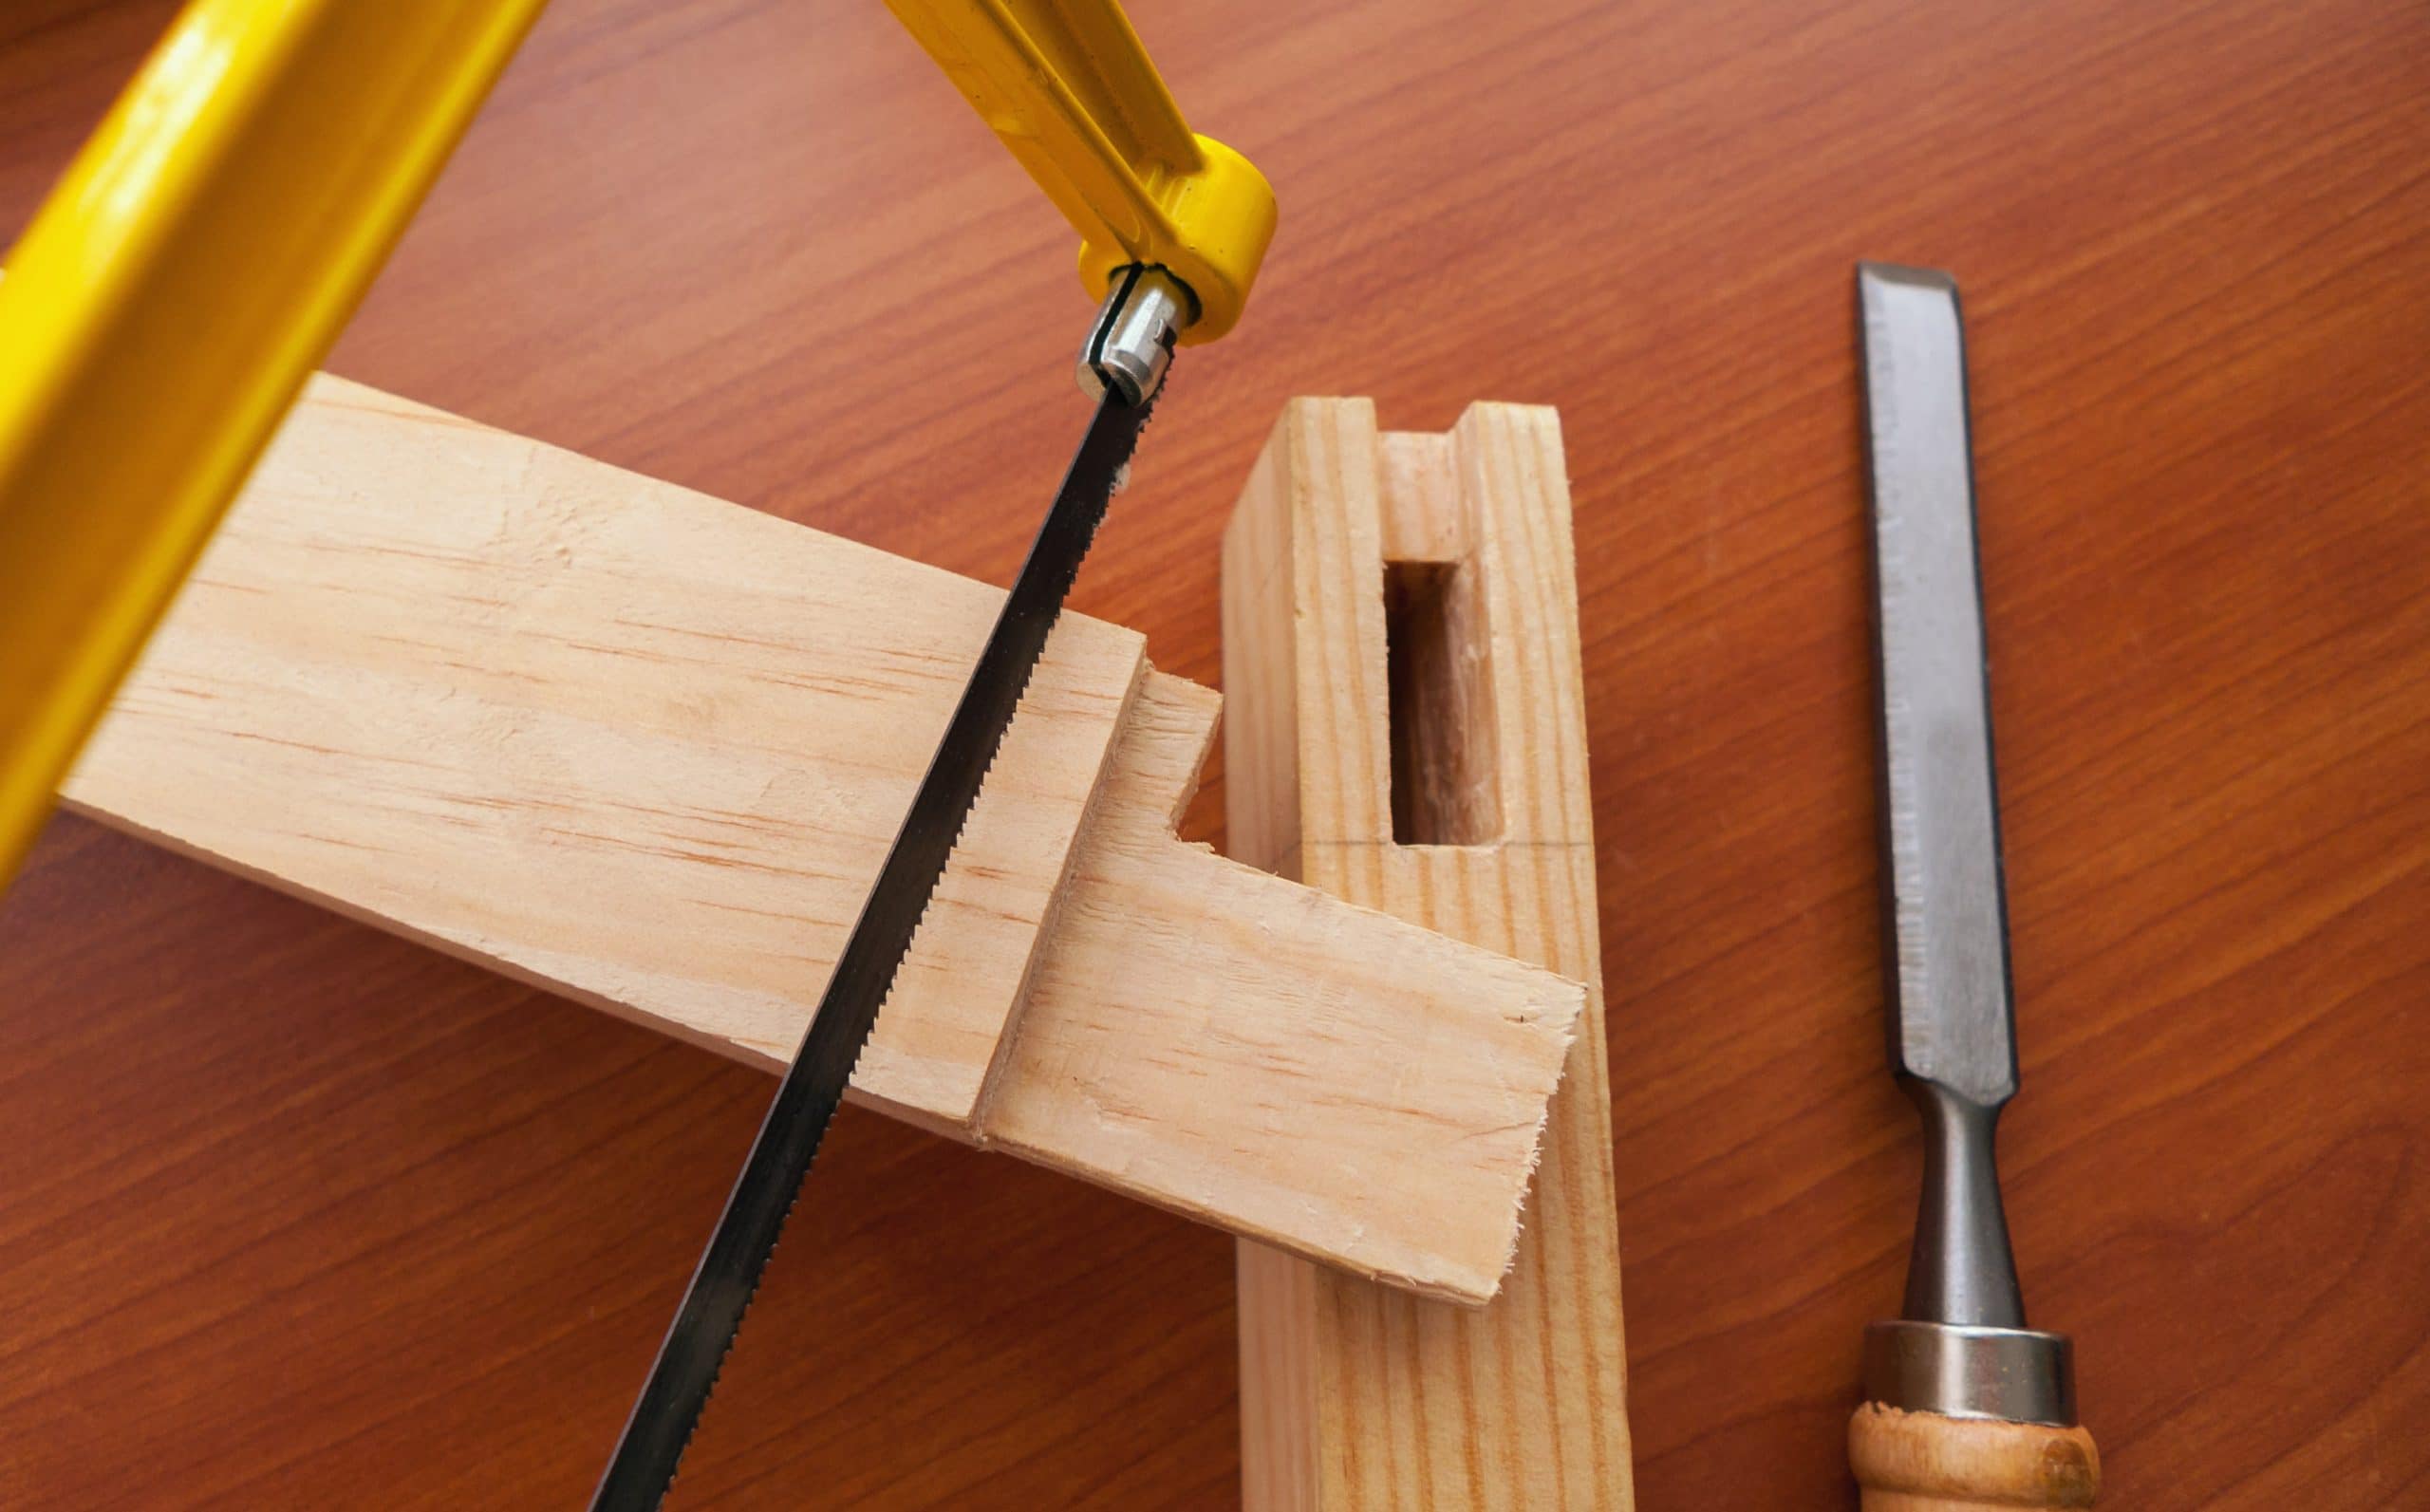
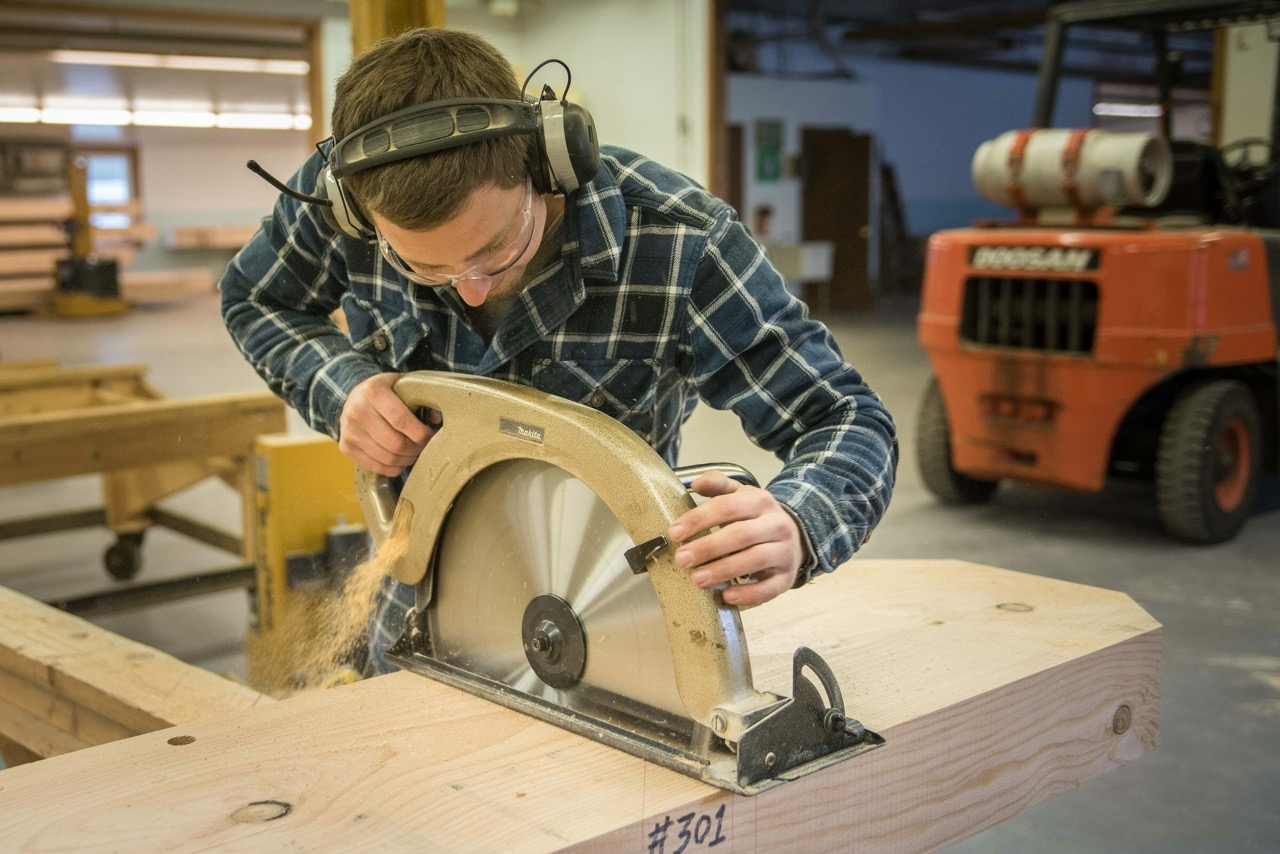
- Saw – Choose a backsaw or a dovetail saw, preferably with a fine-toothed blade to ensure clean and accurate cuts.
- Chisels – A set of chisels with different sizes will be required to remove the waste between the fingers of the joint.
- Sharpening tools – Keep your tools sharp with sharpening stones or a honing guide for optimal performance.
- Mallet – A wooden or rubber mallet will be used to tap the chisels and ensure a tight fit of the joint.
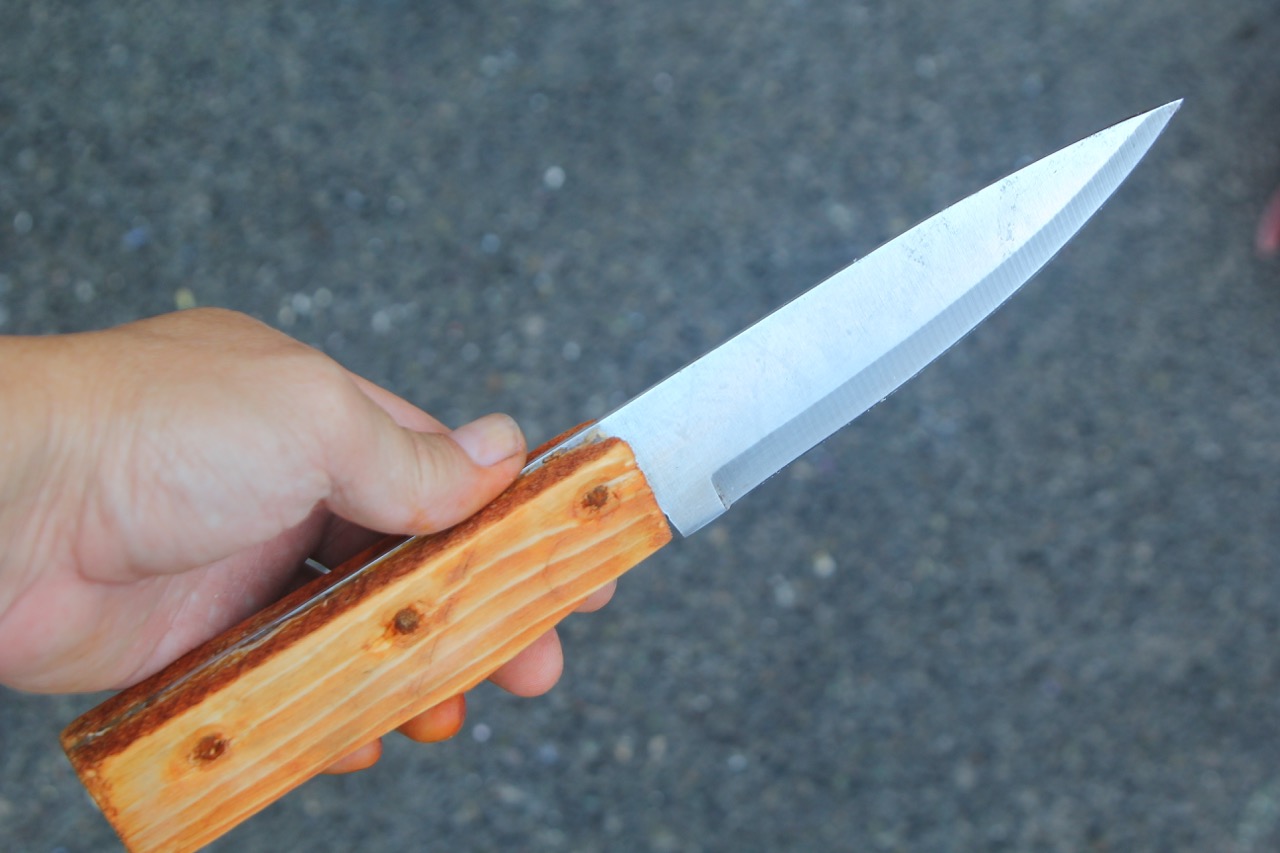
- Marking tools – Pencils, marking knife, or marking gauge for accurately marking the wood.
- Sandpaper – Different grits of sandpaper will be needed for sanding and smoothing the joint.
- Clamps – To hold the joint together during glue-up and drying process, you will need clamps.
- Wood glue – Choose a high-quality wood glue that dries clear and provides a strong bond.
- Protective gear – Safety glasses and dust mask are essential when working with wood to protect your eyes and lungs.
Having these tools and materials ready will ensure a smooth and efficient workflow as you embark on your finger joint project.
Preparing the Wood
Before you can start making a finger joint, it’s important to properly prepare the wood. Follow these steps to ensure that your wood is ready for the joint-making process:
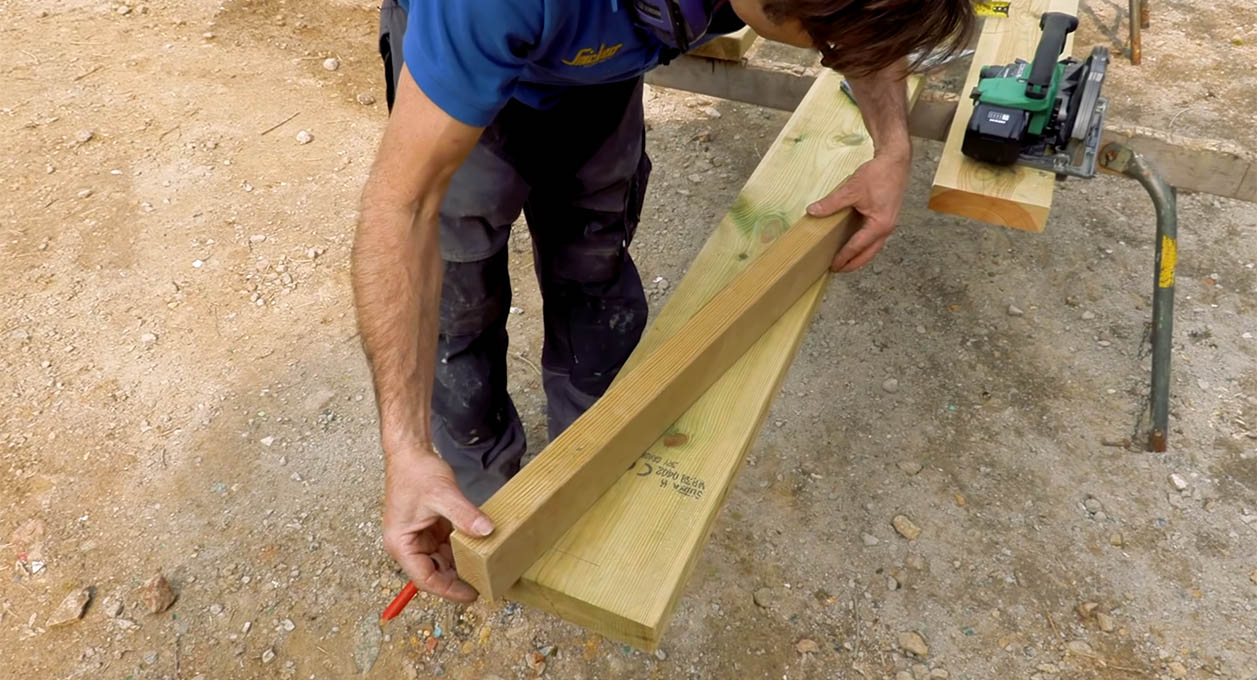
- Choose the right size and thickness of wood for your project. Measure and cut the wood pieces to the desired dimensions using a saw.
- Inspect the wood for any defects, such as knots or cracks. It’s best to avoid using wood with these imperfections, as they can weaken the joint.
- Smooth the surfaces of the wood using sandpaper. This will help create a clean and flush joint.
- Ensure that the edges of the wood are square and straight. Use a square or a marking gauge to check and make any necessary adjustments.
- If you’re planning on staining or finishing the wood after the joint is made, now is the time to do so. Apply the stain or finish according to the manufacturer’s instructions and allow it to dry completely.
By taking the time to properly prepare the wood, you’ll not only enhance the overall appearance of your finger joint, but you’ll also ensure that the joint is strong and durable.
Marking the Joint
Once the wood is prepared, it’s time to mark the joint. This step is crucial for ensuring accurate cuts and a precise fit. Follow these steps to mark the finger joint:
- Decide on the width of the fingers for your joint. This will depend on the thickness of your wood and your personal preference.
- Measure and mark the width of the fingers on the end of one of the wood pieces.
- Using a square, extend the finger marks along the edges of the wood piece. This will serve as a reference for the saw cuts.
- Transfer the marks from the first wood piece to the corresponding end of the second wood piece. This will ensure that the fingers are aligned when the joint is assembled.
- Using a marking knife or a marking gauge, score along the finger marks on both wood pieces. This will create a groove that guides the saw during the cutting process.
Take your time with the marking process and double-check the measurements and alignment of the finger marks. Accuracy at this stage will greatly contribute to the success of your finger joint.
Cutting the Fingers
With the joint marked, it’s time to move on to cutting the fingers. This step requires precision and steady hands. Follow these steps to cut the fingers:
- Secure the wood piece in a vise or clamp it down to a sturdy work surface. This will provide stability while cutting.
- Using a dovetail saw or a backsaw, carefully start cutting along the marked lines. Keep the saw perpendicular to the wood and make straight, controlled cuts.
- Take your time and cut along the entire length of the marked lines. Maintain a consistent depth of cut to ensure uniform fingers.
- Repeat the cutting process on the other wood piece, ensuring that the finger cuts align with the marks made during the marking phase.
Remember to practice patience and maintain focus while cutting the fingers. Slow and controlled movements will result in clean, precise cuts for a well-crafted finger joint.
When cutting the fingers for a finger joint with hand tools, make sure to use a sharp and properly set saw to ensure clean and precise cuts.
Read more: How To Cut A Dado Joint With Hand Tools
Removing the Waste
After cutting the fingers, there will be waste material between them that needs to be removed to achieve a proper fit. Follow these steps to remove the waste:
- Use a chisel that matches the width of the fingers to begin removing the waste. Start by positioning the chisel at the base of the cut and gently tap it with a mallet to create a small groove.
- Working from one end to the other, continue chiseling and removing the waste between the fingers. Take care to stay within the marked lines and make smooth, controlled movements.
- Check the fit of the joint as you progress. The goal is to create a snug fit where the fingers interlock without any gaps or looseness.
- If necessary, make small adjustments by chiseling away additional material or smoothing rough edges to improve the fit.
Take your time during this step, as it requires careful craftsmanship to achieve a precise fit. Check the joint frequently and make any necessary adjustments to ensure a tight and flush fit between the fingers.
Fitting the Joint
Once the waste has been removed, it’s time to fit the joint together and ensure that it aligns properly. Follow these steps to fit the joint:
- Carefully align the fingers of the joint and gently slide them together. The joint should fit snugly without any gaps or misalignment.
- Apply a small amount of wood glue to the mating surfaces of the joint. Use a brush or your finger to spread the glue evenly.
- Slide the joint back together and ensure that the fingers are fully engaged. Use a mallet or a block of wood to gently tap the joint and secure it in place.
- Check the joint for any excess glue that may have squeezed out. Wipe off any excess glue with a damp cloth or sponge.
Once the joint is fitted together, it’s important to let it dry according to the manufacturer’s instructions for the wood glue. This drying time will ensure that the joint forms a strong and secure bond.
Remember, a properly fitted joint will provide stability and strength to your woodworking project. Take the time to ensure that the fit is precise and secure before moving on to the final steps.
Sanding and Finishing
After the joint has dried and the glue has set, it’s time to sand and finish the finger joint. This final step will give your woodworking project a polished and professional appearance. Follow these steps to sand and finish the joint:
- Start by sanding the joint with a coarse-grit sandpaper to remove any rough edges or imperfections. Sand in the direction of the wood grain to avoid damaging the surface.
- Gradually work your way up to finer-grit sandpaper, smoothing the joint with each pass. This will help create a smooth and seamless transition between the fingers.
- Once the joint is smooth, wipe away any dust or debris with a clean, damp cloth.
- If desired, apply a wood finish or stain to enhance the beauty of the joint. Follow the manufacturer’s instructions for application and drying time.
After the finish has dried, give the joint a final inspection. Check for any rough spots or unevenness and sand them lightly if needed. The end result should be a seamless and well-finished finger joint that adds a touch of elegance to your woodworking project.
Remember to take your time during the sanding and finishing process. It’s the attention to detail that will truly make your finger joint stand out.
Conclusion
Congratulations! You have successfully learned how to make a finger joint with hand tools. This woodworking technique not only provides a strong and durable joint but also adds a touch of craftsmanship to your projects.
Throughout the process, we covered the necessary tools and materials, the steps to prepare the wood, mark the joint, cut the fingers, remove the waste, fit the joint, and finally, sand and finish the joint. By following these steps carefully and paying attention to detail, you can create beautiful finger joints that will enhance the quality and aesthetics of your woodworking endeavors.
Remember to take your time, practice precision, and exercise patience during each stage of the finger joint making process. Woodworking is a craft that rewards diligence and skill, and creating finger joints with hand tools is no exception.
Now that you have mastered this technique, you can incorporate finger joints into a variety of woodworking projects, such as boxes, drawers, or furniture pieces. Experiment with different wood types and sizes to create unique and customized finger joints that showcase your woodworking prowess.
So, grab your tools, select your wood, and embark on your next woodworking adventure. The possibilities are endless, and with your newfound expertise in making finger joints, you are sure to create stunning and durable pieces that will be cherished for years to come.
Frequently Asked Questions about How To Make A Finger Joint With Hand Tools
Was this page helpful?
At Storables.com, we guarantee accurate and reliable information. Our content, validated by Expert Board Contributors, is crafted following stringent Editorial Policies. We're committed to providing you with well-researched, expert-backed insights for all your informational needs.


0 thoughts on “How To Make A Finger Joint With Hand Tools”