Home>Articles>How To Cut Tenon And Mortise Joints With Hand Tools
Articles
How To Cut Tenon And Mortise Joints With Hand Tools
Modified: December 7, 2023
Learn the traditional woodworking technique of cutting tenon and mortise joints with hand tools in this informative article. Master the art of joinery for your woodworking projects.
(Many of the links in this article redirect to a specific reviewed product. Your purchase of these products through affiliate links helps to generate commission for Storables.com, at no extra cost. Learn more)
Introduction
When it comes to woodworking, one of the most important and reliable joinery techniques is the tenon and mortise joint. These joints provide strength, stability, and durability to furniture and other wooden structures. While power tools may be commonly used in modern woodworking, there is a certain beauty and satisfaction in creating these joints by hand.
In this article, we will explore the process of cutting tenon and mortise joints with hand tools. Whether you are a beginner or an experienced woodworker, mastering these traditional techniques will allow you to create stunning and solid pieces of craftsmanship.
Before we delve into the specific steps and techniques, it is important to gather the necessary tools and materials for the job. While the list may vary depending on the project, some common tools you will need include:
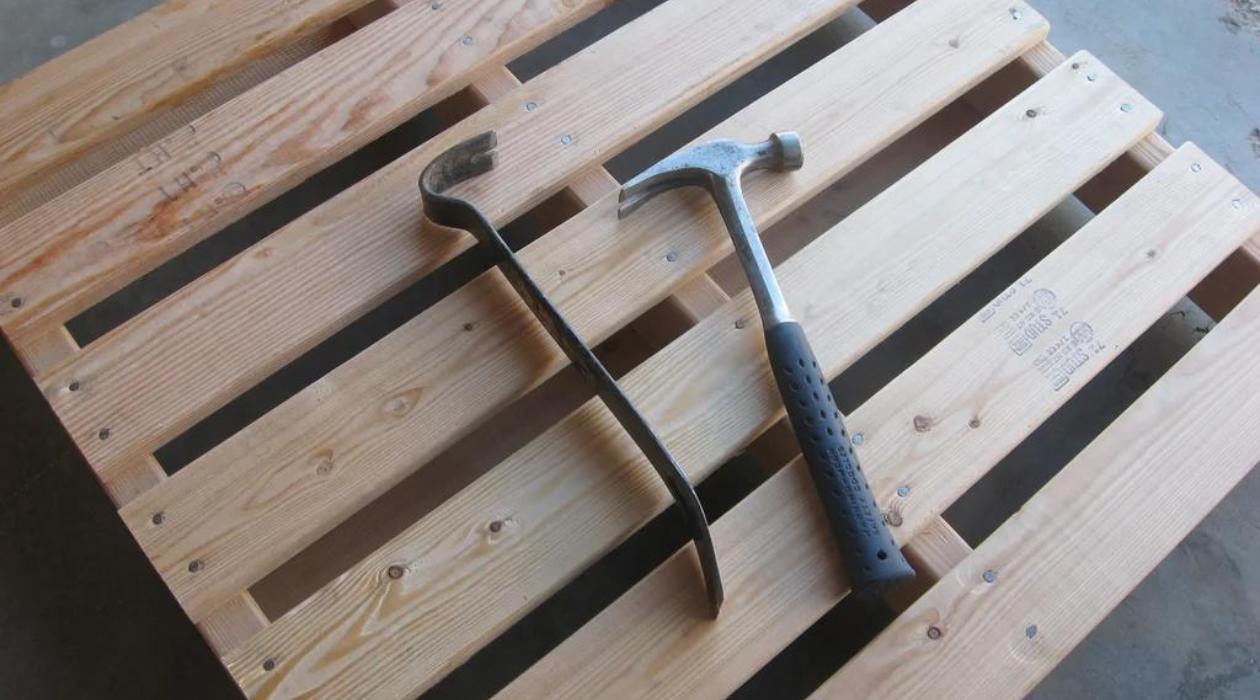
- Saw (such as a tenon saw or a backsaw)
- Chisels (varying sizes)
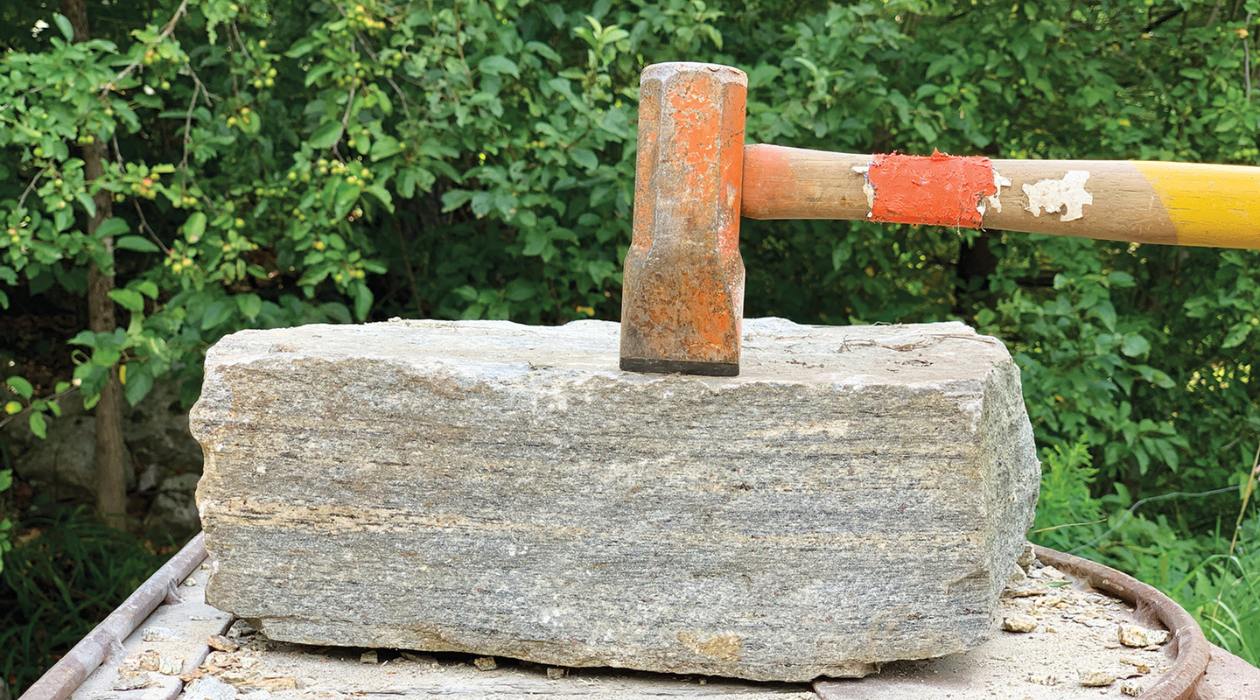
- Mallet or hammer
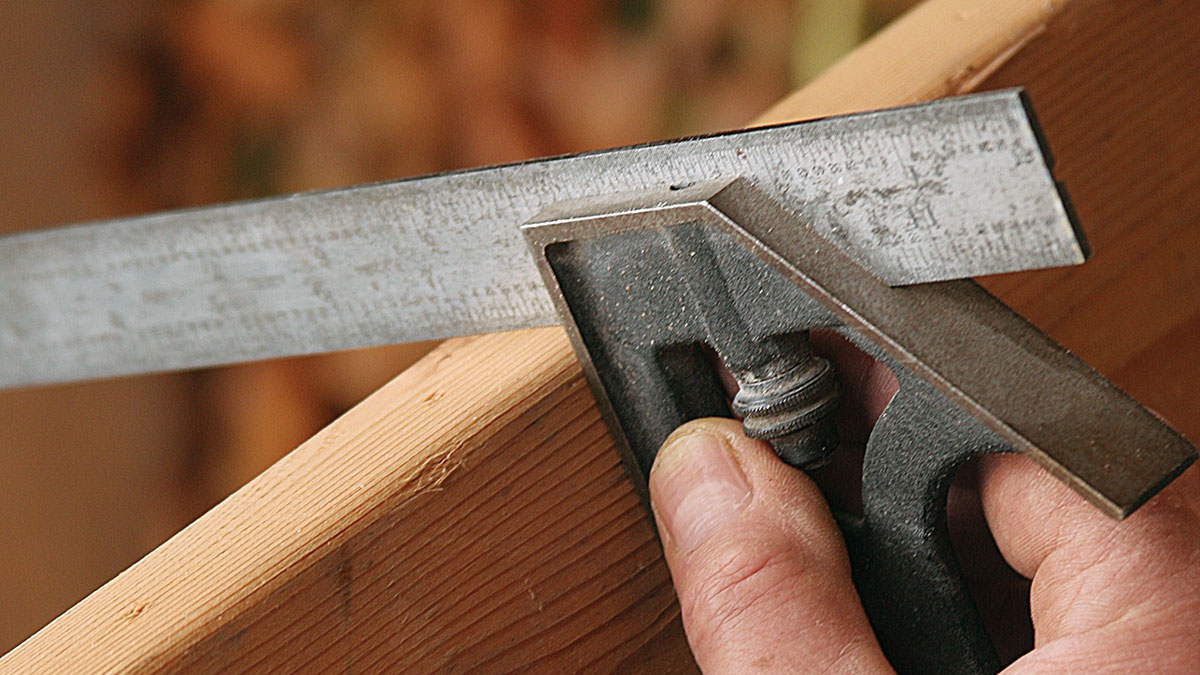
- Marking gauge
- Measuring tools (ruler, tape measure, or combination square)
- Drill and drill bits
- Clamps (to hold the workpiece securely)
Additionally, you will need the appropriate wood for your project, preferably hardwoods that can withstand the forces and stresses of the joint.
Now that we have our tools and materials ready, let’s dive into the world of tenon and mortise joints.
Key Takeaways:
- Mastering the traditional art of cutting tenon and mortise joints with hand tools allows woodworkers to create visually appealing and durable joinery, adding elegance and authenticity to their craftsmanship.
- Attention to detail, patience, and practice are essential for achieving precise and strong tenon and mortise joints, emphasizing the importance of accurate marking, careful chiseling, and gradual adjustments for a perfect fit.
Read more: How To Cut A Dado Joint With Hand Tools
Tools and Materials Required
Before we begin cutting tenon and mortise joints with hand tools, it’s essential to have the appropriate tools and materials at hand. Here is a list of what you will need:
- Saw: A tenon saw or a backsaw is ideal for cutting accurate and precise joints. The saw should have a fine-toothed blade that can easily cut through hardwoods.
- Chisels: A set of chisels in various sizes will be necessary to remove the waste material and shape the joints. Be sure to keep them sharp to achieve clean and neat cuts.
- Mallet or Hammer: A mallet or a hammer will be used to strike the chisel when cutting the mortise or shaping the tenon. It’s best to use a wooden mallet or a non-marring hammer to avoid damaging the tools or workpiece.
- Marking Gauge: This tool is used to mark the dimensions and position of the joints accurately. A marking gauge with a sharp cutter will make precise layout lines.
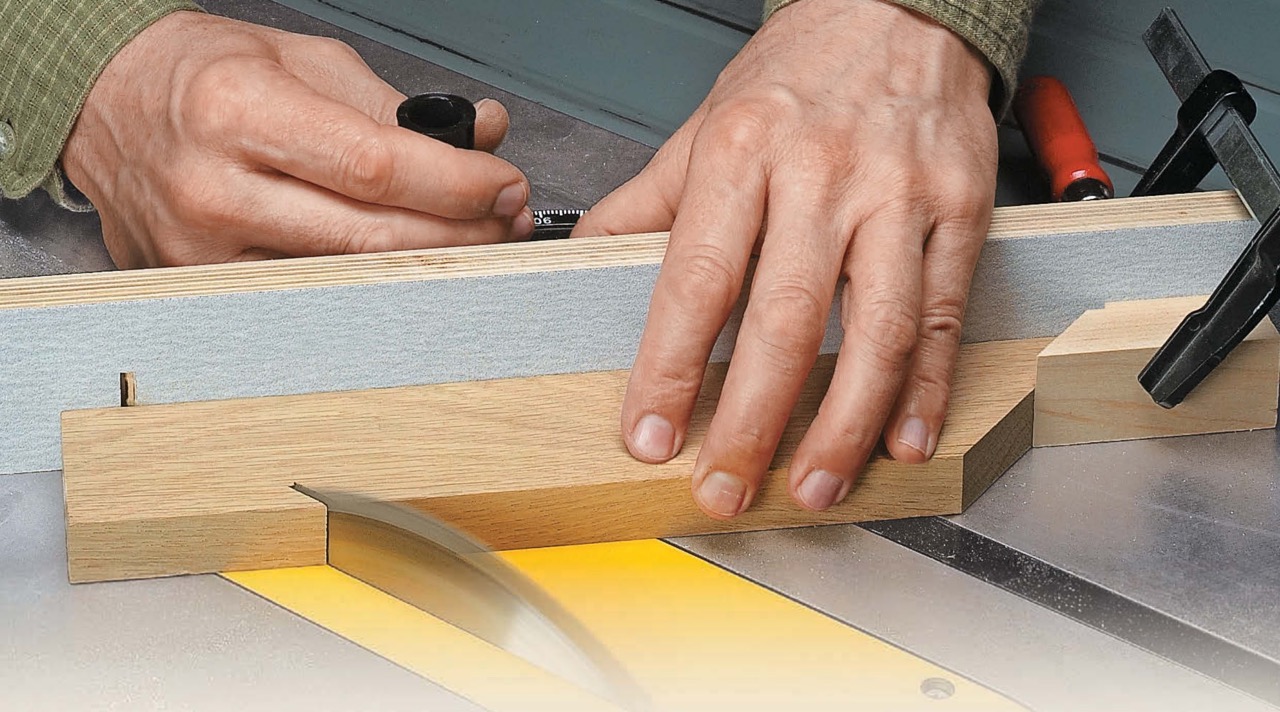
- Measuring Tools: A ruler, tape measure, or combination square will come in handy to measure and mark the specific sizes and depths of the joints.
- Drill and Drill Bits: Depending on the size of the joint, you may need a drill and appropriate drill bits to remove some of the waste material before chiseling out the mortise.
- Clamps: Clamps will hold the workpiece securely in place, ensuring stability while cutting and fitting the joints.
In addition to the tools, it is crucial to have the right materials for your project. Hardwoods such as oak, maple, or cherry are often used for their durability and strength. Ensure that the wood is flat, straight, and free from any defects or cracks that may compromise the joint’s integrity.
With the necessary tools and materials in hand, we are ready to explore the process of cutting tenon and mortise joints with hand tools. These traditional techniques will enable you to create strong and visually appealing joinery in your woodworking projects.
Understanding Tenon and Mortise Joints
Before we jump into the process of cutting tenon and mortise joints, let’s take a moment to understand the anatomy and purpose of these essential woodworking joints.
A tenon and mortise joint is a method of joining two pieces of wood together at a right angle. It involves creating a protruding tenon on one piece and a corresponding cavity, or mortise, in the other piece to receive the tenon. This interlocking connection provides strength, stability, and resistance to lateral forces.
The tenon is typically a rectangular or square-shaped projection that extends from the end of one piece of wood. It is carefully crafted to fit snugly into the mortise, forming a tight joint. The mortise, on the other hand, is a cavity or hole that is chiseled or drilled out of the mating piece to accommodate the tenon.
One of the key advantages of tenon and mortise joints is their mechanical strength. Unlike other joints that rely solely on glue or nails, tenon and mortise joints have a large gluing area and interlocking surfaces, creating a robust connection that can withstand significant stress and load.
These joints also offer durability. Since the tenon and mortise create a locked-in fit, they are less likely to loosen or fail over time. This makes them particularly suitable for furniture, doors, and other structural applications.
Additionally, tenon and mortise joints have an aesthetic appeal. The clean lines and visible joinery lend a sense of craftsmanship and elegance to a piece. They can be left exposed or concealed depending on the design intent.
Now that we understand the significance and benefits of tenon and mortise joints, let’s explore the step-by-step process of cutting these joints with hand tools.
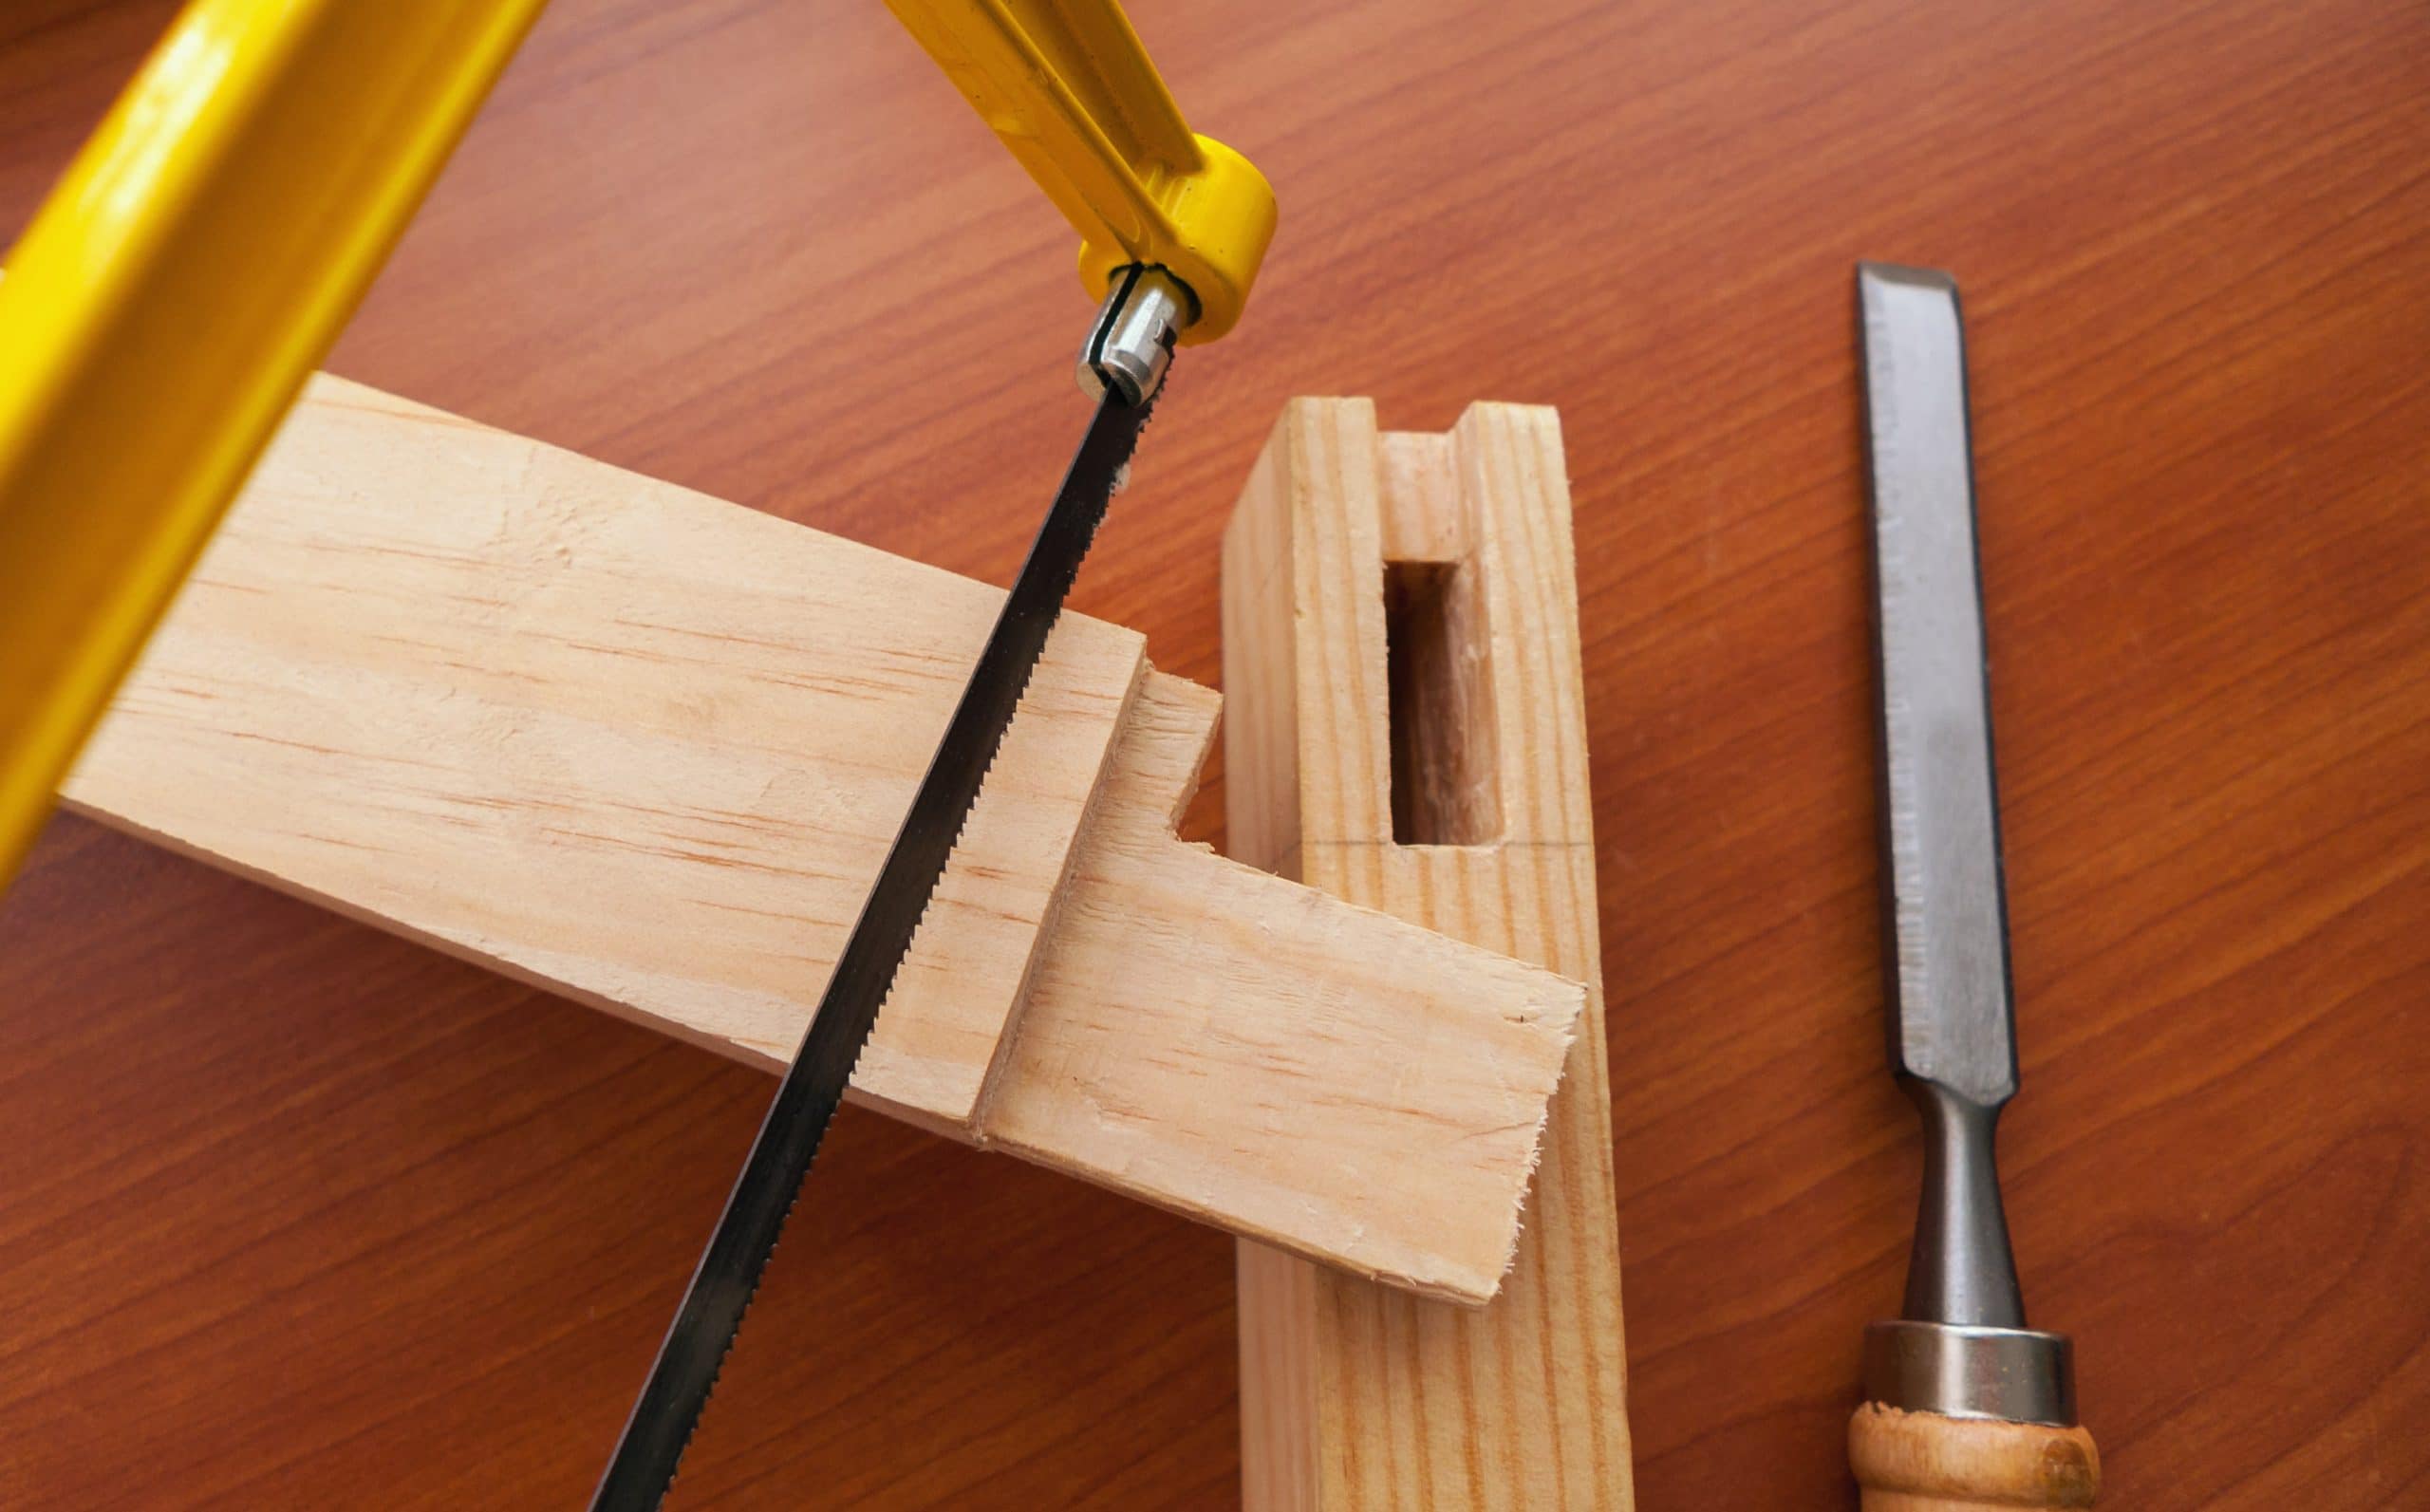
Steps to Cut a Tenon Joint with Hand Tools
Creating a tenon joint involves several steps that ensure a precise and snug fit between the tenon and mortise. Follow these steps to cut a tenon joint using hand tools:
- Marking and Measuring the Tenon: Begin by marking the location and dimensions of the tenon on the workpiece. Use a marking gauge to scribe lines on the end of the piece and along the cheeks. Measure the desired length and width of the tenon, ensuring it fits proportionally to the thickness of the mating piece.
- Preparing the Mortise: Once the tenon markings are complete, prepare the mortise in the mating piece. Use a marking gauge or combination square to transfer the tenon’s width and position onto the mortise piece. Square off the layout lines and chisel out the mortise, ensuring it matches the dimensions of the tenon.
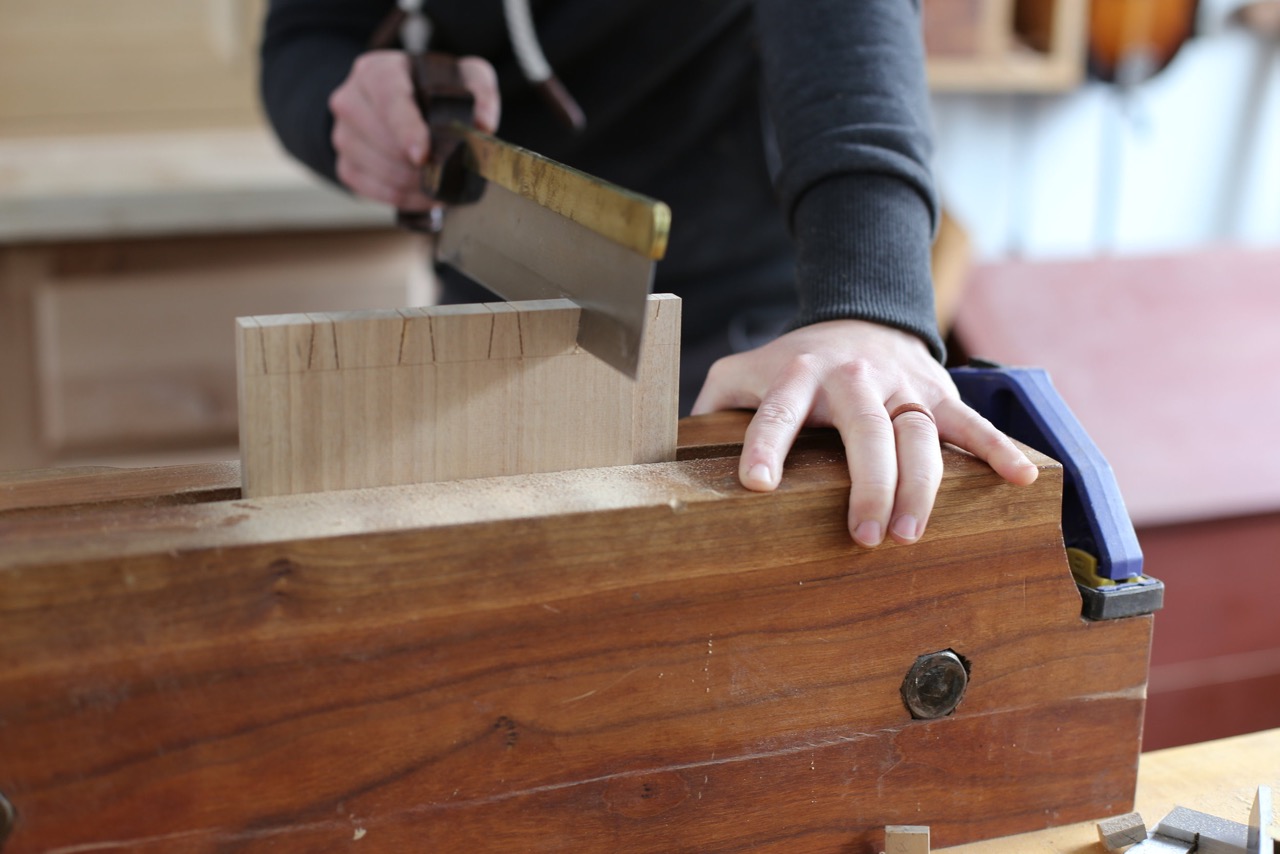
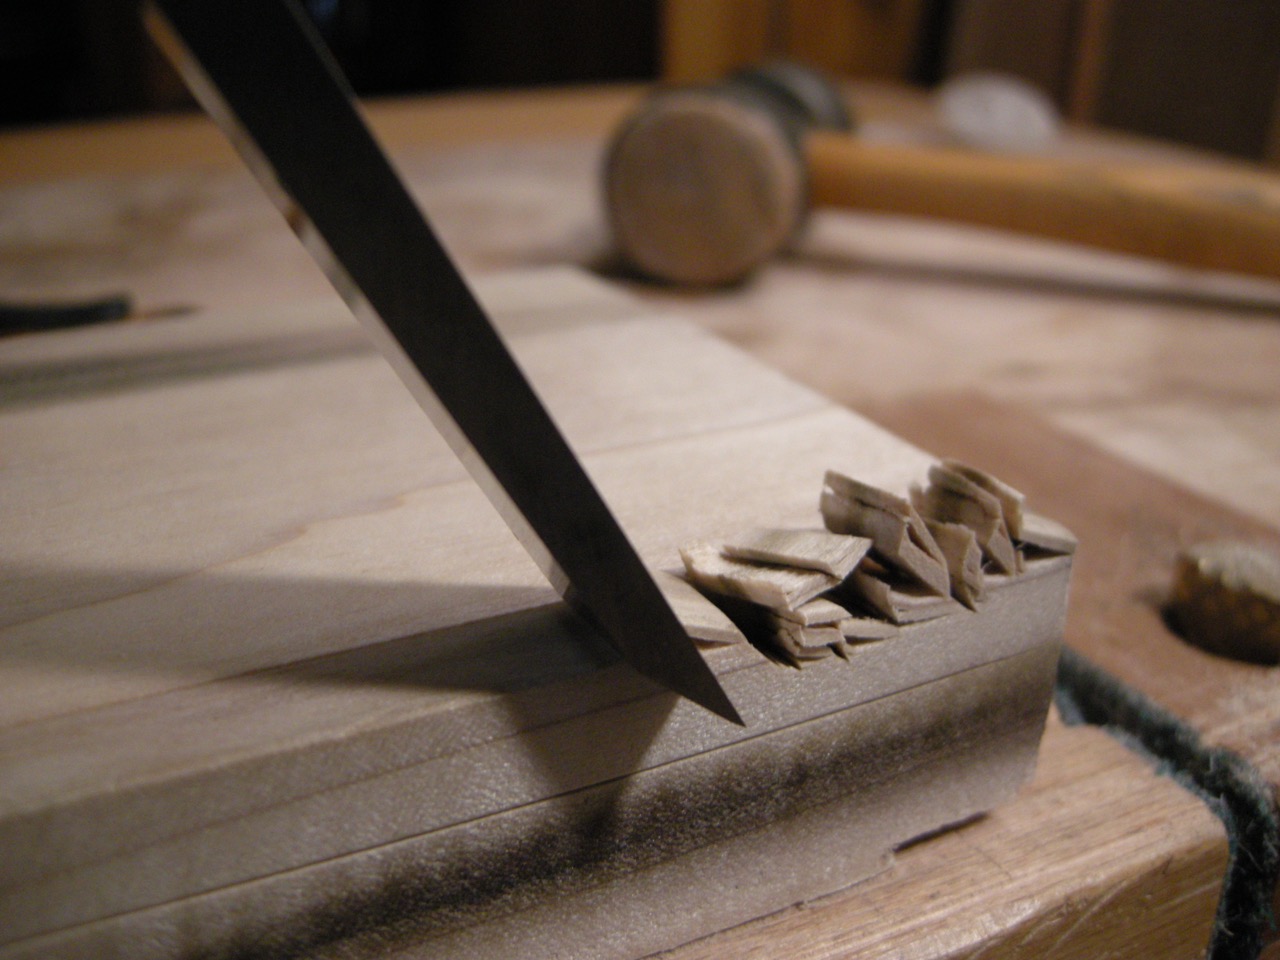
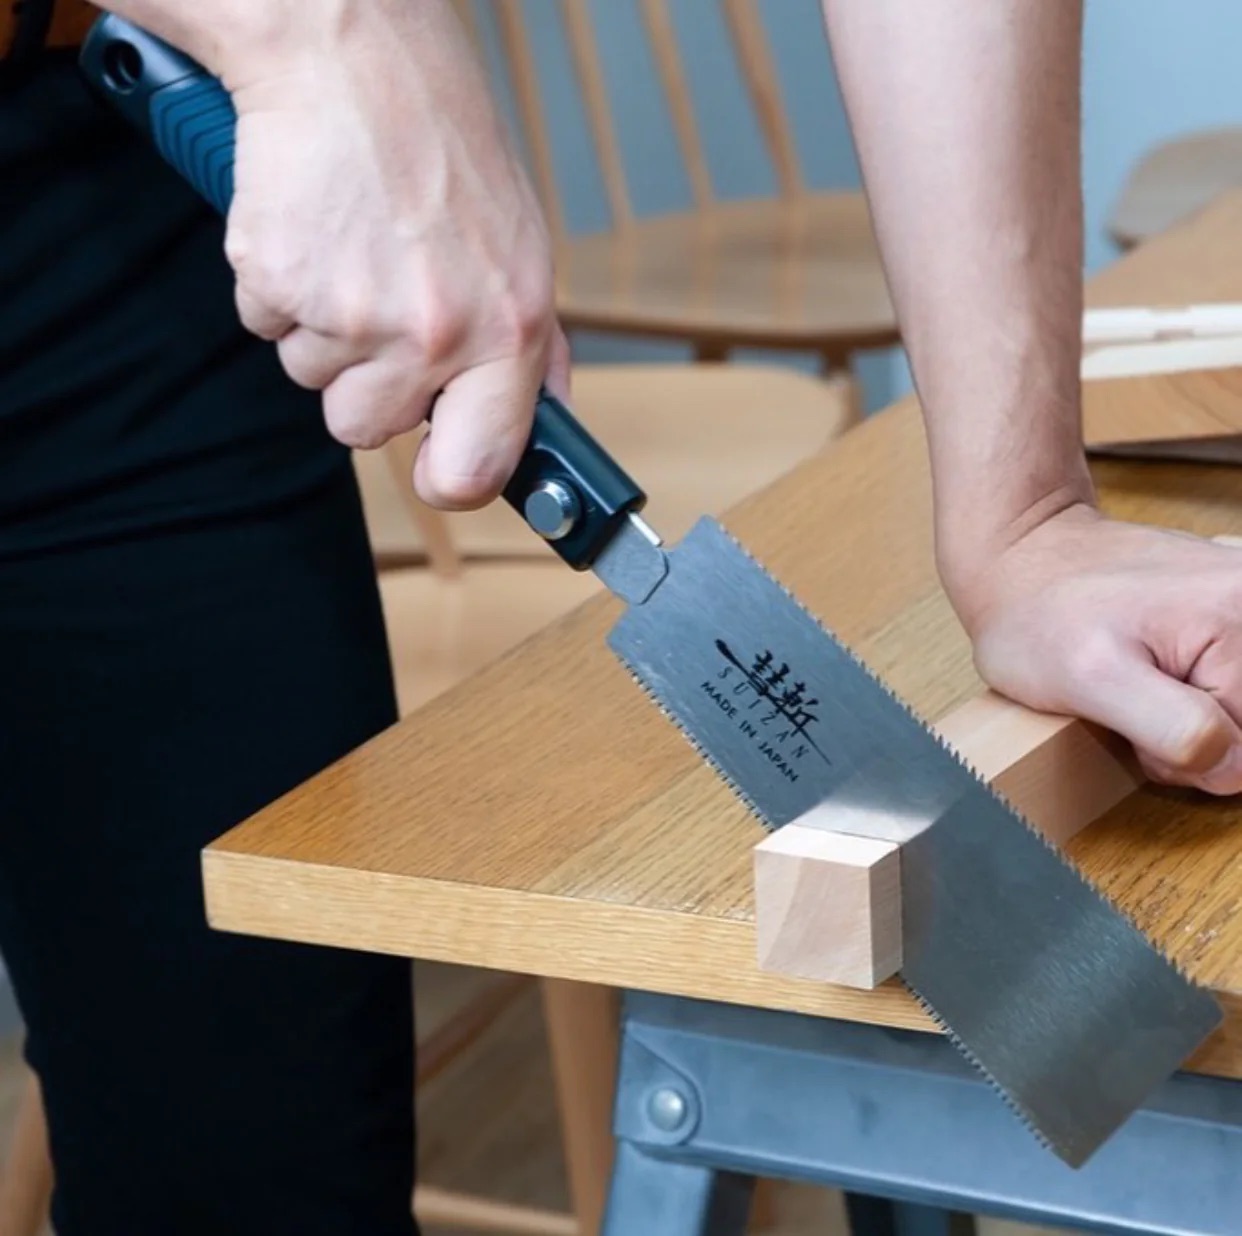
- Cutting the Cheeks of the Tenon: With the tenon and mortise locations defined, it’s time to shape the tenon. Start by cutting the cheeks of the tenon using a tenon saw. Make a series of vertical cuts just inside the layout lines, then use a chisel to remove the waste material. Take care to create flat and clean surfaces.
- Shaping the Shoulders of the Tenon: Next, focus on shaping the tenon’s shoulders. Use a chisel and mallet to cut along the layout lines, creating a clean and straight shoulder. Take small cuts and pare away the excess material until you achieve a precise shoulder that will snugly fit against the mortise piece.
- Testing the Fit: Once you have completed the previous steps, it’s crucial to test the fit of the tenon in the mortise. Insert the tenon into the mortise and check for any gaps or misalignments. The joint should fit snugly without any wobbling. If needed, fine-tune the tenon or mortise by making slight adjustments until you achieve a tight and well-fitting joint.
By following these steps carefully, you can create a strong and aesthetically pleasing tenon joint using hand tools. Practice and patience are key to mastering this essential woodworking technique.
When cutting tenon and mortise joints with hand tools, always use sharp chisels and saws to ensure clean and precise cuts. Keep your tools well-maintained for best results.
Steps to Cut a Mortise Joint with Hand Tools
A mortise joint is the counterpart to a tenon joint, and it involves cutting a cavity or hole to receive the tenon. By following these steps, you can successfully cut a mortise joint using hand tools:
- Marking and Measuring the Mortise: Start by marking the location and dimensions of the mortise on the workpiece. Use a marking gauge or combination square to scribe lines on the surface where the mortise will be located. Measure the desired length, width, and depth of the mortise.
- Preparing the Tenon: Once the mortise markings are complete, prepare the tenon on the mating piece. Refer to the dimensions of the mortise and transfer them to the tenon piece using a marking gauge or combination square. Use a saw to cut along the layout lines, creating the rough shape of the tenon.
- Drilling Out Waste Material: With the tenon roughly shaped, it’s time to remove the waste material from the mortise. Drill a series of holes, evenly spaced, within the mortise area using a drill and appropriate drill bits. These holes will make it easier to chisel out the waste material.
- Chiseling the Mortise: Use a chisel and mallet to start removing the waste material from the mortise. Begin by chiseling around the perimeter, ensuring the depth matches the tenon’s length. Gradually work your way inward, carefully removing the material until you reach the desired depth and width of the mortise.
- Testing the Fit: Once the mortise has been chiseled out, it’s time to test the fit with the tenon. Insert the tenon into the mortise and check for any gaps or misalignments. The fit should be snug and aligned without any excessive tightness or looseness. Make any necessary adjustments to ensure a proper fit.
Remember, cutting a mortise joint with hand tools requires precision and patience. Take your time to ensure accurate measurements and careful chiseling to achieve a strong and well-fitting joint.
Read more: How To Make A Finger Joint With Hand Tools
Tips and Tricks for Successful Tenon and Mortise Joints
Creating strong and well-fitting tenon and mortise joints requires attention to detail and careful craftsmanship. Here are some tips and tricks to help you achieve successful joints:
- Accurate Marking and Measurement: Take the time to accurately mark and measure the dimensions of both the tenon and mortise. Use a high-quality marking gauge, combination square, or ruler to ensure precise layout lines.
- Practice Proper Sawing Techniques: When cutting the tenon cheeks or mortise outlines with a saw, use controlled and steady strokes. Start with shallow cuts and gradually work your way deeper. Take breaks to clear the sawdust to maintain a clear line of sight.
- Sharpen Chisels Regularly: Sharp chisels are essential for clean and accurate cuts. Regularly sharpen your chisels to maintain their sharpness. A properly sharpened chisel will reduce resistance and minimize the risk of wood splitting or tearing.
- Use a Mallet or Hammer: When chiseling out the mortise or shaping the tenon, use a mallet or hammer to strike the chisel. This will help control the force applied and reduce the risk of injury or damaging the tools.
- Take Small Chisel Bites: Instead of attempting to remove large chunks of material at once, take small and controlled chisel bites. This allows for greater precision and reduces the risk of removing too much material or damaging the joint walls.
- Test Fit Regularly: Throughout the process, test the fit of the tenon and mortise regularly. This will help you identify any issues early on and make adjustments as needed. The joint should fit snugly with minimal gaps and alignment should be precise.
- Make Gradual Adjustments: If the fit isn’t perfect on the first attempt, make gradual adjustments by removing small amounts of material. It’s better to take your time and make small tweaks until the joint fits perfectly, rather than rushing and potentially compromising the joint’s integrity.
- Practice Patience and Persistence: Cutting tenon and mortise joints by hand requires practice and patience. Don’t be discouraged if your first attempts are not perfect. With practice, you will become more skilled and efficient in creating these joints.
Remember, the quality of the joints heavily relies on your skills and craftsmanship. Take the time to master these techniques, and you will be rewarded with strong, visually appealing, and durable joinery in your woodworking projects.
Conclusion
Tenon and mortise joints are foundational techniques in woodworking that provide strength, stability, and visual appeal to furniture and wooden structures. By mastering the art of cutting these joints with hand tools, you can create beautiful and durable pieces of craftsmanship.
In this article, we have explored the step-by-step process of cutting tenon and mortise joints. From marking and measuring the joints to shaping and testing the fit, each step plays a vital role in achieving a strong and well-fitting joint.
Throughout the process, we have emphasized the importance of accuracy, attention to detail, and patience. By carefully marking, measuring, and cutting, you can ensure precise joinery that will stand the test of time.
It is crucial to have the right tools and materials, such as saws, chisels, marking gauges, and clamps, to facilitate the cutting process. Sharpening your chisels regularly and practicing proper sawing techniques will further enhance the precision of your cuts.
We have also provided tips and tricks to help you achieve successful tenon and mortise joints, such as taking small chisel bites, testing the fit regularly, and making gradual adjustments as needed. Practice and perseverance will contribute to your growth as a woodworker and improve your joint-making skills.
By embracing the art of cutting tenon and mortise joints with hand tools, you can elevate your woodworking projects to a new level of craftsmanship. These traditional techniques not only create strong and durable joints but also add a sense of elegance and authenticity to your pieces.
So, gather your tools, select your materials, and embark on the journey of creating beautiful and strong tenon and mortise joints. With practice, patience, and a keen eye for detail, you will be able to craft stunning and functional joinery that will stand the test of time.
Frequently Asked Questions about How To Cut Tenon And Mortise Joints With Hand Tools
Was this page helpful?
At Storables.com, we guarantee accurate and reliable information. Our content, validated by Expert Board Contributors, is crafted following stringent Editorial Policies. We're committed to providing you with well-researched, expert-backed insights for all your informational needs.


0 thoughts on “How To Cut Tenon And Mortise Joints With Hand Tools”