Articles
How To Make Dovetail Joints With Hand Tools
Modified: January 8, 2024
Learn how to create strong dovetail joins using just hand tools with our informative articles. Enhance your woodworking skills today!
(Many of the links in this article redirect to a specific reviewed product. Your purchase of these products through affiliate links helps to generate commission for Storables.com, at no extra cost. Learn more)
Introduction
When it comes to woodworking, the strength and beauty of dovetail joints cannot be understated. These intricately crafted joints are not only visually appealing but also incredibly durable, making them a popular choice for furniture making and cabinetry. While there are various methods to create dovetail joints, using hand tools offers a traditional and rewarding approach.
In this article, we will explore the process of making dovetail joints with hand tools, taking you through each step in detail. Whether you are a beginner or an experienced woodworker, this guide will provide you with the necessary knowledge and techniques to create seamless, professional-looking dovetail joints.
Before we dive into the technicalities, it’s important to mention that practicing patience and precision is crucial when working with hand tools. This process may require time and effort, but the final result is well worth it.
So, let’s grab our tools and embark on this woodworking journey to create beautiful dovetail joints!
Key Takeaways:
- Crafting dovetail joints with hand tools requires patience, precision, and the right tools. The process involves marking, cutting, fitting, and finishing to create durable and visually stunning woodworking joints.
- Understanding the intricacies of dovetail joints and mastering the art of creating them by hand is a rewarding and timeless woodworking technique. With practice and dedication, you can achieve seamless and enduring dovetail connections.
Read more: How To Make A Finger Joint With Hand Tools
Understanding Dovetail Joints
Dovetail joints are a type of interlocking joint often used in woodworking to connect two pieces of material together. The unique design of dovetail joints provides exceptional strength and stability, making them ideal for creating sturdy furniture and cabinets.
The essence of a dovetail joint lies in its trapezoidal shape, resembling the tail feathers of a dove. This shape consists of pins and tails that interlock to form a secure joint. The tightly fitting connection between the pins on one piece and the tails on the other creates a mechanical bond that increases the joint’s strength and prevents it from coming apart under stress.
One of the key advantages of dovetail joints is their resistance to pulling forces. The angled shape of the joint distributes the force evenly across the entire joint, reducing the risk of splitting or failing. This is why dovetail joints are often used in applications where durability is crucial, such as drawers and jewelry boxes.
Additionally, dovetail joints offer visual appeal. The interlocking pins and tails create an aesthetically pleasing pattern, adding a touch of craftsmanship and elegance to any project. This is why dovetail joints are often left exposed and celebrated as a symbol of fine woodworking.
There are various types of dovetail joints, each with its own unique characteristics and applications. The most common types include:
- Through Dovetail: In this type of joint, the pins and tails are visible on both the front and back of the joint. Through dovetails are commonly used for creating strong and decorative connections.
- Half-blind Dovetail: This joint is partially concealed, with the tails hidden on one side of the joint. Half-blind dovetails are often used in drawer construction, providing both strength and visual appeal.
- Full-blind Dovetail: Also known as secret dovetails, this joint is completely concealed, with both the pins and tails hidden from view. Full-blind dovetails are challenging to create but offer a seamless and professional finish.
- Sliding Dovetail: This joint involves a long, sliding tail that fits into a corresponding groove or dado. Sliding dovetails are commonly used in shelf joinery and case construction.
Now that you have a solid understanding of dovetail joints, including their design, functionality, and different types, we can move on to the essential tools required for creating these masterful connections using hand tools.
Tools Required
Creating dovetail joints with hand tools requires a set of specific tools that are designed to perform precise and accurate cuts. While there are various options available, here are the essential tools you will need to get started:
- Marking Gauge: A marking gauge is used to create layout lines on your material. This tool helps ensure accurate and consistent measurements when marking the tails and pins of your dovetail joints.
- Dovetail Saw: A dovetail saw is specially designed for making delicate and precise cuts in wood. Its thin blade and sharp teeth allow you to cut along the layout lines with ease, creating clean and accurate dovetail joints.
- Chisels: Chisels are necessary for removing the waste material between the tails and pins. A set of chisels in different sizes will provide versatility and allow you to accurately remove material and clean up the joint.
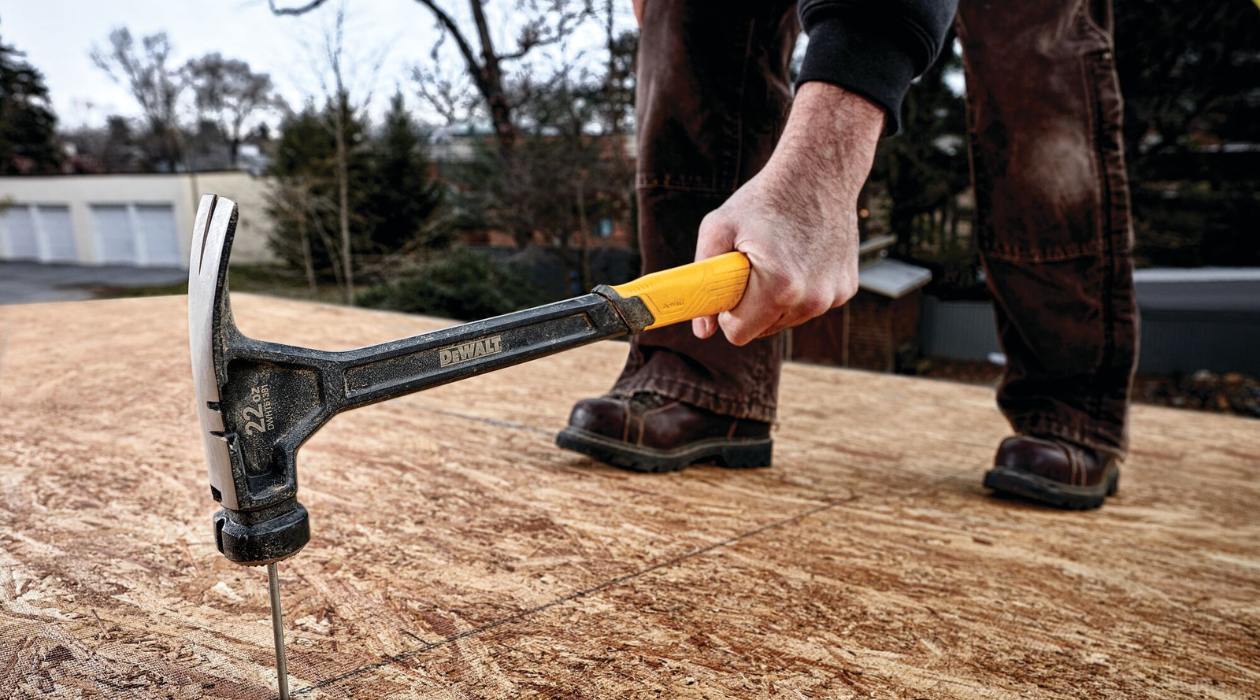
- Mallet: A mallet is used with a chisel to tap and remove waste material. The weight and shape of the mallet provide controlled force and precision when chiseling, ensuring accurate and clean cuts.
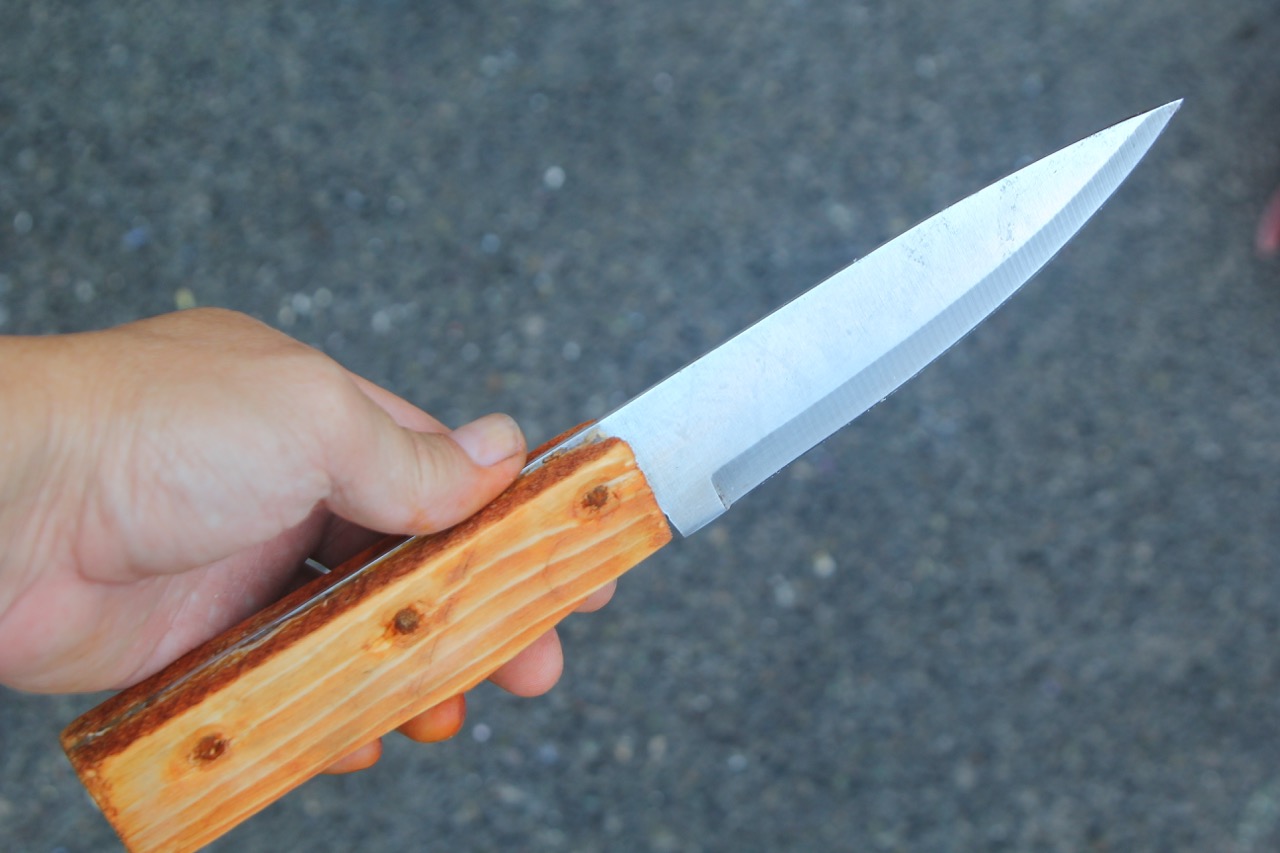
- Marking Knife: A marking knife, preferably with a thin and sharp blade, is essential for creating accurate layout lines. It allows you to scribe precise lines that will guide your saw cuts, resulting in tight-fitting dovetail joints.
- Sliding Bevel: A sliding bevel is used to transfer angles from your layout to the material. This tool helps maintain consistency while marking the angles of the tails and pins, ensuring a proper fit when connecting the pieces.
- Sharpening Stones: Keeping your tools sharp is essential for achieving clean and accurate cuts. Invest in a set of sharpening stones to maintain the sharpness of your saw blade and chisels throughout the woodworking process.
- Woodworking Square: A woodworking square is used to check the perpendicularity and alignment of your cuts. It ensures that your joints are properly aligned, resulting in professional-looking dovetail connections.
- Sanding Blocks or Files: After completing the joints, sanding blocks or files can be used to smooth out any rough edges and create a seamless finish. This step adds a polished touch to your dovetail joints.
With these essential tools in your arsenal, you are well-equipped to tackle the process of creating dovetail joints by hand. Next, we will discuss the initial steps of preparing the material and getting it ready for the dovetail layout.
Preparing the Material
Before you can start creating dovetail joints, it’s important to properly prepare your material. This involves selecting the right type of wood and ensuring it is flat, clean, and free from any defects that could affect the quality of the joint.
Wood Selection: Choose a hardwood that is suitable for dovetail joints, such as maple, oak, or walnut. Avoid softwoods like pine, as they may not provide the necessary durability for this type of joint.
Flatness: Ensure that your material is flat and free from any significant warping or cupping. This will ensure a tight and secure joint without any gaps or misalignments.
Cleanliness: Remove any dirt, debris, or adhesive residues from the surface of the wood. This will prevent any interference or obstruction during the marking and cutting process.
Thickness: Determine the desired thickness for your material, depending on the specific project at hand. Ensure that your material is of consistent thickness throughout its length, as variations can affect the accuracy of the joint.
Dimensions: Cut your material to the desired length and width, taking into consideration the final dimensions of your project. It’s important to have precise measurements to ensure a proper fit of the dovetail joints.
By properly preparing your material, you are setting the foundation for successful dovetail joints. Taking the time to select suitable wood, ensuring flatness and cleanliness, and maintaining consistent dimensions will contribute to the overall quality of your finished project.
Now that the material is prepared, it’s time to move on to the next step: marking the dovetail layout. This crucial step sets the stage for accurately cutting the pins and tails of your dovetail joints.
Marking the Dovetail Layout
Marking the dovetail layout is a critical step in creating precise and well-fitting dovetail joints. This process involves carefully and accurately marking the location and size of the tails and pins on the respective pieces of material.
To begin, gather your marking gauge, sliding bevel, and marking knife. These tools will help you establish the proper angles, measurements, and layout lines for your dovetail joints.
Step 1: Set the Angles
Using the sliding bevel, set the desired angle for your dovetail joint. The most common angle for dovetail joints is 1:6, meaning that for every one unit of depth, the joint extends six units along the length of the board. Adjust the sliding bevel until you achieve the desired angle, typically 7-9 degrees.
Step 2: Mark the Tails
Using the marking gauge, set the width of the tails on the end grain of the board. This is typically about one-third of the thickness of the material. Make sure the gauge is firmly set, and run it along the edge of the board to create a consistent line across the surface.
Step 3: Transfer the Tail Lines
Next, use the marking knife to transfer the tail lines from the end grain to the face or edge of the board. Place the marked end grain against the face or edge where the joint will be formed, and carefully run the knife along the marked lines. This will create precise and visible guidelines for cutting the tails.
Step 4: Mark the Pins
Using the marked tail lines as a reference, use the sliding bevel and the marking gauge to set the width of the pins. Mark the width of the pins on the face or edge of the second piece of material, ensuring that they match the width of the tails.
Step 5: Transfer the Pin Lines
Similar to transferring the tail lines, use the marking knife to transfer the pin lines from the face or edge of the second piece to the end grain. Align the marked face or edge against the end grain of the material and carefully run the knife along the lines to create visible guidelines for cutting the pins.
By meticulously marking the dovetail layout, you are ensuring accurate cuts and tight-fitting joints. Taking the time to establish the correct angles and transferring clear and precise lines will greatly contribute to the overall quality and aesthetics of your dovetail joints.
Now that the layout is marked, it’s time to move on to the next step: cutting the pins of the dovetail joints.
When cutting dovetails by hand, make sure to use a sharp marking knife to accurately scribe the lines for the joint. This will ensure clean and precise cuts for a tight-fitting dovetail joint.
Read more: How To Cut A Dado Joint With Hand Tools
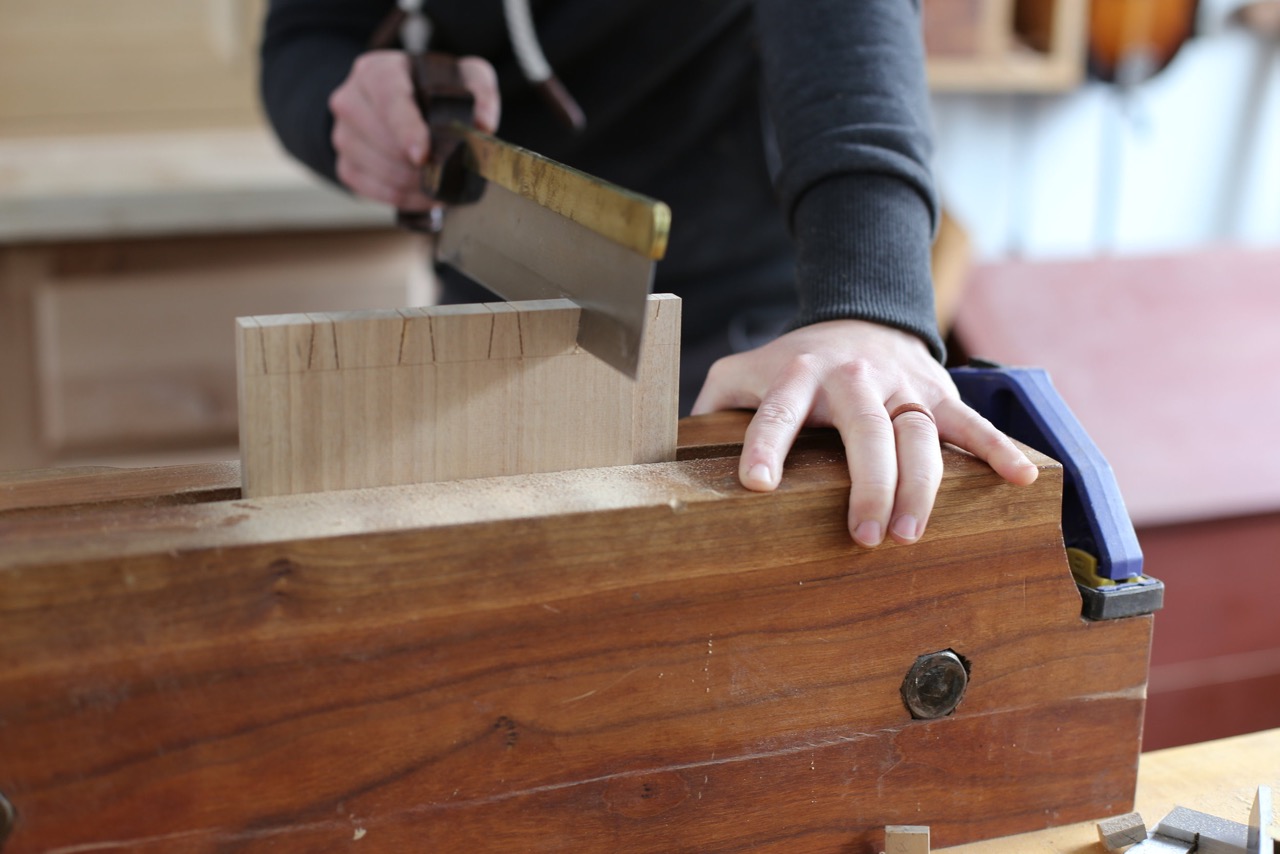
Cutting the Pins
Once the dovetail layout is marked, it’s time to start cutting the pins. The pins are the smaller, wedge-shaped pieces that will interlock with the tails to form the dovetail joint. This step requires precision and careful sawing to achieve tight and well-fitting joints.
Before you begin, it’s important to secure the material in a sturdy vice or clamping system to ensure stability and safety during the cutting process. It’s also helpful to have a bench hook or similar support to hold the workpiece in place.
Step 1: Start with the Waste Side
Identify which side of the marked line is the waste side – this is the portion of the material that will be removed. This side should be on the outside of your saw cuts to ensure clean and accurate cuts on the pin side.
Step 2: Make Relief Cuts
Using a dovetail saw, carefully make relief cuts on the waste side of the marked lines. These initial cuts will help prevent tear-out and make it easier to remove the waste material.
Step 3: Begin Cutting the Pins
Starting from one end of the pins, begin cutting vertically along the marked lines. Use a steady and controlled motion, keeping the saw perpendicular to the workpiece for straight and accurate cuts.
Step 4: Cut Down to the Baseline
Continue cutting along the lines, gradually angling the saw to follow the shape of the pins. Carefully cut down to the baseline, but avoid cutting beyond it as this could compromise the integrity of the joint.
Step 5: Repeat for Each Pin
Repeat the cutting process for each pin, working your way along the line until all the pins are cut. Take your time to ensure the cuts are precise and parallel to the layout lines.
Remember to periodically check the fit of the joint by gently sliding the material together. The pins should slide smoothly into the corresponding tails, creating a tight and secure joint.
Once all the pins are cut, remove any remaining waste material using a chisel or coping saw. Take care not to damage the surrounding wood or undercut the pins as you remove the waste.
Cutting the pins is a meticulous process that requires patience and attention to detail. By following these steps and practicing precision, you will achieve well-cut pins that fit seamlessly with the tails.
Next, we will move on to the process of cutting the tails, the counterpart to the pins, to complete the dovetail joint.
Cutting the Tails
After cutting the pins, it’s time to move on to cutting the tails of the dovetail joint. The tails are the larger, wedge-shaped recesses that will interlock with the pins, creating a strong and visually appealing joint. Cutting the tails requires careful sawing and chiseling to create clean and precise cuts.
Before you begin, ensure that your material is securely clamped, and use a bench hook or similar support to hold the workpiece in place. This will provide stability and safety during the cutting process.
Step 1: Identify the Waste Side
Similar to cutting the pins, identify which side of the marked line is the waste side. This side will be removed to create the recesses for the pins.
Step 2: Make Relief Cuts
Using a coping or dovetail saw, make relief cuts on the waste side of the marked lines. These initial cuts will help prevent tear-out and make it easier to remove the waste material.
Step 3: Begin Cutting the Tails
Starting from one end of the tails, carefully cut along the marked lines using a controlled sawing motion. Keep the saw perpendicular to the workpiece to ensure straight and accurate cuts.
Step 4: Cut Down to the Baseline
Continue cutting along the lines, gradually angling the saw to follow the shape of the tails. Aim to cut down to the baseline without going beyond it, as this could compromise the joint’s integrity.
Step 5: Remove the Waste
After completing the saw cuts, use a chisel to remove the waste material between the tails. Position the chisel diagonally against the waste and carefully tap it with a mallet to gradually remove the wood.
Step 6: Clean Up and Fine-Tune
Once the majority of the waste is removed, use a chisel to clean up the recesses and refine the shape of the tails. Take care to maintain clean and straight lines to ensure a precise fit with the pins.
Remember to periodically test the fit of the joint by sliding the pins into the tails. The joint should feel snug, without any excessive gaps or play.
By following these steps and practicing patience, you will achieve well-cut tails that complement the pins and create a strong, interlocking dovetail joint.
Now that the tails are cut, we can move on to the next step: fitting the joints together to complete the dovetail connection.
Fitting the Joints
With the pins and tails cut, it’s time to fit the joints together to create a strong and seamless dovetail connection. This step involves precise adjustments and careful fitting to ensure a tight and secure joint.
Step 1: Dry Fit the Joints
Begin by dry fitting the joints together without any glue or adhesive. This will allow you to assess the fit and make any necessary adjustments before permanently joining the pieces.
Step 2: Check for Proper Alignment
Ensure that the edges of the material are flush and aligned properly. Use a woodworking square to check the perpendicularity and make any adjustments as necessary.
Step 3: Assess the Fit
Slowly slide the pins into the tails, checking for a snug and even fit. The joint should feel firm, with minimal gaps or play. If the fit is too tight, carefully shave off small amounts from the sides of the pins or the tails until the desired fit is achieved.
Step 4: Make Final Adjustments
If needed, use a chisel to make fine adjustments to the tails or pins. Be cautious and work slowly, taking small amounts off at a time. Test the fit frequently to ensure you achieve the perfect fit.
Step 5: Apply Wood Glue and Assemble
Once you are satisfied with the fit, disassemble the joint and apply a thin layer of wood glue to the surfaces of the pins and tails. Reassemble the joint, making sure to align the parts accurately.
Step 6: Clamp and Wait for the Glue to Dry
Secure the joint with clamps to apply even pressure and allow the glue to dry completely. Follow the manufacturer’s instructions regarding drying time. It is recommended to keep the joint clamped for at least a few hours or overnight.
Remember, patience and attention to detail are key when fitting dovetail joints. Take your time to ensure a precise fit, as a well-executed joint will not only provide strength but also enhance the visual appeal of your woodworking project.
Once the glue has dried, you can remove the clamps and proceed with any additional steps, such as sanding, finishing, or adding other components to complete your project.
Now that you have successfully fitted the joints, we can move on to the final step: adding the finishing touches to your dovetail joints.
Finishing Touches
After successfully fitting the dovetail joints, it’s time to add the finishing touches to your woodworking project. These final steps will help enhance the appearance and durability of the joints, giving your project a polished and professional finish.
Sanding: Start by sanding the entire piece, paying close attention to the areas around the dovetail joints. Use sandpaper with progressively finer grits to achieve a smooth and even surface. Sanding will remove any rough edges or imperfections, preparing the wood for the finishing process.
Applying a Finish: Choose a finish that suits your project and personal preferences. Whether it’s a clear varnish for a natural look or a stain for added color, apply the finish evenly to the entire piece, including the dovetail joints. Follow the manufacturer’s instructions for drying and curing times, and apply multiple coats if desired for added protection and depth of color.
Sealing the Joints: To ensure the longevity and stability of your dovetail joints, consider applying a thin layer of wood glue along the edges of the joint. This will reinforce the bond and prevent any potential future loosening or shifting of the joint.
Final Inspection and Touch-Ups: Once the finish has dried, thoroughly inspect the dovetail joints for any gaps or imperfections. Use a chisel or sandpaper to carefully remove any excess finish that may have seeped into the joints, ensuring they maintain a clean and tight fit.
By paying attention to the finishing touches, you can elevate the overall look and quality of your project. Proper sanding, applying a suitable finish, sealing the joints, and conducting a final inspection will result in dovetail joints that not only provide functional strength but also showcase the beauty of craftsmanship.
Congratulations! You have completed the process of making dovetail joints with hand tools. The exceptional strength, durability, and visual appeal of dovetail joints will undoubtedly enhance your woodworking projects and leave a lasting impression.
Remember, practice makes perfect. The more you work with hand tools and create dovetail joints, the more refined your skills will become. So, continue honing your craftsmanship and enjoy the fulfillment that comes with creating beautiful and enduring dovetail joints.
Happy woodworking!
Conclusion
Crafting dovetail joints with hand tools is a rewarding and timeless woodworking technique. These interlocking joints provide both strength and aesthetic appeal, making them a popular choice for creating durable and visually stunning furniture and cabinetry.
Throughout this article, we have covered the essential steps involved in making dovetail joints with hand tools. From understanding the intricacies of dovetail joints to preparing the material, marking the layout, and cutting both the pins and tails, each step plays a crucial role in achieving precise and well-fitting joints.
By using the necessary tools and practicing patience, precision, and attention to detail, you can create beautiful dovetail joints that showcase your woodworking skills. Fitting the joints together and adding the finishing touches further elevate the joints, ensuring a seamless and durable connection.
Whether you are a beginner or an experienced woodworker, this guide provides you with the knowledge and techniques needed to embark on your dovetail joint journey. Remember to embrace the craftsmanship and take pride in each joint you create.
With practice and dedication, you will continue to refine your skills and produce magnificent dovetail joints that will stand the test of time. So, gather your tools, select your wood, and start creating stunning and robust dovetail joints with hand tools.
Happy woodworking!
Frequently Asked Questions about How To Make Dovetail Joints With Hand Tools
Was this page helpful?
At Storables.com, we guarantee accurate and reliable information. Our content, validated by Expert Board Contributors, is crafted following stringent Editorial Policies. We're committed to providing you with well-researched, expert-backed insights for all your informational needs.


0 thoughts on “How To Make Dovetail Joints With Hand Tools”