Articles
How To Make Shaker Cabinet Doors
Modified: October 19, 2024
Learn how to make shaker cabinet doors and enhance your interior design with this step-by-step guide. Create a stunning and functional space with our DIY tips and techniques.
(Many of the links in this article redirect to a specific reviewed product. Your purchase of these products through affiliate links helps to generate commission for Storables.com, at no extra cost. Learn more)
Introduction
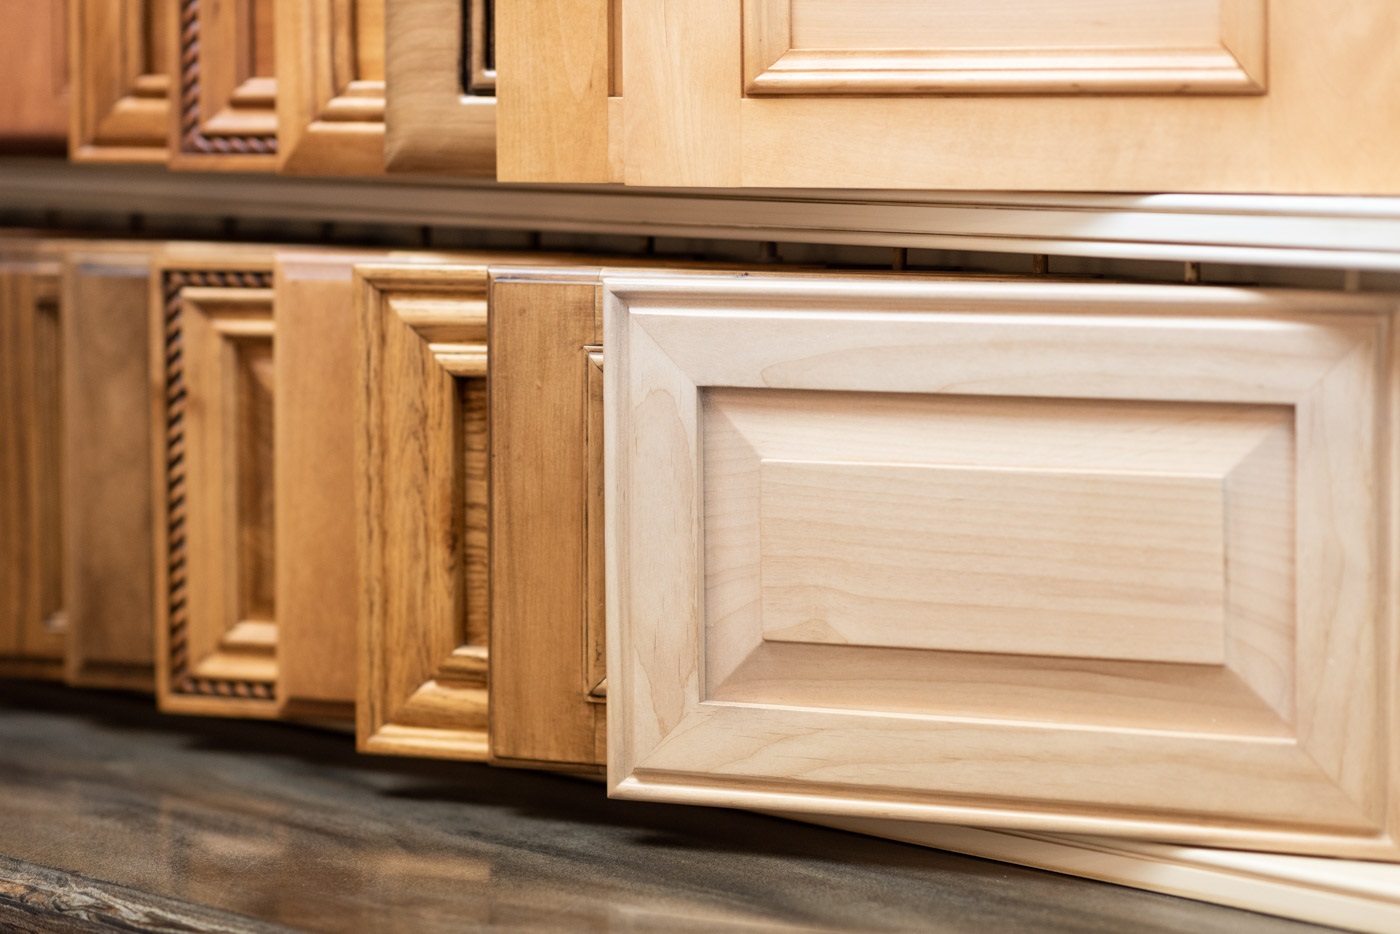
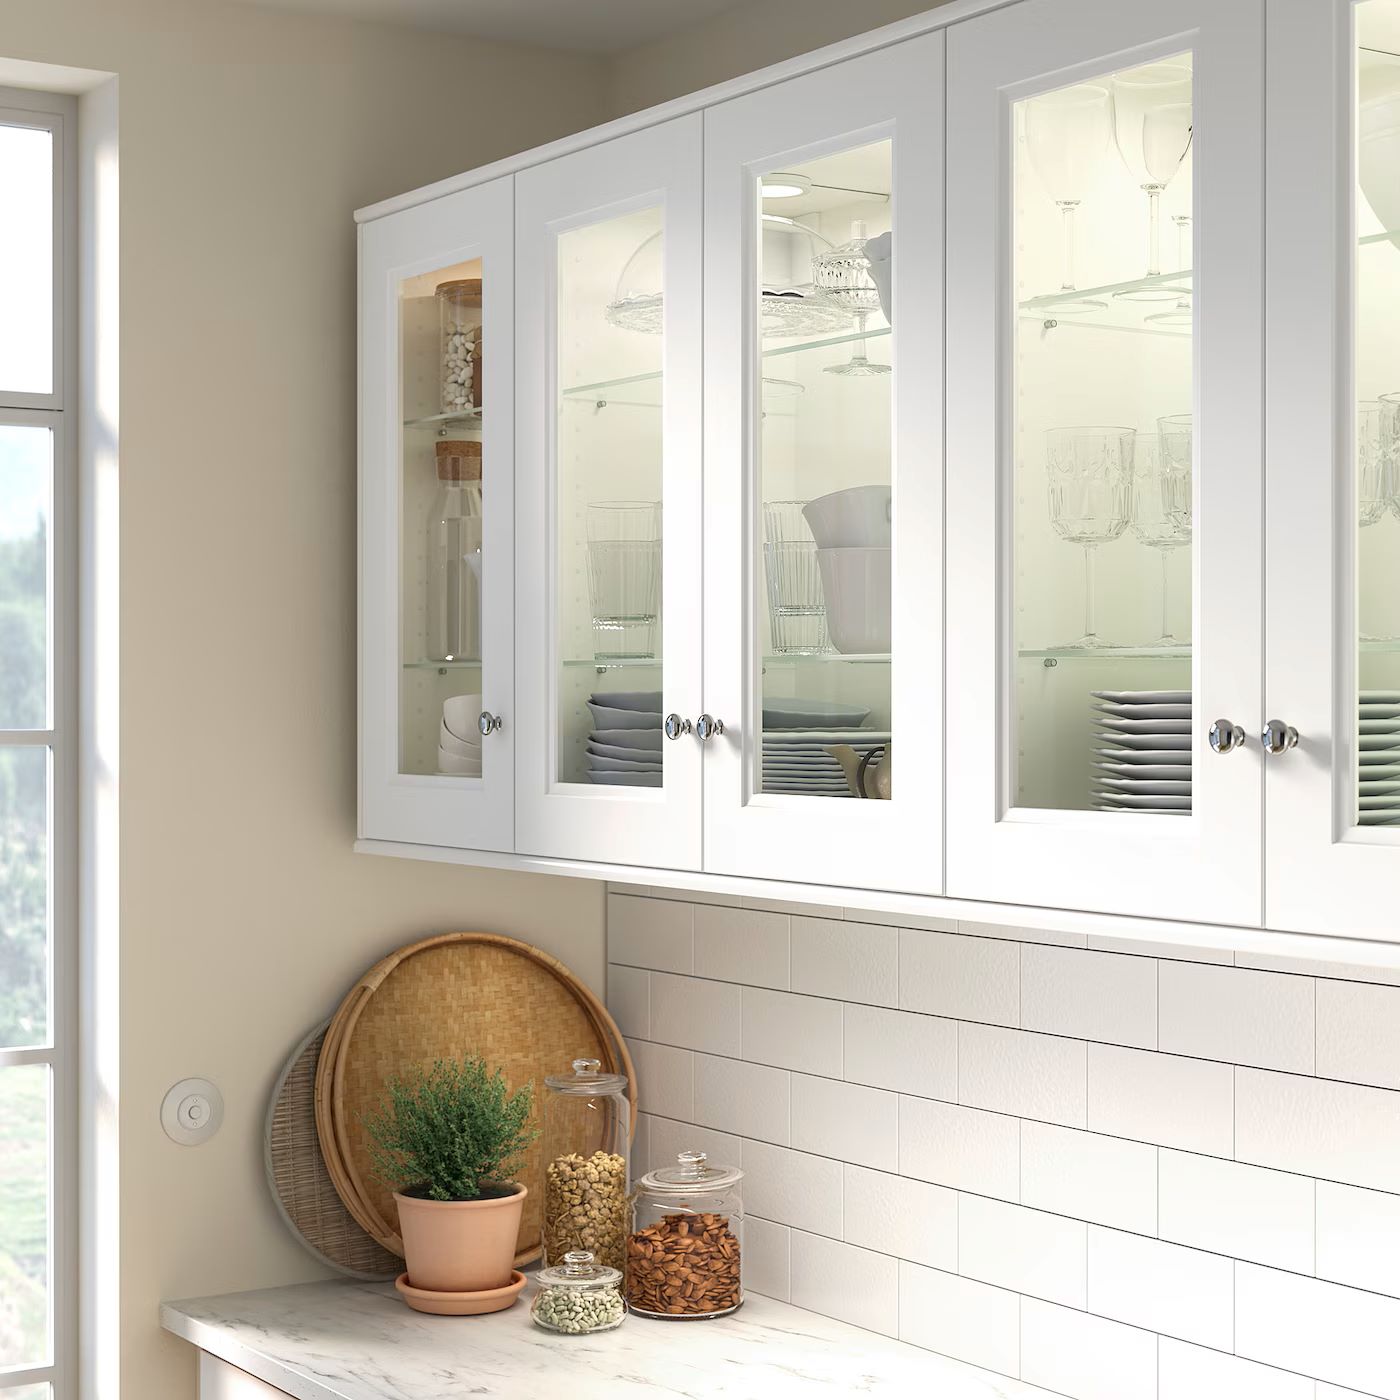
Shaker cabinet doors are a popular choice for both modern and traditional kitchens due to their timeless design and simple yet elegant style. Whether you’re looking to update the look of your existing cabinets or starting a new woodworking project, making your own Shaker cabinet doors can be a rewarding and cost-effective endeavor.
In this guide, we will take you through the step-by-step process of creating your own Shaker cabinet doors. We will cover everything from understanding the Shaker style and gathering the necessary materials and tools, to planning and measuring, constructing the door frames and panels, and applying the finishing touches.
By the end of this article, you’ll have all the knowledge and confidence to tackle this DIY project and create beautiful Shaker-style cabinet doors that will elevate the aesthetics of your kitchen.
So, let’s dive in and discover the basics of making Shaker cabinet doors!
Key Takeaways:
- Elevate your kitchen with timeless Shaker cabinet doors, blending simplicity and elegance. Follow our step-by-step guide to craft custom doors that reflect your style and enhance your space.
- Embrace the art of woodworking and create Shaker cabinet doors that exude charm and functionality. From planning to installation, our comprehensive guide empowers you to embark on a rewarding DIY project.
Read more: How To Make A Cabinet Door
The Basics of Shaker Cabinet Doors
Before diving into the process of making Shaker cabinet doors, it is important to understand the essence of the Shaker style. The Shaker style is known for its simplicity, functionality, and clean lines. It originated from the Shaker religious communities in the 18th century and has since become a timeless design choice.
When it comes to materials, you have a variety of options to choose from. The most common choice for Shaker cabinet doors is solid wood, such as maple, oak, or cherry, as it offers durability and a natural aesthetic. You can also opt for plywood or MDF (medium-density fiberboard) if you’re on a budget.
Aside from the materials, there are specific tools you’re going to need to successfully complete this project. The tools required may vary depending on the complexity of your design, but the essentials include:
- A table saw or circular saw for cutting the wood pieces to size.
- A miter saw for making accurate angle cuts for the door frames.
- A pocket hole jig for creating strong and discreet pocket hole joinery.
- A drill/driver for drilling holes and driving screws.
- A sander for smoothing out any imperfections in the wood.
- A chisel for fine-tuning the joinery and making precise cuts.
- A tape measure and a combination square for accurate measurements and markings.
- A router, if you plan to add a decorative edge profile to the door panels.
- A paintbrush or sprayer for applying the finish or paint to the doors.
Having these tools at hand will make the process smoother and ensure precise and professional-looking results. Make sure to use proper safety equipment, such as safety glasses and ear protection, when operating power tools.
Now that you have a good understanding of the Shaker style, the materials needed, and the tools required, you’re ready to move on to the next steps in creating your own Shaker cabinet doors – planning and measuring.
Planning and Measuring
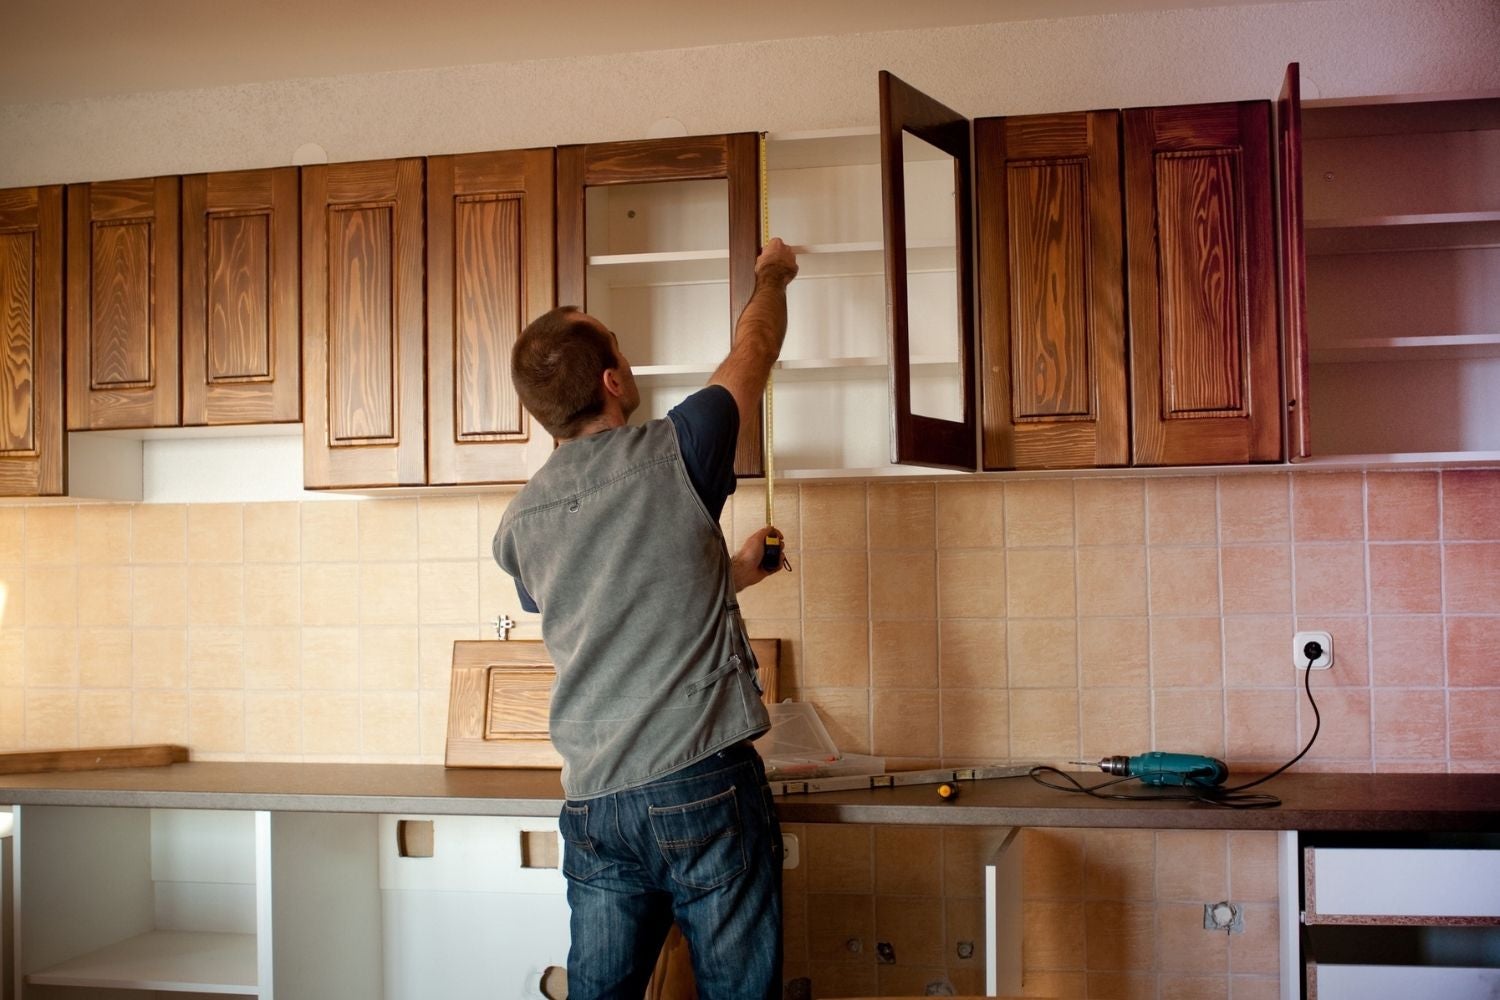
When it comes to making Shaker cabinet doors, precise planning and accurate measurements are crucial for achieving a perfect fit. Taking the time to measure correctly will ensure that your doors align properly and function smoothly within your cabinet frames.
The first step is to measure the openings where you plan to install the cabinet doors. Use a tape measure to measure the height and width of each opening, taking note of any variations between them. It’s important to measure at least two or three times to ensure accuracy.
Once you have obtained the measurements, you can calculate the size and dimensions of each door panel. In most cases, the door panel will be slightly larger than the cabinet opening to allow for adequate clearance and smooth operation. As a general rule of thumb, add 1 inch to each side of the door opening to determine the size of the door panel. This additional space will ensure a consistent reveal around the door when it is installed.
For example, if the cabinet opening measures 12 inches in width and 24 inches in height, you would calculate the door panel size to be 14 inches by 26 inches. Remember to apply this calculation to each individual cabinet door.
It’s worth noting that some designs may include multiple smaller panels within a single door frame. In this case, you will need to account for the size of each panel and the spacing between them. This can be achieved by dividing the total width or height of the door into equal sections.
Once you have determined the size and dimensions of each door panel, you can move on to selecting the appropriate wood and preparing it for construction. Choosing the right type of wood is essential for achieving the desired aesthetic and durability for your Shaker cabinet doors.
In the next section, we will explore the process of preparing the wood for your cabinet doors, including cutting it to size and ensuring smooth surfaces.
Preparing the Wood
Preparing the wood is a crucial step in the process of making Shaker cabinet doors. It involves choosing the right type of wood, cutting it to size, and ensuring smooth and even surfaces for a professional finish.
When it comes to choosing the right type of wood for your Shaker cabinet doors, there are several options to consider. Solid wood, such as maple, oak, or cherry, is a popular choice due to its natural beauty and durability. These types of wood offer stability and strength, making them suitable for long-lasting cabinet doors.
If you’re on a budget or prefer a more uniform look, plywood or MDF (medium-density fiberboard) can be viable alternatives. Plywood is made from layers of wood veneer, which are glued together to create a strong and stable panel. MDF is made from wood fibers and resin, resulting in a smooth and consistent surface that is easy to paint or finish.
Once you have chosen the type of wood, the next step is to cut it to the appropriate size. Using a table saw or circular saw, carefully cut the wood panels according to the measurements you calculated earlier. Take your time and use a sharp blade to ensure clean and precise cuts. Remember to double-check the measurements before cutting to avoid any errors.
After cutting the wood panels, the next step is to sand and smooth the surfaces. This is important for achieving a professional finish and ensuring that the doors feel smooth to the touch. Start with a coarse-grit sandpaper to remove any rough edges or imperfections, and gradually move to finer-grit sandpapers for a smoother finish.
Be sure to sand both the front and back surfaces of the wood panels, as well as the edges. Pay attention to any areas where the wood panels meet to create a seamless transition. Sand in the direction of the wood grain to avoid creating scratches or marks that may be visible in the final result.
Once you have completed the sanding process, wipe off any sawdust or debris from the wood panels using a clean, damp cloth. This will help ensure a clean application of paint or finish later on in the project.
With the wood prepared and ready, the next steps will involve building the door frames and constructing the door panels. In the following sections, we will guide you through these processes, step by step.
Building the Door Frame
Building the door frame is a critical step in creating Shaker cabinet doors. The frame provides the structure and stability for the doors and ensures their longevity. In this section, we will guide you through the process of creating the frame using pocket hole joinery, assembling the frame with glue and screws, and ensuring proper squareness and alignment.
The first method we’ll discuss is pocket hole joinery. Pocket holes are created by drilling angled holes into the wood and joining the pieces together using special screws specifically designed for this purpose. This method offers strong and discreet joinery, allowing the frame to stay securely intact.
Using a pocket hole jig, position the jig and drill bit according to the instructions provided. Clamp the wood pieces in place, making sure they align correctly. With the drill bit securely in the jig, drill the pocket holes into the end or edge of each wood piece. Repeat this process for all the pieces that make up the frame.
Once the pocket holes are drilled, it’s time to assemble the frame. Apply a thin layer of wood glue along the edge or end of one piece and join it to another, ensuring that the pocket holes align properly. Secure the pieces together by driving the pocket hole screws through the holes and into the adjoining wood piece.
Continue this process, attaching all the pieces together to form the complete frame. Be mindful of maintaining the alignment and squareness of the frame as you go. A square or combination square can be used to ensure that the corners are perfectly 90 degrees. Adjust if necessary before the glue dries and the screws are fully tightened.
To ensure proper squareness and alignment, measure the diagonal dimensions from corner to corner of the frame. If the measurements are equal, it indicates that the frame is square. If the measurements are slightly off, gently tap the frame with a rubber mallet or use clamps to adjust and square it up.
Once you have confirmed that the frame is square, wipe off any excess glue with a damp cloth and let it dry according to the manufacturer’s instructions. The frame is now ready for the next step, which involves constructing the door panels.
In the following section, we will discuss how to cut the wood panels and securely attach them to the frame to complete your Shaker cabinet doors.
When making shaker cabinet doors, ensure that the stiles and rails are cut to the correct length and width for a precise fit. Use a router to create the shaker-style inset panel for a professional finish.
Read more: What Is A Shaker Style Cabinet
Constructing the Door Panels
Constructing the door panels is an essential part of making Shaker cabinet doors. In this section, we will guide you through the process of cutting the wood panels to size, applying a decorative edge profile if desired, and attaching the panels securely to the frame.
To begin, measure and mark the dimensions for the wood panels based on the size of the door frame. Use a table saw or circular saw to carefully cut the wood panels to the calculated measurements. Ensure that the panels fit snugly within the frame but allow for a slight expansion or contraction due to temperature and humidity changes.
If you’d like to add a decorative touch to your Shaker cabinet doors, you can consider applying an edge profile to the wood panels. This can be achieved using a router and an appropriate router bit. Choose a profile that complements the overall design of your kitchen and the Shaker style. Common options include a simple round-over, a chamfer, or a decorative ogee profile.
Before attaching the panels to the frame, it’s important to prepare the panels for a smooth finish. Once again, sand the surfaces of the panels using a progression of finer-grit sandpaper, paying attention to any edges or corners. This will ensure a flawless surface for painting or finishing.
Now it’s time to attach the panels to the door frame. Apply a thin layer of wood glue along the edges of the frame where the panel will sit. Carefully place the panel onto the frame, ensuring that it aligns properly and is centered within the frame. Press it firmly against the glue to create a strong bond.
To further secure the panel, you can use small finishing nails or brad nails. These can be carefully driven through the back of the door frame into the panel, being mindful of the placement to avoid any visible nail heads on the front side of the door.
Alternatively, you can use a pneumatic brad nailer or a pin nailer for a more discreet and efficient method of attachment. These tools allow you to quickly and easily fasten the panels to the frame without the need for glue and additional nails.
Once the panels are securely attached, wipe off any excess glue with a damp cloth and allow the door to dry completely according to the glue manufacturer’s instructions.
With the panels constructed and securely attached, you have successfully completed the major steps in making your own Shaker cabinet doors. The next section will cover the finishing touches that will give your doors a polished and refined look.
Finishing Touches
As you near the end of your journey in making Shaker cabinet doors, it’s time to focus on the finishing touches that will truly elevate the look of your doors. This involves filling any gaps or imperfections, sanding the doors for a smooth finish, and applying a suitable finish or paint.
Inspect the doors for any gaps or imperfections that may have occurred during the construction process. Small gaps can be filled using wood filler. Apply the filler to the gaps, smoothing it out with a putty knife or a small scraper. Once the filler is dry, sand it lightly to ensure a seamless surface.
Next, sand the doors to achieve a smooth and polished finish. Start with a coarse-grit sandpaper to remove any rough spots, focusing on any filled areas. Gradually move to finer-grit sandpapers to smooth out the surface completely. Sand with the grain of the wood to avoid creating scratches or marks.
After sanding, thoroughly wipe off any dust or debris from the doors using a clean, dry cloth. This step is essential to prepare the surface for the application of finish or paint. Any remaining dust particles can mar the final appearance.
Now it’s time to choose the type of finish or paint that will bring your Shaker cabinet doors to life. The finish you select will depend on your personal preference and the overall style of your kitchen. You can choose to showcase the natural beauty of the wood by applying a clear varnish or sealant. This will protect the wood and enhance its grain patterns.
Alternatively, you can opt for a painted finish to add a pop of color or create a cohesive look with your kitchen decor. Choose a high-quality paint and apply it in thin, even coats, allowing sufficient drying time between each coat. Sand lightly between coats for a smooth and professional finish.
Remember to follow the specific instructions provided by the manufacturer for the chosen finish or paint. This includes the application process, drying time, and any additional steps or precautions.
Once the finish or paint is applied and dried, inspect the doors for any final touch-ups or adjustments needed. Address any areas that require further attention, such as sanding inconsistencies or paint drips. Take your time to ensure a flawless and polished result.
With the finishing touches complete, your Shaker cabinet doors are ready to be installed and admired. In the next section, we will discuss the process of installing the doors, ensuring a proper fit and functionality.
Installing Shaker Cabinet Doors
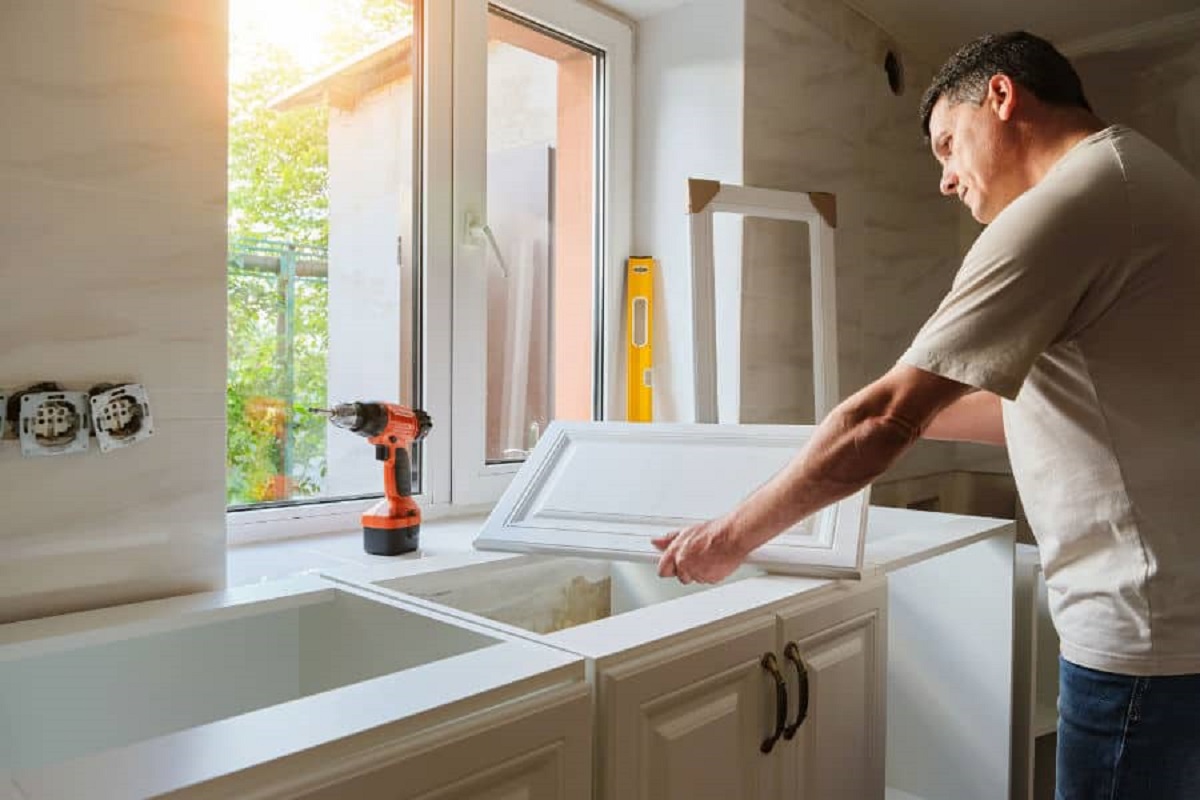
The final step in your journey of making Shaker cabinet doors is installing them, transforming your kitchen with their timeless elegance. In this section, we will guide you through the process of removing old cabinet doors (if applicable), properly aligning and attaching the new doors to the cabinet frames, and adjusting and testing the functionality of the doors.
If you are replacing existing cabinet doors, begin by removing the old doors from their hinges. Carefully unscrew the hinges from the cabinet frames, taking note of the positioning for future reference. Keep the hardware and screws organized to make reinstallation easier later on.
With the old doors removed, it’s time to install the new Shaker cabinet doors. Begin by ensuring that the cabinet frames are clean and free from any debris or obstructions. Properly align the new doors with the frames, making sure they are level and centered. Use a level and a tape measure to double-check their positioning.
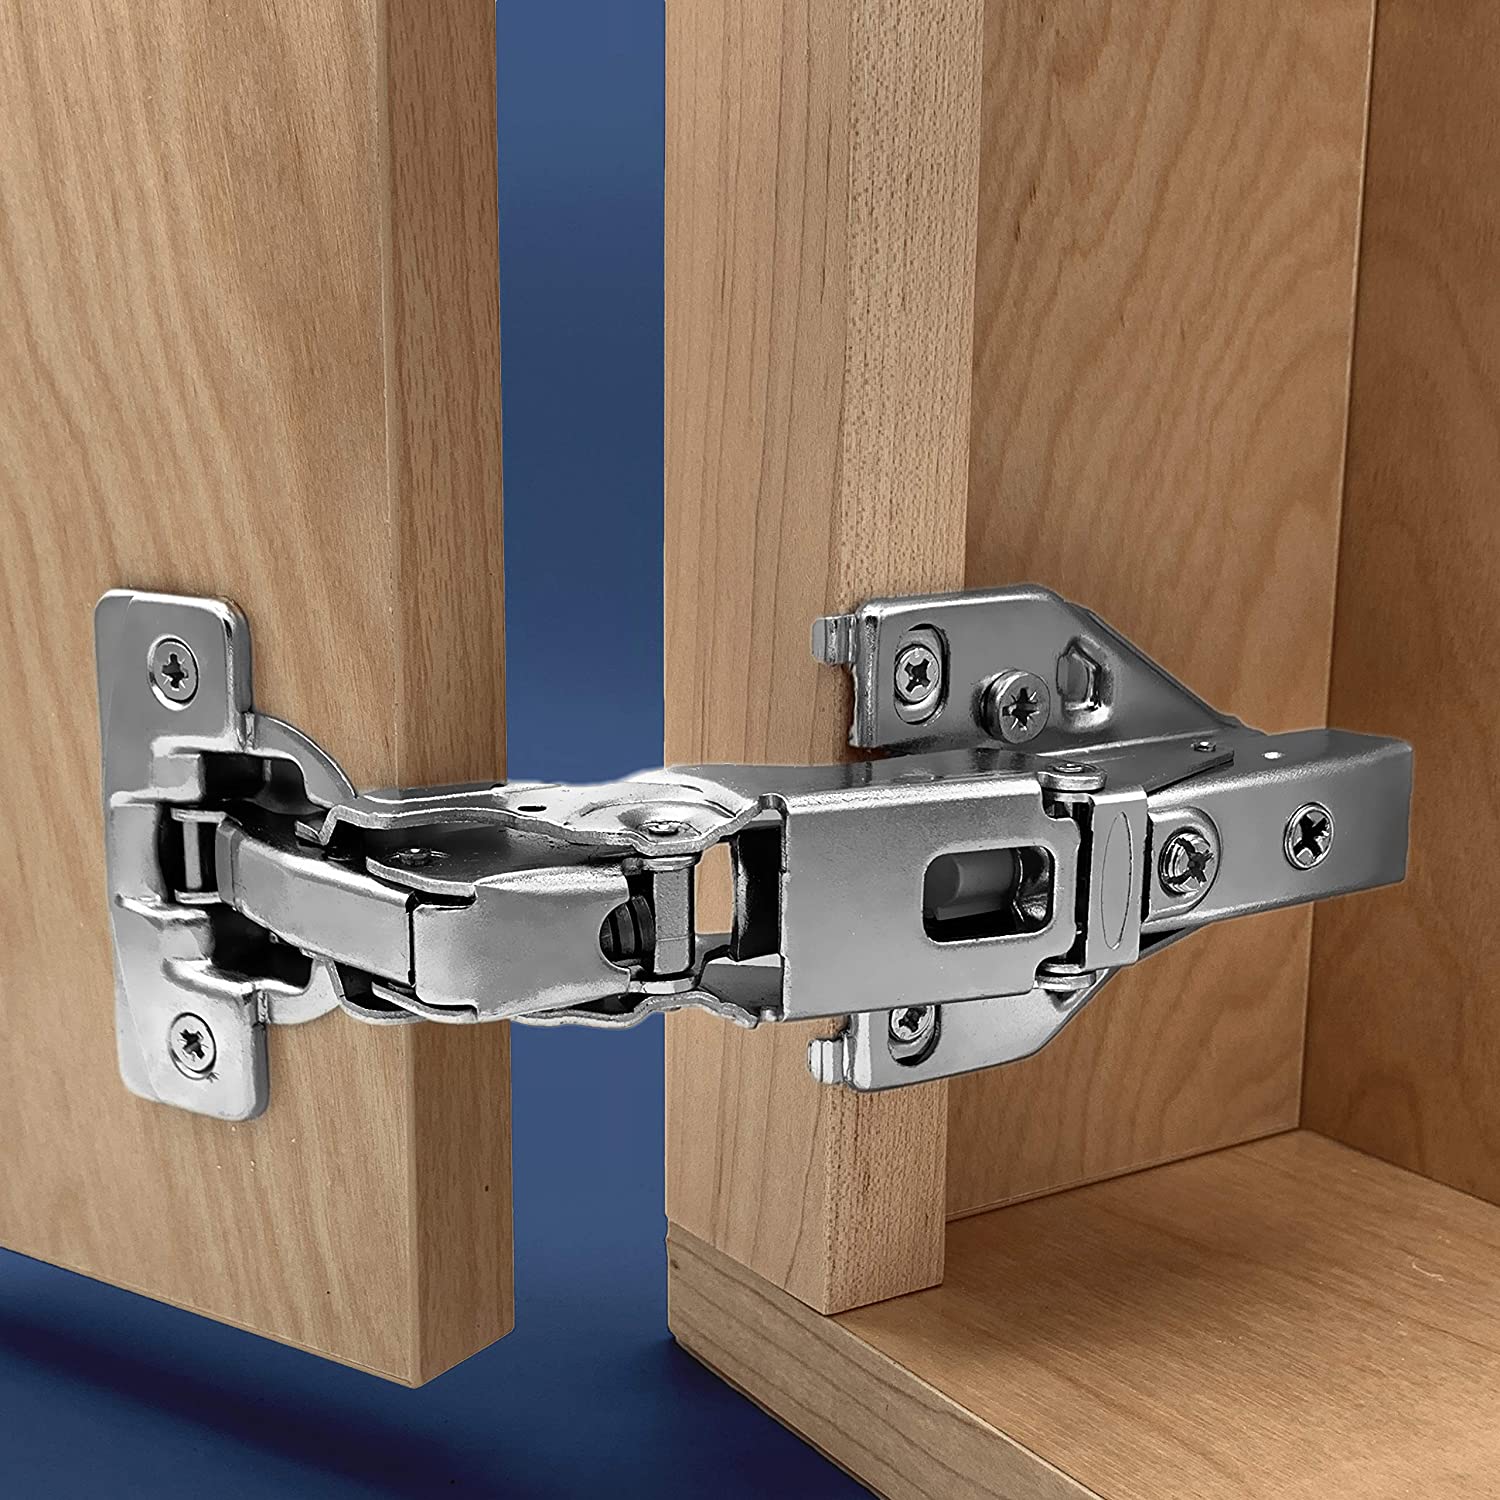
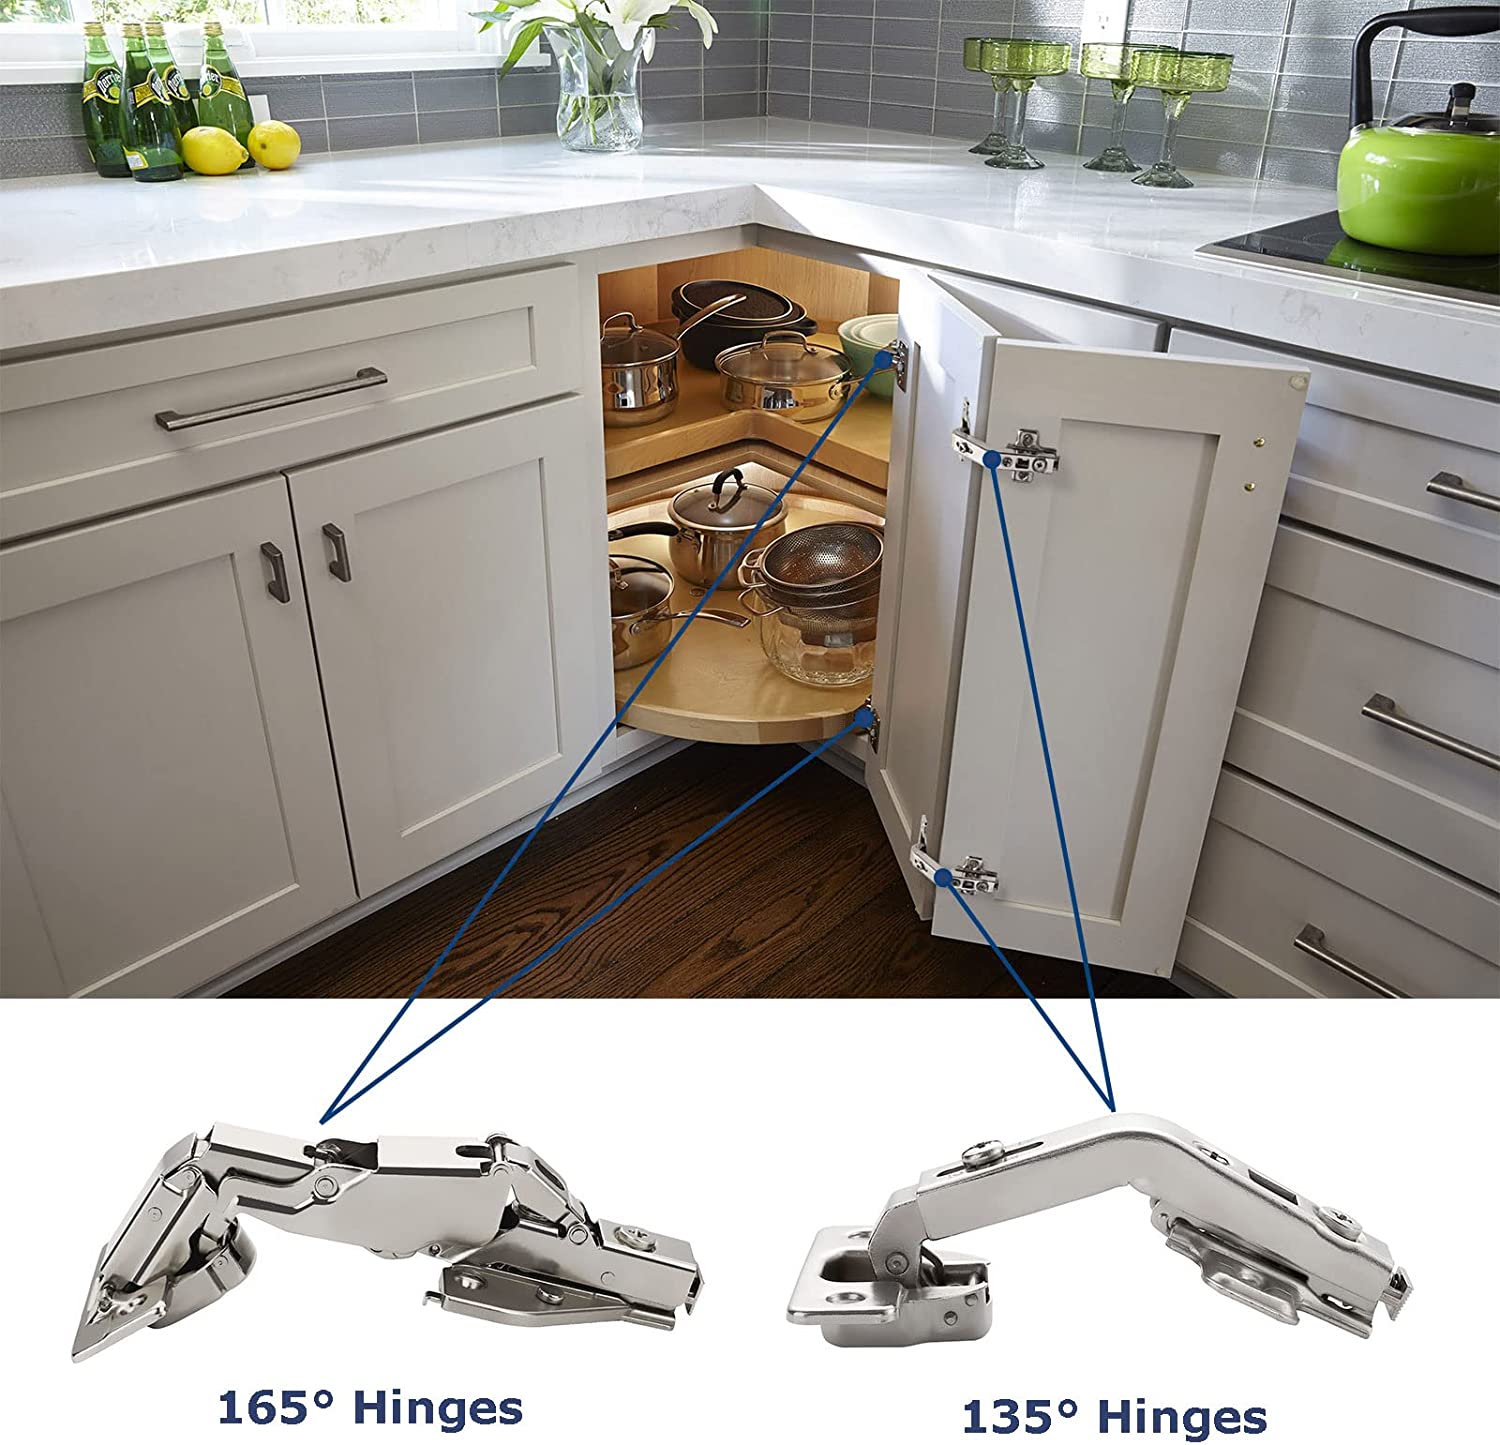
Once you are satisfied with the alignment, it’s time to attach the new doors to the cabinet frames. Secure the hinges onto the doors using the screws provided. Ensure that the hinges are positioned correctly, allowing the doors to swing open and close smoothly.
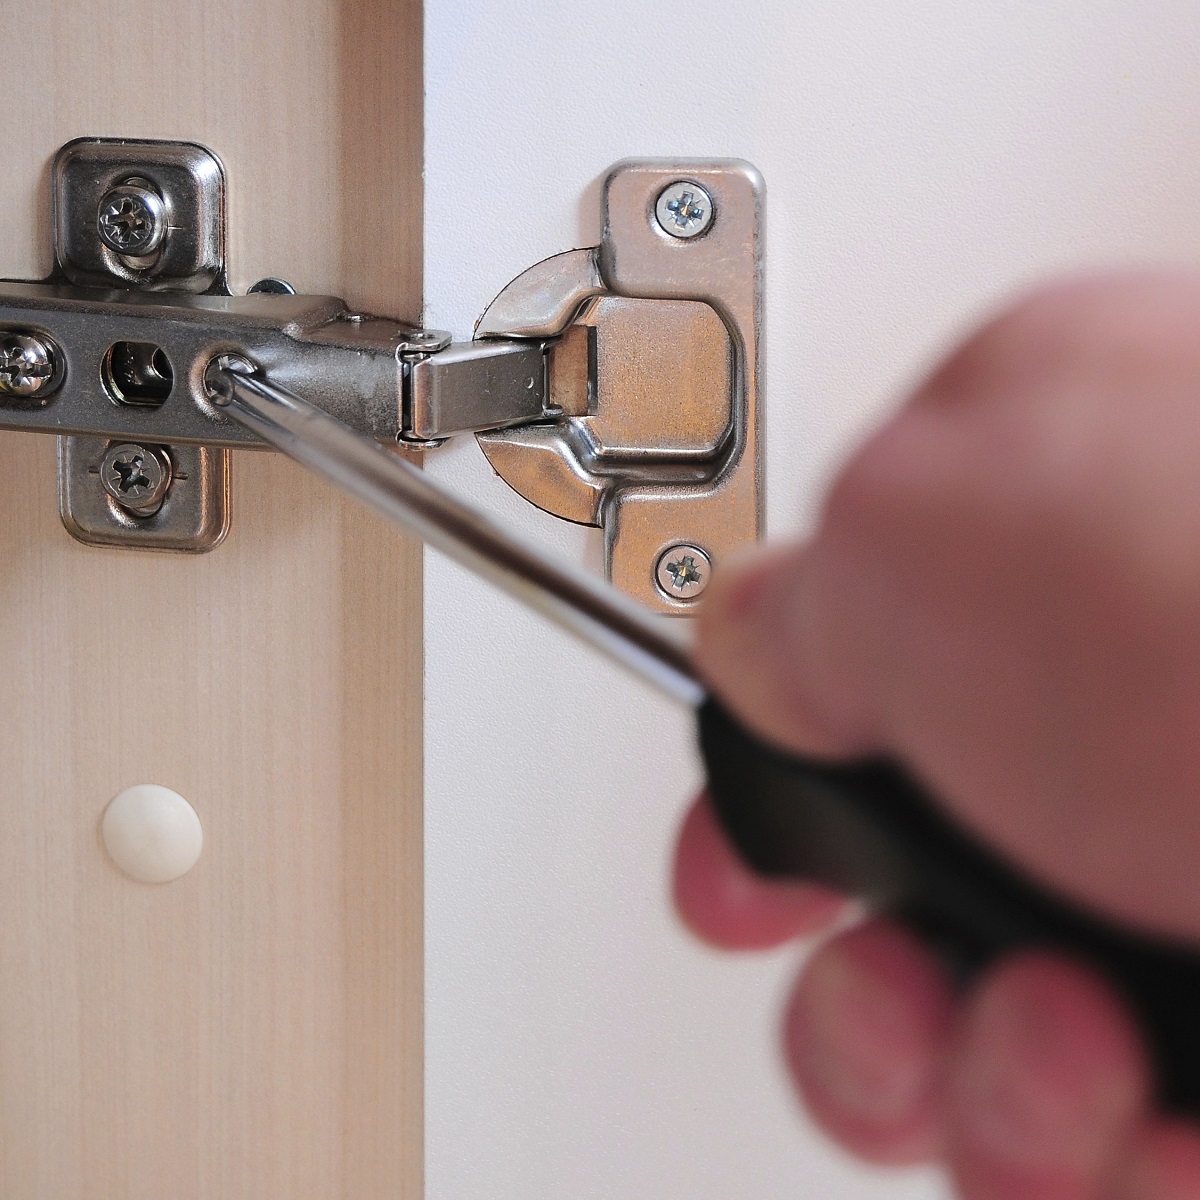
With the hinges attached to the doors, align them with the corresponding hinge plates or mounting brackets on the cabinet frames. Slowly and carefully screw the hinges into place, one at a time, ensuring that they are firmly secured. Take your time to make any necessary adjustments to achieve an even reveal and proper alignment with the adjacent doors.
After attaching the hinges, test the functionality of the doors by opening and closing them. Ensure that they swing freely and smoothly without any obstructions or binding. If necessary, make any adjustments to the hinge placement or tightening of the screws to fine-tune the fit and functionality.
Take a step back and admire your newly installed Shaker cabinet doors. Appreciate the transformation they have brought to your kitchen’s visual appeal and functionality. Give the doors a final inspection to ensure they align properly and operate flawlessly.
Congratulations! You have successfully completed the process of making and installing your own Shaker cabinet doors. Your hard work and attention to detail have paid off, and your kitchen now showcases the elegance and charm of the timeless Shaker style.
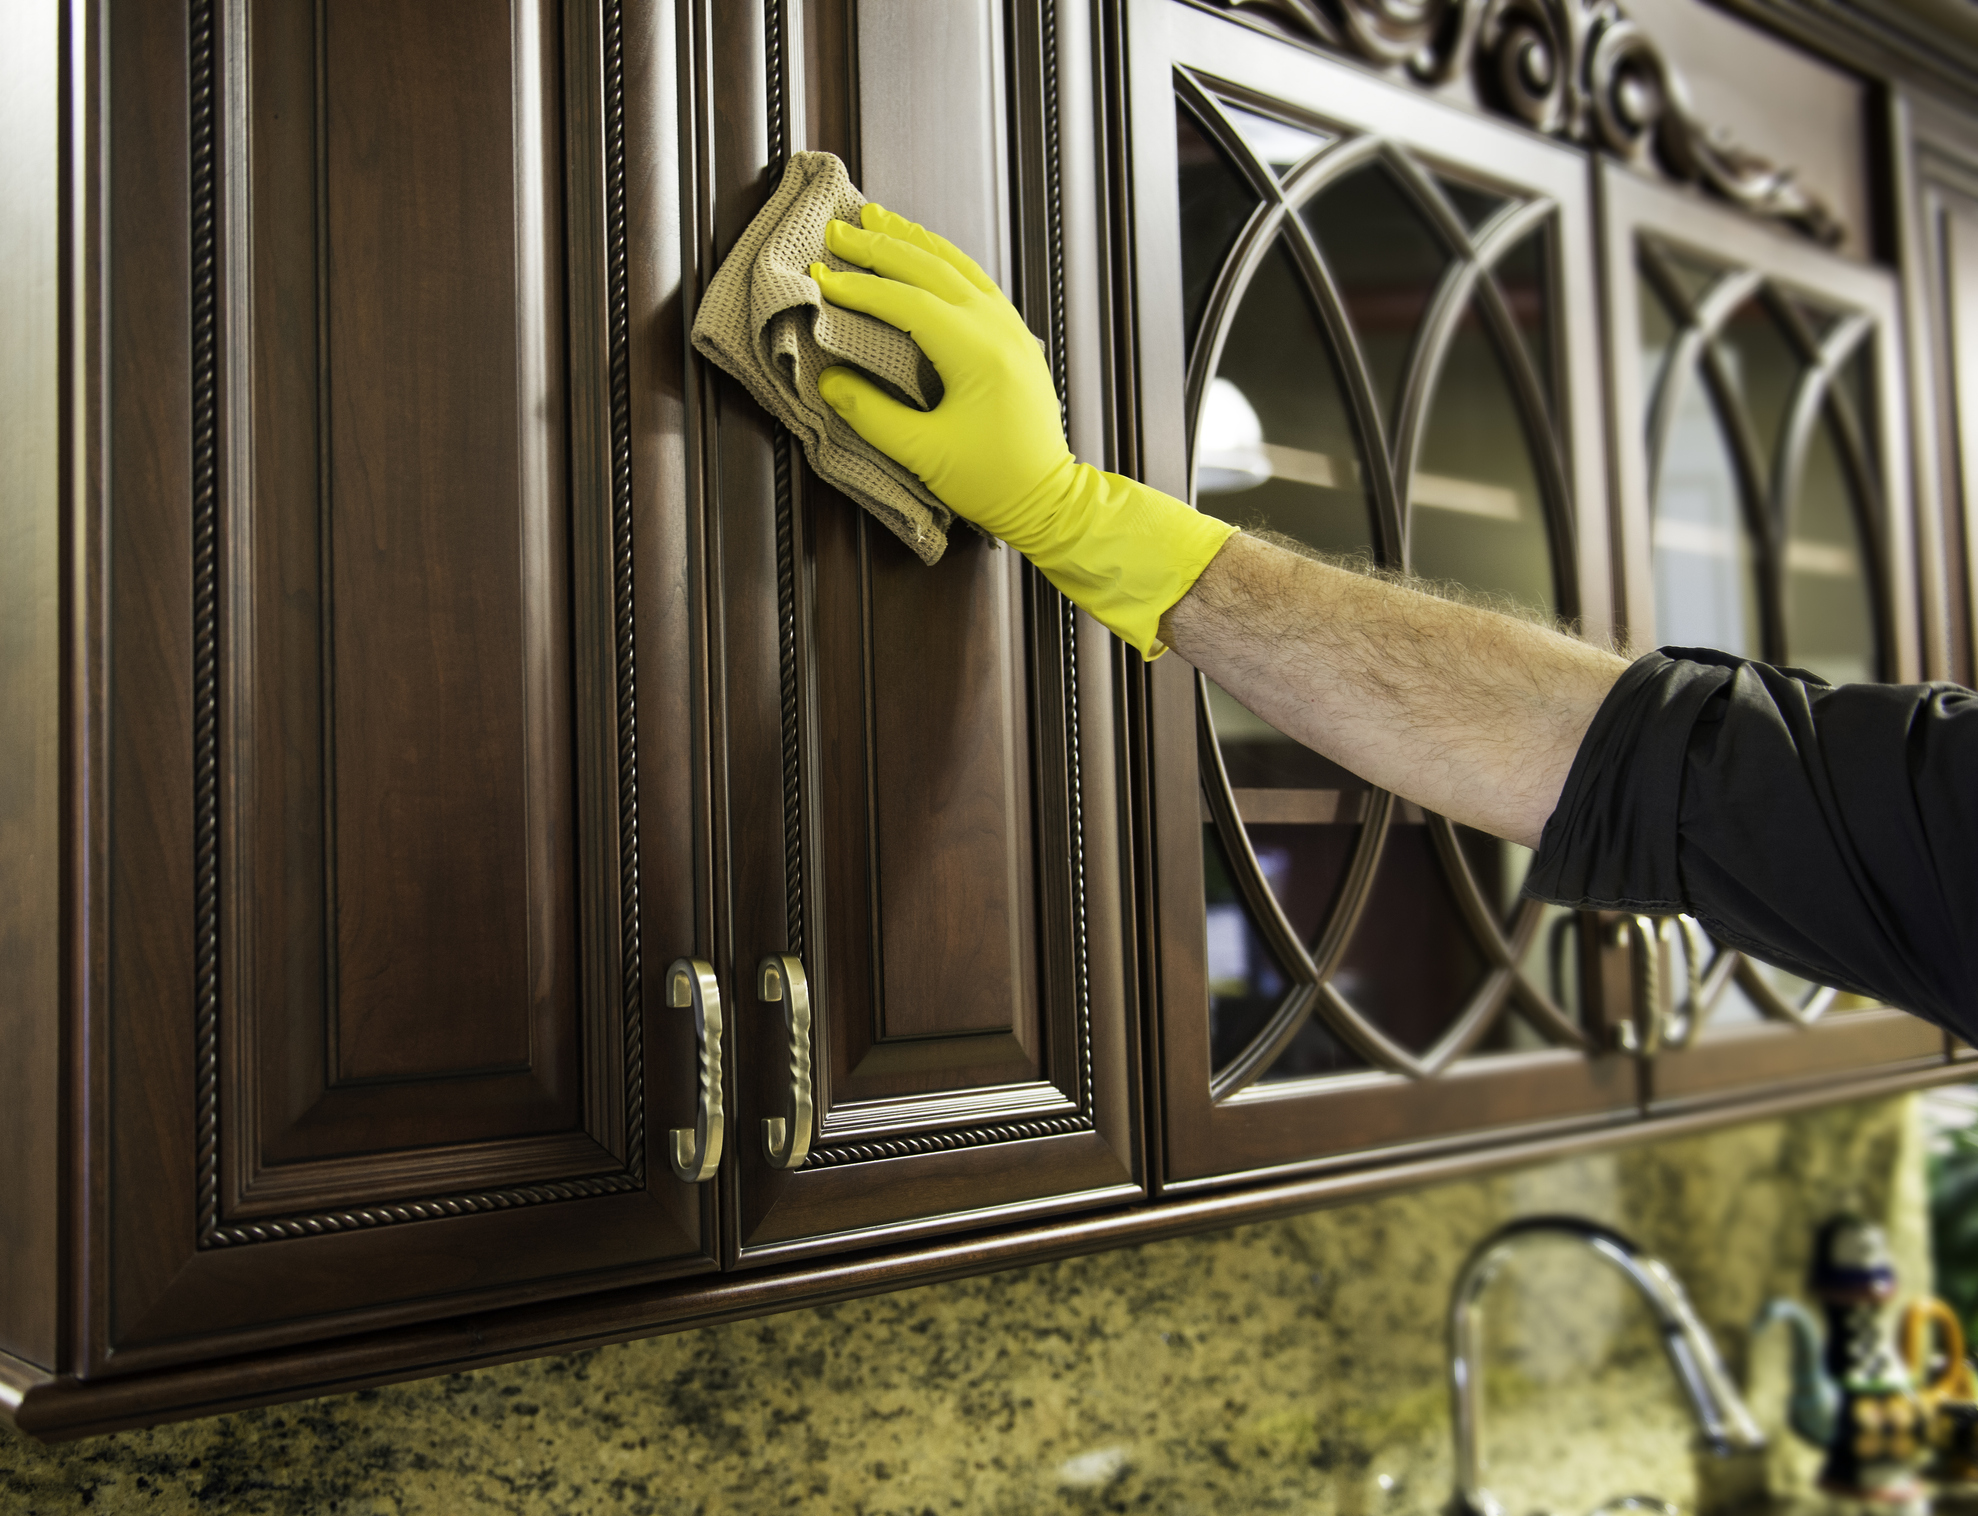
Remember to maintain and care for your Shaker cabinet doors regularly, wiping them down with a soft, damp cloth and avoiding harsh chemicals or abrasive cleaners. With proper care, your beautifully crafted doors will continue to bring joy and style to your kitchen for years to come.
We hope this guide has been helpful in your journey, and we wish you all the best on your future woodworking endeavors.
Conclusion
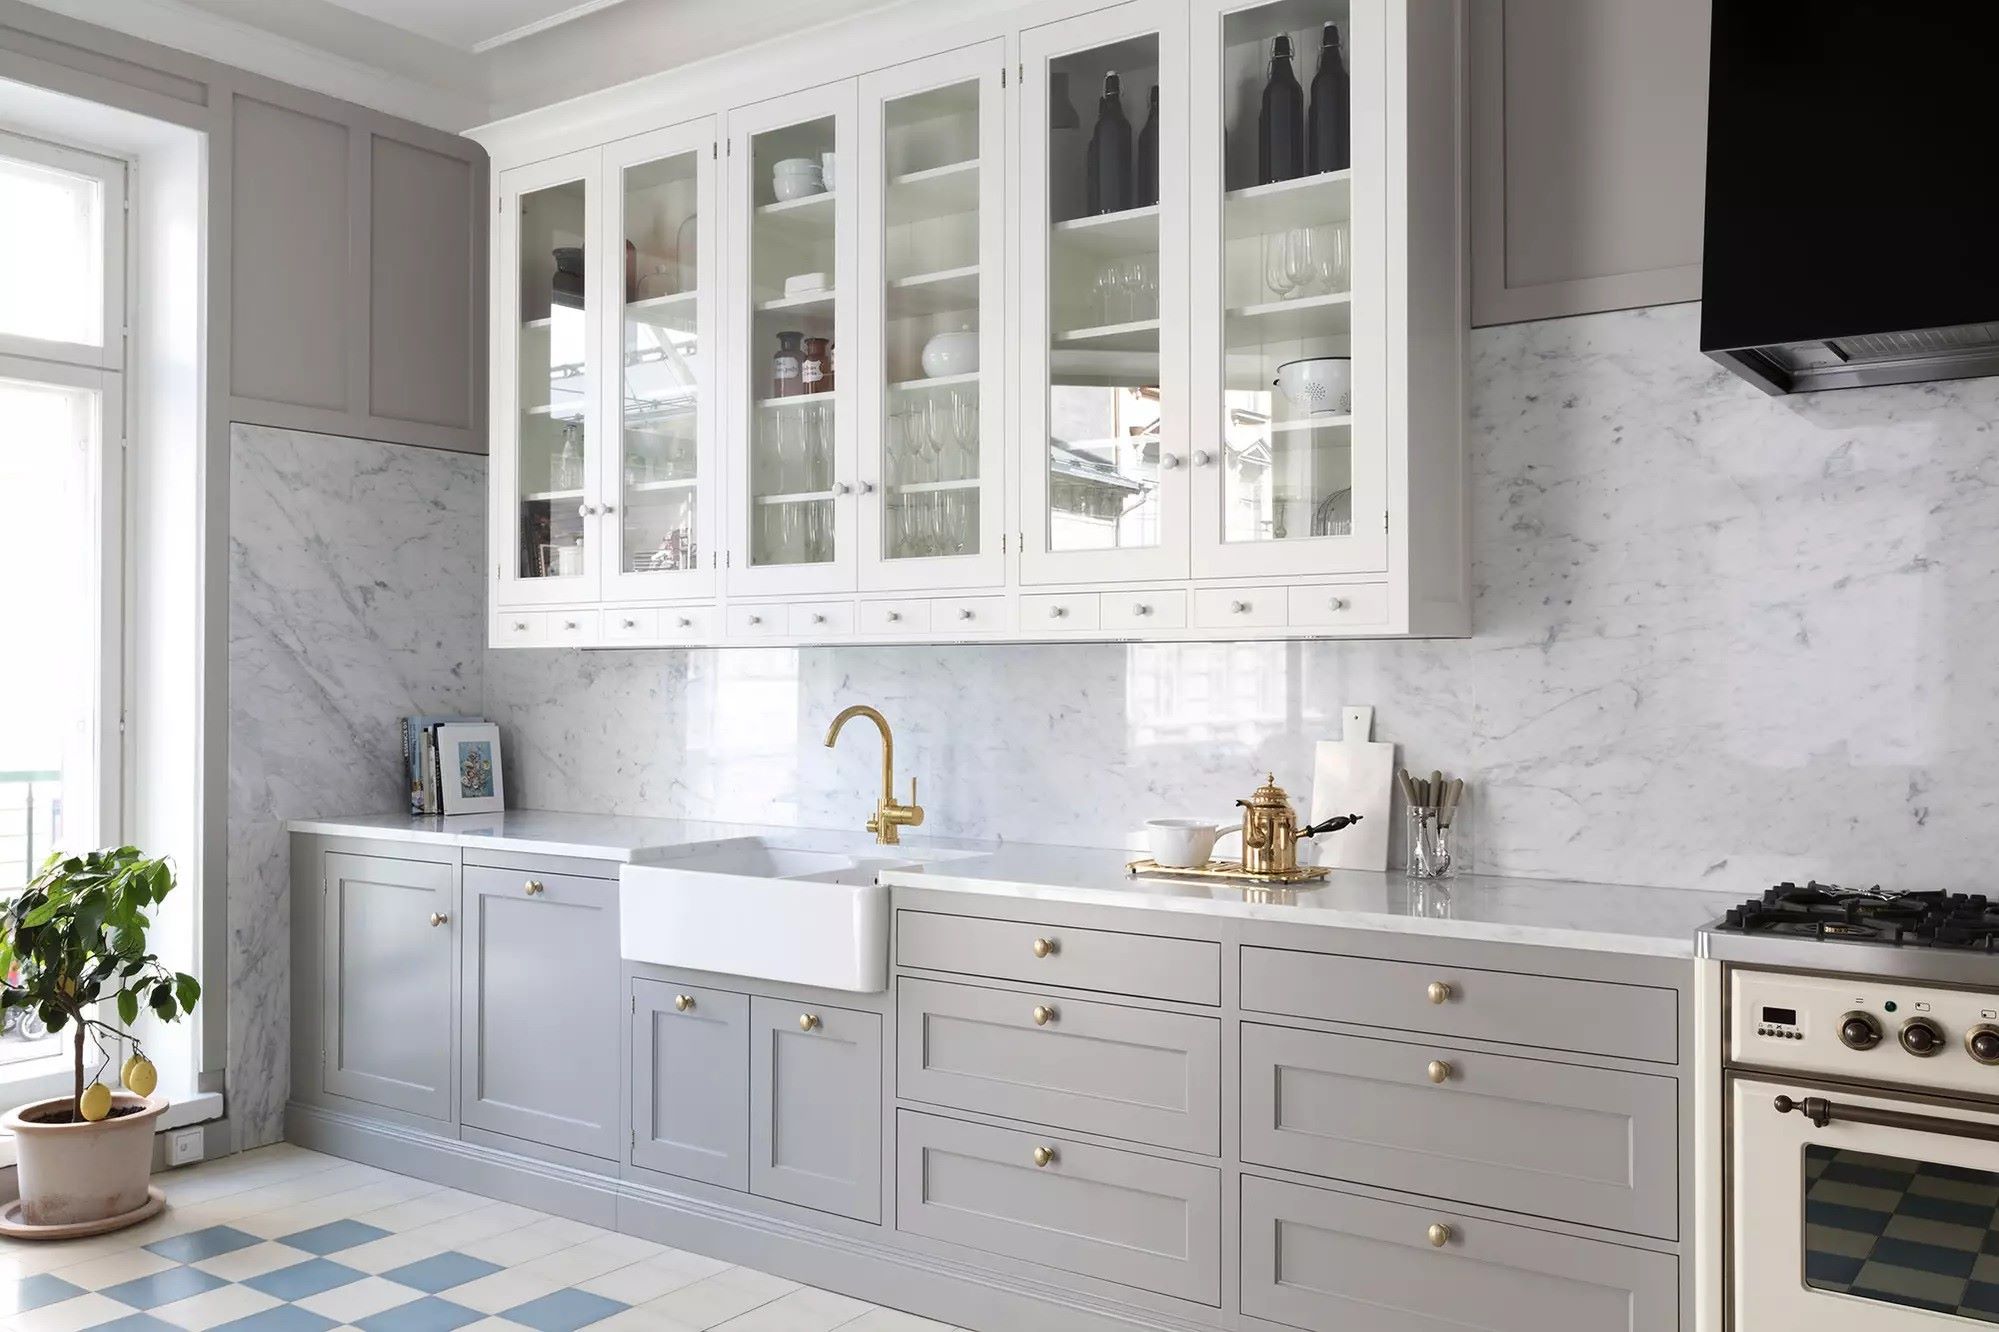
In conclusion, creating your own Shaker cabinet doors can be a rewarding and fulfilling project. The timeless elegance and simplicity of the Shaker style make these doors a popular choice for any kitchen, whether you’re updating existing cabinets or starting from scratch.
Throughout this guide, we have covered the key aspects of making Shaker cabinet doors, starting from understanding the Shaker style and gathering the necessary materials and tools. We walked you through the process of planning and measuring, preparing the wood, building the door frame with pocket hole joinery, constructing the door panels, and adding the finishing touches.
By following the step-by-step instructions and incorporating your own creativity, you have the ability to make custom Shaker cabinet doors that perfectly suit your aesthetic preferences and kitchen design. These doors will add a touch of timeless beauty and functionality to your kitchen space.
Remember to pay attention to detail, from filling any gaps or imperfections to sanding the doors for a smooth finish. Take the time to select the perfect finish or paint to showcase the natural beauty of the wood or to add a pop of color.
When it comes to installing the doors, remove any old doors if applicable and take care in aligning and attaching the new doors to the cabinet frames. Adjust as needed to ensure a proper fit and test their functionality to guarantee smooth operation.
With your Shaker cabinet doors installed and your kitchen transformed, take a moment to admire your craftsmanship and the beauty you have created. The hard work and attention to detail have resulted in a stunning addition to your kitchen space.
Thank you for joining us on this journey of creating Shaker cabinet doors. We hope this guide has provided you with the knowledge and inspiration needed to embark on your own woodworking projects. Enjoy your new doors and the timeless elegance they bring to your home!
Frequently Asked Questions about How To Make Shaker Cabinet Doors
Was this page helpful?
At Storables.com, we guarantee accurate and reliable information. Our content, validated by Expert Board Contributors, is crafted following stringent Editorial Policies. We're committed to providing you with well-researched, expert-backed insights for all your informational needs.
0 thoughts on “How To Make Shaker Cabinet Doors”