Home>Furniture & Design>Interior Design Trends>How To Make Glass Cabinet Doors
Interior Design Trends
How To Make Glass Cabinet Doors
Modified: February 18, 2024
Learn how to make glass cabinet doors to elevate your interior design with the latest trends. Create a modern and stylish look for your cabinets with our step-by-step guide.
(Many of the links in this article redirect to a specific reviewed product. Your purchase of these products through affiliate links helps to generate commission for Storables.com, at no extra cost. Learn more)
Introduction
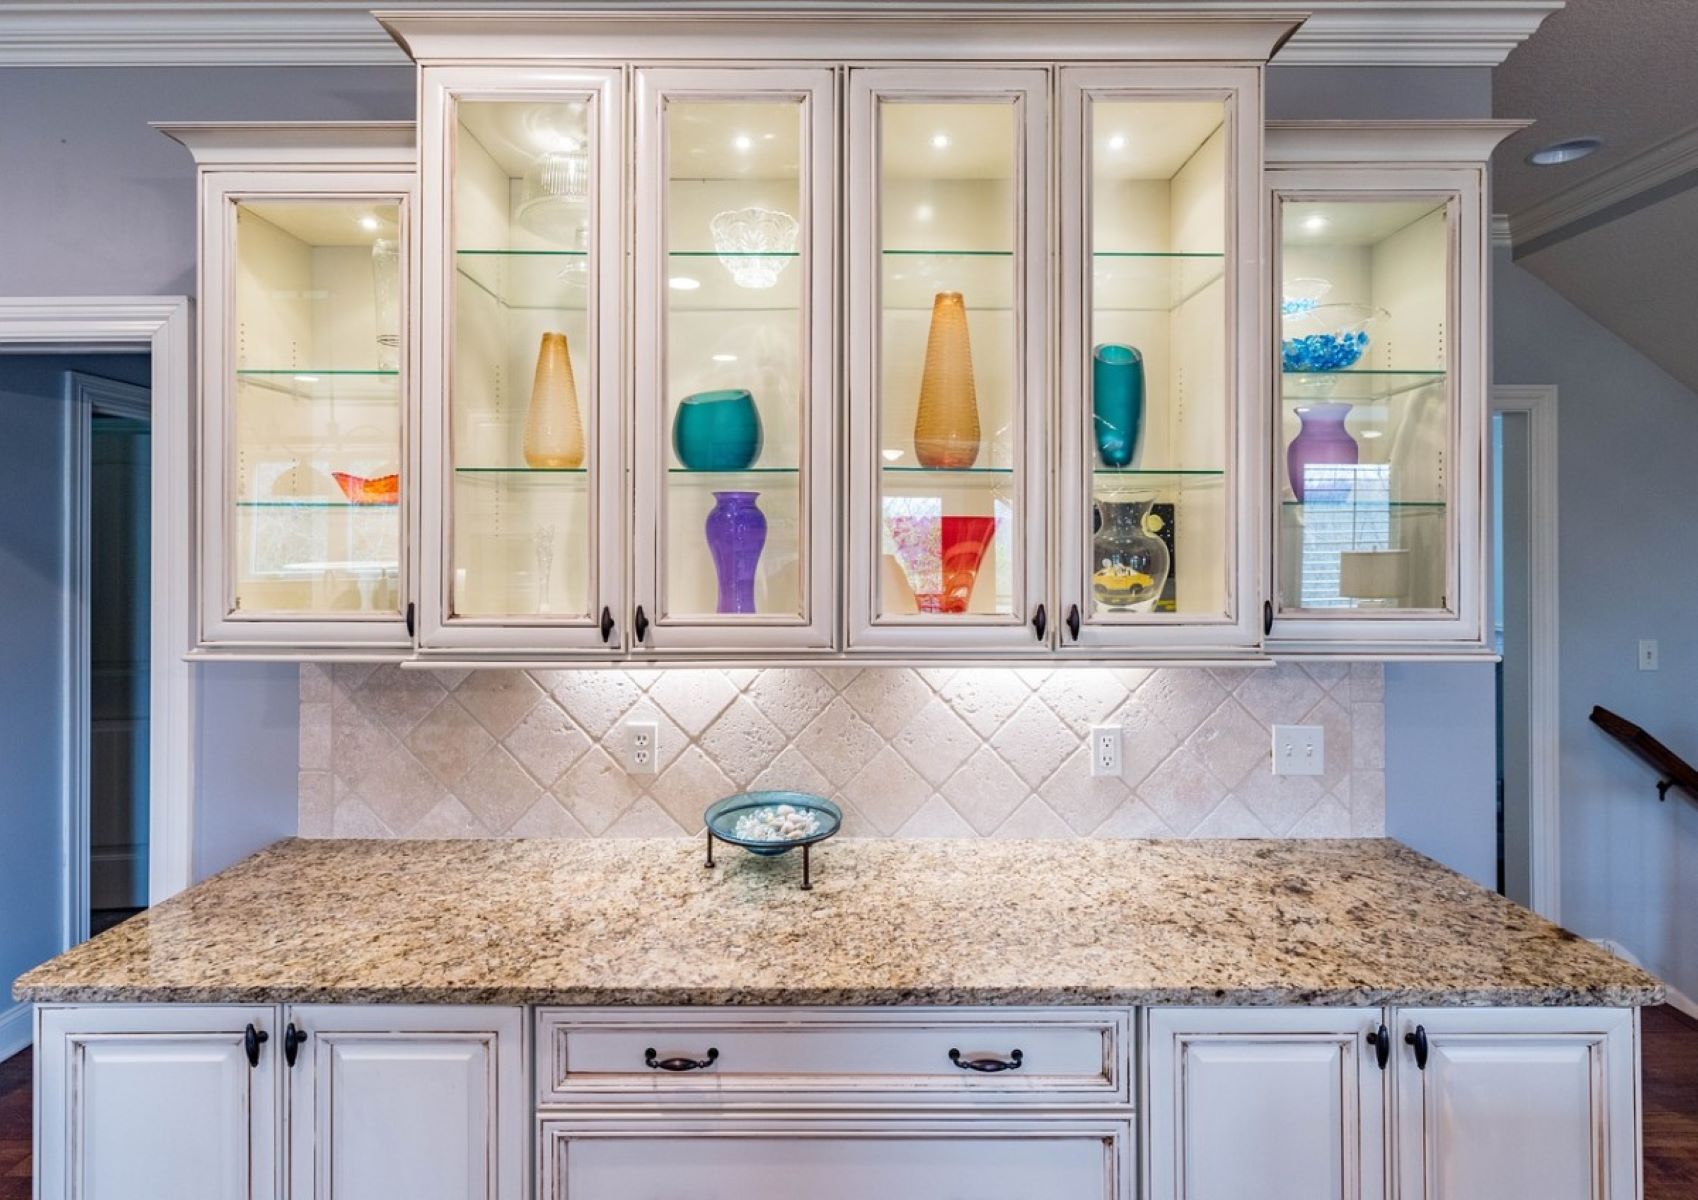
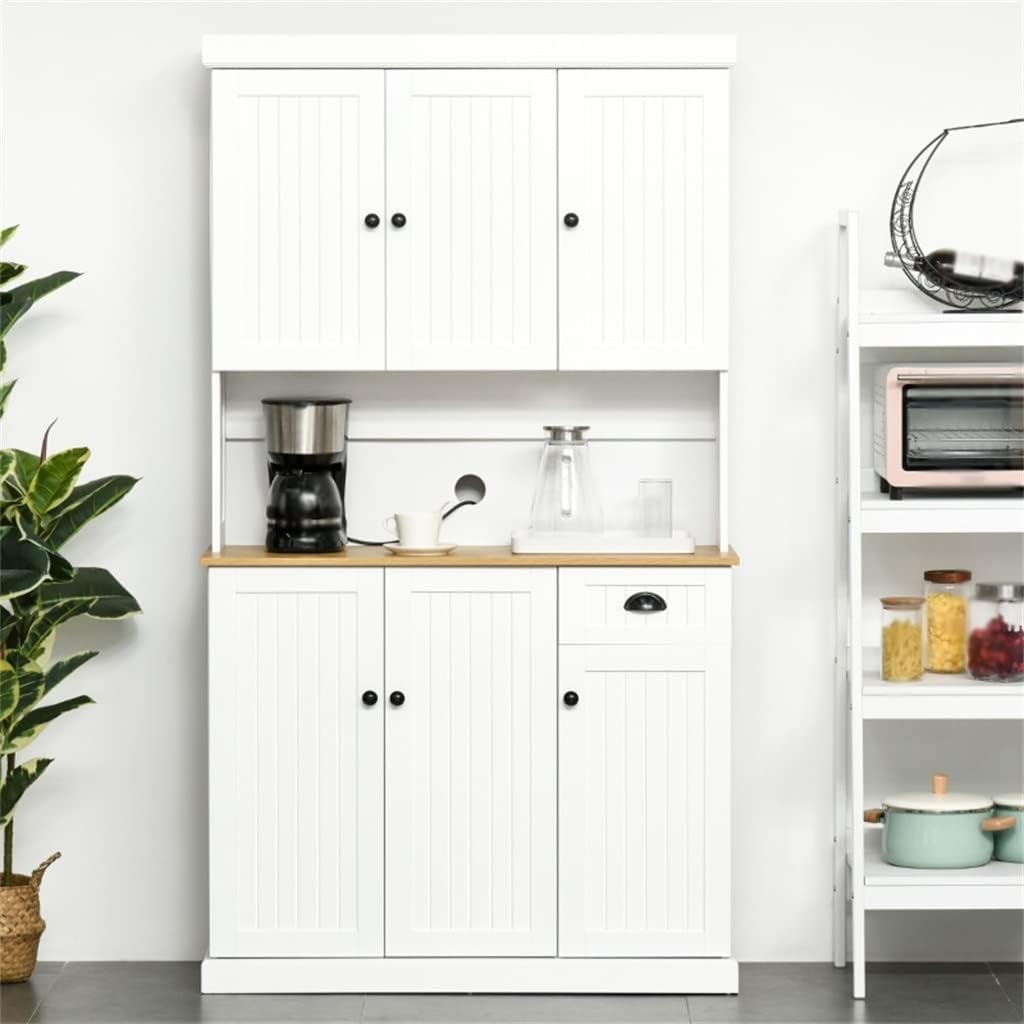
Glass cabinet doors are a stylish and practical addition to any kitchen or living space. They offer a modern and sophisticated look while allowing you to showcase your favorite dishes, glassware, or decorative items. By incorporating glass doors into your cabinets, you can create an open and airy feel, making the room appear more spacious and inviting.
Whether you are renovating your kitchen or looking to upgrade your existing cabinets, installing glass doors can instantly elevate the overall aesthetic of the space. The transparency of the glass allows for a visually appealing display of your items, adding a touch of elegance to the room. Additionally, glass cabinet doors can serve as a focal point, drawing attention to the contents within and adding a decorative element to the room's design.
In this comprehensive guide, we will walk you through the step-by-step process of creating and installing glass cabinet doors. From measuring the cabinet opening to selecting the right type of glass and assembling the frame, we will cover everything you need to know to complete this project successfully. With the right materials and tools, along with a clear understanding of the process, you can transform your cabinets into stunning focal points that reflect your personal style and enhance the overall ambiance of your home.
By following the detailed instructions provided in this guide, you will gain the knowledge and confidence to tackle this project with ease. Whether you are a seasoned DIY enthusiast or a novice looking to explore new home improvement projects, creating and installing glass cabinet doors is a rewarding endeavor that can significantly enhance the visual appeal and functionality of your living space. So, roll up your sleeves, gather your materials, and let's embark on this exciting journey to elevate the style and functionality of your cabinets with beautiful glass doors.
Key Takeaways:
- Elevate your living space with stylish and practical glass cabinet doors. Showcase your favorite items while creating an open and airy feel, adding sophistication and elegance to your home.
- Transform your cabinets into stunning focal points with glass doors. Infuse your space with personal style, attention to detail, and a touch of sophistication, creating visually captivating and functional cabinets.
Read more: How To Make A Glass Cabinet Door
Materials Needed
To embark on the journey of creating and installing glass cabinet doors, you will need a carefully curated selection of materials to ensure a successful and visually stunning outcome. Here's a comprehensive list of the essential materials required for this project:
-
Wood for the Frame: Select high-quality wood that complements the existing cabinetry and aligns with your design preferences. Common choices include oak, maple, cherry, or birch, each offering unique grain patterns and finishes to enhance the overall aesthetic of the glass cabinet doors.
-
Glass Panels: Choose the type of glass that best suits your needs and design vision. Options range from clear, frosted, seeded, or decorative glass, each offering distinct visual effects. Consider the level of transparency and privacy you desire when selecting the glass panels for your cabinet doors.
-
Wood Glue: A reliable wood glue is essential for securely bonding the frame components together, ensuring the structural integrity of the glass cabinet doors.
-
Sandpaper: Smooth out rough edges and surfaces of the wood frame to achieve a polished and professional finish. Opt for varying grits of sandpaper to effectively refine the wood's texture.
-
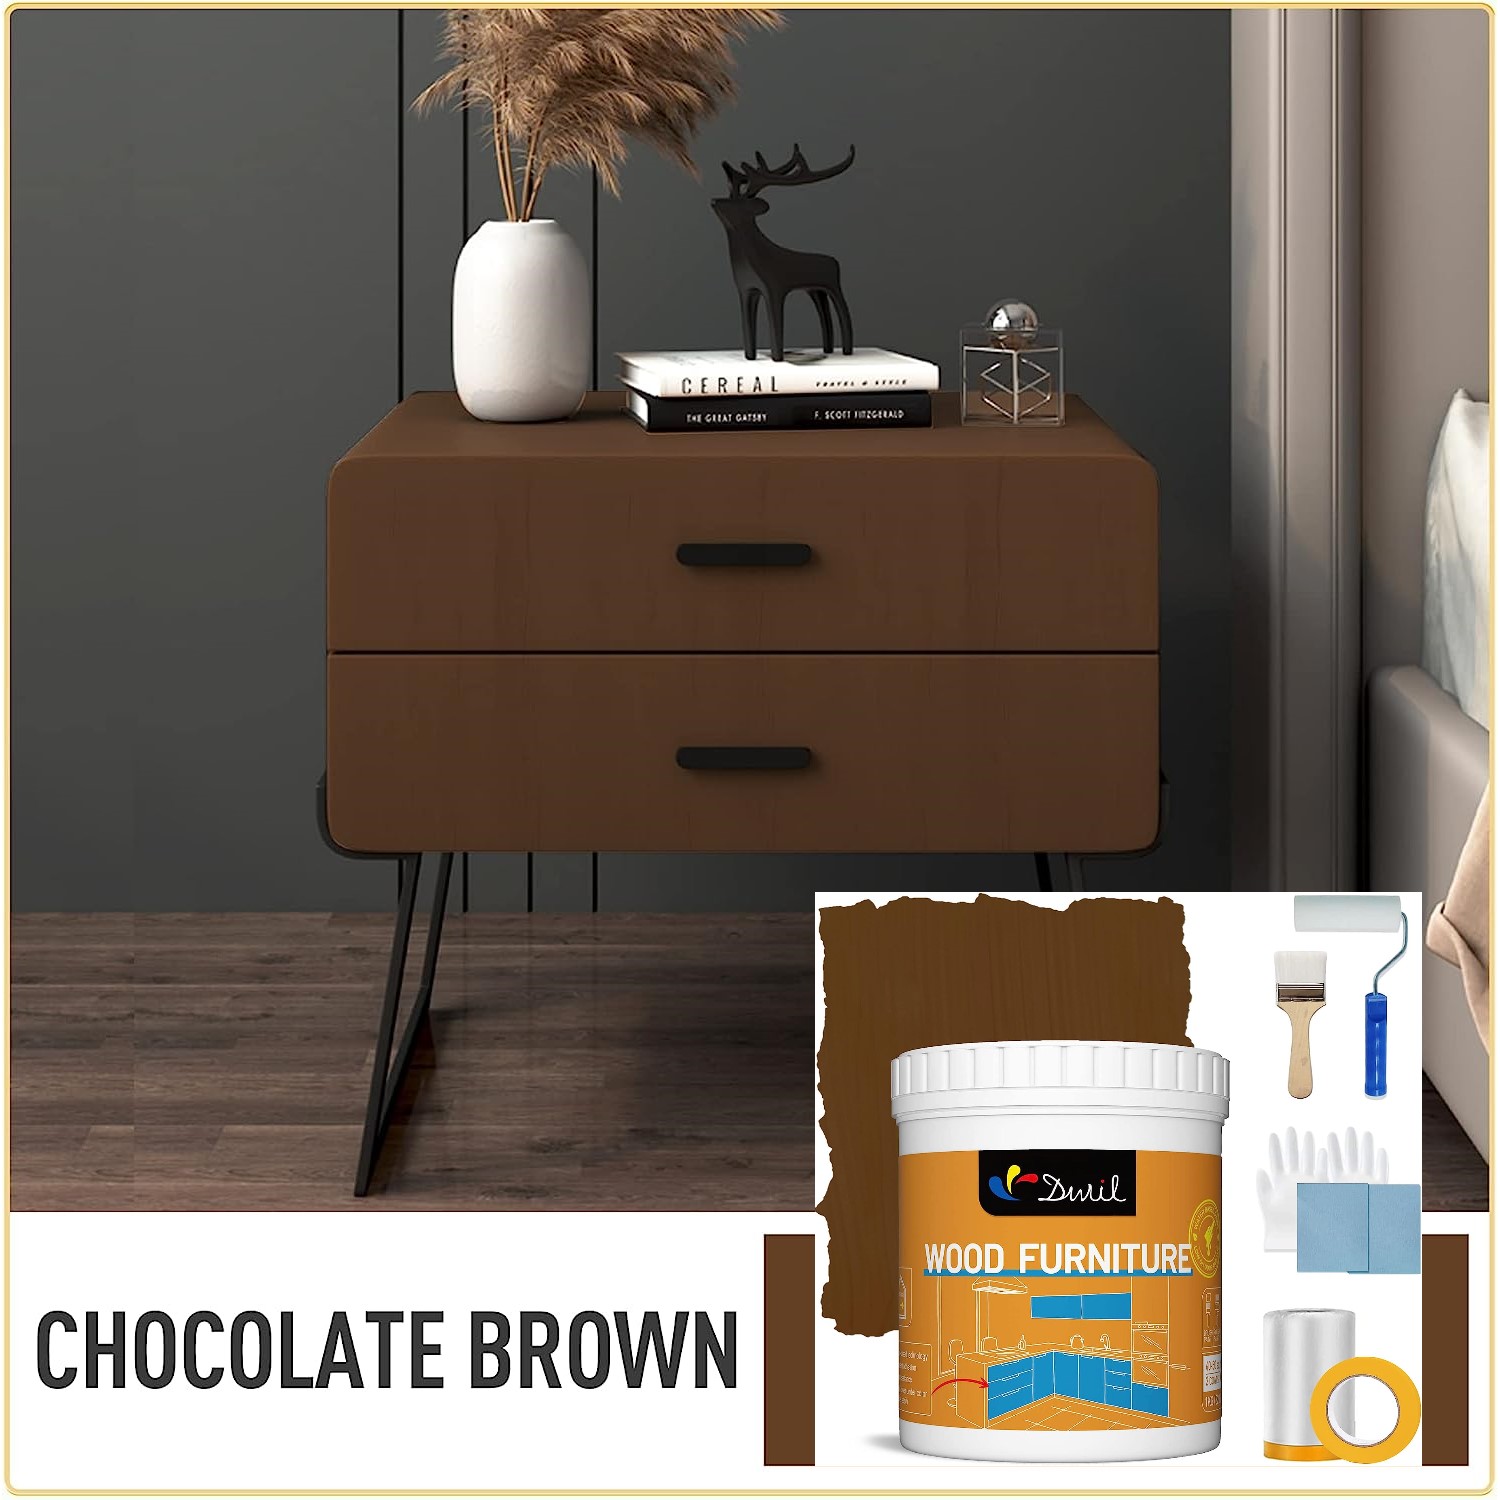
Stain or Paint: Depending on your design preferences, choose a high-quality stain or paint to enhance the appearance of the wood frame. Select a color that harmonizes with the existing cabinetry or introduces a complementary accent to the space.
-
Polyurethane: Apply a protective coat of polyurethane to the wood frame to safeguard it from moisture, wear, and tear. This step will ensure the longevity and durability of the glass cabinet doors.
-
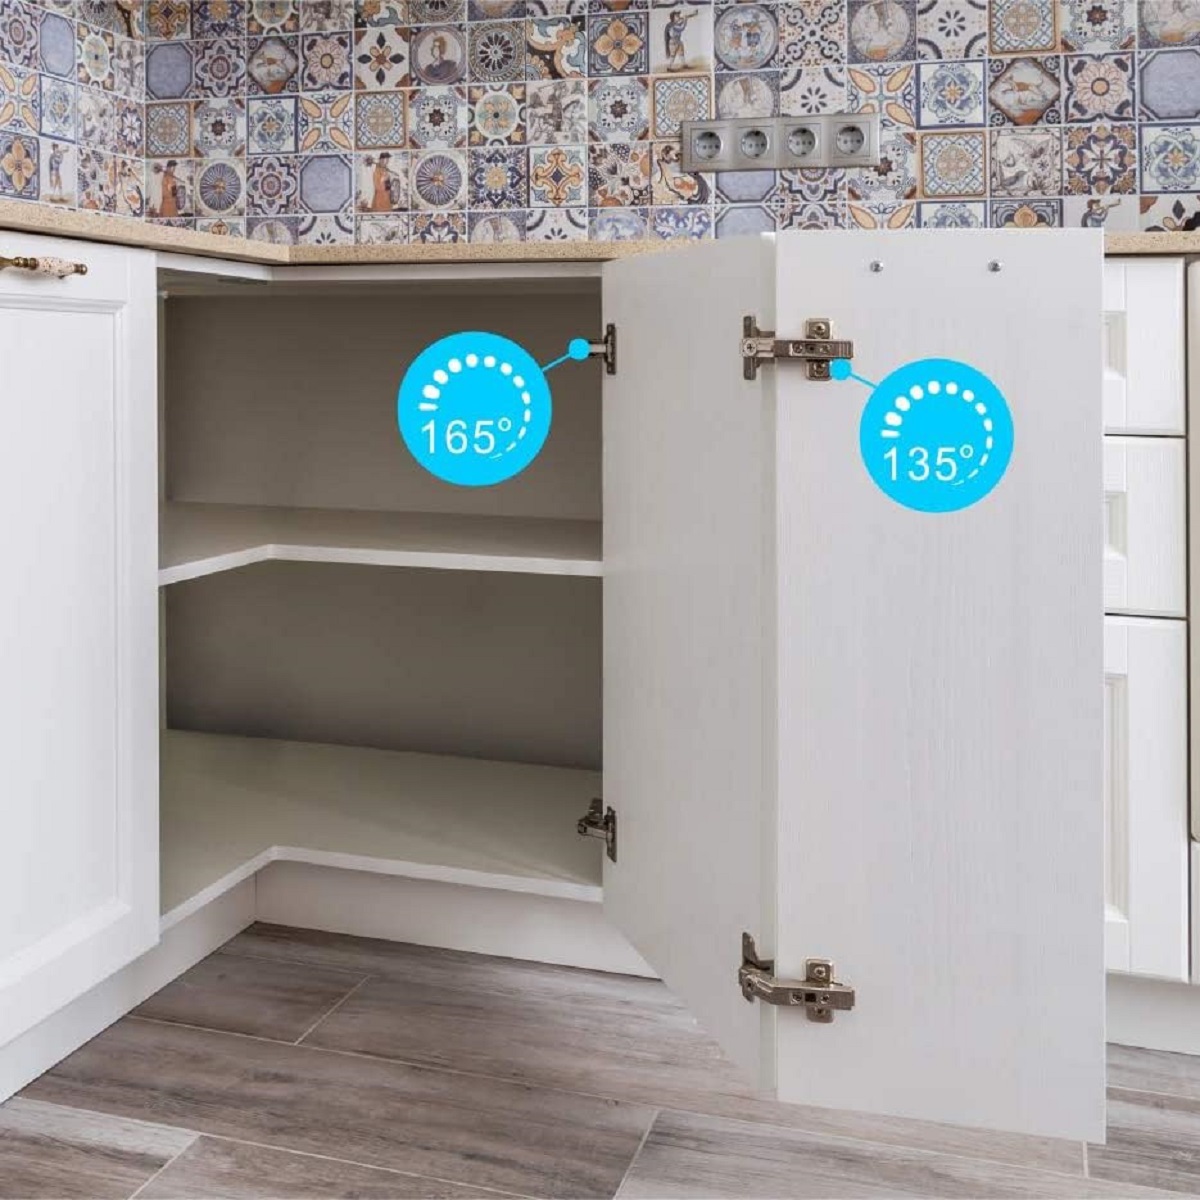
Hinges and Hardware: Select hinges that are suitable for the weight and size of the glass cabinet doors. Additionally, gather the necessary hardware, such as screws and knobs, to facilitate the installation process.
-
Measuring Tape: Accurate measurements are crucial for achieving a precise fit. A reliable measuring tape will aid in determining the dimensions of the cabinet opening and the glass panels.
-
Safety Equipment: Prioritize safety by equipping yourself with protective gear, including safety goggles and gloves, to safeguard against potential hazards during the construction and installation phases.
By assembling these essential materials, you will lay the foundation for a successful and visually captivating transformation of your cabinets. With these items at your disposal, you are well-prepared to embark on the exciting journey of creating and installing glass cabinet doors, adding a touch of sophistication and functionality to your living space.
Tools Required
Embarking on the endeavor of creating and installing glass cabinet doors necessitates the utilization of a diverse array of tools to facilitate a seamless and efficient construction process. From precise measurements to meticulous assembly, the following tools are indispensable for achieving a professional and visually striking outcome:
-
Measuring Tape: A reliable measuring tape is an essential tool for obtaining accurate dimensions of the cabinet opening and the glass panels. Precision in measurements is paramount to ensure a snug and precise fit, laying the groundwork for a seamless installation process.
-
Table Saw or Circular Saw: A table saw or circular saw is indispensable for cutting the wood components to the required dimensions. These versatile tools enable precise and controlled cuts, allowing you to tailor the wood frame to perfectly accommodate the chosen glass panels.
-
Clamps: Utilize clamps to secure the wood frame components during the assembly process. Clamps provide stability and ensure that the frame adheres securely, allowing for the application of wood glue and the formation of strong, durable joints.
-
Wood Chisels: Wood chisels are instrumental for refining the edges and corners of the wood frame, ensuring a seamless and polished appearance. They enable meticulous shaping and smoothing of the wood, contributing to a professional and refined final product.
-
Screwdriver: A reliable screwdriver is essential for attaching hinges and hardware to the cabinet doors. Opt for a screwdriver with interchangeable bits to accommodate various screw sizes, streamlining the installation process.
-
Router: A router equipped with a suitable bit is indispensable for creating a recessed groove to accommodate the glass panels within the wood frame. This precision tool enables the creation of a snug and secure housing for the glass, ensuring a professional and visually appealing result.
-
Sandpaper and Sanding Block: Smooth out rough edges and surfaces of the wood frame using sandpaper and a sanding block. This crucial step contributes to a refined and polished finish, preparing the frame for the application of stain or paint.
-
Safety Goggles and Gloves: Prioritize safety by equipping yourself with protective gear, including safety goggles and gloves. These essential items safeguard against potential hazards, ensuring a secure and protected working environment throughout the construction and installation phases.
By harnessing the capabilities of these indispensable tools, you will be well-equipped to navigate the intricacies of creating and installing glass cabinet doors with confidence and precision. Each tool plays a pivotal role in the construction process, contributing to the seamless realization of your vision for elegant and functional glass cabinet doors.
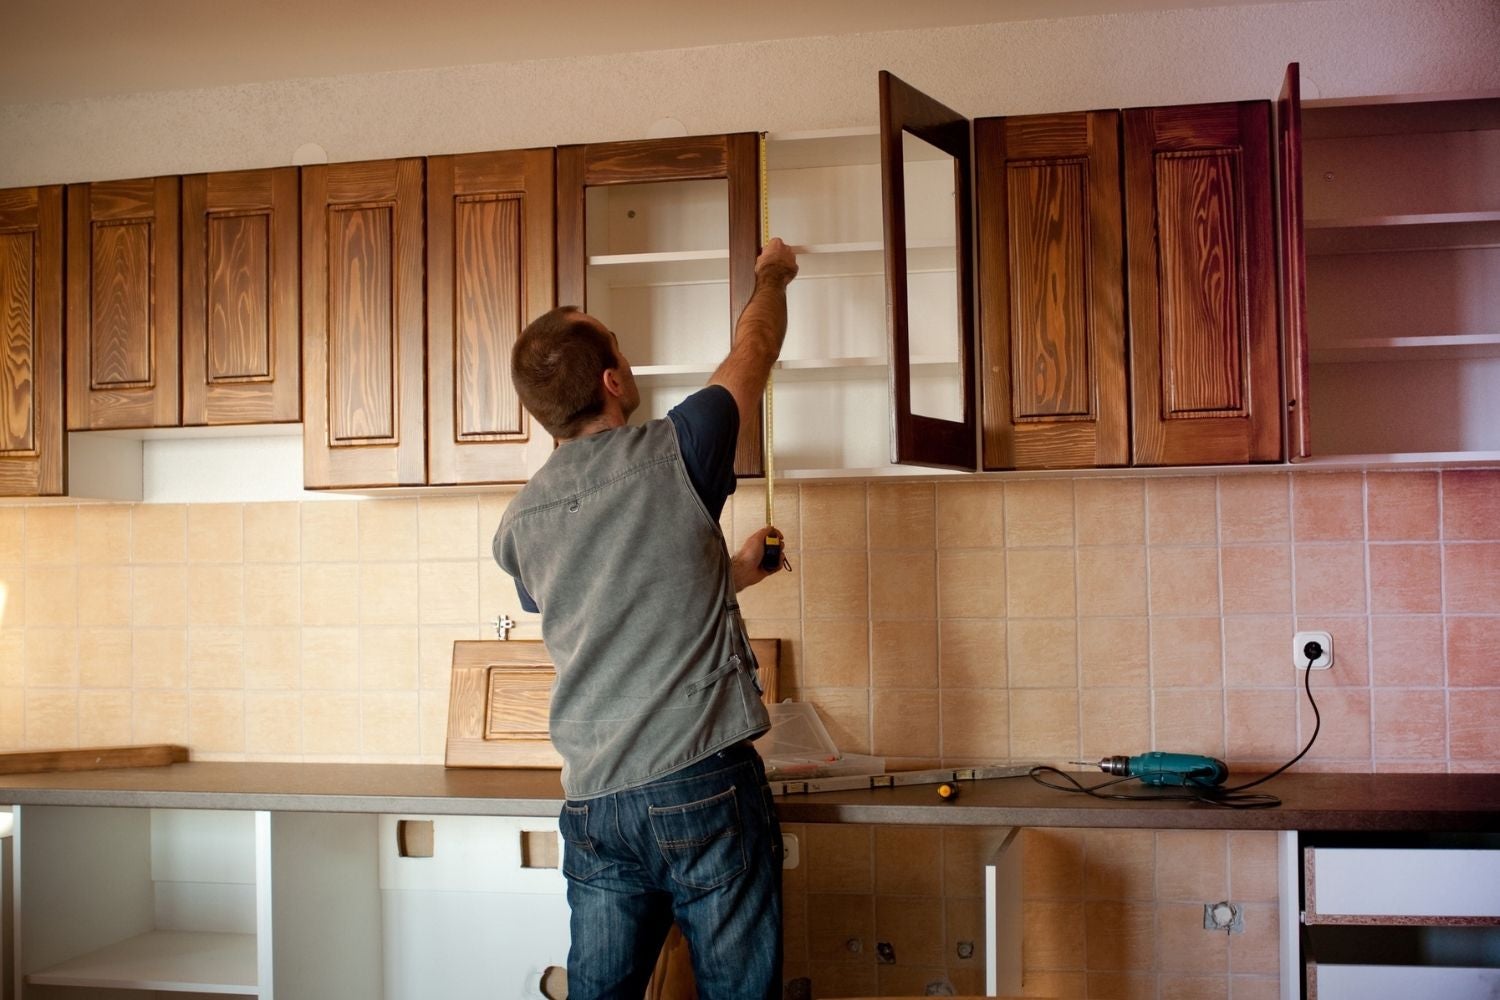
Step 1: Measure the Cabinet Opening
Accurate measurements form the cornerstone of a successful glass cabinet door installation. Before delving into the construction process, it is imperative to meticulously measure the cabinet opening to ensure a precise fit for the glass panels and the accompanying frame. Here's a detailed breakdown of the essential steps involved in this crucial initial phase:
-
Gather the Necessary Tools: Begin by assembling the required tools, including a reliable measuring tape and a pencil. These fundamental instruments will enable you to obtain precise measurements and mark the designated areas for subsequent construction steps.
-
Measure the Width and Height: Utilize the measuring tape to determine the exact width and height of the cabinet opening. Measure from the inside edges of the cabinet frame to obtain accurate dimensions, accounting for any variations in size that may exist between the top, bottom, and sides of the opening.
-
Record the Measurements: Once the width and height have been ascertained, record the measurements diligently. It is advisable to double-check the recorded dimensions to ensure accuracy, as any discrepancies at this stage can lead to complications during the construction and installation phases.
-
Consider Clearances and Allowances: Take into account any clearances or allowances required for the installation of the glass panels and the frame. Factor in the necessary space for the hinges and hardware, ensuring that the measurements encompass the entire area where the glass cabinet doors will be positioned.
-
Mark the Measurements: Using a pencil, mark the measured dimensions directly on the cabinet frame. Clearly delineate the width and height measurements to serve as a visual guide for the subsequent stages of the installation process.
By meticulously adhering to these steps and exercising precision in the measurement process, you will lay a solid foundation for the seamless construction and installation of the glass cabinet doors. Accurate measurements are pivotal in ensuring a snug and precise fit, setting the stage for a visually captivating and professionally executed transformation of your cabinets.
Step 2: Choose the Glass
Selecting the appropriate type of glass for your cabinet doors is a pivotal decision that significantly influences the visual impact and functionality of the final installation. The chosen glass not only contributes to the aesthetic appeal of the cabinets but also determines the level of transparency, privacy, and decorative flair. To make an informed decision, consider the following factors when choosing the glass for your cabinet doors:
Read more: How To Make A Cabinet Door
Transparency and Visual Effect
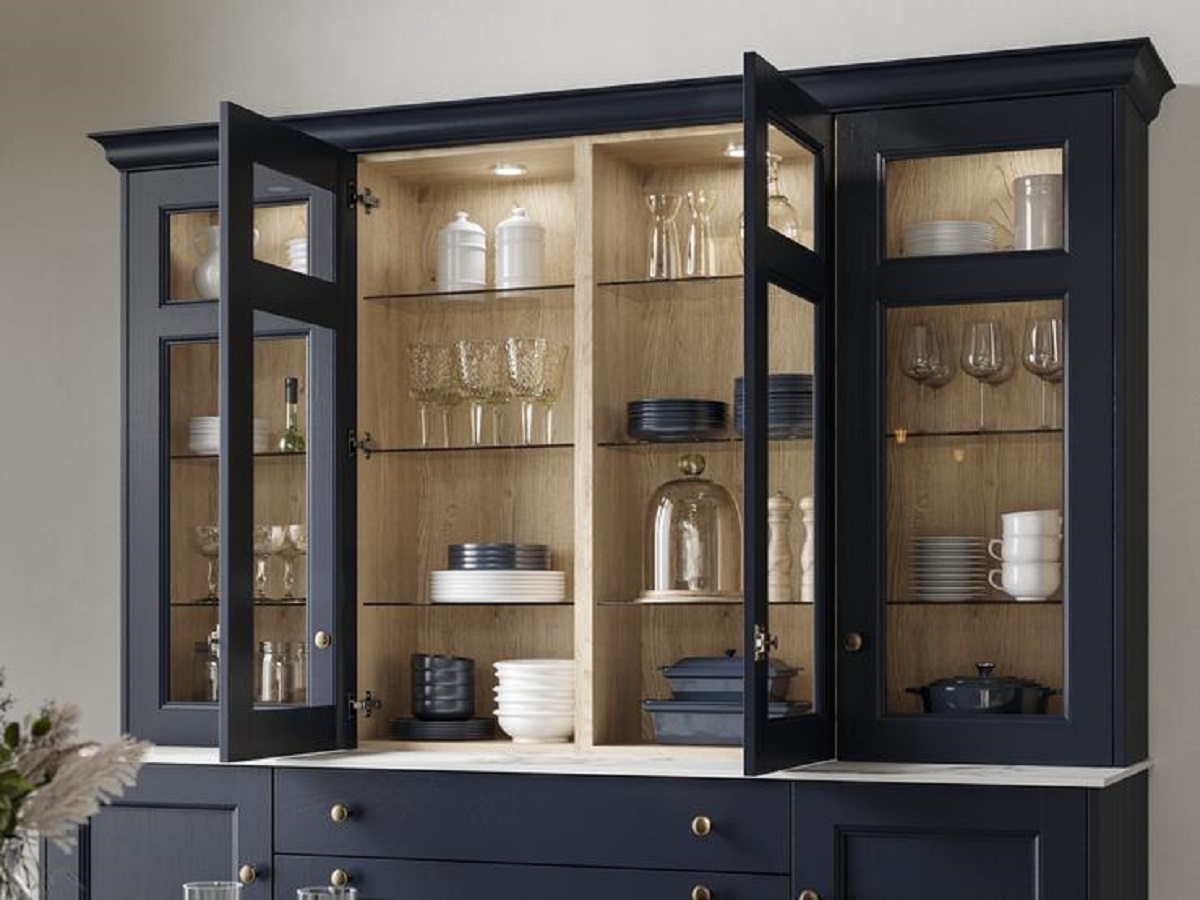
The level of transparency offered by the glass panels directly influences the visual impact of the cabinet doors. Clear glass provides unobstructed visibility, allowing the contents of the cabinets to be prominently displayed. This option is ideal for showcasing decorative items, fine china, or glassware, adding a touch of elegance to the space. On the other hand, frosted or textured glass introduces a degree of privacy while maintaining a stylish and contemporary aesthetic. The diffused appearance of frosted glass lends a subtle and sophisticated charm to the cabinets, concealing the contents to a certain extent while infusing the space with a modern allure.
Decorative Elements
Consider incorporating decorative glass panels to infuse character and personality into the cabinet doors. Stained or leaded glass, featuring intricate patterns or vibrant hues, can serve as captivating focal points, adding a touch of artistry to the cabinets. These decorative elements not only elevate the visual appeal of the doors but also contribute to the overall ambiance of the room, creating a striking and personalized design statement.
Durability and Safety
Prioritize the durability and safety aspects of the chosen glass panels. Tempered glass, renowned for its strength and resistance to impact, is a reliable choice for cabinet doors. In the event of breakage, tempered glass fractures into small, granular pieces, minimizing the risk of injury. This safety feature makes tempered glass an ideal option for households with children or pets, offering peace of mind while maintaining a sophisticated and polished look.
Personal Style and Design Cohesion
Align the selection of glass panels with your personal style and the existing design elements within the space. Harmonize the choice of glass with the overall aesthetic of the room, ensuring that it complements the cabinetry, countertops, and decorative accents. Whether you prefer a sleek and modern ambiance or a classic and timeless allure, the chosen glass should seamlessly integrate with the existing design scheme, enhancing the cohesive visual appeal of the space.
By carefully considering these factors, you can make an informed decision when choosing the glass for your cabinet doors. The selected glass panels will not only enhance the visual allure of the cabinets but also contribute to the overall ambiance of the room, reflecting your unique style and design preferences.
Read more: How To Hold Glass In Cabinet Door
Step 3: Cut the Wood for the Frame
The process of cutting the wood for the frame marks a pivotal phase in the creation of glass cabinet doors, laying the foundation for the structural integrity and visual appeal of the final installation. Precision and attention to detail are paramount during this step to ensure that the wood components are tailored to exact specifications, facilitating a seamless assembly process and a polished end result.
Gather the Necessary Tools
Before commencing the wood cutting process, gather the essential tools required for precise and controlled cuts. A table saw or circular saw, equipped with a suitable blade for cutting wood, serves as the primary tool for this phase. Additionally, ensure the availability of a measuring tape, pencil, and safety goggles to facilitate accurate measurements and safeguard against potential hazards.
Select High-Quality Wood
Opt for high-quality wood that aligns with your design preferences and complements the existing cabinetry. Common choices include oak, maple, cherry, or birch, each offering distinct grain patterns and finishes to enhance the overall aesthetic of the glass cabinet doors. Prioritize the selection of wood that exhibits durability and visual appeal, as it will form the framework for the elegant and functional cabinet doors.
Measure and Mark the Wood
Accurate measurements are crucial for achieving precise cuts that align with the dimensions of the cabinet opening. Utilize the measuring tape to determine the required lengths and widths for the frame components, accounting for any allowances or clearances necessary for the installation. Mark the designated areas on the wood with a pencil, clearly delineating the cutting lines to guide the sawing process.
Read more: How To Cover Glass Cabinet Doors
Execute Controlled Cuts
With the measurements and markings in place, carefully maneuver the table saw or circular saw to execute controlled cuts along the marked lines. Exercise caution and focus to ensure that the wood components are tailored to the exact dimensions, maintaining straight and uniform edges for a seamless assembly. Adhering to the marked guidelines with precision is essential to achieve a snug and precise fit for the glass panels within the frame.
Refine the Edges
Following the cutting process, utilize a sanding block and sandpaper to refine the edges of the wood components, ensuring a smooth and polished finish. This meticulous step contributes to the professional appearance of the frame, preparing it for the application of stain or paint to enhance its visual allure.
By meticulously executing the process of cutting the wood for the frame, you establish the groundwork for a visually captivating and structurally sound foundation for the glass cabinet doors. The precision and care invested in this phase set the stage for a seamless assembly process, culminating in the transformation of your cabinets into elegant focal points that reflect your unique style and attention to detail.
Step 4: Assemble the Frame
Assembling the frame for the glass cabinet doors is a pivotal phase that demands meticulous attention to detail and precision. This step involves joining the wood components to form a sturdy and visually appealing framework that will securely accommodate the chosen glass panels. By adhering to a systematic approach and employing the right techniques, you can ensure a seamless assembly process, laying the groundwork for a polished and professional end result.
Gather the Necessary Tools and Materials
Before commencing the assembly process, gather the essential tools and materials required for constructing the frame. Ensure the availability of wood glue, clamps, and a reliable measuring tape to facilitate accurate and secure assembly. Additionally, prepare the wood components that have been meticulously cut to the required dimensions, ensuring that they are aligned and ready for the joining process.
Read more: How To Put Glass In Cabinet Doors
Apply Wood Glue and Secure with Clamps
Begin the assembly process by applying a generous amount of wood glue along the edges of the wood components that are to be joined. The wood glue serves as a reliable bonding agent, ensuring the structural integrity of the frame. Once the wood glue has been applied, carefully position the components together, aligning them precisely to form the frame. Utilize clamps to secure the components firmly in place, exerting even pressure to facilitate a strong and durable bond.
Verify Alignment and Rectify Any Discrepancies
After securing the wood components with clamps, verify the alignment and angles to ensure that the frame is square and uniform. Use a measuring tape to confirm that the frame's dimensions align with the intended specifications, rectifying any discrepancies or misalignments promptly. Attention to detail at this stage is crucial to guarantee a precise fit for the glass panels and a visually appealing final product.
Allow Sufficient Drying Time
Once the frame components have been securely joined and aligned, allow the wood glue to dry thoroughly as per the manufacturer's recommendations. This crucial step ensures that the bond between the wood components is strong and resilient, laying the foundation for a durable and long-lasting frame. Exercise patience and refrain from disturbing the clamped components during the drying process to maintain the integrity of the assembly.
Refine the Frame and Prepare for Finishing
Following the drying period, remove the clamps and inspect the assembled frame for any imperfections or excess glue. Utilize a wood chisel or sandpaper to refine the edges and surfaces, ensuring a smooth and polished finish. This preparatory step sets the stage for the application of stain or paint to enhance the visual allure of the frame, aligning it with your design preferences and the existing aesthetic of the space.
By meticulously adhering to these steps and techniques, you can successfully assemble the frame for the glass cabinet doors, laying the groundwork for a visually captivating and structurally sound installation. The careful execution of this phase sets the stage for the seamless integration of the glass panels, culminating in the transformation of your cabinets into elegant focal points that reflect your unique style and attention to detail.
Read more: How To Add Glass To Cabinet Doors
Step 5: Install the Glass
Installing the glass panels into the meticulously crafted frame marks a pivotal phase in the creation of glass cabinet doors, culminating in the transformation of the cabinets into elegant and functional focal points. This step demands precision, care, and attention to detail to ensure a seamless integration of the glass, resulting in a visually captivating and structurally sound final installation.
Begin the installation process by carefully positioning the glass panels within the recessed grooves of the wood frame. Exercise caution and precision to ensure that the glass fits snugly and uniformly within the designated area, aligning with the dimensions of the frame. The precise fit of the glass panels is essential to achieve a polished and professional appearance, enhancing the visual allure of the cabinet doors.
Once the glass panels are positioned within the frame, apply a bead of clear silicone along the edges where the glass meets the wood. This crucial step serves to secure the glass in place, providing additional stability and safeguarding against potential movement or displacement. The clear silicone not only reinforces the bond between the glass and the frame but also contributes to a seamless and refined finish.
After applying the clear silicone, carefully inspect the glass panels and the surrounding areas for any excess adhesive or imperfections. Utilize a clean, dry cloth to remove any residual silicone and ensure that the glass surfaces are pristine and free from blemishes. This meticulous attention to detail contributes to a flawless and professional installation, elevating the visual impact of the glass cabinet doors.
Following the installation of the glass panels, allow the clear silicone to dry thoroughly as per the manufacturer's recommendations. Exercise patience and refrain from disturbing the installed glass to facilitate the complete curing of the adhesive. This critical drying period ensures that the glass is securely and durably integrated into the frame, laying the foundation for a long-lasting and visually striking final product.
By meticulously executing the installation of the glass panels, you bring the vision of elegant and functional glass cabinet doors to fruition. The seamless integration of the glass within the meticulously crafted frame reflects your dedication to precision and craftsmanship, culminating in the transformation of your cabinets into captivating focal points that elevate the aesthetic appeal and functionality of the space.
Step 6: Attach the Hinges
Attaching the hinges to the glass cabinet doors is a critical step that facilitates smooth functionality and seamless integration with the existing cabinetry. The hinges serve as the pivotal mechanism that enables the doors to open and close with ease, contributing to the overall functionality and visual appeal of the cabinets. By meticulously executing this phase, you can ensure that the glass doors operate seamlessly while maintaining a polished and professional appearance.
Select the Appropriate Hinges
Before commencing the attachment process, carefully select the appropriate hinges that align with the weight and dimensions of the glass cabinet doors. Opt for high-quality hinges that offer durability and smooth operation, ensuring that they can accommodate the weight of the glass panels and the wood frame. Consider the design and finish of the hinges to harmonize with the overall aesthetic of the cabinets, enhancing the cohesive visual appeal of the installation.
Position the Hinges with Precision
Begin the attachment process by positioning the hinges meticulously along the edges of the glass cabinet doors. Utilize a measuring tape and pencil to mark the designated areas where the hinges will be affixed, ensuring uniform alignment and spacing. Precision in positioning the hinges is crucial to guarantee smooth operation and a visually appealing appearance, laying the foundation for a seamless integration with the cabinetry.
Read more: How To Put Glass In A Cabinet Door
Secure the Hinges with Care
Once the hinges are positioned, carefully affix them to the glass cabinet doors using the appropriate screws and a reliable screwdriver. Exercise caution and focus to ensure that the hinges are securely attached, providing stability and facilitating smooth movement of the doors. Verify the alignment and operation of the hinges, making any necessary adjustments to guarantee optimal functionality and a polished finish.
Test the Operation of the Doors
Following the attachment of the hinges, test the operation of the glass cabinet doors to ensure that they open and close smoothly. Verify that the hinges facilitate a fluid and controlled movement, allowing the doors to operate without resistance or misalignment. This crucial step ensures that the hinges are securely affixed and function as intended, contributing to the overall functionality and visual appeal of the cabinets.
By meticulously adhering to these steps and techniques, you can successfully attach the hinges to the glass cabinet doors, culminating in a visually captivating and seamlessly functional installation. The precision and care invested in this phase set the stage for the seamless integration of the doors with the existing cabinetry, reflecting your dedication to craftsmanship and attention to detail.
Step 7: Install the Glass Cabinet Doors
The installation of the glass cabinet doors represents the culmination of meticulous planning and precise craftsmanship, bringing the vision of elegant and functional cabinets to fruition. This pivotal step demands careful attention to detail and a methodical approach to ensure a seamless integration of the doors with the existing cabinetry, culminating in a visually captivating and structurally sound final installation.
Begin the installation process by positioning the meticulously crafted glass doors within the designated cabinet openings. Exercise precision and care to ensure that the doors align uniformly and snugly with the surrounding framework, reflecting the exact dimensions and specifications determined during the initial measurement phase. The precise fit of the glass doors is essential to achieve a polished and professional appearance, enhancing the visual allure of the cabinets.
Once the glass doors are positioned within the cabinet openings, affix the hinges securely to the corresponding areas of the cabinetry. Utilize the appropriate screws and a reliable screwdriver to ensure that the hinges are firmly attached, providing stability and facilitating smooth movement of the doors. Verify the alignment and operation of the hinges, making any necessary adjustments to guarantee optimal functionality and a polished finish.
Following the attachment of the hinges, test the operation of the glass cabinet doors to ensure that they open and close smoothly. Verify that the hinges facilitate a fluid and controlled movement, allowing the doors to operate without resistance or misalignment. This crucial step ensures that the hinges are securely affixed and function as intended, contributing to the overall functionality and visual appeal of the cabinets.
By meticulously adhering to these steps and techniques, you can successfully install the glass cabinet doors, culminating in a visually captivating and seamlessly functional installation. The precision and care invested in this phase reflect your dedication to craftsmanship and attention to detail, resulting in the transformation of your cabinets into elegant focal points that elevate the aesthetic appeal and functionality of the space.
Conclusion
In conclusion, the process of creating and installing glass cabinet doors represents a transformative journey that elevates the aesthetic appeal and functionality of any living space. From the meticulous measurement of the cabinet openings to the precise assembly of the wood frame and the seamless integration of the glass panels, each step contributes to the realization of elegant and functional cabinets that reflect attention to detail and craftsmanship.
By embarking on this endeavor, homeowners have the opportunity to infuse their living spaces with a touch of sophistication and style, creating a visually captivating showcase for cherished items and decorative accents. The transparency of the glass doors not only adds a sense of openness and spaciousness to the room but also allows for the prominent display of treasured possessions, adding a personalized and artistic touch to the space.
The careful selection of glass panels, consideration of decorative elements, and prioritization of durability and safety underscore the thoughtful approach to this project. By aligning the choice of glass with personal style and design cohesion, homeowners can create a cohesive and harmonious visual narrative that complements the existing elements within the space.
The installation of the glass cabinet doors, including the meticulous attachment of hinges and the seamless integration with the existing cabinetry, reflects a dedication to precision and a commitment to achieving a polished and professional outcome. The resulting transformation of the cabinets into elegant focal points not only enhances the visual allure of the space but also contributes to the overall ambiance and functionality of the room.
In essence, the creation and installation of glass cabinet doors represent a rewarding and transformative home improvement project that empowers homeowners to curate a space that reflects their unique style and attention to detail. By embracing this endeavor, individuals can embark on a journey to elevate the visual appeal and functionality of their living spaces, creating a captivating showcase for cherished possessions and adding a touch of sophistication to their homes.
Frequently Asked Questions about How To Make Glass Cabinet Doors
Was this page helpful?
At Storables.com, we guarantee accurate and reliable information. Our content, validated by Expert Board Contributors, is crafted following stringent Editorial Policies. We're committed to providing you with well-researched, expert-backed insights for all your informational needs.
0 thoughts on “How To Make Glass Cabinet Doors”