Articles
How To Make A Glass Cabinet Door
Modified: October 20, 2024
Learn how to make a stunning glass cabinet door with this step-by-step interior design guide. Enhance your space and showcase your favorite items!
(Many of the links in this article redirect to a specific reviewed product. Your purchase of these products through affiliate links helps to generate commission for Storables.com, at no extra cost. Learn more)
Introduction
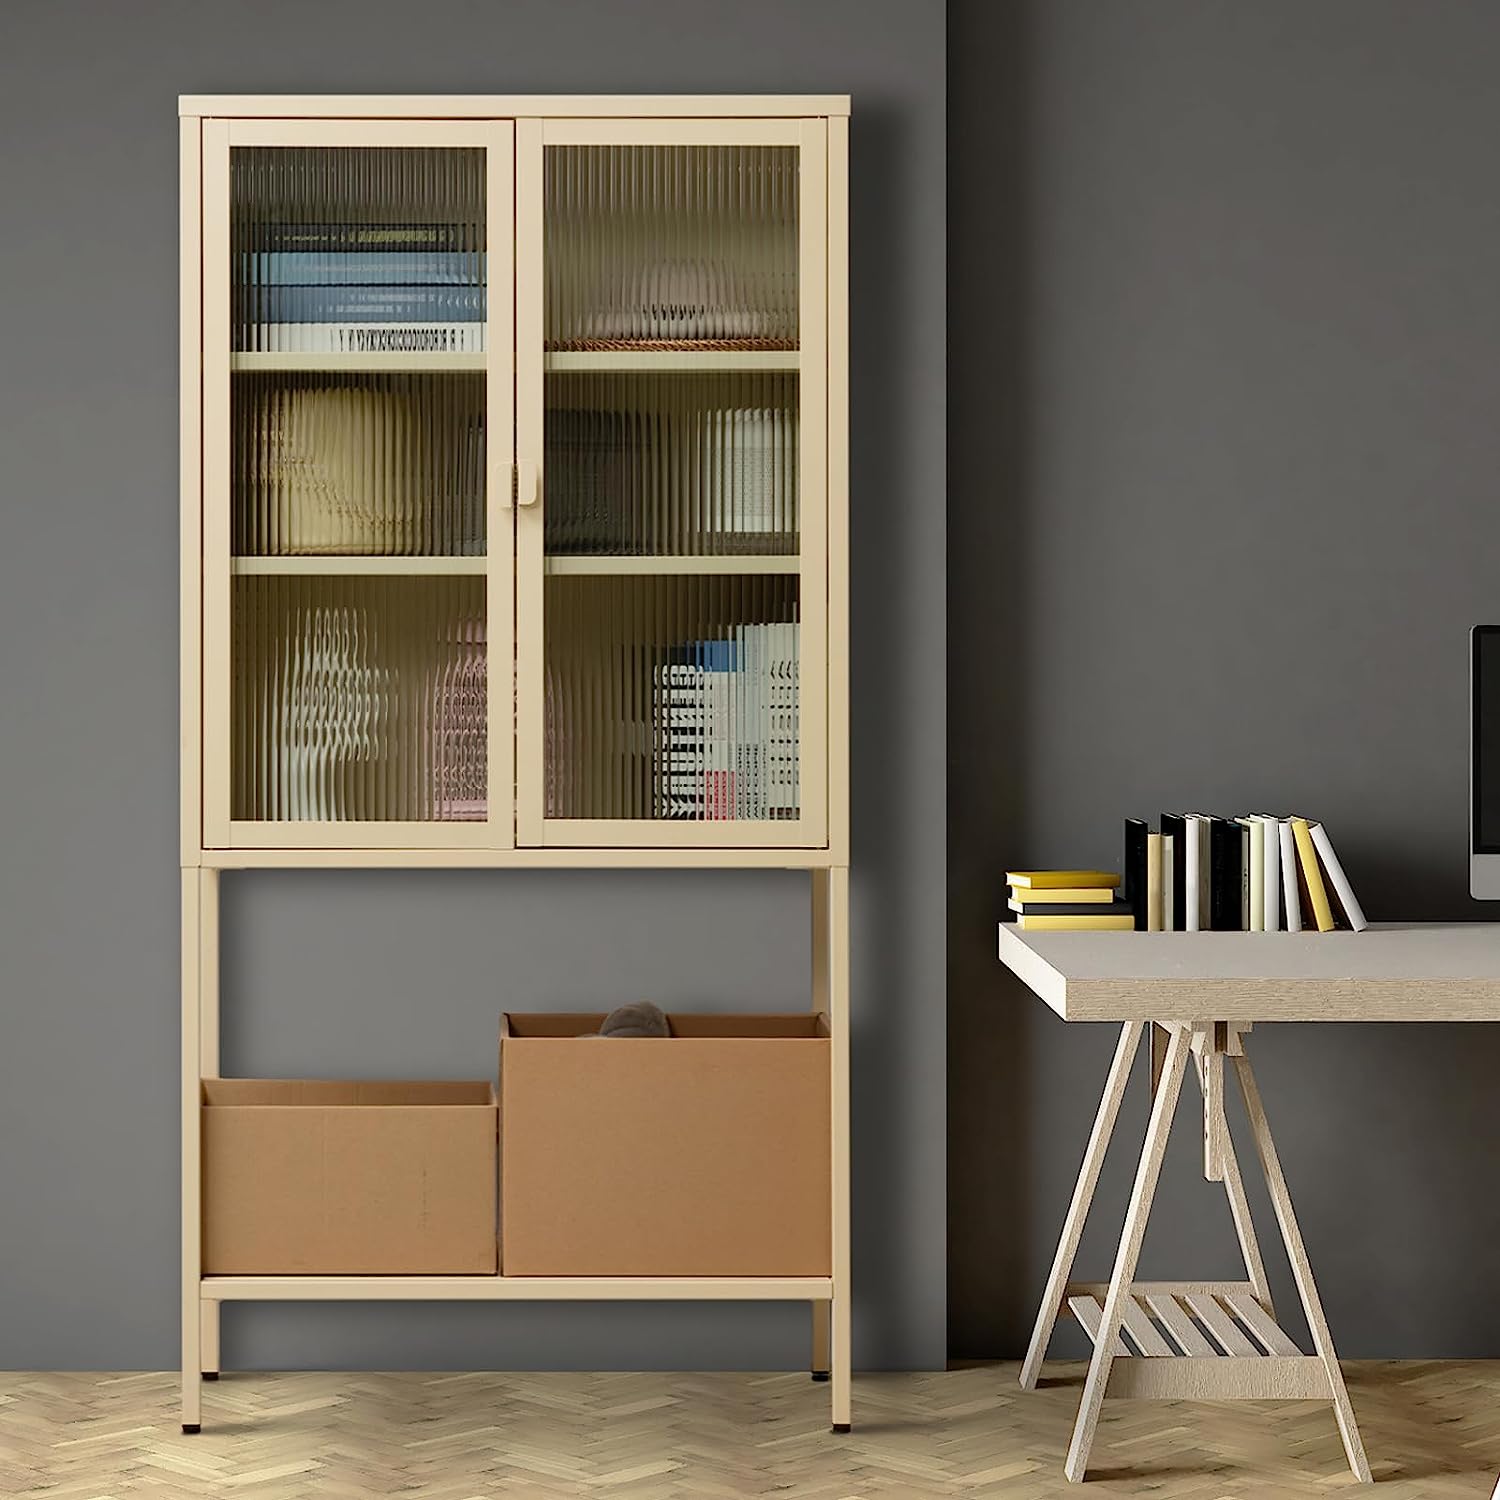
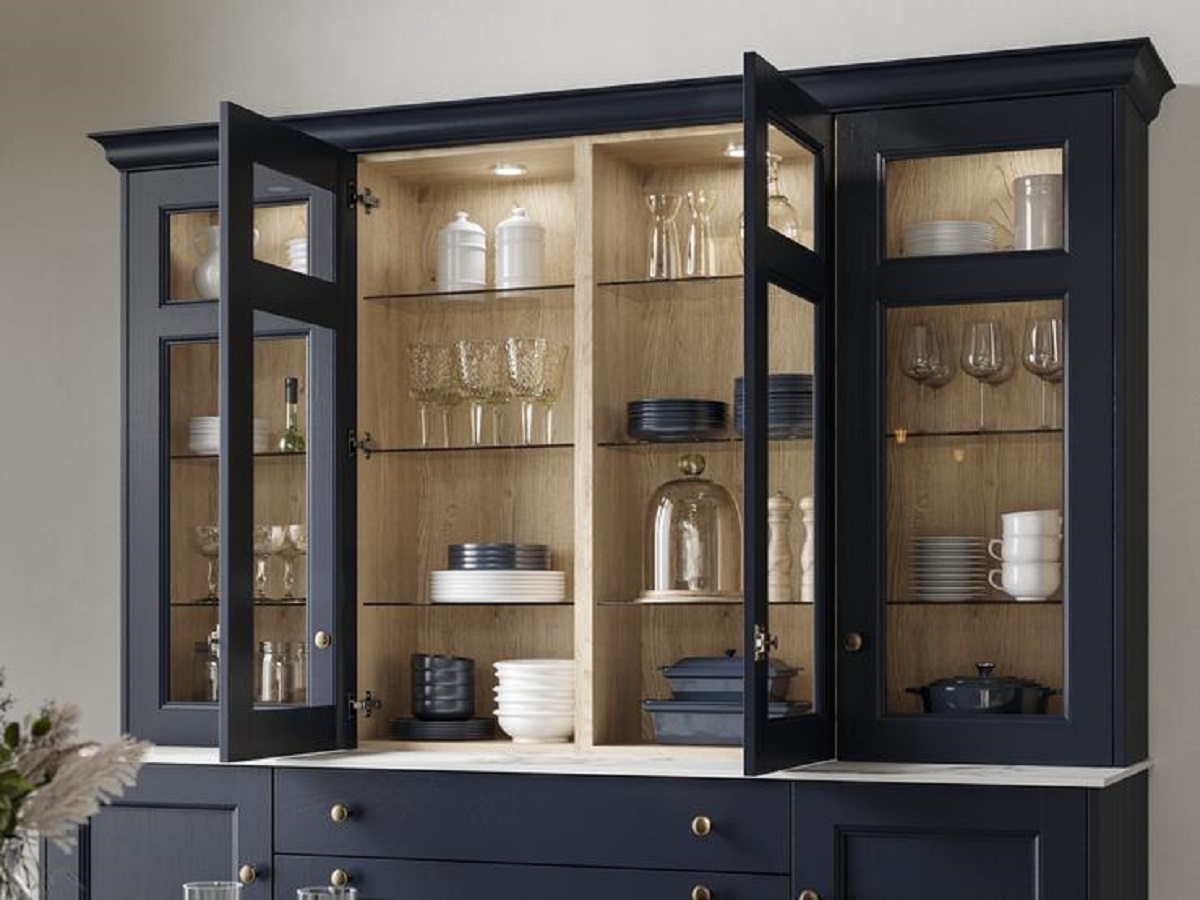
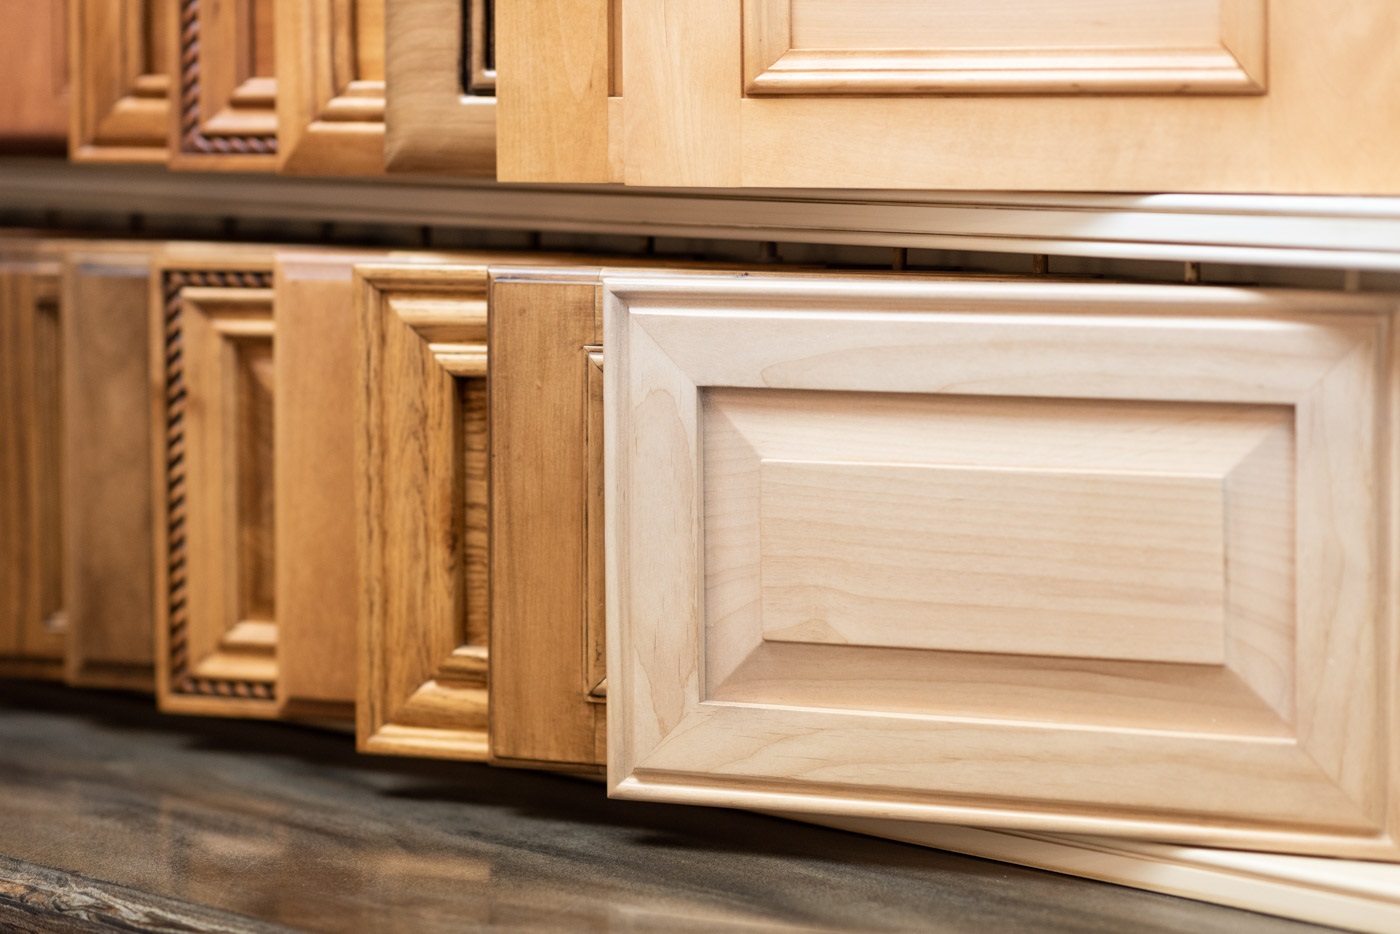
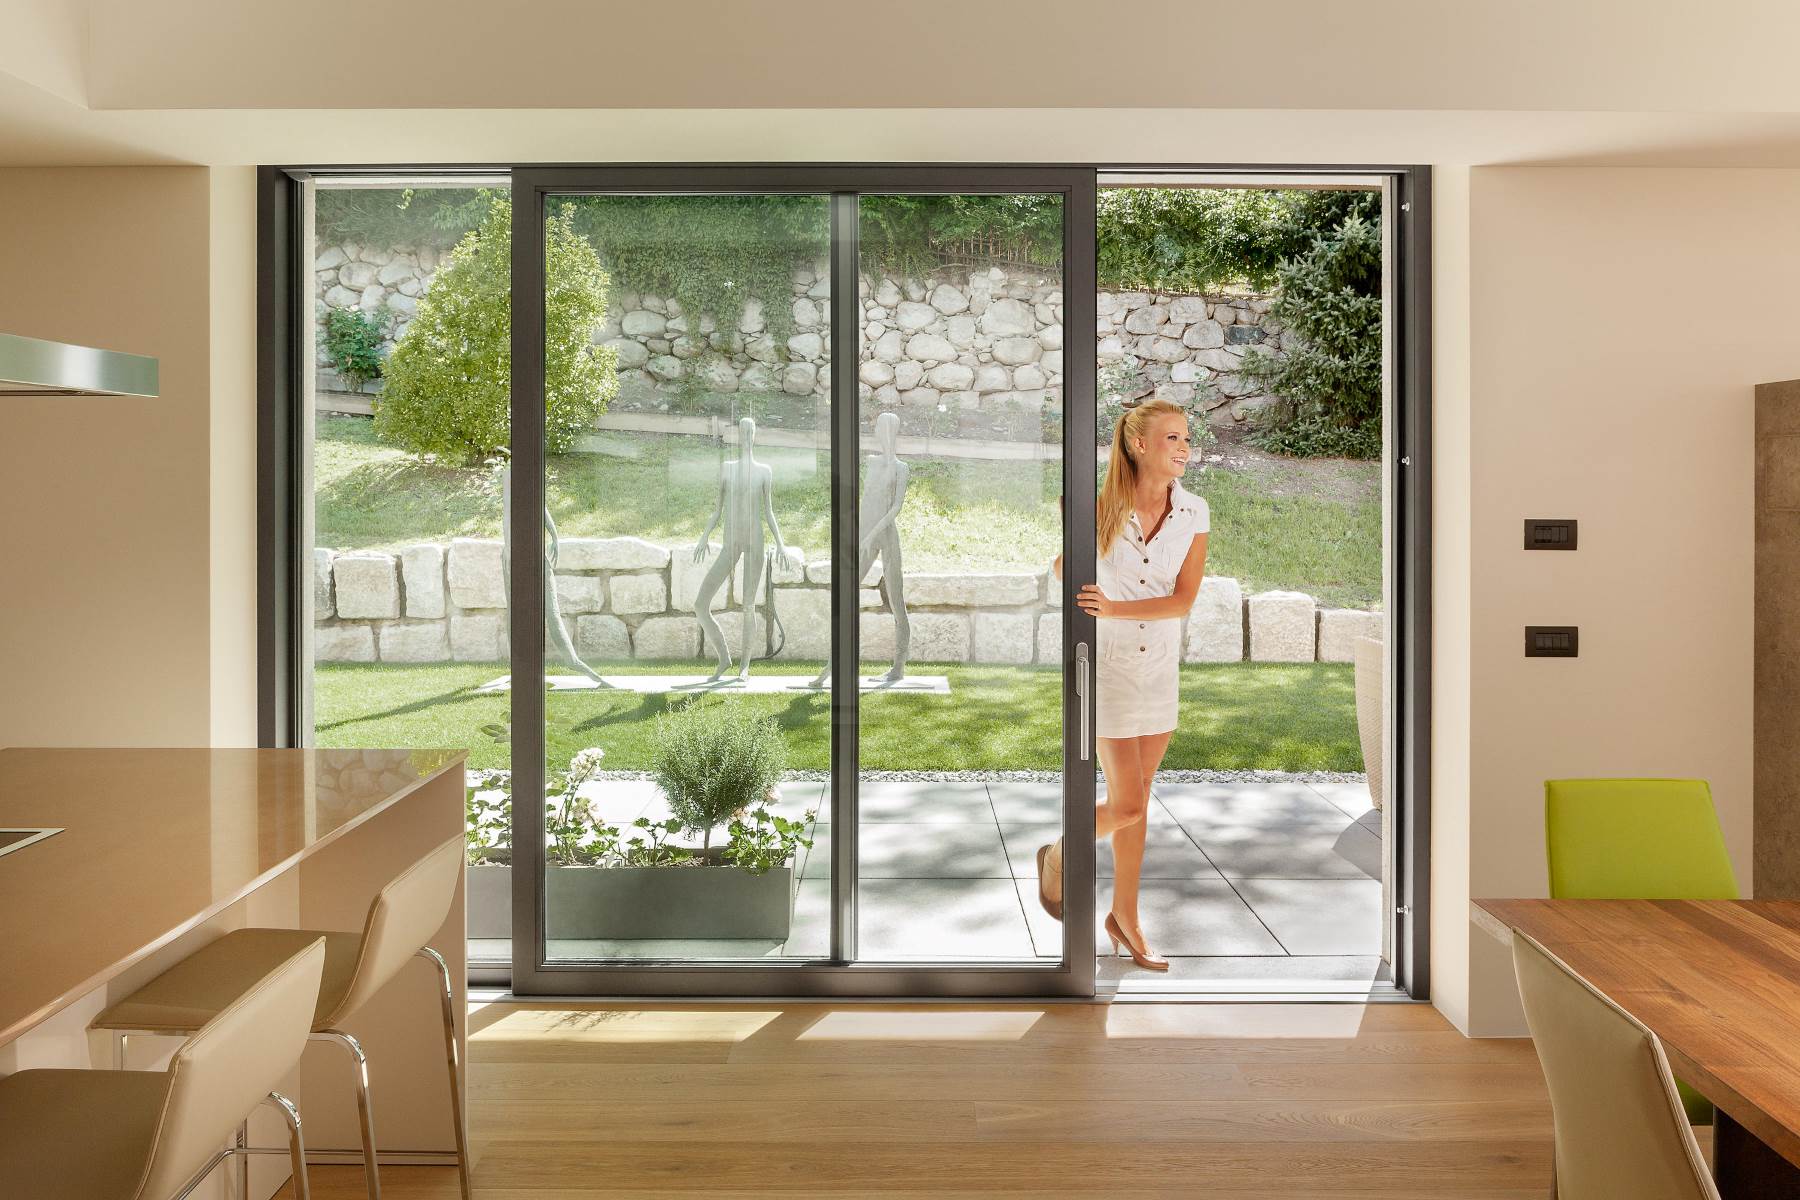
Glass cabinet doors can add a touch of elegance and sophistication to any kitchen or display area. They allow you to showcase your treasured items while keeping them protected from dust and dirt. If you want to upgrade your existing cabinet doors to glass or build new ones from scratch, this guide will walk you through the process step by step. By following these instructions, you’ll be able to create beautiful glass cabinet doors that will enhance the aesthetic appeal of your space.
Before you get started, it’s important to gather all the necessary materials and tools. Here’s a list of what you’ll need:
- Glass panels
- Cabinet door frame
- Hinges
- Door handle
- Measuring tape
- Glass cutter
- Safety glasses and gloves
- Cordless drill or screwdriver
- Screws
- Level
Key Takeaways:
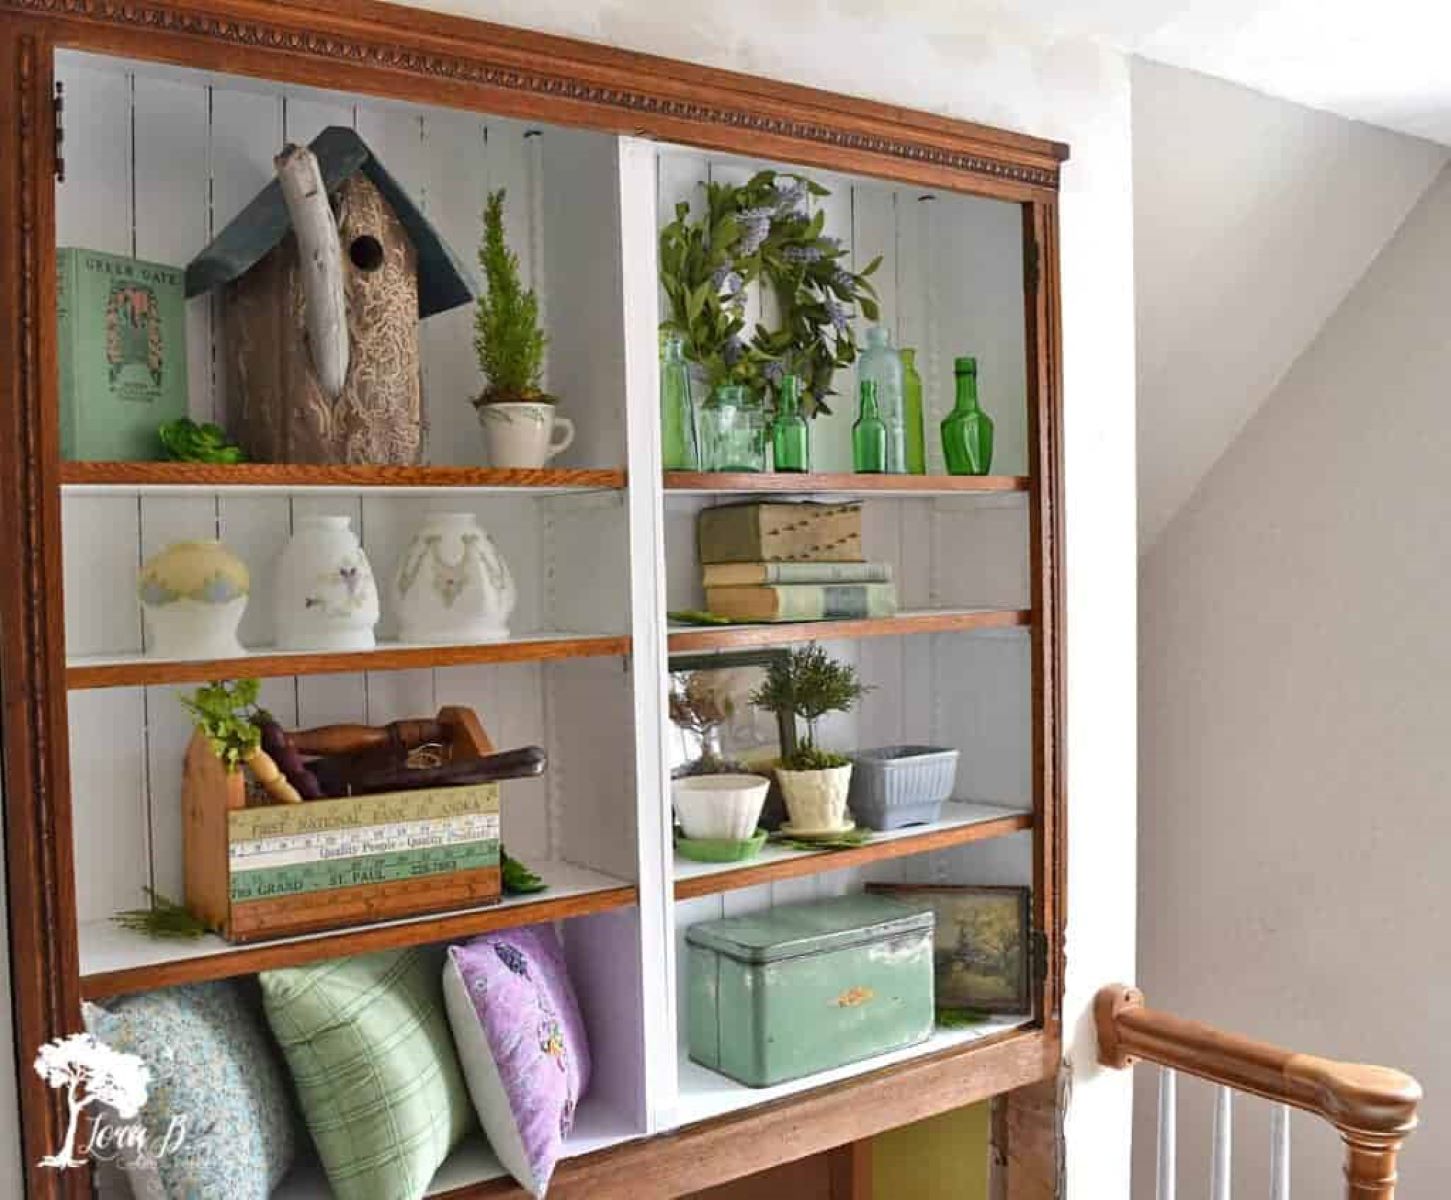
- Elevate your space with a touch of elegance by creating your own glass cabinet doors. Showcase your treasured items while keeping them protected from dust and dirt, adding both beauty and functionality to your space.
- Prioritize safety and precision while following the step-by-step process to create and install a stunning glass cabinet door. Enjoy the enhanced aesthetic appeal and the ability to showcase your prized possessions with confidence.
Read more: How To Make A Cabinet Door
Materials Needed
Before you embark on making your glass cabinet door, it’s important to gather all the necessary materials. Having everything prepared beforehand will ensure a smooth and efficient process. Here’s a list of the materials you’ll need:
- Glass panels: Choose the appropriate size and thickness of glass panels for your cabinet doors. Measure the dimensions of your cabinet frame to ensure a perfect fit.
- Cabinet door frame: You can either purchase pre-made cabinet door frames or build them yourself. Make sure the frame is sturdy and properly constructed to support the weight of the glass panel.
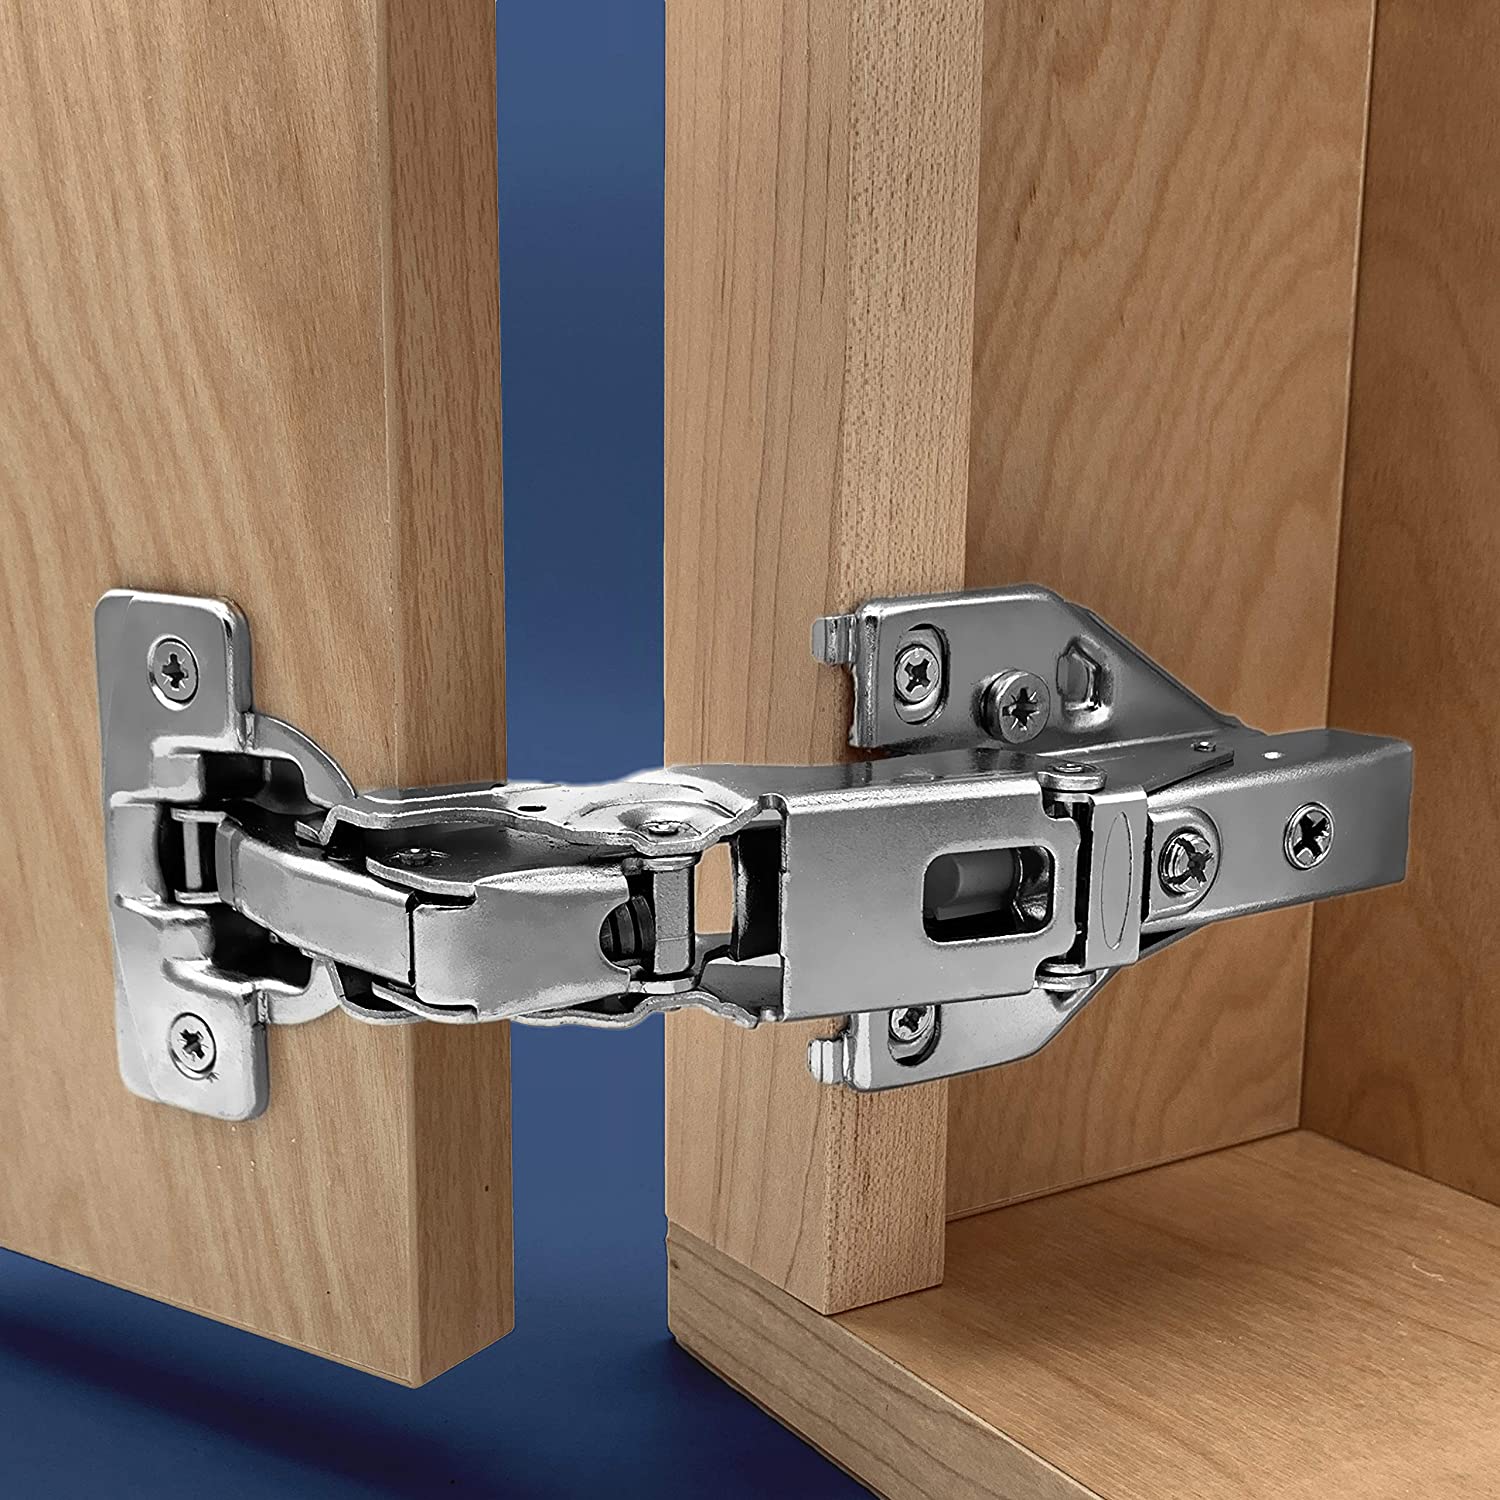
- Hinges: Select hinges that are suitable for the weight and size of your glass door. Consider using self-closing hinges for added convenience.
- Door handle: Choose a door handle that complements the overall style of your cabinet. Consider the material, finish, and design to ensure it blends seamlessly with the glass door.
- Measuring tape: Accurate measurements are crucial for a precise fit. Use a measuring tape to measure the dimensions of your cabinet opening and glass panels.
- Glass cutter: If you need to customize your glass panels, a glass cutter will come in handy. Make sure you have a quality glass cutter designed specifically for cutting glass.
- Safety glasses and gloves: Handling glass can be dangerous, so it’s essential to prioritize safety. Wear safety glasses to protect your eyes and gloves to protect your hands while working with glass.
- Cordless drill or screwdriver: You’ll need a cordless drill or screwdriver to attach the hinges and handle to the cabinet door frame.
- Screws: Choose screws that are appropriate for the thickness and material of the cabinet frame. Make sure they are long enough to secure the hinges and handle firmly in place.
- Level: A level tool will help you ensure that the cabinet door is properly aligned and hung straight.
Make sure you have all these materials on hand before you begin the glass cabinet door-making process. It will save you time and frustration by having everything ready to go. Now that you have all the materials, let’s move on to the step-by-step process of creating your glass cabinet door.
Step 1: Measure and Cut the Glass
The first step in making a glass cabinet door is to measure and cut the glass panel to fit the dimensions of your cabinet door frame. Follow these steps to ensure accurate measurements and a clean cut:
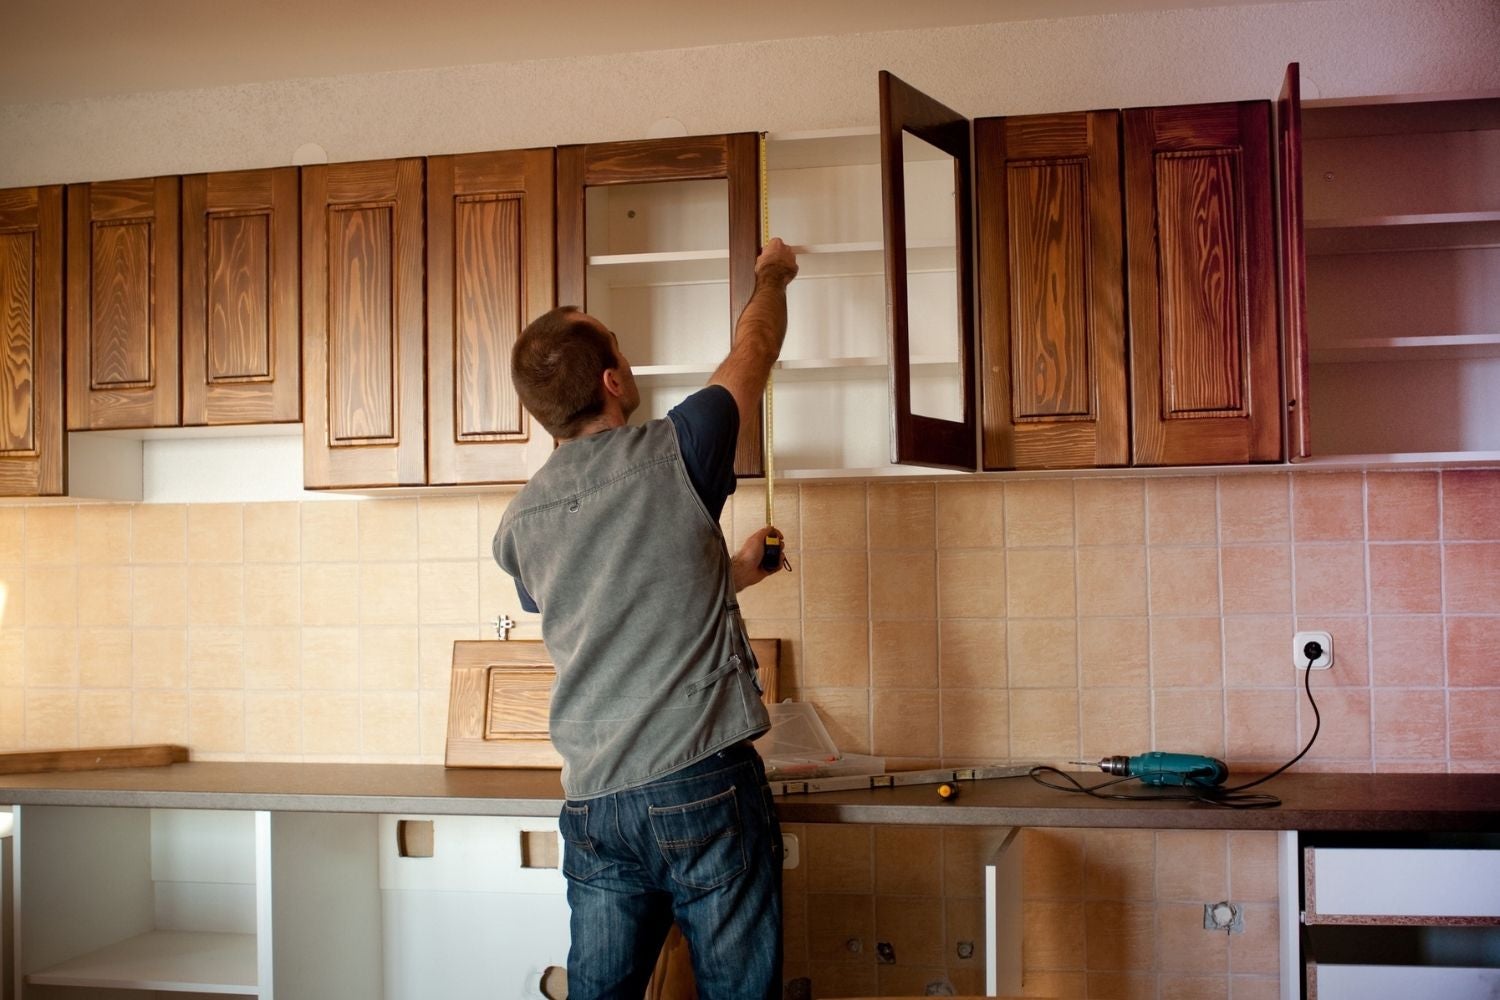
- Begin by measuring the width and height of your cabinet door frame using a measuring tape. Take precise measurements to ensure a perfect fit.
- Transfer these measurements onto the glass panel using a marker or a pencil. Use a straight edge or a T-square to ensure straight lines.
- Once your dimensions are marked on the glass panel, put on your safety glasses and gloves to protect yourself from any potential glass shards.
- Using a glass cutter, score along the marked lines with even pressure. Start at one end of the line and continue to the other end.
- After scoring, carefully break along the score line by applying controlled pressure downward on one side of the scored line. The glass should break cleanly along the score line. Be cautious while handling the broken glass edges.
- Smooth the edges of the cut glass panel using a glass file or sandpaper. This will ensure a clean and safe finish.
It’s essential to take your time and exercise caution when cutting the glass. Precision is key to achieve a proper fit for your cabinet door frame. Once you’ve cut the glass panel to the correct size, you’re ready to move on to the next step – preparing the cabinet door frame.
Step 2: Prepare the Cabinet Door Frame
Now that you have your glass panel cut to the proper dimensions, it’s time to prepare the cabinet door frame for installation. Follow these steps to ensure your frame is ready:
- Inspect the cabinet door frame for any imperfections or damage. Repair or replace any broken or weakened parts before proceeding.
- If your cabinet door frame is unfinished, sand it down to create a smooth surface. Remove any rough edges or splinters that may cause issues during installation.
- If desired, you can apply a finish or paint to the frame. Choose a finish or color that complements the design of your space. Allow the finish or paint to dry completely according to the manufacturer’s instructions.
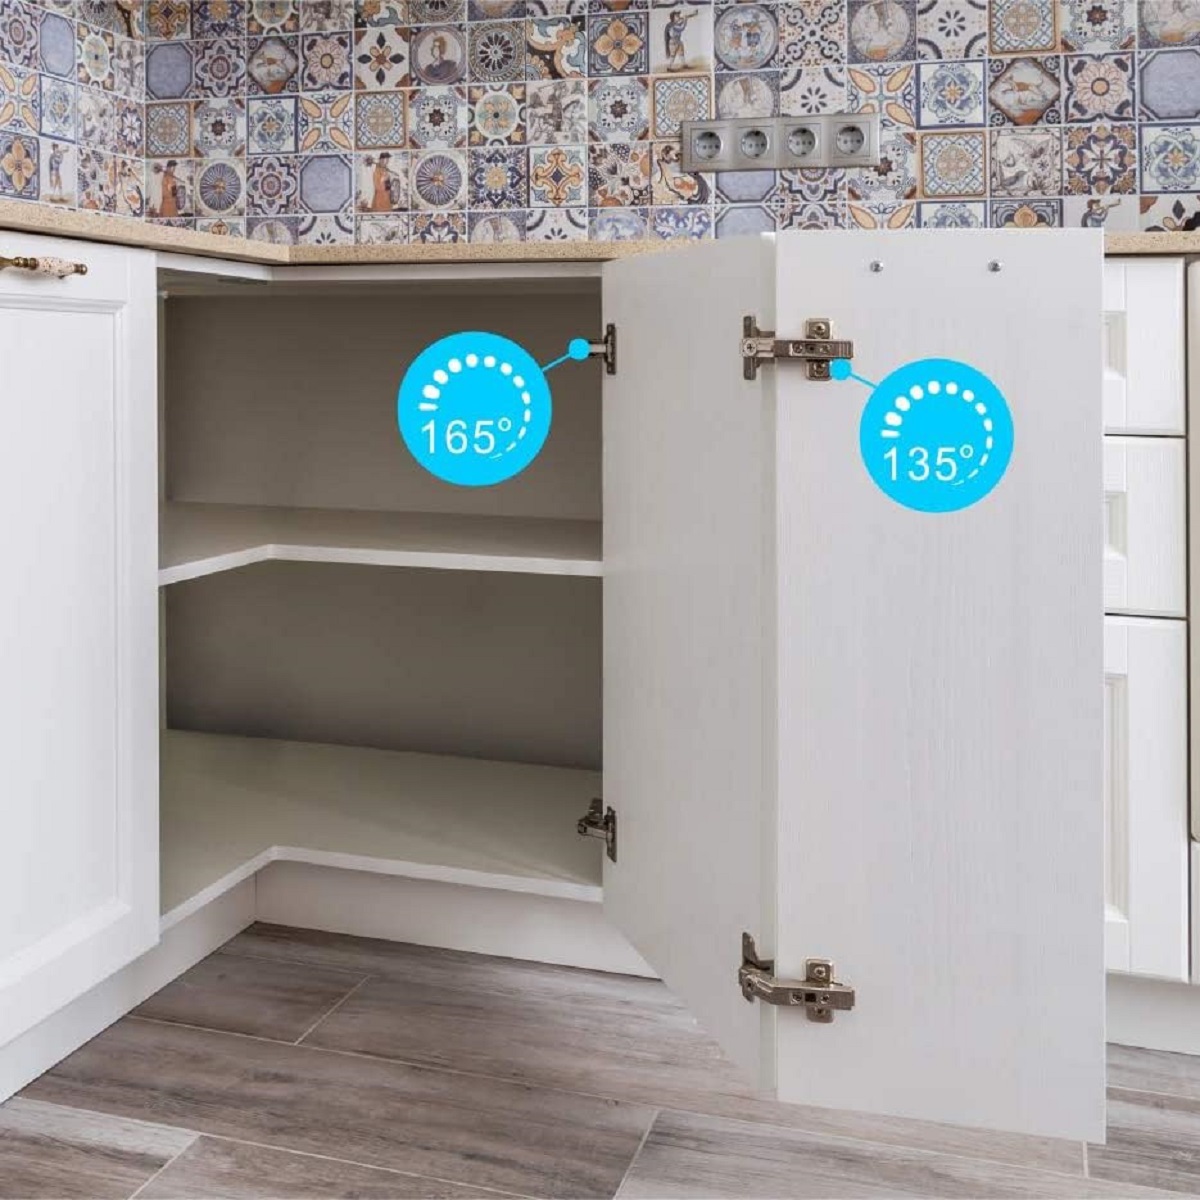
- Next, determine the placement of the hinges on the frame. Measure and mark the spots where the hinges will be attached, ensuring they are equidistant from the top and bottom of the frame. Use a level to ensure the hinges will be properly aligned.
- Now, using a cordless drill or screwdriver, attach the hinges to the marked spots on the frame. Make sure to use screws that are appropriate for the material of your frame. Ensure the hinges are securely fastened.
- Double-check the alignment of the hinges using a level. Adjust if necessary.
By following these steps, you will prepare a solid and properly aligned cabinet door frame for your glass panel. This sets the foundation for a successful installation. Once the frame is ready, move on to the next step – attaching the hinges to the frame.
Step 3: Attach Hinges to the Frame
With the cabinet door frame prepared, it’s time to attach the hinges that will hold the glass panel in place. Follow these steps to securely attach the hinges:
- Position the glass panel face down on a flat and stable surface. This will provide a stable base for attaching the hinges.
- Take one of the hinges and position it on the backside of the cabinet door frame, aligning it with the pre-marked spots from Step 2. Ensure that the hinge is flush with the edge of the frame.
- Using a cordless drill or screwdriver, insert screws through the screw holes in the hinge and into the frame. Tighten the screws firmly, but be careful not to overtighten and risk damaging the wood.
- Repeat this process with the remaining hinges, ensuring that they are evenly spaced and aligned.
- After attaching all the hinges, carefully lift the glass panel and align it with the hinges on the frame. Lower the glass panel onto the hinges until it rests securely.
- Check that the glass panel is level and properly aligned with the frame. Adjust the hinges if necessary to achieve a perfect fit.
Attaching the hinges to the frame is a crucial step in securing the glass panel. Take your time to ensure that the hinges are properly aligned and securely fastened. Once the hinges are securely in place, you’re ready to move on to the next step – installing the glass panel.
When making a glass cabinet door, be sure to measure the opening accurately and choose the right type of glass for the door, such as tempered or safety glass. Use a glass cutter to score the glass and then carefully break it along the score line for a clean edge.
Read more: How To Hold Glass In Cabinet Door
Step 4: Install the Glass Panel
With the hinges securely attached to the cabinet door frame, it’s time to install the glass panel. Follow these steps to ensure a safe and proper installation:
- Carefully lift the glass panel and position it in the open space of the cabinet door frame. Make sure it aligns perfectly with the hinges.
- With the glass panel in position, slowly lower it onto the hinges until it rests securely. Take care not to apply too much force or put unnecessary pressure on the glass.
- Once the glass panel is resting on the hinges, check for any gaps or misalignment. Adjust the hinges if needed to ensure a proper fit.
- When the glass panel is fully seated on the hinges, gently open and close the cabinet door to test its movement. Ensure that the door opens and closes smoothly without any resistance.
- If the glass panel feels loose or unstable, you can use small pieces of adhesive-backed rubber or foam tape to provide added support and stability. Place these pieces between the glass panel and the cabinet frame where necessary.
- Once you’re satisfied with the installation, secure the glass panel by tightening the hinge screws. Be careful not to overtighten and risk damaging the glass.
Installing the glass panel requires careful handling and attention to detail. Take your time, ensure proper alignment, and make any necessary adjustments to achieve a secure and visually pleasing installation. With the glass panel securely in place, you’re ready to proceed to the next step – attaching the door handle.
Step 5: Attach the Door Handle
Attaching the door handle is the next step in completing your glass cabinet door. The handle not only adds functionality but also serves as a decorative element. Follow these steps to properly attach the door handle:
- Start by deciding the placement of the door handle. Position it at a comfortable height that allows for easy opening and closing of the cabinet door.
- Measure and mark the spot where the handle will be attached on the glass panel. Use a level to ensure the markings are aligned and straight.
- Depending on the type of door handle, you may need to drill holes in the glass panel for the handle’s mounting screws. Ensure you use a glass drill bit suitable for drilling holes in glass without causing damage.
- Once the holes are drilled or if the handle does not require drilling, you can proceed to attach the handle to the glass panel. Position the handle over the marked spot and align it properly.
- Insert the screws into the holes of the handle and carefully tighten them, ensuring that the handle is securely attached to the glass panel. Be cautious not to overtighten and risk damaging the glass.
- Give the handle a gentle tug to make sure it is firmly secured to the glass panel. If it feels loose or wobbly, adjust the screws as necessary to achieve a tight fit.
Attaching the door handle is the final step in creating your glass cabinet door. Make sure the handle is well-placed and securely fastened, as it will be regularly used for opening and closing the cabinet door. With the handle attached, your glass cabinet door is now ready to be mounted to the cabinet.
Step 6: Mount the Glass Cabinet Door
Now that you have completed all the necessary steps to create and prepare your glass cabinet door, it’s time to mount it onto the cabinet. Follow these steps to ensure a successful mounting:
- Start by removing the existing cabinet door from its hinges, if applicable. This will create an open space for mounting the glass cabinet door.
- Hold the glass cabinet door up to the cabinet opening, aligning the hinges with the corresponding hinge plates on the cabinet frame.
- Slowly and carefully lower the glass door onto the hinge plates, ensuring each hinge is properly seated.
- Once the door is resting on the hinges, gently open and close the door to test its movement. Make sure it opens and closes smoothly without any resistance.
- Check for any gaps or misalignment around the edges of the cabinet door. Adjust the hinges if necessary to achieve a proper fit and eliminate any gaps.
- Use a level to ensure the glass cabinet door is straight and properly aligned. Make any necessary adjustments to achieve a level position.
- Double-check that all screws and fasteners on the hinges are securely tightened. This will ensure the glass cabinet door remains sturdy and in place.
Once the glass cabinet door is successfully mounted onto the cabinet, take a moment to admire your work. Ensure that the door opens and closes smoothly and that it is visually appealing in its new position. Your glass cabinet door is now ready to be enjoyed and admired.
Congratulations on completing the process of making a glass cabinet door! By following these step-by-step instructions, you have successfully created and installed a beautiful and functional addition to your space.
Remember to handle the glass with care and prioritize safety throughout the entire process. Enjoy the enhanced aesthetic appeal and the ability to showcase your prized possessions through your new glass cabinet door.
Conclusion
Creating a glass cabinet door not only adds a touch of elegance to your space but also allows you to display your cherished items in a beautiful and protected manner. By following the step-by-step instructions outlined in this guide, you have learned how to measure and cut the glass, prepare the cabinet door frame, attach hinges, install the glass panel, attach the door handle, and mount the glass cabinet door onto the cabinet.
Throughout the process, it’s important to prioritize safety by wearing safety glasses and gloves when handling glass, and taking your time to ensure precise measurements and secure installations. Attention to detail is key in achieving a professional and visually appealing result.
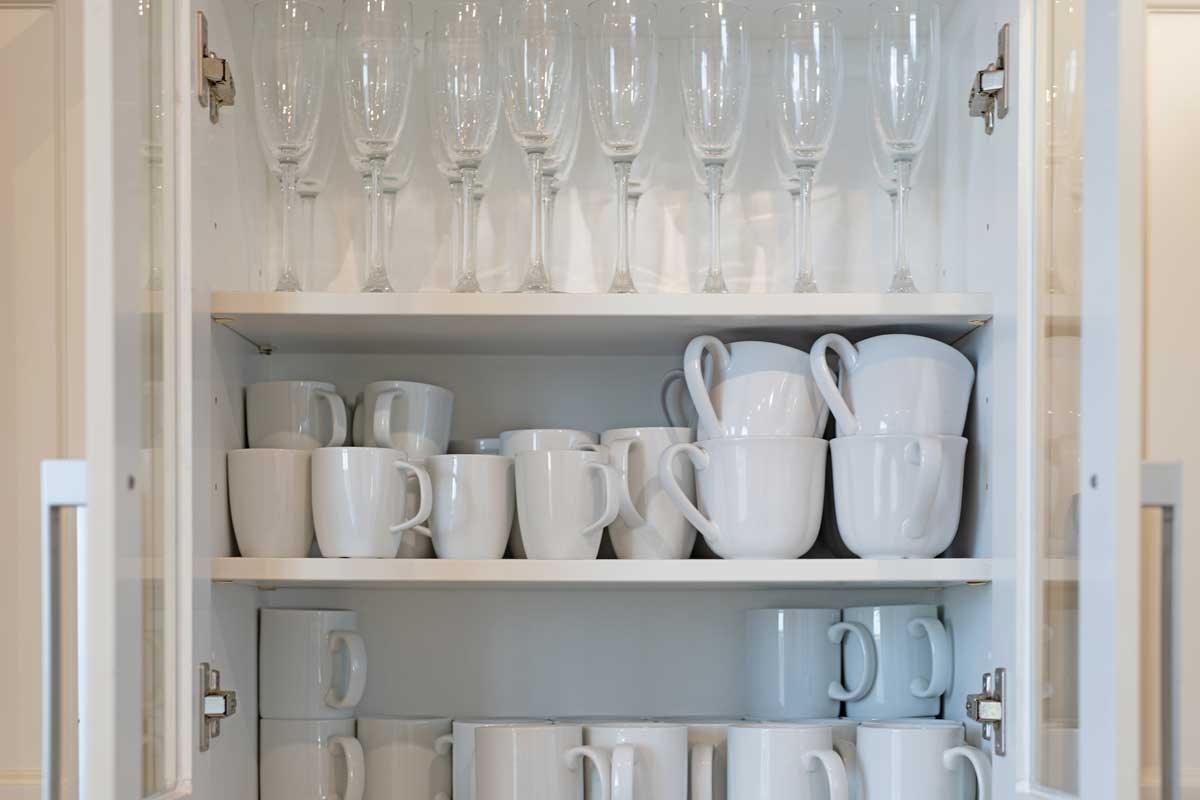
With your glass cabinet door completed, you can now enjoy the benefits of enhanced aesthetics and the ability to showcase your most treasured items. The transparent nature of the glass allows for easy viewing while keeping dust and dirt at bay.
Remember, creativity is key in arranging and organizing the items inside your glass cabinet. Consider using different levels, lighting, and decorative accents to create a visually stunning display. Don’t be afraid to experiment with different arrangements or switch out the items from time to time to keep things fresh and interesting.
Thank you for following along and taking the time to learn how to make a glass cabinet door. We hope this guide has been informative and helpful in your DIY journey. Enjoy the beauty and functionality of your new glass cabinet door!
Frequently Asked Questions about How To Make A Glass Cabinet Door
Was this page helpful?
At Storables.com, we guarantee accurate and reliable information. Our content, validated by Expert Board Contributors, is crafted following stringent Editorial Policies. We're committed to providing you with well-researched, expert-backed insights for all your informational needs.
0 thoughts on “How To Make A Glass Cabinet Door”