Articles
How To Make A Cabinet Door
Modified: October 20, 2024
Discover how to make a stunning cabinet door with our expert interior design tips. Enhance your space with our step-by-step guide.
(Many of the links in this article redirect to a specific reviewed product. Your purchase of these products through affiliate links helps to generate commission for Storables.com, at no extra cost. Learn more)
Introduction
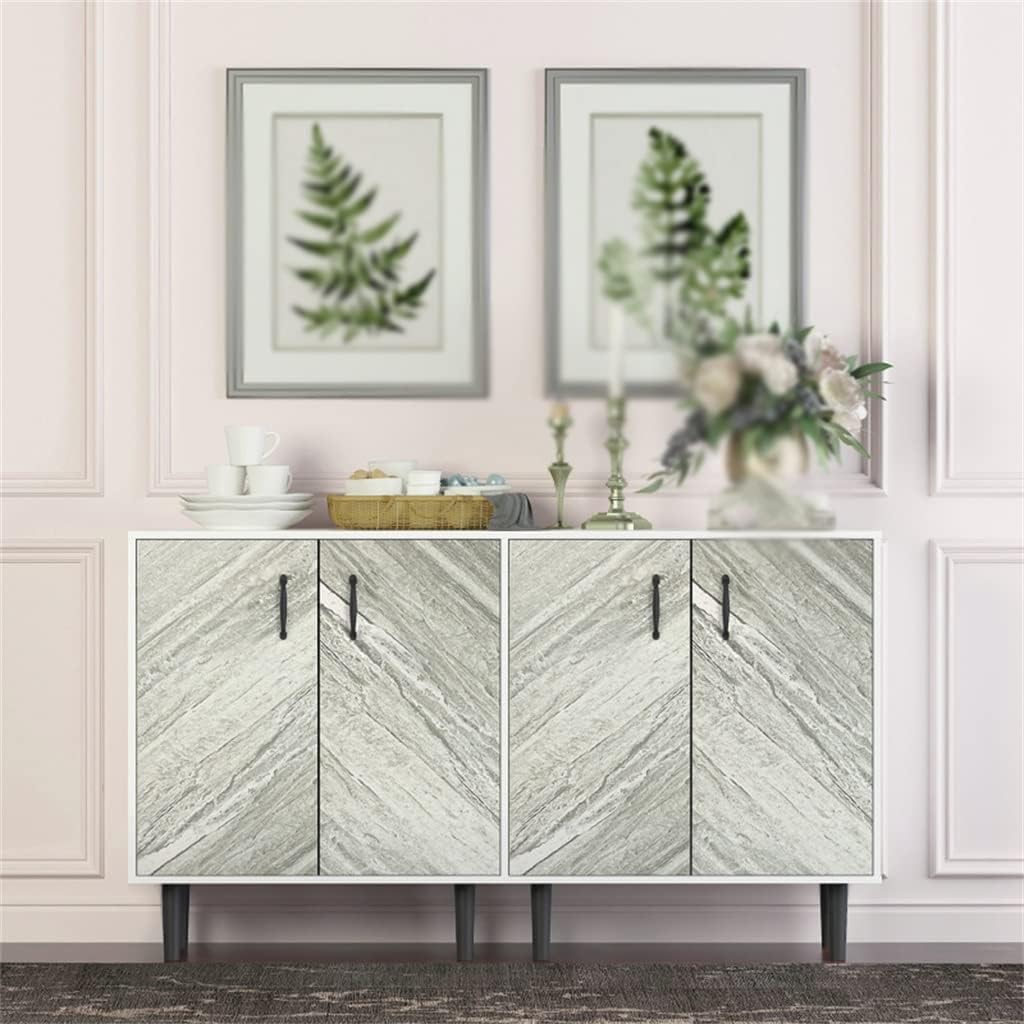
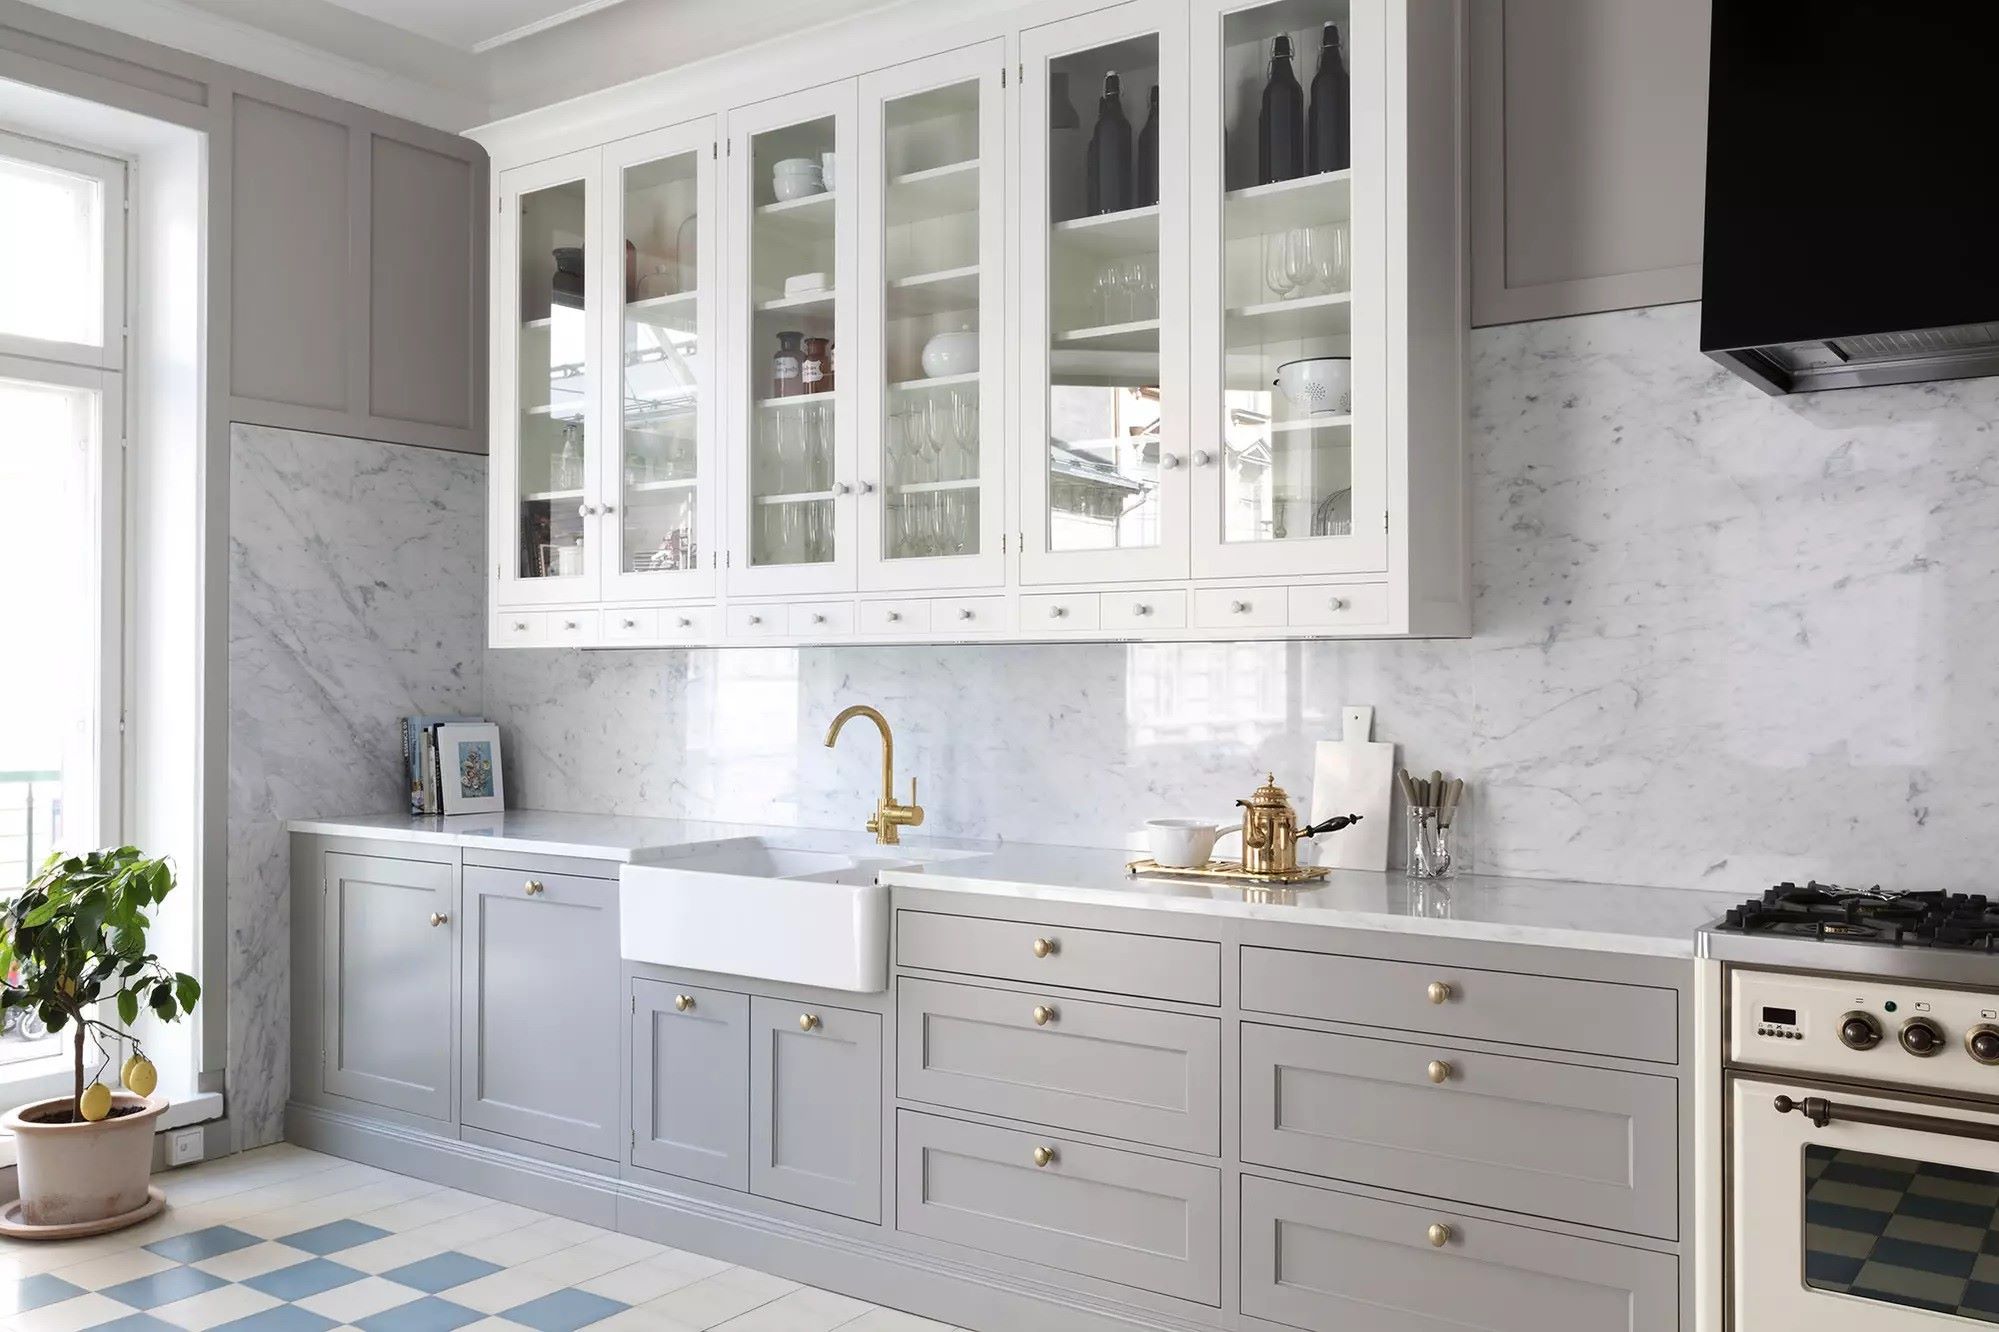
When it comes to giving your cabinets a fresh, updated look, one of the most effective ways is to replace the cabinet doors. Not only does this instantly transform the overall appearance of your cabinets, but it can also save you money compared to completely replacing the entire cabinet unit.
Creating your own cabinet doors may seem like a daunting task, but with some basic woodworking skills and the right tools, you can achieve professional-looking results. In this step-by-step guide, we will walk you through the process of making your own cabinet doors.
Before we get started, it’s important to note that the method described here is for making a simple, flat-panel cabinet door. If you have more complex design requirements or want to add decorative elements, additional steps and tools may be necessary.
Now, let’s gather the materials and tools you’ll need for this project.
Key Takeaways:
- Transform the look of your cabinets and save money by making your own cabinet doors with basic woodworking skills and the right tools. Enjoy a personalized and professional result that enhances your space.
- Unleash your creativity and customize your cabinet doors to achieve the perfect look for your kitchen or space. Follow the step-by-step guide for a cost-effective and impressive DIY project.
Read more: How To Make A Glass Cabinet Door
Materials and Tools Needed
Before you begin making your cabinet doors, gather the following materials and tools:
Materials:
- Wood panels – Choose a durable and visually appealing type of wood, such as oak or maple, in the desired thickness for your cabinet doors.
- Wood glue – Opt for a high-quality wood glue that provides strong and long-lasting adhesion.
- Screwdriver – A screwdriver will be needed to attach hinges and handles.
- Sanding materials – This includes sandpaper or a sanding block, which will be used to smooth the wood surfaces.
- Finishing materials – Select a finish that enhances the natural beauty of the wood and protects it from moisture and stains. This can include varnish, paint, or stain.
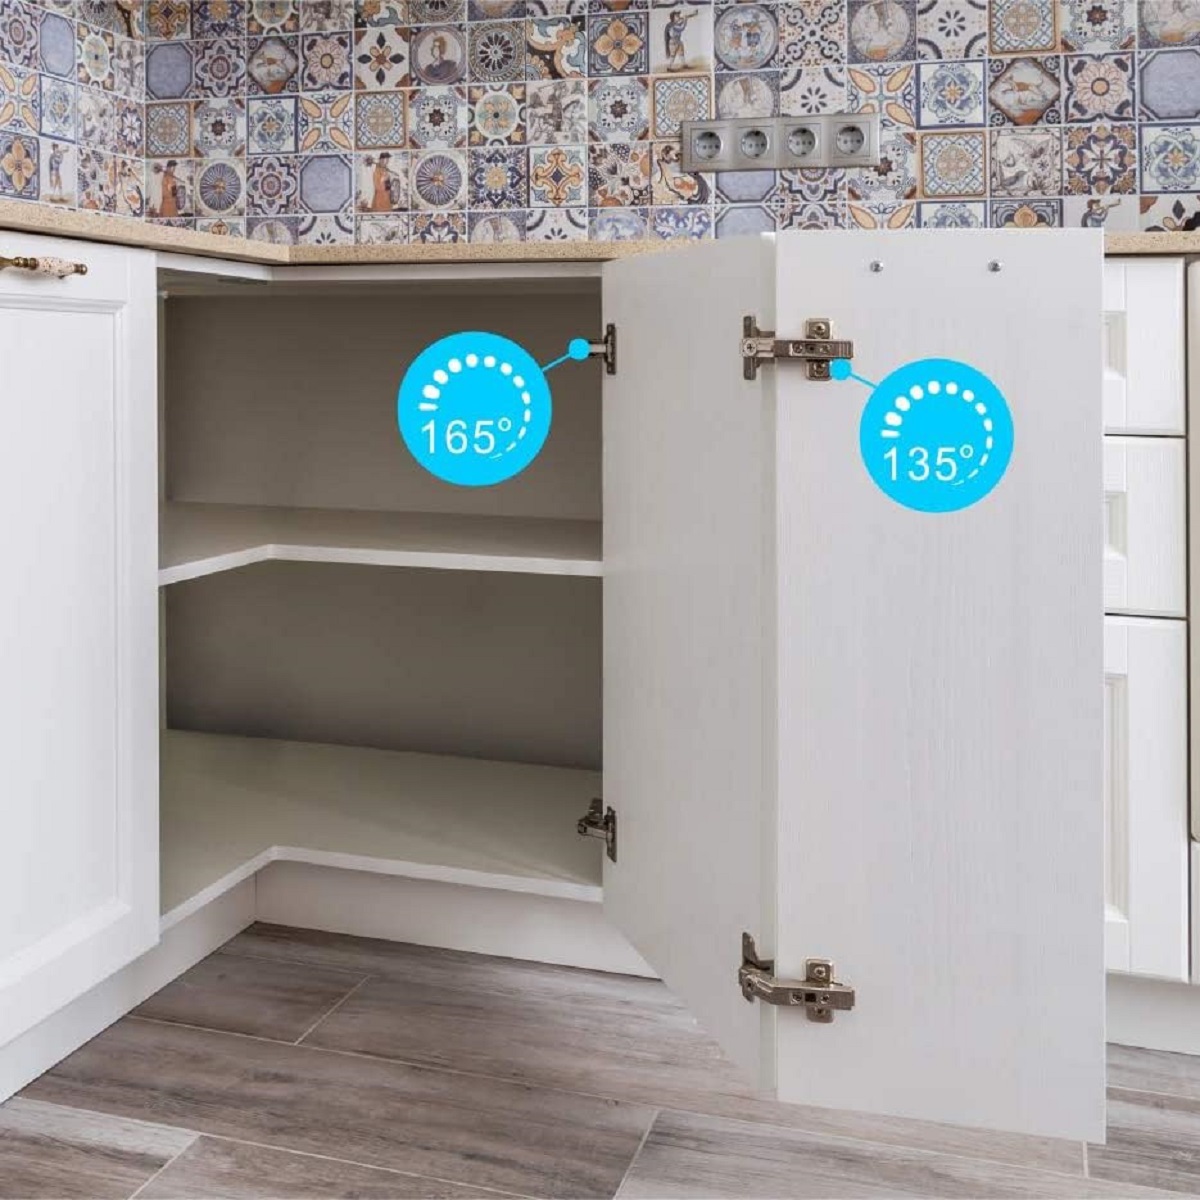
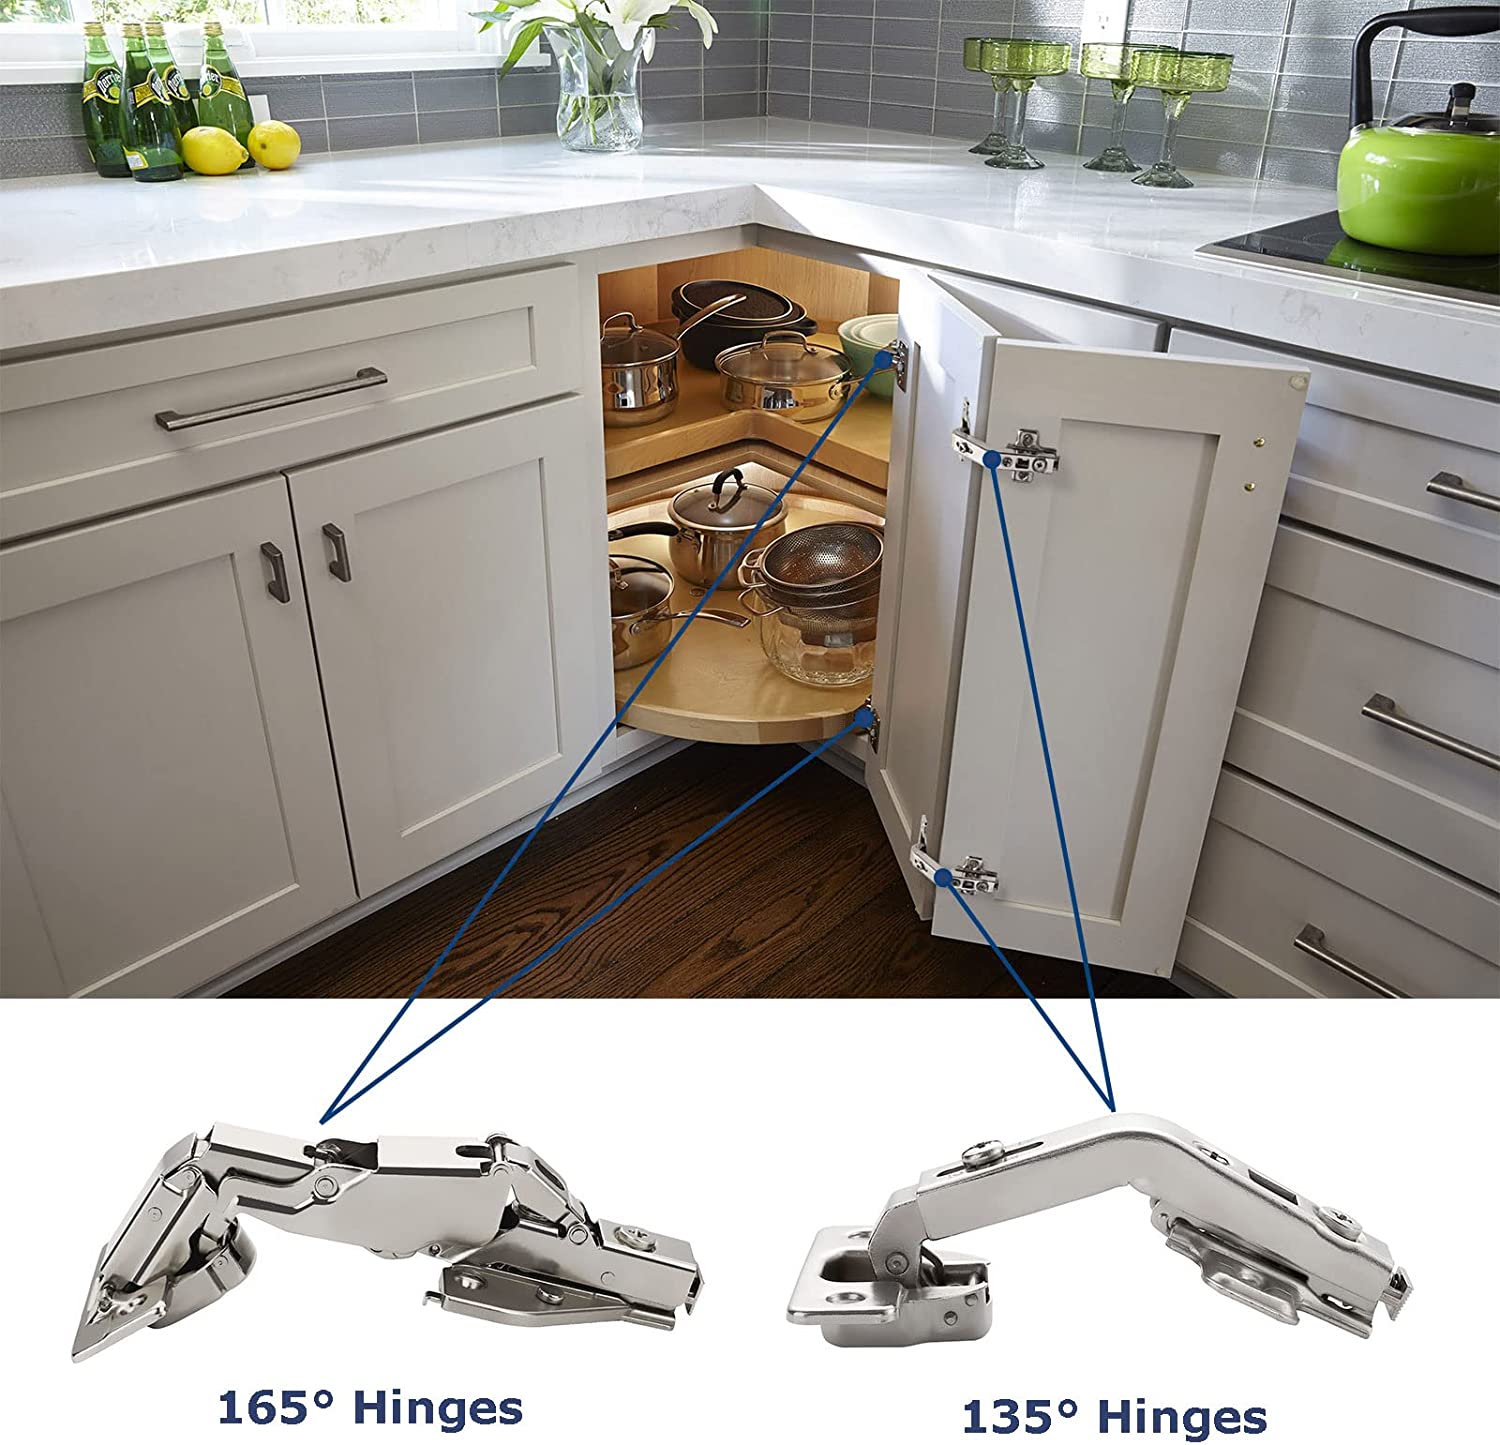
- Hinges – Choose hinges that are appropriate for the size and weight of your cabinet doors. Concealed hinges offer a more seamless appearance.
- Handles or knobs – Pick handles or knobs that complement the style of your cabinets and provide a comfortable grip for opening and closing the doors.
- Measuring tools – This includes a tape measure, ruler, or square for precise measurements.
- Saw – Use a table saw or circular saw to cut the wood panels to the desired dimensions.
- Safety equipment – Protect your eyes with safety glasses and use ear protection when operating power tools.
Tools:
- Clamps – These will help secure the wood panels and the frame during assembly.
- Drill – Use a drill with the appropriate drill bits for attaching hinges and handles.
- Chisel – A chisel will be needed for fine-tuning the hinge mortises.
- Square – A square tool will ensure that the corners of the cabinet door panels and frame are perfectly aligned.
- Pencil – Use a pencil to mark measurements and cut lines on the wood panels.
- Sanding block or sandpaper – These will be used to smooth out any rough edges or surfaces.
- Sawhorses or a workbench – Provide a stable and elevated surface for cutting and assembling the cabinet doors.
Once you have gathered all the necessary materials and tools, it’s time to move on to the next step: measuring and planning your cabinet door project.
Step 1: Measure and Plan
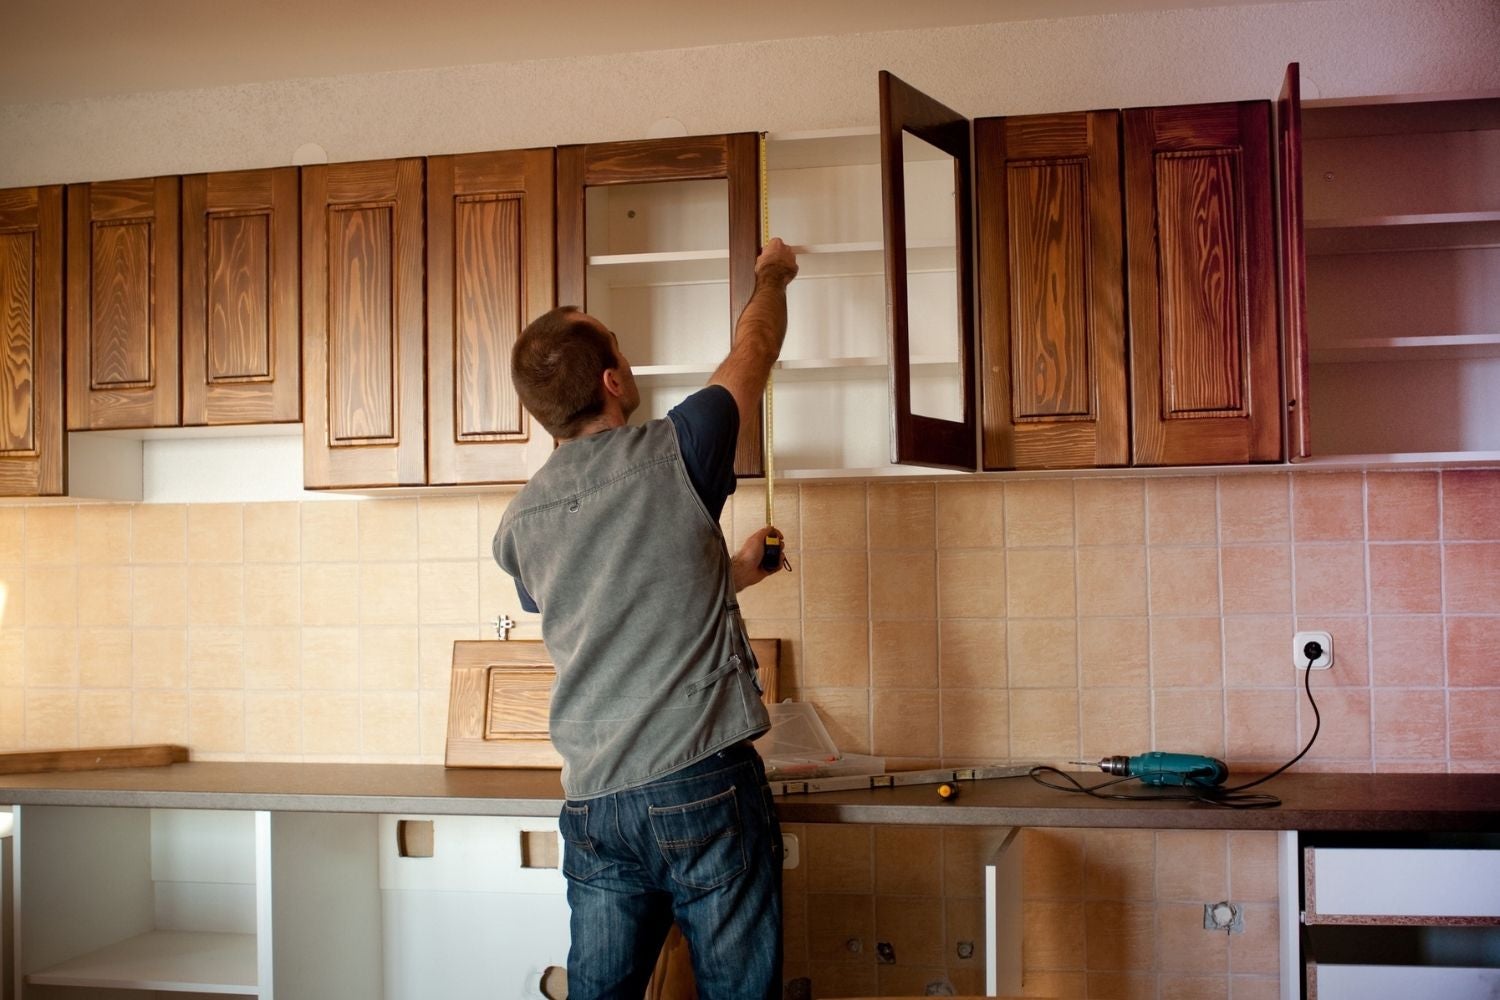
Before you start cutting any wood, take accurate measurements of your existing cabinet openings. It’s crucial to measure each opening individually, as they may not all be the same size.
Use a tape measure or ruler to measure the height and width of each opening. Write down these measurements and double-check for accuracy.
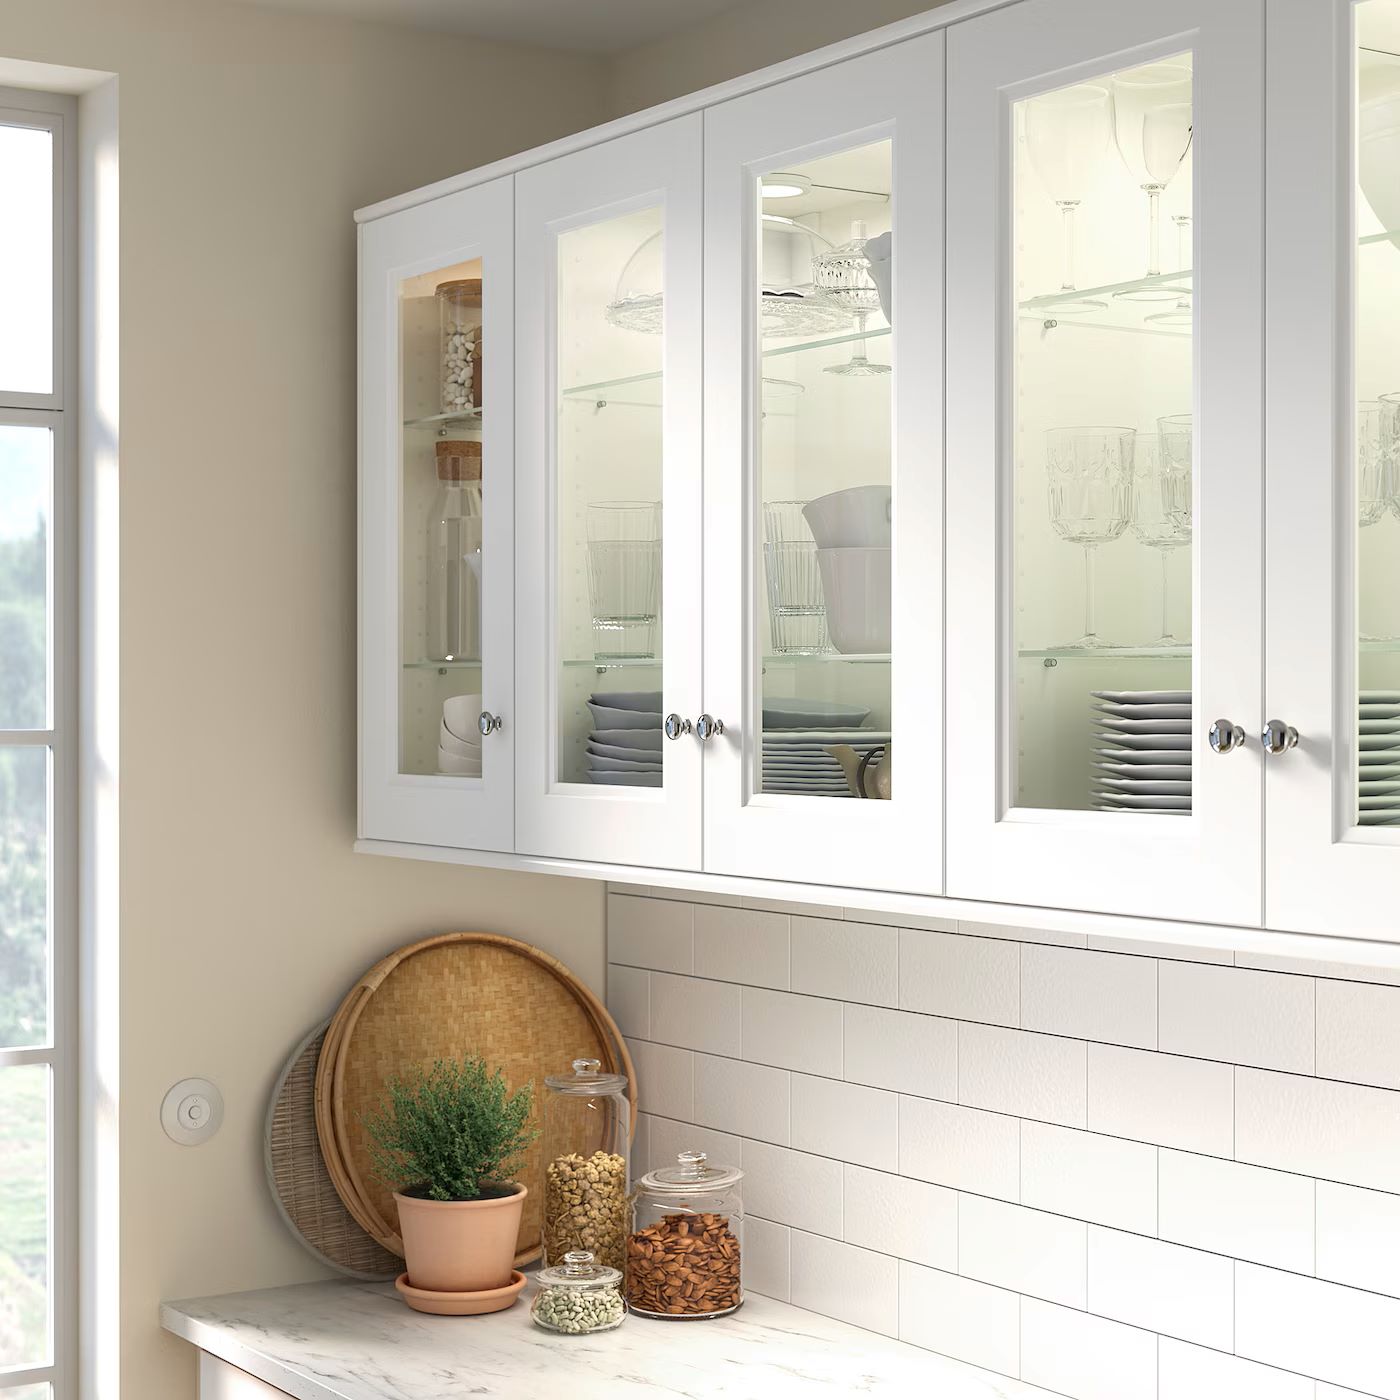
Next, it’s time to plan the design of your cabinet doors. Consider the style and aesthetic you want to achieve. Do you prefer a simple and modern look, or something more traditional and ornate?
Sketch out a rough design on a piece of paper, taking into account the dimensions and measurements you have previously recorded. This will help you visualize the final product and ensure that you’re on the right track.
During the planning stage, also consider the type of wood you want to use. Different types of wood have unique characteristics, such as grain patterns and color variations. Choose a wood species that aligns with your design vision and matches your existing cabinets.
Once you have a clear plan and measurements in hand, you can move on to selecting the wood for your cabinet doors.
Step 2: Select the Wood
Choosing the right type of wood for your cabinet doors is essential for both aesthetics and durability. Several factors should be considered when making your selection:
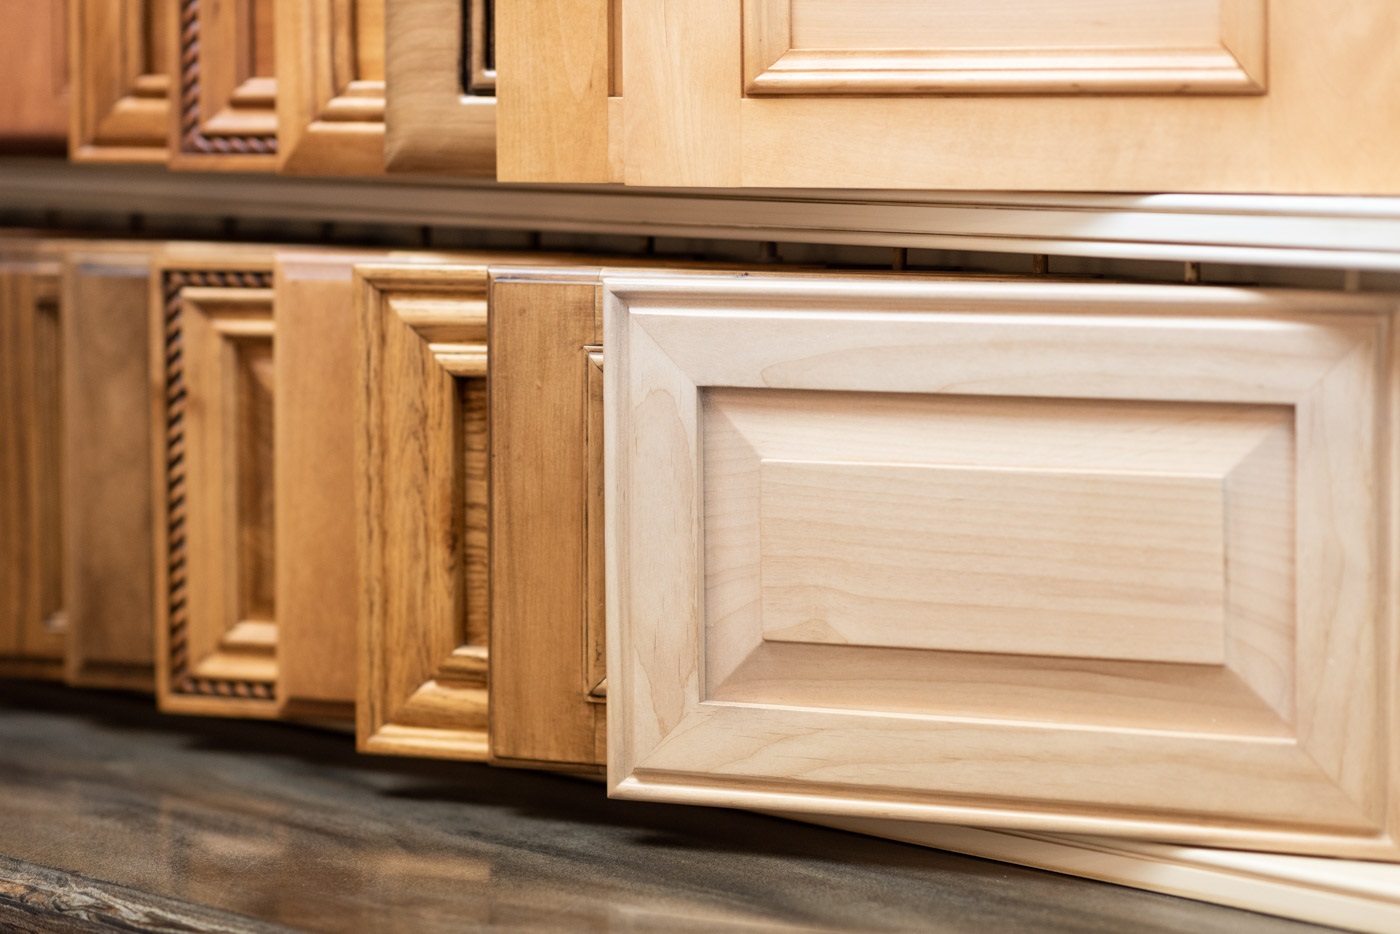
Type of Wood: Decide on the type of wood that will best suit your design and budget. Popular choices include oak, maple, cherry, and birch. Each wood type has its own unique characteristics, such as grain patterns and color variations. Consider the overall style of your kitchen or space when selecting the wood.
Wood Thickness: The thickness of the wood panels will impact the overall look and feel of the cabinet doors. Thicker panels can provide a more substantial and high-end appearance, but they may require extra reinforcement and heavier-duty hinges. Standard thicknesses for cabinet doors range from 3/4 inch to 1 inch.
Wood Quality: Look for solid wood panels that are free from cracks, knots, and excessive imperfections. Air-dried or kiln-dried wood is recommended, as it offers better stability and reduces the risk of warping or twisting over time.
Finish: Consider whether you want to paint or stain the wood to achieve your desired look. Some wood species, like oak, respond well to staining, while others, like maple, are better suited for paint applications. If you prefer a natural wood look, choose a wood species with a desirable grain pattern.
Visit a local lumberyard or home improvement store to explore the available wood options. Ask for assistance if needed, as knowledgeable staff can provide guidance based on your preferences and budget.
Keep in mind that the type of wood selected may affect the cost and difficulty of working with it. Take your time to choose a wood species that meets your requirements and aligns with the overall style of your kitchen or space.
Once you have selected the wood for your cabinet doors, it’s time to move on to the next step: cutting the wood panels.
Step 3: Cut the Wood Panels
With your selected wood in hand, it’s time to start cutting the wood panels for your cabinet doors. Follow these steps to ensure accurate and clean cuts:
1. Set up your workspace: Clear a large, flat surface and set up sawhorses or a workbench. Place a sacrificial board underneath the wood panels to prevent any damage to your work surface.
2. Measure and mark: Use the measurements you recorded in Step 1 to mark the dimensions of each cabinet door on the wood panels. Double-check your measurements to avoid any errors.
3. Cut the panels: Set your table saw or circular saw to the appropriate blade height and angle based on your measurements. Carefully guide the wood panels through the saw, ensuring a smooth and even cut. Take your time and maintain a steady hand to ensure precise cuts.
4. Safety precautions: Always wear safety glasses and keep your hands away from the saw blade. Take breaks if necessary to avoid fatigue, as tiredness can lead to accidents.
5. Repeat for all panels: Repeat the measuring and cutting process for each wood panel until you have all the required pieces for your cabinet doors.
6. Double-check the cuts: After cutting all the panels, double-check their dimensions and ensure that they are all uniform in size. Sand any rough edges or imperfections with sandpaper or a sanding block to achieve a smooth surface.
By following these steps, you will have accurately cut wood panels that are ready to be assembled into cabinet doors. The next step is to create the frame for your doors.
Read more: How To Make A Sliding Door Cabinet
Step 4: Create the Frame
Now that you have the cut wood panels, it’s time to create the frame for your cabinet doors. The frame provides stability and support to the door, as well as a place to attach hinges. Follow these steps to create the frame:
1. Gather the necessary materials: You will need the wood panels for the frame, wood glue, clamps, and a square tool.
2. Measure and cut the frame pieces: Measure the length and width of the wood panels you cut in Step 3. Subtract the width of the panel from the desired width of the cabinet door to determine the length of the frame pieces. Use a saw to cut the frame pieces to size.
3. Apply wood glue: Apply wood glue to the edge of one of the frame pieces. Spread it evenly using a brush or your finger.
4. Assemble the frame: Place the glued edge of the frame piece onto the corresponding edge of another frame piece. Use a square tool to ensure the corners are at 90-degree angles. Clamp the two pieces together to hold them in place. Repeat this process for the remaining frame pieces.
5. Let it dry: Allow the glue to dry according to the manufacturer’s instructions. It is important to leave the clamps in place until the glue has fully cured to ensure a strong bond.
6. Sand the frame: Once the glue is dry, remove the clamps and sand the frame to smooth out any rough edges or uneven surfaces. This will create a seamless appearance when the cabinet door is finished.
7. Repeat for all doors: Repeat the above steps to create frames for all the cabinet doors you are making.
Creating the frame is a crucial step in the cabinet door-making process, as it provides stability and structure. Once the frames are ready, you can move on to attaching the hinges in the next step.
When making a cabinet door, ensure that the measurements are accurate and the cuts are precise to ensure a proper fit. Use a quality wood glue and clamps to secure the joints for a strong and durable door.
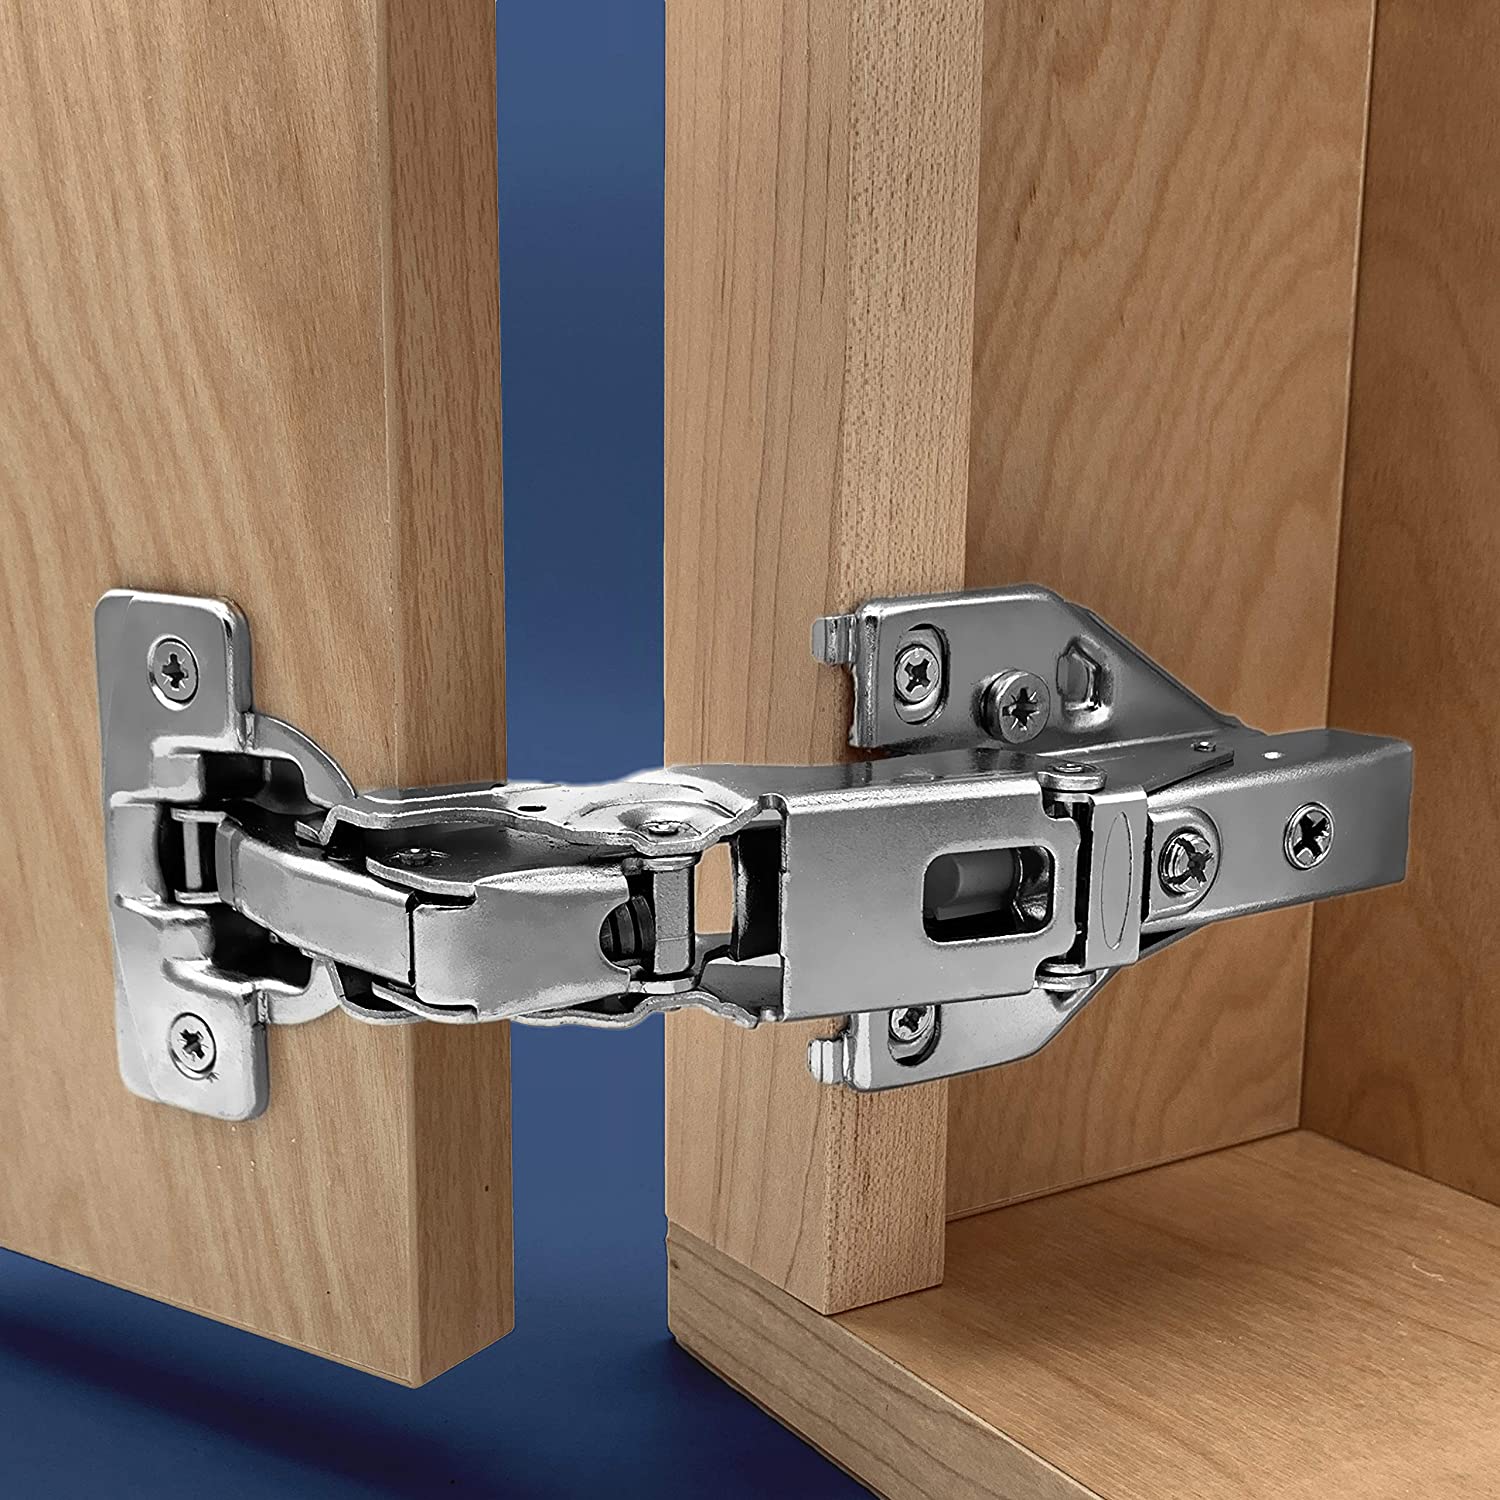
Step 5: Attach Hinges
Attaching hinges to your cabinet doors is essential for proper installation and functionality. Follow these steps to ensure a secure and smooth operation:
1. Position the hinges: Determine the desired placement of the hinges on the cabinet frame. Typically, hinges are placed on the inside of the frame, at least 2 inches from the top and bottom edges, and equally spaced apart. Mark the positions with a pencil.
2. Pre-drill pilot holes: Use a drill with a small drill bit to pre-drill pilot holes at the marked positions. This will prevent the wood from splitting when you attach the hinges.
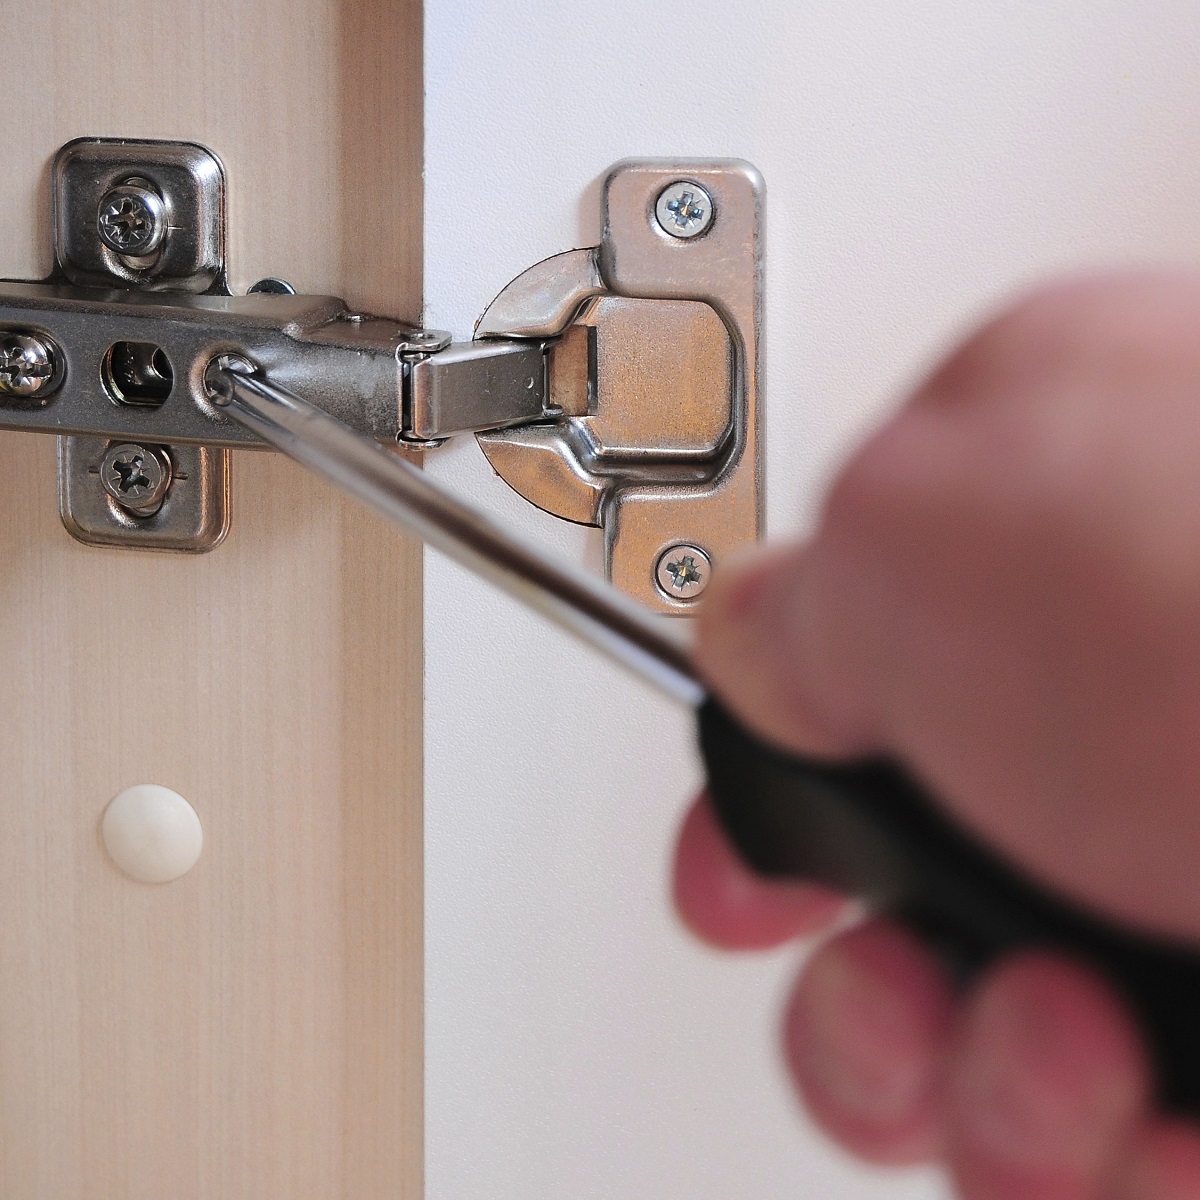
3. Attach the hinge plates: Line up the hinge plates with the pre-drilled pilot holes and secure them in place with screws. Make sure the hinge plates are flush with the edge of the frame.
4. Attach the hinges to the door: Open your cabinet door and hold it in place against the frame. Align the hinge cups or flaps with the hinge plates on the frame. Secure the hinges to the door using screws. Ensure that the door swings in the desired direction and opens and closes smoothly.
5. Test the movement: Open and close the cabinet door several times to test the movement and alignment. Make any necessary adjustments to ensure that the door opens and closes smoothly without any obstructions or misalignment.
6. Repeat for all doors: Repeat the above steps for each cabinet door, ensuring consistent placement and alignment of the hinges.
Properly attaching hinges is crucial for the functionality and longevity of your cabinet doors. Take your time and double-check the alignment and movement of each door before proceeding to the next step: installing handles or knobs.
Step 6: Install Handles or Knobs
Installing handles or knobs on your cabinet doors not only adds functionality but also enhances the overall aesthetic appeal. Follow these steps to properly install handles or knobs:
1. Determine the placement: Decide on the desired location for your handles or knobs. Generally, they are centered vertically on the cabinet door and horizontally aligned with the top or bottom edge.
2. Measure and mark: Use a tape measure or ruler to measure the distance from the top or bottom edge of the door to the center of the handle or knob. Mark this measurement on the door using a pencil.
3. Pre-drill pilot holes: Select an appropriate drill bit based on the size of the screws that came with the handles or knobs. Pre-drill pilot holes at the marked locations to prevent the wood from splitting when you attach the hardware.
4. Attach the handles or knobs: Align the handles or knobs with the pilot holes and insert the screws through the hardware and into the pre-drilled holes. Use a screwdriver to tighten the screws, ensuring a secure and snug fit.
5. Test the handles or knobs: Gently pull or turn the handles or knobs to make sure they are securely attached and can withstand regular usage. Make any necessary adjustments or tighten the screws if needed.
6. Repeat for all doors: Repeat the above steps for each cabinet door, consistently positioning the handles or knobs at the desired locations.
Choosing the right style and finish of handles or knobs can greatly impact the overall look of your cabinet doors. Take your time to select hardware that complements the style of your kitchen or space.
After installing the handles or knobs, the next step is to sand and finish the cabinet doors to achieve a smooth and polished appearance.
Step 7: Sand and Finish the Door
After assembling the cabinet doors, it’s essential to sand and finish them for a smooth and polished look. Follow these steps to achieve a professional finish:
1. Sand the surfaces: Use sandpaper or a sanding block to sand all visible surfaces of the door, including the frame and panels. Start with a coarser grit sandpaper (around 120-grit) to remove any rough spots or imperfections. Then, switch to a finer grit (around 220-grit) to achieve a smooth surface.
2. Sand the edges and corners: Pay attention to the edges and corners of the door. Use a sanding block or folded sandpaper to gently sand these areas, ensuring they are smooth and free from any sharp edges.
3. Remove dust: After sanding, wipe away any dust or debris using a damp cloth or tack cloth. This will ensure a clean surface for the finishing process.
4. Apply the finish: Choose a finish that matches your desired aesthetic and provides protection to the wood. This can include varnish, paint, or stain. Follow the manufacturer’s instructions for application, whether it’s brushing, rolling, or spraying the finish onto the door. Apply at least two coats, allowing each coat to dry fully before applying the next. Sand lightly between coats for a smoother finish.
5. Let it dry: Once the final coat is applied, allow the door to dry completely. This typically takes a few hours to overnight, depending on the type of finish used and the environmental conditions.
6. Inspect and touch up: After the finish has dried, inspect the door for any areas that may require touch-ups. If necessary, lightly sand the problem areas and apply an additional coat of finish.
7. Reattach the door hardware: Once the finish is fully dry, reattach the hinges, handles, or knobs to the cabinet door if they were removed during the sanding and finishing process.
By sanding and finishing the cabinet doors, you will achieve a polished and professional appearance that enhances the overall look of your cabinets. The final step is to attach the doors to the cabinet itself.
Read more: How To Make Shaker Cabinet Doors
Step 8: Attach the Door to the Cabinet
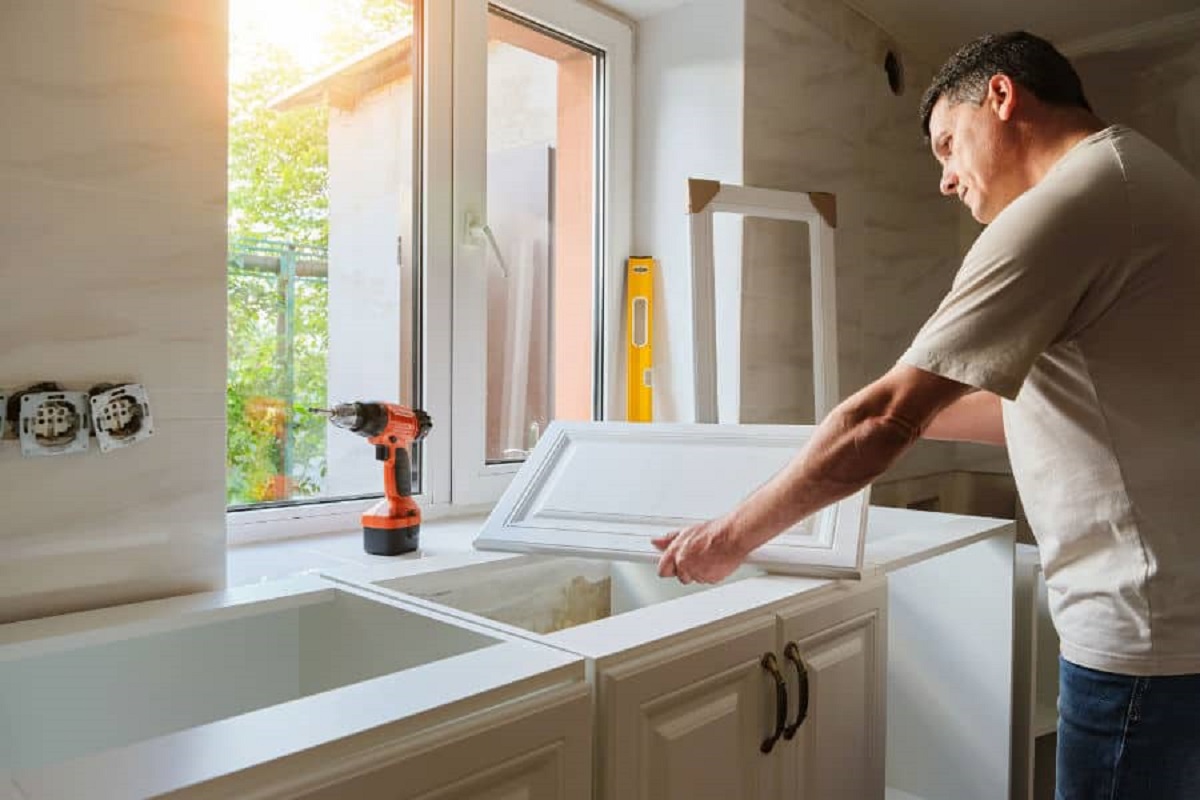
Now that you have completed the construction, sanding, and finishing of your cabinet doors, it’s time to attach them to the cabinet itself. Follow these steps to ensure a proper installation:
1. Position the door: Hold the door in the desired position on the cabinet, ensuring it is aligned properly. Use shims if necessary to achieve a consistent reveal (the gap between the door and the cabinet frame).
2. Mark the hinge locations: With the door in place, mark the locations of the hinges on the cabinet frame using a pencil. These marks will serve as a guide for attaching the hinges.
3. Pre-drill pilot holes: Using a small drill bit, pre-drill pilot holes at the marked hinge locations on the cabinet frame. This will prevent the wood from splitting when you attach the hinges.
4. Attach the hinges: Align the hinges with the pre-drilled pilot holes on the cabinet frame. Use screws to secure the hinges in place, making sure they are flush with the surface of the frame. Repeat this process for all the hinges.
5. Check the door movement: Open and close the cabinet door to ensure it moves smoothly and aligns properly with the cabinet frame. Adjust the hinges if necessary to achieve the desired fit.
6. Test the door closure: Make sure the cabinet door closes securely and stays in place. Adjust the hinges if needed to ensure a tight and proper closure.
7. Repeat for all doors: Repeat the above steps for each cabinet door, ensuring consistent placement and alignment of the hinges.
Once you have attached all the cabinet doors, take a step back and admire your finished project. The doors should open and close smoothly, enhancing both the functionality and aesthetics of your cabinets.
Remember, proper alignment and secure attachment of the doors are crucial for their long-term durability and functional performance. Take your time during the installation process to ensure a job well done.
With the doors successfully attached, you have completed the process of making and installing your own cabinet doors. Enjoy the upgraded look of your cabinets and the satisfaction of accomplishing a DIY project!
Conclusion
Congratulations on successfully making and installing your own cabinet doors! By following these step-by-step instructions, you have transformed the appearance of your cabinets and added a personal touch to your kitchen or space.
Making your own cabinet doors not only allows you to customize the look and feel of your cabinets but also provides a cost-effective alternative to purchasing new ones. With some basic woodworking skills and the right tools, you can achieve professional-looking results that will impress both yourself and others.
Throughout this process, you learned how to measure and plan, select the appropriate wood, cut the panels, create the frame, attach hinges, install handles or knobs, sand and finish the doors, and finally, attach them to the cabinet. Each step plays a crucial role in achieving the perfect cabinet door.
Remember, while this guide outlines the basic steps for creating a simple, flat-panel cabinet door, there are countless design variations and possibilities to explore. Feel free to unleash your creativity and incorporate additional decorative elements or styles that fit your taste and preferences.
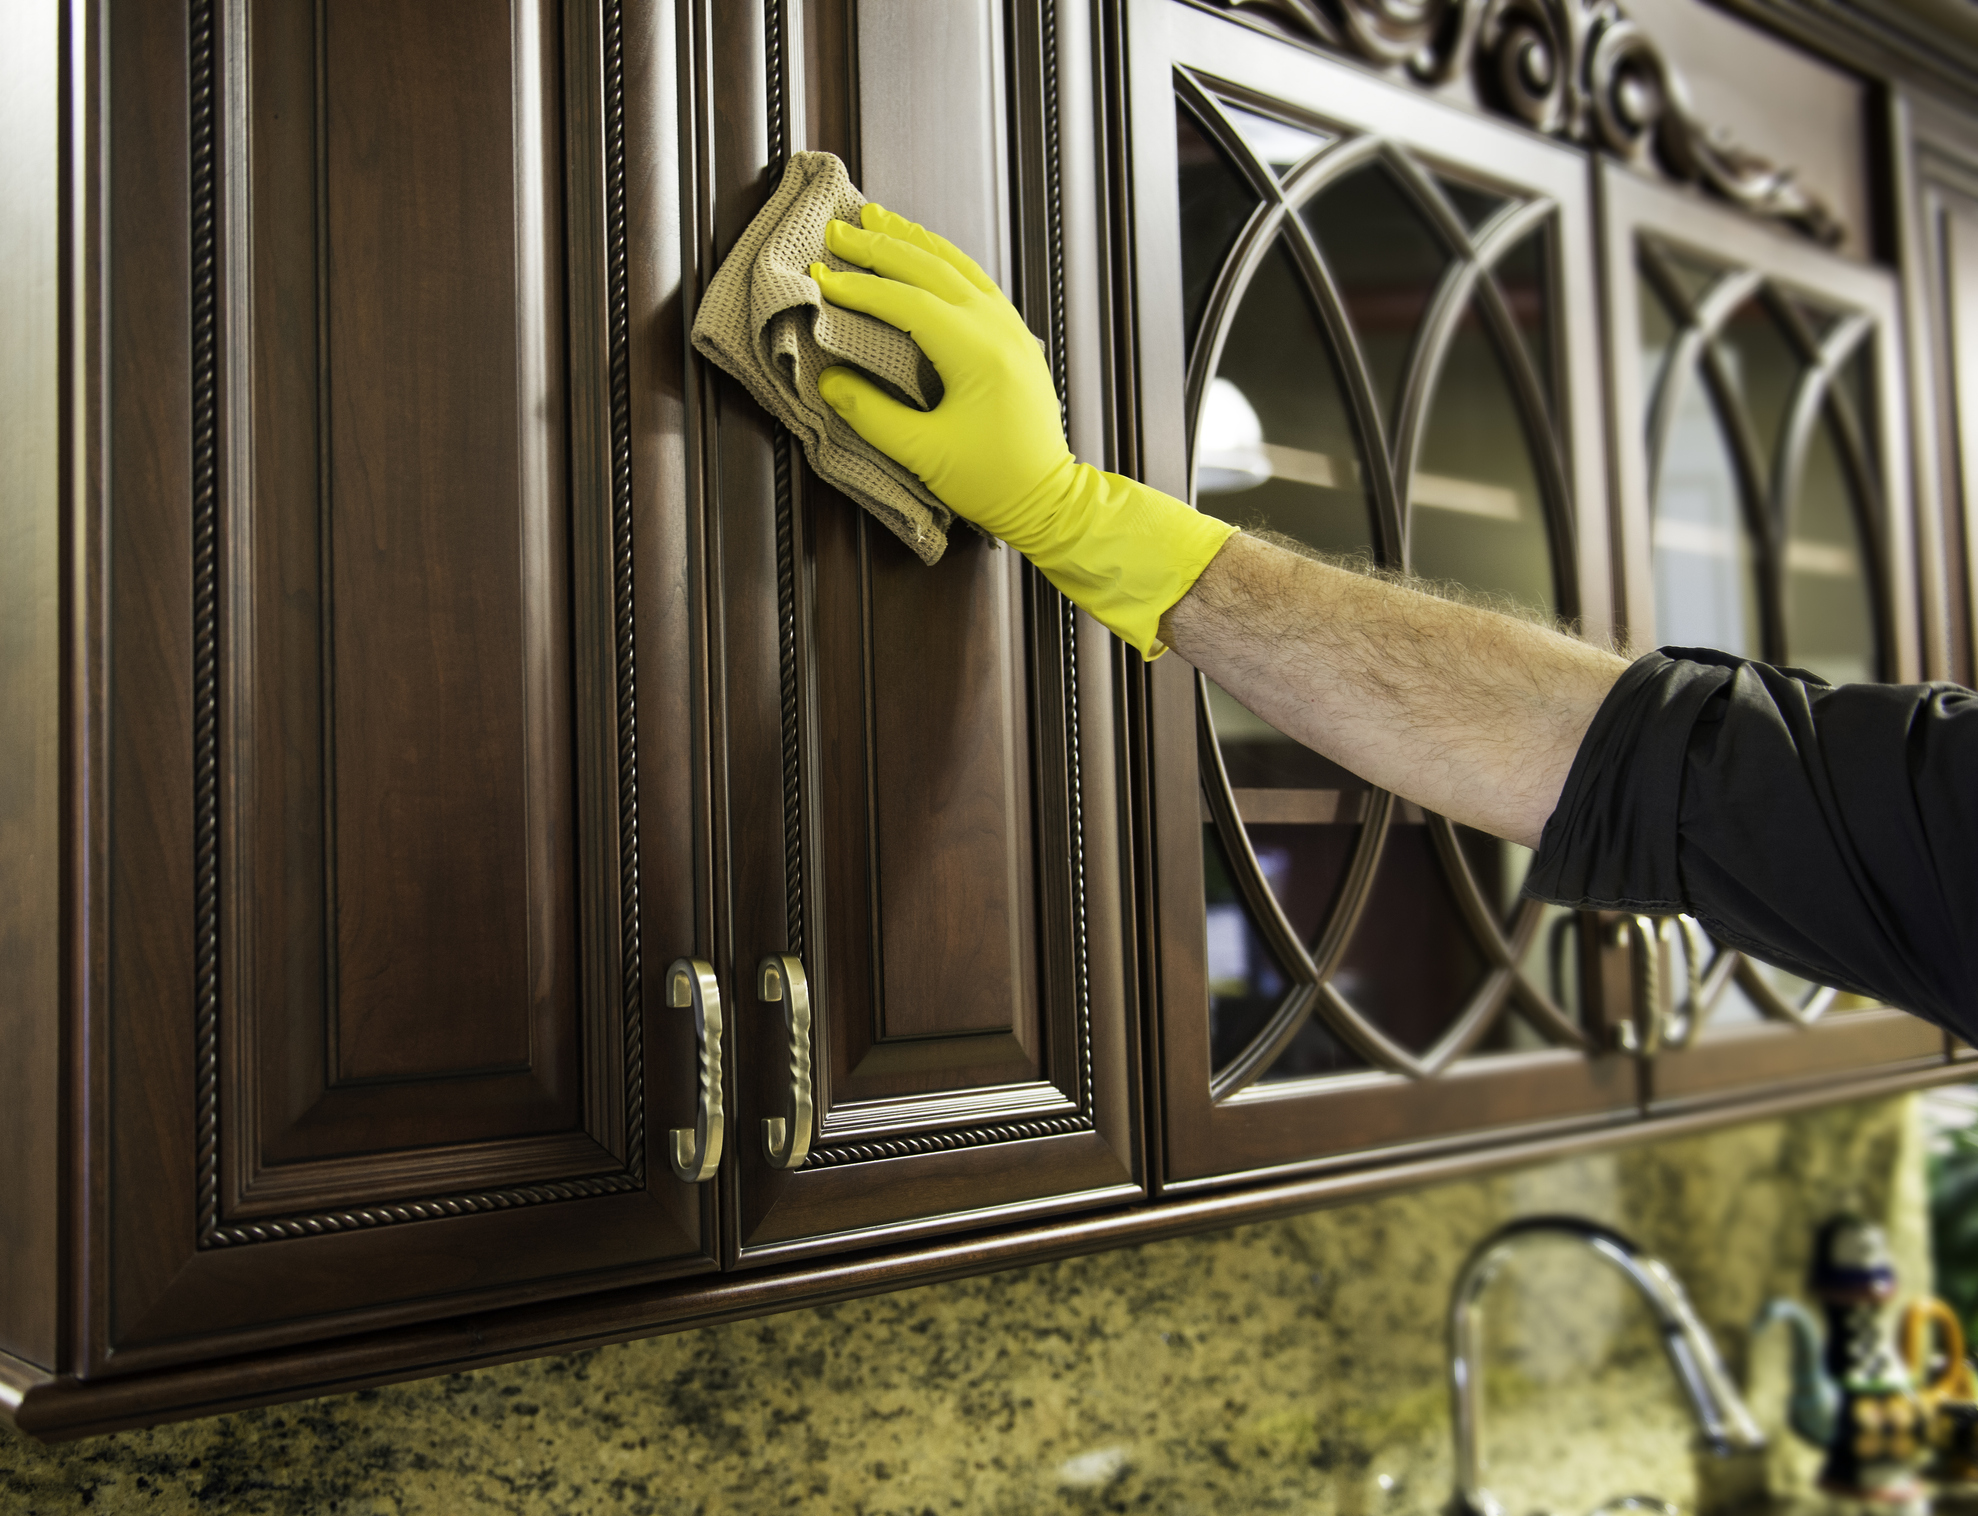
As you enjoy your newly updated cabinets, be sure to maintain them by regularly cleaning and caring for the doors. This will help preserve their beauty and functionality for years to come.
Thank you for joining us on this DIY cabinet door-making journey. We hope you found this guide informative and inspiring. Now, go ahead and showcase your craftsmanship by impressing others with your newly transformed cabinets!
Frequently Asked Questions about How To Make A Cabinet Door
Was this page helpful?
At Storables.com, we guarantee accurate and reliable information. Our content, validated by Expert Board Contributors, is crafted following stringent Editorial Policies. We're committed to providing you with well-researched, expert-backed insights for all your informational needs.
0 thoughts on “How To Make A Cabinet Door”