
Articles
How To Make Boxes For Gifts
Modified: September 1, 2024
Discover creative ways to make and personalize gift boxes for any occasion with our craft storage solutions. Perfect for adding a special touch to your presents.
(Many of the links in this article redirect to a specific reviewed product. Your purchase of these products through affiliate links helps to generate commission for Storables.com, at no extra cost. Learn more)
Introduction
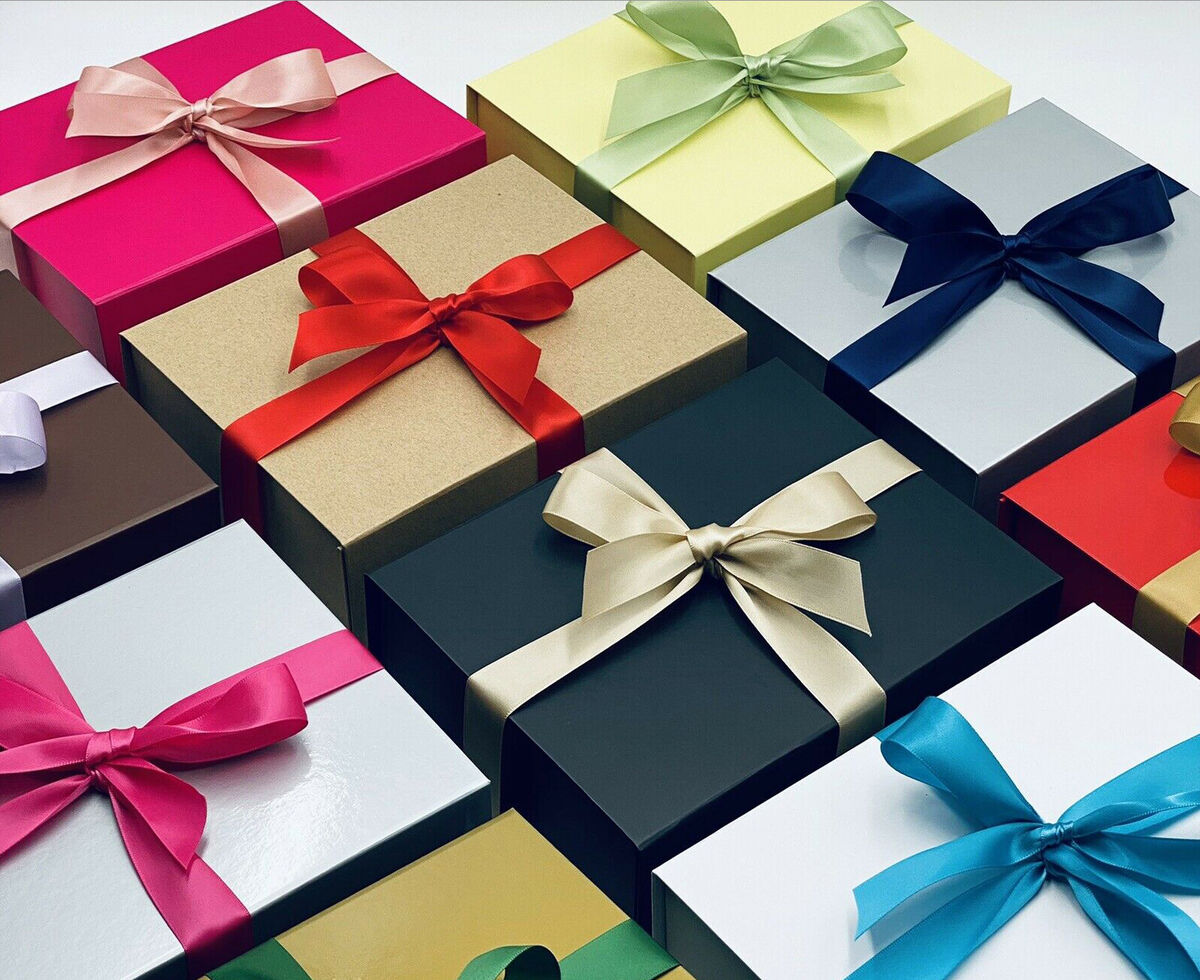
Gift-giving is a delightful way to express our love, gratitude, and appreciation for others. And what better way to present a gift than in a beautiful handmade box? Making your own gift boxes not only adds a personal touch to your gifts but also allows you to unleash your creativity and create truly unique packaging.
In this article, we will guide you through the process of making your own gift boxes from scratch. Whether you’re a craft enthusiast or a DIY beginner, this step-by-step guide will help you create stunning boxes that will make your gifts even more special. So, let’s gather our materials and dive into the wonderful world of gift box making!
Key Takeaways:
- Handmade gift boxes add a personal touch to your presents, showcasing your creativity and thoughtfulness. Choose the right materials, measure accurately, and add decorative elements for stunning, one-of-a-kind boxes.
- Unleash your creativity and experiment with different shapes, patterns, and decorative elements to elevate your gift box making. Personalize each box to reflect your personality and delight your loved ones with unique, thoughtfully crafted gifts.
Read more: How To Store Gift Boxes
Materials Needed
Before we begin, let’s gather all the materials you’ll need to make your own gift boxes:
- Cardstock or heavy paper: This will be the base material for your gift boxes. Choose a color or pattern that complements your gift wrapping paper.
- Gift wrapping paper: Select a design that matches the occasion or the recipient’s preferences. Make sure it’s sturdy enough to withstand folding and securing.
- Ruler: A ruler will help you measure and cut your materials accurately.
- Pencil: Use a pencil to mark measurements and guidelines on your materials.
- Scissors: High-quality scissors with a sharp edge will make cutting your materials easier.
- Double-sided tape: This will be used to secure the wrapping paper and assemble the gift box.
- Bone folder or scoring tool: This tool will help you create crisp and clean folds on your materials.
- Optional: Ribbons, bows, stickers, or other decorative elements to embellish your gift boxes.
Once you have gathered these materials, you are ready to proceed to the next steps in creating your own gift boxes.
Step 1: Choosing the Box Size
The first step in making your gift box is to determine the appropriate size for your gift. Consider the dimensions of the item you will be placing inside the box, ensuring that it will fit comfortably without being too tight or too loose.
If you already have a specific gift box size in mind, you can skip this step. However, if you’re unsure, follow these simple guidelines to choose the right size:
- Measure the length, width, and height of the gift. Use a ruler or measuring tape to get accurate measurements.
- Add an extra inch to each measurement to allow for wrapping paper and space for the gift to fit comfortably.
- Round up the measurements to the nearest inch for easier calculation.
- Write down the final dimensions, which will determine the size of your gift box.
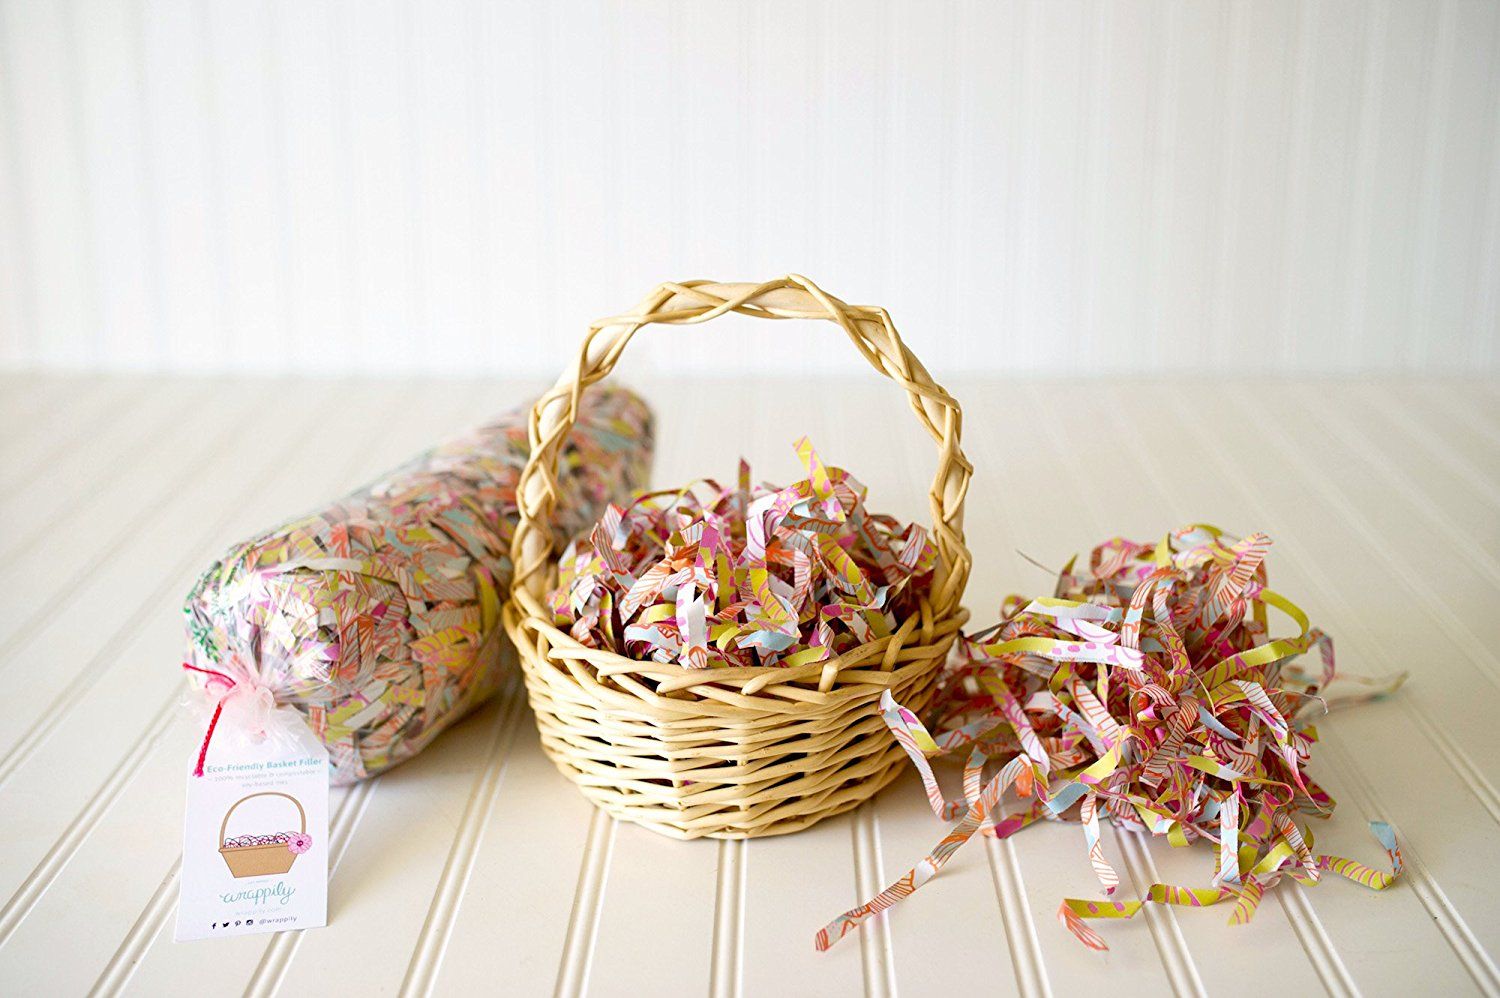
Keep in mind that it’s better to have a slightly larger box than a smaller one, as you can always add padding or tissue paper to fill any empty space inside.
Once you have determined the size of your gift box, you can proceed to the next step: selecting the gift wrapping paper.
Step 2: Selecting the Gift Wrapping Paper
Now that you have the dimensions of your gift box, it’s time to choose the perfect wrapping paper to bring your box to life. Gift wrapping paper comes in various colors, patterns, and textures, so you have plenty of options to suit the occasion and the recipient’s taste.
Consider the following factors when selecting your gift wrapping paper:
- Theme or occasion: Choose a design that complements the theme or occasion of the gift. For example, floral patterns are great for birthdays or anniversaries, while festive prints are perfect for holiday gifts.
- Recipient’s preferences: Think about the recipient’s personal taste and choose a wrapping paper that reflects their style. If they love bold and vibrant colors, opt for a bright and colorful design. If they prefer a more elegant and sophisticated look, go for a muted or metallic pattern.
- Texture and durability: Consider the texture and durability of the wrapping paper. Ensure it is sturdy enough to withstand folding and securing without tearing. A thicker, high-quality wrapping paper will give your gift box a professional and polished appearance.
Once you have chosen the perfect wrapping paper, you’re ready to move on to the next step: measuring and cutting the wrapping paper.
Step 3: Measuring and Cutting the Wrapping Paper
Now that you have selected your gift wrapping paper, it’s time to measure and cut it to the appropriate size for your gift box. Follow these steps to ensure accurate measurements:
- Place your gift box template on the back side of the wrapping paper, aligning it with the edges or the pattern of your choice.
- Using a ruler, measure and mark the dimensions of the template on the wrapping paper. Make sure to leave a few inches of excess paper on all sides to accommodate the box size.
- Double-check your measurements and adjust as necessary.
- Draw straight lines connecting the marks to create a cutting guide.
- Using sharp scissors, carefully cut along the lines to create your wrapping paper piece.
Remember to keep your cuts clean and straight for a polished finished look. Avoid jagged or uneven edges that may affect the overall appearance of your gift box.
Once you have cut the wrapping paper to size, it’s time to move on to the next step: folding and securing the wrapping paper around the gift box.
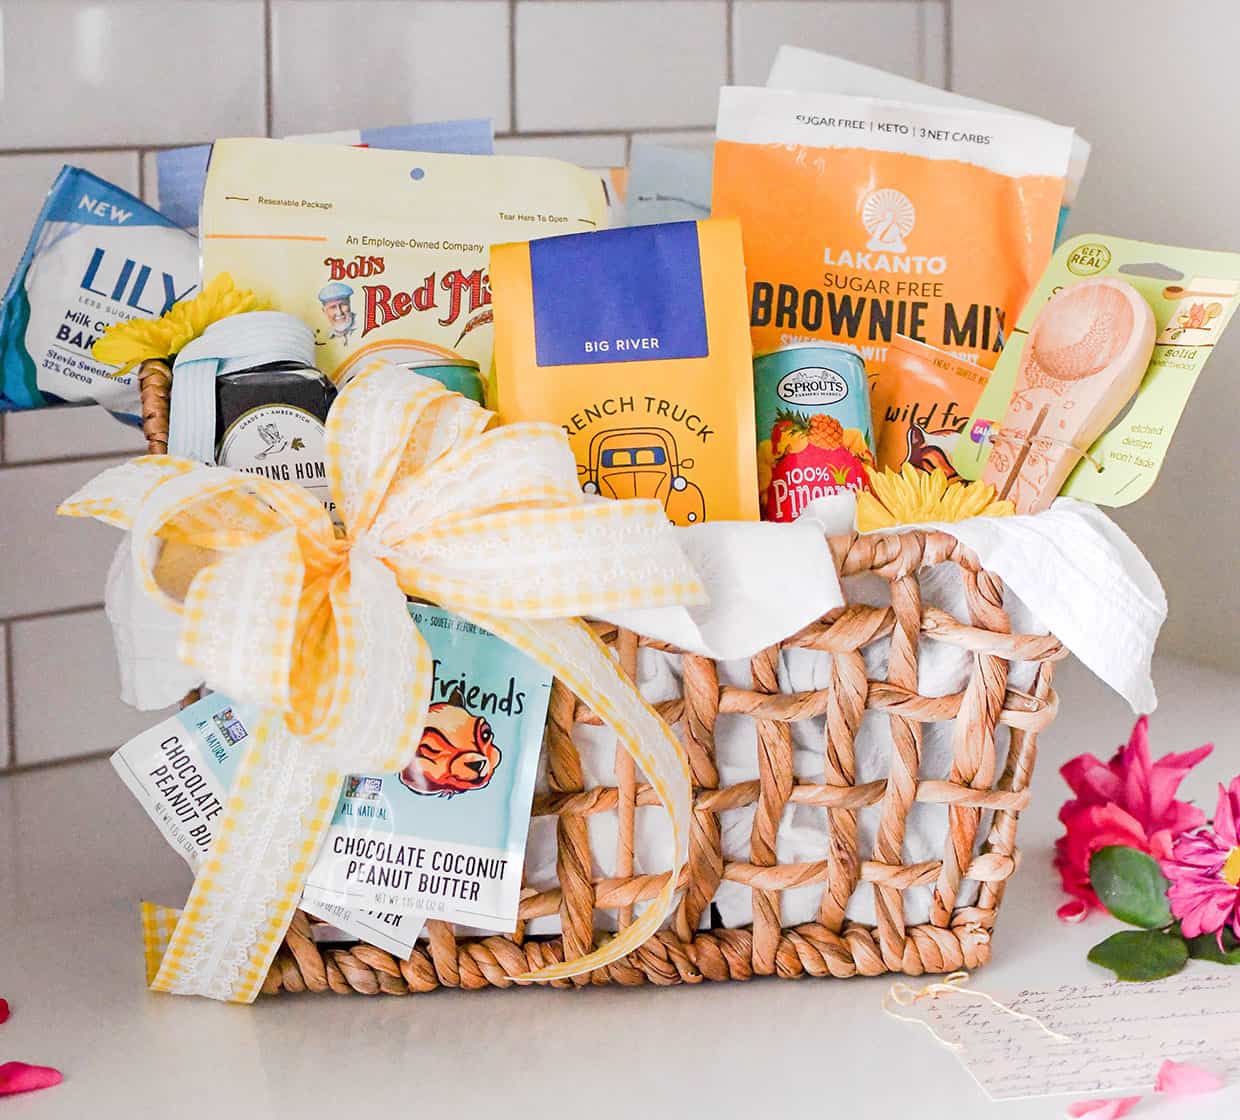
Read more: How To Make Christmas Gift Baskets
Step 4: Folding and Securing the Wrapping Paper
With your beautifully cut wrapping paper ready, it’s time to fold and secure it around the gift box. Follow these steps to wrap the box neatly:
- Place the gift box in the center of the wrapping paper, ensuring that the edges of the paper are aligned with the sides of the box.
- Start with one side of the wrapping paper and fold it over the box, securing it tightly with double-sided tape near the edge.
- Repeat this process with the opposite side of the paper, ensuring that it overlaps the first folded side slightly.
- Fold and secure the remaining two sides of the wrapping paper, tucking in any excess paper at the corners to create neat folds.
- Smooth out any wrinkles or creases on the surface of the wrapping paper.
- Secure the folds and edges of the wrapping paper with additional strips of double-sided tape, if needed.
Ensure that the wrapping paper is snug and secure around the box, but not too tight. You should be able to lift the lid of the box without damaging the wrapping paper.
Once you have folded and secure the wrapping paper, you can move on to the next step: creating the box lid.
When making boxes for gifts, use sturdy cardstock or cardboard for durability. Measure and score the material carefully for clean folds, and use strong adhesive for secure assembly. Customize the box with decorative paper or embellishments for a personal touch.
Step 5: Creating the Box Lid
Now that the base of your gift box is wrapped, it’s time to create the lid. The lid serves as the top cover of the box and adds an extra element of elegance to your gift presentation. Follow these steps to create the box lid:
- Using the same cardstock or heavy paper used for the base, measure and cut a piece slightly larger than the dimensions of the base.
- Place the base of the box on the cardstock, aligning it with the edges.
- Mark the corners of the base on the cardstock and draw straight lines to connect them, creating a rectangle slightly larger than the base.
- Carefully cut along the lines to create the lid piece.
- To ensure a snug fit, trim the sides of the lid if necessary, adjusting the size until it fits comfortably over the base.
Once you have created the lid, you can move on to the next step: assembling the box.
Note: If you prefer a box without a lid, you can skip this step and proceed directly to assembling the box in the next step.
Step 6: Assembling the Box
With the lid and base of your gift box ready, it’s time to assemble them into a complete box. Follow these steps to ensure a sturdy and secure construction:
- Place the base of the box on a flat surface. If desired, reinforce the corners of the base with additional tape for added durability.
- Insert the lid over the base, ensuring that all edges align perfectly.
- Gently press the lid down onto the base, allowing the walls of the box to come together.
- Secure the corners of the box with double-sided tape, adding stability and preventing the lid from shifting.
- Press the folded edges of the wrapping paper against the inside walls of the box, creating a clean and finished appearance.
Ensure that the box is securely assembled and the lid fits snugly. If necessary, add more tape or adjust the folds to achieve a perfect fit.
Once your box is assembled, you can move on to the next step: adding decorative elements to enhance its beauty.
Step 7: Adding Decorative Elements
Now that your gift box is assembled, it’s time to add some decorative elements to elevate its visual appeal. Adding small embellishments can turn a simple box into a work of art. Here are a few ideas to inspire you:
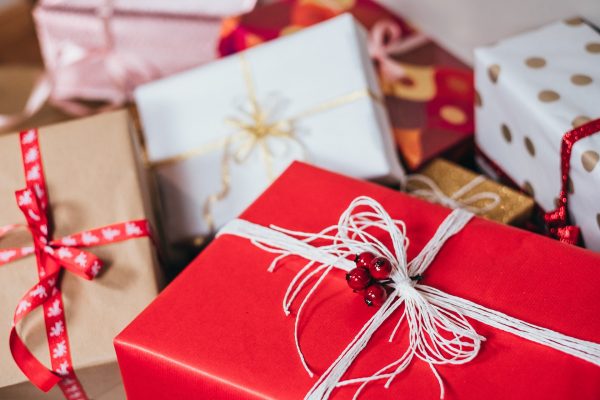
- Ribbons and bows: Tie a beautiful ribbon around the box and add a bow for an elegant touch. Choose a ribbon color that complements the wrapping paper or opt for a contrasting color for a bold statement.
- Gift tags: Attach a personalized gift tag to the box, providing a heartfelt message or the recipient’s name. This adds a thoughtful and personal touch to the gift.
- Stickers or decals: Use decorative stickers or decals to enhance the design of the box. You can choose stickers that match the theme or occasion, such as hearts for Valentine’s Day or snowflakes for the winter holidays.
- Embellishments: Get creative with various embellishments such as small charms, glitter, or beads. Apply them strategically to enhance the overall look of the box.
Remember to be mindful of the recipient’s preferences and the occasion when choosing decorative elements. Keep it tasteful and avoid overwhelming the box with too many embellishments.
Once you have added the desired decorative elements, your gift box is now complete and ready to impress!
Read more: How To Make A Valentine’s Gift Basket
Step 8: Additional Tips and Ideas
As you become more skilled in making gift boxes, you may want to explore additional tips and ideas to further enhance your creations. Here are some suggestions to take your gift box making to the next level:
- Experiment with different shapes: While square and rectangular boxes are the most common, don’t be afraid to explore other shapes such as hearts, stars, or even animal-inspired designs. This adds a touch of whimsy and uniqueness to your gift boxes.
- Use patterned or textured cardstock: Instead of relying solely on wrapping paper for the design, you can use patterned or textured cardstock for the base and lid. This adds an extra layer of visual interest and texture to your gift boxes.
- Customize with hand-drawn designs: If you have good drawing skills, consider adding hand-drawn designs to your gift boxes. You can create personalized illustrations, patterns, or even write a special message directly on the box.
- Layer different wrapping papers: For a more dynamic and eye-catching look, consider layering different wrapping papers on the base and lid. This creates a visually intriguing contrast and adds depth to your gift box.
- Include a small surprise: To make your gift box even more memorable, consider including a small surprise inside. It could be a handwritten note, a tiny trinket, or a small treat that the recipient will discover upon opening the box.
- Reuse and recycle materials: Making gift boxes doesn’t always require purchasing new materials. Get creative and repurpose items such as old greeting cards, magazine pages, or fabric scraps to create unique and eco-friendly gift boxes.
Remember, the key to creating stunning gift boxes is to let your creativity shine. Don’t be afraid to experiment, try new techniques, and add your personal touch to make each box truly one-of-a-kind.
With these additional tips and ideas, you are equipped to take your gift box making skills to new heights. Enjoy the process and delight your loved ones with beautifully crafted and thoughtfully presented gifts!
Conclusion
Congratulations! You have now learned all the steps and techniques to create your own handmade gift boxes. By following this guide, you can add a personal touch to your gift-giving experience and make your presents even more special. Creating custom gift boxes allows you to unleash your creativity and showcase your thoughtfulness.
Remember, the key to making beautiful gift boxes lies in choosing the right materials, measuring accurately, folding neatly, and adding thoughtful decorative elements. Take your time during each step and pay attention to the details to ensure a polished and professional appearance.
But don’t be afraid to experiment and add your unique twist to your gift boxes. Don’t be bound by the traditional shapes and designs. Let your imagination soar and create boxes that reflect your personality and the recipient’s taste.
Whether it’s for birthdays, anniversaries, holidays, or any special occasion, your handmade gift boxes will surely bring joy and excitement to the lucky recipients. The effort and love you put into creating these boxes will be appreciated and cherished.
So, gather your materials, unleash your creativity, and start making those stunning gift boxes. The smiles and gratitude of your loved ones await. Happy gift box making!
Frequently Asked Questions about How To Make Boxes For Gifts
Was this page helpful?
At Storables.com, we guarantee accurate and reliable information. Our content, validated by Expert Board Contributors, is crafted following stringent Editorial Policies. We're committed to providing you with well-researched, expert-backed insights for all your informational needs.
0 thoughts on “How To Make Boxes For Gifts”