Home>Craft Storage>How To Make a T-Shirt Quilt at Home for Beginners

Craft Storage
How To Make a T-Shirt Quilt at Home for Beginners
Modified: December 6, 2023
Learning how to make a T-shirt quilt is a new skill you didn't realize you needed. You'll find all you need to know right here, so keep reading!
(Many of the links in this article redirect to a specific reviewed product. Your purchase of these products through affiliate links helps to generate commission for Storables.com, at no extra cost. Learn more)
If you have a lot of old T-shirts you want to repurpose, then it’s time to learn how to make a T-shirt quilt. You can make a stunning and warm memory quilt out of your college shirts, favorite movie or band shirts, or any other old T-shirts that mean something to you. It may seem intimidating to a beginner like you, but don’t worry. This article will show you how to do it as well as answer some of the essential questions about creating one, so read on!
What is a T-Shirt Quilt and Why Should You Make One
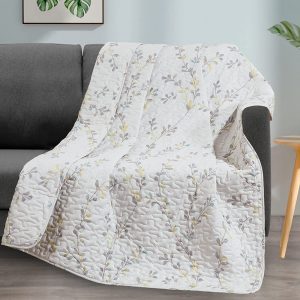
A T-shirt quilt, like any other type of quilt, has three basic layers: the backing material, the batting, and the top layer. This is commonly referred to as a “quilt sandwich.” The backing is the bottom layer, and the batting is the filling or padded layer that keeps the quilt cozy to use. The top layer, on the other hand, is the decorative layer and where your old T-shirts will go.
Despite having the basic layers of a regular quilt, a T-shirt quilt is a unique and special type. It acts as a time capsule, containing all your favorite T-shirts from the past, literally and metaphorically making you feel warm and fuzzy! Aside from being a memory quilt, there are several other reasons to learn how to make a T-shirt quilt.
Read more: How To Make A Quilt
Bed Covering and Throw Blanket
Feeling the winter season coming yet? Having your own T-shirt quilt around can help make the cold season more bearable and memorable. It can be used as a bed covering and will complement your bedding set nicely. In fact, you can sew it to fit the size of your bed, whether twin, queen, or king. This quilt is also an excellent and thick throw blanket for your sleeper sofa, which is ideal for use during winter holidays, get-togethers, and slumber parties.
Wall Decoration
Apart from providing warmth, your do-it-yourself T-shirt quilt can also serve as a stunning wall decoration. It may serve as a statement piece anywhere inside your home. At the same time, it can complement the color and theme of your home, enhancing the atmosphere of the room to be festive or lively.
Creative and Thoughtful Gift
Learning how to make a T-shirt quilt, and quilting, in general, is a sustainable way to upcycle any kind of old clothing. As such, you can make one out of your loved ones’ old clothes and use it as a surprise and meaningful gift for any occasion. This is an act of love that the recipient will undoubtedly appreciate.
Types of T-Shirt Quilts
When deciding how you’re going to make a T-shirt quilt, it’ll be useful to draw inspiration from a specific type of quilt. Here are some examples that you can choose from based on their style and pattern.
Read more: How To Make A Quilt Larger
Block Style
One of the easiest types that you can try is the block style, which is the oldest style in quilting history. The checkerboard pattern of this quilt means that the T-shirt panels or blocks are all the same size and are arranged in rows and columns. Such a style can also be done either with or without sashing. Sashing is a sewn strip or piece of fabric used to separate the shirt blocks. This fabric also expands the size of the quilt.
Block-styled quilts with sashing are larger than those without. The sashing may also match the theme and colors of the T-shirt panels. Quilts that do not have sashing, on the other hand, are easier to sew. The process is straightforward, and you will also use fewer sewing threads and other materials.
The only drawback with block-style quilts is that since the T-shirt cutouts have the same size, the size of the panels should at least be that of the smallest shirt. That means that you may need to sacrifice the large prints of other T-shirts. Of course, you can also choose to capture and include the entire prints of all shirts but that would mean that you can only use shirts of the exact same sizes (including their prints).
Unequal Rows or Columns Style
If the prints on the T-shirts you’re going to use for the quilts have different sizes, sewing them in unequal rows and columns is one of your best options. By using this design, you can arrange the panels in rows or columns according to their sizes. As a result, the quilt will have columns that are both wide and narrow.
Puzzle Style
Aside from sewing them in unequal rows and columns, the puzzle style is ideal for shirts with different-sized prints. The blocks in this style are arranged haphazardly, with no definite columns and rows. But what makes this quilt more remarkable is that it is usually made with colorful strips of fabric, giving it a stained glass-like appearance. These strips serve as a secondary inner border for the entire quilt, as well as connecting the T-shirt cutouts.
However, while this style is interesting and adds a twist to your quilt, it is challenging to execute and is instead best suited for intermediate or experienced quilters.
Crazy Quilt or Random Style
Is it possible to make a T-shirt quilt without sewing, and if so, how? The answer is yes, it is possible, and it can be achieved in the crazy quilt style. This quilt is made up of blocks of various shapes and sizes rather than square T-shirt cutouts. You can simply include small cut-outs of the shirt’s logo or illustration with a small amount of fabric surrounding it. With that, the quilt lacks rows and columns.
Individual cutouts are then glued to a large piece of cloth, such as a blanket, an old quilt, or any thick fabric or sheet, resulting in a random collage-like quilt. Make sure to also read the rest of this article for an in-depth step-by-step breakdown of how to make a no-sew T-shirt quilt.
Read more: How Much Is It To Make A Quilt
What Are the Best T-Shirt Styles to Use for My Quilt
Discovering how to make a T-shirt quilt is indeed a worthwhile activity, but what kinds of t-shirts can you use in making your first one? Obviously, any kind of T-shirt will suffice, but there are some that stand out and are more worth the try.
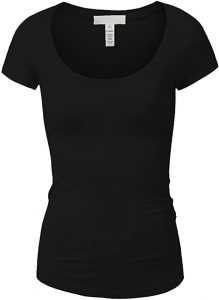
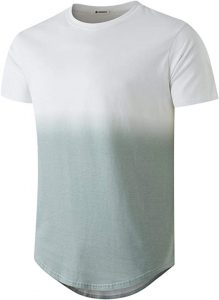
Graphic T-Shirts
Nothing is more appropriate for use in making your T-shirt quilt than your old graphic tees. Graphic T-shirts feature everything from cartoon characters to sci-fi movie characters, celebrities, logos, and quotable quotes. Consequently, these kinds of shirts give a great square collage-like appearance to your quilt.

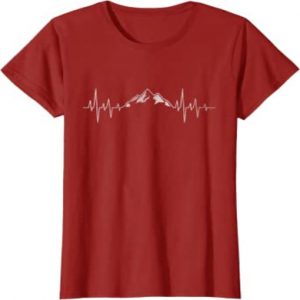
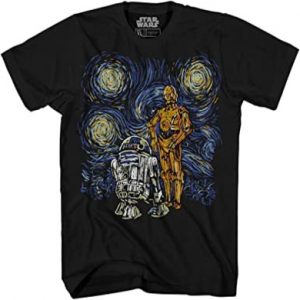
Moreover, graphic shirts come in various colors of print and fabric. It’ll make the quilt look vibrant and eye-catching, which is excellent if you want to use it as framed artwork or wall décor.
Plain or Basic T-Shirts
Graphic T-shirts are the best type of T-shirts to use, but that doesn’t mean you can’t recycle your other T-shirts as well. Old basic and plain T-shirts, for example, are also a good option. Despite the lack of prints, the different colors of the shirts compensate and make your quilt look classy and almost as lively as those with prints.
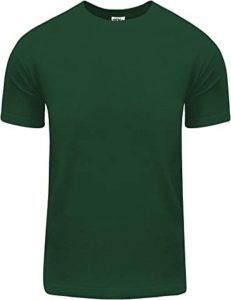
You can also incorporate these T-shirts with the graphic shirts and mix and match them however you like. That way, your quilt can have any pattern you want while also having the perfect balance of elements, colors, lightness, and darkness.
What Are the Best T-Shirt Fabrics for Quilting
As much as you would like to use any of your old shirts for this quilting project, not all of them might make the cut. This is because T-shirts come in a variety of fabrics, which can make them easy or difficult to use for quilting.
Denim, canvas, and leather, for example, are difficult to work with because they are stiff, whereas silk and spandex fabric, such as Lycra, is too soft and stretchy. A synthetic fabric, such as polyester, is better as a batting layer rather than a top layer because it is prone to melting (which is undesirable because the top layer must be ironed frequently in quilting). Use your old T-shirts that have the following kind of fabric instead:
Read more: How To Make A Quilt With Photos
Cotton
Quilting cotton has long been regarded as the ideal quilting fabric, and with reason. It is made of 100 percent cotton, which makes it naturally durable and resistant to heat from frequent pressing. Furthermore, it shrinks less than other fabrics, does not stretch or fray easily, and is less likely to bleed.
Voile
Voile is another fantastic option. This fabric is also 100 percent cotton, but it is softer, lighter, and more transparent. These characteristics make it a good and appealing choice for the quilt’s top layer. Take note that some voile products are now available with a polyester blend, so choose one that is made from pure cotton for your quilt instead.
Linen
If you want to cross off learning how T-shirt quilting works on your bucket list, quilter’s weight linen is another viable option of fabric that you can try. It is denser than standard linen fabric and has the perfect balance of softness and stiffness, making it simple to use and sew. Keep in mind that linen has loose weaves and tends to unravel and shrink, so stitch it quickly, prewash it, and use a generous seam allowance when quilting.
How to Make a T-Shirt Quilt by Sewing
Sewing is one of the most effective methods when it comes to transforming your T-shirts into a memory quilt. This may take some patience for both novice and experienced sewers, but it is nevertheless rewarding.

Here are some things that you should know about preparing these tools and materials:
- T-shirts: You should have enough for the quilting project (know more about this in Step 1).
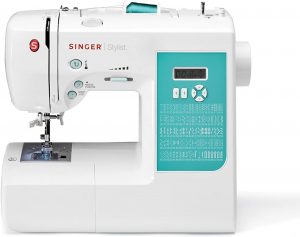
- Sewing machine: You can always start sewing by hand, but using a machine allows you to speed up the process. The ideal machine for beginners like you should also be intuitive. So choose one with a variety of stitching options, an LCD screen, and speed controls.
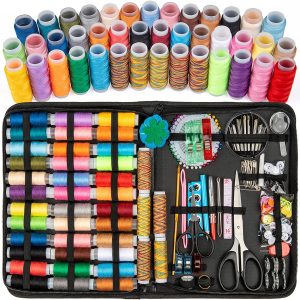
- Sewing and quilting kit: Having this is a must if you’re planning on sewing for a long time. The main things that you’ll need from this set for this quilting project are needles, threads, sewing pins, and fabric scissors.
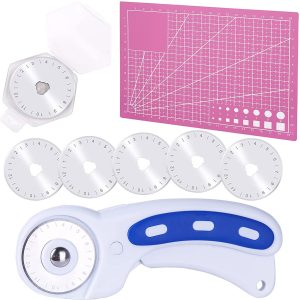
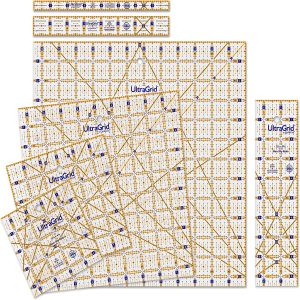
- A self-healing cutting mat, rotary cutter, and quilting rulers: You’ll be doing a lot of cutting and measuring with this project, so use these tools to speed things up.
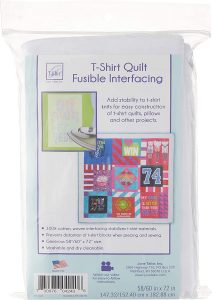
- Fusible interfacing: This serves as a stabilizer for the stretchy fabrics so they become easy to cut. It needs to be fused under the shirts by pressing, so buy a set (at least 10 yards) that is sufficient for quilting.
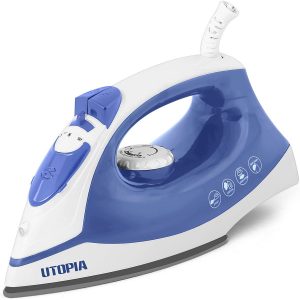
- Steam iron: This tool is for pressing the fusible interfacing to the T-shirt. Any iron will do, but the steam makes the fabric less stretchy.
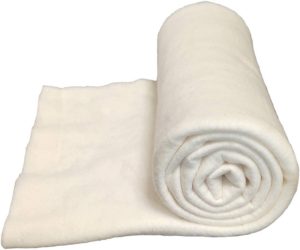
- Batting: The most common ones that you can use are those that are made of cotton, wool, feathers, polyester, and blends.
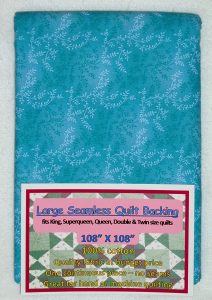
- Backing: This can be any type of fabric. Just make sure that it is wider and longer than the two upper layers as it can also serve as the overall binding material.
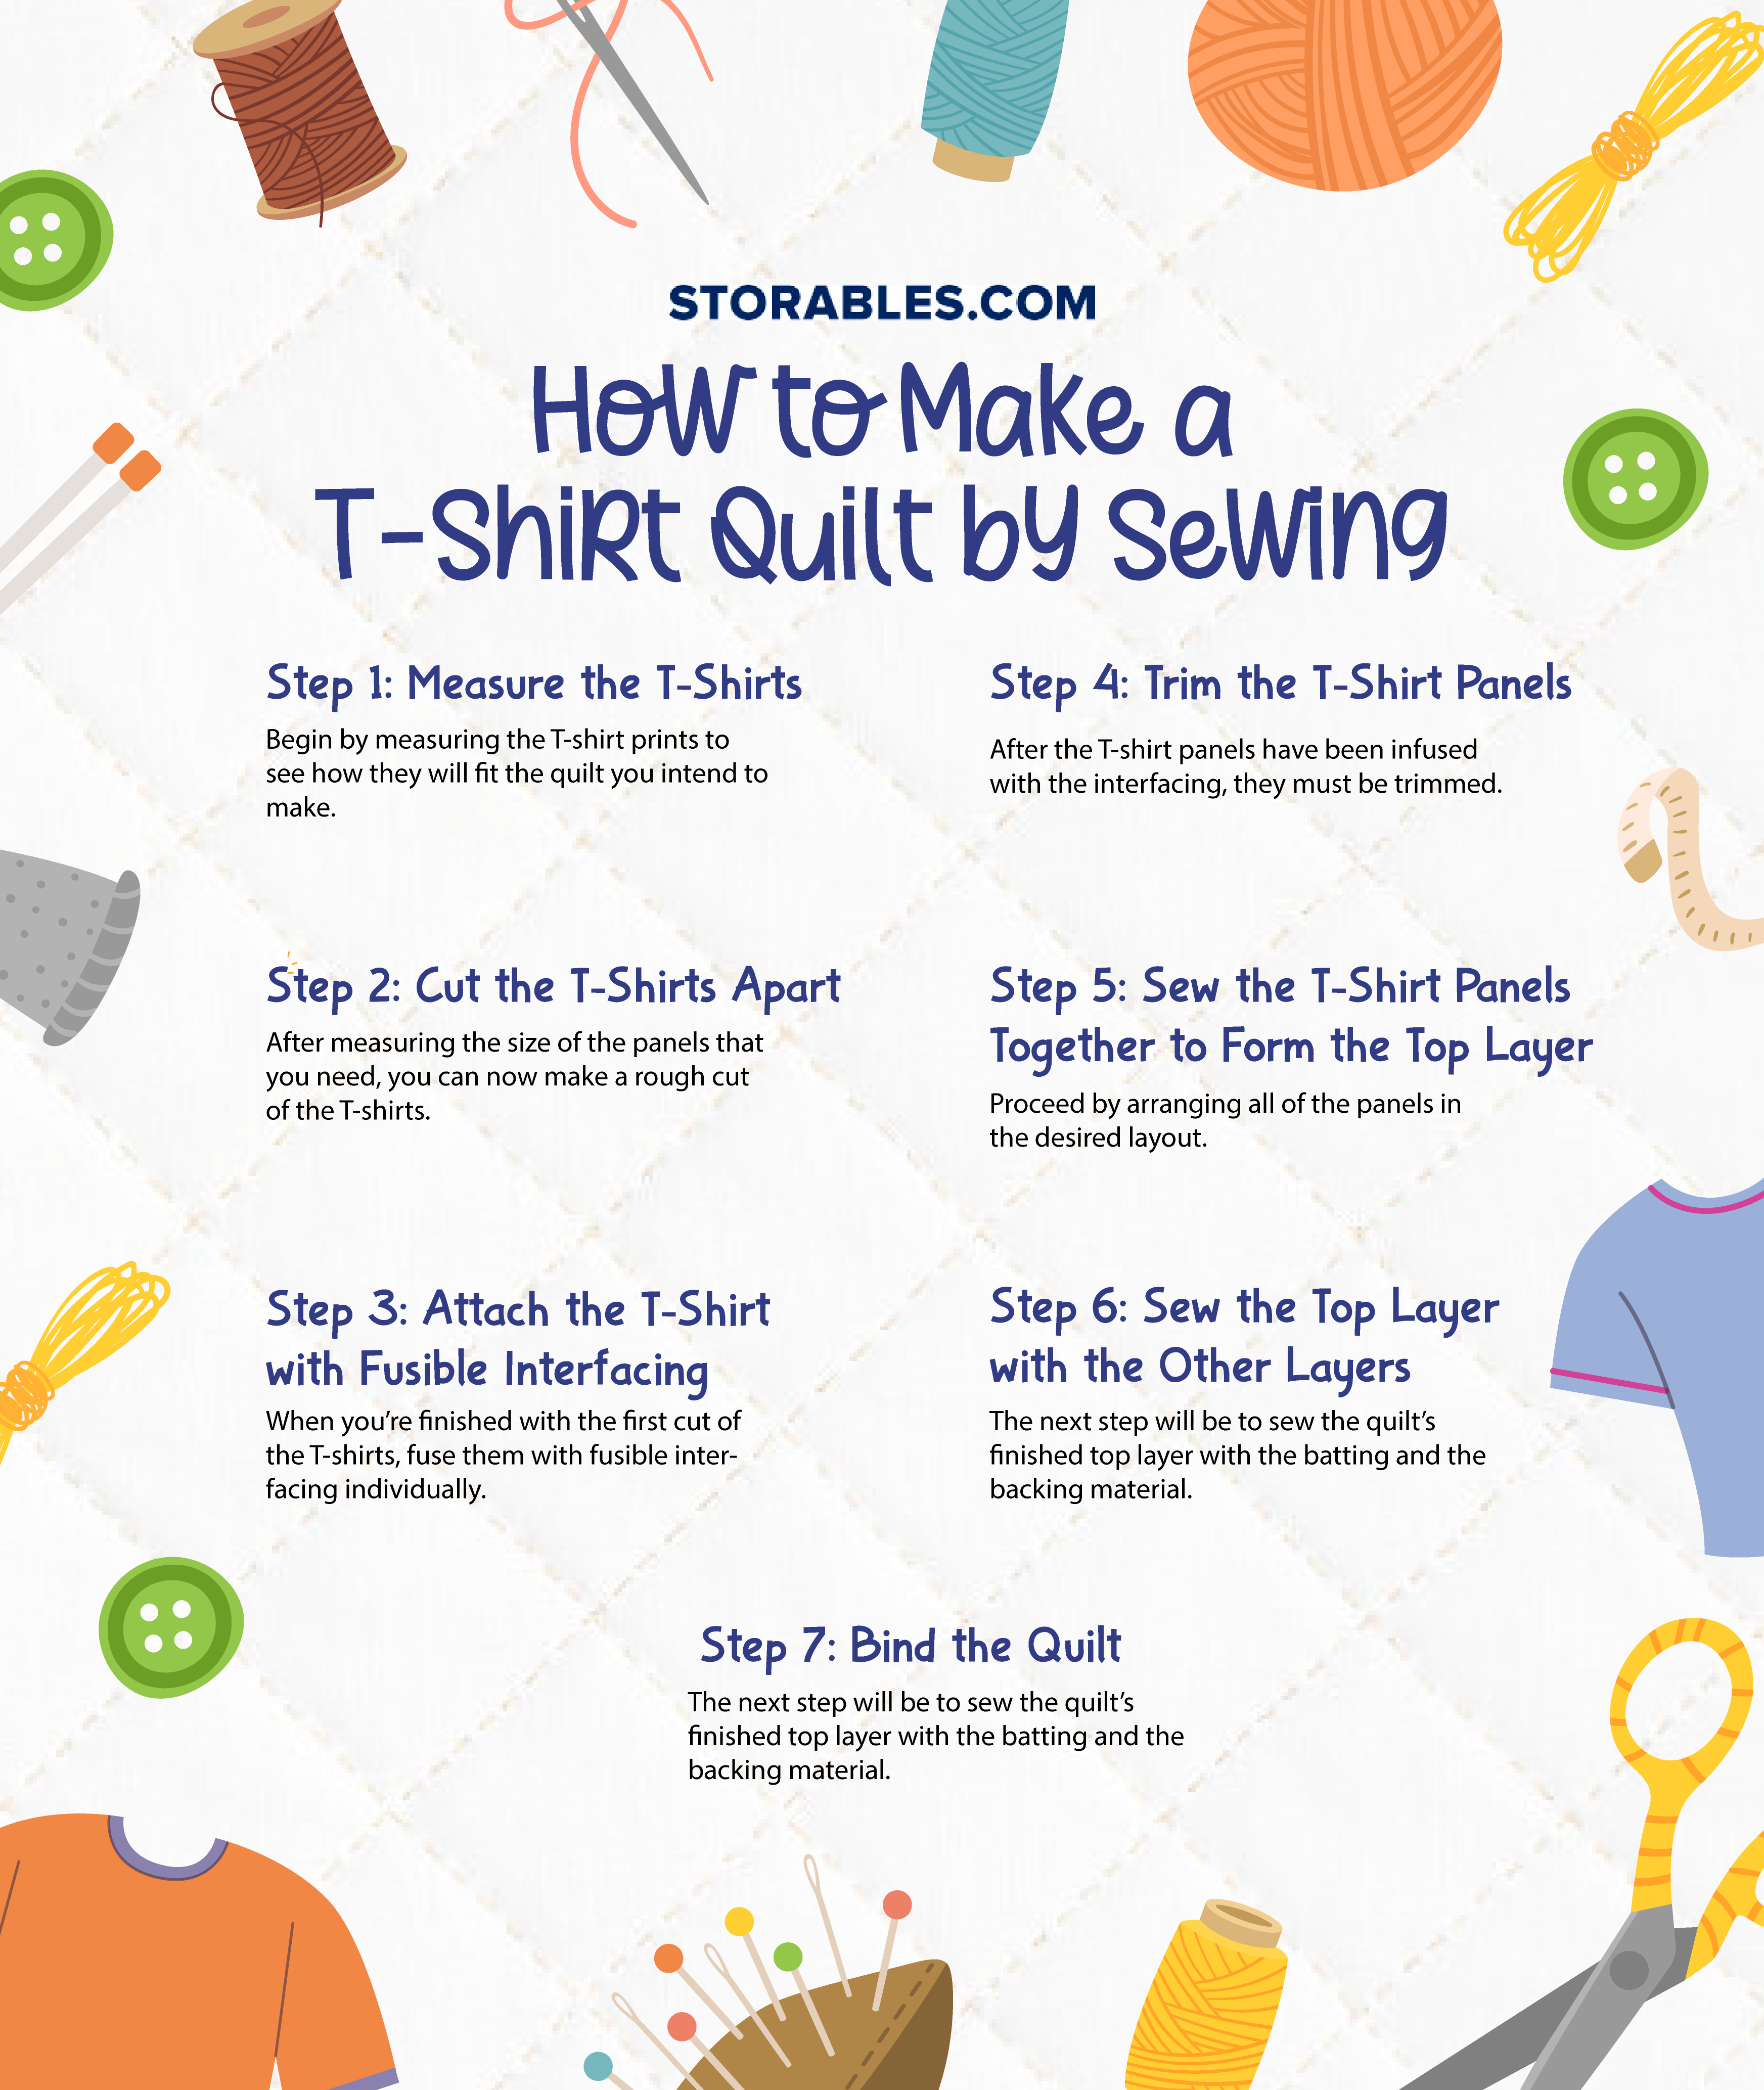
Step 1: Measure the T-Shirts
Begin by measuring the T-shirt prints to see how they will fit the quilt you intend to make. To do this, you must first determine how many T-shirts you have and whether they are enough for your goals. Ideally, you will need at least 12 T-shirts to make the smallest quilt and 64 pieces (or more) for the largest one. The table below summarizes the number of T-shirts required for various quilt sizes.
| Quilt | Size | Estimated Number of T-Shirts |
| Lap | 45 inches x 45 inches | 12 |
| Large Lap | 45 inches x 60 inches | 16 |
| Twin | 60 inches x 90 inches | 24 |
| Full | 75 inches x 90 inches | 30 |
| Queen | 90 inches x 105 inches | 42 to 49 |
| King | 105 inches x 105 inches | 64 |
Once you’ve gathered all the shirts, take the ones with the smallest and largest prints, for comparison. The T-shirt panels should be at least the size of the smallest shirt or at least 12 inches by 12 inches. You can also make the size of the panels in measurements that will allow most images/prints to fit the square or rectangles. This is especially if you want your quilt to be in block style.
Additionally, you can base the size of each panel on the largest print to fully capture the illustrations. Even so, this means that the shirt with small prints will need to be sewn with excess fabric from any part of the shirt to be the same size. Of course, if your shirts have many small prints that will be difficult to make into blocks, opt for a puzzle-style quilt instead.
Complete this step by deciding the final size you want for your t-shirt panels, making sure to leave at least an inch on all seams. This allowance is important as it is what you’ll need to sew the panels together.
Tip: In addition to using the rulers, you can also create a template to use as a framework. You can make one by cutting out a piece of cardboard with the required measurements and using it as a guide when cutting or trimming the shirts.
Step 2: Cut the T-Shirts Apart
After measuring the size of the panels that you need, you can now make a rough cut of the T-shirts. You can do this with sewing scissors, or if you’re more comfortable and confident with one, a rotary cutter.
Place the T-shirt on your fabric cutting table and cutting mat first, so you can cut the fabric with ease and precision. Then, cut the shirt a size larger than the intended panel size (because you’ll be trimming it later). Remove the sleeves, connecting seams, neckline, and hems. Do the same to the back areas of the T-shirts if you’re intending to use them too.
Step 3: Attach the T-Shirt with Fusible Interfacing
When you’re finished with the first cut of the T-shirts, fuse them with fusible interfacing individually. Take note that we will only use the shirt’s front as a panel for this quilting project and not the back. Begin by cutting a piece of interfacing fabric that is larger than the print on the T-shirt panel (but not bigger than the overall rough cut). Cut all the interfacing needed for each panel before ironing them together.
The T-shirt panel should now be placed on an ironing board/mat with the printed area facing down. Place the interfacing over the T-shirt panel with the glue side facing down (or as directed on the interfacing package). After that, turn on the steam iron, set it to medium heat, and iron the interfacing. Hold the iron for about 10 to 20 seconds on one section of the interfacing, then move on until all its area is covered. Repeat the process with the remaining T-shirt blocks.
Read more: How To Make A Pineapple Quilt
Step 4: Trim the T-Shirt Panels
After the T-shirt panels have been infused with the interfacing, they must be trimmed. This will be their final cut, so be sure to do it carefully and precisely. Remember to include the seam allowances and use the quilting rulers or your template to make this easier.
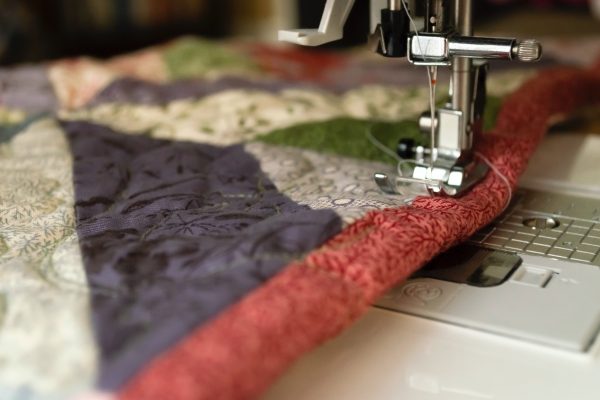
Step 5: Sew the T-Shirt Panels Together to Form the Top Layer
Proceed by arranging all of the panels in the desired layout. This requires a flat surface that is wider than your cutting table, so feel free to use a clean floor. Arrange and shuffle the panels as desired. You can also photograph them to ensure that you remember the arrangement. Prepare the sashing or fabric strips to connect the panels if you intend to include them as well.
Set up your sewing machine and all your sewing tools after you’ve laid out all the panels. Continue by sewing the panels by row. To do this, take the first and second squares from the first row. Face the graphic sides of these panels together, line up their edges, and pin them down from the left using sewing pins.
Sew the left side together after it has been pinned (with the seam allowance in mind). Then, repeat the process on its right side by attaching another panel. Repeat this process until the first row of the panels is sewn together, forming a horizontal strip. Do the same process on the rest of the rows. Once done, sew all these rows together to complete the top layer of the quilt.
Tip: Always press the seams open (with your fingers or an iron) after sewing the sides of panels together to reduce the bulk of the quilt as you go.
Step 6: Sew the Top Layer with the Other Layers
The next step will be to sew the quilt’s finished top layer with the batting and the backing material. Lay out the batting on your work surface first, then place the quilt top layer atop and in the center of it, front facing up. Smooth out any creases. Pin them together by their outer seams with sewing pins. Don’t forget that the batting can be at least an inch longer than the edges of the top quilt, or it can be the same size.
Once the two upper layers are securely joined, begin sewing them together. Use the sewing machine to quilt a straight line from top to bottom on the top layer. As you complete each section or edge, remove the pin.
After the top and batting have been quilted together, the backing material should be added. Place the backing material on a flat surface (front facing down), then place the quilt on top and in the center of it (with the front facing up). Smooth them out and pin the backing fabric to the front quilt as before. The backing material should be larger than the two upper layers, but you can trim it down if you think it’s too big.
Then, quilt the backing material to the upper layers in the same manner as before, stitching from top to bottom and in the middle sections of the top quilt. As you quilt, take out any pins, too.
Step 7: Bind the Quilt
Binding the quilt typically entails adding a separate strip of fabric to bind the quilt, but for beginners, it’s best to use the edges of the backing instead. This is a good way to understand how the process works before experimenting with other ways to add a binding.
Begin by folding the edges of the backing towards and over the front of the quilt. Pin them into place and repeat for the entire front quilt. Corners should be folded and pinned as needed. After you’ve secured these edges, sew them in a straight line, and you’re finished!
Read more: How To Make A Portrait Quilt
How to Make a T-Shirt Quilt Without Sewing
If you want to make a T-shirt quilt without sewing but don’t know where to start, here are some helpful guides. You will need the majority of the tools mentioned in the previous section, except for the sewing machine, thread, needles, interfacing, and batting and backing materials.
Using a Fabric Glue or Iron-on Adhesive
Some options for making your no-sew T-shirt quilt include gluing or taping the shirts over a pre-made quilt. You can use an old quilt for this or buy a new one. A thick blanket will also suffice, but it will not be as insulating as a quilt.
To accomplish this, repeat steps one, two, and four of the sewing process from the previous sections. Then, instead of sewing the T-shirt panels together to form the top layer, use an iron-on adhesive or fabric glue to connect the T-shirt panels to the quilt as the next step.

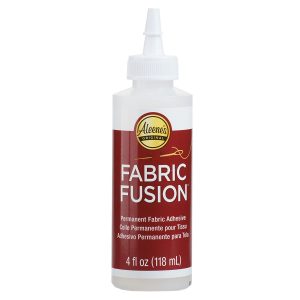
Next, cut the iron-on adhesive into blocks or strips depending on the size of the T-shirt panel. Place the glue side on the back of the shirt and iron it on, just like you would with interfacing. Refer to the manufacturer’s instructions when doing this as well.
After the panel has been fused with the adhesive, begin peeling the adhesive away from the back of the shirt. The back of the shirt panel is now sticky and can be placed on top of the quilt in the desired layout. Apply the adhesive to the remaining shirt panels in the same manner and place them on the quilt to finish.
Meanwhile, if you’re using fabric glue, you only need to apply it directly to the back of the shirt panels or on the quilt itself (where the sides of the shirt panels will go). Wait for the liquid glue to dry and you’re all done!
How to Care for Your T-Shirt Quilt
Now that you know how to make a t-shirt quilt, the next point of order is to learn how to maintain and take care of it. Here are some tips to help you out:
- Gently shake or brush away fur or dust from its surfaces. If necessary, use lint rollers or a vacuum.
- Clean wash your T-shirt quilt in cold or warm water with a mild detergent. Stay away from bleach and use a natural method of treating and removing stains instead.
- When tumble drying your quilt, use a medium heat setting to reduce fabric wear and tear (especially if it’s made of decades-old shirts).
- Check the T-shirt quilt frequently for signs of tears and rips. Repair and sew them as soon as possible to avoid further damage to the quilt.
- When not in use, hang, fold, or store your quilt properly.
Wrapping It Up
So, there you have it. Simply following these simple steps will teach you how to make a T-shirt quilt in no time! Seize this opportunity to create a memory quilt not only for yourself but also as a meaningful and long-lasting gift for your loved ones too! Raid your closet today to begin. Enjoy quilting!
Was this page helpful?
At Storables.com, we guarantee accurate and reliable information. Our content, validated by Expert Board Contributors, is crafted following stringent Editorial Policies. We're committed to providing you with well-researched, expert-backed insights for all your informational needs.


0 thoughts on “How To Make a T-Shirt Quilt at Home for Beginners”