
Articles
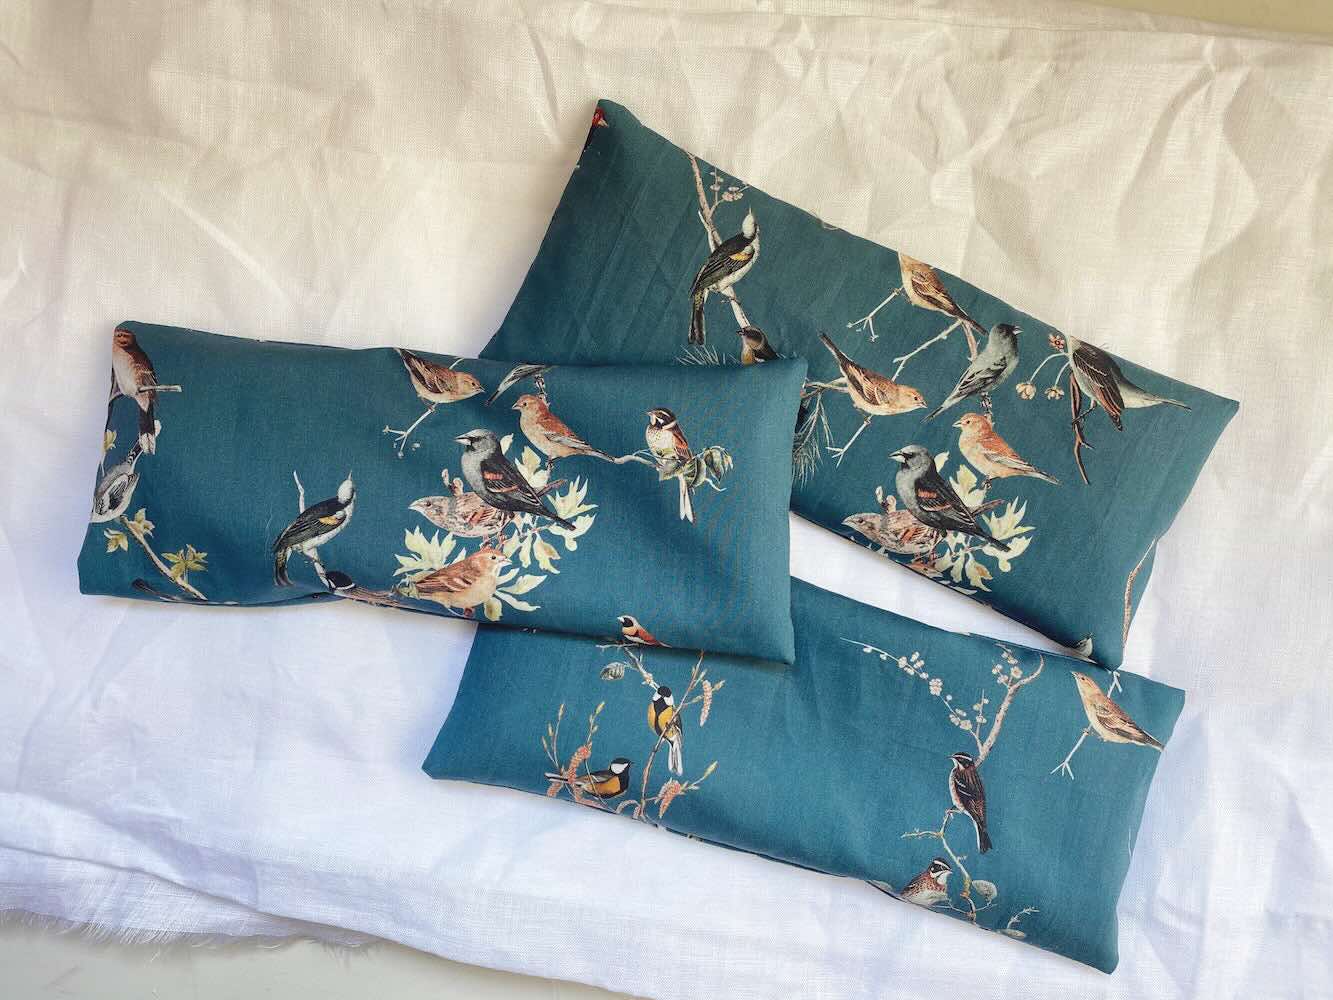
How To Make Pillows Out Of Shirts
Modified: December 7, 2023
Learn how to repurpose old shirts and create beautiful pillows with our step-by-step articles. Discover innovative techniques and unleash your creativity today!
(Many of the links in this article redirect to a specific reviewed product. Your purchase of these products through affiliate links helps to generate commission for Storables.com, at no extra cost. Learn more)
Introduction
Are you looking for a creative and eco-friendly way to repurpose old shirts? Why not turn them into unique and personalized pillows? Not only will you be reducing waste and giving new life to old garments, but you’ll also have a one-of-a-kind decorative item for your home. In this article, we will guide you through the process of making pillows out of shirts, from choosing the right shirt to adding decorative touches.
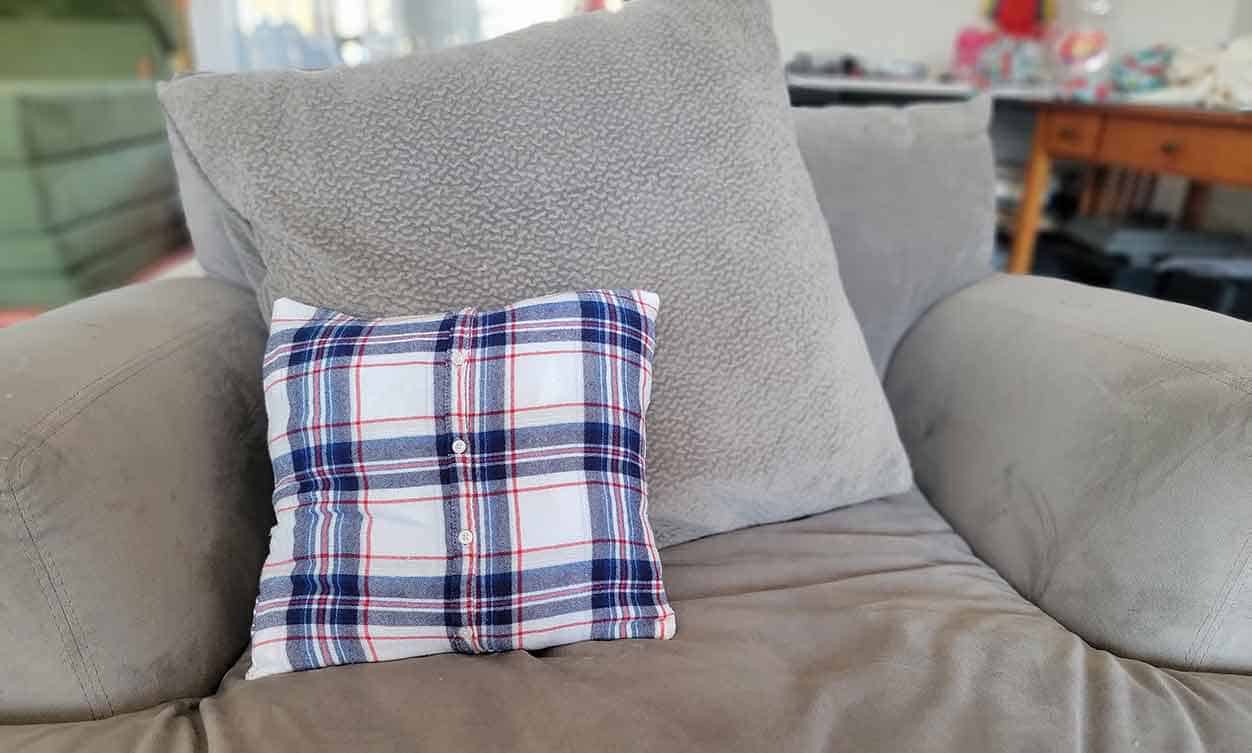
Creating pillows out of shirts is a great DIY project that can be done with minimal sewing skills and a few basic materials. Whether you have sentimental shirts that you can’t bear to part with or simply want to add a personal touch to your living space, this article will show you how to transform shirts into cozy and stylish pillows.
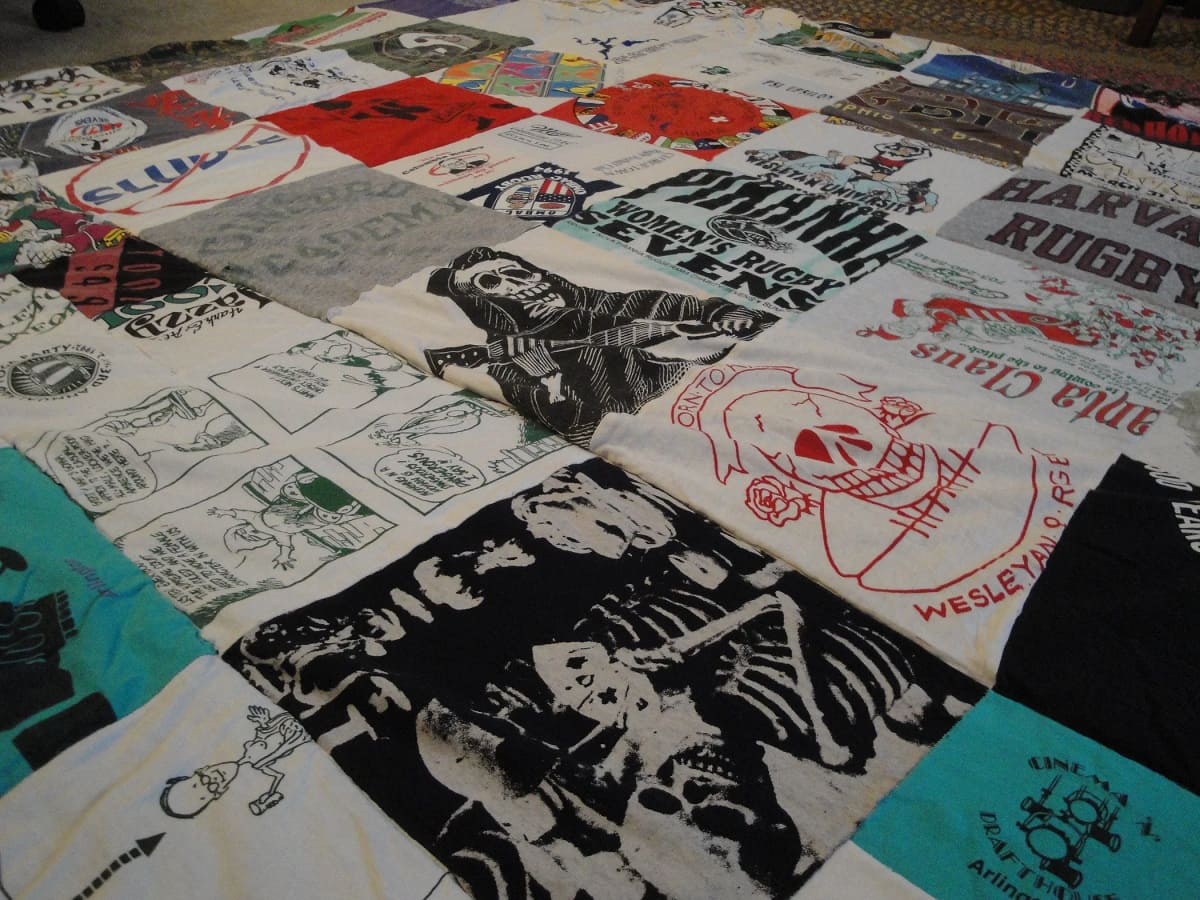
Not only is this a fun and creative way to repurpose old shirts, but it also allows you to showcase your personal style and memories. Imagine snuggling up on a pillow made from your favorite concert t-shirt or your child’s beloved sports jersey. These pillows add a touch of nostalgia and sentimental value to any room.
The process is relatively simple and can be completed in just a few steps. We will guide you through choosing the right shirt, preparing it for transformation, measuring and cutting the shirt, sewing the edges, stuffing the pillow, and closing it up. Additionally, we will provide optional ideas for adding decorative touches to make your pillows even more special.
So, grab your pile of old shirts and let’s get started on this creative and rewarding project. Get ready to turn those forgotten garments into beautiful and meaningful pillows that will bring comfort and joy to your home.
Key Takeaways:
- Transform old shirts into unique and sentimental pillows, adding a personal touch to home decor while reducing waste and showcasing your personal style and memories.
- Enjoy a rewarding and eco-friendly DIY project by repurposing old shirts into cozy and stylish pillows, creating cherished possessions that evoke memories and spark conversations.
Read more: How To Make Memory Shirt Pillows
Choosing the Right Shirt
When it comes to choosing the right shirt for your pillow project, there are a few factors to consider. Here are some tips to keep in mind:
- Size and shape: Consider the size and shape of the shirt. You want to select a shirt that will be suitable for a pillow. Larger shirts will typically yield bigger pillows, while smaller shirts can be used for decorative accent pillows.
- Material: Pay attention to the material of the shirt. Soft and breathable fabrics like cotton or flannel work well for pillows, as they provide comfort and durability. Avoid shirts with excessive embellishments or heavy fabrics that may be difficult to sew through.
- Design and pattern: Think about the design and pattern of the shirt. Bold graphics, interesting patterns, or sentimental prints can add visual interest to your pillow. Consider the overall aesthetic you want to achieve and choose a shirt that complements it.
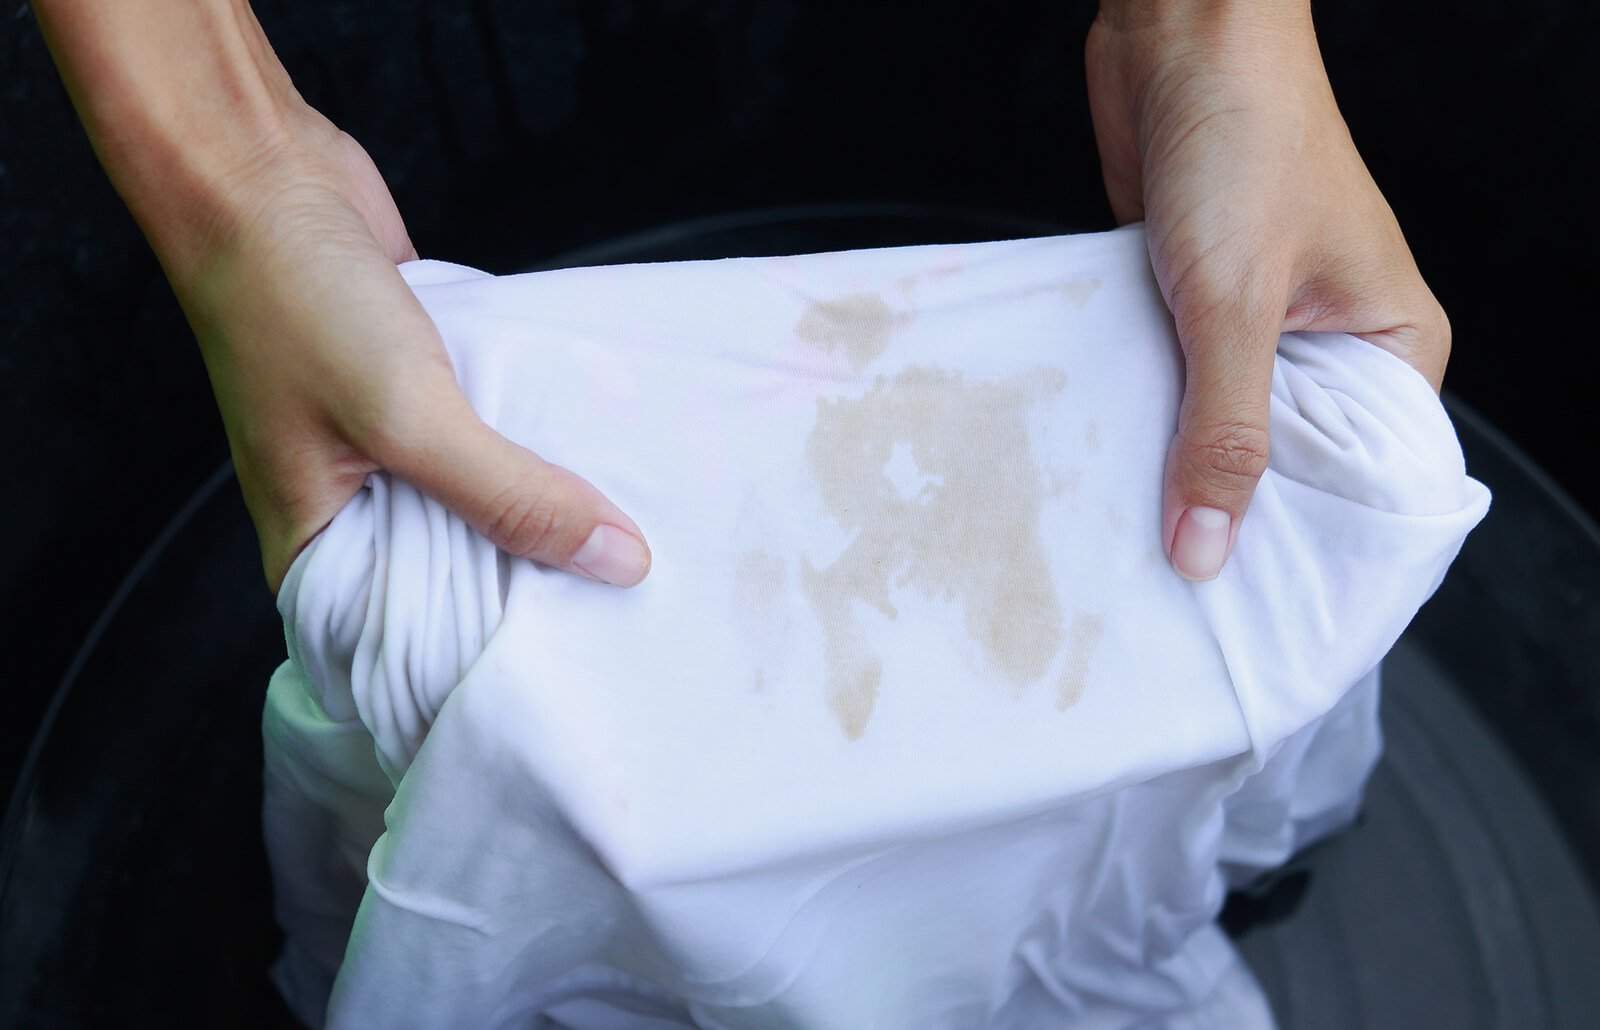
- Cleanliness: Ensure that the shirt is clean and free from stains or odors. This will prevent any unwanted smells or marks on your finished pillow.
Remember, repurposing old shirts into pillows is a great opportunity to showcase your personal style and memories. Don’t be afraid to choose shirts that hold sentimental value or represent your favorite bands, teams, or hobbies. These shirts will not only make unique and meaningful pillows but also spark conversations and memories when displayed in your home.
Now that you have some guidelines for choosing the right shirt, let’s move on to the next step: preparing the shirt for transformation.
Preparing the Shirt
Before you can start transforming the shirt into a pillow, it’s important to properly prepare it. Follow these steps to get the shirt ready for the next stages:
- Wash and dry the shirt: Start by washing and drying the shirt according to the care instructions. This will ensure that it is clean and ready for the pillow-making process. It will also prevent any unwanted shrinkage or color bleeding later on.
- Iron the shirt: Once the shirt is dry, use an iron to smooth out any wrinkles or creases. This will make it easier to work with and ensure a neater finished pillow.
- Remove any buttons or embellishments: If the shirt has buttons, zippers, or other embellishments, carefully remove them using a seam ripper or small scissors. These items can get in the way during the sewing process and may interfere with the pillow’s overall appearance and comfort.
- Turn the shirt inside out: Flip the shirt inside out so that the seams and hems are visible on the outside. This will be important when it comes to sewing and assembling the pillow.
- Smooth out the shirt: Lay the shirt flat on a clean surface and smooth out any wrinkles or folds. This will help you to accurately measure and cut the fabric.
By properly preparing the shirt, you are setting yourself up for success in the subsequent steps of creating your shirt pillow. Taking the time to wash, iron, and remove any buttons or embellishments ensures a clean and well-prepared canvas for your pillow-making project.
With the shirt now prepared, we can move on to the next step: measuring and cutting the fabric.
Measuring and Cutting
Now that the shirt is prepared, it’s time to measure and cut the fabric to create the pillow. Follow these steps to ensure accurate measurements and clean cuts:
- Decide on the pillow size: Determine the size of the pillow you want to make. Measure an existing pillow or decide on the desired dimensions for your new pillow. This will help you determine the amount of fabric you’ll need.
- Measure the shirt: Lay the shirt flat with the front facing down and smooth out any wrinkles. Using a measuring tape or ruler, measure and mark the dimensions of your desired pillow size on the fabric.
- Add seam allowance: Along the edges of the marked dimensions, add an additional ½ inch to 1 inch of seam allowance. This will allow for the seams to be sewn together without compromising the final size of the pillow.
- Cut the fabric: Carefully cut along the marked lines, ensuring that the edges are straight and even. Use fabric scissors for a clean cut, and be mindful of any graphics or patterns on the shirt that you want to preserve.
By measuring and cutting the fabric accurately, you’ll be able to create a well-fitted and professional-looking pillow. Take your time and double-check your measurements before making any cuts to ensure you achieve the desired pillow size.
With the fabric cut to the appropriate size, we can now move on to sewing the edges to assemble the pillow.
Sewing the Edges
With the fabric cut to size, it’s time to sew the edges together to assemble the pillow. Follow these steps to securely sew the edges:
- Position the fabric: Place the fabric pieces with the right sides facing each other, lining up the edges. Make sure that any graphics or patterns on the shirt are positioned correctly.
- Pinning the fabric: Use straight pins to secure the fabric layers together along the edges. This will help to keep them aligned during the sewing process.
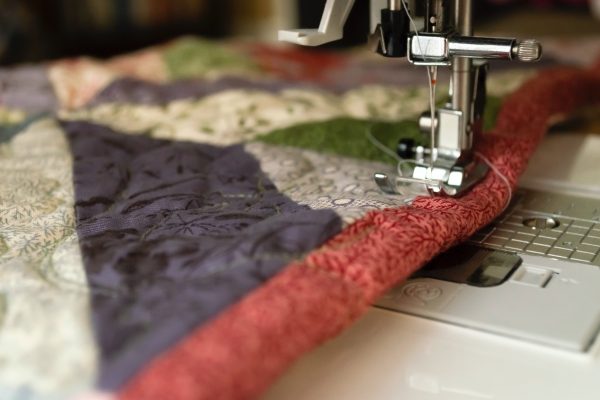
- Choose your sewing method: Depending on your sewing skills and equipment, you can use a sewing machine or sew by hand. If using a sewing machine, set it to a straight stitch and sew along the pinned edges, leaving a small opening for the stuffing. If sewing by hand, use a needle and thread to sew a straight stitch along the edges.
- Remove the pins: Once the edges are securely sewn, remove the pins from the fabric.
- Trim excess fabric: If there is any excess fabric beyond the stitches, use fabric scissors to carefully trim it, leaving a small seam allowance.
By sewing the edges of the fabric together, you are creating the foundation of your pillow. Taking care to align the fabric, secure it with pins, and sew a strong and straight stitch will result in a well-constructed pillow cover.
Now that the edges are sewn, it’s time to move on to the next step: stuffing the pillow.
When making pillows out of shirts, be sure to use a pillow form or stuffing that is larger than the shirt to ensure a full and fluffy pillow. This will help the pillow maintain its shape and provide better support.
Read more: How To Make Rugs Out Of T Shirts
Stuffing the Pillow
With the pillow cover sewn together, it’s time to add the stuffing to bring your pillow to life. Follow these steps to properly stuff your pillow:
- Choose the right stuffing: There are various options for pillow stuffing, such as polyester fiberfill, foam, or even recycled materials like old t-shirts or fabric scraps. Select a stuffing material that suits your preferences in terms of comfort and durability.
- Start filling the pillow: Begin by gradually adding the stuffing material into the small opening left in the pillow cover. Use your hands to distribute the stuffing evenly throughout the pillow, ensuring it fills all corners and provides a plush feel.
- Adjust the firmness: Gauge the firmness of the pillow as you fill it. Add more stuffing if you prefer a fuller and firmer pillow or remove some if you desire a softer and more relaxed feel.
- Avoid overstuffing: Be cautious not to overstuff the pillow as this can lead to a lumpy or misshapen appearance. Maintain a balance between a comfortable level of firmness and allowing the pillow to retain its shape.
- Check for evenness: Once the pillow is filled to your desired level, check for any lumps or uneven areas. Adjust the stuffing as needed to ensure a consistent and smooth appearance.
Properly stuffing the pillow is crucial to achieving the desired level of comfort and aesthetics. Take your time and adjust the amount of stuffing until you are satisfied with the pillow’s firmness and appearance.
Now that the pillow is nicely filled, let’s move on to the final step: closing up the pillow.
Closing the Pillow
After stuffing the pillow to your desired level of firmness, it’s time to close up the opening and secure the stuffing inside. Follow these steps to neatly close your pillow:
- Thread your needle: Using a matching thread color, thread your needle. Tie a knot at the end of the thread to secure it.
- Starting at one end of the opening, fold the raw edges inward and pin them together. This will create a clean and hidden seam.
- Using a simple whipstitch or a ladder stitch, sew the opening closed. Take small, even-sized stitches, making sure to sew through both layers of fabric, until you reach the other end of the opening.
- Tie off the thread: Once you reach the end of the opening, tie a knot to secure the thread. Make a small backstitch or two to reinforce the closure.
- Trim any excess thread and check the seam: Trim off any excess thread and inspect the closure to ensure it is secure and neat.
By closing up the pillow with a strong and tidy seam, you are ensuring that the stuffing remains securely inside and the pillow retains its shape over time.
With the pillow fully closed, you’ve successfully completed the main steps of turning a shirt into a pillow. However, if you’d like to add some decorative touches, keep reading for some optional ideas to make your pillow even more unique and personalized.
Optional Decorative Touches
While your shirt pillow is already a unique and personalized creation, you can further enhance its visual appeal by adding some optional decorative touches. Here are a few ideas:
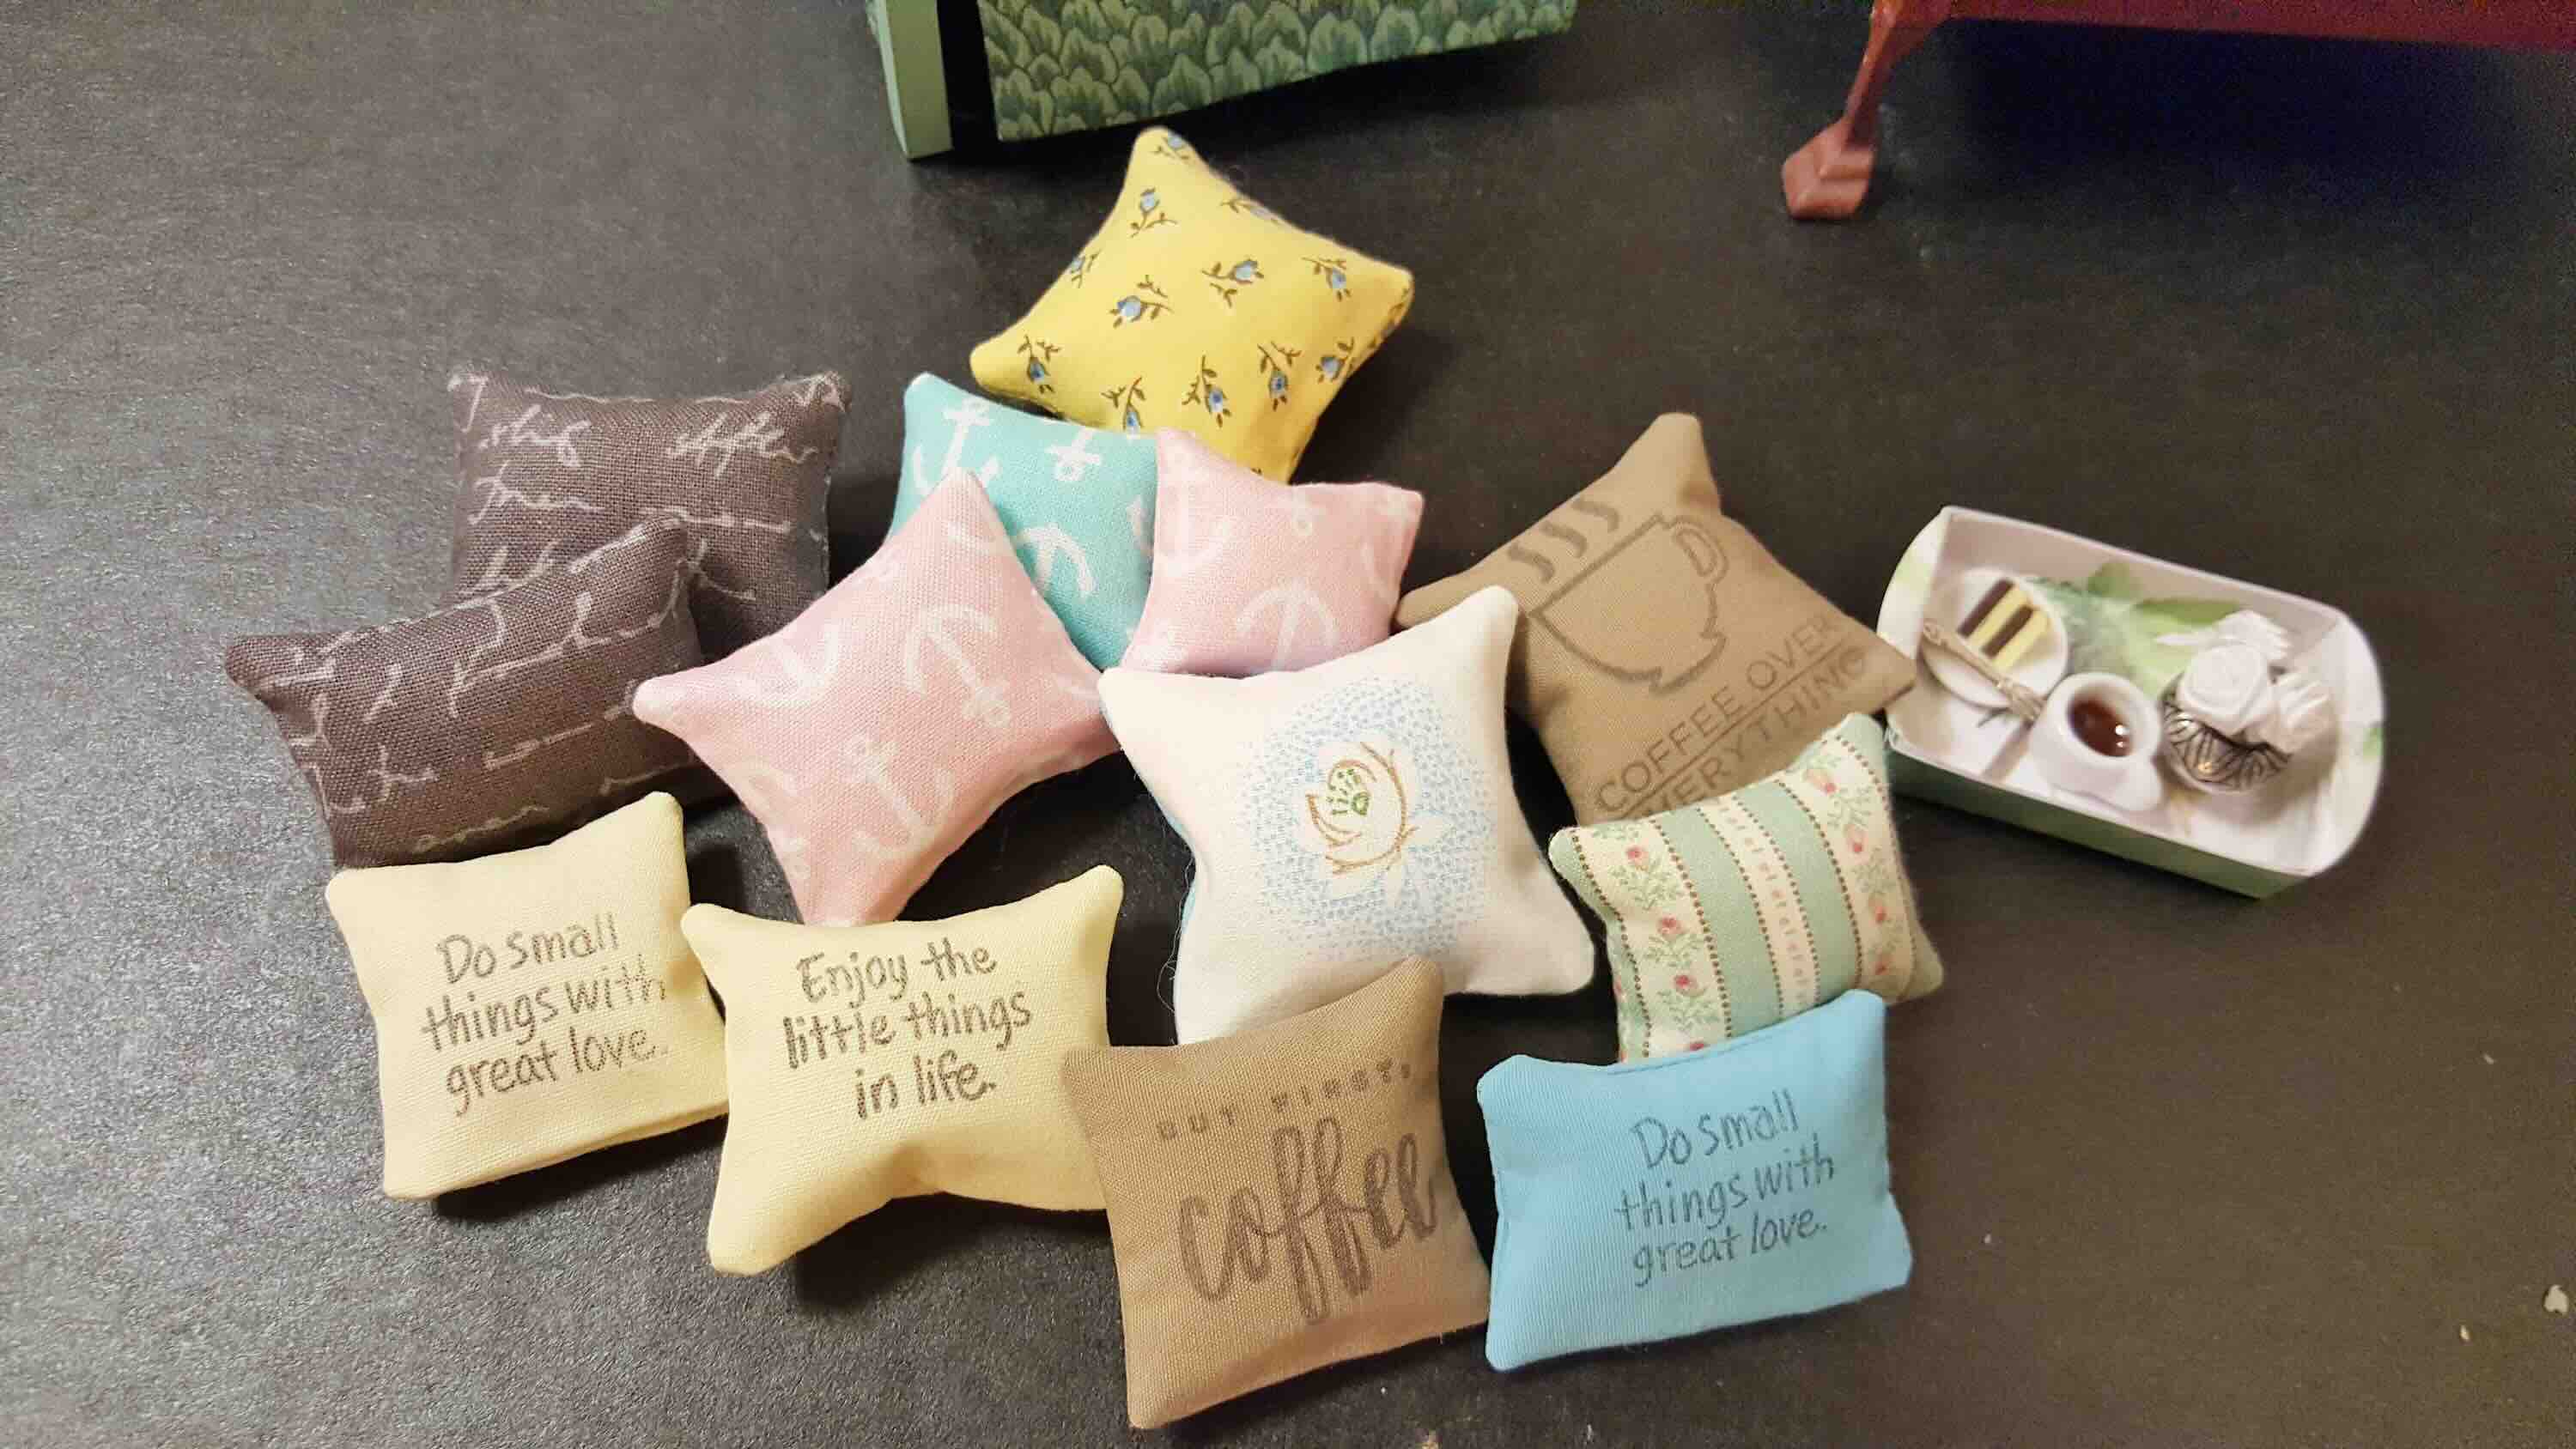
- Embroidery: Consider adding embroidery to the pillow cover. You can embroider initials, patterns, or even quotes that hold special meaning to you. Choose thread colors that complement the shirt and make the design pop.
- Buttons or embellishments: If you have removed buttons or other embellishments from the shirt, you can sew them back onto the pillow cover as decorative accents. This can add texture and visual interest to the pillow.
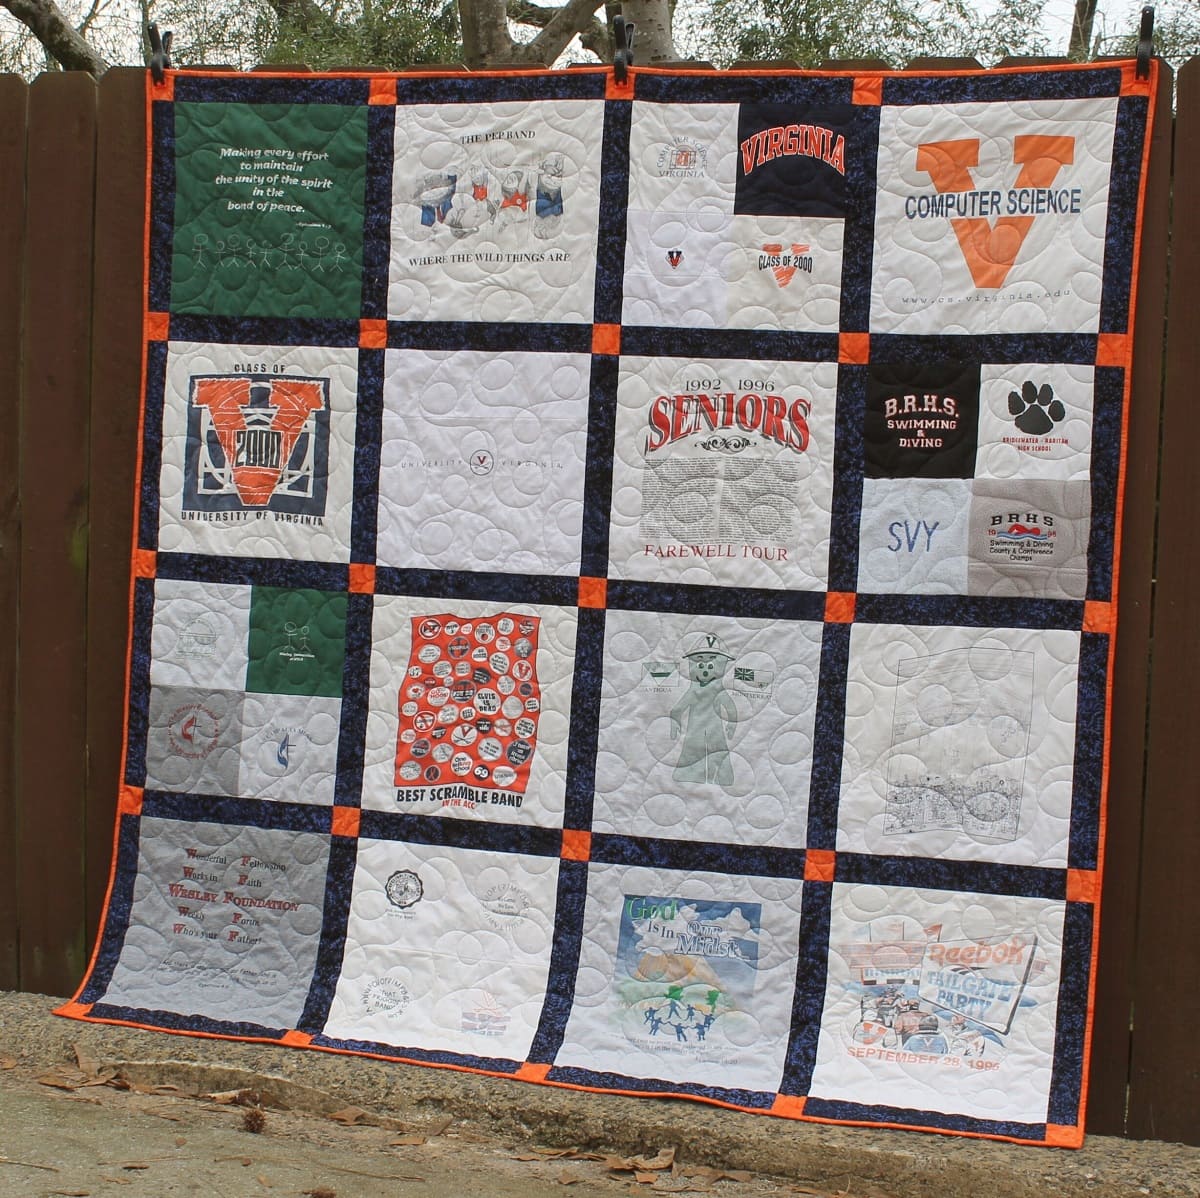
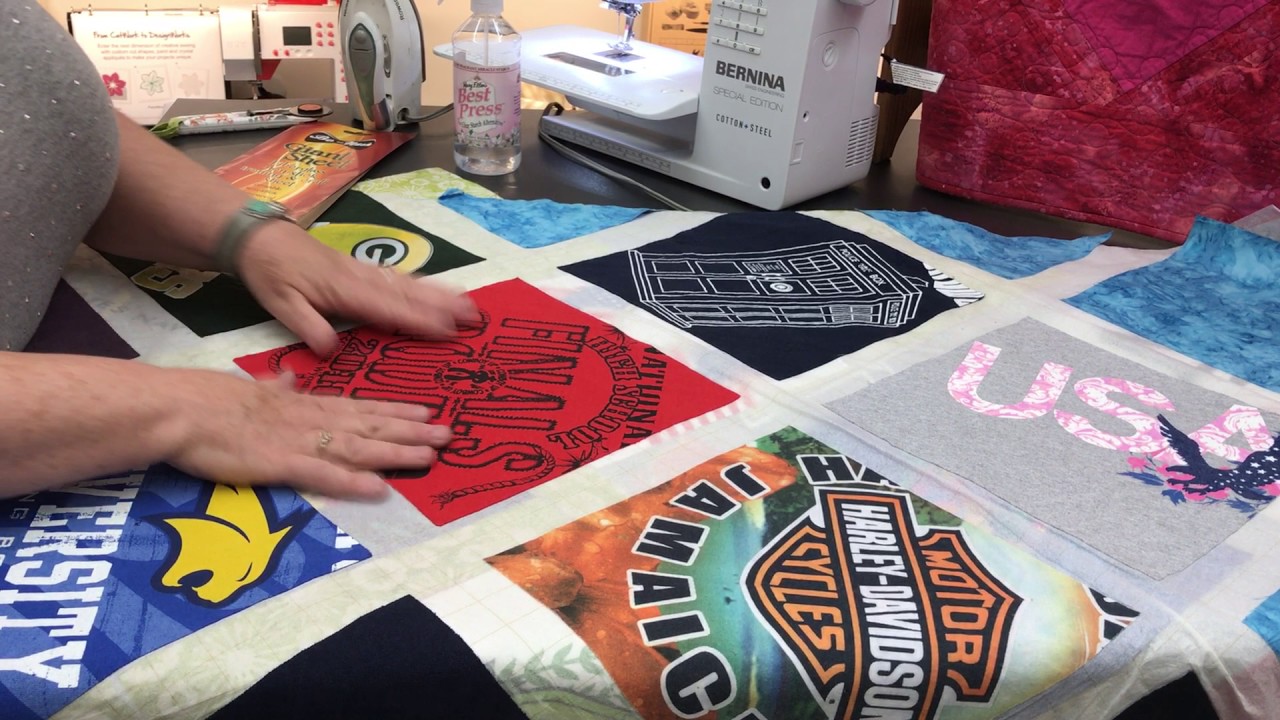
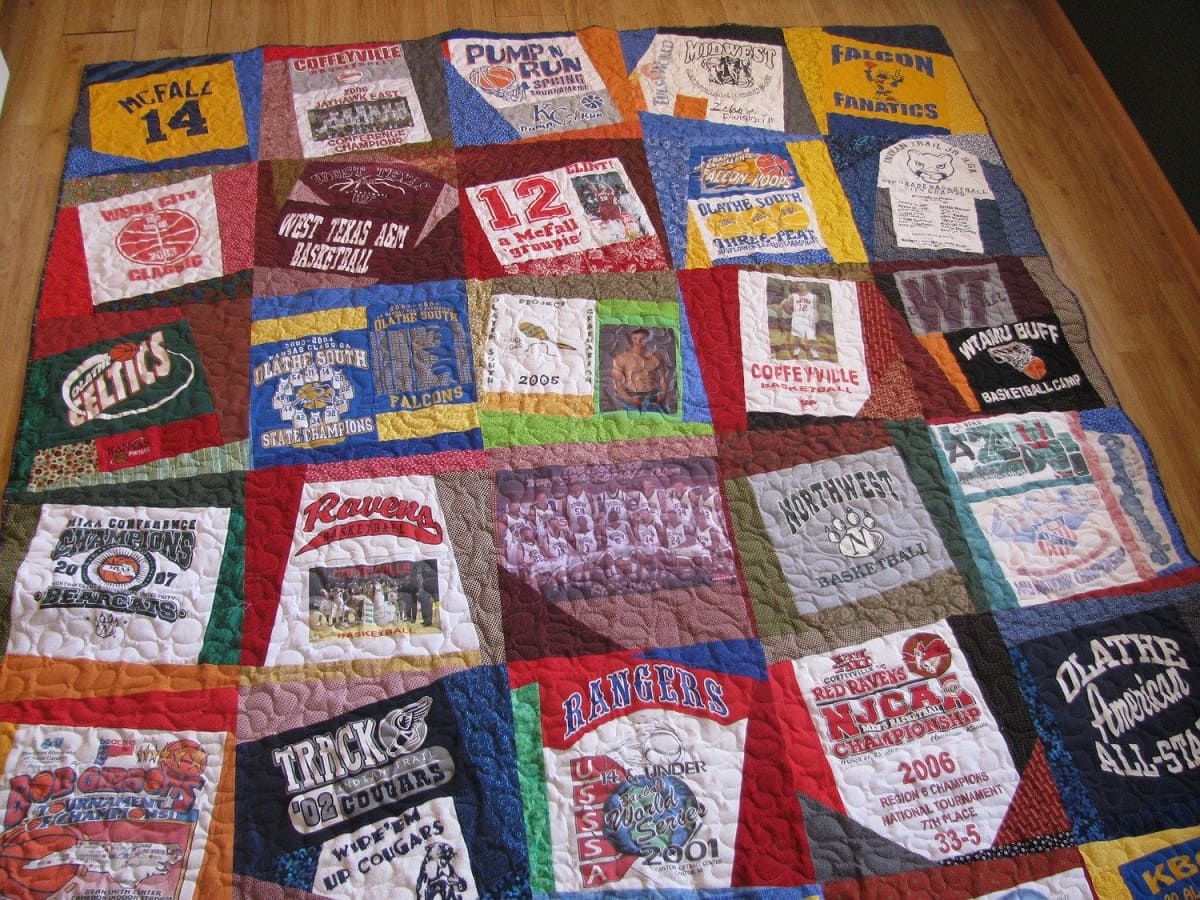
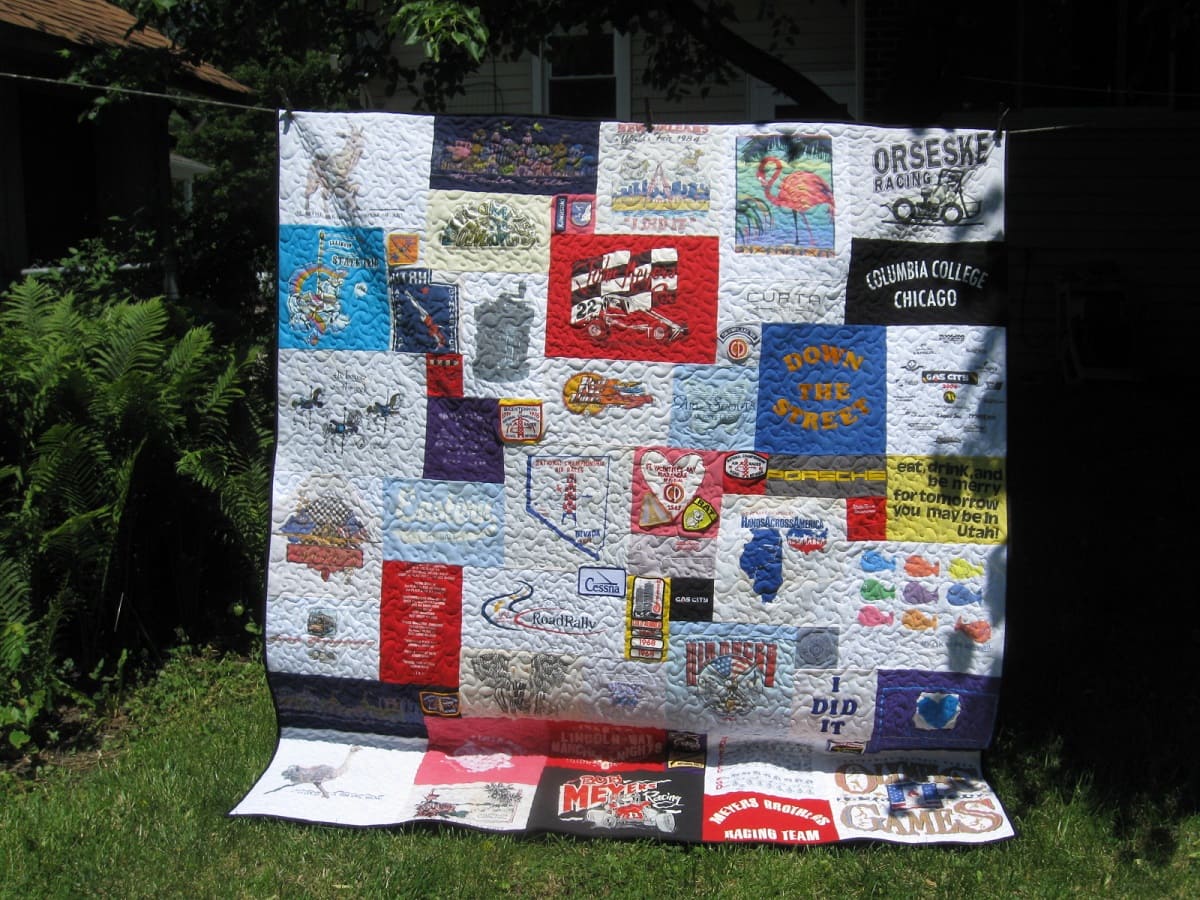
- Patchwork or appliqué: If you have multiple shirts that you want to incorporate into one pillow, consider creating a patchwork or appliqué design. Cut out shapes or pieces from different shirts and sew them onto the pillow cover to create a unique and eclectic look.
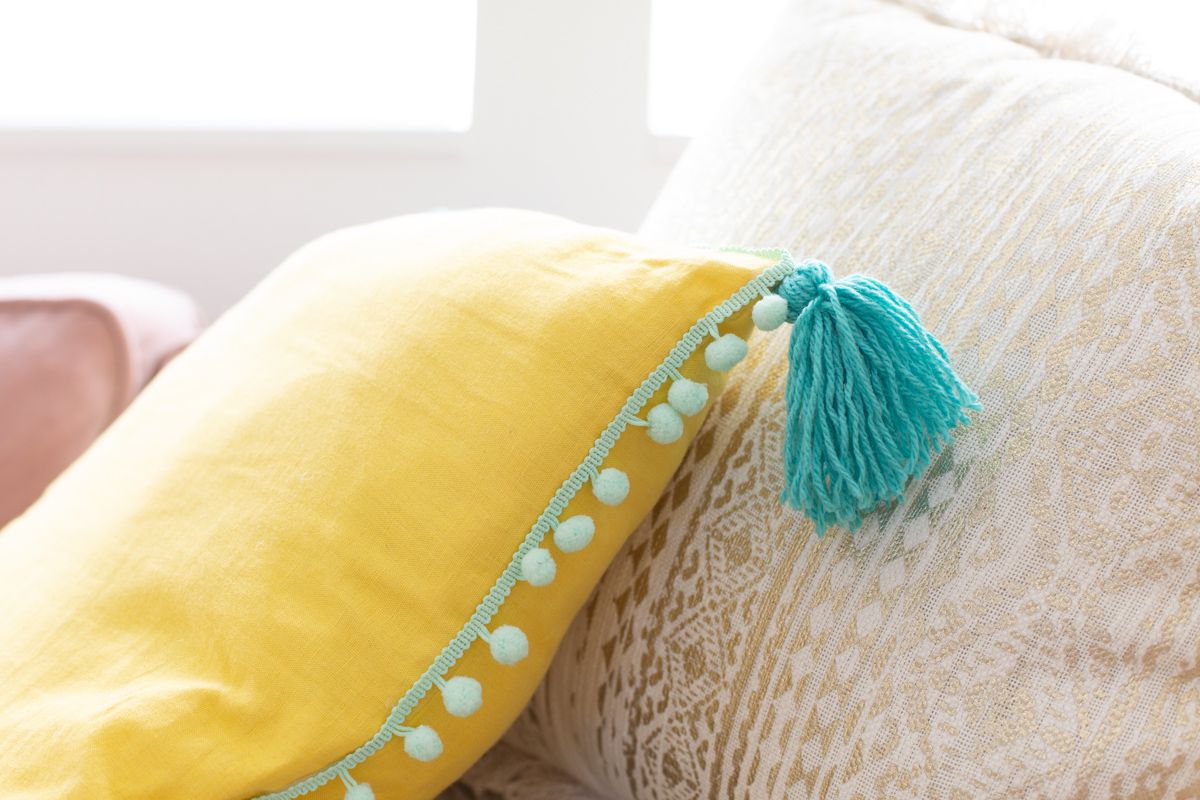
- Piping or trim: Add a contrasting fabric piping or trim along the edges of the pillow to give it a polished and finished look. Choose a fabric that complements the shirt’s color or pattern.
- Personalized labels or tags: Sew a personalized label or tag onto the pillow cover to add a final touch. You can include your name, a special message, or the date the pillow was made.
These optional decorative touches can elevate your shirt pillow design and make it even more special. Feel free to get creative and experiment with different ideas that reflect your personal style and preferences.
As you can see, transforming a shirt into a pillow is a rewarding and environmentally friendly DIY project. By repurposing old shirts, you not only reduce waste but also create unique and sentimental decorative pieces for your home.
With your pillow complete, it’s time to find the perfect spot to display it and enjoy the comfort and style it brings to your surroundings.
Now that you have all the instructions and suggestions, it’s time to gather your old shirts and start creating your own personalized shirt pillows. Have fun and enjoy the process of turning memories into cozy and stylish home decor!
Conclusion
Repurposing old shirts into pillows is a fantastic way to give new life to beloved garments while adding a personal and creative touch to your home decor. By following the steps outlined in this article, you can transform your shirts into unique and meaningful pillows that showcase your style and memories.
From choosing the right shirt to preparing the fabric, measuring and cutting, sewing the edges, stuffing the pillow, and closing it up, each step plays a vital role in creating a well-crafted and beautiful pillow. The optional decorative touches mentioned in this article allow you to further customize your pillow and make it even more special.
This DIY project not only helps you reduce waste but also provides an opportunity for self-expression and nostalgia. Imagine snuggling up with a pillow made from your favorite band t-shirt or a shirt that holds sentimental value. These pillows become more than just home decor; they become cherished possessions that evoke memories and spark conversations.
Remember to take your time, be creative, and enjoy the process. DIY projects like this allow you to showcase your skills and give a new purpose to items that hold personal significance. Plus, they offer an environmentally friendly alternative to buying new home decor items.
So, gather your pile of old shirts, choose the ones that are meaningful to you, and embark on the journey of turning them into pillows. With some sewing skills, a bit of creativity, and the steps outlined in this article, you can create beautiful, personalized pillows that bring comfort and joy to your living space.
Now is the time to grab your scissors, thread, and needle, and let your creativity flow. Start repurposing those old shirts and transform them into something new and meaningful. Happy sewing!
Frequently Asked Questions about How To Make Pillows Out Of Shirts
Was this page helpful?
At Storables.com, we guarantee accurate and reliable information. Our content, validated by Expert Board Contributors, is crafted following stringent Editorial Policies. We're committed to providing you with well-researched, expert-backed insights for all your informational needs.



0 thoughts on “How To Make Pillows Out Of Shirts”