Articles
How To Make A Memory Quilt From T-Shirts
Modified: February 24, 2024
Learn how to create a beautiful memory quilt from t-shirts with our step-by-step guide. Find helpful articles and tips to make your quilt-making process easier and more enjoyable.
(Many of the links in this article redirect to a specific reviewed product. Your purchase of these products through affiliate links helps to generate commission for Storables.com, at no extra cost. Learn more)
Introduction
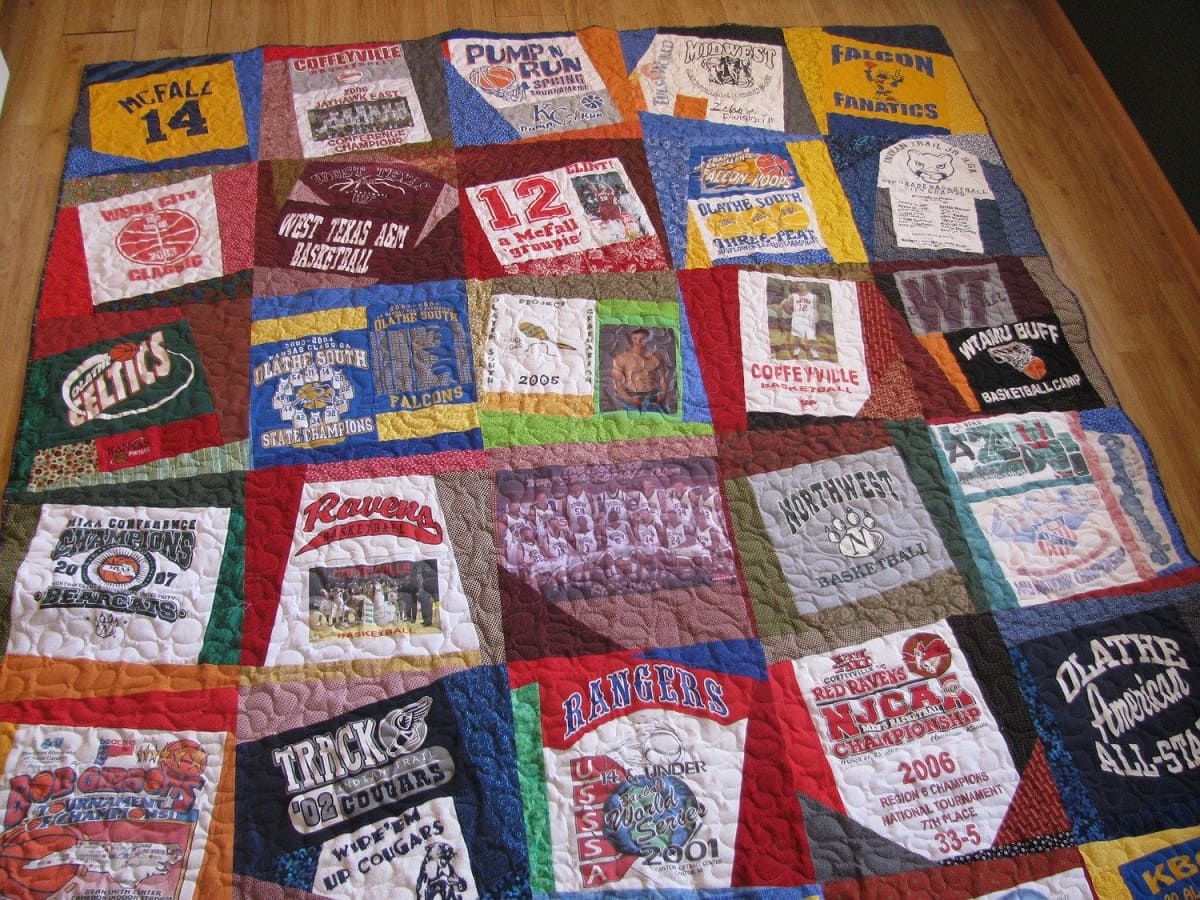
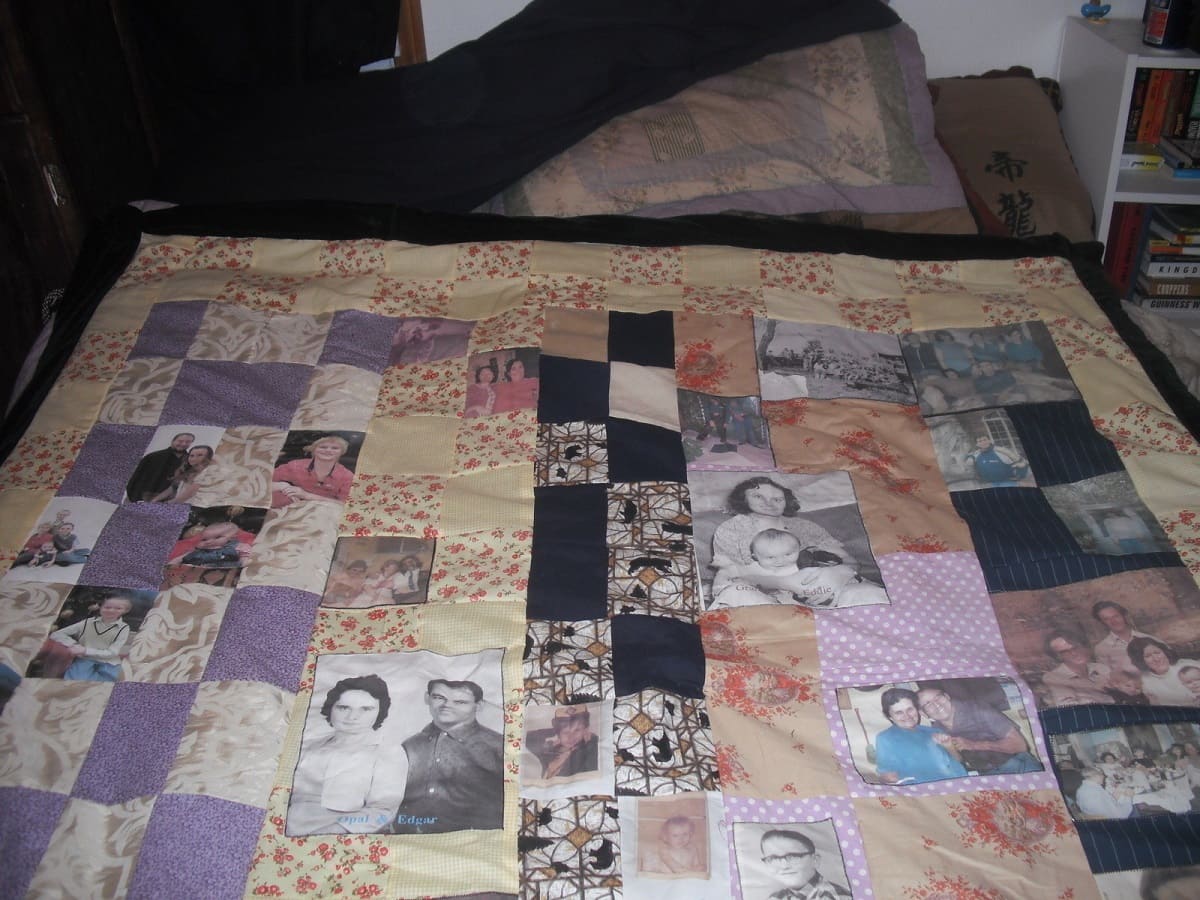
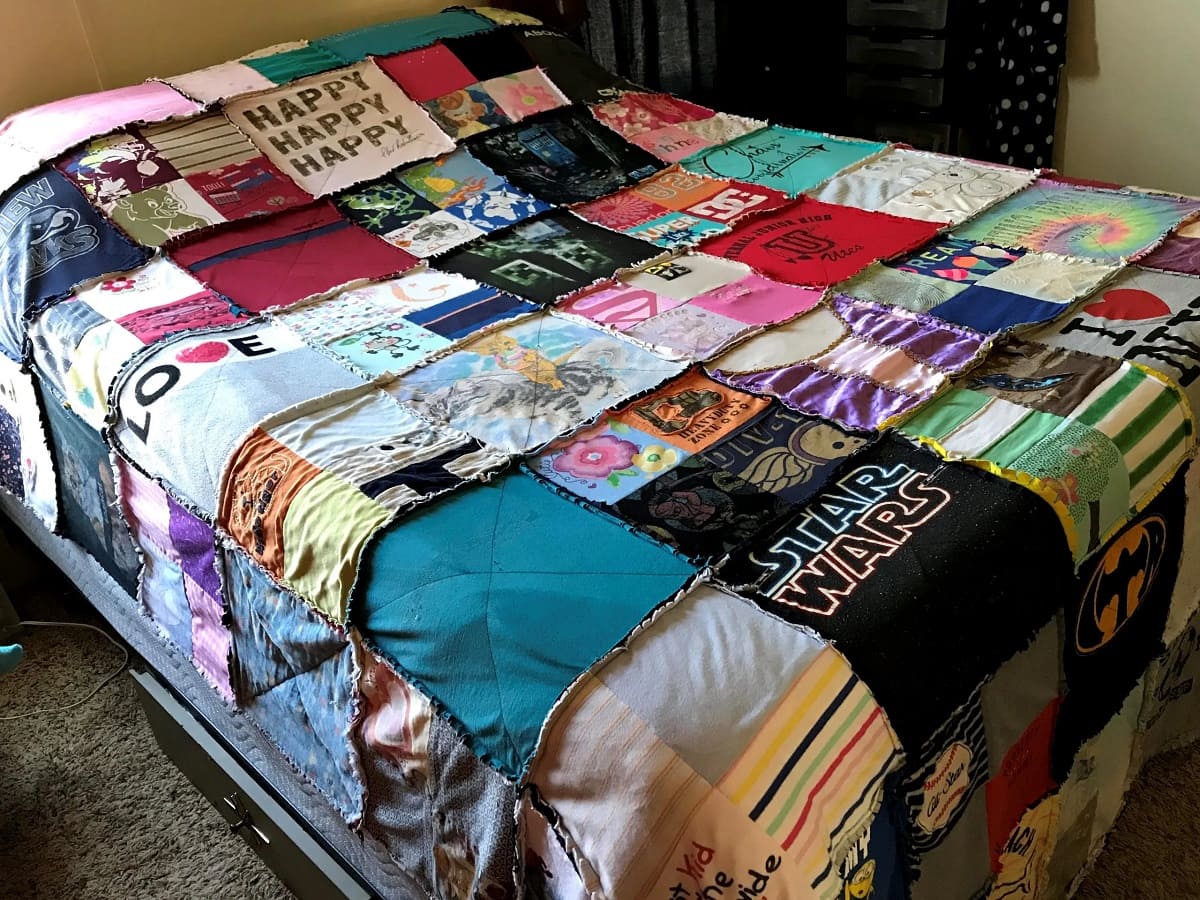
Creating a memory quilt from t-shirts is a wonderful way to preserve cherished moments and turn them into something tangible and meaningful. Whether it’s a collection of shirts from a favorite sports team, concerts, vacations, or special events, a memory quilt allows you to capture those memories and create a functional piece of art.
Not only does a memory quilt serve as a beautiful keepsake, but it also provides comfort and warmth. Each shirt holds a story, and when they are transformed into a quilt, those stories are woven together to create a unique and personal masterpiece. In this article, we will guide you through the process of making a memory quilt from t-shirts, from gathering materials to adding the finishing touches.
Before we dive into the steps, let’s talk about the materials you’ll need for your project. Gather the following items:
- Fabric scissors
- Quilting ruler
- Cutting mat
- Pins
- Thread
- Sewing machine (optional)
- Fabric for sashing and borders
- Batting
- Backing fabric
Once you have these materials, you’re ready to start creating your memory quilt. In the next section, we will discuss the process of selecting the t-shirts for your quilt.
Key Takeaways:
- Preserve cherished memories by creating a memory quilt from t-shirts, capturing stories and emotions in a tangible and functional piece of art.
- Transform sentimental t-shirts into a beautiful and meaningful memory quilt, adding warmth, comfort, and a lasting reminder of precious moments.
Read more: How To Make A Quilt From Old T-Shirts
Gathering Materials
Before you begin the process of making a memory quilt from t-shirts, it’s essential to gather all the necessary materials. Having everything on hand will make the process much smoother and more enjoyable. Here’s a breakdown of the materials you’ll need:
- Fabric scissors: You’ll need sharp fabric scissors to cut the t-shirts and the other fabrics.
- Quilting ruler: A quilting ruler helps you measure and cut the fabric accurately. It’s a must-have tool for any quilting project.
- Cutting mat: A cutting mat provides a stable and safe surface for cutting the fabric. It protects your work area and helps prevent the fabric from slipping.
- Pins: Pins are essential for securing your pieces of fabric together before sewing. They hold everything in place and prevent shifting or misalignment.
- Thread: Choose a high-quality thread that matches the color of your t-shirts. A strong thread ensures the durability of your quilt.
- Sewing machine (optional): While hand-sewing is an option, using a sewing machine can save you a significant amount of time. If you have access to a sewing machine, it can speed up the quilting process.
- Fabric for sashing and borders: Sashing and borders create a frame around each t-shirt block and help unify the overall design. Select a fabric that complements the colors and patterns of your t-shirts.
- Batting: Batting is the middle layer of the quilt that adds warmth and gives the quilt its cozy feel. Choose a batting that suits your desired level of warmth and loftiness.
- Backing fabric: The backing fabric is the final layer of the quilt that covers the batting. Pick a fabric that coordinates with your t-shirts or choose a neutral color to let the t-shirts shine.
Once you have gathered all these materials, ensure that your sewing machine is in good working condition (if you’re using one) and that you have a comfortable and organized workspace. With all your materials ready, you’re now set to move on to the next step: selecting the t-shirts for your memory quilt.
Selecting T-Shirts
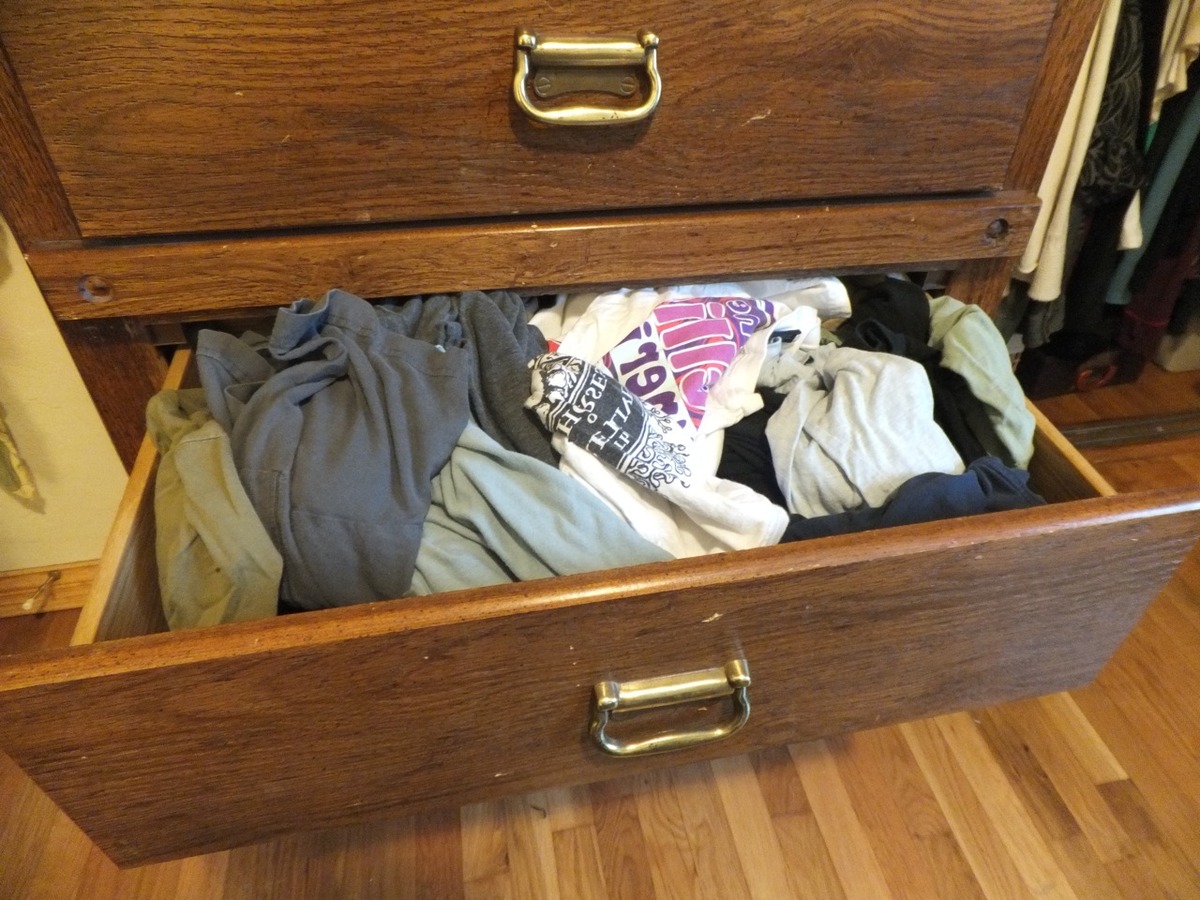
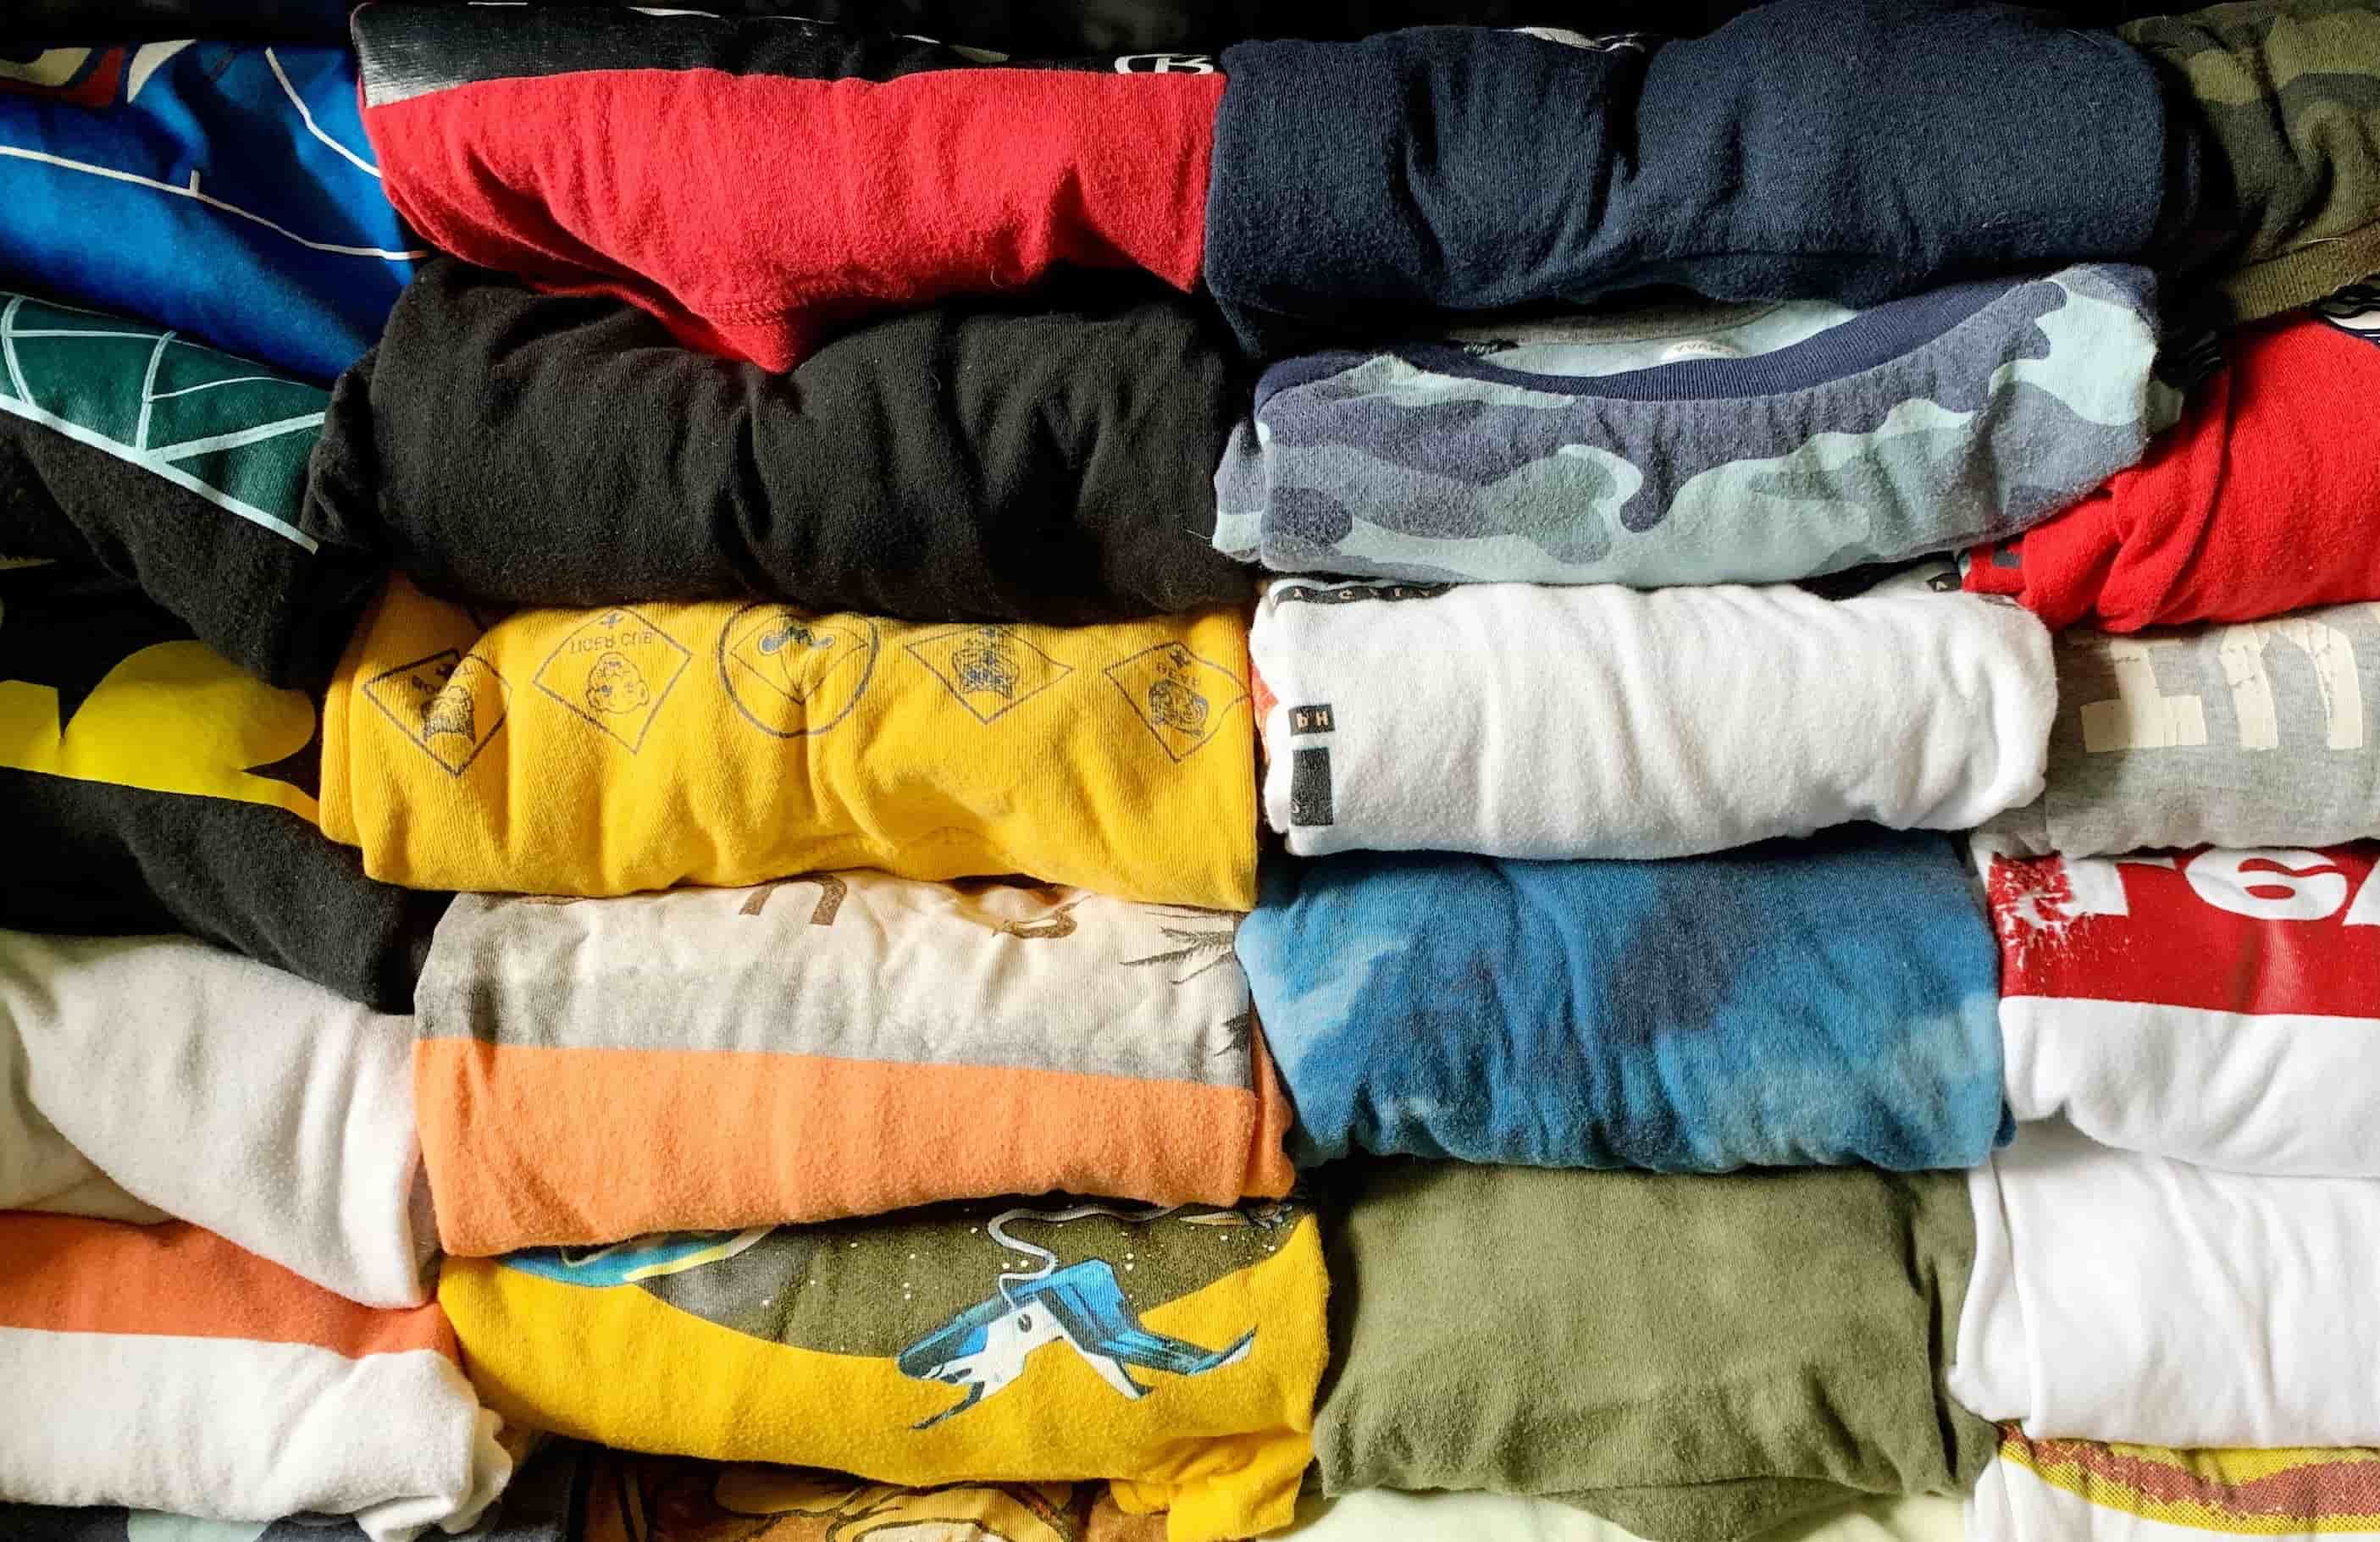
When making a memory quilt from t-shirts, the first step is to select the t-shirts that hold sentimental value and represent the memories you want to preserve. Here are some tips for choosing the perfect t-shirts for your quilt:
- Sentimental Value: Choose t-shirts that hold special meaning to you or the intended recipient of the quilt. These could be shirts from significant events, such as graduations, family reunions, or milestone birthdays.
- Theme or Story: Consider creating a theme or telling a story with your quilt. For example, if you’re making a quilt for a sports enthusiast, you can include shirts from favorite teams or memorable games.
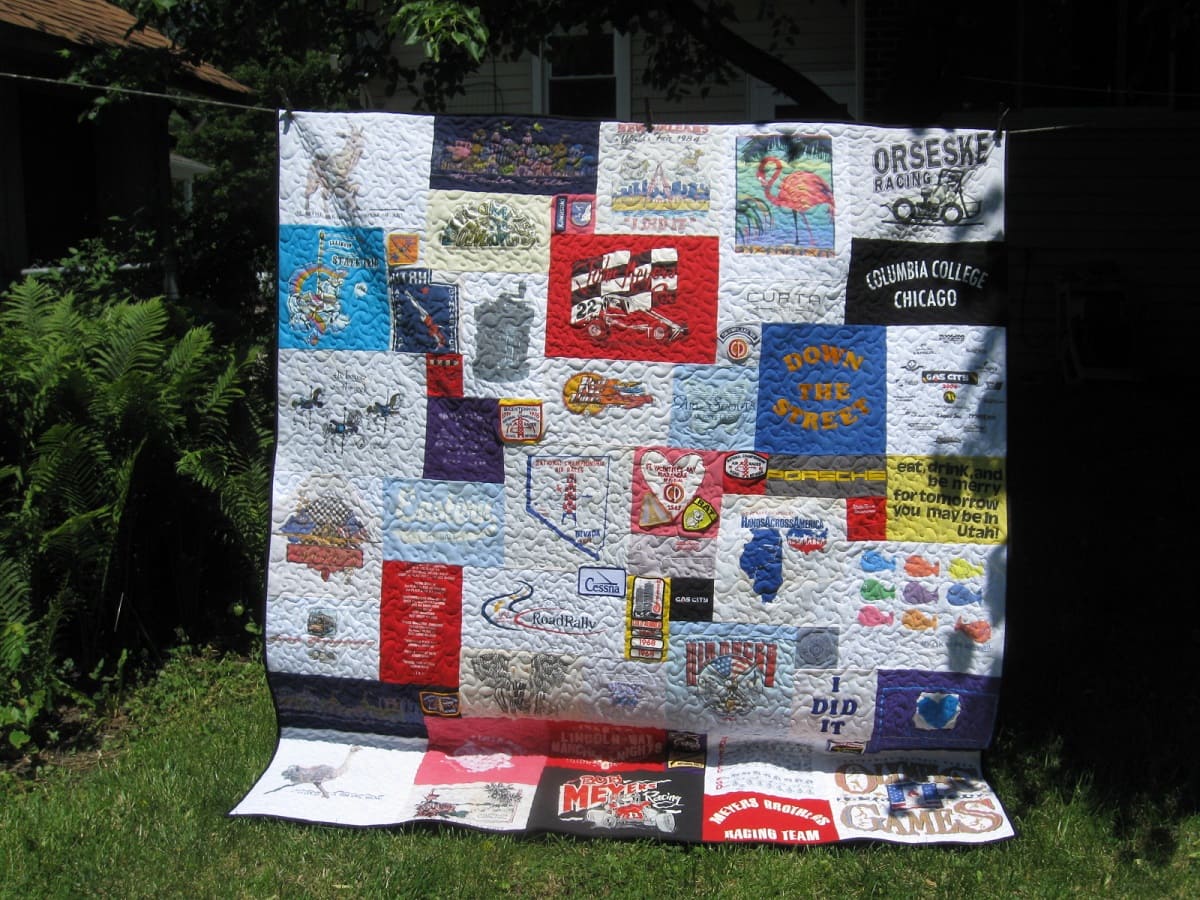
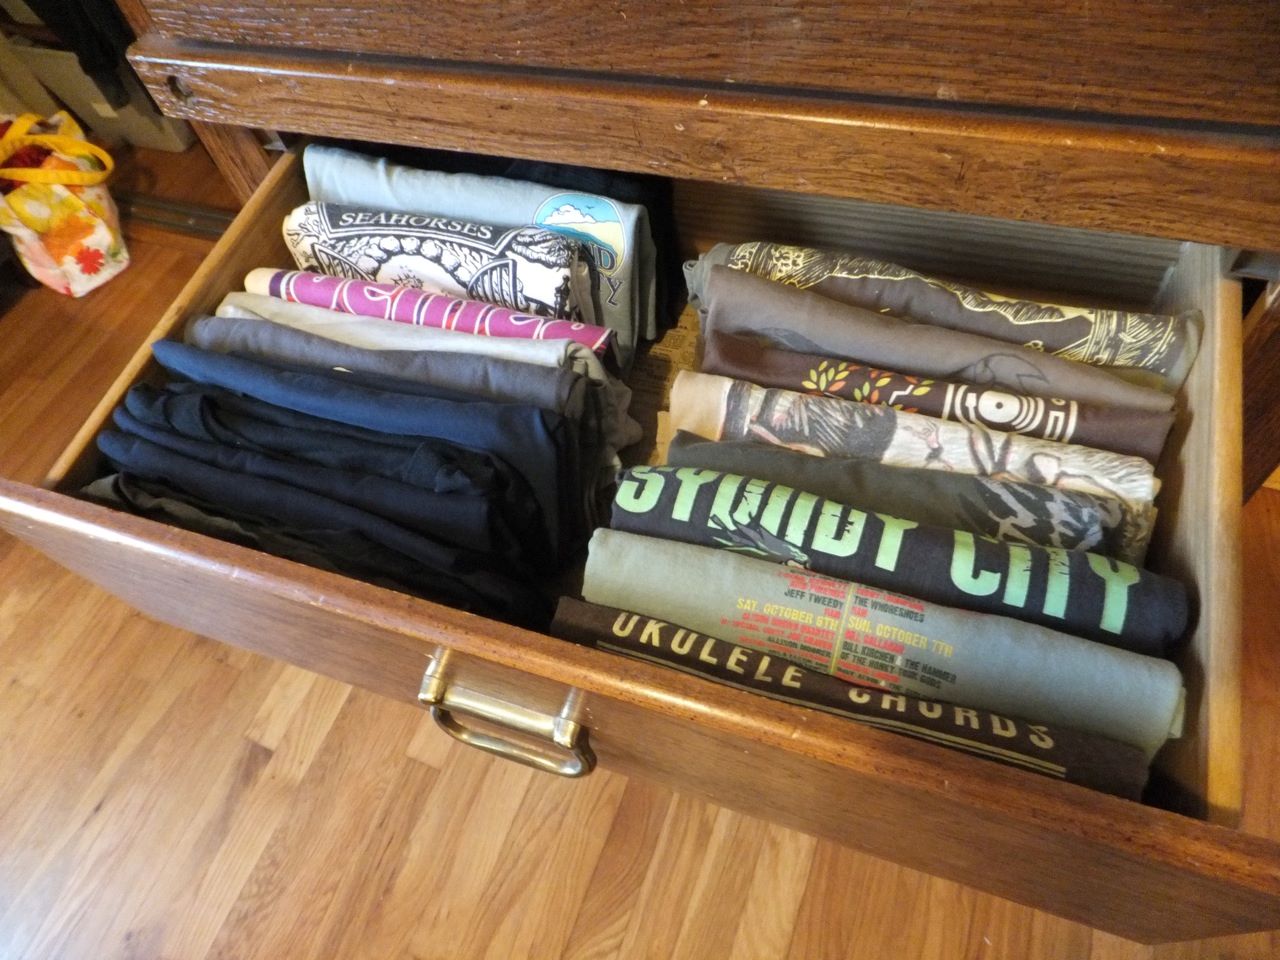
- Variety: Aim for a mix of colors, patterns, and designs to create visual interest in your quilt. Mixing different styles and themes can add depth and uniqueness to the finished piece.
- Condition: Choose t-shirts that are in good condition, with minimal wear and tear. Avoid shirts with large holes, stains, or fading, as these may detract from the overall appearance of the quilt.
- Size: Keep in mind that t-shirts come in various sizes, and you’ll need to consider how they will fit together in your quilt. Some shirts may need to be resized or trimmed to match the other blocks.
Once you have selected the t-shirts, it’s a good idea to wash and iron them before cutting. This ensures that any shrinkage or fading occurs before the quilt-making process and helps to create a neat and uniform look.
Before moving on to the next step, take some time to arrange the shirts and decide on the overall design and layout of your quilt. You can create a traditional grid-style layout or experiment with different arrangements, such as a collage or medallion design.
Now that you have your t-shirts selected and the design in mind, you’re ready to prepare the t-shirts for the quilt-making process. In the next section, we will discuss how to properly prepare the t-shirts to ensure they are ready for cutting and sewing.
Preparing the T-Shirts
Before you can start cutting and sewing your t-shirts, it’s important to properly prepare them. This involves taking a few steps to ensure that the shirts are ready for the quilt-making process. Here’s what you need to do:
- Wash the T-Shirts: Start by washing all the t-shirts you’ve selected. Use a gentle detergent and follow the care instructions on the shirts. This will remove any dirt, stains, or odors and make the fabric clean and fresh.
- Iron the T-Shirts: Once the t-shirts are clean and dry, iron them to remove any wrinkles. This step is crucial as it will ensure that the fabric lies flat and is easier to work with during the cutting and sewing process.
- Stabilize Stretchy Fabrics: If you’re working with t-shirts made from stretchy or lightweight fabrics, it’s a good idea to stabilize them before cutting. This will prevent the fabric from stretching or distorting during sewing. You can use a lightweight fusible interfacing or non-stretch woven fabric to stabilize the t-shirts.
- Trim Excess Fabric: If your t-shirts have large graphics or logos that you don’t want to include in the quilt, you can trim around them. Use fabric scissors to carefully cut away any excess fabric, leaving only the desired design.
- Consider Seam Allowances: When preparing the t-shirts, keep in mind the seam allowances you plan to use. This will help you determine how much fabric you need to cut from each shirt and ensure that the final quilt blocks will be the desired size.
By following these steps, you will have your t-shirts cleaned, ironed, and prepared for cutting and sewing. Now that the preparation is complete, you’re ready to move on to the next exciting step: designing your memory quilt. In the following section, we will discuss different design options and how to create a visually appealing layout for your quilt.
Designing the Quilt
Designing your memory quilt is where your creativity can truly shine. This is your opportunity to create a visually appealing layout that tells the story you want to preserve. Here are some tips to consider when designing your quilt:
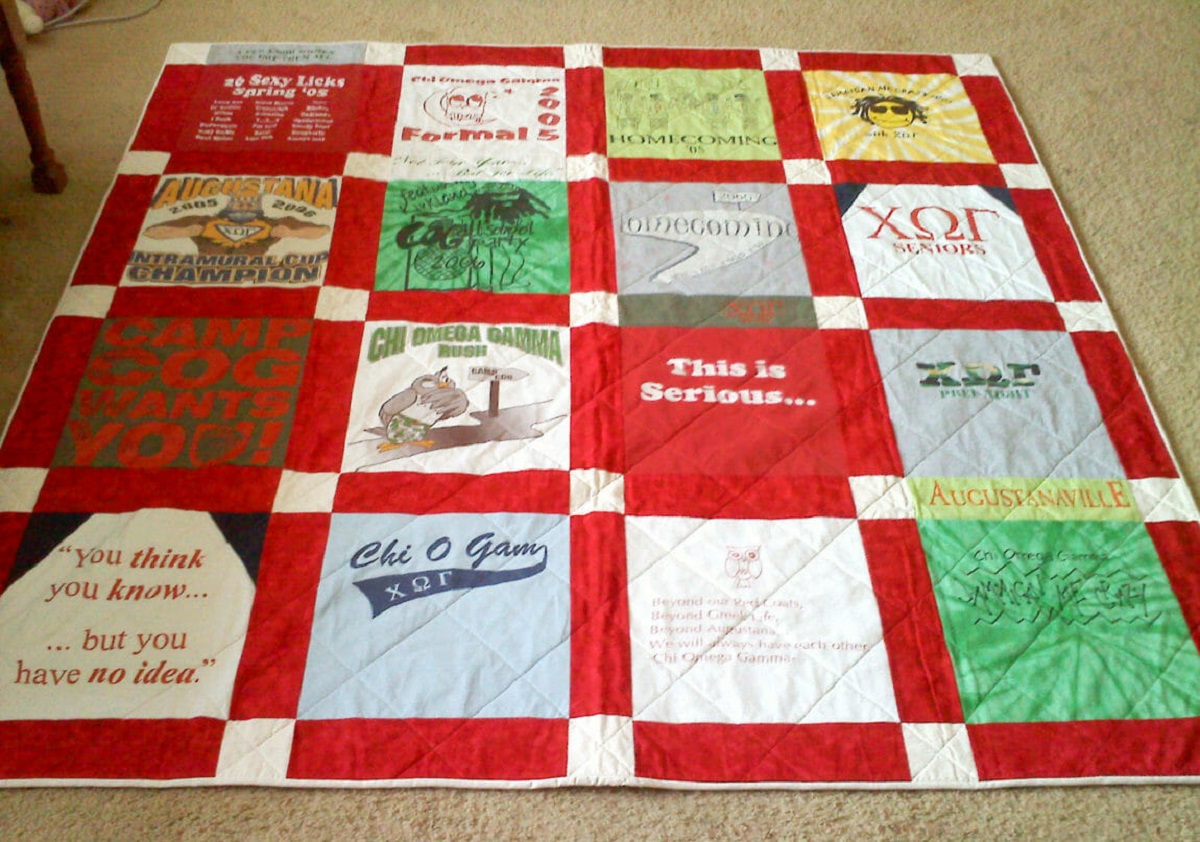
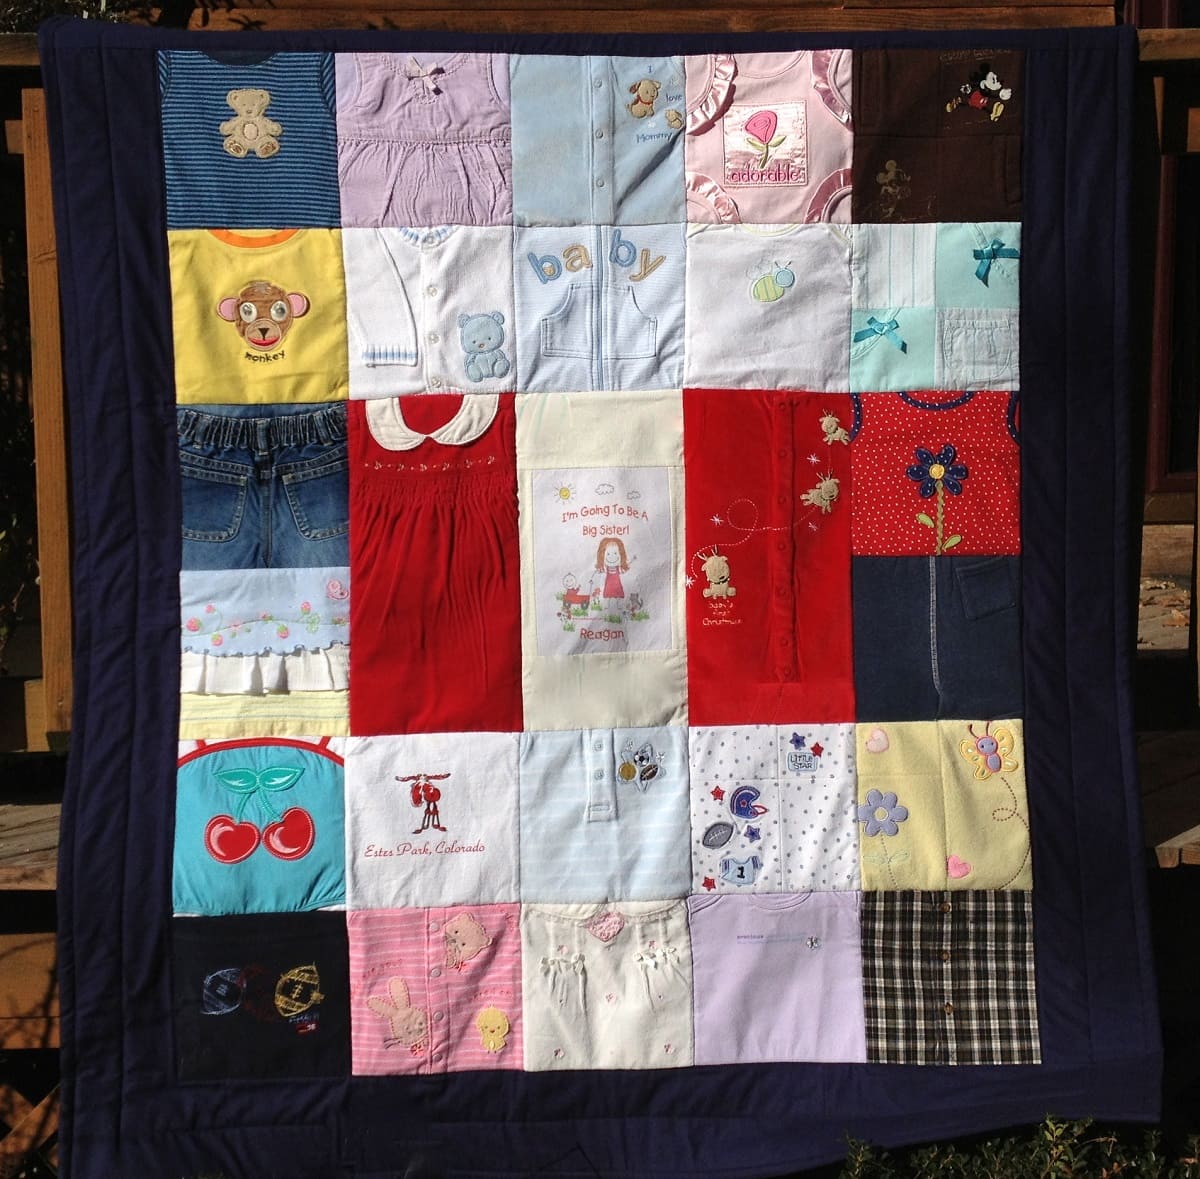
- Layout Options: There are various layout options you can choose from, depending on the number of t-shirts and your personal preference. You can opt for a classic grid layout, where each t-shirt block is the same size and neatly arranged. Alternatively, you can try a medallion layout, where one central t-shirt block is surrounded by smaller blocks or borders.
- Color and Contrast: Play with color and contrast to create visual interest in your quilt. Consider using solid sashing or borders to separate the t-shirts and make each block stand out. You can also experiment with the arrangement of colors and patterns to create a visually dynamic quilt.
- Balance: Strive for balance in your quilt design. If you have t-shirts with bold, vibrant designs, mix them with more subtle and neutral designs to create a harmonious overall look. Distribute colors and patterns evenly throughout the quilt to achieve visual balance.
- Storytelling: Use your quilt design to weave a story. Arrange the t-shirts in a way that flows naturally, showcasing the progression of events or the chronology of the memories you want to preserve. Consider adding other fabrics or elements that complement the t-shirts and enhance the storytelling aspect.
- Mock-Up: Before you start cutting and sewing, consider creating a mock-up using paper or fabric scraps. This will allow you to visualize your design and make any necessary adjustments before committing to the final layout.
Remember that the design phase is a creative and flexible process. Don’t be afraid to try different options and experiment with your layout. Trust your instincts and go with what feels right for your memory quilt.
Once you have finalized your design, it’s time to start cutting the t-shirts and creating the blocks for your quilt. In the next section, we will guide you through the process of cutting the t-shirts to ensure they fit seamlessly together in your quilt.
Read more: How To Make A T-Shirt Quilt
Cutting the T-Shirts
Now that you’ve designed your memory quilt and finalized the layout, it’s time to start cutting the t-shirts. This step is crucial as it determines the size and shape of each quilt block. Follow these steps to ensure clean and accurate cuts:
- Measure and Mark: Start by measuring the desired size of each t-shirt block. Use a quilting ruler to mark the measurements directly on the shirt, ensuring that each block is consistent in size.
- Add Seam Allowance: Account for the seam allowance when marking the measurements on the t-shirts. Typically, a ¼ inch or ½ inch seam allowance is recommended. This additional fabric will be used for sewing the quilt blocks together.
- Cut Carefully: Using fabric scissors, cut along the marked lines to separate the t-shirts into individual blocks. Take your time and cut as accurately as possible to create clean edges.
- Label the Blocks: As you cut each t-shirt block, consider labeling them to keep track of their original placement in your design. This will be helpful during the quilting process when you start assembling the blocks.
- Handle Graphics and Logos: If your t-shirts have graphics or logos that you want to include as part of the quilt block, cut around them carefully to preserve the design. If needed, use a stabilizer like fusible interfacing to reinforce any delicate areas.
When cutting the t-shirts, remember to take your time and be precise. Accuracy in cutting will ensure that your quilt blocks fit together neatly, resulting in a polished final product.
Once you have cut all the t-shirts into blocks, lay them out according to your design. Take a moment to double-check the placement and make any necessary adjustments before moving on to sewing the quilt top.
In the next section, we will guide you through the process of arranging the t-shirt blocks and sewing them together to create the quilt top.
When making a memory quilt from t-shirts, be sure to stabilize the fabric with interfacing to prevent stretching and distortion while sewing. This will help ensure that your quilt turns out neat and professional-looking.
Arranging the T-Shirt Blocks
With your t-shirt blocks cut and labeled, it’s time to arrange them in the desired pattern for your memory quilt. The arrangement of the blocks will ultimately determine the overall look and feel of your quilt. Follow these steps to successfully arrange your t-shirt blocks:
- Clear Workspace: Start by creating a clear and spacious workspace to lay out your t-shirt blocks. This will allow you to see the design as a whole and make it easier to rearrange the blocks if needed.
- Refer to Your Design: Consult your design plan or mock-up as a reference. Use it to guide the arrangement of the t-shirt blocks according to your desired pattern, theme, or story.
- Consider Color and Contrast: Think about how the colors and patterns of the t-shirts interact with one another. Arrange blocks with contrasting colors next to each other to create visual impact. Experiment with different combinations until you find a layout that pleases you.
- Balance and Symmetry: Strive for balance and symmetry in your quilt design. Distribute visually weighty or colorful t-shirts evenly throughout the arrangement to create a harmonious look.
- Try Different Layouts: Don’t be afraid to experiment with different arrangements. Rearrange the blocks to explore different possibilities and find the layout that speaks to you.
- Take Photos: Consider taking photos of different arrangements to help you compare and evaluate each one. This visual reference can assist you in making the final decision on the arrangement of your t-shirt blocks.
Remember, designing your quilt is a creative and personal process, so trust your instincts and go with what resonates with you. Once you’re satisfied with the arrangement, it’s time to start sewing the t-shirt blocks together to create the quilt top.
In the next section, we will guide you through the process of sewing the t-shirt blocks together and creating a cohesive quilt top.
Sewing the Quilt Top
Now that you have arranged the t-shirt blocks to your satisfaction, it’s time to sew them together to create the quilt top. Follow these steps to ensure that your quilt top is well-constructed and visually appealing:
- Gather your T-Shirt Blocks: Collect the labeled t-shirt blocks according to your chosen arrangement. Having them organized and easily accessible will make the sewing process smoother.
- Align and Pin the Blocks: Take the first two blocks that will be sewn together. Place them right sides together, aligning the edges that will be sewn. Use pins to secure the blocks in place, ensuring that they don’t shift during sewing.
- Prepare your Sewing Machine: Set up your sewing machine with a coordinating thread color. If desired, attach a walking foot or a quilting foot to ensure even feeding of the fabric as you sew.
- Sew with a Straight Stitch: Starting with a quarter-inch seam allowance, sew the two blocks together using a straight stitch. Backstitch at the beginning and end of the seam to secure it. Continue sewing the remaining blocks in the same way, adding one block at a time until the entire quilt top is assembled.
- Press the Seams: After sewing each seam, press the seam allowances flat using an iron. This will make the quilt top lay flat and create a professional look.
- Check for Alignment: As you sew the blocks together, periodically check to ensure that the seams align correctly. Adjust the fabric if needed to maintain a consistent seam allowance and a straight overall design.
- Trim Excess Threads and Refine: Once the quilt top is assembled, trim any excess threads and neaten any uneven edges. This will give your quilt top a clean and polished appearance.
By following these steps, you will achieve a well-constructed and visually pleasing quilt top. Take care to sew with accuracy and precision, paying attention to the alignment of the blocks as you stitch them together.
Once you have completed sewing the quilt top, you can move on to adding borders to enhance the design and create a finished look. In the next section, we will guide you through the process of adding borders to your memory quilt.
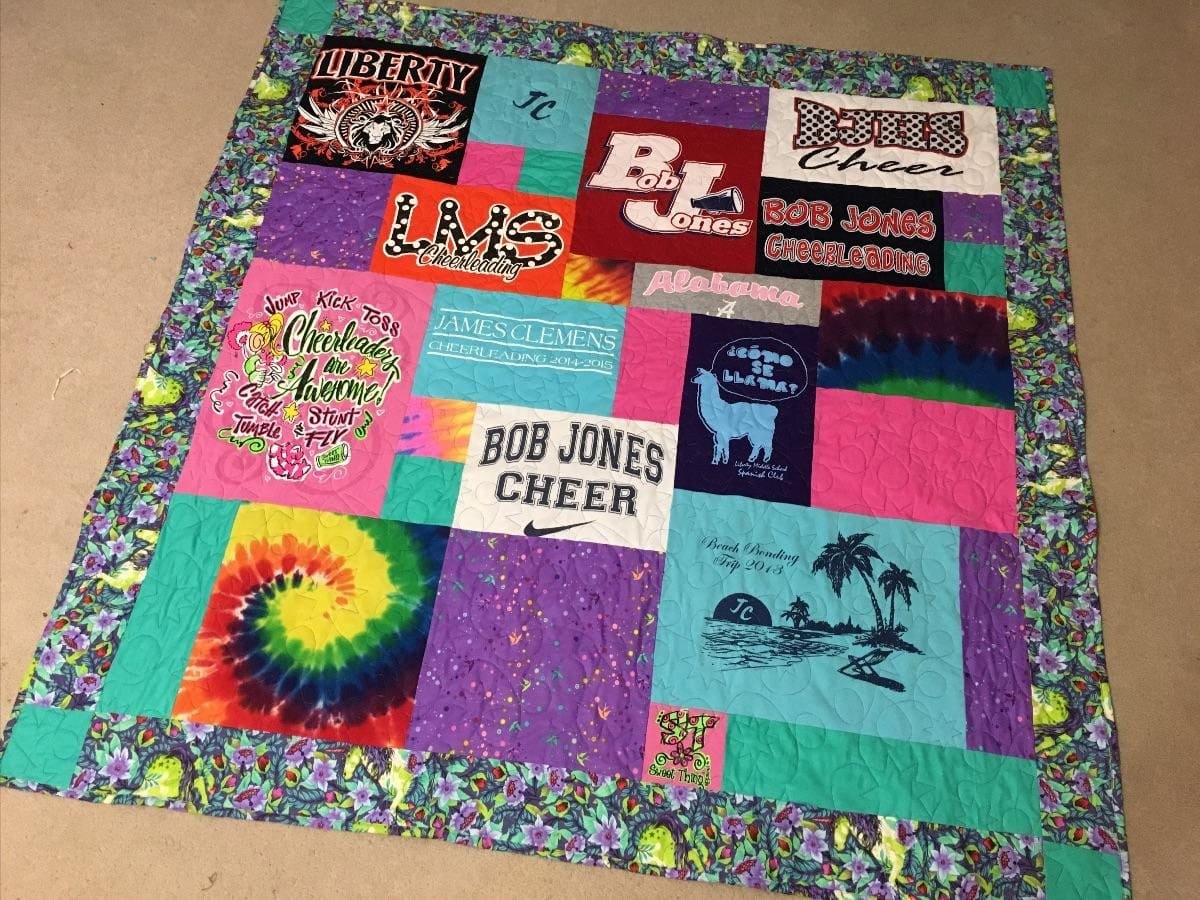
Adding Borders
Adding borders to your quilt not only enhances its design but also provides a finished look. Borders can frame the quilt and create a cohesive boundary for the quilt’s overall design. Follow these steps to successfully add borders to your memory quilt:
- Measure the Quilt Top: Start by measuring the length and width of your quilt top. Take accurate measurements to determine the size of the border strips that you’ll need.
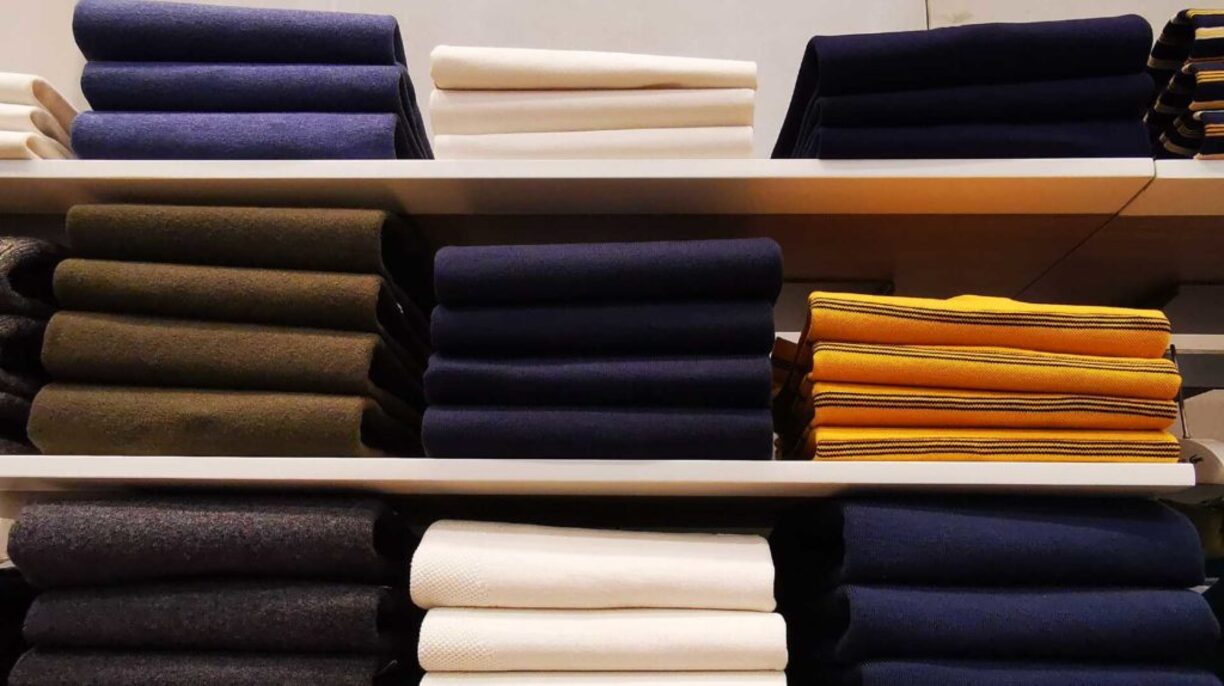
- Select Border Fabric: Choose a fabric that complements the colors and patterns of your t-shirts. Consider using a solid or a print that enhances the overall design of your quilt.
- Cut Border Strips: Using a quilting ruler and fabric scissors, cut several strips of fabric for the borders. The width of the strips will depend on your desired border size. Typically, borders range from 2 to 6 inches in width.
- Attach the Borders: Begin by sewing the vertical borders to the sides of the quilt top. Place the right side of the border fabric against the right side of the quilt top and align the edges. Sew the border strip to the quilt top using a quarter-inch seam allowance. Press the seam towards the border fabric and repeat the process for the other vertical border. Next, attach the horizontal borders in the same manner, starting with the top and bottom borders.
- Trim and Square Up: Once the borders are attached, trim any excess fabric and square up the quilt top. Ensure that the borders are straight and the quilt top is even on all sides.
- Press the Borders: After attaching the borders, press them flat using an iron. This not only makes the borders lay flat but also gives the quilt a professional finish.
Remember, the addition of borders can significantly enhance the appearance of your memory quilt. Take your time and ensure that the borders are sewn on straight and aligned properly with the quilt top.
Now that you have added the borders, the next step in creating your memory quilt is quilting the layers together. In the following section, we will guide you through this process, which adds both texture and stability to your quilt.
Read more: How To Make A T-shirt Quilt For Beginners
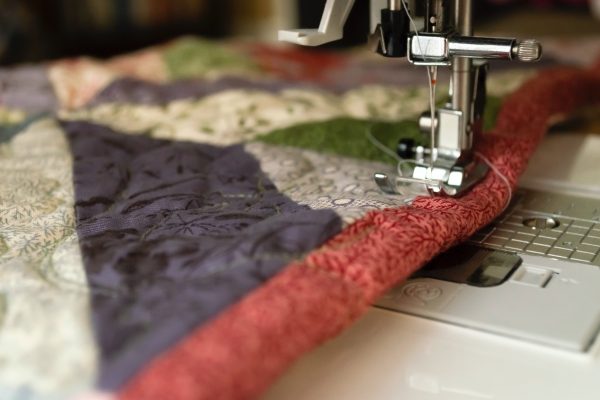
Quilting the Layers
Quilting is the process of stitching the three layers of your quilt – the quilt top, batting, and backing fabric – together. This step not only adds texture and visual interest to your memory quilt but also provides stability and ensures that the layers remain securely in place. Follow these steps to successfully quilt your memory quilt:
- Prepare the Layers: Lay the quilt backing fabric on a large, flat surface, right side down. Smooth out any wrinkles or creases, ensuring that the fabric lies flat. Place the batting on top of the backing fabric, followed by the quilt top, right side up. Smooth out any wrinkles in the quilt top and ensure that all layers are aligned and centered.
- Baste the Layers: Secure the layers together by basting. There are several methods you can use, such as hand basting, using safety pins, or using a basting spray. Choose the method that works best for you and ensures that the layers are securely held together before quilting.
- Select Quilting Design: Decide on the quilting design you want to use. You can choose from various options like straight-line quilting, free-motion quilting, or using a quilting stencil. Consider the overall design of your memory quilt and select a quilting pattern that complements it.
- Quilt the Layers: Using your chosen quilting method, begin quilting the layers together. Start in the center of the quilt and work your way outward, ensuring smooth and even stitching. Take your time and maintain a consistent stitch length for a professional finish.
- Secure Loose Threads: As you quilt, periodically check for any loose threads and secure them by either backstitching or knotting. This will prevent unraveling and keep your quilt looking neat.
- Continue Quilting: Work your way across the quilt, quilting all areas according to your chosen design. Take breaks as needed to rest your hands and maintain consistency in your stitching.
- Finish Quilting: Once you have completed quilting the entire quilt, take a step back and inspect your work. Trim any excess batting and backing fabric, making sure the edges are clean and even.
Quilting can be a time-consuming process, but it is essential in completing your memory quilt. Take your time, be patient, and enjoy the experience of adding intricate stitching to your quilt.
Now that you have completed quilting your memory quilt, you’re almost done. All that’s left is to add the final finishing touches.
Finishing Touches
With the quilting complete, it’s time to add the final finishing touches to your memory quilt. These steps will give your quilt a professional look and ensure its durability:
- Trim the Edges: Use a rotary cutter or fabric scissors to carefully trim the excess batting and backing fabric, creating straight and even edges for your quilt.
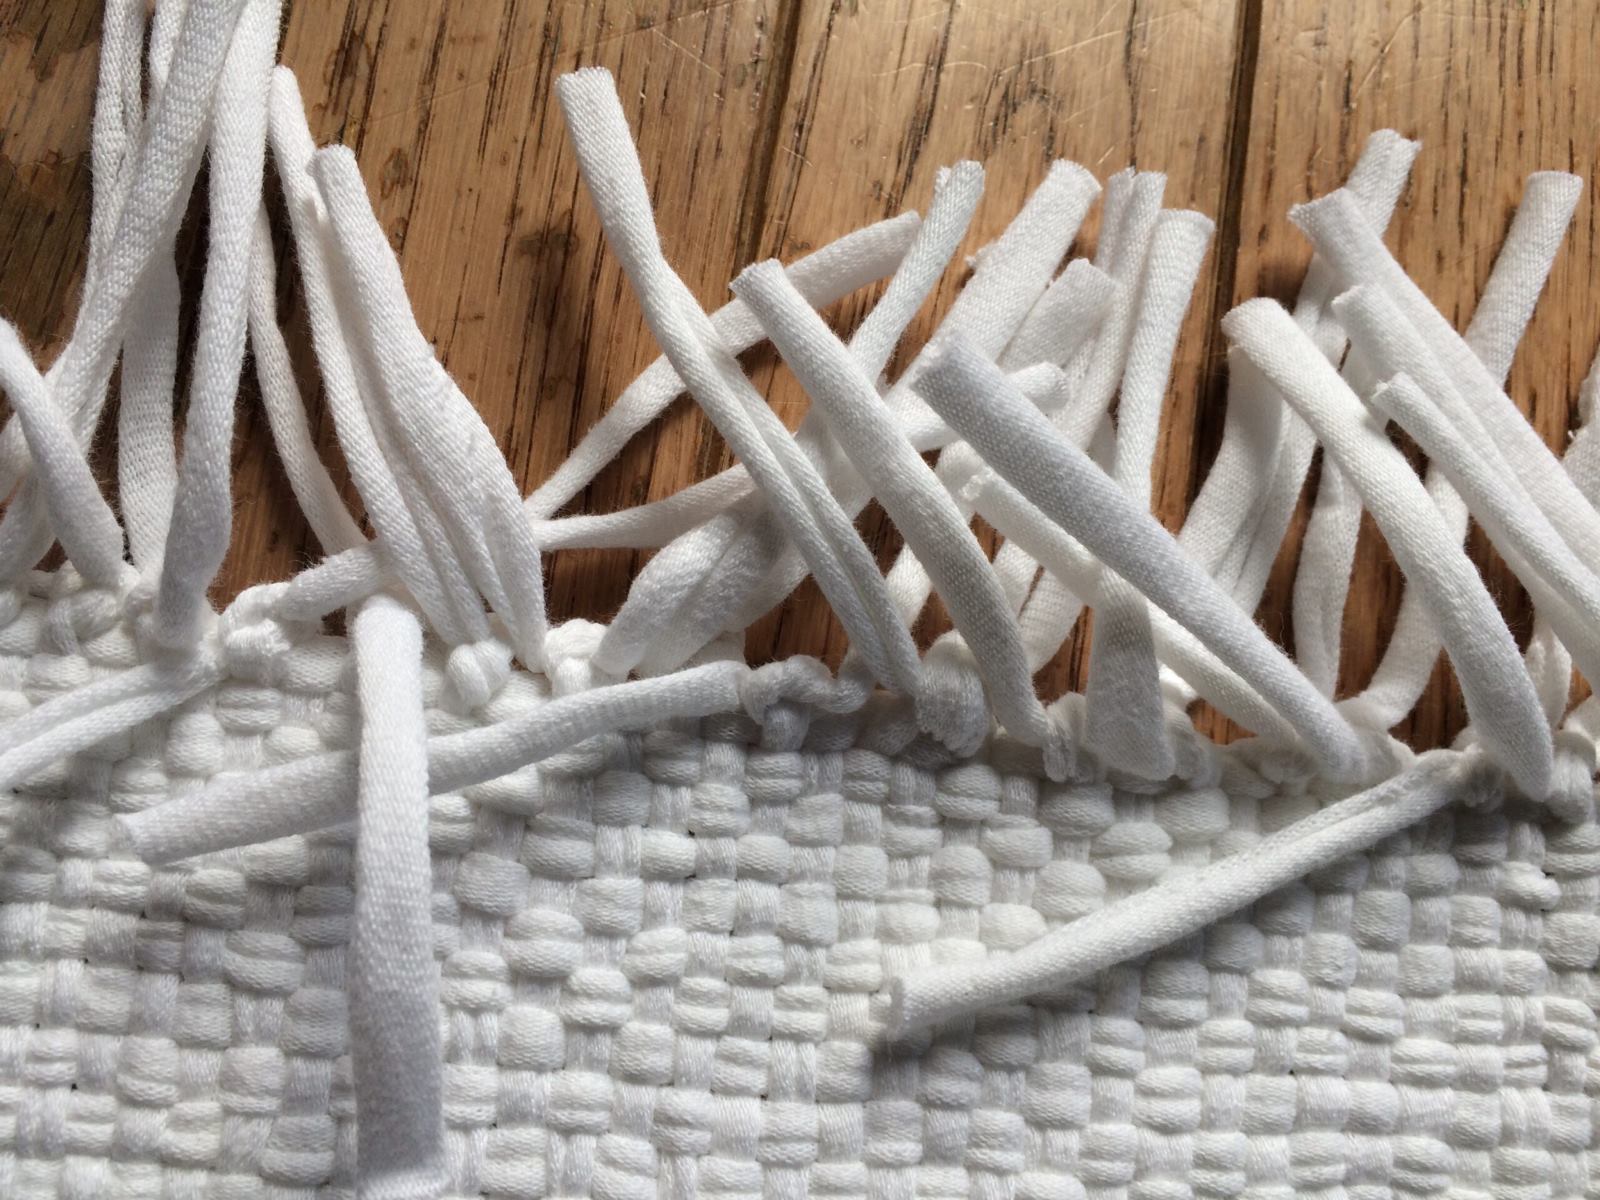
- Create the Binding: Cut fabric strips for the binding, usually 2.5 to 3 inches wide. Fold the strips in half lengthwise and press. Attach the binding to the quilt edges, starting on one side and mitering the corners. Hand sew or machine stitch the binding in place.
- Label Your Quilt: Add a personal touch by including a label on your quilt. This can be a small piece of fabric with your name, the date, and any other meaningful information about the quilt. Hand stitch or machine sew the label to the back of the quilt.
- Give it a Final Press: Once the binding and label are attached, give your quilt a final press. This will help to smooth out any wrinkles and give your quilt a polished appearance.
- Clean and Store Properly: Before displaying or gifting your memory quilt, make sure to give it a gentle cleaning, following the care instructions for the fabric. Once clean, store it in a cool, dry place away from direct sunlight to help preserve its condition.
Remember, the finishing touches are the final steps in completing your memory quilt. Each step adds a professional and personal touch, making your quilt truly special.
Congratulations! By following these steps, you have successfully created a beautiful memory quilt from your cherished t-shirts. Your quilt not only preserves your precious memories but serves as a functional piece of art, providing warmth, comfort, and a lasting reminder of the moments and stories held within each t-shirt block.
Now, display your memory quilt proudly, wrap yourself up in its warmth, or gift it to a loved one to bring joy and nostalgia. Enjoy the memories and the labor of love that went into creating this unique and treasured heirloom.
Thank you for joining us on this journey of making a memory quilt from t-shirts. We hope you have found this guide helpful and inspiring. Happy quilting!
Conclusion
Making a memory quilt from t-shirts is a rewarding and creative process that allows you to transform cherished memories into a tangible and functional piece of art. Throughout this article, we have guided you through the steps of gathering materials, selecting t-shirts, preparing the fabric, designing the quilt, cutting the t-shirts, arranging the blocks, sewing the quilt top, adding borders, quilting the layers, and adding the finishing touches. Each step plays a crucial role in creating a beautiful and meaningful memory quilt.
As you embarked on this journey, you learned how to select t-shirts with sentimental value, handle the fabric with care, arrange the blocks to tell a story, and sew everything together to create a cohesive quilt top. You discovered the importance of accuracy and precision during the cutting and piecing process, and the satisfaction that comes from arranging the blocks in an aesthetically pleasing design.
Quilting the layers added texture and stability to your quilt, while the final finishing touches, such as trimming the edges, adding the binding, and labeling your quilt, gave it a polished and personalized touch. Your hard work and attention to detail have resulted in a beautiful memory quilt that will be cherished for years to come.
Remember, the true value of a memory quilt lies not only in its physical form but also in the memories and stories it represents. Each t-shirt holds a special meaning, reminding you of moments, experiences, and emotions. Your memory quilt captures and preserves those memories, allowing you to revisit them whenever you wrap yourself in its warmth.
We hope that this article has provided you with the guidance and inspiration to embark on your own memory quilt journey. The process may require time, patience, and creativity, but the end result is a truly unique and meaningful creation that reflects your personal experiences.
So, gather your materials, select your t-shirts, and let your creativity flow as you embark on the wonderful journey of making a memory quilt from t-shirts. Enjoy the process, relish the memories, and create a beautiful keepsake that will be treasured for generations to come.
Happy quilting!
Frequently Asked Questions about How To Make A Memory Quilt From T-Shirts
Was this page helpful?
At Storables.com, we guarantee accurate and reliable information. Our content, validated by Expert Board Contributors, is crafted following stringent Editorial Policies. We're committed to providing you with well-researched, expert-backed insights for all your informational needs.
0 thoughts on “How To Make A Memory Quilt From T-Shirts”