
Articles
How To Make A T-shirt Quilt For Beginners
Modified: February 22, 2024
Learn how to make a beautiful t-shirt quilt with easy step-by-step instructions. Perfect for beginners! Discover helpful articles and tips to create your own unique masterpiece.
(Many of the links in this article redirect to a specific reviewed product. Your purchase of these products through affiliate links helps to generate commission for Storables.com, at no extra cost. Learn more)
Introduction
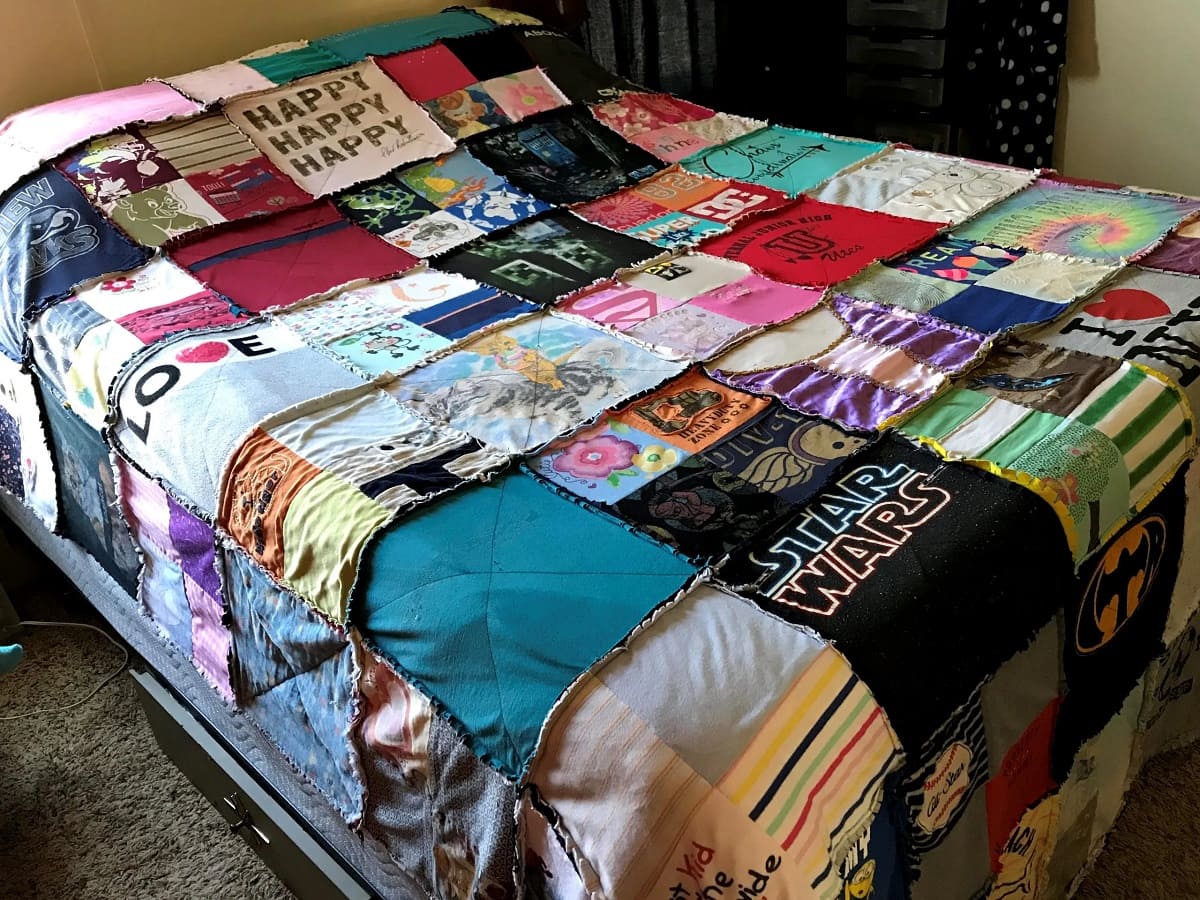
Welcome to the world of quilt-making! Making a t-shirt quilt is a great way to transform your treasured t-shirts into a cozy and meaningful quilt. Not only does it allow you to preserve memories associated with those t-shirts, but it also gives you a practical and personalized keepsake.
In this beginner’s guide, we will walk you through the step-by-step process of making a t-shirt quilt. Whether you are a novice or have some sewing experience, this article will provide you with the necessary information to create your very own quilt.
Before we dive into the details, let’s gather our supplies. It’s important to be well-prepared before starting any project, and quilt-making is no exception.
Key Takeaways:
- Preserve memories and create a cozy keepsake by transforming treasured t-shirts into a personalized quilt. Follow the step-by-step guide to gather supplies, prepare t-shirts, design, sew, and add finishing touches for a meaningful creation.
- Embrace creativity and craftsmanship to design and sew a t-shirt quilt that reflects your personal style. From choosing sentimental t-shirts to adding borders, backing, and binding, enjoy the journey of creating a cherished heirloom.
Gathering Supplies
Before you begin making your t-shirt quilt, you’ll need to gather a few essential supplies. Here’s a list of what you’ll need:
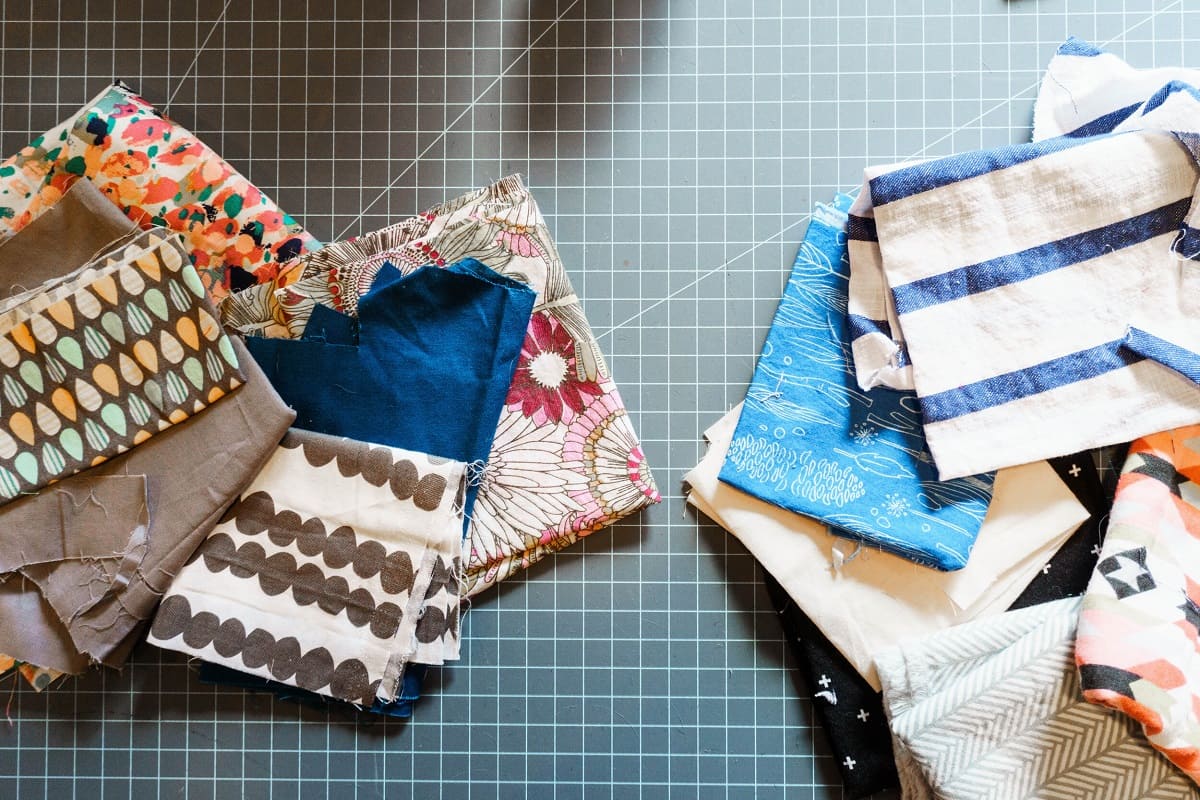
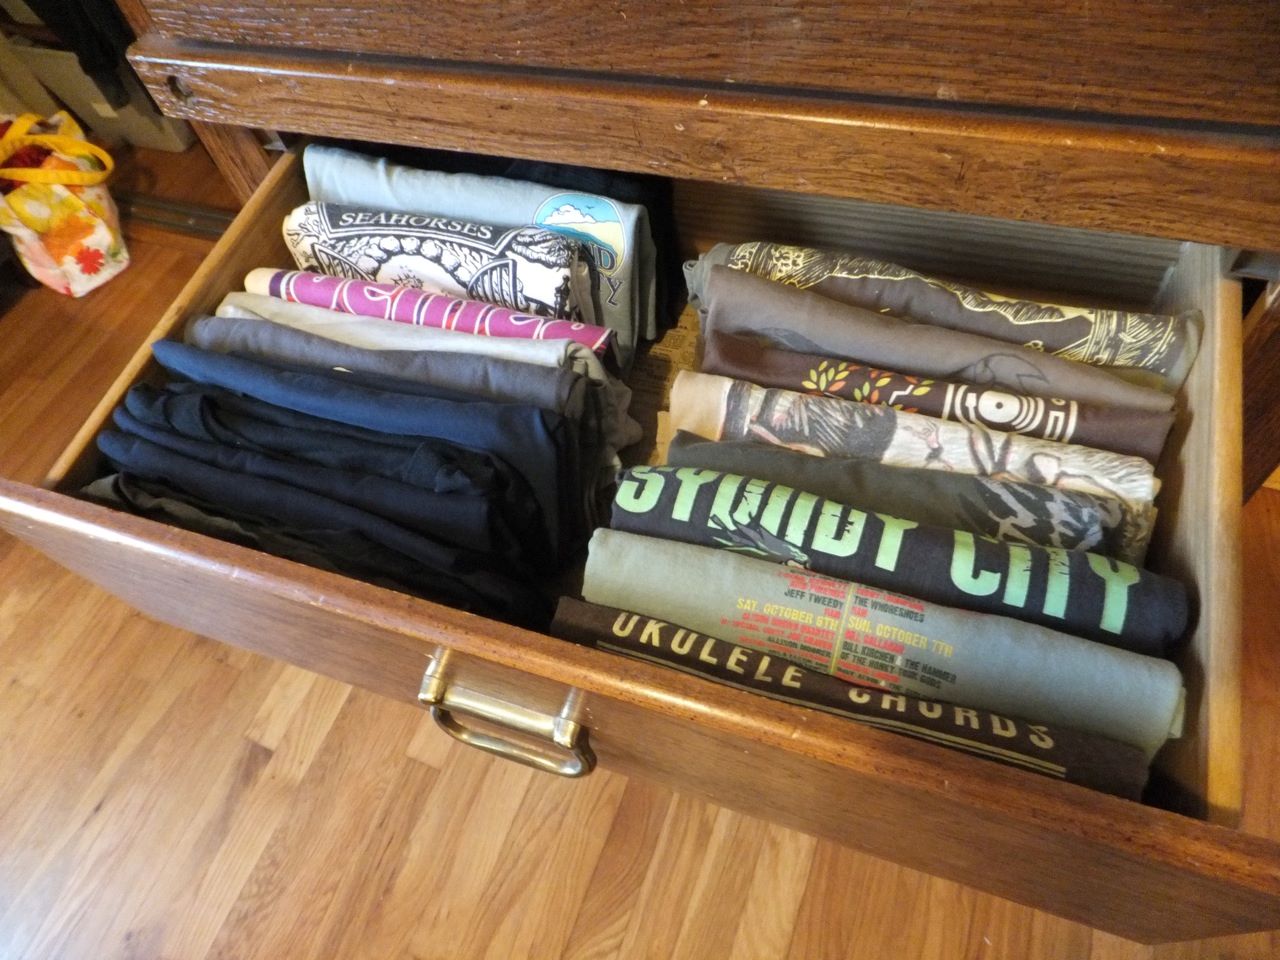
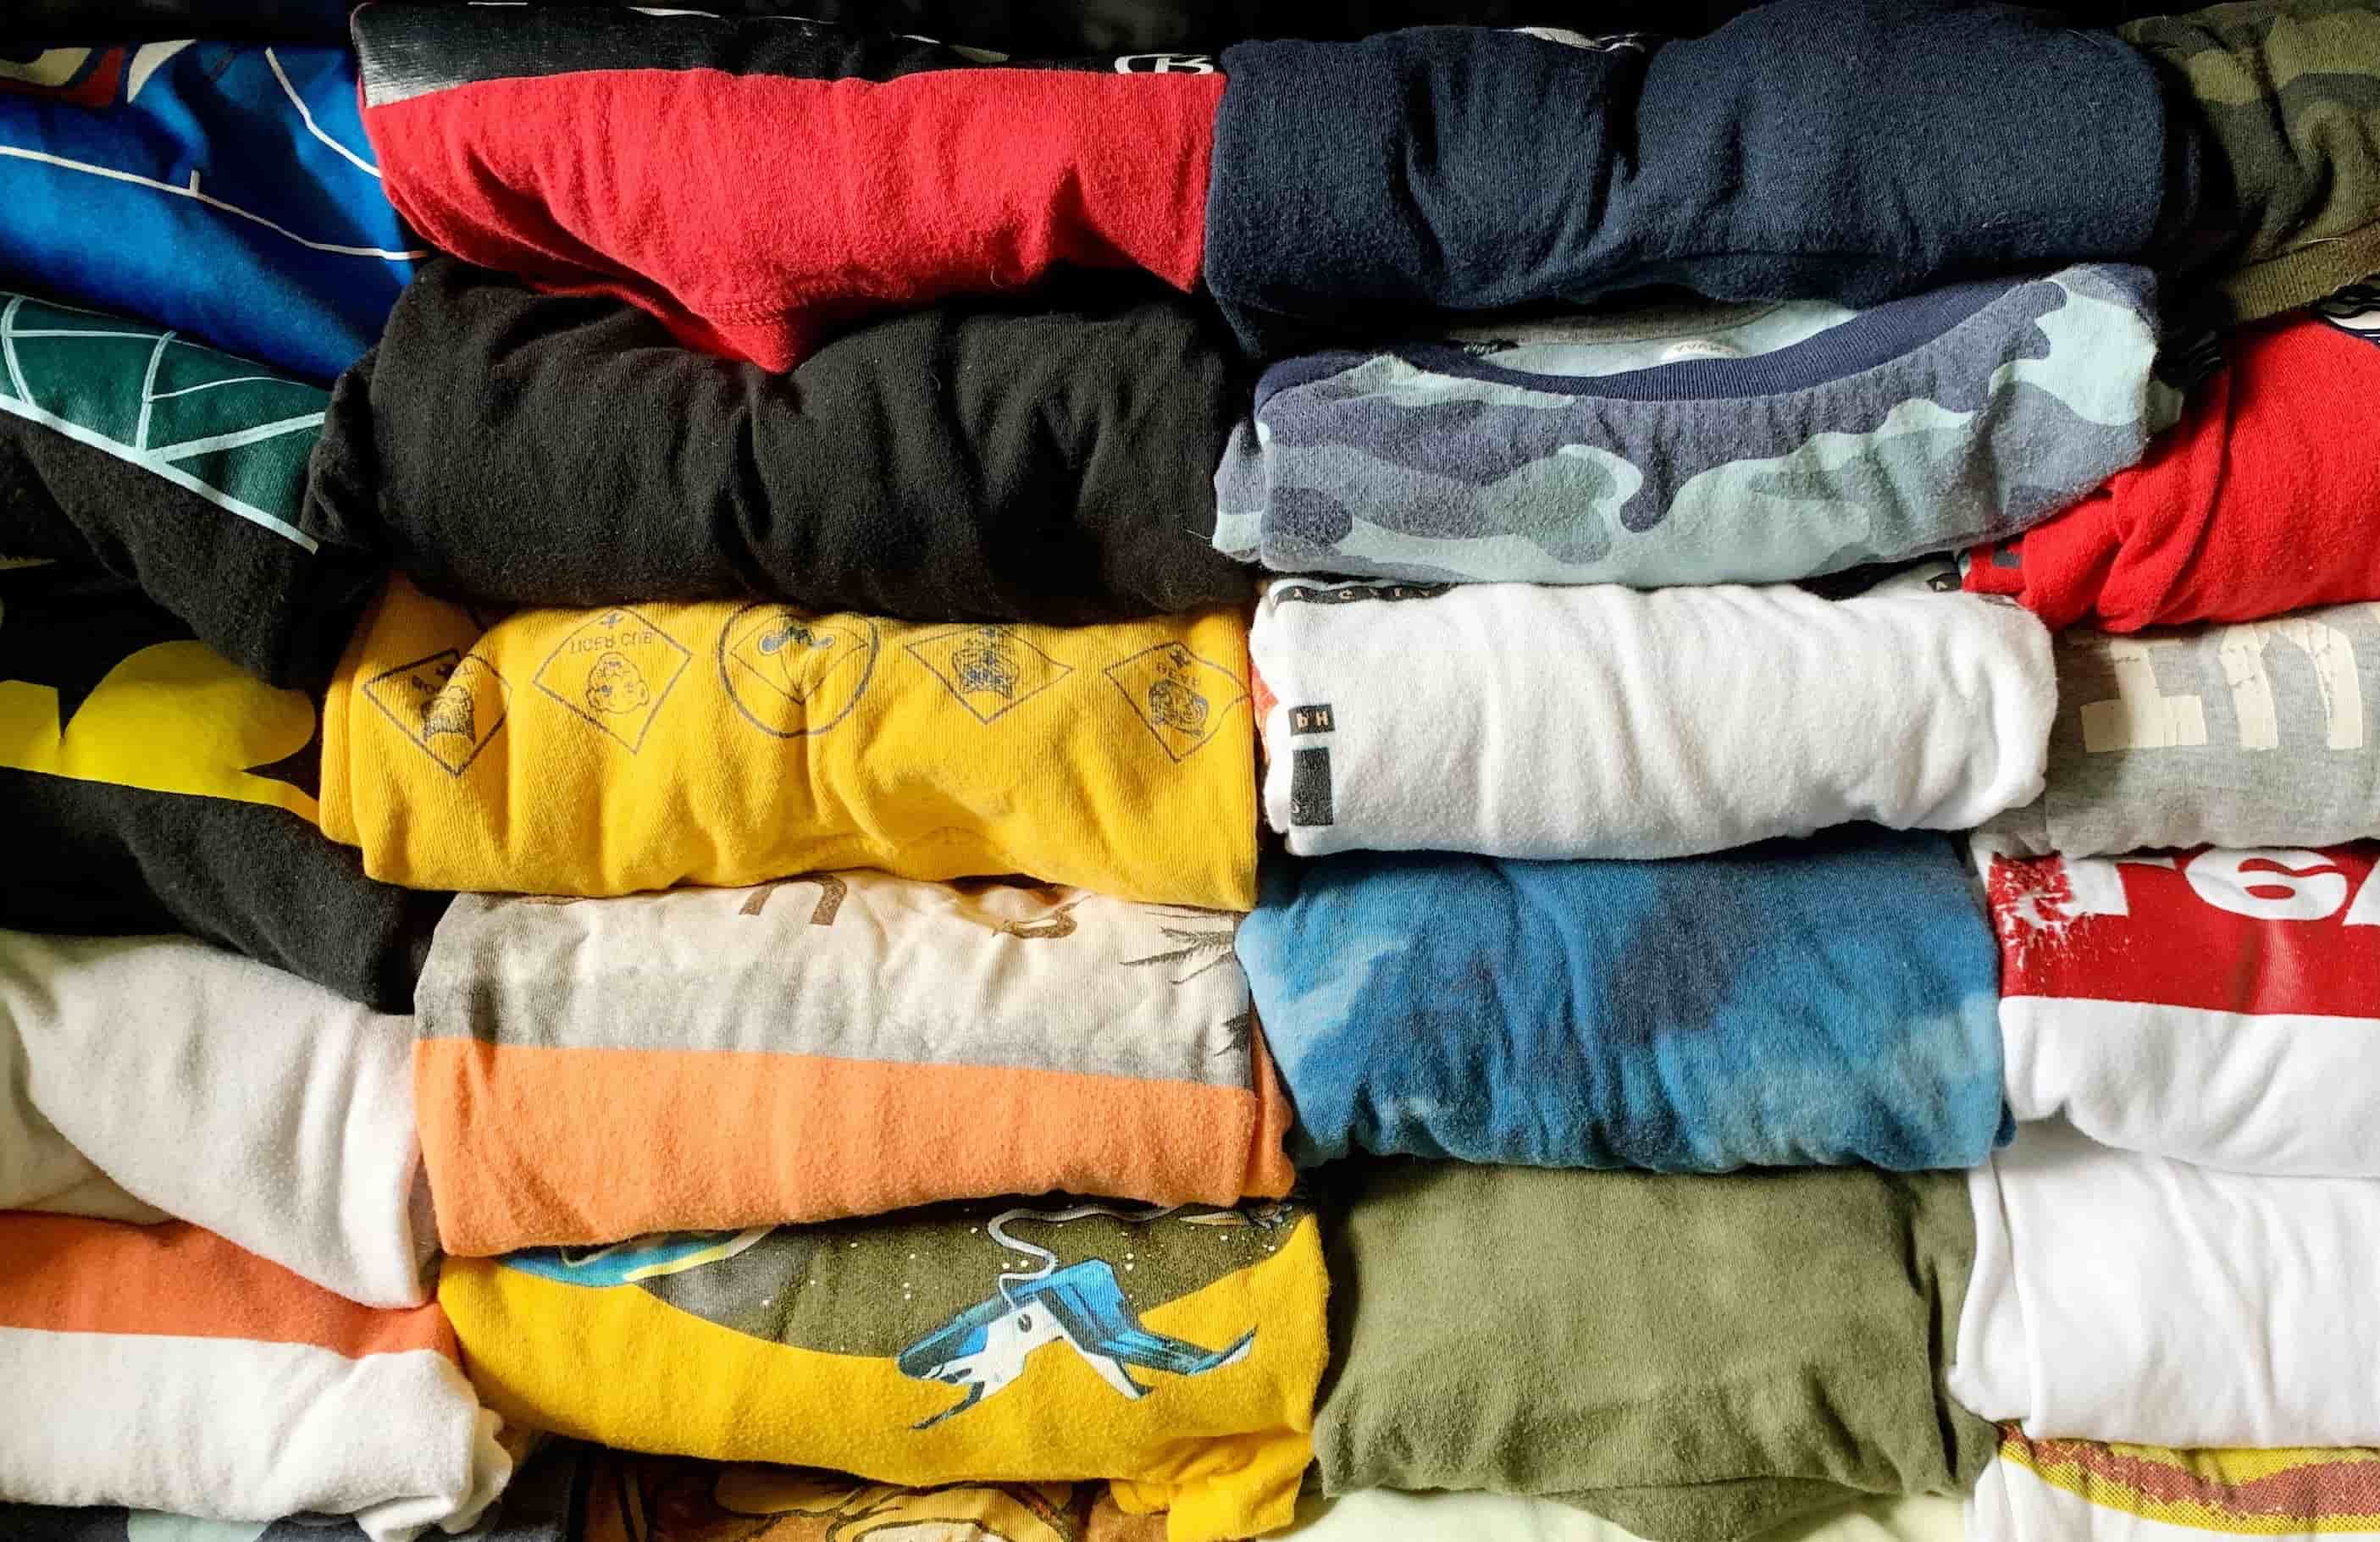
- T-shirts: Choose a collection of t-shirts that hold sentimental value to you. Make sure to wash and dry them before starting the project.
- Fabric for sashing and borders: Select a coordinating fabric that will be used to separate the t-shirt blocks and create borders for your quilt.
- Quilt batting: This is the filling that goes between the quilt top and backing. Choose a batting that suits your desired level of warmth and loftiness.
- Backing fabric: Select a fabric for the backside of your quilt. Make sure it is wide enough to accommodate your quilt top.
- Thread: Choose a high-quality thread that matches the color of your t-shirts and fabric.
- Quilting ruler and rotary cutter: These tools will help you achieve precise and straight cuts on your t-shirt blocks.
- Scissors: Invest in a good pair of fabric scissors for cutting fabric, thread, and any other materials.
- Sewing machine: Having a reliable sewing machine will make the quilting process much easier and faster.
- Pins or clips: These will be used to hold your fabric layers together during the quilting process.
- Iron and ironing board: An iron is essential for pressing your fabric and t-shirt blocks as you work.
Once you have gathered all the necessary supplies, you are ready to move on to the next step, which involves selecting and preparing your t-shirts.
Choosing the T-shirts
Choosing the right t-shirts for your quilt is a crucial step in creating a meaningful and visually appealing design. Here are a few tips to help you select the perfect t-shirts:
- Sentimental Value: Start by selecting t-shirts that hold sentimental value to you. These could be shirts from memorable events, vacations, concerts, or any other meaningful experiences.
- Size and Quantity: Consider the size of your t-shirts and the overall size of your quilt. T-shirts of similar sizes will make it easier to create uniform blocks, and having a good variety of shirts will add interest to your design.
- Condition: Choose t-shirts that are in good condition, without excessive stains, rips, or holes. Keep in mind that you’ll be cutting and sewing these shirts, so it’s important to work with shirts that can withstand the process.
- Design and Colors: Look for t-shirts with interesting designs, logos, or graphics. Consider the color palette of your shirts and how they will work together. Adding variety in colors and patterns will create a visually appealing quilt.
- Balance: Strive for a balanced selection of t-shirts. Avoid overwhelming your quilt with too many shirts of a similar theme or color. Mixing different themes and colors will add depth and interest to your quilt.
Once you have chosen your t-shirts, it’s time to prepare them for the quilting process.
Preparing the T-shirts
Before you can begin working with your t-shirts, you’ll need to prepare them for the quilting process. Follow these steps to ensure your shirts are ready:
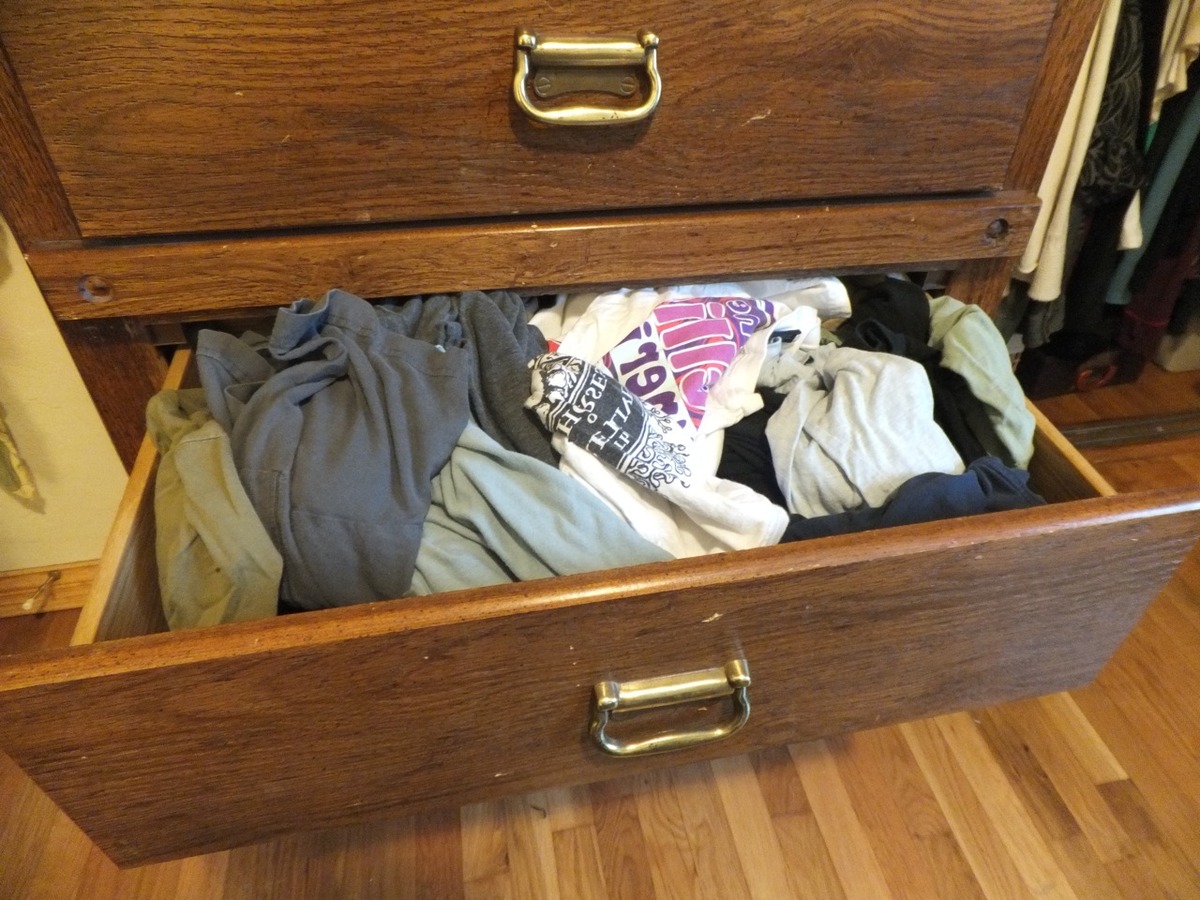
- Wash and Dry: Start by washing and drying all the t-shirts you plan to use. This will remove any dirt, stains, or odors, and also pre-shrink the fabric.
- Stabilize the Shirts: To prevent stretching or distorting the t-shirt fabric, you’ll need to stabilize them. Cut a piece of lightweight fusible interfacing slightly larger than the design area on the shirt. Follow the instructions provided with the interfacing to adhere it to the back of the shirt. This will add stability and prevent stretching during the quilt-making process.
- Trimming: Once the interfacing is in place, trim the excess fabric around the design area of the t-shirt. Use a quilting ruler and rotary cutter for precise cuts.
- Block Sizing: Decide on the size of your t-shirt blocks. A common size is 12 inches by 12 inches, but you can adjust the size based on your preference. Use a quilting ruler to measure and cut each t-shirt block to the desired size.
- Pressing: Before proceeding, press each t-shirt block with a hot iron. This will help eliminate any wrinkles and create crisp, flat blocks for your quilt.
Once you have prepared your t-shirts, you are ready to move on to designing your quilt.
Designing the Quilt
Designing your t-shirt quilt is an exciting step where you can unleash your creativity. Here are some tips to help you in the design process:
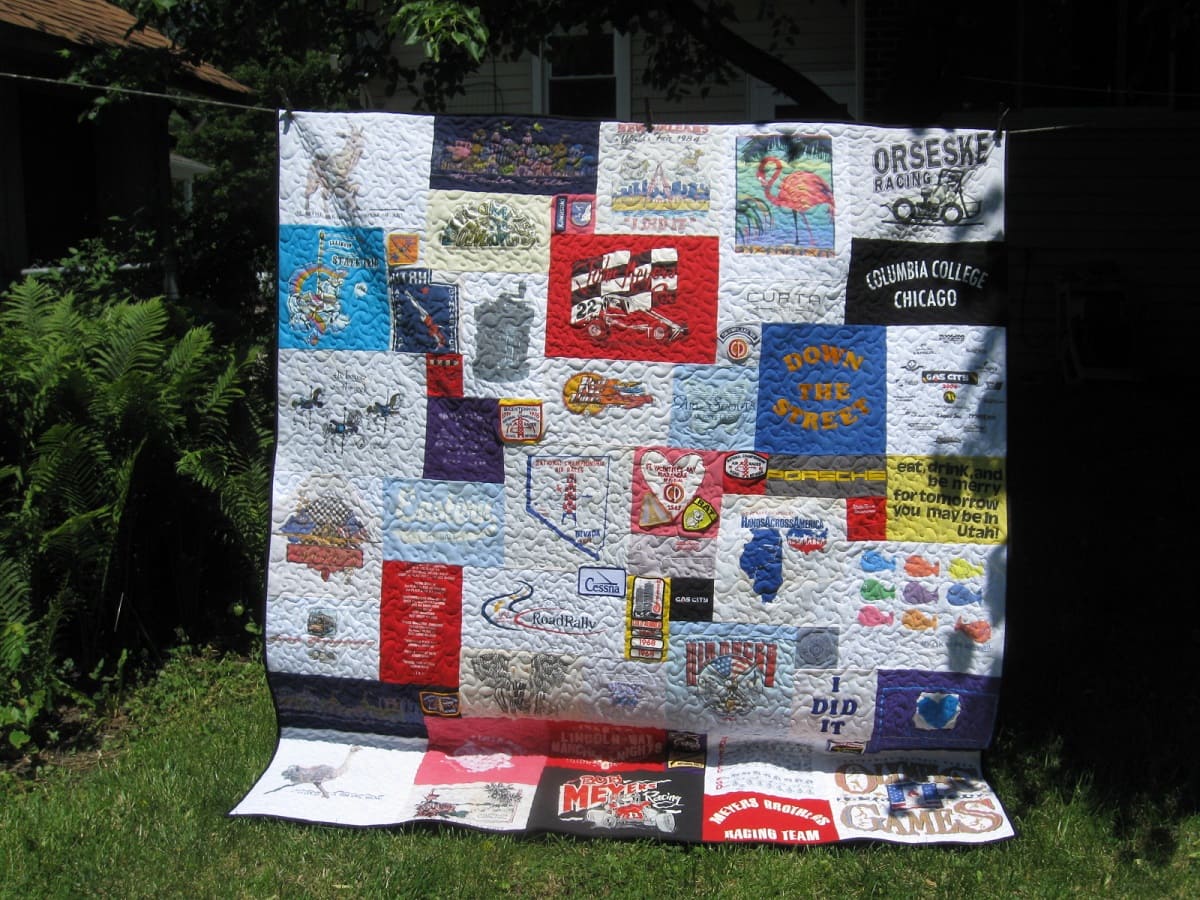
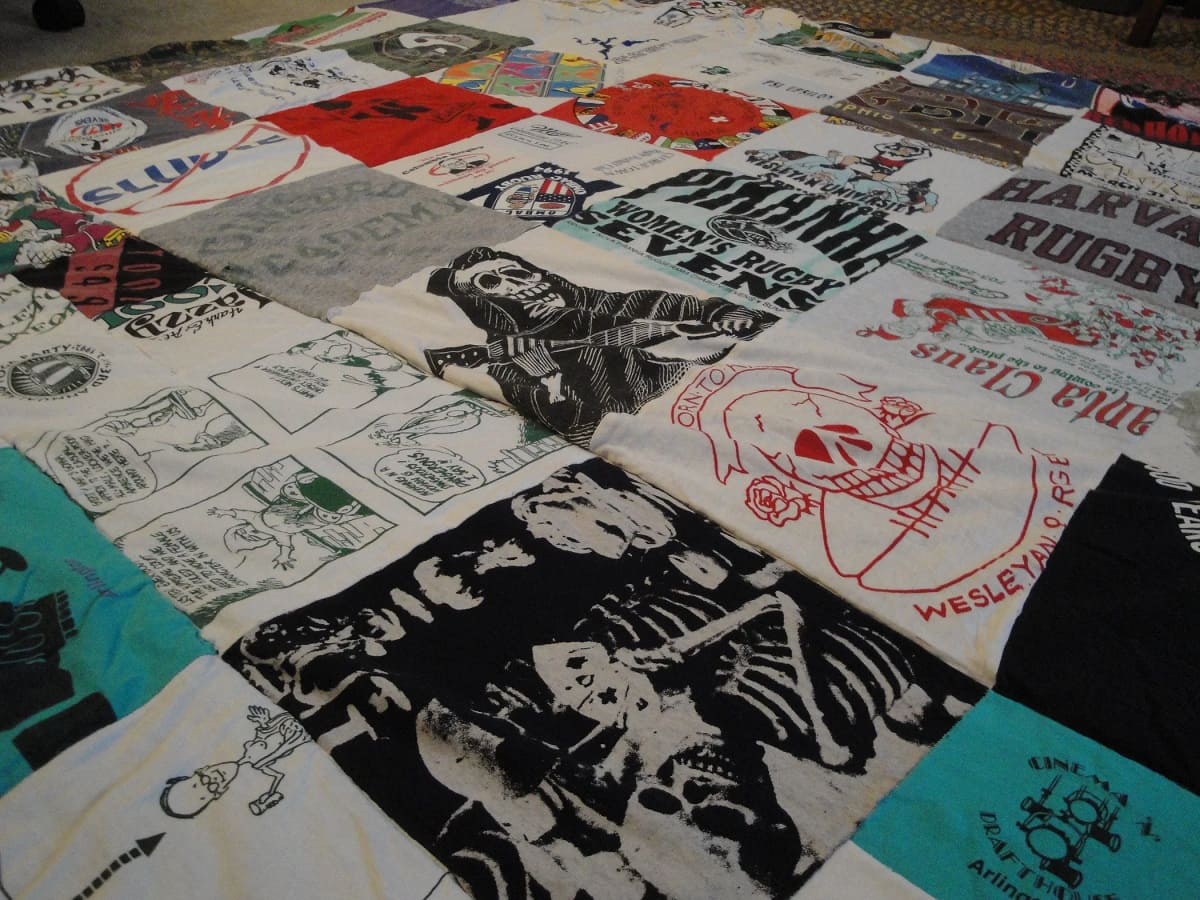
- Layout Options: Consider different layout options for your t-shirt blocks. You can arrange them in a traditional grid pattern, or get creative with a more random or asymmetrical layout. Experiment with different arrangements to find one that you love.
- Balancing Colors and Patterns: Pay attention to the colors and patterns of your t-shirts as you arrange them. Aim for a balanced distribution of colors and patterns throughout the quilt to create visual harmony.
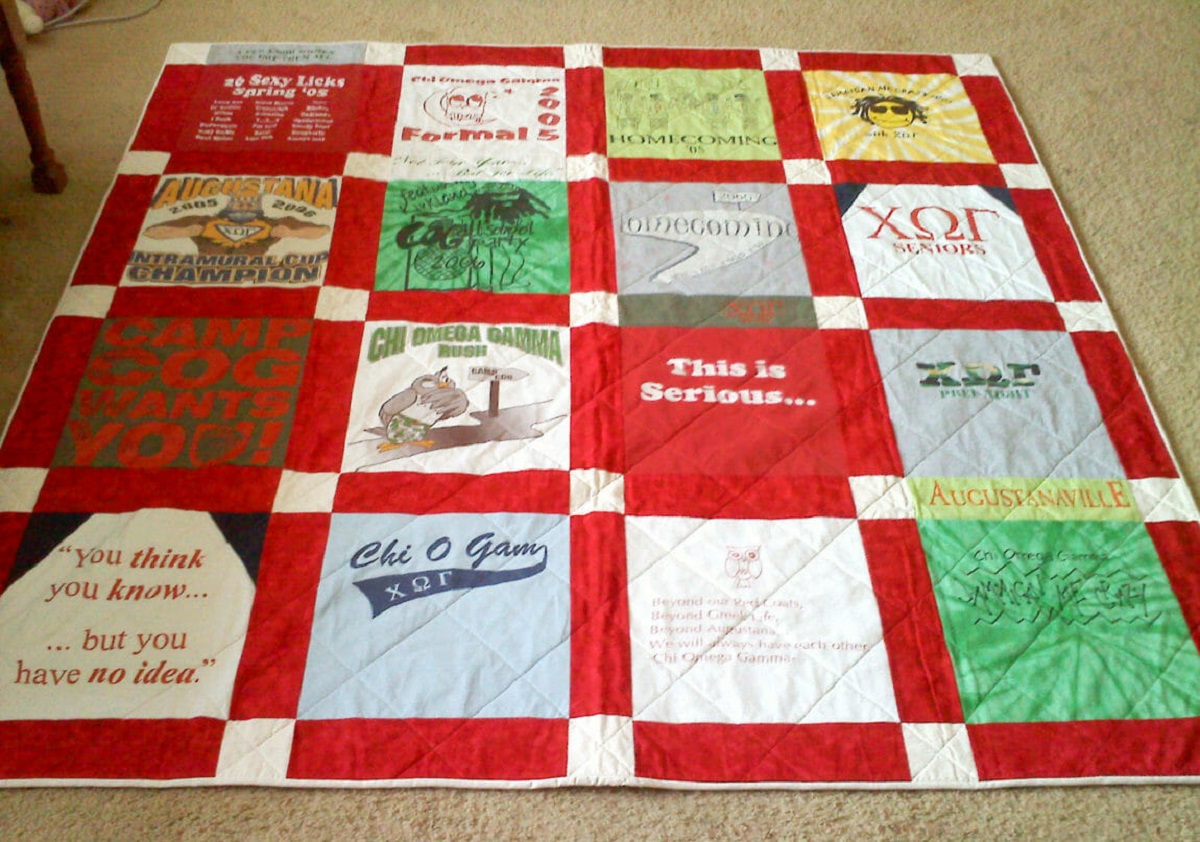
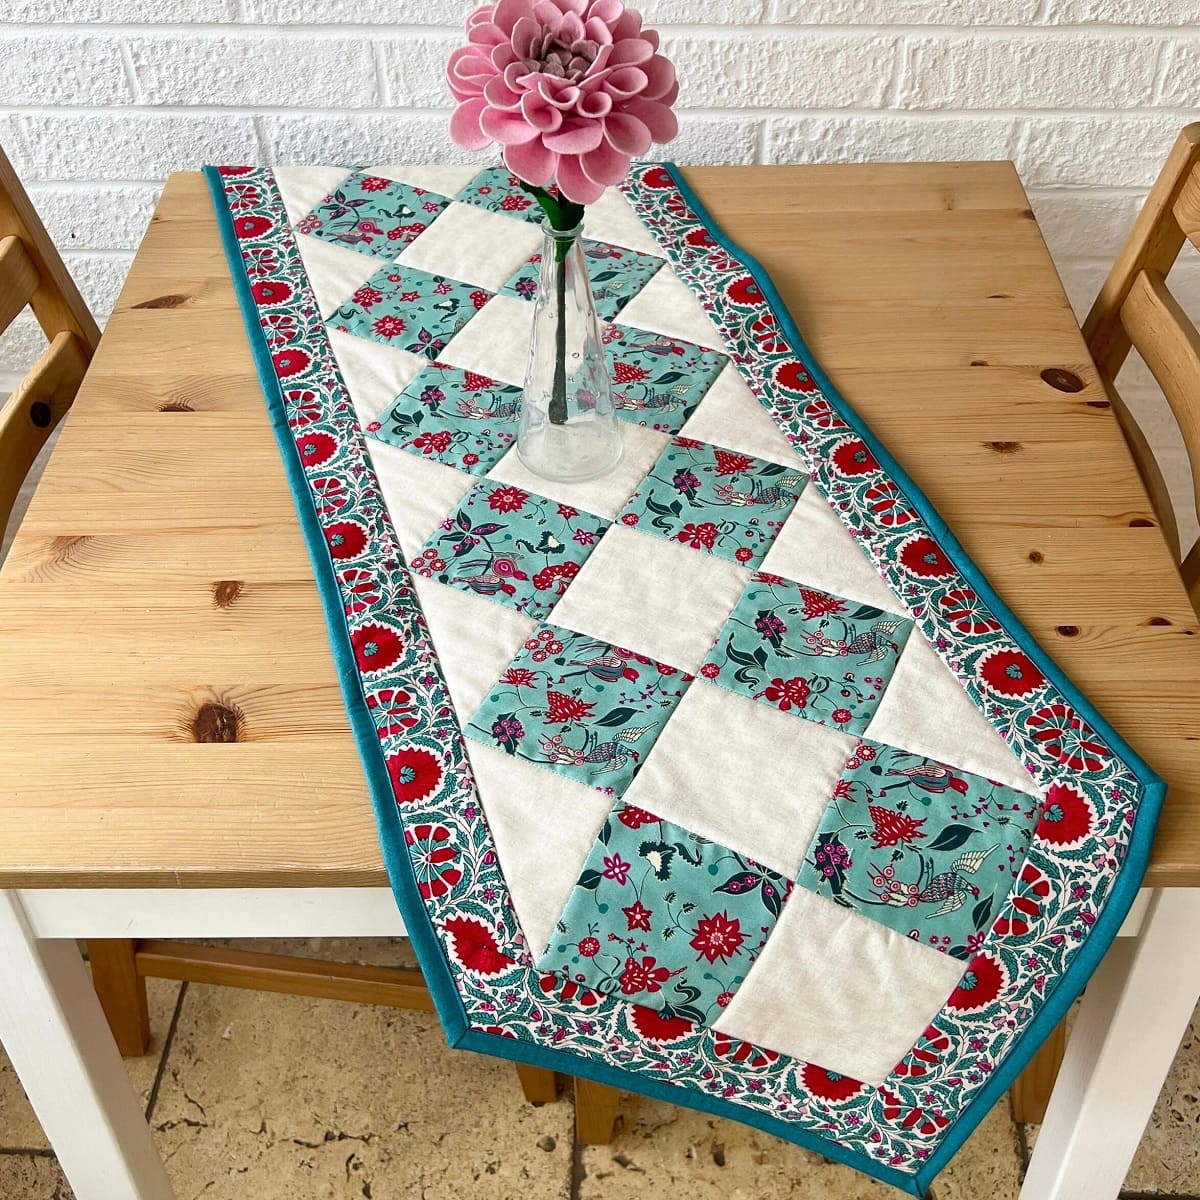
- Add Sashing: You can further enhance your design by adding sashing between the t-shirt blocks. Sashing is strips of fabric that separate each block, and it can be the same color as your t-shirts or a contrasting fabric to make the blocks stand out.
- Consider Borders: Borders can frame your quilt and provide a finishing touch. Choose a fabric that complements the colors in your t-shirts and consider adding multiple borders for added visual interest.
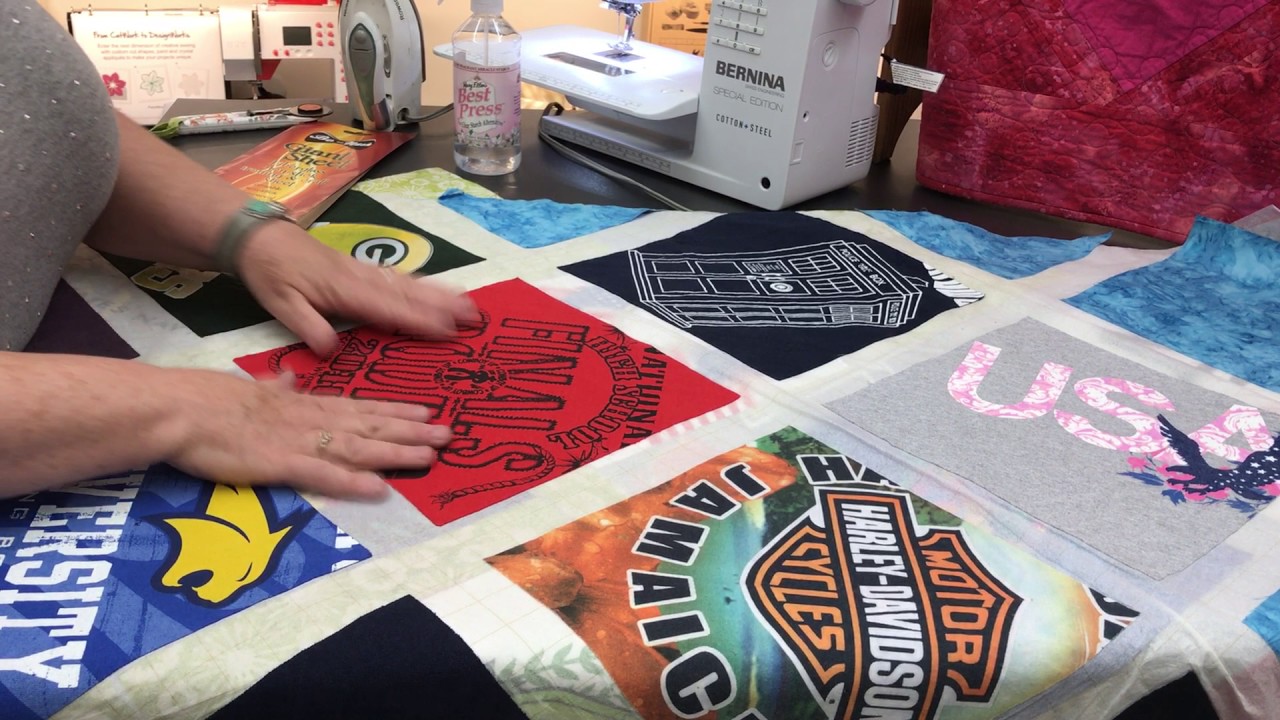
- Mock Layout: Before sewing your t-shirt blocks together, it’s a good idea to create a mock layout. Lay the blocks and sashing on a large flat surface to get a better visual representation of the final design.
Remember that the design process is subjective, and it’s ultimately up to you to create a quilt that reflects your personal style and preferences. Once you’re satisfied with your design, it’s time to move on to cutting the t-shirts.
Read more: How To Make A T-Shirt Quilt
Cutting the T-shirts
Now that you have your t-shirts and design ready, it’s time to start cutting them into usable blocks for your quilt. Follow these steps for accurate and precise cuts:
- Measure and Mark: Determine the size of the t-shirt blocks you want for your quilt. Measure and mark the dimensions on each t-shirt using a quilting ruler and fabric marker or chalk.
- Cut the Front: Lay the t-shirt flat on a cutting surface, making sure it is smooth and free of wrinkles. Use a quilting ruler as a guide and a rotary cutter to cut along the marked lines on the front of the t-shirt.
- Cut the Back: Flip the t-shirt over and repeat the cutting process for the back of the shirt. Ensure that both the front and back cuts align properly.
- Trim Excess Fabric: After cutting the t-shirt blocks, trim any excess fabric or uneven edges to ensure uniformity and neatness.
As you cut the t-shirts, take care to avoid stretching the fabric or distorting the design. It may be helpful to stabilize the fabric with clips or pins before cutting to keep it in place.
Remember to keep the cut pieces organized and labeled according to your design layout. This will make it easier to assemble the blocks later on.
Once you have all your t-shirt blocks cut and ready, it’s time to arrange them into the desired quilt design.
Arranging the Blocks
Now that you have your t-shirt blocks cut and prepared, it’s time to arrange them into the desired design for your quilt. Follow these steps to ensure a visually pleasing layout:
- Lay Out the Design: Start by laying out your t-shirt blocks on a large flat surface, such as a design wall or a clean floor. Arrange them according to your chosen layout, whether it’s a grid pattern, a random arrangement, or any other design you decided on.
- Consider Color Placement: Pay attention to the color distribution across the quilt. Spread out colors and patterns for a balanced look or create intentional color transitions if desired.
- Experiment with Block Orientation: Rotate some blocks to add visual interest. This can create a more dynamic design by breaking up the grid and introducing movement.
- Step Back and Assess: Once you have arranged the blocks, step back and take a moment to assess the overall design. Look for areas that may need adjustment or areas where certain blocks may need to be swapped for better balance.
- Consider Adding Sashing: If you chose to include sashing in your design, lay out the fabric strips between the t-shirt blocks. This will further enhance the overall look and add separation between the blocks.
Remember, designing your quilt layout is a creative process, so don’t be afraid to experiment and try different arrangements until you’re satisfied with the final design.
Once you’re happy with the layout, it’s time to sew the blocks together to create your quilt top.
When making a t-shirt quilt for beginners, be sure to stabilize the t-shirt material with interfacing to prevent stretching and distortion while sewing.
Sewing the Blocks Together
With your t-shirt blocks arranged in the desired design, it’s time to sew them together to create the quilt top. Follow these steps to ensure the blocks are securely joined:
- Organize the Blocks: Start by organizing the blocks in the order you arranged them. This will make it easier to sew them together in the correct sequence.
- Top Stitch or Chain Piece: There are two common methods for sewing the blocks together – top stitching or chain piecing. For top stitching, place two blocks right sides together and sew a quarter-inch seam along one side. Repeat this process for all adjacent blocks until the rows are complete. For chain piecing, sew a quarter-inch seam between each pair of blocks without cutting the thread in between. Once all pairs are sewn, cut the threads and press the seams.
- Press the Seams: After sewing each seam, press it open or to one side. This will create a neater and flatter quilt top, reducing bulk at the seam intersections.
- Join the Rows: Once the blocks are sewn together in rows, it’s time to sew the rows together. Place two adjacent rows right sides together and align the seams. Sew them with a quarter-inch seam allowance, taking care to match block corners.
- Press the Quilt Top: After joining all the rows, press the entire quilt top to set the seams and create a smooth, flat surface.
Throughout the sewing process, accuracy is key. Take your time to ensure that the blocks and rows are aligned correctly, creating a cohesive quilt top.
Once the blocks are securely sewn together, it’s time to add borders and backing to complete the quilt sandwich.
Adding Border and Backing
Now that your t-shirt blocks are sewn together, it’s time to add borders and backing to complete the quilt sandwich. Follow these steps to add the finishing touches:
- Measure for Borders: Measure the sides of your quilt top to determine the length of the borders. Cut fabric strips for the borders, making sure they are wide enough to achieve the desired border width.
- Attach the Borders: Start by sewing the border strips to the sides of the quilt top, aligning the edges and pinning or clipping them in place. Sew with a quarter-inch seam allowance. Press the seams towards the border strips. Repeat this process for the top and bottom border strips.
- Square up the Quilt: After adding the borders, square up the quilt top by trimming any excess fabric and ensuring that all sides are straight and even.
- Prepare the Backing: Measure and cut a piece of backing fabric that is larger than your quilt top. It should be wide enough to accommodate the borders and provide a few extra inches on all sides.
- Layer the Quilt: Lay the backing fabric on a flat surface, right side down. Place the batting on top of the backing and smooth out any wrinkles. Finally, place the quilt top on top of the batting, right side up. Ensure that all layers are aligned and flat.
- Baste the Layers: To hold the layers together, baste them using your preferred method – either with safety pins, basting spray, or hand basting. Start from the center and work your way towards the edges, ensuring that the layers are secure.
Adding the borders and backing not only frames your quilt but also provides stability and helps hold the layers together for quilting. With the layers prepared, it’s time to move on to the quilting process.
Read more: How To Make A Memory Quilt From T-Shirts
Quilting the Layers
Quilting refers to the process of stitching the three layers of your quilt together – the quilt top, batting, and backing. There are several quilting techniques you can choose from, depending on your preference and skill level. Here are a few common methods:
- Hand Quilting: Hand quilting involves stitching the layers together using a needle and thread. This traditional technique allows for intricate designs and a personal touch. It requires patience and practice but can result in beautiful, detailed quilting.
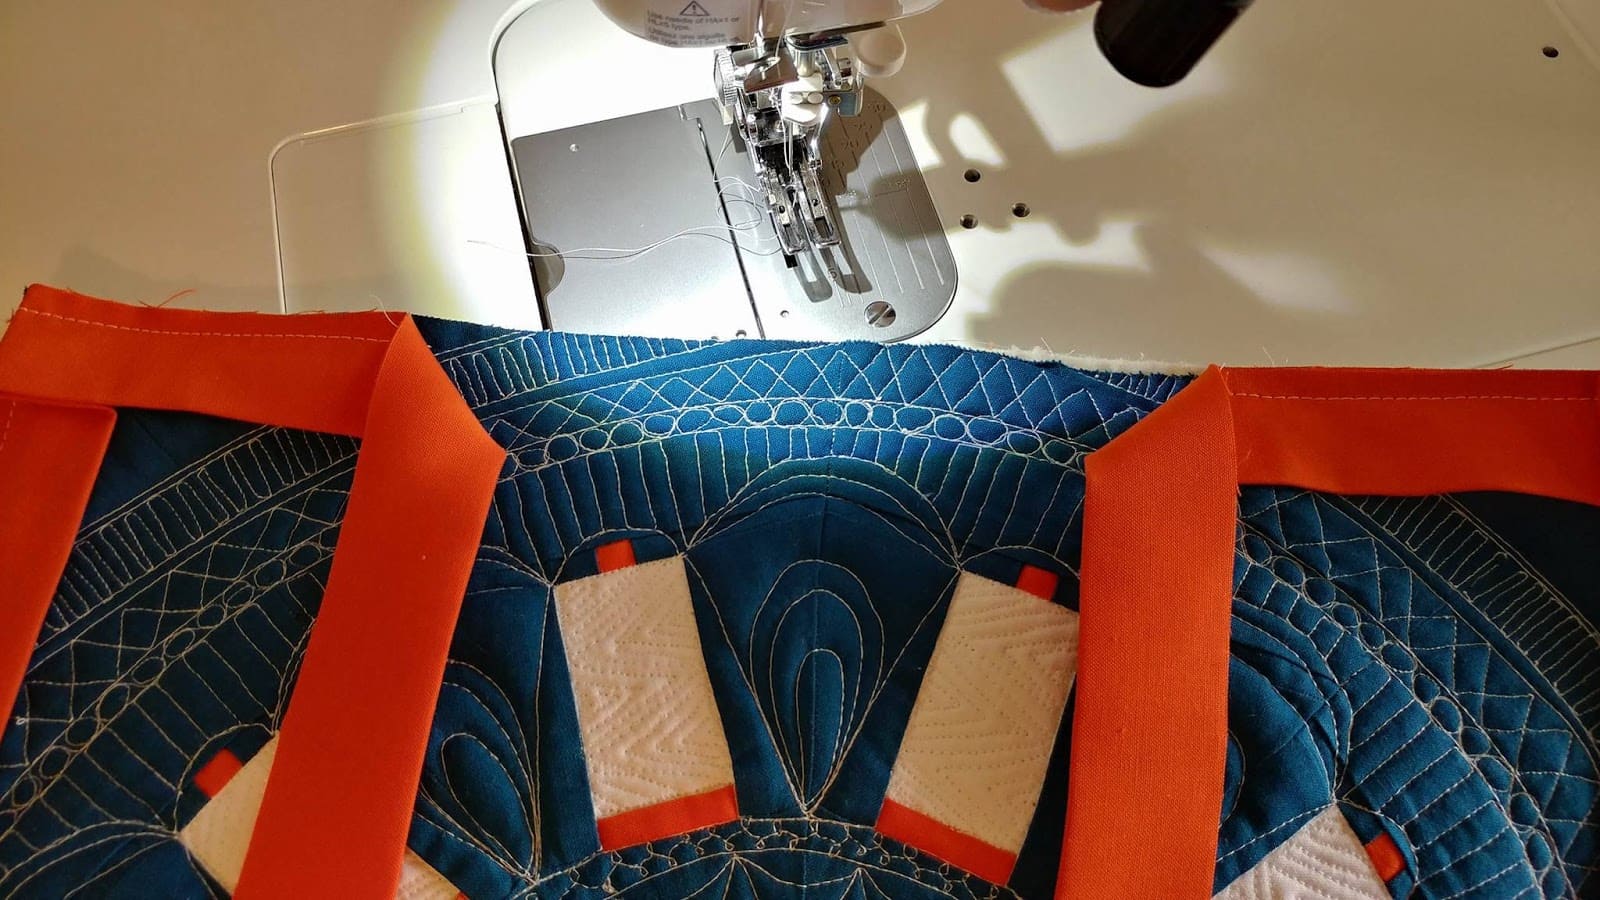
- Machine Quilting: Machine quilting is done using a sewing machine with a walking foot or a free-motion quilting foot. This method is faster and more suitable for larger quilts. It allows for a variety of quilting designs, from straight lines to intricate patterns.
- Longarm Quilting: If you prefer to have your quilt professionally quilted or have a complex design in mind, you can consider using a longarm quilting machine. Longarm quilting machines have a large working area and can create elaborate quilting patterns with ease.
Choose the quilting method that best suits your skills, equipment, and desired outcome. Take your time to plan your quilting design, whether it’s a simple grid, meandering lines, or intricate motifs. Consider using quilting stencils or marking tools to guide your quilting lines.
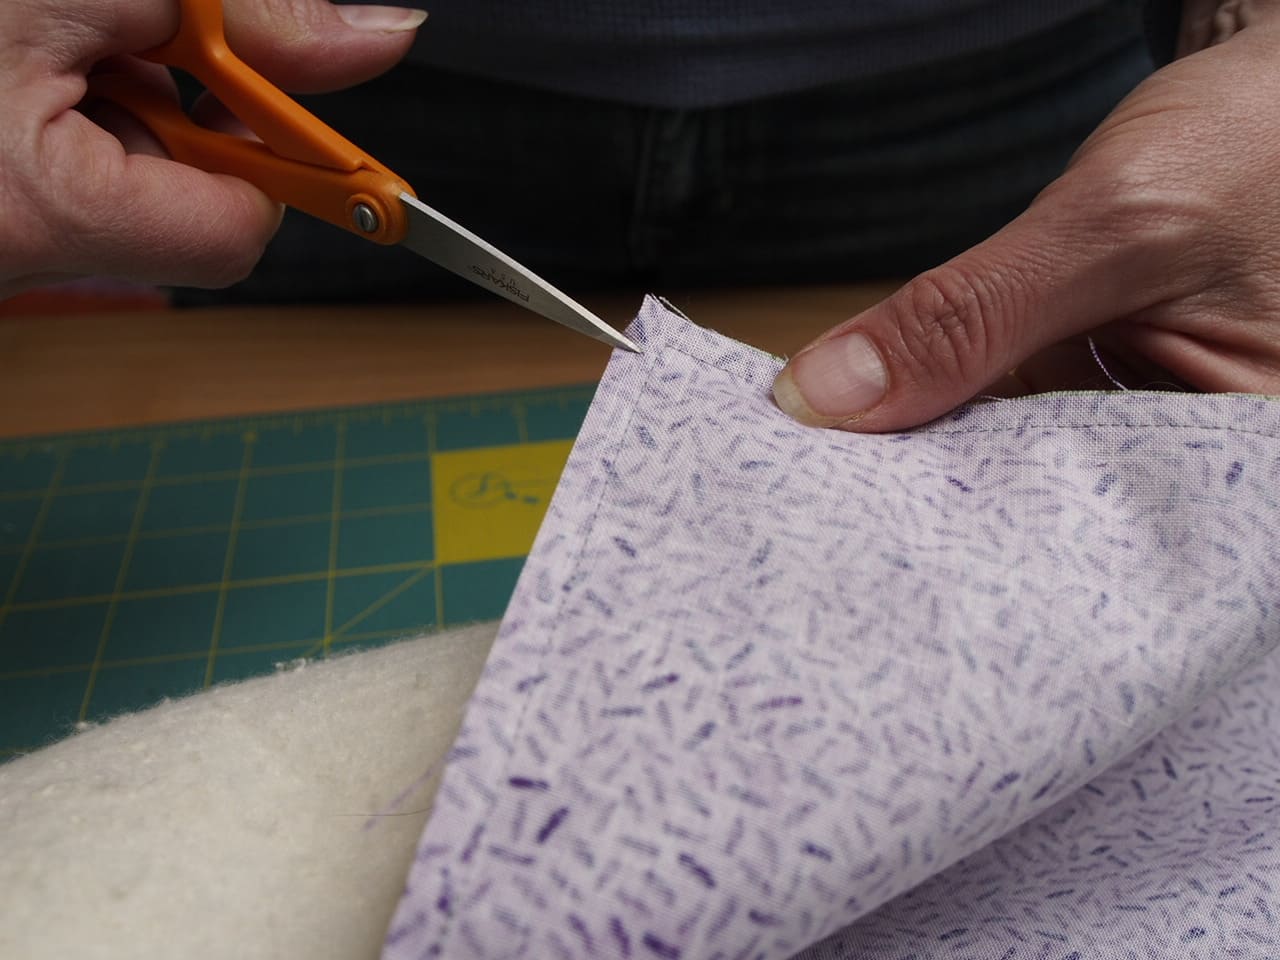
Once you have quilted the layers together, trim any excess batting and backing, ensuring that the edges are straight and even. Your quilt is now ready for the final step – binding.
Binding the Quilt
Binding is the final step in completing your quilt and giving it a polished and finished look. Follow these steps to add the binding:
- Prepare the Binding Strips: Cut fabric strips for the binding, ensuring they are wide enough to cover the raw edges of the quilt sandwich. The length of the strips will depend on the perimeter of your quilt, plus a few extra inches to allow for corners.
- Join the Strips: Sew the binding strips together by aligning the ends at a 45-degree angle and stitching diagonally from corner to corner. Trim the excess fabric and press the seams open or to one side.
- Attach the Binding: Starting in the middle of one side of the quilt, place the raw edges of the binding against the raw edges of the quilt top. Leave a few inches of the binding unstitched at the beginning. Sew the binding to the quilt with a quarter-inch seam allowance, stopping a quarter-inch away from the corner.
- Miter the Corners: When approaching each corner, fold the binding strip up at a 45-degree angle to create a neat mitered corner. Then, fold it back down, aligning the raw edges with the next side of the quilt, and continue sewing.
- Finish the Binding: After sewing around the entire quilt, fold the binding to the backside of the quilt and secure it with clips or pins. Hand stitch the binding to the back of the quilt using a blind stitch or a ladder stitch. Take care to make your stitches invisible on the front and consistent on the back.
- Press and Final Touches: Once the binding is securely attached, press the quilt to ensure all the folds and edges are neat and flat. Check for any loose threads or stray pins that might have been missed.
Binding not only provides a clean and professional finish to your quilt but also ensures that the layers are secured together. Take your time with the binding process to achieve a high-quality result. Once the binding is complete, your quilt is ready to be enjoyed or gifted to a loved one.
Final Touches and Care Instructions
With your quilt finished, there are a few final touches and care instructions to consider:
- Labeling: Add a personalized label to your quilt to document its creation and leave a lasting memory. Include your name, the date, and any other details you’d like to include.
- Quilt Embellishments: If desired, you can add additional embellishments to your quilt, such as embroidery, applique, or fabric paint. These extra details can further enhance the design and make your quilt unique.
- Care Instructions: It’s important to provide care instructions for your quilt to ensure its longevity. Generally, quilts can be machine washed using a gentle cycle with mild detergent. However, always check the specific care instructions for any fabrics or materials used in your quilt.
- Storage: When not in use, store your quilt in a cool, dry place away from direct sunlight to prevent fading or damage. Consider using acid-free tissue paper to protect the quilt from dust and moisture.
- Display and Enjoyment: Display your quilt proudly in your home or gift it to someone special. Quilts are meant to be enjoyed and cherished, so make sure to use and appreciate your hard work.
Remember, the true beauty of a t-shirt quilt lies in its sentimental value and the memories it holds. Each stitch tells a story, and the finished quilt is a testament to your creativity and craftsmanship.
Congratulations on completing your t-shirt quilt! Enjoy the warmth, comfort, and memories it brings as you snuggle up, wrap yourself in its loving embrace, and relive those precious moments captured within each t-shirt block.
Happy quilting!
Conclusion
Congratulations on completing your t-shirt quilt! You have transformed your collection of treasured t-shirts into a meaningful and personalized quilt. Each stitch represents a cherished memory, and your creation is a testament to your creativity and dedication.
Throughout this beginner’s guide, we have explored the step-by-step process of making a t-shirt quilt. From gathering supplies and choosing the perfect t-shirts to designing the layout, cutting the blocks, and sewing them together, you have learned the essential techniques needed to create a beautiful quilt.
By adding borders, backing, and binding, you have brought your quilt to life, giving it a professional finish. The final touches, such as labeling the quilt and considering care instructions, ensure its longevity and add that personal touch.
Remember, quilting is a creative journey, and each quilt is a unique expression of the maker. Embrace your own style, experiment with different designs, and let your imagination run wild. Whether you choose to make a t-shirt quilt for yourself or as a special gift for someone else, the finished product will be a cherished heirloom that holds a special place in your heart.
So gather your supplies, choose your favorite t-shirts, and embark on the adventure of creating your very own t-shirt quilt. Bask in the joy of reliving memories as you piece together the blocks, knowing that your quilt will keep you warm and bring comfort for years to come.
Enjoy the process, let your creativity shine, and happy quilting!
Frequently Asked Questions about How To Make A T-shirt Quilt For Beginners
Was this page helpful?
At Storables.com, we guarantee accurate and reliable information. Our content, validated by Expert Board Contributors, is crafted following stringent Editorial Policies. We're committed to providing you with well-researched, expert-backed insights for all your informational needs.

0 thoughts on “How To Make A T-shirt Quilt For Beginners”