Articles
How To Make A Shiplap Wall
Modified: October 18, 2024
Discover helpful articles on how to create a stunning shiplap wall in your home. Gain tips, tricks, and step-by-step guides to achieve the perfect look.
(Many of the links in this article redirect to a specific reviewed product. Your purchase of these products through affiliate links helps to generate commission for Storables.com, at no extra cost. Learn more)
Introduction
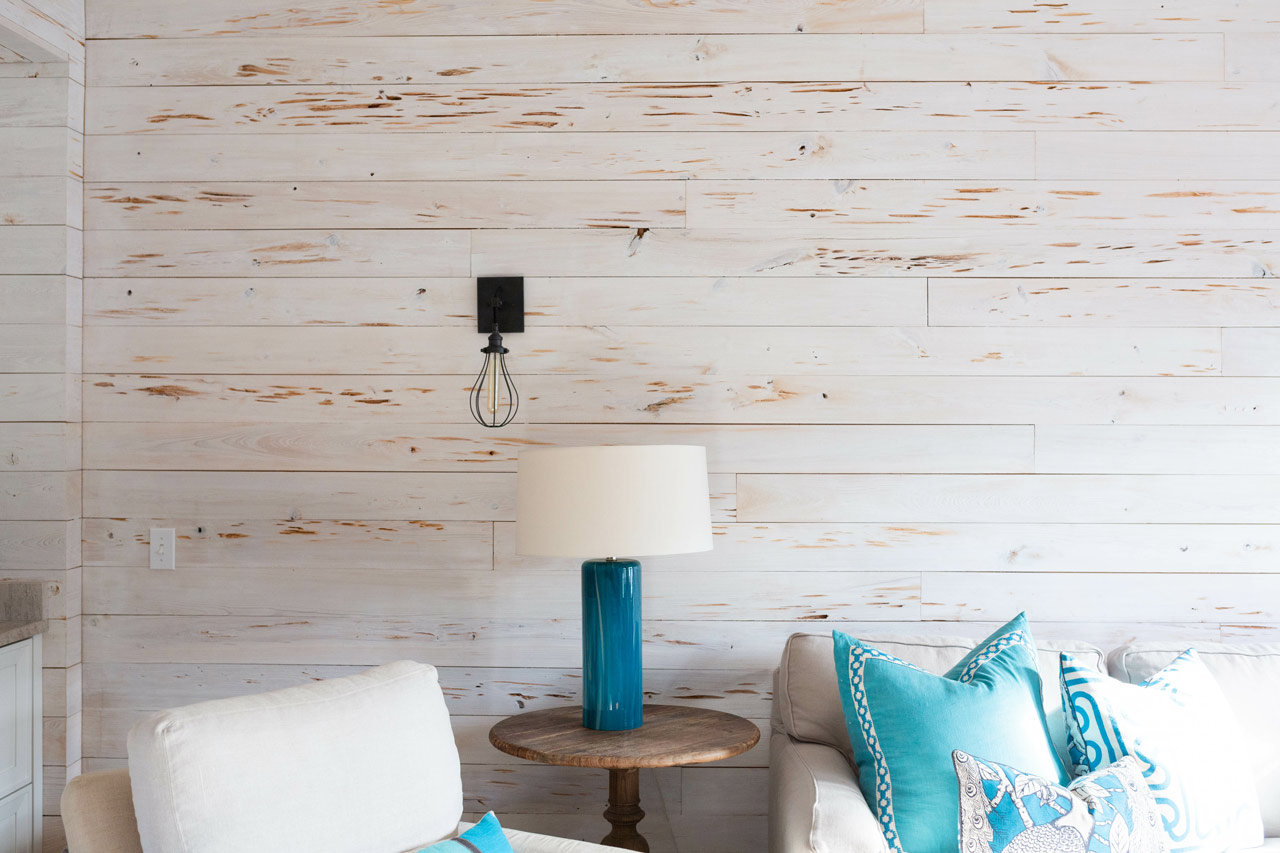
Welcome to the world of shiplap walls! Shiplap has become an increasingly popular interior design trend, thanks to its rustic charm and versatility. Whether you’re updating your living room, bedroom, or even your bathroom, a shiplap wall can add a touch of character and warmth to any space.
Named after the original use of wooden boards in ship construction, shiplap has evolved into a sought-after design element that adds depth and texture to walls. Its distinctive horizontal grooves and overlapping edges create visual interest and give a room a cozy, cottage-like feel.
In this article, we will guide you through the step-by-step process of creating your own shiplap wall. We will cover everything from preparing the wall surface to the finishing touches, so you can confidently tackle this DIY project and transform your space.
Key Takeaways:
- Transform any space with a cozy, rustic charm by creating a stunning shiplap wall using simple tools and materials. Enjoy the process and revel in the satisfaction of a personalized, character-filled focal point in your home.
- Patience and attention to detail are key in successfully installing and finishing a shiplap wall. From wall preparation to personalized accents, each step contributes to a seamless, professional, and inviting space.
Materials Needed
Before diving into the shiplap installation process, it’s important to gather all the necessary materials. Here’s a list of what you’ll need to create your shiplap wall:
- Shiplap boards: Measure the dimensions of your wall to determine how many boards you’ll need. Consider using real wood shiplap boards for an authentic look, or opt for a more affordable alternative like MDF or vinyl shiplap.
- Saw: Depending on the material you choose, you’ll need a saw to cut the shiplap boards to the appropriate length.
- Level: Ensure that your shiplap installation is straight and even with the help of a level.
- Adhesive or nails: Decide whether you want to use an adhesive like construction adhesive or nails to secure the shiplap boards to the wall.
- Measuring tape: Accurate measurements are crucial for a seamless shiplap installation, so have a measuring tape handy.
- Spackle or wood filler: You’ll need spackle or wood filler to fill any nail holes or imperfections in the shiplap boards.
- Sander: Smooth out the surface of the shiplap by using a sander to create a polished finish.
- Paint or stain: Choose a paint color or wood stain that complements your desired aesthetic for the shiplap wall.
- Paintbrushes and rollers: Have paintbrushes and rollers ready to apply the paint or stain onto the shiplap boards.
- Drop cloth or plastic sheeting: Protect your floors and furniture by laying down a drop cloth or plastic sheeting.
- Safety goggles and gloves: Ensure your safety by wearing goggles and gloves during the installation and painting process.
By having all these tools and materials on hand, you’ll be well-prepared to start creating your stunning shiplap wall.
Step 1: Preparing the Wall
Before you begin installing the shiplap, it’s crucial to properly prepare the wall surface. Follow these steps to ensure a smooth and successful installation:
- Remove any existing wallpaper or paint from the wall. Use a wallpaper scraper or sandpaper to strip away any previous finishes.
- Inspect the wall for any imperfections or damages. Fill any holes or cracks with spackle or wood filler, and smooth out the surface using a putty knife.
- Clean the wall to remove any dust, dirt, or grease that may have accumulated. Wipe down the surface with a damp cloth or sponge.
- If desired, apply a primer to the wall. Priming will help the shiplap adhere better to the surface and provide a more even finish.
- Meticulously measure and mark the vertical center line of the wall using a measuring tape and pencil. This will serve as a guide when installing the first shiplap board.
By taking the time to properly prepare the wall, you ensure that the shiplap installation process goes smoothly and that the final result is visually appealing. Don’t rush through this step, as the quality of your wall preparation will greatly impact the overall outcome of your shiplap wall.
Step 2: Measuring and Cutting the Shiplap
Accurate measurements and precise cuts are crucial when it comes to installing shiplap. Follow these steps to measure and cut your shiplap boards:
- Measure the height and width of the wall to determine the length of each shiplap board. Subtract the width of any trim or baseboards from the total width to get the accurate measurement.
- Transfer the measurements onto the shiplap boards, marking the desired length using a pencil.
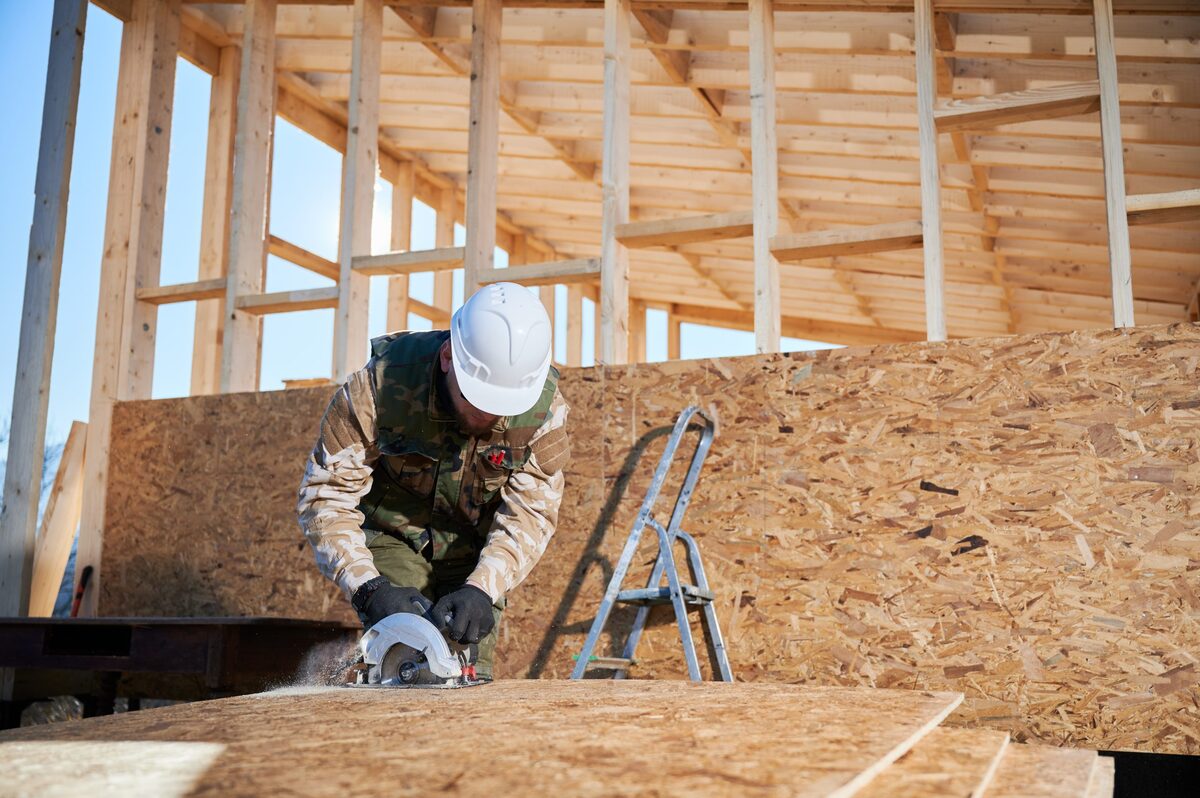
- Using a saw, carefully cut the shiplap boards along the marked lines. Ensure that the cuts are straight and even.
- Continue measuring and cutting the shiplap boards until you have enough to cover the entire wall.
Double-check your measurements and cuts to ensure accuracy before proceeding to the next step. It’s better to spend a little extra time on this step to avoid any issues during the installation process.
Step 3: Applying Adhesive or Nails
Now that you have your shiplap boards cut to size, it’s time to decide whether to use adhesive or nails to attach them to the wall. Here are the steps to apply adhesive or nails:
- If you choose to use adhesive, apply a generous amount to the back of each shiplap board, spreading it evenly with a putty knife or a caulk gun. Make sure to follow the manufacturer’s instructions for the specific adhesive you are using.
- If you prefer to use nails, locate the studs in the wall using a stud finder. Mark the locations of the studs with a pencil, as this is where you will be driving the nails.
- Start from the bottom of the wall and align the first shiplap board with the marked center line. Press it firmly against the wall or nail it into the studs, depending on your chosen method.
- Continue attaching the shiplap boards one by one, using a level to ensure they are straight and aligned.
- Leave a small gap between each shiplap board to allow for expansion and contraction due to temperature and humidity changes.
Whether you decide to use adhesive or nails, make sure that each shiplap board is securely attached to the wall. Take your time to ensure proper alignment and spacing for a seamless finish.
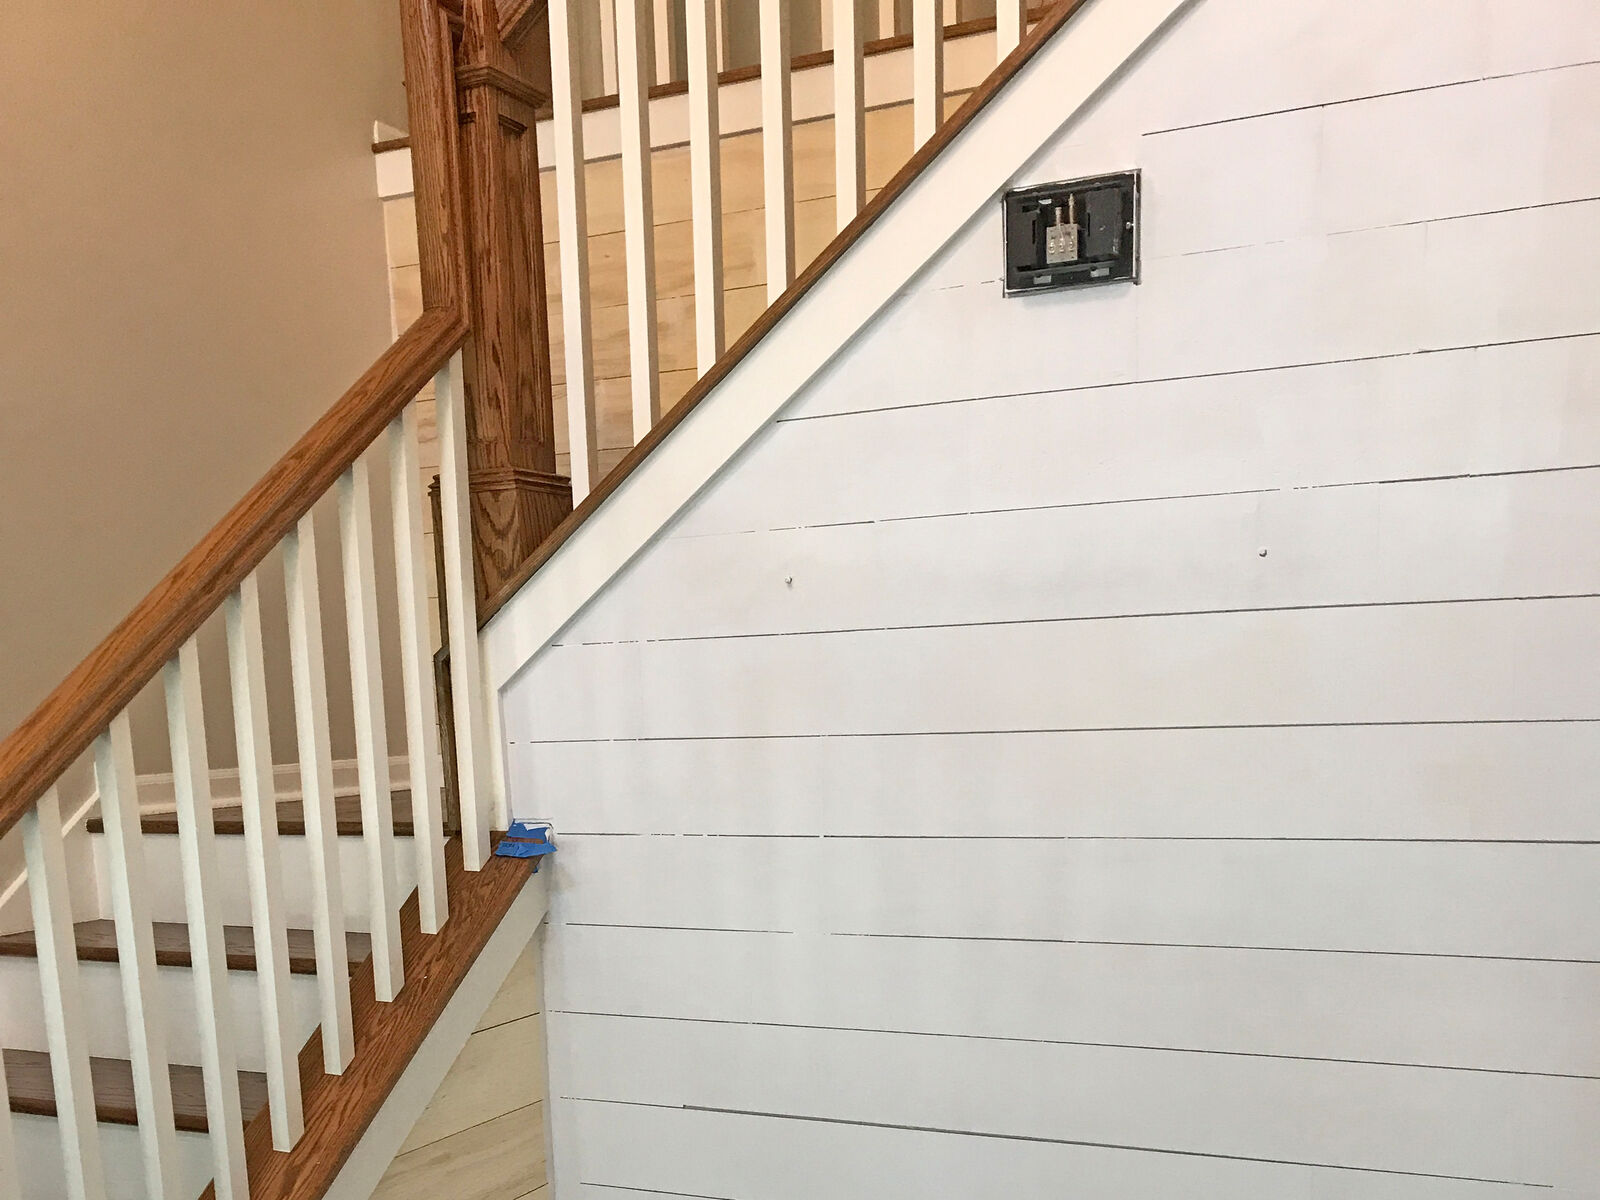
When installing a shiplap wall, be sure to use a level to ensure the boards are straight. This will create a clean and professional-looking finished product.
Step 4: Installing the Shiplap
With the adhesive or nails in place, it’s time to start installing the shiplap onto the wall. Follow these steps for a successful installation:
- Begin by aligning the second shiplap board with the edge of the first board. Ensure that it fits snugly and is level.
- Continue adding shiplap boards, working your way across the wall. Use a level to make sure each board is straight and even with the previous one.
- If necessary, cut the last board to fit the remaining space. Remember to leave a small gap for expansion.
- Repeat the process, row by row, until the entire wall is covered with shiplap.
Take your time during this step to ensure that the shiplap boards are properly aligned and level. This will significantly contribute to the overall appearance of the finished wall.
Step 5: Securing the Shiplap Boards
After installing the shiplap boards on the wall, it’s important to secure them in place to ensure durability and stability. Follow these steps to secure the shiplap boards:
- If you used adhesive during installation, press each shiplap board firmly against the wall to ensure proper adhesion. Use a rubber mallet or a hammer with a scrap piece of wood to gently tap the boards into place.
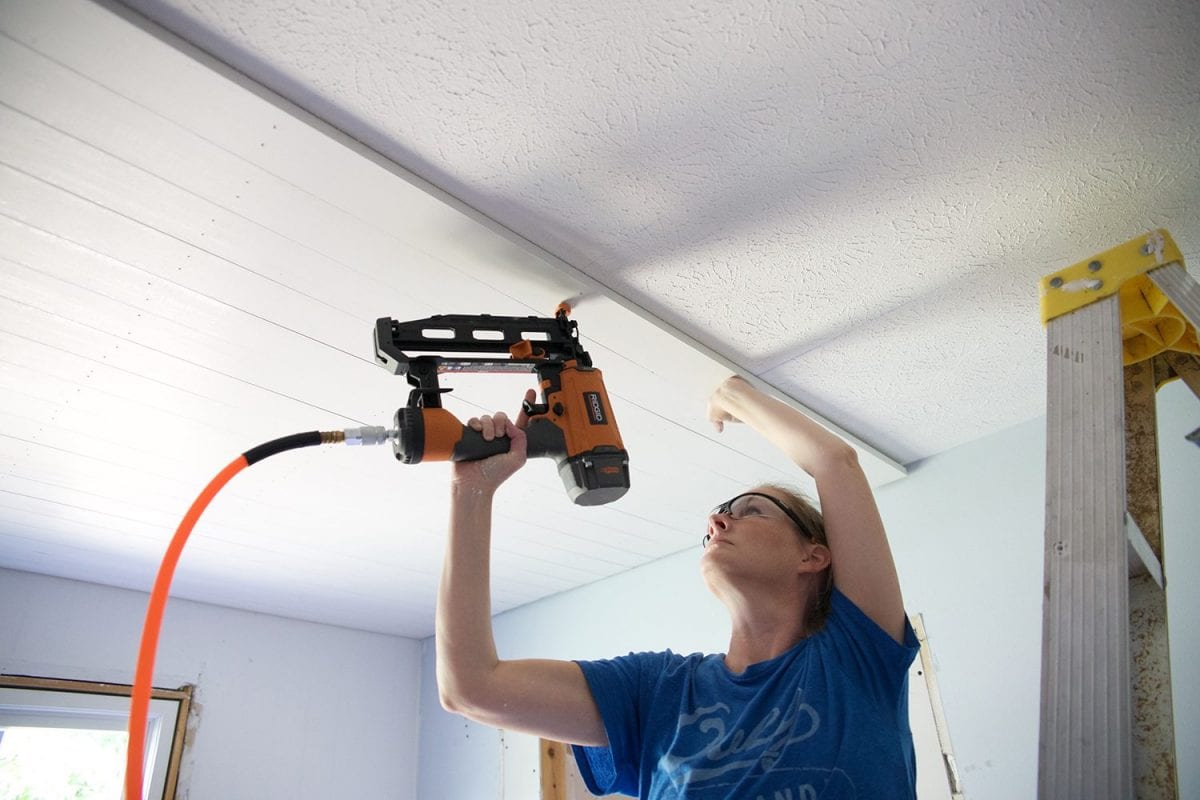
- If you opted for nails, use a nail gun or a hammer and nails to secure the shiplap boards to the studs. Drive the nails through the thickest part of each shiplap board and into the wall.
- For additional stability, consider adding nails or screws at the ends of each shiplap board, where they meet the studs.
By securely fastening the shiplap boards to the wall, you’ll ensure that they stay in place for years to come. Take care not to damage the boards while securing them, and double-check that they are straight and level.
Step 6: Filling Nail Holes and Sanding
With the shiplap boards securely in place, it’s time to focus on the finishing touches. Follow these steps to fill nail holes and sand the surface for a smooth and seamless look:
- Inspect the shiplap boards for any nail holes or imperfections that need to be filled. Ensure that the boards are clean and free from dust or debris.
- Using a putty knife or a small spatula, apply spackle or wood filler to each nail hole. Smooth out the filler, ensuring it is level with the surface of the shiplap board.
- Allow the filler to dry completely, following the manufacturer’s instructions. Depending on the product used, this may take a few hours or overnight.
- Once the filler is dry, use fine-grit sandpaper or a sanding block to gently sand the filled nail holes and any rough areas on the shiplap boards. Sand in the direction of the wood grain to avoid creating any visible scratches.
- After sanding, wipe down the shiplap boards with a clean, damp cloth to remove any dust or debris.
Filling nail holes and sanding the surface will give your shiplap wall a polished and professional finish. Pay attention to detail and take your time during this step to achieve a flawless result.
Step 7: Finishing Touches
With the shiplap wall installed, it’s time to add those final touches to complete the look. Follow these steps to put the finishing touches on your shiplap wall:
- If desired, paint or stain the shiplap boards to achieve your desired look. Use a paintbrush or roller to apply the paint or stain evenly, following the manufacturer’s instructions.
- Allow the paint or stain to dry completely before moving on to the next step. This may take several hours or longer, depending on the product used.
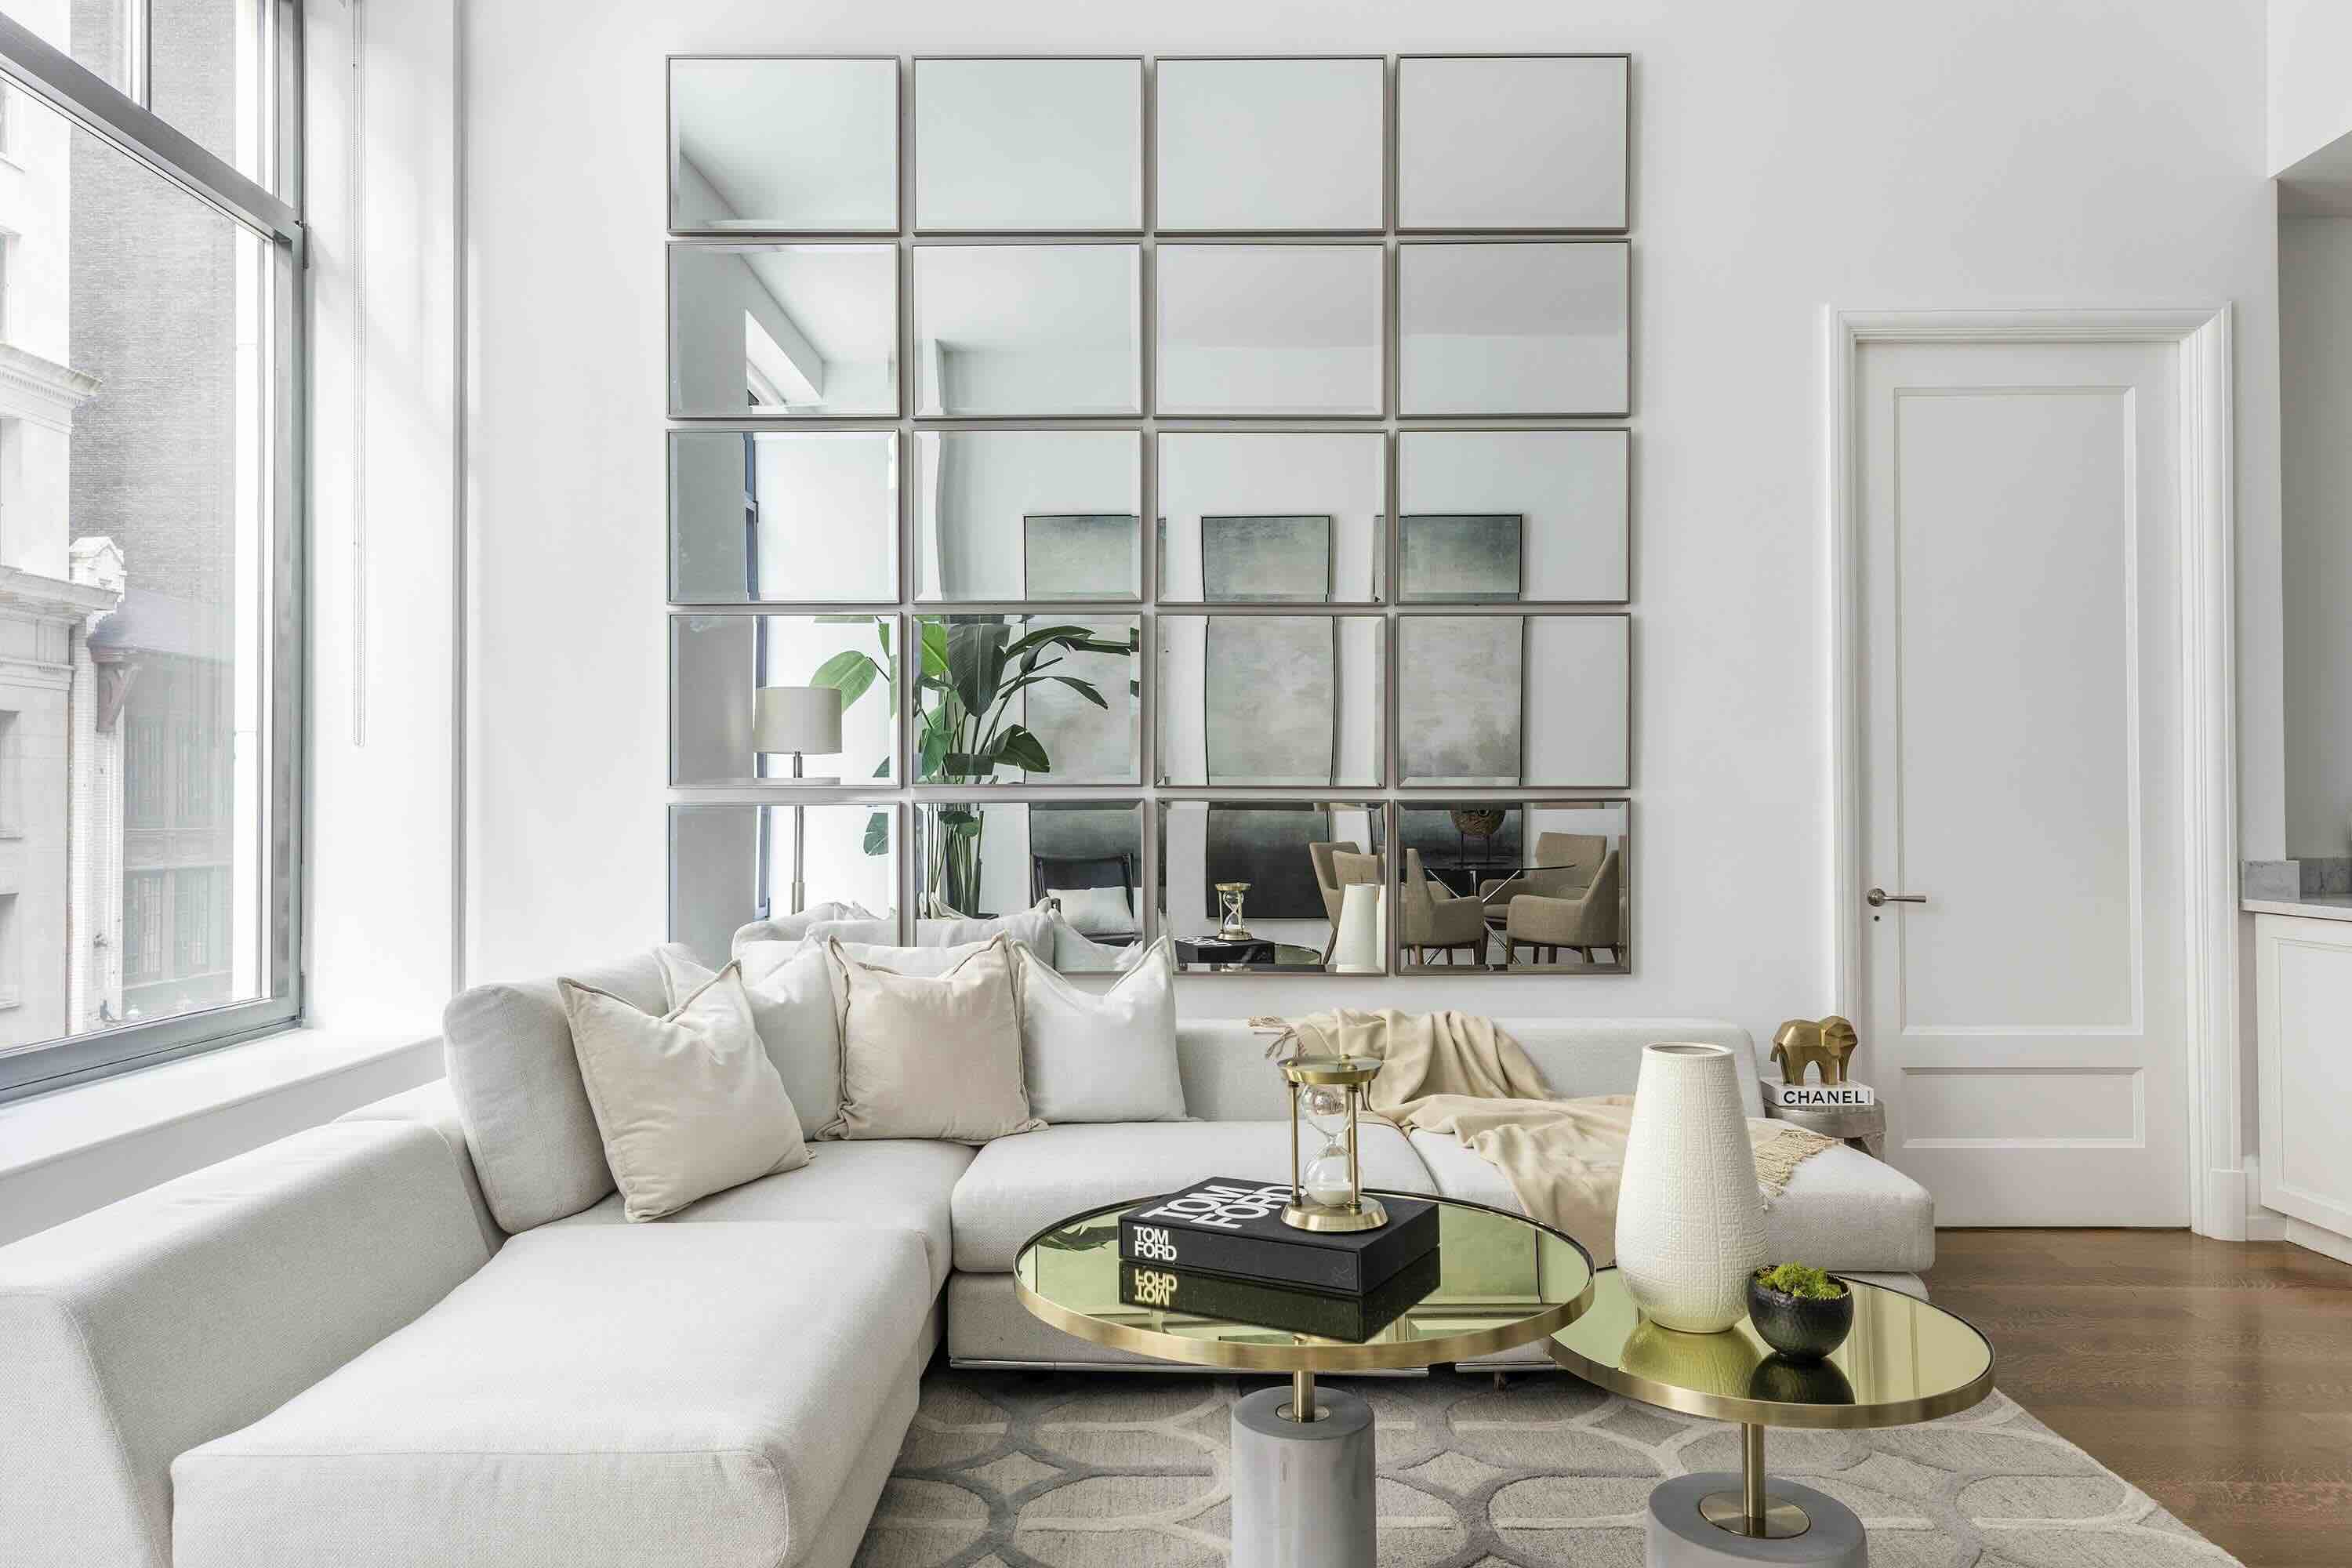
- Once the paint or stain has dried, add any additional decorative elements to enhance the shiplap wall. Consider hanging artwork, mirrors, or shelves to personalize the space and make it truly your own.
- Take a step back and admire your beautifully completed shiplap wall. Take the time to appreciate the hard work and effort that went into creating this stunning focal point in your room.
By adding paint, stain, and unique accents, you can customize your shiplap wall to suit your personal style and complement the overall design of your space. The finishing touches will truly bring the shiplap wall to life and make it a standout feature in your home.
Remember, the key to successful installation and finishing of a shiplap wall is patience and attention to detail. Take your time, follow each step carefully, and soon you’ll have a beautiful shiplap wall that adds charm and character to your space.
Read more: How To Install Exterior Shiplap Siding
Conclusion
Creating a shiplap wall can completely transform the look and feel of a room. This versatile design element adds a touch of rustic charm and warmth to any space, providing a cozy and inviting atmosphere. By following the steps outlined in this guide, you can confidently tackle the installation process and achieve stunning results.
From preparing the wall surface to measuring and cutting the shiplap boards, each step plays a crucial role in ensuring a successful installation. Securing the boards with adhesive or nails and taking the time to fill nail holes and sand the surface will result in a smooth and professional finish. Finally, applying paint or stain and adding personalized accents will give your shiplap wall a unique and personalized touch.
Remember, patience and attention to detail are key throughout the process. Taking the time to properly measure, align, and secure the shiplap boards will ultimately contribute to the overall success and longevity of your shiplap wall.
So, whether you’re looking to update your living room, bedroom, or any other space in your home, consider incorporating a shiplap wall to add texture, depth, and character. Enjoy the process, get creative with your design choices, and revel in the satisfaction of creating a stunning shiplap wall that truly stands out.
With this guide in hand, you’re ready to embark on your shiplap wall journey. Get started and watch as your space is elevated with the timeless beauty of shiplap!
Frequently Asked Questions about How To Make A Shiplap Wall
Was this page helpful?
At Storables.com, we guarantee accurate and reliable information. Our content, validated by Expert Board Contributors, is crafted following stringent Editorial Policies. We're committed to providing you with well-researched, expert-backed insights for all your informational needs.


0 thoughts on “How To Make A Shiplap Wall”