Home>Articles>How To Make Angled And Curved Cuts To Shape Wood
Articles
How To Make Angled And Curved Cuts To Shape Wood
Modified: October 18, 2024
Learn techniques for making angled and curved cuts to shape wood with our informative articles. Gain woodworking skills and create intricate designs.
(Many of the links in this article redirect to a specific reviewed product. Your purchase of these products through affiliate links helps to generate commission for Storables.com, at no extra cost. Learn more)
Introduction
Welcome to the world of woodworking, where you have the power to shape and transform a simple piece of wood into a work of art. One of the key techniques in woodworking is making angled and curved cuts, which allows you to create intricate designs and add a touch of uniqueness to your projects.
Whether you are a seasoned woodworker or just starting out, this article will guide you through the process of making angled and curved cuts with precision and confidence. We will cover the tools and materials you’ll need, as well as provide step-by-step instructions to help you master these techniques.
Before we delve into the specifics of making angled and curved cuts, it’s important to understand the importance of precision in woodworking. Every cut you make should be carefully planned and executed to ensure a seamless fit and professional finish.
By learning how to make angled and curved cuts, you’ll have the ability to create stunning furniture pieces, decorative accents, and even sculptural elements. So, let’s get started on this exciting journey of shaping wood!
Key Takeaways:
- Mastering angled and curved cuts in woodworking opens up endless creative possibilities, allowing you to craft intricate designs and unique furniture pieces with precision and confidence.
- Prioritizing safety, patience, and practice while making angled and curved cuts will lead to stunning woodworking projects that showcase your creativity and craftsmanship. Unleash your woodworking potential with confidence and creativity!
Read more: How To Make Curved Pergola Rafters
Tools and Materials Needed
Before you can begin making angled and curved cuts, you’ll need to gather the necessary tools and materials. Here’s a list of what you’ll need:
- A quality circular saw or table saw
- A miter saw or a compound miter saw
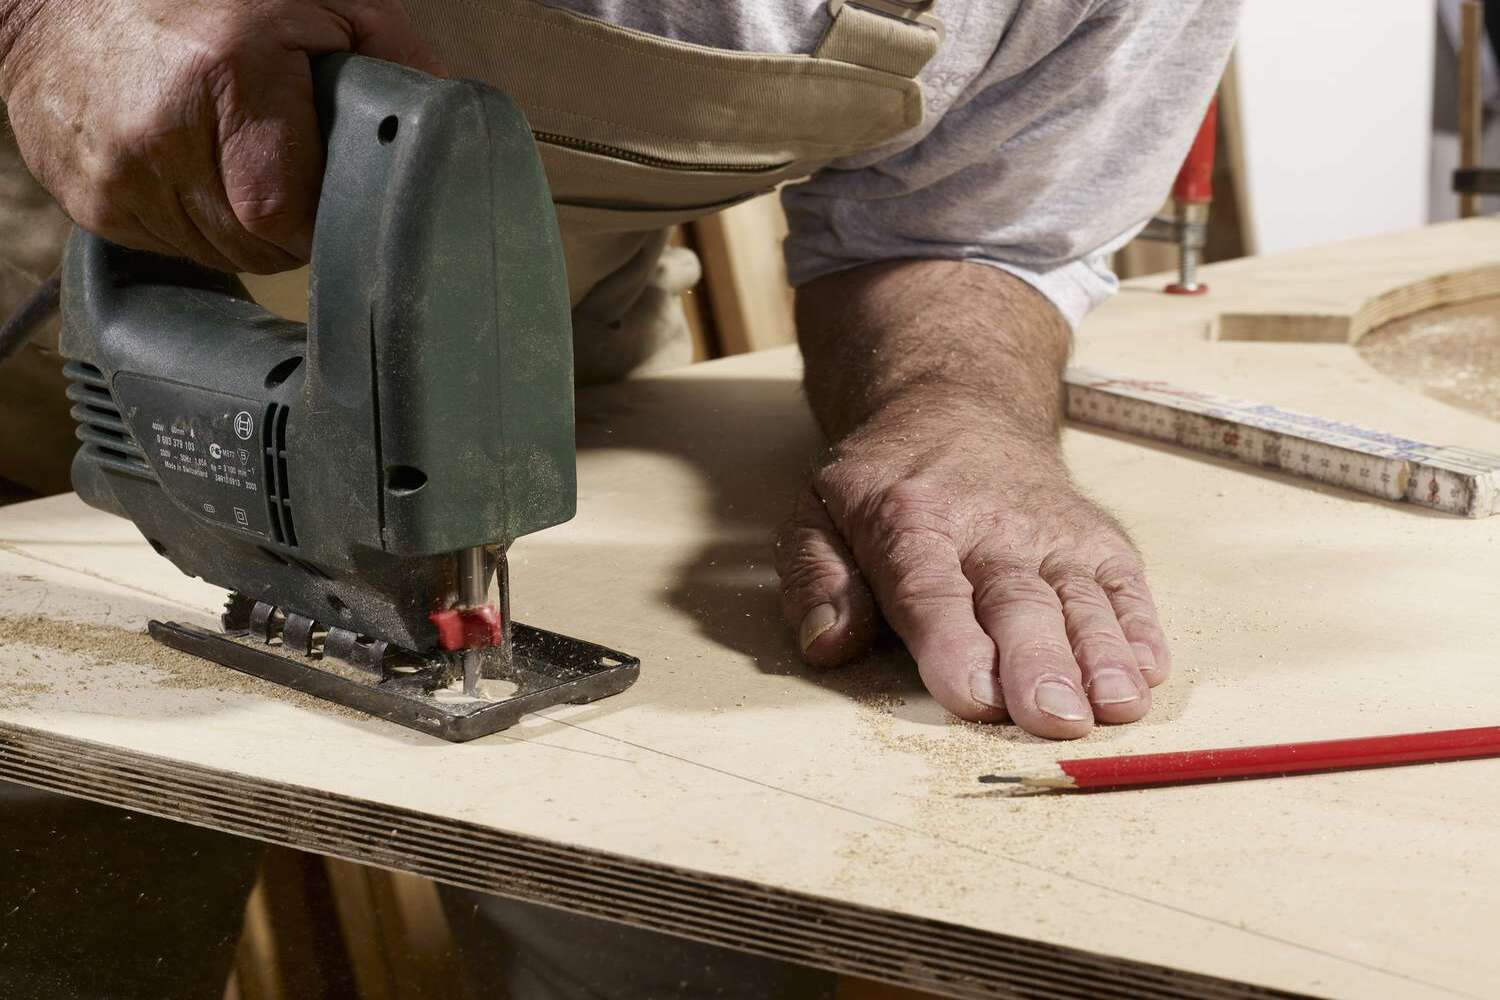
- A jigsaw
- A coping saw or a scroll saw for intricate curves
- A variety of saw blades suitable for different cuts
- A pencil or marking tool
- A measuring tape or ruler
- Safety glasses and ear protection
- Clamps or a vice to secure the wood
- Sandpaper or a sanding block
- Wood glue or screws for assembly
- A sturdy workbench or sawhorses
- Quality wood suitable for your project
Having the right tools and materials is essential for achieving precise and clean cuts. Make sure your tools are in good working condition and your blades are sharp. Dull blades can result in rough and uneven cuts, so it’s important to maintain them regularly or replace them when necessary.
Additionally, wear protective gear such as safety glasses and ear protection when operating power tools to keep yourself safe from potential hazards. Now that you have all the necessary tools and materials, let’s move on to understanding angles and curves in woodworking.
Understanding Angles and Curves
Angles and curves are fundamental elements in woodworking that allow you to add visual interest and complexity to your projects. Understanding how to work with angles and curves will unlock a whole new level of creativity in your woodworking endeavors.
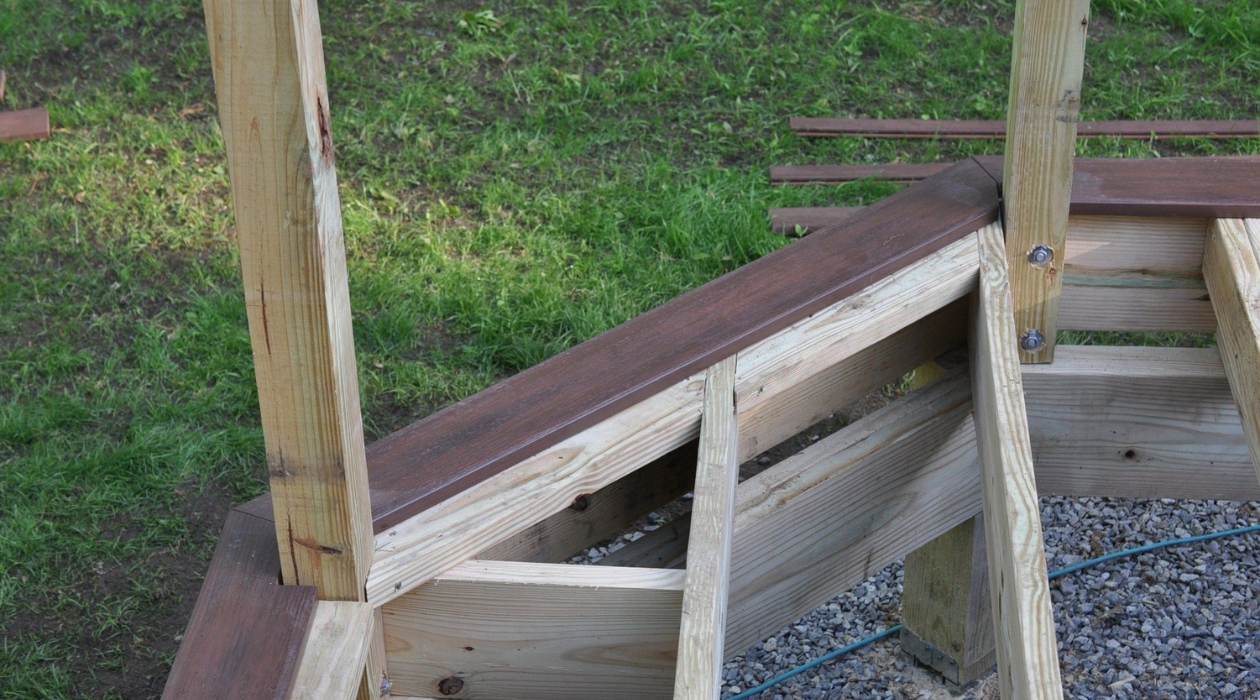
Angles in woodworking refer to the degree of deviation from a straight line or a right angle. They can be acute angles, measuring less than 90 degrees, or obtuse angles, measuring more than 90 degrees. Angled cuts are commonly used in woodworking to create various designs such as bevels, chamfers, or miters.
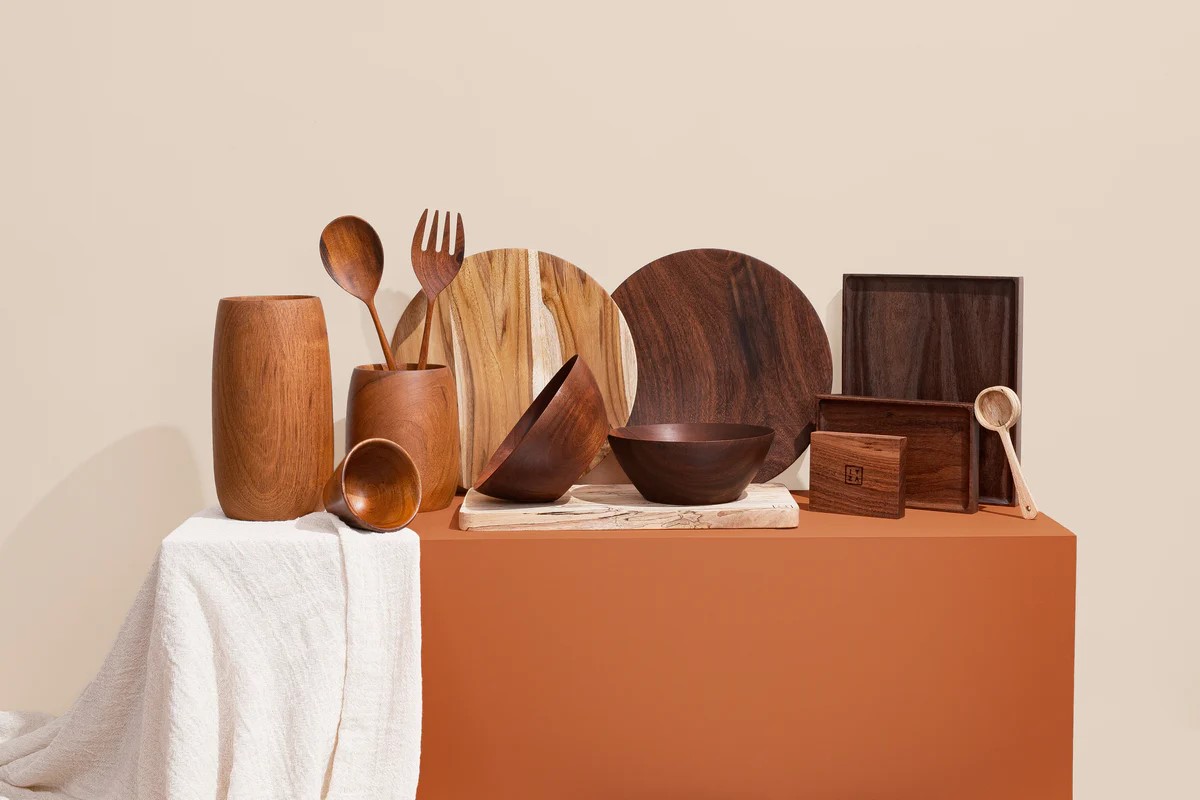
Curves, on the other hand, add fluidity and elegance to your woodworking projects. From gentle curves to intricate shapes, curves can be incorporated into furniture legs, backsplashes, or decorative accents. Curved cuts can be created using a jigsaw, coping saw, or scroll saw, depending on the complexity of the curve.
When working with angles, it’s important to measure and mark the desired angle accurately on the wood. Use a protractor or a miter gauge to set the angle on your saw correctly. Double-check your measurements and make test cuts on scrap wood before cutting into your project piece.
Curves, on the other hand, require a steady hand and patience. Start by drawing the curve on the wood using a pencil or marking tool. For precision, you can make use of a compass or a flexible curve ruler. Once you have the outline, use your chosen saw to carefully follow the line, making gentle and controlled movements.
Remember, practicing and experimenting with different angles and curves is key to mastering these techniques. Don’t be afraid to try new designs and push the boundaries of your woodworking skills. Now that you have a better understanding of angles and curves, let’s move on to preparing the wood for cutting.
Preparing the Wood
Before you start making angled and curved cuts, it is crucial to properly prepare the wood to ensure clean and accurate results. Here are some important steps to follow when preparing the wood:
1. Measure and mark: Begin by measuring and marking the wood based on your project’s specifications. Use a measuring tape or a ruler to mark the dimensions and angles on the wood surface. Take your time to ensure precise measurements, using a pencil or a marking tool to make clear and visible marks.
2. Secure the wood: To prevent the wood from moving or vibrating during the cutting process, it’s important to secure it properly. Use clamps or a vice to hold the wood firmly in place. This will help maintain stability and reduce the risk of inaccuracies or accidents during cutting.
3. Select the appropriate blade: Depending on the type of cut you’re making, choose the right blade for your saw. For angled cuts, use a miter saw or a compound miter saw with a bevel setting. For curved cuts, select a blade suitable for your jigsaw, coping saw, or scroll saw, ensuring it is sharp and in good condition.
4. Consider grain direction: When making angled or curved cuts, take the wood’s grain into consideration. By aligning the cut with the grain, you can minimize tear-out and achieve smoother results. Keep in mind that wood can have different grain patterns, so adjust your cutting technique accordingly.
5. Practice on scrap wood: If you’re trying out a new technique or working with unfamiliar angles and curves, it’s always a good idea to practice on scrap wood first. This will help you gain confidence and perfect your cutting skills before working on your actual project.
By following these steps, you’ll ensure that your wood is properly prepared for making angled and curved cuts. Taking the time to measure, secure, and select the right blade will significantly contribute to the success of your woodworking projects. Now that the wood is ready, let’s move on to the process of making angled cuts.
When making angled and curved cuts in wood, use a jigsaw for curved cuts and a miter saw for angled cuts. Always mark your cut lines accurately and use a guide to ensure precision.
Making Angled Cuts
Angled cuts are commonly used in woodworking to create precise joints, beveled edges, or angled pieces. Whether you’re working on furniture, trim, or more intricate designs, knowing how to make accurate angled cuts is essential. Here’s a step-by-step guide:
1. Set the angle: Determine the angle you need to cut and set it on your saw. If you’re using a miter saw, adjust the miter gauge to the desired angle. If you’re using a circular saw or table saw, adjust the bevel angle accordingly. Use a protractor or a miter gauge to ensure accuracy.
2. Measure and mark: Measure the length of the wood, ensuring you’re measuring from the correct reference point based on your project’s specifications. Mark the measurement using a pencil or a marking tool. Double-check your measurements before proceeding.
3. Secure the wood: Use clamps or a vice to secure the wood in place, ensuring it won’t move during cutting. This will help maintain stability and prevent any potential accidents or inaccuracies.
4. Line up the blade: Position the marked line on the wood to align with the blade. Ensure that the blade is in the correct position before starting the saw. Take your time to line it up accurately, as this will determine the precision of the cut.
5. Start the cut: Turn on your saw and carefully guide the wood towards the blade, maintaining control throughout the cutting process. Make sure to follow the marked line and keep a steady hand. As you approach the end of the cut, be mindful of your fingers and maintain focus on the task.
6. Check the cut: Once the cut is complete, inspect it to ensure it meets your desired specifications. Check for any irregularities or rough edges and make any necessary adjustments or refinements.
By following these steps, you’ll be able to make clean and accurate angled cuts in your woodworking projects. Remember to always prioritize safety, wear protective gear, and practice on scrap wood before working on your actual project. Now, let’s move on to the process of creating curved cuts.
Creating Curved Cuts
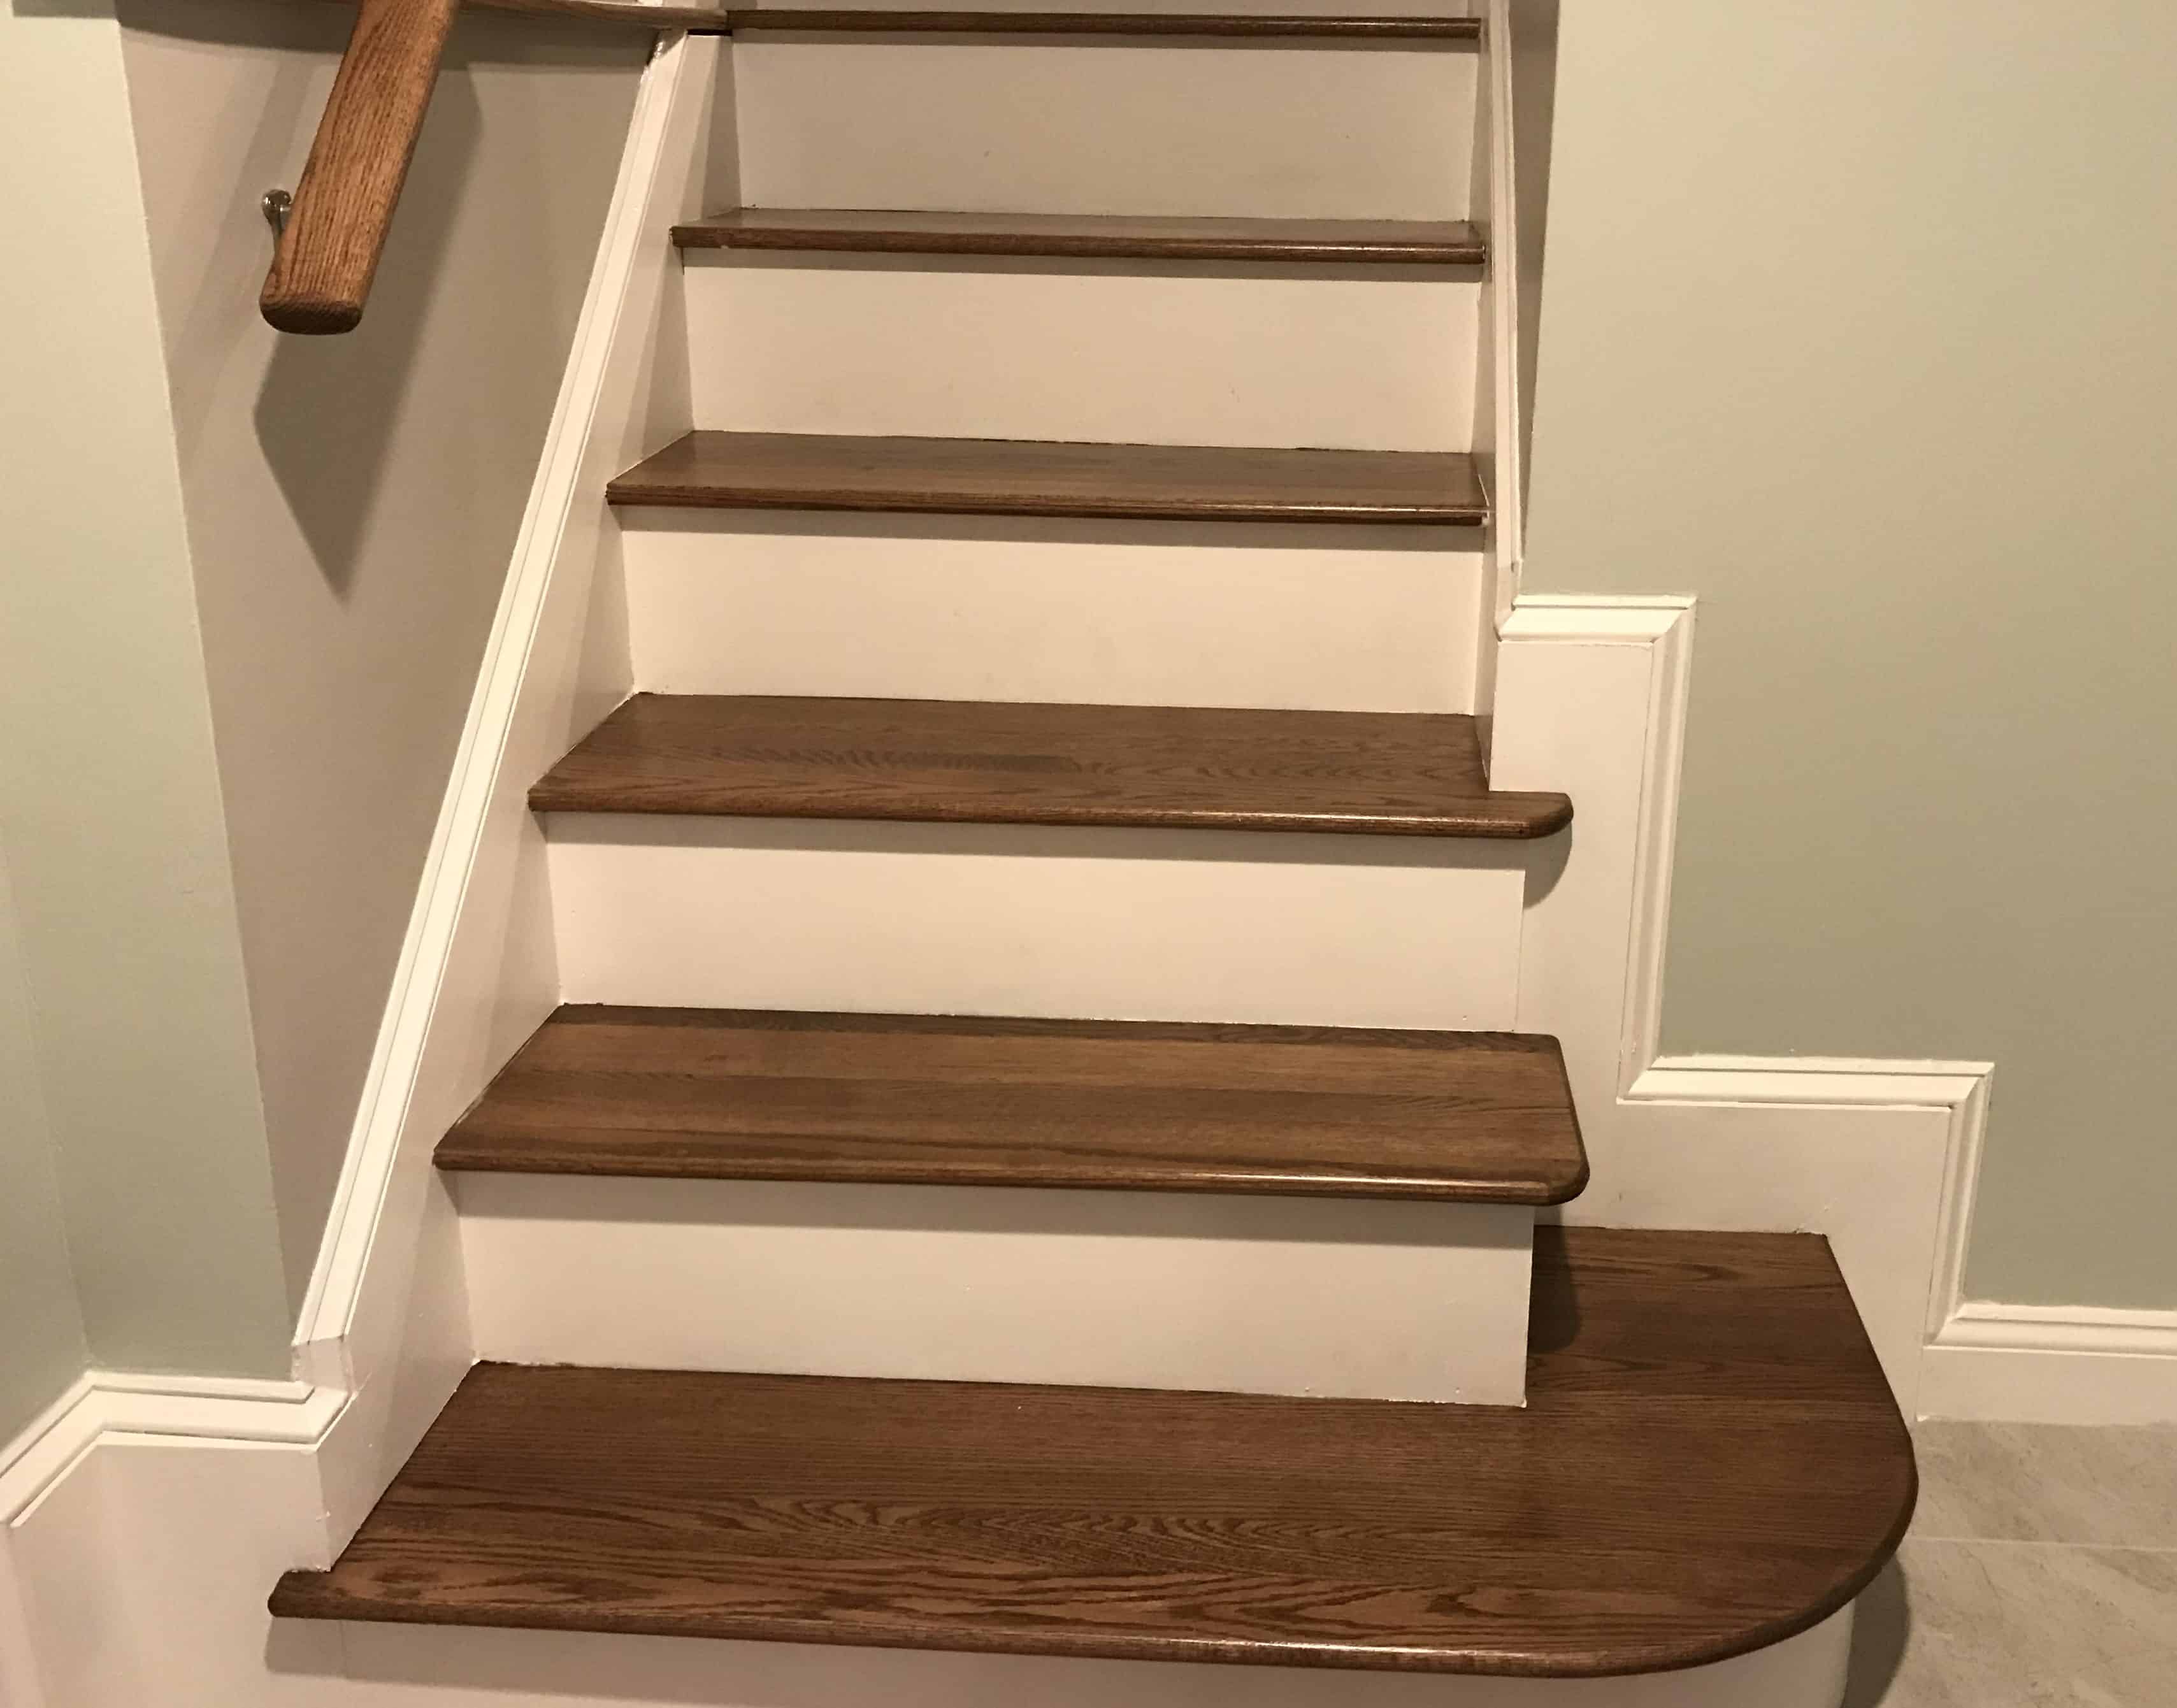
Curved cuts add elegance and fluidity to woodworking projects, allowing you to create unique and eye-catching designs. Whether you’re working on furniture, decorations, or artistic pieces, mastering the art of creating curved cuts will take your woodworking skills to the next level. Here’s a step-by-step guide:
1. Mark the curve: Start by marking the desired curve on the wood. Use a pencil or a marking tool to draw the outline of the curve. For simple curves, you can use a compass or a flexible curve ruler to help achieve smooth and consistent lines.
2. Select the appropriate tool: Choose the right tool for creating curved cuts based on the complexity of the curve. For gentle curves, a jigsaw or a coping saw is suitable. For more intricate and detailed curves, a scroll saw provides more precision. Ensure that the blade is sharp and appropriate for the type of wood you’re working with.
3. Secure the wood: Use clamps or a vice to secure the wood in place, ensuring it won’t move during cutting. This step is crucial to maintain stability and prevent any potential accidents or inaccuracies.
4. Start the cut: Begin by aligning the blade of your selected tool with the marked line. Turn on the saw and slowly guide it along the marked curve, maintaining control and keeping a steady hand. Use gentle and controlled movements, allowing the blade to do the work without forcing it.
5. Follow the curve: As you progress with the cut, continuously follow the marked curve to ensure accuracy. Pay attention to your hand positioning and the movement of the tool, making any necessary adjustments to maintain a smooth and even cut.
6. Finishing touches: Once the curved cut is complete, inspect it for any rough edges or imperfections. Use sandpaper or a sanding block to smooth the cut surface, ensuring a clean and refined result. You can also use a file or a rasp to further shape and refine the curve if needed.
By following these steps, you’ll be able to create beautiful curved cuts in your woodworking projects. Remember to work patiently, practice on scrap wood to gain confidence, and always prioritize safety by wearing protective gear. Now, let’s move on to the final steps of sanding and finishing.
Sanding and Finishing
After making angled and curved cuts in your woodworking project, it’s time to focus on sanding and finishing to achieve a smooth and polished result. Sanding helps remove any rough edges, imperfections, or tool marks, while finishing adds protection and enhances the wood’s appearance. Here’s a step-by-step guide:
1. Assess the surface: Inspect the wood surface for any roughness, tear-out, or irregularities caused by the cutting process. Identify areas that require sanding and prioritize the order in which you’ll address them.
2. Choose the right sandpaper: Select the appropriate grit sandpaper or sanding block based on the wood and the desired level of smoothness. Start with a coarser grit to remove any prominent imperfections, and gradually move to a finer grit for a smoother finish.
3. Sand with the grain: When sanding, always go with the direction of the wood grain. This helps achieve a more uniform and seamless finish. Use long, even strokes and maintain a steady pressure to avoid creating uneven surfaces.
4. Progress through the grits: Start sanding with the coarsest grit and gradually work your way up to finer grits. Each pass with a finer grit will further refine the surface, removing scratches left by the previous grit and creating a smoother finish.
5. Remove dust: After sanding, remove the dust and debris from the wood surface using a soft brush or a tack cloth. Ensuring a clean surface will help achieve better adhesion when applying the finish.
6. Apply a finish: Depending on your project and personal preference, choose a suitable finish such as paint, stain, varnish, or oil. Follow the manufacturer’s instructions for proper application, whether it’s brushing, spraying, or wiping on the finish. Apply multiple coats if necessary, allowing proper drying time between each coat.
7. Final touch-ups: Once the finish is dry, inspect the wood surface for any blemishes or unevenness. Use fine sandpaper to gently sand out any imperfections, being careful not to damage the finish. Wipe away any dust and apply a final coat of finish if needed.
By following these steps, you’ll achieve a smooth and professional finish on your woodworking project. Sanding and finishing not only improve the appearance of the wood but also protect it from moisture, wear, and tear. Take your time during this process to ensure a high-quality result that showcases the beauty of your work. Finally, let’s conclude this article.
Conclusion
Congratulations! You’ve now learned how to make angled and curved cuts to shape wood. These techniques open up a world of possibilities in your woodworking projects, allowing you to create intricate designs and add a touch of uniqueness to your work.
Throughout this article, we covered the tools and materials needed for making angled and curved cuts. We also explored the importance of understanding angles and curves in woodworking, as well as the steps to properly prepare the wood for cutting.
We then delved into the process of making angled cuts, from setting the angle on your saw to carefully guiding the wood along the marked line. We also discussed the art of creating curved cuts, emphasizing the importance of selecting the appropriate tool and following the marked curve with precision.
Once the cuts are made, we highlighted the significance of sanding and finishing to achieve a smooth and polished result. Sanding helps remove any rough edges or imperfections, while finishing adds protection and enhances the wood’s appearance.
Woodworking is a craft that requires patience, practice, and attention to detail. By mastering the techniques of making angled and curved cuts, you’ll be able to create stunning furniture pieces, decorative accents, and even sculptural elements that showcase your creativity and craftsmanship.
Remember to always prioritize safety in your woodworking projects by wearing protective gear and working in a well-ventilated area. Practice on scrap wood to gain confidence and refine your skills before working on your actual project pieces.
Now that you have a solid foundation in making angled and curved cuts, it’s time to put your newfound knowledge into practice. So go ahead, unleash your creativity, and embark on your woodworking journey with the confidence to shape wood in unique and captivating ways. Happy woodworking!
Frequently Asked Questions about How To Make Angled And Curved Cuts To Shape Wood
Was this page helpful?
At Storables.com, we guarantee accurate and reliable information. Our content, validated by Expert Board Contributors, is crafted following stringent Editorial Policies. We're committed to providing you with well-researched, expert-backed insights for all your informational needs.


0 thoughts on “How To Make Angled And Curved Cuts To Shape Wood”