
Articles
How To Make Dream Pillows
Modified: December 7, 2023
Discover the step-by-step process of creating dream pillows in this informative articles. Enhance your sleep by learning how to make dream pillows at home.
(Many of the links in this article redirect to a specific reviewed product. Your purchase of these products through affiliate links helps to generate commission for Storables.com, at no extra cost. Learn more)
Introduction
Welcome to the world of dream pillows! Have you ever struggled to fall asleep or had trouble staying asleep throughout the night? If so, then a dream pillow might be just what you need. Dream pillows are versatile little wonders that can help you relax, unwind, and improve the quality of your sleep. Whether you’re a long-time sufferer of insomnia or simply looking to enhance your dream experiences, creating your own dream pillow can be a fun and rewarding project.
In this article, we will guide you through the process of making your own dream pillow. From choosing the right fabric to adding your favorite essential oils, we will cover all the steps involved in creating a personalized sleep aid that suits your preferences and needs.
But before we get started, let’s talk a bit about the concept of dream pillows. Dream pillows are small cushions filled with various natural materials, such as herbs, flowers, and essential oils, that are believed to promote relaxation, alleviate stress, and enhance dreams. They have been used for centuries in different cultures around the world as a means of enhancing sleep and dream experiences. Whether you believe in the metaphysical properties of dream pillows or simply find comfort in their soothing scents, there’s no denying that they can be a beneficial addition to your nightly routine.
Now, let’s gather our materials and get ready to create our very own dream pillow!
Key Takeaways:
- Create a personalized dream pillow using soft fabric, soothing scents, and optional decorations to enhance relaxation, reduce stress, and promote restful sleep. Embrace the transformative power of a dream pillow for a peaceful slumber and vivid dreams.
- Consistently use your dream pillow with intention to experience deeper, rejuvenating sleep and enhanced dream experiences. Pay attention to positive changes in sleep quality and overall well-being, and customize your dream pillow to suit evolving needs.
Read more: Who Makes Dream Weaver Carpet
Materials Needed
Before we dive into the process of making a dream pillow, it’s important to gather all the necessary materials. Here’s a list of what you’ll need:
- Fabric: Choose a soft and breathable fabric such as cotton or linen. You’ll need enough fabric to create two identical shapes for the pillow.
- Scissors: A good pair of fabric scissors will come in handy for cutting the fabric.
- Needle and Thread: Opt for a thread that matches the fabric color.
- Pins: These will help hold the fabric in place as you sew.
- Filling Material: You can choose from a variety of filling materials, including dried herbs like lavender or chamomile, flower petals, or even synthetic pillow stuffing.
- Essential Oils (Optional): If you’d like to add a calming or invigorating scent to your dream pillow, choose a few drops of your favorite essential oil. Some popular options for sleep include lavender, chamomile, and bergamot.
- Ribbon or Trim (Optional): Adding a decorative touch to your dream pillow is optional, but if you’d like to personalize it further, consider incorporating ribbon or trim for an extra flair.
Once you have gathered all these materials, you’re ready to start creating your dream pillow. Let’s move on to the next step: choosing the fabric!
Step 1: Choosing the Fabric
When it comes to making a dream pillow, the choice of fabric is important. You’ll want to select a fabric that is soft, breathable, and comfortable to sleep with. Cotton and linen are popular choices for dream pillow fabric due to their natural properties.
Consider the texture and pattern of the fabric as well. Look for a fabric that suits your personal taste and matches the desired aesthetic for your dream pillow. Whether you prefer a solid color or a patterned design, the fabric you choose will impact the overall look and feel of the final product.
In addition, it’s a good idea to choose a fabric that is easy to work with. Avoid fabrics that fray easily or are overly delicate, as this may make the sewing process more challenging.
Take some time to feel different fabric options and envision how they would feel against your skin while you sleep. Imagine the fabric enveloping you in a soothing and comforting embrace as you drift off to sleep.
Once you have chosen the perfect fabric for your dream pillow, it’s time to move on to the next step: cutting the fabric.
Step 2: Cutting the Fabric
Now that you have selected your fabric, it’s time to cut it into the desired shape for your dream pillow. Start by laying out your fabric on a flat surface, ensuring it is free from any wrinkles or creases.
Using a pair of fabric scissors, carefully cut out two identical shapes from the fabric. You can choose any shape you prefer, such as a square, rectangle, or even a heart shape. Make sure the size of the fabric shapes is suitable for the size of dream pillow you want to create.
When cutting the fabric, be mindful of leaving enough space for the seam allowance. The seam allowance is the extra fabric around the edges that will be used for sewing the pillow pieces together. A typical seam allowance is around 1/2 inch, but you can adjust it based on your preference or sewing skills.
Ensure that both fabric shapes are cut accurately and match perfectly. This will help ensure that your dream pillow looks neat and professional once it is sewn together.
If you prefer a more decorative design for your dream pillow, you can also consider cutting out additional fabric pieces, such as smaller shapes or patterns, to sew onto the main fabric pieces. This will add an extra element of creativity and uniqueness to your dream pillow.
Once you have finished cutting the fabric into the desired shapes, you’re ready to move on to the next step: sewing the pillow.
Step 3: Sewing the Pillow
Now that you have your fabric pieces cut to size, it’s time to sew them together and create the outer shell of your dream pillow. Grab your needle and thread, and let’s get stitching!
Start by placing the two fabric pieces together, with the patterned sides facing each other. Pin the edges together to secure them in place. This will help prevent the fabric from shifting as you sew.
Using a basic running stitch or a backstitch, sew around the edges of the fabric, leaving a small opening for stuffing. Make sure to maintain an even seam allowance as you sew. Take your time and sew slowly to ensure that the stitches are strong and secure.
Once you have sewn around the edges, double-check to ensure that there are no gaps or loose stitches. If you spot any, go back and reinforce those areas to prevent the filling from spilling out.
Once you’re satisfied with the stitching, carefully snip off any excess thread. You can also trim any excess fabric around the seam allowance, but be cautious not to cut too close to the stitches.
Next, turn the fabric right side out through the opening that was left for stuffing. Gently push out the corners to ensure a crisp and defined shape for your pillow.
Now, your dream pillow has taken its initial form, and it’s time to move on to the next step: stuffing the pillow.
Read more: How To Make Outdoor Pillows
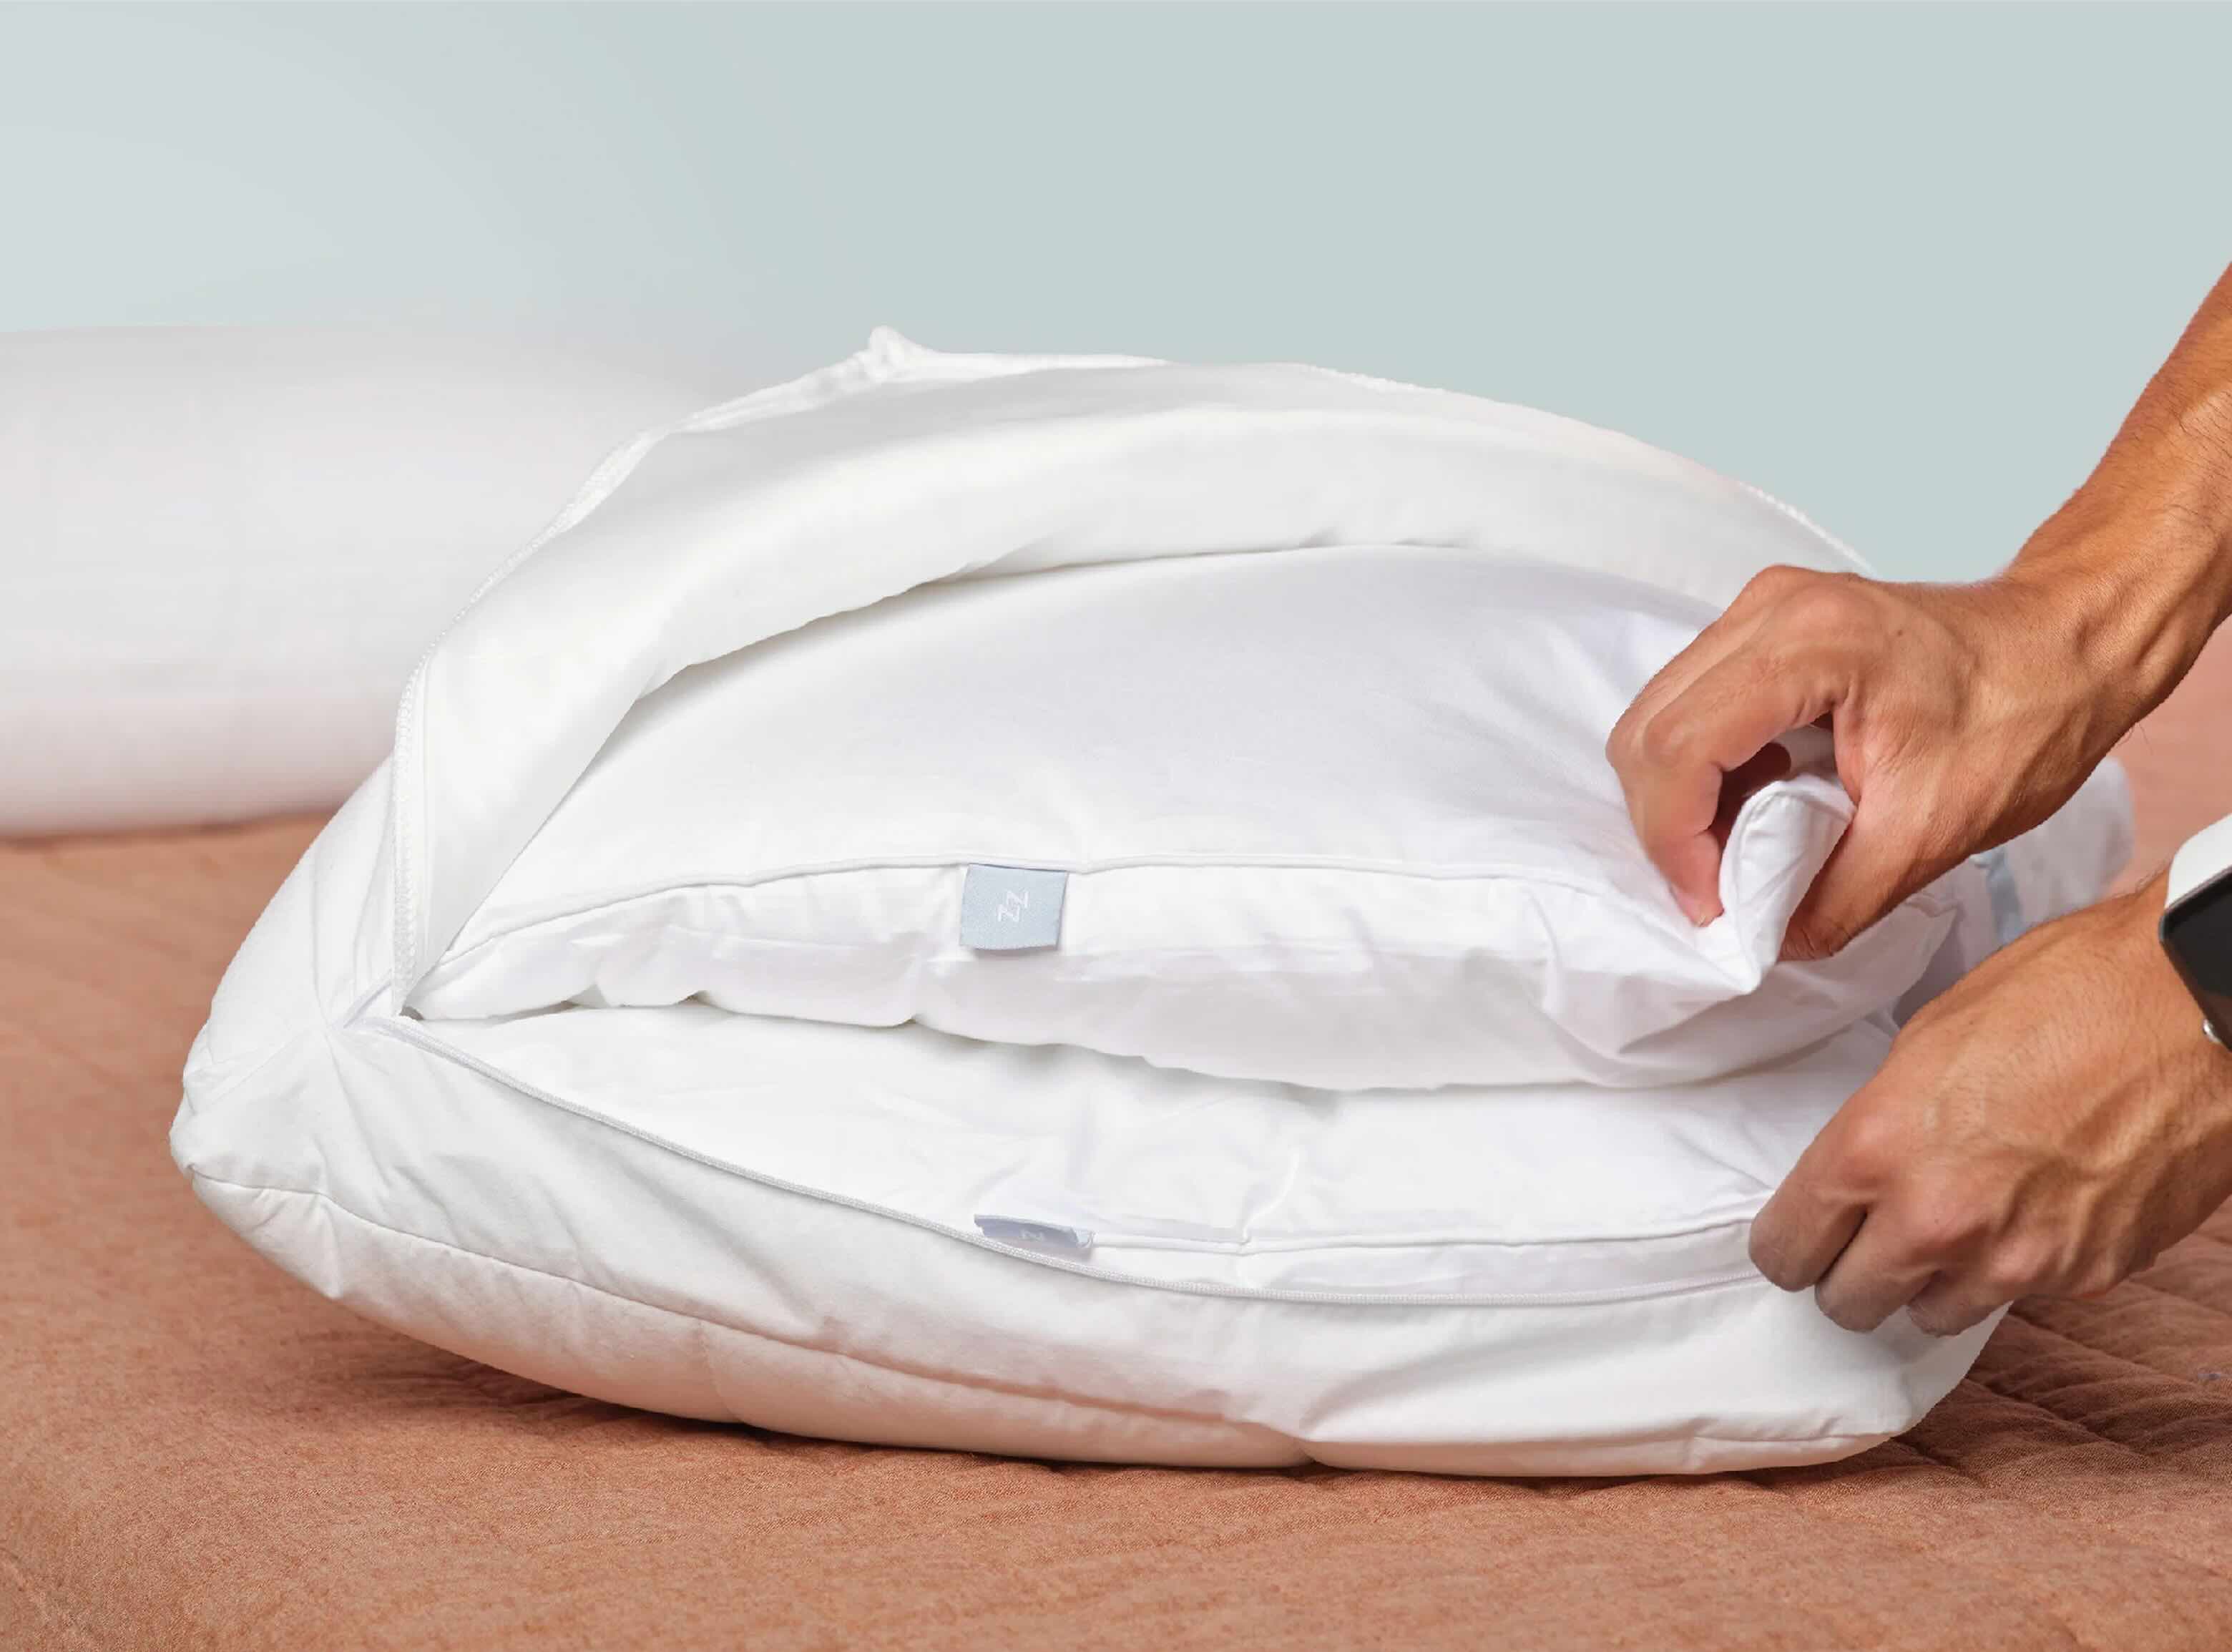
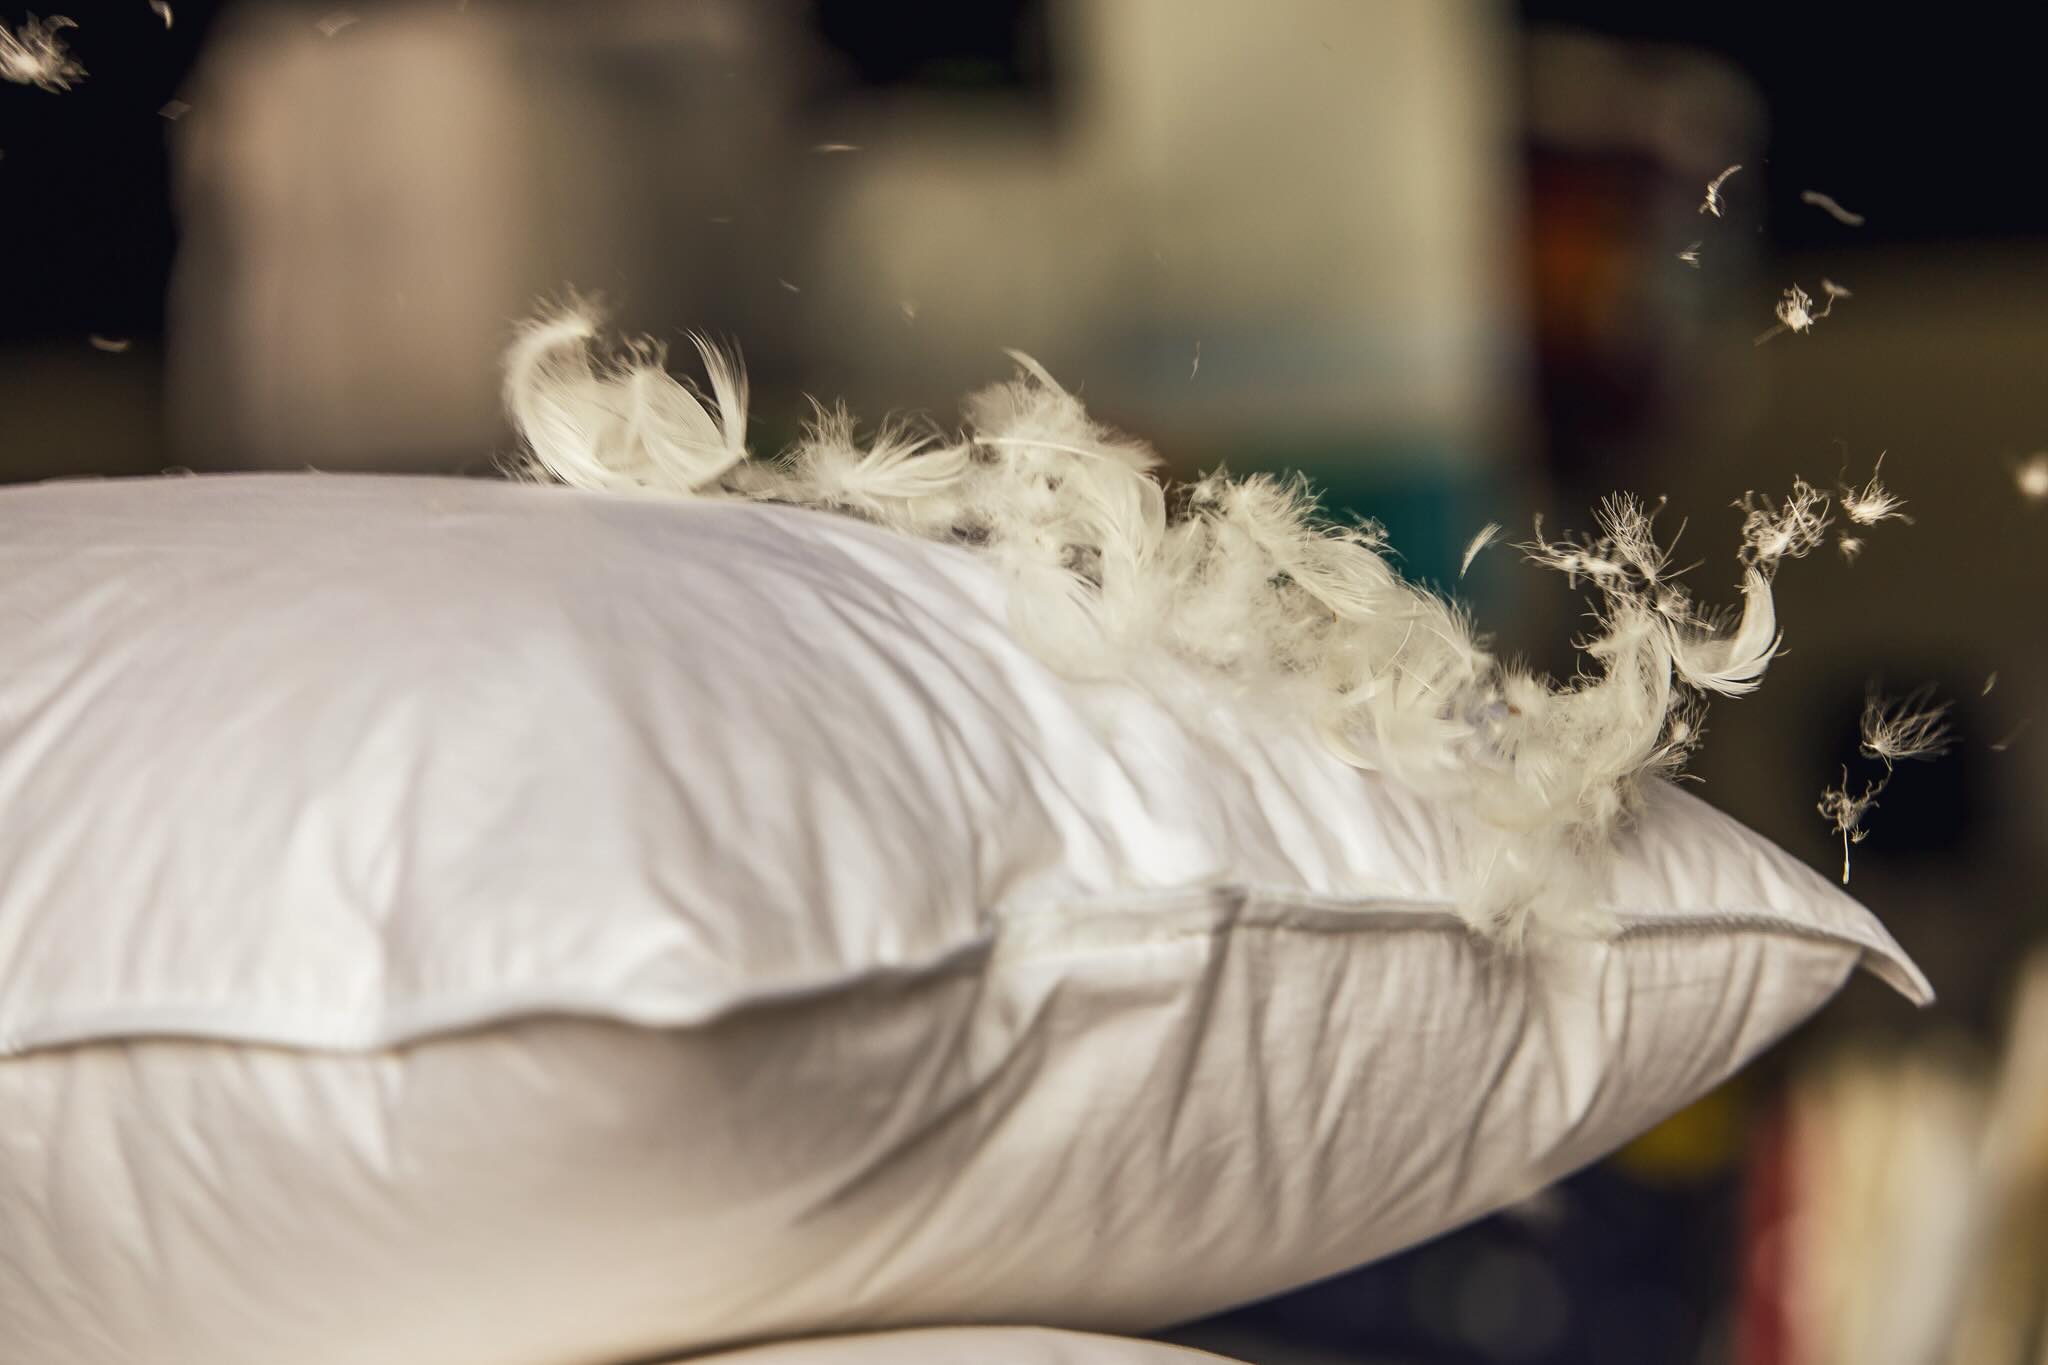
Step 4: Stuffing the Pillow
With your pillow case sewn and turned right side out, it’s time to bring your dream pillow to life by filling it with your chosen stuffing material. The filling of your pillow will determine its softness, density, and overall feel, so select an option that aligns with your preferences.
If you prefer a natural and aromatic touch, consider filling your pillow with dried herbs, flower petals, or a mixture of both. Lavender, chamomile, and rose petals are popular choices for their soothing scents and calming properties. Simply place the dried herbs or flower petals into a bowl and mix them together before stuffing them into the pillow.
If you prefer a more traditional feel, synthetic pillow stuffing is widely available and offers a comfortable and plush outcome. This option is also hypoallergenic and suitable for those with allergies or sensitivities to natural materials.
Begin by carefully stuffing the filling material into the pillow through the opening that was left during the sewing process. Use your fingers or a small spoon to gently push the filling into the corners and ensure an even distribution.
As you add the stuffing, be mindful not to overfill the pillow. Leave some space to allow for proper shaping and to prevent the pillow from becoming too firm. The ideal level of stuffing will provide support and comfort while still maintaining a soft and pliable texture.
Once you are satisfied with the amount of stuffing, carefully hand stitch the opening closed. Use small, neat stitches to secure the fabric and ensure that the filling remains contained within the pillow.
With the filling complete, your dream pillow is starting to take shape. In the next step, we’ll explore the option of adding essential oils to enhance your sleep experience.
When making dream pillows, use calming and relaxing herbs such as lavender, chamomile, and mugwort to promote peaceful sleep and pleasant dreams.
Step 5: Adding Essential Oils (Optional)
If you’re looking to enhance the sleep-inducing properties of your dream pillow, you may consider adding a few drops of essential oils. Essential oils are highly concentrated plant extracts that can promote relaxation, reduce stress, and create a soothing atmosphere for sleep.
Before adding essential oils, it’s important to ensure that your chosen fabric is compatible with oil absorption. Some fabrics may stain or become damaged when in contact with oils, so it’s recommended to perform a patch test on a small, inconspicuous area of the fabric to check for any adverse reactions.
If your fabric is suitable for essential oil use, you can add a few drops of your preferred oil to the stuffing material inside the pillow. Lavender, chamomile, and bergamot are commonly used oils for promoting sleep and relaxation.
To add the essential oils, simply place a few drops directly onto the stuffing material inside the pillow. You can adjust the number of drops based on your personal preference and the strength of the oil.
Alternatively, you can create a blend of essential oils by mixing a few drops of different oils together. This allows you to customize the scent profile and create a unique sleep experience.
After adding the essential oils, gently squeeze and knead the pillow to distribute the scent throughout the filling. This will help ensure that the aroma is evenly dispersed and will be released as you rest your head on the pillow.
Adding essential oils is an optional step that can enhance the overall sleep-inducing qualities of your dream pillow. If desired, proceed to the next step to learn how to close the pillow and make it ready for use.
Step 6: Closing the Pillow
Now that your dream pillow is stuffed and scented, it’s time to close it up and secure all the goodness inside. Closing the pillow will ensure that the filling remains intact and that the pillow maintains its shape over time.
If you left a small opening for stuffing, you can simply hand stitch it closed using a needle and thread. Use small, even stitches to secure the fabric together, ensuring that the closure is sturdy and tight.
If you prefer a more decorative and professional finish, you can use a sewing machine to sew a straight stitch along the opening to close it. This will create a neat and seamless look.
For added durability, you can reinforce the closure by sewing a second row of stitches parallel to the first. This will provide extra strength and prevent any potential leakage of the stuffing.
Remember to carefully trim any excess thread once you have finished sewing to create a clean and finished appearance.
With the pillow securely closed, your dream pillow is nearly complete. In the next step, we’ll explore the optional step of decorating the pillow to make it uniquely yours.
Step 7: Decorating the Pillow (Optional)
If you want to add a personal touch to your dream pillow and make it unique, decorating it can be a fun and creative step. While decorating is entirely optional, it allows you to customize your pillow and make it visually appealing.
There are various ways you can decorate your dream pillow, depending on your preferences and creativity. Here are a few ideas to get you started:
- Embroidery: Consider adding delicate embroidery stitches to create patterns, designs, or even your initials on the fabric of the pillow. This can add a charming and personalized touch.
- Appliqué: Cut out fabric shapes or patterns and sew them onto the pillow using different stitching techniques. This can create a textured and eye-catching design.
- Ribbon or Trim: Attach decorative ribbons or trims along the edges or across the surface of the pillow to give it a whimsical and elegant look.
- Fabric Paint or Markers: Get creative with fabric paints or markers to draw or stencil designs directly onto the fabric surface. This allows for endless possibilities and can showcase your artistic talent.
Remember to consider the theme or purpose of your dream pillow when choosing decorating techniques and materials. Keep in mind that simplicity can often be just as beautiful as elaborate designs, so don’t feel pressured to go overboard with decorations if minimalism is more your style.
Once you have finished decorating your dream pillow, take a moment to admire your handiwork. It’s now time to move on to the final step: using your dream pillow!
Read more: How To Make Homemade Pillows
Step 8: Using Your Dream Pillow
Congratulations! You have successfully created your very own dream pillow. Now it’s time to put it to use and experience the relaxing benefits it can offer.
To make the most of your dream pillow, follow these simple steps:
- Find a comfortable position: Before you lay your head on the dream pillow, make sure you are in a comfortable position in bed. Adjust your pillows, covers, and any other sleep aids to ensure optimal relaxation.
- Take a few deep breaths: Before closing your eyes, take a few deep breaths to help calm your mind and prepare your body for sleep. Inhale slowly and deeply, filling your lungs with fresh air, and exhale slowly to release any tension or stress.
- Rest your head on the dream pillow: Place the dream pillow beneath your head or hug it close to your chest, depending on your preferred sleeping position. The gentle scent of the essential oils, combined with the softness and support of the pillow, will create a soothing and calming sensation.
- Relax and let go: Allow yourself to relax completely into the comfort of your dream pillow. Release any thoughts or worries, and focus on the present moment. Visualize yourself entering a peaceful and restful state as you drift off to sleep.
- Enjoy a restful sleep: As you settle into a deep slumber, the dream pillow will continue to provide comfort and support throughout the night. The natural filling materials and essential oils can help promote relaxation, reduce stress, and enhance your dream experiences.
- Wake up refreshed: When you awaken in the morning, take a moment to reflect on the quality of your sleep. Notice any positive effects on your sleep patterns, dreams, or overall sense of well-being. Start your day feeling refreshed and rejuvenated.
Remember to care for your dream pillow properly to ensure longevity and continued effectiveness. Keep it in a cool and dry place when not in use, and consider airing it out in fresh air and sunlight periodically to keep it fresh.
Now, it’s time to embrace the power of your dream pillow and enjoy nights filled with peaceful slumber and vivid dreams. Sleep tight!
Conclusion
Congratulations on completing your journey to creating your very own dream pillow! By following these steps, you have crafted a personalized sleep aid that can enhance your relaxation, reduce stress, and promote restful sleep. With the right choice of fabric, filling material, and optional additions like essential oils or decorations, you have tailored your dream pillow to cater to your unique preferences.
Using your dream pillow can be a transformative experience. As you rest your head upon its softness and breathe in the soothing scents, you’ll find yourself drifting into a state of tranquility. The dream pillow creates a comforting and calm atmosphere that can lead to deeper and more rejuvenating sleep. The benefits extend beyond the physical realm, as the dream pillow can enhance dream experiences and promote a positive state of mind.
Remember, the key to making the most out of your dream pillow is to use it consistently and with intention. Find a comfortable position, take deep breaths, and embrace a sense of relaxation as you rest upon your dream pillow. Allow yourself to let go of daily stressors and fully immerse yourself in the moment of rest.
As you embark on this sleep journey with your dream pillow, pay attention to the positive changes it brings to your sleep routine. Notice any improvements in the quality and duration of your sleep, as well as the impact on your overall well-being. With time, you may discover new ways to customize your dream pillow or experiment with different filling materials and scents to suit your evolving needs.
Now, it’s time to enjoy the benefits of your dream pillow and unlock the power of a restful night’s sleep. Embrace the peace, relaxation, and rejuvenation that your dream pillow brings and wake up each day feeling refreshed and ready to seize the day. Sweet dreams!
Frequently Asked Questions about How To Make Dream Pillows
Was this page helpful?
At Storables.com, we guarantee accurate and reliable information. Our content, validated by Expert Board Contributors, is crafted following stringent Editorial Policies. We're committed to providing you with well-researched, expert-backed insights for all your informational needs.


0 thoughts on “How To Make Dream Pillows”