
Articles
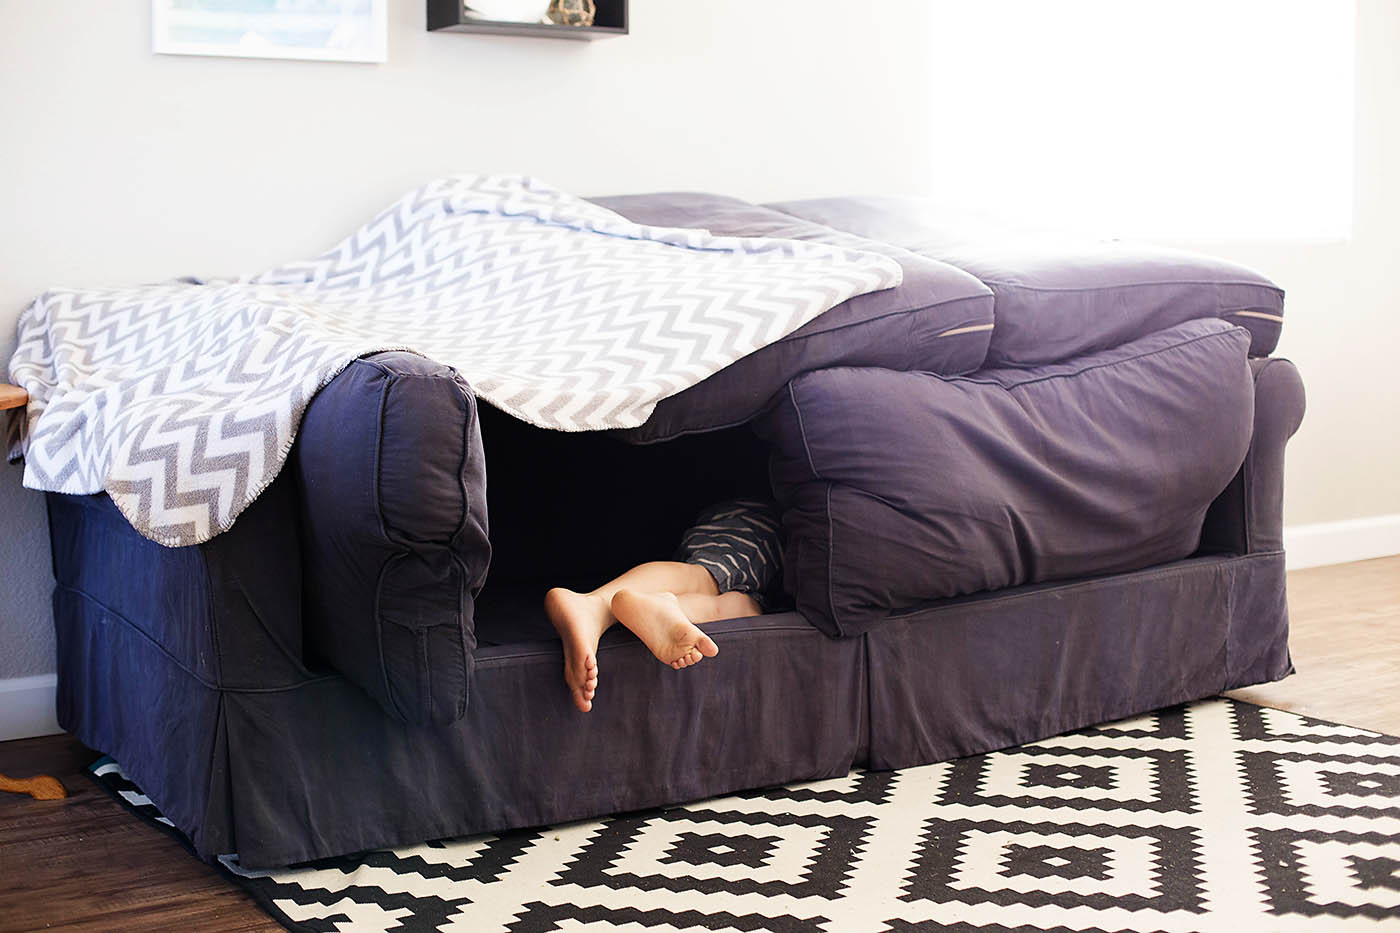
How To Make A Fort With Pillows And Blankets
Modified: January 23, 2024
Learn how to make a cozy fort using articles like pillows and blankets. Create a fun and comfortable space for relaxation and play at home.
(Many of the links in this article redirect to a specific reviewed product. Your purchase of these products through affiliate links helps to generate commission for Storables.com, at no extra cost. Learn more)
Introduction
Welcome to the wonderful world of fort building! Whether you’re a kid just looking for a cozy hideaway or an adult seeking a nostalgic retreat, making a fort with pillows and blankets is a simple yet enjoyable activity that brings out the creative genius in all of us. Not only does it provide a sense of adventure and imagination, but it also offers a comfortable space to relax and unwind.
In this article, we will guide you through the process of creating your very own fort using just pillows and blankets. With a little bit of patience and some basic materials, you’ll be able to construct a fort that will transport you to your own personal getaway.
So grab your pillows, gather your blankets, and let’s get started on this fun and rewarding fort-building journey!
Key Takeaways:
- Unleash Your Creativity: Building a fort with pillows and blankets is a fun and rewarding activity that sparks imagination and provides a cozy retreat for relaxation and playtime.
- Personalized Escape: Creating a fort offers a magical space to unwind, read, or enjoy tech-friendly activities, allowing for endless enjoyment and a break from the everyday hustle.
Read more: How To Make A Fort In The Living Room
Materials Needed
Before we dive into the construction process, let’s gather all the materials we’ll need to build our fort:
- Pillows: The more pillows you have, the sturdier and more comfortable your fort will be. Gather a mix of large and small pillows to create a solid base and cozy interior.
- Blankets: Choose a variety of blankets in different sizes and thicknesses. These will serve as the walls and roof of your fort, so make sure you have enough to cover the desired area.
- Chairs, Sofas, or Furniture: If you have access to chairs, sofas, or other furniture pieces, they can be great for providing structure and support to your fort. Alternatively, you can use sturdy tables or even create your own supports using boxes or books.
- Clips or Clothespins: These will come in handy for securing the blankets in place, keeping your fort intact and preventing any accidental collapses.
- Flashlights or String Lights: To create a cozy ambiance inside your fort, bring in some flashlights or string lights. This will add a magical touch and make the fort even more enchanting.
- Pillows or Cushions for Seating: Don’t forget to add some extra pillows or cushions inside the fort for comfortable seating. After all, a cozy fort is not complete without a soft spot to relax.
- Optional: Sheets, Tapestries, or Decorative Items: If you want to take your fort to the next level, consider adding sheets, tapestries, or any other decorative items you have on hand. These will help create a personalized and visually appealing space.
Once you have gathered all these materials, you’re ready to embark on your fort-building adventure!
Step 1: Creating the Base
The first step in building your fort is to create a sturdy and comfortable base. This will serve as the foundation for the entire structure. Follow these steps to create your base:
- Clear the area: Choose a spacious area in your room where you want to build your fort. Clear out any furniture or obstacles that may be in the way.
- Position the chairs or furniture: If you’re using chairs, sofas, or furniture as support for your fort, arrange them in a square or rectangular shape to create the boundaries of your fort. Make sure they are stable and won’t collapse under the weight of the blankets.
- Place the largest pillows: Take your largest pillows and place them on the ground inside the boundary of the chairs or furniture. These will act as the base layer.
- Add additional pillows: Layer smaller pillows on top of the larger ones, gradually building up the height and creating a comfortable seating area. Arrange them in a way that ensures stability and even weight distribution.
- Check the stability: Sit on the pillows to test their stability. Make any adjustments if needed to ensure a solid and secure base.
Once you have created the base, you’re ready to move on to the next step: building the walls of your fort.
Step 2: Building the Walls
Now that you have a solid base for your fort, it’s time to build the walls using blankets. Follow these steps to create the walls of your fort:
- Gather your blankets: Take your blankets and drape them over the chairs or furniture, covering the entire boundary of your fort. You can use a combination of blankets to add variation and creativity to the design.
- Secure the blankets: Use clips or clothespins to secure the blankets to the chairs or furniture. This will ensure that the walls stay in place and don’t slip or fall during your fort adventures.
- Create openings: If you want to have multiple entrances or windows in your fort, fold the blankets in certain areas to create openings. You can fasten them with clips or leave them unsecured for easy access.
- Tuck in excess fabric: If you have excess blanket fabric hanging down, tuck it under the pillows or furniture to create a neater appearance and prevent tripping hazards.
Once you have built the walls of your fort, you’ll have a cozy and secluded space to relax in. But we’re not done yet! Next, we’ll move on to adding a roof to complete your fort.
When building a fort with pillows and blankets, use sturdy furniture as a base and drape the blankets over to create walls. Use heavy objects to weigh down the corners for stability.
Step 3: Adding the Roof
With the walls of your fort in place, it’s time to add a roof to create a cozy and enclosed space. Follow these steps to add the roof:
- Choose your blankets: Select larger blankets that can cover the top of your fort and hang down on the sides.
- Drape blankets over the top: Take the blankets and drape them over the highest points of the fort, ensuring they cover the entire top area.
- Secure the blankets: Use clips or clothespins to secure the blankets to the walls and prevent them from slipping or sliding off.
- Tuck in excess fabric: If there is any excess fabric hanging down from the roof, tuck it under the walls or use additional clips to keep it in place.
- Check the height: Sit inside the fort to ensure that the roof is at a comfortable height. Adjust the blankets if necessary to create enough headroom.
By adding the roof, you have created a cozy and secluded space that truly feels like your own private retreat. Now, let’s move on to the next step: creating the entrance to your fort.
Read more: How To Make A Fort On Your Bed
Step 4: Creating the Entrance
The entrance to your fort is like the gateway to another world. It not only adds functionality but also adds to the charm of your fort. Follow these steps to create an inviting entrance:
- Select a location: Choose a spot on one side of your fort where you want to have the entrance. It could be a corner or a specific opening between the blankets.
- Open the blankets: If the blankets are secured with clips or clothespins, remove them from the chosen area to create an opening.
- Add a doorway: Fold back the blankets or create a curtain-like opening to form a doorway. You can use additional clips or secure the folds with safety pins to keep the entrance in place.
- Add a welcoming touch: To make the entrance more inviting, you can use string lights or drape some sheer fabric around it. This will add a touch of magic and make entering your fort even more exciting.
Creating a designated entrance will not only make it easier to access your fort but also enhance the overall fort-building experience. Now, let’s move on to the final step: adding the finishing touches.
Step 5: Adding Finishing Touches
Now that your fort is nearly complete, it’s time to add those special finishing touches that will make it even cozier and personalized. Follow these steps to add the finishing touches:
- Add pillows and cushions: Place extra pillows and cushions inside your fort to create comfortable seating. Arrange them in a way that encourages relaxation and lounging.
- Bring in blankets for coziness: If you have any extra blankets, you can add them inside the fort to make it even cozier. Drape them over the pillows or create a soft blanket floor to lie on.
- Add soft lighting: Bring in flashlights or string lights to create a warm and inviting atmosphere inside your fort. This soft lighting will add an enchanting and magical effect.
- Personalize with decorations: If you have any sheets, tapestries, or decorative items, use them to decorate the walls or create a theme inside your fort. This personal touch will make it feel like your own special hideaway.
- Make it a tech-friendly zone: If you’d like to use your fort for movie nights or gaming sessions, don’t forget to bring in a portable device or laptop where you can watch your favorite shows or play games.
- Don’t forget snacks and drinks: Enhance your fort experience by bringing in some delicious snacks and refreshing drinks. This will complete your cozy retreat and make it even more enjoyable.
With the finishing touches in place, your fort is now ready to be enjoyed and cherished. Whether it’s for relaxation, playtime, or a cozy reading nook, your fort is a testament to your creativity and imagination.
Remember, fort building is not just about the end result but the journey itself. So have fun, get creative, and let your imagination soar as you create your very own fort with pillows and blankets!
Conclusion
Congratulations on successfully building your fort with pillows and blankets! You’ve created a cozy and magical space where you can escape from the outside world and let your imagination roam free. Whether you’re seeking a quiet reading nook, a playful hideout, or a dreamy retreat, your fort is a testament to your creativity and ingenuity.
Throughout this article, we’ve guided you through the step-by-step process of fort construction, from creating a sturdy base to building the walls and adding the roof. We’ve also covered how to create an inviting entrance and add those extra finishing touches that make your fort personal and comfortable.
Remember that building a fort is not just about the physical structure but the experience itself. It’s about the joy of creating, the freedom of imagination, and the sense of wonder that comes from stepping into your own little world.
Whether you choose to spend time alone in your fort, invite friends and family for a cozy gathering, or use it as a special spot for relaxation and self-care, your fort will provide endless hours of enjoyment and a much-needed escape from the everyday hustle and bustle.
So, next time you’re in need of a magical retreat, grab your pillows and blankets, let your creativity soar, and build yourself a fort. Explore the possibilities, tell stories, read books, or simply bask in the comfort and warmth of your imaginative creation.
Enjoy your fort-building adventures and embrace the joy of being young at heart, no matter your age. Happy fort-building!
Frequently Asked Questions about How To Make A Fort With Pillows And Blankets
Was this page helpful?
At Storables.com, we guarantee accurate and reliable information. Our content, validated by Expert Board Contributors, is crafted following stringent Editorial Policies. We're committed to providing you with well-researched, expert-backed insights for all your informational needs.


0 thoughts on “How To Make A Fort With Pillows And Blankets”