Articles
How To Make Eye Pillows
Modified: December 7, 2023
Learn how to make eye pillows with our informative articles. Discover the benefits of using eye pillows for relaxation and better sleep.
(Many of the links in this article redirect to a specific reviewed product. Your purchase of these products through affiliate links helps to generate commission for Storables.com, at no extra cost. Learn more)
Introduction
Welcome to the wonderful world of eye pillows! Whether you’re looking to enhance your relaxation routine, relieve tension, or simply indulge in a little self-care, eye pillows can be a valuable addition to your wellness arsenal. These versatile accessories have gained popularity in recent years for their ability to provide soothing comfort, promote restful sleep, and aid in meditation and mindfulness practices.
In this article, we’ll guide you through the process of making your own eye pillows. Not only will you have the satisfaction of creating something with your own hands, but you’ll also have the opportunity to choose the fabric, customize the filling, and personalize the design to match your unique style and preferences.
Before we delve into the creative process, let’s discuss the materials and tools you’ll need to get started.
Key Takeaways:
- Create a personalized eye pillow using soft, breathable fabric and soothing fillings like lavender or rice. Add optional enhancements for a sensory experience that promotes relaxation and self-care.
- Sew, fill, and close your eye pillow to enjoy the benefits of stress relief, restful sleep, and mindfulness. Embrace creativity and self-care with a handmade accessory tailored to your unique preferences.
Read more: How To Make Outdoor Pillows
Materials and Tools
Before you begin making your eye pillows, make sure you have the following materials and tools on hand:
Materials:
- Fabric of your choice (cotton, silk, flannel, etc.)
- Thread in a complementary color
- Scissors
- Sewing machine or needle for hand sewing
- Pins or clips
- Filling material (flaxseed, rice, dried lavender, or a combination)
- Essential oils (optional)
- Ribbon or elastic (optional, for securing the eye pillow)
Tools:
- Measuring tape or ruler
- Iron and ironing board
- Funnel (for filling the eye pillow)
With these materials and tools at your disposal, you’ll be well-equipped to create your own eye pillows. Now, let’s move on to the next step: choosing the fabric.
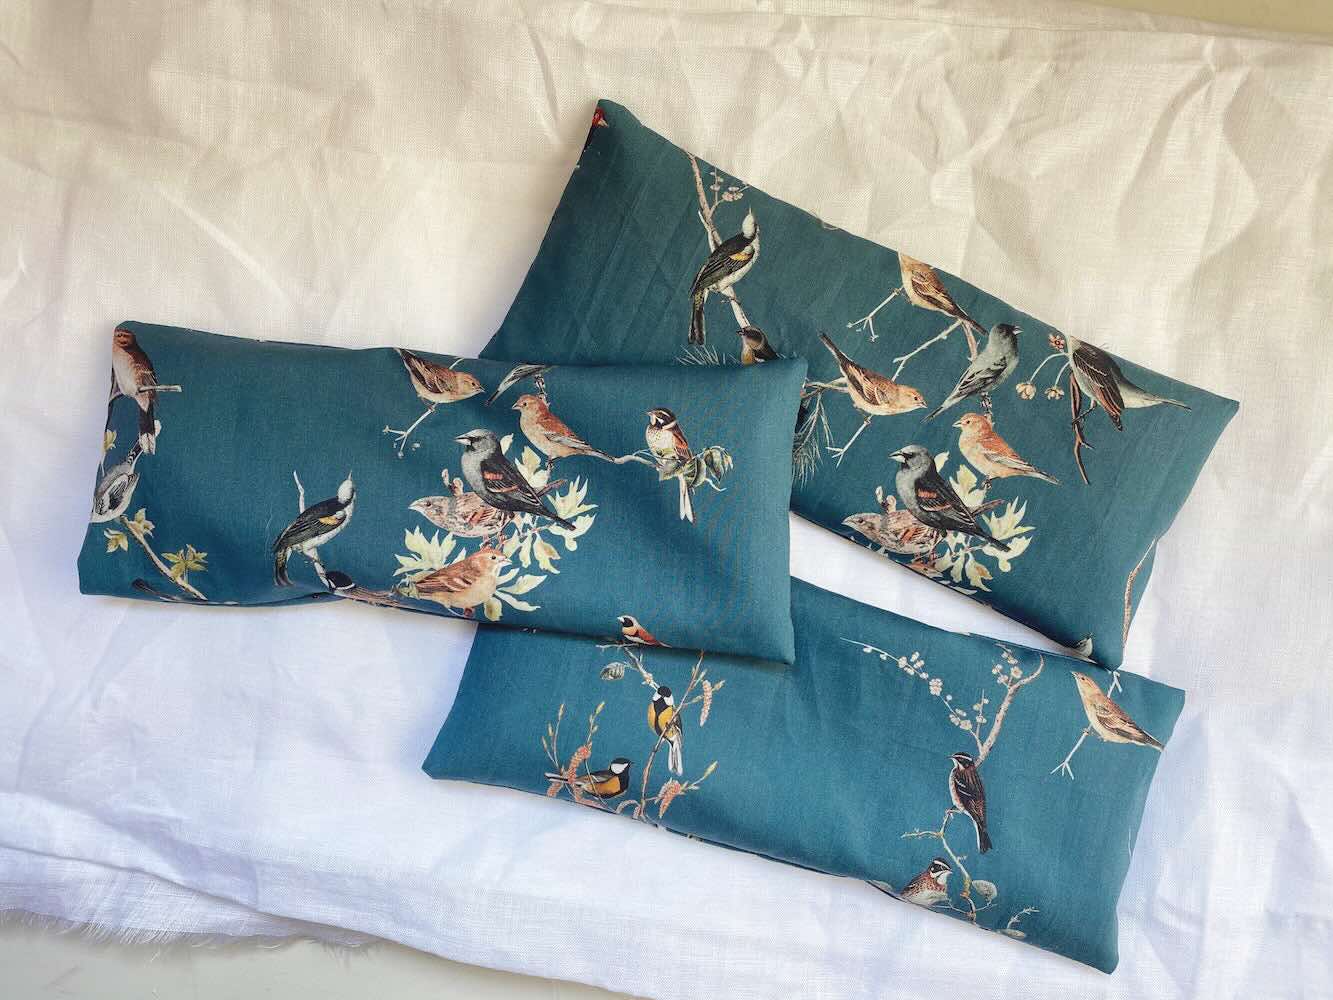
Step 1: Choosing the Fabric
The fabric you choose for your eye pillows will determine both the aesthetic appeal and the comfort level of the end product. While there are plenty of options available, it’s important to consider a few factors when selecting the fabric:
Read more: How To Make Miniature Pillows
1. Comfort:
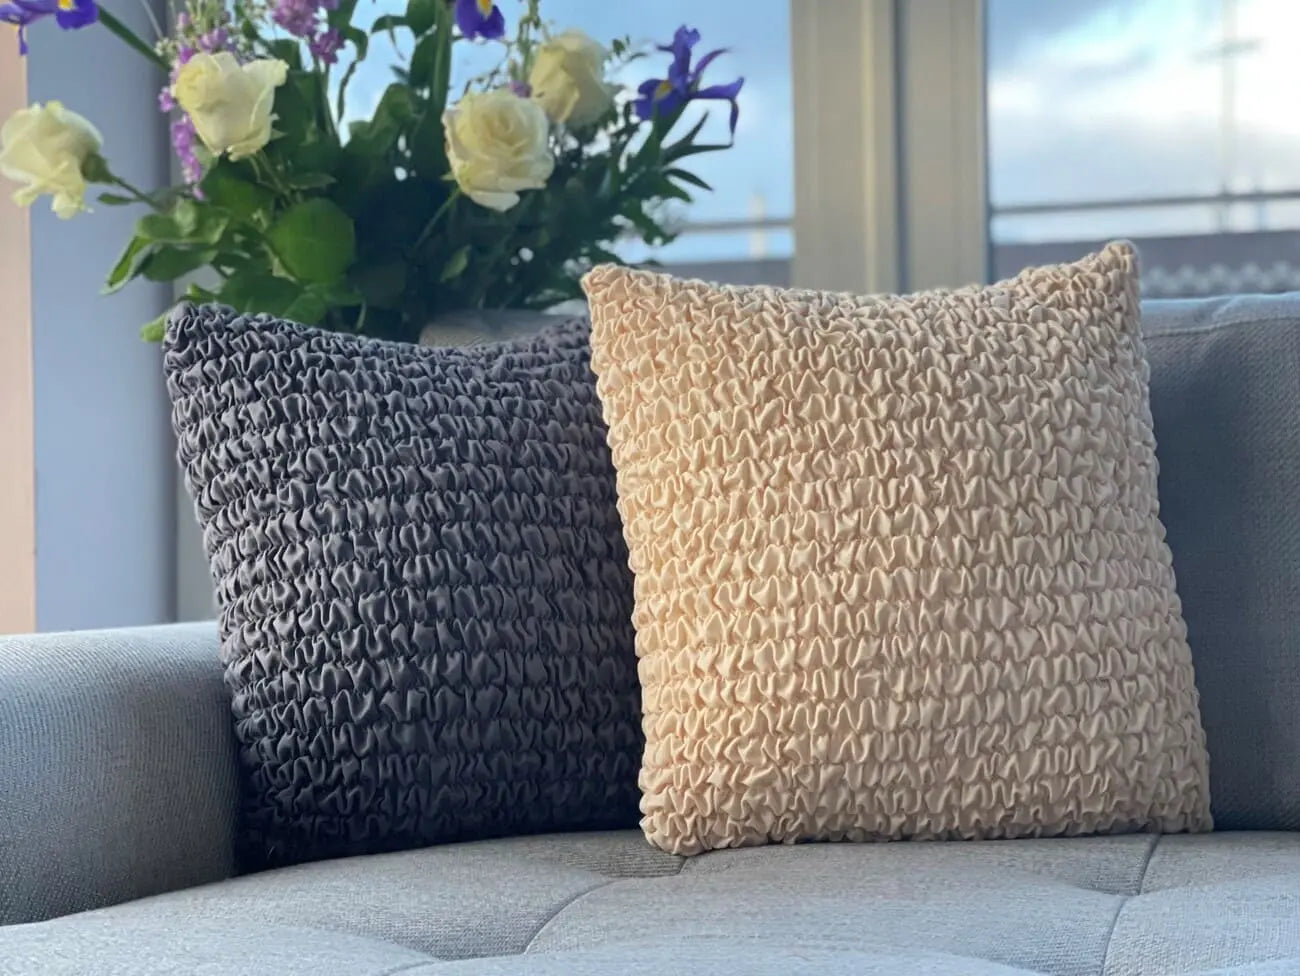
Look for soft, breathable fabrics that will feel gentle against your skin. Cotton, silk, flannel, and organic materials are popular choices for eye pillows. Consider the texture and how it will feel against your closed eyelids.
2. Allergies:
If you have any known allergies or sensitivities, be mindful of the fabric you select. Opt for hypoallergenic materials or fabrics that have been washed and tested for allergens.
3. Durability:
Since eye pillows will undergo regular use, choose a fabric that is sturdy enough to withstand repeated handling. Consider how well it will hold up after washing and frequent use.
4. Aesthetic Appeal:
Select a fabric that resonates with you visually. Consider colors, patterns, and prints that you find calming and pleasing. This is an opportunity to infuse your personal style into your eye pillow.
Once you’ve chosen your fabric, it’s time to move on to the next step: measuring and cutting.
Read more: How To Make Homemade Pillows
Step 2: Measuring and Cutting
Now that you have your chosen fabric, it’s time to measure and cut the pieces for your eye pillow. Follow these steps:
1. Measure:
Take your measuring tape or ruler and determine the desired dimensions for your eye pillow. A common size is around 4 inches by 8 inches (10 cm by 20 cm), but you can adjust the measurements according to your personal preferences.
2. Mark and Cut:
Using a fabric marker or pencil, mark the measurements on your fabric. Make sure to leave a little extra space for seam allowance. Carefully cut out the fabric pieces, ensuring that they are the same size.
3. Optional: Cut an Inner Lining:
If you want to add an inner lining to your eye pillow for added durability or to contain the filling, repeat the measuring and cutting process to create an identical fabric piece. This inner lining will be slightly smaller than the outer fabric pieces.
Once you have your fabric pieces cut, it’s time to move on to the next step: sewing the eye pillow.
Read more: How To Make Dream Pillows
Step 3: Sewing the Eye Pillow
With your fabric pieces cut and prepared, it’s time to start sewing your eye pillow. Follow these steps:
1. Place the Fabric Pieces:
Take your outer fabric pieces and place them right sides together. If you have an inner lining piece, place it on top of the fabric pieces with the right side facing down.
2. Pin or Clip:
Secure the fabric layers together by pinning or using clips along the edges. This will prevent the fabric from shifting as you sew.
3. Sew the Edges:
Using a sewing machine or sewing needle, stitch along the edges of the fabric, leaving a small opening for filling. If you’re using a sewing machine, use a straight stitch with a ⅜-inch seam allowance. If hand-sewing, use a backstitch for added durability.
Read more: Who Makes Nuzzle Pillows
4. Reinforce the Corners:
Reinforce the corners of the eye pillow by backstitching a couple of times or sewing a small triangle. This will add strength to the corners, which endure the most stress during use.
5. Optional: Finish the Edges:
If you prefer a cleaner finish, you can use a zigzag stitch or an overlock stitch along the raw edges to prevent fraying. Alternatively, you can trim the excess fabric close to the seam and use pinking shears to reduce fraying.
Once you’ve completed sewing the eye pillow, it’s time to move on to the next step: filling it with your preferred material.
Step 4: Filling the Eye Pillow
Now that you have your sewn eye pillow, it’s time to fill it with your preferred material. Follow these steps:
1. Choose Your Filling:
There are a variety of filling options to consider, depending on your desired effect. Common fillings include flaxseed, rice, dried lavender, or a combination of these. Each filling has its own unique benefits, such as soothing properties or a relaxing aroma. Select the filling that best suits your needs.
Read more: How To Make Piping For Throw Pillows
2. Prepare the Filling:
If you’re using a combination of fillings, you can mix them together in a bowl before adding them to the eye pillow. You can also add a few drops of essential oil to enhance the aroma, if desired. Mix the filling well to distribute any added scents evenly.
3. Fill the Eye Pillow:
Using a funnel or a small spoon, carefully add the filling into the eye pillow through the opening. Fill it to your desired level of firmness, making sure not to overfill it as it may affect the comfort and functionality of the pillow.
4. Test for Comfort:
Before closing the opening, gently press on the eye pillow to ensure that it feels comfortable and provides the desired level of support. Adjust the filling if needed until you’re satisfied with the firmness.
Once your eye pillow is filled to your liking, it’s time to move on to the next step: closing the eye pillow.
Step 5: Closing the Eye Pillow
With your eye pillow filled and ready, it’s time to securely close the opening. Follow these steps:
Read more: How To Make Pillows Smell Good
1. Prepare the Thread:
Choose a thread that matches the color of your fabric. Thread the needle and tie a knot at the end of the thread to prevent it from slipping through the fabric while you sew.
2. Stitch the Opening:
Starting from one end of the opening, use a small whipstitch or slipstitch to stitch the fabric closed. Aim for small, even stitches to create a neat and secure closure. If you’re using a sewing machine, you can topstitch the opening for added durability.
3. Reinforce the Ends:
Once you’ve reached the other end of the opening, make a few extra stitches or tie a knot to reinforce the closure. This will ensure that the filling remains securely inside the eye pillow.
4. Optional: Decorative Closure:
If you prefer a more decorative closure, you can sew a button or add an elastic or ribbon tie to secure the opening. This not only adds visual appeal but also allows you to adjust the firmness of the eye pillow by loosening or tightening the closure.
Once you’ve closed the eye pillow, you’re nearly done! The last step is to add any optional enhancements to make your eye pillow truly unique.
Read more: How To Make Pillows Without Sewing
Step 6: Enhancing the Eye Pillow (Optional)
Now that you have your completed eye pillow, you can further enhance it with optional additions to elevate your sensory experience. Here are some ideas to consider:
1. Scented Oils:
If you haven’t already added essential oils to the filling, you can apply a few drops of your favorite scent to the outer fabric of the eye pillow. Lavender, chamomile, or eucalyptus oils are popular choices known for their calming and soothing properties.
2. Herbal Infusions:
For a natural infusion of aromatherapy, you can create herbal sachets to place inside the eye pillow. Consider using dried herbs such as lavender, chamomile, or rose petals. These herbs release a subtle fragrance when gently compressed.
3. Cooling or Heating Options:
If you prefer a cooling effect, you can place your eye pillow in the freezer for a short time before use. Alternatively, for a comforting warmth, you can warm the eye pillow in the microwave for a few seconds. Always test the temperature on the back of your hand to avoid burning the delicate skin around your eyes.
Read more: How To Make Big Floor Pillows
4. Personalized Designs:
To further customize your eye pillow, consider adding decorative elements such as embroidery, appliques, or fabric paint. You can create patterns or designs that hold personal significance or simply reflect your creative style.
Remember to choose embellishments and enhancements that are safe to use around the eyes and won’t compromise the functionality or comfort of the eye pillow.
Once you’ve added any desired enhancements, your eye pillow is ready to be enjoyed for relaxation, meditation, or a peaceful night’s sleep.
Conclusion
Congratulations! You’ve successfully learned how to make your own eye pillows from start to finish. By following the steps outlined in this article, you have not only created a practical accessory but also embarked on a journey of self-care and creativity.
Eye pillows offer a multitude of benefits, from relieving tension and promoting relaxation to enhancing mindfulness and aiding in sleep. With your personalized eye pillow, you can now experience these benefits whenever and wherever you need a moment of tranquility.
Remember, the fabric you choose, the filling you select, and any extra enhancements you add all contribute to the unique qualities of your eye pillow. Feel free to experiment and explore different options along the way to find what works best for you.
Whether you choose to use your eye pillow during meditation, before bed, or as a tool for stress relief, it’s essential to prioritize your well-being and take time for self-care. Your eye pillow will serve as a gentle reminder to pause, relax, and embrace moments of peace amid the busyness of everyday life.
Now, go ahead and enjoy your handmade eye pillow. Close your eyes, breathe deeply, and allow the soothing comfort to wash over you as you embark on a journey of relaxation and rejuvenation.
Frequently Asked Questions about How To Make Eye Pillows
Was this page helpful?
At Storables.com, we guarantee accurate and reliable information. Our content, validated by Expert Board Contributors, is crafted following stringent Editorial Policies. We're committed to providing you with well-researched, expert-backed insights for all your informational needs.


0 thoughts on “How To Make Eye Pillows”