
Articles
How To Make Garage Door Quieter
Modified: August 27, 2024
Learn how to make your garage door quieter with these helpful articles.
(Many of the links in this article redirect to a specific reviewed product. Your purchase of these products through affiliate links helps to generate commission for Storables.com, at no extra cost. Learn more)
Introduction
Welcome to the world of garage doors – those massive, essential entrances that protect our vehicles and belongings. While garage doors play a vital role in our lives, they can also be a source of annoyance and disturbance due to the noise they produce.
If you’re tired of the loud and squeaky noises that accompany your garage door’s every movement, fear not. This article will guide you on how to make your garage door quieter, ensuring a peaceful and serene environment in your home.
Understanding the Noise Issue
Before we delve into the various methods of making your garage door quieter, it’s important to understand the source of the noise. Garage doors can produce different types of sounds, including squeaks, rattling, grinding, and banging. These noises can be caused by several factors, such as loose hardware, worn-out rollers, lack of lubrication, or even the garage door opener.
Identifying the Source of Noise
The first step in making your garage door quieter is to identify the source of the noise. Take some time to listen carefully to your garage door as it opens and closes. Pay attention to the specific areas where the noise is coming from, such as the hinges, springs, or tracks. By pinpointing the source of the noise, you can efficiently address the problem and find the appropriate solution.
Key Takeaways:
- Regularly lubricating the moving parts and tightening loose hardware can significantly reduce garage door noise, ensuring a quieter and more enjoyable experience.
- Replacing worn-out rollers and installing anti-vibration pads provide effective solutions for minimizing garage door noise, creating a peaceful environment in your home.
Read more: How To Make A Garage Door
Understanding the Noise Issue
Noise from a garage door can be quite bothersome, especially if your garage is attached to your house or located near living spaces. To effectively tackle the noise problem, it’s essential to understand the factors contributing to the noise and the potential solutions available.
One of the main culprits behind a noisy garage door is friction. When metal parts rub against each other without proper lubrication, they create friction and produce irritating squeaking sounds. Another common source of noise is the vibration caused by a garage door in motion. This vibration can travel through the door and its components, resulting in rattling and banging noises.
Now that we have a general understanding of the noise issue, let’s explore some of the potential causes in more detail:
- Worn-out or inadequate lubrication: The moving parts of a garage door, including the hinges, rollers, and springs, require regular lubrication. Over time, the lubricant may dry out or become inadequate, leading to increased friction and noise. Lubricating these components with a suitable garage door lubricant can significantly reduce the noise.
- Loose hardware: The constant movement of a garage door can cause nuts, bolts, and other hardware to become loose. Loose hardware can create rattling and banging noises when the door is in operation. Inspecting and tightening all the nuts and bolts can help minimize the noise caused by loose hardware.
- Worn-out rollers: Rollers are critical components that help the garage door slide smoothly along the tracks. If the rollers are worn-out or damaged, they can produce a grinding or squeaking sound. Replacing old or damaged rollers with new nylon or steel rollers can significantly reduce the noise.
- Garage door opener and track alignment: The garage door opener and track alignment play a crucial role in the smooth and quiet operation of your garage door. If the opener is not correctly adjusted or the tracks are misaligned, the door may produce excessive noise while opening and closing. Verifying the alignment and adjusting the opener settings can help resolve this issue.
By identifying the specific cause of the noise issue, you can target your efforts towards the appropriate solution. In the following sections, we will explore different methods that can help you make your garage door quieter and restore peace and tranquility to your home.
Identifying the Source of Noise
When it comes to making your garage door quieter, it’s crucial to identify the specific source of the noise. By doing so, you can focus your efforts on addressing the root cause and implementing the most effective solution. Here are some steps to help you identify the source of the noise:
- Observe and listen: Take some time to watch and listen to your garage door as it operates. Pay close attention to the different sounds it makes, such as squeaks, rattling, grinding, or banging noises. This observation will help you get a better understanding of where the noise is coming from and what might be causing it.
- Inspect the hardware: Begin by inspecting the hardware components of your garage door, including the hinges, springs, rollers, and tracks. Look for any signs of wear and tear, loose bolts or nuts, or misalignment. These issues can contribute to noise production and need to be addressed accordingly.
- Perform a lubrication test: Inadequate lubrication is a common cause of garage door noise. Apply a suitable lubricant to the moving parts, such as the hinges, rollers, and springs. Operate the door a few times to see if the noise reduces after lubrication. If the noise persists, lubrication might not be the main issue.
- Isolate the noise: While the garage door is in operation, try to locate the source of the noise more precisely. Stand near the door as it opens and closes and listen carefully to determine which specific part or area is producing the most noise. This will help you narrow down your troubleshooting efforts.
- Seek professional help: If you’re unable to identify the source of the noise or you’re unsure about how to proceed, it’s always a good idea to consult a professional garage door technician. They have the expertise and experience to diagnose the issue accurately and provide you with the best possible solution.
By following these steps and taking the time to identify the source of the noise, you can set yourself up for success in your quest to make your garage door quieter. Remember, each garage door is unique, and the noise issue may vary from one door to another. So, it’s important to thoroughly assess your situation and determine the specific cause of the noise before moving on to implementing the appropriate solution.
Lubricating the Moving Parts
One of the most common causes of a noisy garage door is inadequate lubrication. When the moving parts of your garage door lack proper lubrication, friction occurs, resulting in irritating squeaking and grinding noises. Lubricating these parts regularly can significantly reduce the noise and improve the overall performance of your garage door. Follow these steps to effectively lubricate the moving parts:
- Gather the necessary materials: Before you start the lubrication process, gather the required materials, including a suitable garage door lubricant, a clean cloth, and a ladder or step stool if needed.
- Ensure the door is closed and the power is disconnected: Before applying lubricant, make sure the garage door is fully closed and the power to the garage door opener is disconnected. This ensures your safety and prevents any accidental movement while you’re working on the door.
- Clean the moving parts: Use a clean cloth to wipe away any dirt, dust, or debris from the moving parts of the garage door, such as the hinges, rollers, springs, and tracks. This step ensures that the lubricant can penetrate and provide maximum effectiveness.
- Apply lubricant to the hinges: Apply a small amount of lubricant to each hinge, both on the door and on the track side. Use a spray lubricant or a silicone-based lubricant for this step. Be sure to open and close the door a few times to evenly distribute the lubricant across the hinges.
- Lubricate the rollers and tracks: Apply lubricant to the rollers, ensuring they are well-coated. Pay attention to both the roller stems and the bearings. Additionally, apply lubricant to the inside of the track, along the entire length of the door. This will help the rollers move smoothly and eliminate any noise caused by friction.
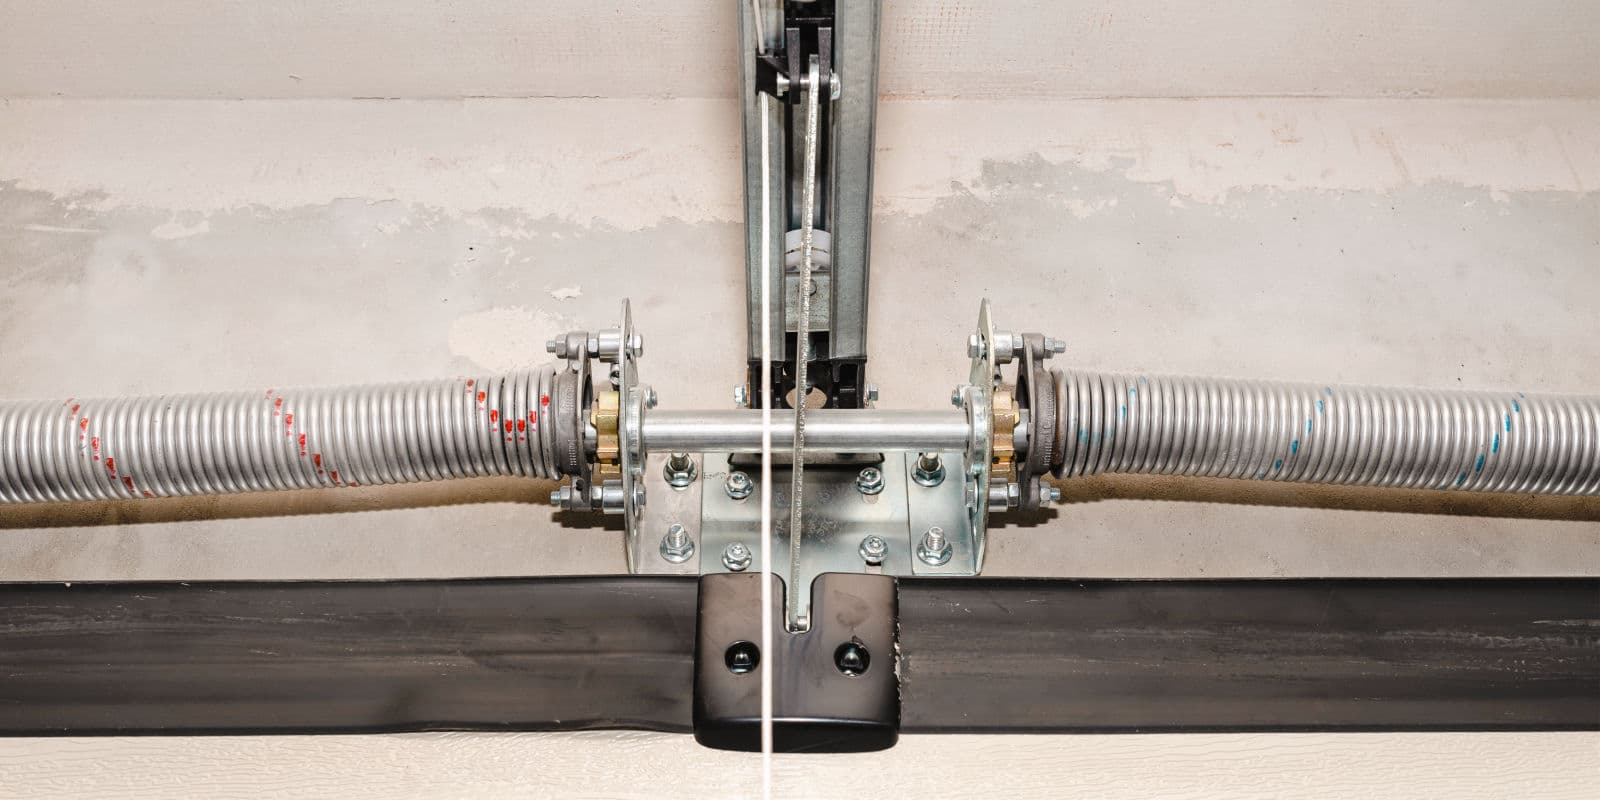
- Address the springs and pulleys: Apply a light coating of lubricant to the garage door springs and pulleys. Be cautious when working with the springs, as they are under tension and can be dangerous if mishandled. If you’re unsure about how to lubricate the springs safely, it’s best to seek professional assistance.
- Remove excess lubricant: After lubricating all the necessary parts, wipe away any excess lubricant with a clean cloth. This prevents the accumulation of dust and debris on the lubricated surfaces.
- Test the door: Once you’ve completed the lubrication process, operate the garage door a few times to distribute the lubricant evenly and assess if the noise has reduced. Listen for any noticeable improvements and make adjustments if necessary.
By regularly lubricating the moving parts of your garage door, you can ensure smooth and quiet operation. It’s a simple yet effective step in making your garage door quieter and prolonging its lifespan. Remember to follow the manufacturer’s recommendations for lubrication and maintenance, as different types of doors may require specific lubricants or procedures. With proper lubrication, you can enjoy a quieter and more enjoyable garage door experience.
Tightening Loose Hardware
Loose hardware is a common cause of noise in garage doors. The constant movement of the door can cause nuts, bolts, and other hardware components to become loose over time. Loose hardware not only contributes to noise production but can also affect the overall stability and performance of the garage door. Tightening these loose components is a simple yet effective solution to make your garage door quieter. Follow these steps to tighten the loose hardware:
- Inspect the hardware: Carefully examine all the hardware components of your garage door, including the hinges, brackets, roller brackets, and track hardware. Look for any visible signs of looseness, such as bolts that are not tightly secured or nuts that can be easily turned.
- Use the right tools: Gather the appropriate tools for tightening the hardware, such as a wrench or socket set. Make sure you have the correct sizes to fit the bolts and nuts on your particular garage door.
- Tighten the nuts and bolts: Begin by tightening the nuts and bolts on the hinges. Use a wrench or socket set to securely fasten them. Move on to the brackets and roller brackets, ensuring they are tightly attached to the door and frame. Finally, check the track hardware and tighten any loose nuts or bolts.
- Inspect for any worn-out hardware: While tightening the hardware, take the opportunity to inspect for any signs of worn-out or damaged components. Look for cracks, fractures, or excessive wear. If you notice any issues, consider replacing the worn-out hardware to prevent further noise and ensure the door operates smoothly.
- Test the door: After tightening all the loose hardware, test the garage door by opening and closing it a few times. Listen for any noticeable reduction in noise. If you still hear excessive noise or notice any other issues, it may be worth seeking professional assistance to further diagnose and resolve the problem.
Tightening the loose hardware on your garage door is a simple task that can make a significant difference in noise reduction. By keeping all the nuts, bolts, and brackets securely fastened, you ensure that the door operates smoothly and quietly. Regularly inspecting and tightening the hardware is a proactive approach to garage door maintenance, prolonging its lifespan and minimizing the likelihood of future noise issues.
Applying a lubricant to the moving parts of the garage door, such as the rollers, hinges, and springs, can help reduce noise and make the door operate more quietly.
Read more: How To Make Garage Door Rust
Replacing Worn-out Rollers
Worn-out or damaged rollers are a common source of noise in garage doors. Rollers play a crucial role in the smooth and quiet operation of the door, allowing it to glide along the tracks with ease. Over time, rollers can become worn, causing them to produce grinding or squeaking sounds. Replacing these worn-out rollers is a relatively simple and effective solution to make your garage door quieter. Here’s how you can do it:
- Identify the type of rollers: There are various types of rollers used in garage doors, including nylon rollers, steel rollers, and ball-bearing rollers. Determine the type of rollers installed in your garage door as this will guide you in purchasing the correct replacement rollers.
- Prepare the tools: Gather the necessary tools for the replacement process, such as a pair of pliers, a socket set, and a rubber mallet. You may also need a ladder or step stool to access the rollers.
- Secure the door in place: Before replacing the rollers, ensure that the garage door is fully closed and secured. This prevents any accidental movement while you’re working on the rollers.
- Remove the old rollers: Begin by removing the brackets that hold the rollers in place. Depending on the type of roller bracket, you may need to use pliers or a wrench to disconnect it from the door. Once the brackets are removed, you can easily slide out the old rollers from the track.
- Install the new rollers: Take the new rollers and align them with the track. Insert the rollers into the track one at a time, ensuring they are properly seated and aligned. Use a rubber mallet to gently tap the rollers into place, if needed.
- Reattach the roller brackets: Once the new rollers are installed, reattach the roller brackets to secure them in place. Make sure the brackets are securely fastened and aligned with the track.
- Test the door: After replacing the worn-out rollers, test the garage door by opening and closing it a few times. Listen for any noise reduction and ensure that the door moves smoothly along the tracks. If necessary, make adjustments to the roller brackets to properly align the door.
Replacing worn-out rollers is a simple maintenance task that can significantly reduce the noise produced by your garage door. If you’re unsure about the replacement process or you prefer professional assistance, don’t hesitate to contact a garage door technician. They can help you select the appropriate rollers for your door and ensure they are installed correctly, maximizing the performance and quietness of your garage door.
Installing Anti-vibration Pads
If you’re still experiencing excessive noise from your garage door, even after lubricating the moving parts and replacing worn-out rollers, installing anti-vibration pads can provide an additional layer of noise reduction. Anti-vibration pads are designed to absorb and dampen the vibrations produced by the garage door, reducing the noise transmitted to the surrounding areas. Here’s how you can install them:
- Determine the placement: Start by identifying the areas where the vibrations are most pronounced. Typically, these areas include the bottom of the vertical track and the ends of the horizontal tracks.
- Clean the surfaces: Ensure that the surfaces where the anti-vibration pads will be installed are clean and free from any debris or dirt. Use a clean cloth or a mild cleaning solution to wipe down the areas.
- Measure and cut the pads: Take the anti-vibration pads and measure them according to the size of the surface area where they will be placed. Use a sharp knife or scissors to cut the pads to the appropriate size and shape.
- Apply adhesive: Apply an adhesive to one side of the anti-vibration pad. Make sure to use an adhesive that is suitable for the specific material of the pad and the surface it will be attached to.
- Attach the pads: Carefully place the adhesive side of the pad onto the desired surface area, pressing firmly to ensure proper adhesion. Repeat this process for each area where you want to install the anti-vibration pads.
- Allow time to set: Once the pads are installed, allow sufficient time for the adhesive to set and bond properly. Refer to the manufacturer’s instructions for the recommended drying or setting time.
- Test the door: After the anti-vibration pads have fully bonded, test the garage door by opening and closing it. Listen for any noticeable reduction in noise and vibrations. If necessary, make adjustments to the placement of the pads to optimize their effectiveness.
Installing anti-vibration pads can significantly minimize the vibrations and noise produced by your garage door. These pads act as a barrier, absorbing and softening the impact of the door’s movements. Keep in mind that anti-vibration pads may not eliminate all noise completely, but they can help create a more peaceful and quieter environment in your garage and surrounding areas.
Using Soundproofing Materials
If you’ve tried other methods to make your garage door quieter and are still not satisfied with the noise reduction, using soundproofing materials can provide an additional level of insulation and noise control. Soundproofing materials can help absorb and block the noise, preventing it from escaping the garage and entering your living spaces. Here are some commonly used soundproofing materials and how to install them:
- Weatherstripping: Weatherstripping is an effective way to seal any gaps or cracks around the edges of your garage door. It helps to prevent drafts and reduce noise infiltration. Measure the gaps and cut weatherstripping strips to the appropriate length. Attach them to the sides and bottom of the garage door using adhesive or nails, ensuring a tight seal.
- Insulating foam panels: Insulating foam panels can provide both thermal insulation and noise reduction. Measure the dimensions of your garage door panels and cut the foam panels accordingly. Attach the foam panels to the inside of the garage door using adhesive or mounting tape. This will help absorb and dampen the noise as it hits the door.
- Acoustic blankets: Acoustic blankets are thick and dense blankets specifically designed to absorb and block sound. Hang acoustic blankets on the walls of your garage, paying attention to areas where noise seems to be escaping. You can use hooks, nails, or adhesive strips to secure the blankets in place.
- Mass-loaded vinyl (MLV): Mass-loaded vinyl is a dense, flexible material that effectively blocks sound transmission. Cut the MLV to fit the dimensions of your garage door and attach it to the door using adhesive or staples. Make sure to cover the entire surface of the door for optimal noise reduction.
- Seal gaps and cracks: Use caulk or foam sealant to seal any gaps or cracks in the walls, ceiling, and floor of your garage. These gaps can allow noise to escape or enter the garage, so sealing them will help minimize noise transmission.
It’s important to note that while these soundproofing materials can significantly reduce noise, they may impact the overall function and balance of your garage door. It’s recommended to consult with a professional to ensure proper installation and to determine the best combination of soundproofing materials for your specific garage door.
Using soundproofing materials is a more extensive and involved solution, but it can provide substantial noise reduction and create a quieter environment in and around your garage. Take the time to research and choose the best soundproofing materials for your needs, and follow the installation instructions carefully for optimal results.
Adjusting the Garage Door Opener
If you’ve tried various methods to make your garage door quieter and are still experiencing excess noise, it may be worth adjusting your garage door opener. The opener plays a significant role in the smooth and quiet operation of your garage door. By making necessary adjustments to the opener, you can potentially reduce noise and improve the overall performance of your garage door. Here are some steps to guide you through the process:
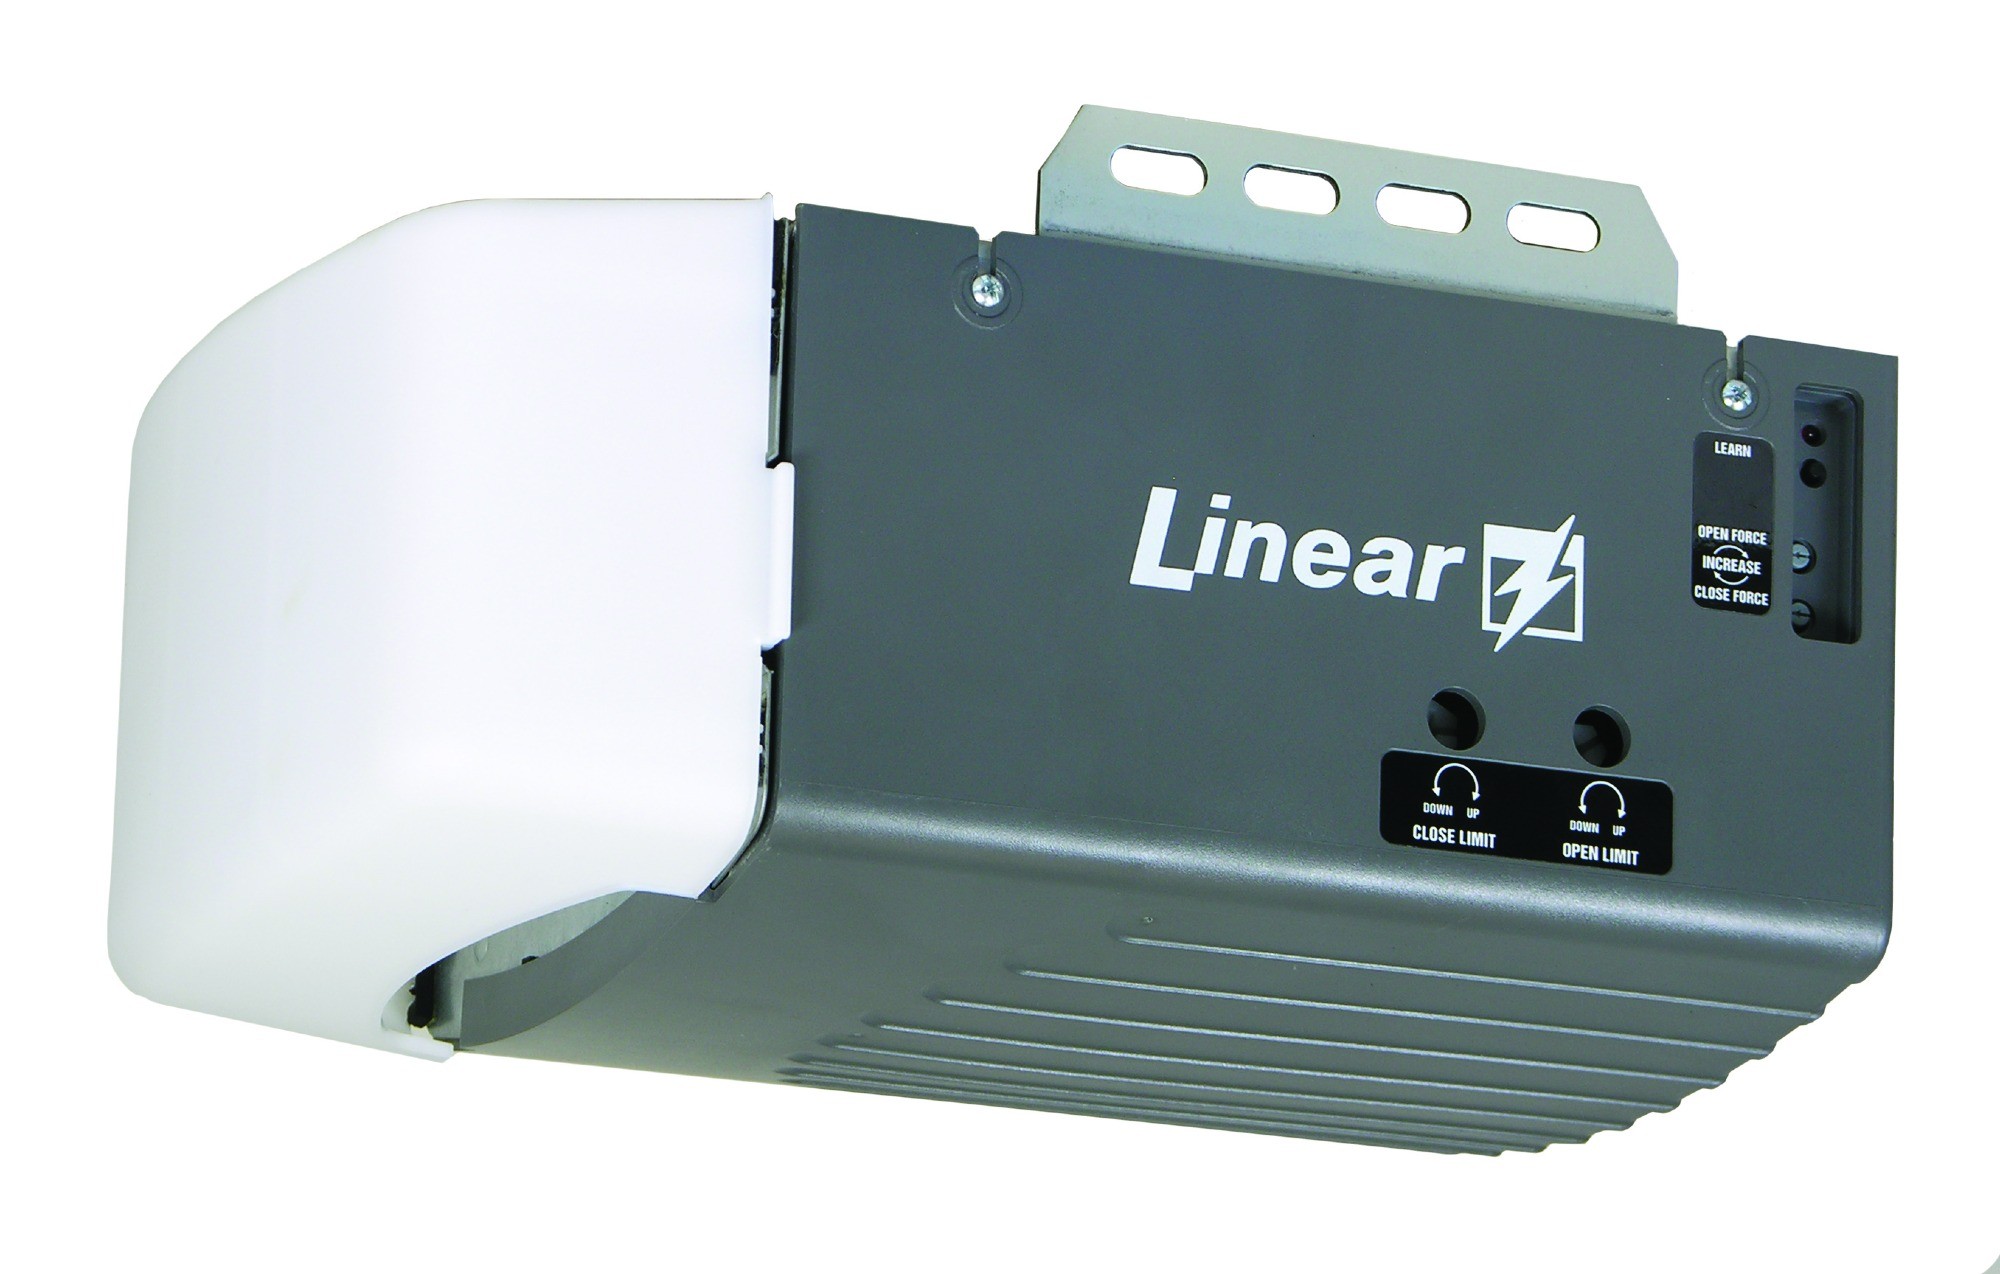
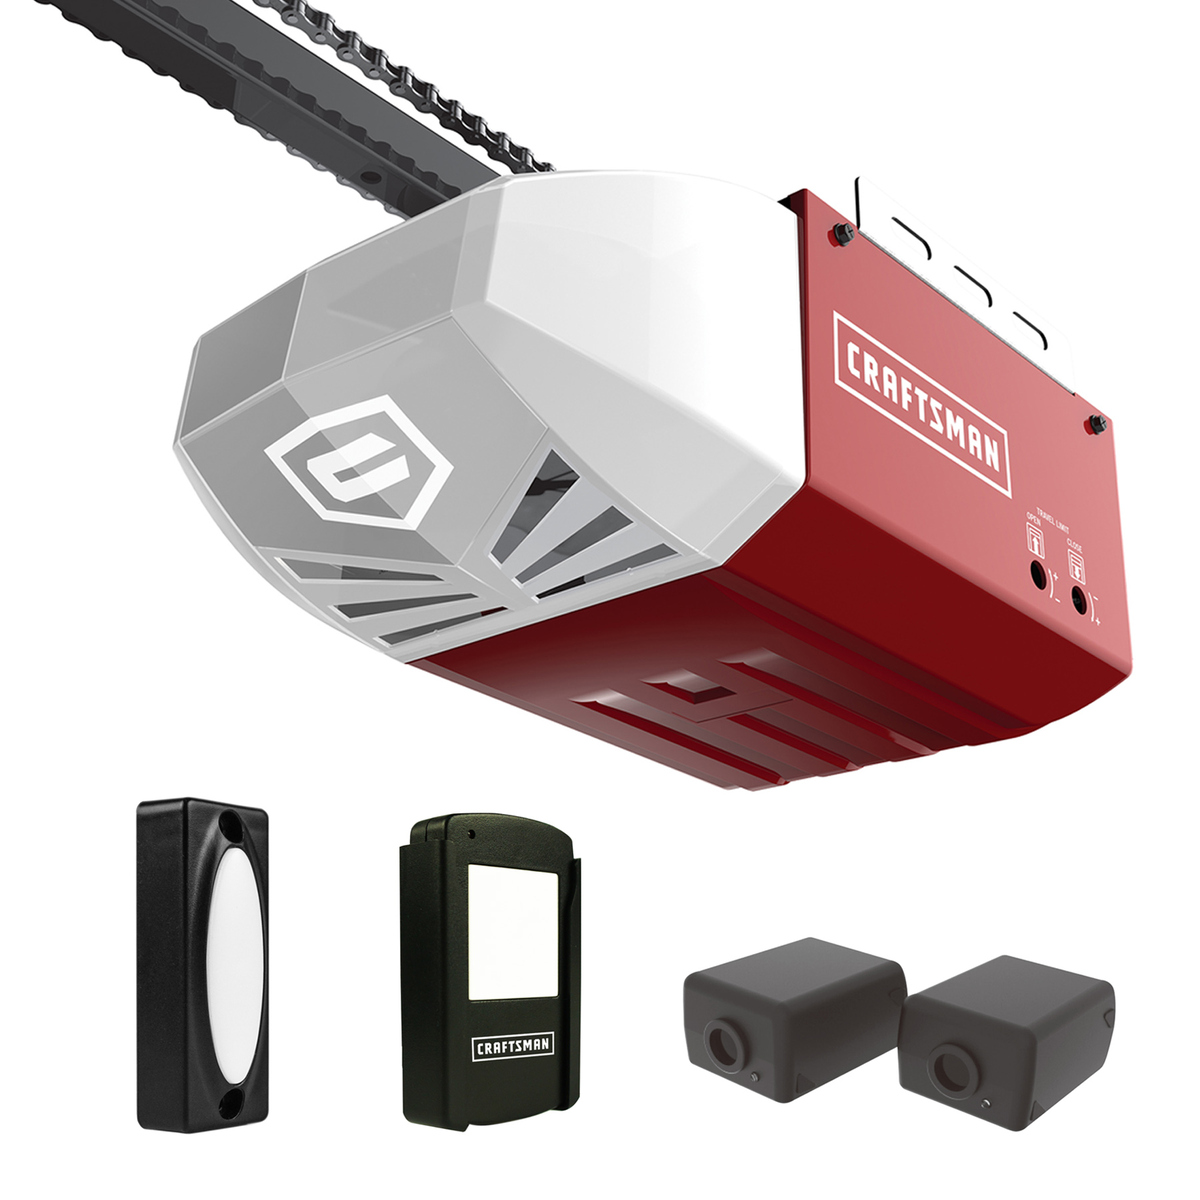
- Locate the adjustment screws: Most garage door openers have two types of adjustment screws: the limit adjustment screws and the force adjustment screws. The limit adjustment screws control how far the door opens and closes, while the force adjustment screws regulate the force applied by the opener.
- Adjust the limit screws: Begin by adjusting the limit screws to ensure that the door opens and closes to the desired positions. If the door closes too forcefully or doesn’t close completely, you may need to adjust the close limit screw. If the door doesn’t open fully or opens too forcefully, adjust the open limit screw. Make slight adjustments by turning the screws clockwise or counterclockwise until the door operates smoothly and reaches the desired positions.
- Adjust the force screws: Next, adjust the force screws to regulate the amount of force applied by the opener. If the door feels heavy or makes excessive noise when opening or closing, you may need to decrease the force. Conversely, if the door reverses too easily or when it should not, you may need to increase the force. Make small adjustments to the force screws, testing the door after each adjustment, until you find the optimal balance of force and quiet operation.
- Perform safety reversal test: Safety is paramount when adjusting the garage door opener. After making adjustments to the limit and force screws, perform a safety reversal test to ensure that the door reverses when it encounters an obstruction. Place a sturdy object, such as a block of wood, in the path of the closing door. The door should reverse immediately upon contact with the object. If it doesn’t, adjust the force screws further until the safety reversal is working correctly.
- Regular maintenance: Once you’ve adjusted the garage door opener, it’s important to perform regular maintenance to keep it in optimal condition. Lubricate the opener’s moving parts, clean any accumulated debris, and inspect for any signs of wear or damage. Regular maintenance will help ensure the continued smooth and quiet operation of your garage door opener.
Adjusting the garage door opener can be a more involved process, and it’s essential to follow the manufacturer’s instructions and safety guidelines. If you’re unsure about the adjustment process or you prefer professional assistance, don’t hesitate to contact a trained technician. They can help you correctly adjust your garage door opener for maximum noise reduction and performance.
By taking the time to adjust your garage door opener, you can potentially eliminate excess noise and enjoy a quieter and more peaceful garage environment.
Read more: Who Makes The Best Garage Door
Conclusion
Having a noisy garage door can be a frustrating experience, but fortunately, there are several effective methods to make your garage door quieter. By understanding the noise issue, identifying the source of the noise, and implementing the appropriate solutions, you can transform your garage door into a quiet and hassle-free entrance.
Lubricating the moving parts of your garage door is a fundamental step in reducing noise. Regularly applying suitable lubricant to hinges, rollers, springs, and tracks can eliminate friction and the associated squeaks and grinding sounds. Additionally, tightening loose hardware ensures that nuts, bolts, and brackets are securely fastened, minimizing rattling noises.
Worn-out rollers can be a significant source of noise, so replacing them with new, high-quality rollers is essential for smooth and quiet operation. Installing anti-vibration pads helps to dampen the vibrations produced by the garage door, further reducing noise transmission. Moreover, using soundproofing materials, such as weatherstripping, foam panels, acoustic blankets, and mass-loaded vinyl (MLV), can significantly block and absorb noise.
Adjusting the garage door opener can also make a noticeable difference in noise reduction. By properly adjusting the limit and force screws, you can optimize the performance of the opener and minimize noise. Performing regular maintenance on your garage door and opener will ensure their longevity and continued smooth operation.
In conclusion, by combining these methods and tailoring them to your specific garage door, you can significantly reduce the noise of your garage door and create a more peaceful environment. It’s essential to be patient and thorough in your approach, as different causes of noise may require different solutions. Should you encounter any difficulties or feel uncertain, seeking professional assistance from a garage door technician is always a wise choice.
With a quieter garage door, you can enjoy the benefits of convenience and security without the unnecessary noise disturbance. Embrace the tranquility and make your garage a place of serenity.
Frequently Asked Questions about How To Make Garage Door Quieter
Was this page helpful?
At Storables.com, we guarantee accurate and reliable information. Our content, validated by Expert Board Contributors, is crafted following stringent Editorial Policies. We're committed to providing you with well-researched, expert-backed insights for all your informational needs.




0 thoughts on “How To Make Garage Door Quieter”