
Articles
How To Frame A Door In An Interior Wall
Modified: May 6, 2024
Learn how to frame a door in an interior wall with our informative articles. Step-by-step guides and expert tips to help you achieve a professional finish.
(Many of the links in this article redirect to a specific reviewed product. Your purchase of these products through affiliate links helps to generate commission for Storables.com, at no extra cost. Learn more)
Introduction
When remodeling or renovating your home, creating new spaces or improving existing ones, you may find the need to frame a door in an interior wall. Framing a door involves carefully measuring, cutting, and assembling the necessary materials to create a sturdy and functional door frame. Whether you’re adding a door to a new room or replacing an old one, knowing how to frame a door is a valuable skill that can save you money and enhance the overall aesthetic and functionality of your home.
In this comprehensive guide, we will take you through the step-by-step process of framing a door in an interior wall. By following these instructions and using the right tools and materials, you’ll be able to successfully construct a door frame that is level, plumb, and structurally sound.
Before you begin, it’s essential to assess the wall where you plan to install the door frame. You should also gather all the necessary materials and tools for the project. Proper planning and preparation are crucial for achieving a successful outcome.
So, let’s get started and learn how to frame a door in an interior wall!
Key Takeaways:
- Framing a door in an interior wall requires precise measurements, careful cutting, and meticulous assembly. Proper planning, assessment, and attention to detail are essential for a successful and visually appealing outcome.
- From assessing the wall and gathering materials to constructing the door frame and adding finishing touches, framing a door is a challenging yet rewarding project. Attention to detail and patience are key to achieving a polished and seamless addition to your home.
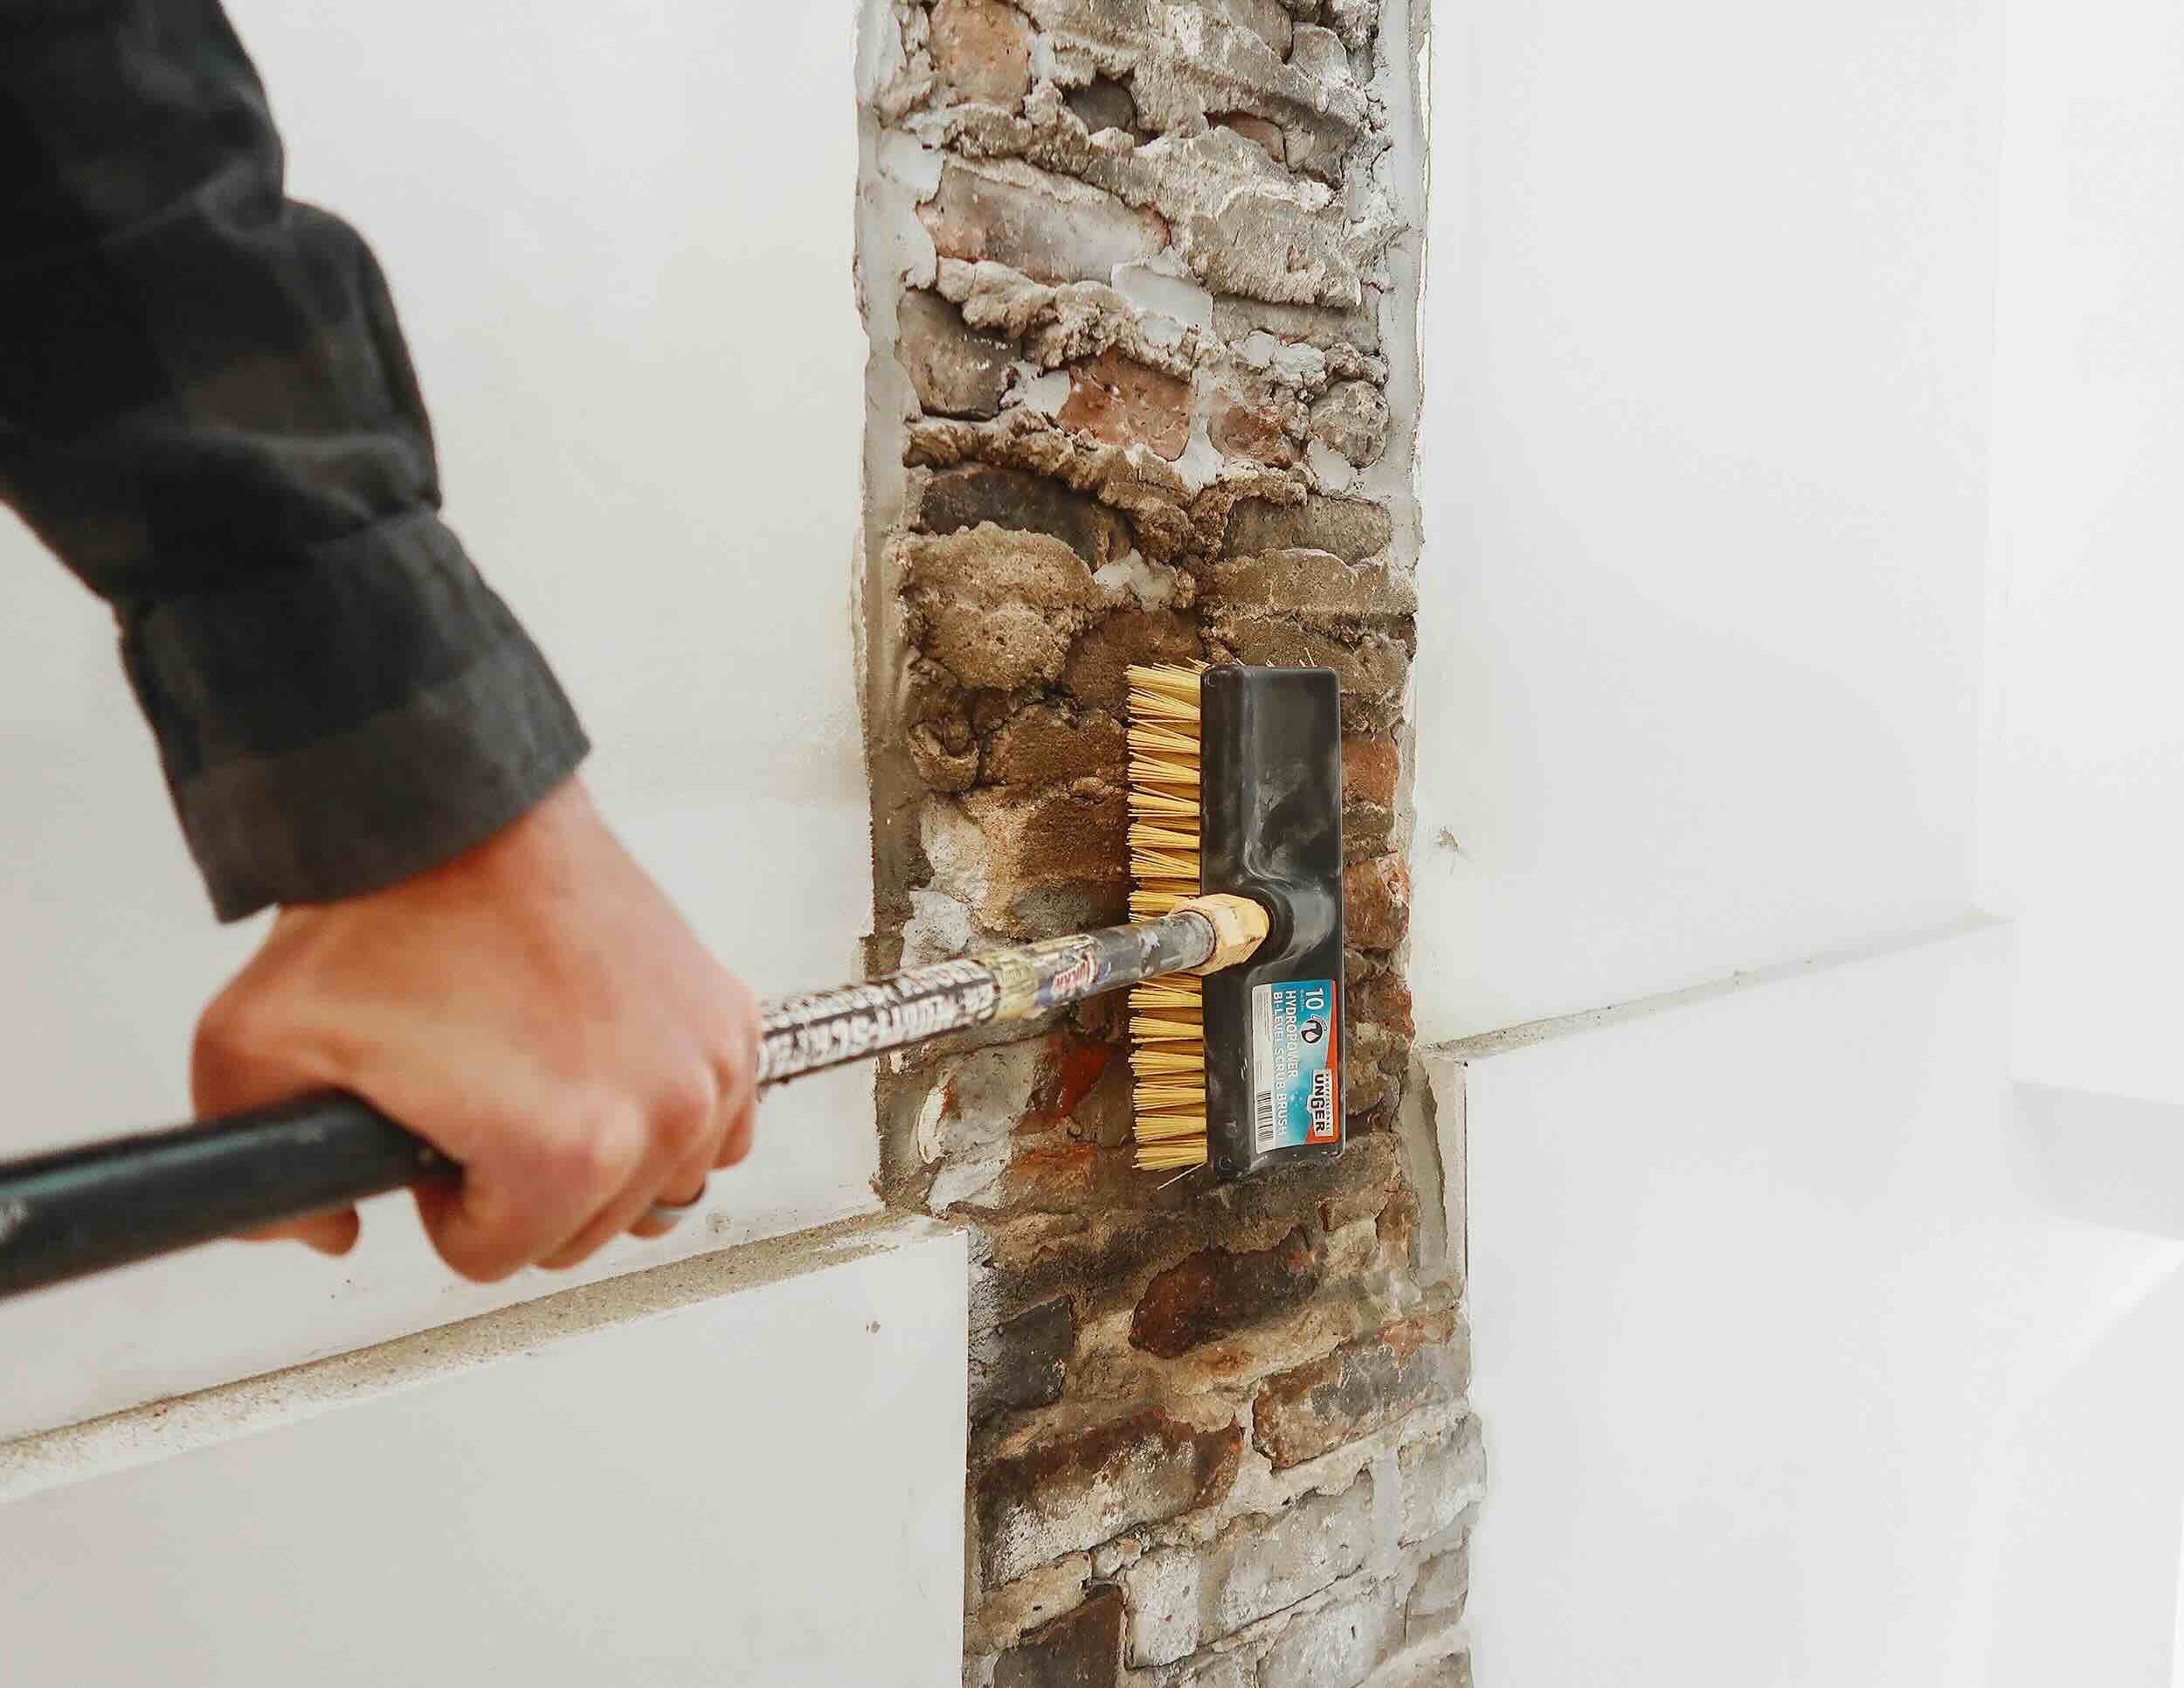
Assessing the Wall
Before you begin framing a door in an interior wall, it’s important to assess the wall itself. This involves checking the thickness of the wall, identifying any obstacles or obstructions, and determining if the wall is load-bearing or non-load-bearing.
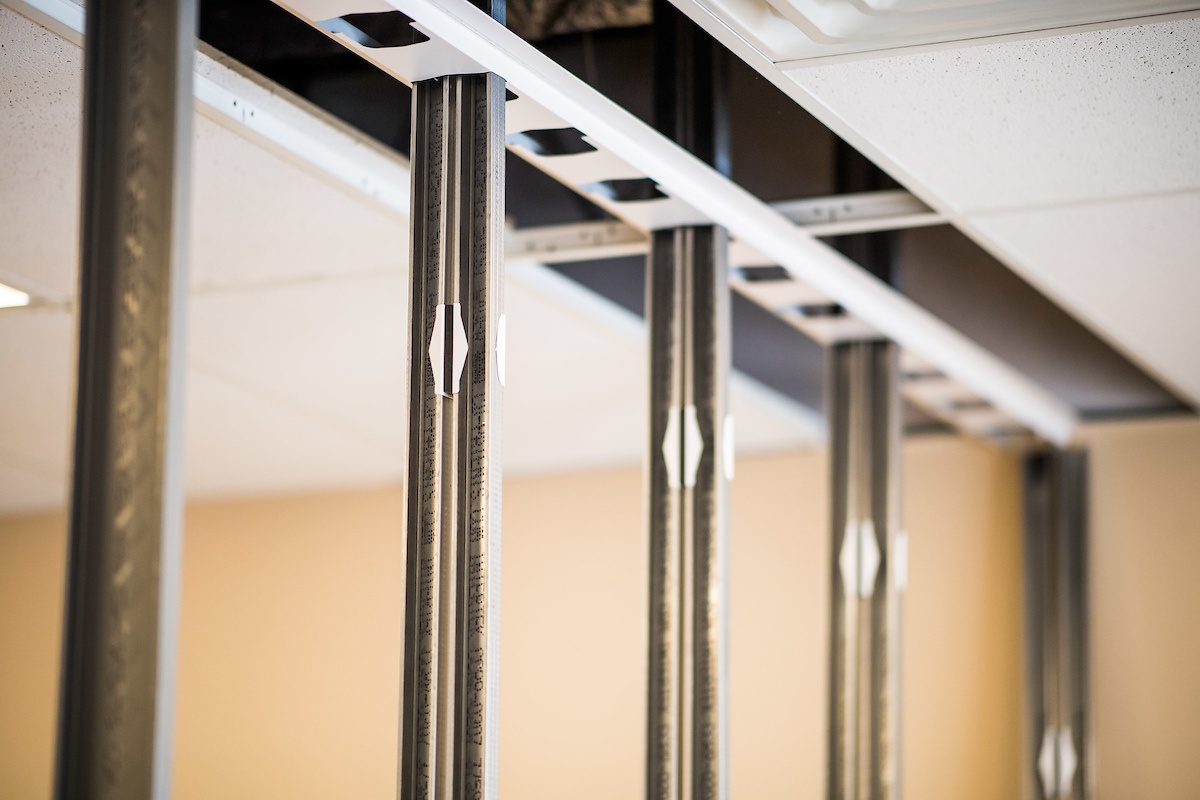
First, measure the thickness of the wall. Most interior walls are constructed using 2×4 or 2×6 studs, resulting in wall thicknesses of 4 ½ inches or 6 ½ inches, respectively. Knowing the thickness of the wall will help you determine the length of the door frame components.
Next, inspect the wall for any obstructions such as electrical wiring, plumbing pipes, or HVAC ducts. These obstacles may require you to reroute or relocate them before framing the door. It’s crucial to ensure that there are no utilities or structural elements in the way, as they can interfere with the door frame installation.
Additionally, identify whether the wall is load-bearing or non-load-bearing. Load-bearing walls support the weight of the structure above, while non-load-bearing walls are solely for room division. If you are unsure, consult with a professional to determine the structural implications of framing a door in the wall.
Once the wall assessment is complete, you can proceed with gathering the necessary materials and tools for framing the door.
Gathering Materials and Tools
Before you start framing a door in an interior wall, it’s crucial to ensure that you have all the necessary materials and tools on hand. Having everything ready beforehand will make the process smoother and more efficient. Here is a list of essential materials and tools you will need:
Materials:
- 2×4 or 2×6 dimensional lumber, depending on the thickness of the wall
- Pre-hung door kit or door jamb components
- Shims
- Screws
- Nails
- Wood glue
- Drywall
- Drywall tape
- Drywall screws
- Joint compound
- Sanding block
- Paint or finish of your choice
Tools:
- Tape measure
- Level
- Square
- Chalk line
- Circular saw or handsaw
- Hammer
- Drill
- Screwdriver
- Drywall knife
- Sanding block or electric sander
- Paintbrush or roller
Make sure you have all the materials and tools listed above readily available before you start framing the door. This will save you time and help you avoid interruptions during the process.
Now that you are equipped with the necessary materials and tools, it’s time to move on to measuring and marking the wall for the door frame construction.
Measuring and Marking
Accurate measurements and precise markings are essential when framing a door in an interior wall. This ensures that the door frame is properly aligned and fits correctly. Here is a step-by-step guide on how to measure and mark the wall for the door frame:
- Measure the height and width of the door opening. Use a tape measure to determine the height from the floor to the top of the opening, and the width from side to side. Record these measurements.
- Mark the top of the door frame on the wall. Measure up from the floor to the desired height of the top of the door frame. Use a level to ensure that the mark is straight and level across the wall. Make a small mark using a pencil or chalk.
- Mark the sides of the door frame on the wall. Measure the width of the door frame from side to side and mark the distance on each side of the top mark. Again, use a level to ensure that the side marks are plumb (vertical) and straight.
- Use a chalk line or straightedge to connect the top and side marks. This will create a clear outline of the door frame on the wall.
- Double-check your measurements and marks to ensure accuracy. Adjust as necessary before proceeding to the next step.
Once you have measured and marked the wall for the door frame, it’s time to move on to cutting the wall studs to accommodate the door frame.
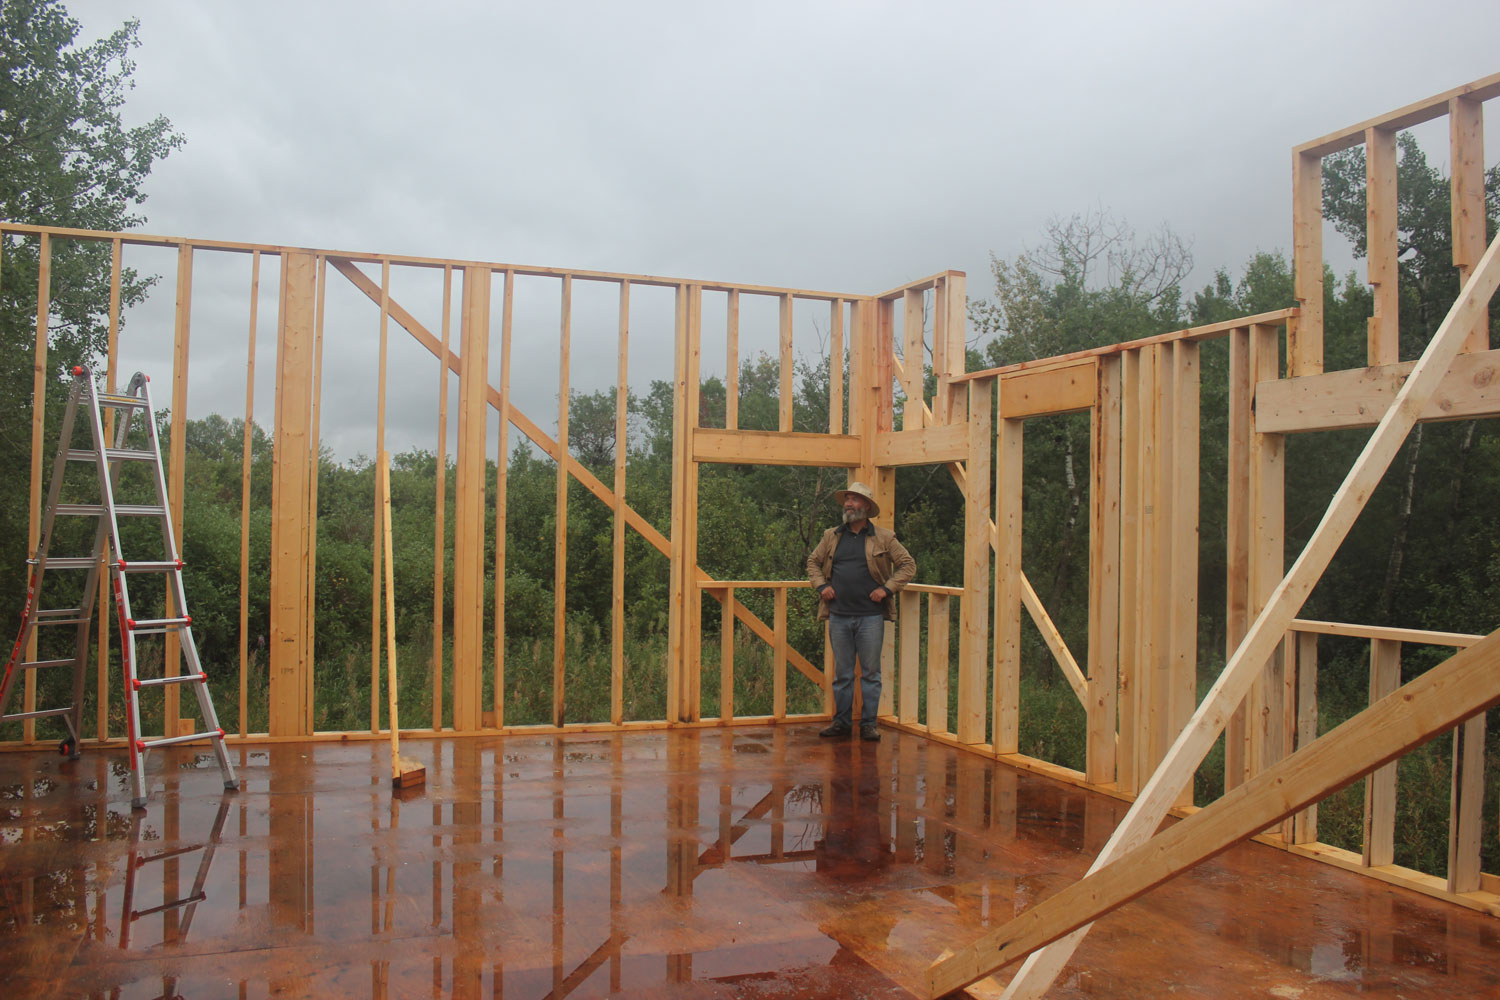
Cutting the Wall Studs
After measuring and marking the wall for the door frame, the next step is to cut the wall studs to accommodate the frame. This allows the door to fit seamlessly within the interior wall. Here’s a step-by-step guide on how to cut the wall studs:
- Start by locating the wall studs within the outlined area for the door frame. You can use a stud finder or tap the wall lightly to identify the solid areas where the studs are located.
- Measure the height of the door frame and mark it on one of the studs. Double-check the measurement to ensure accuracy.
- Using a circular saw or handsaw, carefully cut through the marked stud. Ensure that the cut is straight and perpendicular to the stud.
- Repeat the process to cut through the adjacent studs on both sides of the door frame. Make sure the cuts are at the same height for consistency.
- Remove the cut portion of the studs, taking care not to damage the surrounding structure. Use a hammer or pry bar to gently pry the pieces out if needed.
- Inspect the cut ends of the remaining studs to ensure they are clean and free from any splintering or damage. Sand any rough edges if necessary.
By cutting the wall studs to the appropriate height, you are creating an opening for the door frame to be inserted. This step is crucial in ensuring a proper fit and structural integrity.
Once the wall studs are cut, you are ready to proceed with constructing the door frame.
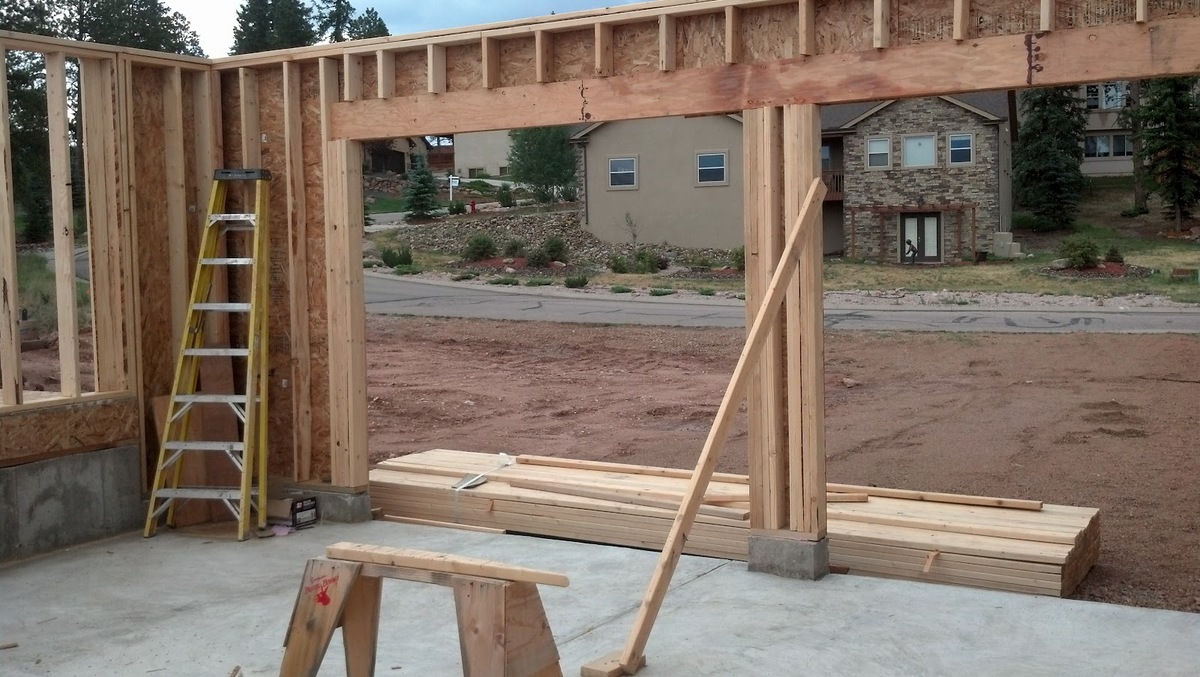
Constructing the Door Frame
Constructing the door frame is a key step in framing a door in an interior wall. It involves assembling the components that will provide support and structure for the door. Here is a step-by-step guide on how to construct the door frame:
- Start by laying out the door frame components, including the two vertical side jambs and the header.
- Measure the height and width of the door opening again to ensure accurate sizing of the door frame components.
- Cut the side jambs to the appropriate height, matching the height of the door opening. Use a saw or a miter saw to make clean and precise cuts.
- Next, cut the header to the required width, matching the width of the door opening. Ensure that the header is level and straight.
- Using wood glue, attach the side jambs to the header. Apply a generous amount of glue to the top edge of each side jamb, then align and press them securely against the header.
- For added stability, you can reinforce the joints with screws or nails. Drive screws or nails through the side jambs into the header, making sure they are flush with the surface.
- Double-check that the door frame is square and level. Use a square to ensure that the corners form 90-degree angles and a level to confirm that the frame is straight.
- Allow the wood glue to dry completely before proceeding to the next step. Follow the manufacturer’s instructions for drying times.
By following these steps, you will have constructed a solid and stable door frame that is essential for the proper installation of a door in your interior wall.
Next, we will move on to installing the door frame in the wall and checking for level and plumb.
When framing a door in an interior wall, make sure to measure and mark the rough opening according to the door size. Use a level to ensure the door frame is plumb and square before securing it in place.
Installing the Door Frame
Installing the door frame is a critical step in the process of framing a door in an interior wall. It involves securing the constructed frame into the wall opening, ensuring a proper and secure fit. Here’s a step-by-step guide on how to install the door frame:
- Begin by positioning the door frame in the wall opening, making sure it fits snugly and aligns with the marked outlines.
- Use shims to adjust the position of the door frame as needed. Place shims between the frame and the wall studs to ensure the frame is level, plumb, and centered within the wall opening.
- Check for level and plumb using a level. Adjust the shims accordingly until the door frame is perfectly vertical and horizontal.
- Once the door frame is properly aligned, secure it in place by driving screws through the shims and into the wall studs. Be careful not to over-tighten the screws, as it can distort the frame or cause it to become uneven.
- Continue installing screws through the shims at regular intervals along the frame to ensure stability and support.
- After securing the door frame, verify that it opens and closes smoothly. Adjust the shims if necessary to eliminate any binding or sticking.
It’s important to double-check that the door frame is installed securely and functions properly before proceeding to the next steps. This will save you time and effort in the long run.
Now that the door frame is installed, we will move on to checking for level and plumb.
Checking for Level and Plumb
Checking for level and plumb is a crucial step after installing the door frame in an interior wall. It ensures that the frame is perfectly vertical and horizontal, resulting in a properly aligned and functional door. Here’s a step-by-step guide on how to check for level and plumb:
- Use a level to check the vertical sides of the door frame, known as the side jambs. Place the level against each side jamb and adjust the shims as needed until the bubble in the level is centered. This confirms that the side jambs are perfectly vertical.
- Next, check for horizontal alignment using the level. Place the level across the top of the door frame, known as the header, and adjust the shims if necessary to ensure the level is perfectly horizontal.
- Continue to check the level and plumb at different points along the door frame. This will help identify any areas that may require further adjustment.
- Ensure that the door frame is level and plumb both vertically and horizontally. It’s essential to take the time to make precise adjustments, as this will influence the functionality and appearance of the door after installation.
- Once you are satisfied with the level and plumb of the door frame, proceed to secure it further by driving additional screws through the shims and into the wall studs.
Checking for level and plumb is a critical step to ensure that the door operates smoothly and properly fits within the frame. Take your time and make accurate adjustments as needed to achieve the desired results.
With the door frame now level and plumb, we can move on to attaching the drywall to complete the wall construction.
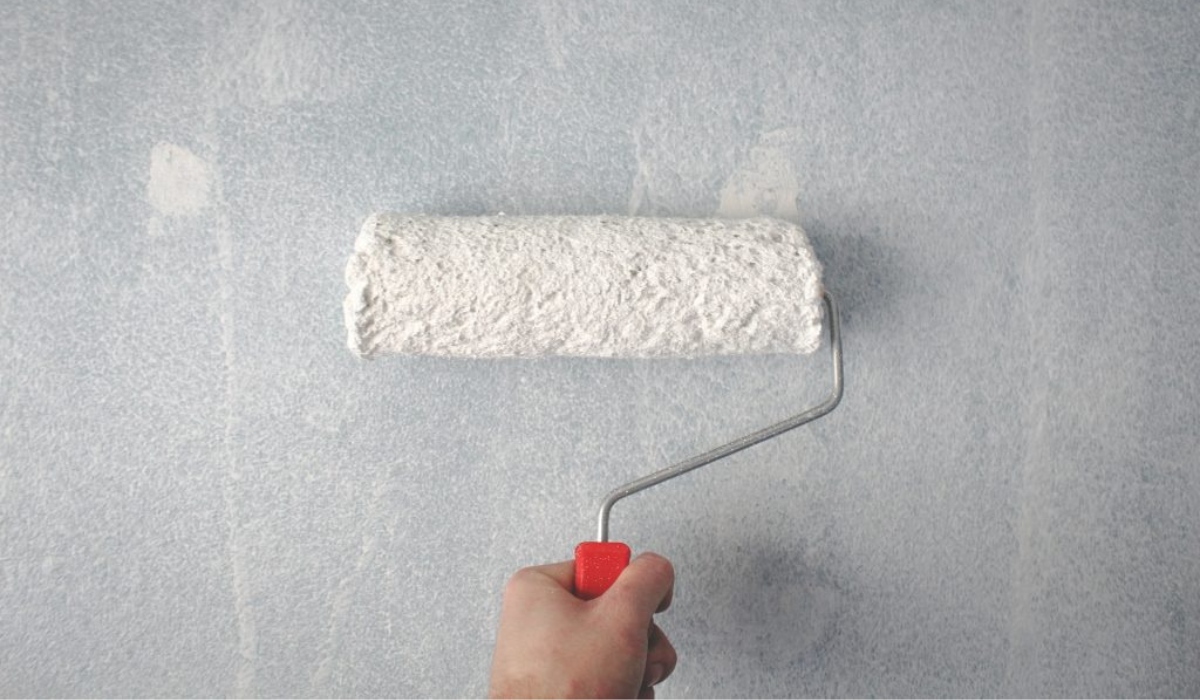
Attaching the Drywall
Attaching the drywall is the next step in framing a door in an interior wall. Drywall provides a smooth and finished surface, adding stability and aesthetic appeal to the wall. Here’s a step-by-step guide on how to attach the drywall:
- Measure and cut the drywall sheets to fit the wall space around the door frame. Use a utility knife or a drywall saw to make clean and precise cuts.
- Starting at one corner of the wall, lift a drywall sheet and position it against the studs, making sure it covers the door frame appropriately. The drywall sheet should be flush against the door frame and aligned with the surrounding walls.
- Secure the drywall to the studs using drywall screws. Place screws every 8 to 12 inches along the studs, ensuring they are driven slightly below the surface of the drywall without breaking through the paper surface.
- Repeat this process for the remaining drywall sheets, making sure to leave a small gap between each sheet for expansion. Use a drywall T-square to ensure straight and accurate cuts.
- After all the drywall sheets are attached, use drywall tape to cover the seams between the sheets. Apply a thin layer of joint compound over the tape using a drywall knife, then smooth it out evenly. Allow it to dry completely.
- Once the joint compound has dried, sand the surface of the drywall using a sanding block or an electric sander to create a smooth and seamless finish.
- Finally, apply another layer of joint compound over the taped seams, feathering it out to create a seamless transition with the surrounding drywall. Allow it to dry, then sand and repeat this step as necessary to achieve a smooth surface.
Attaching the drywall completes the wall construction around the door frame. It’s important to take your time and ensure that the drywall is properly secured, taped, and finished for a professional and polished appearance.
With the drywall attached, we are now ready for the finishing touches on the interior wall.
Read more: How To Cover Stucco Interior Walls
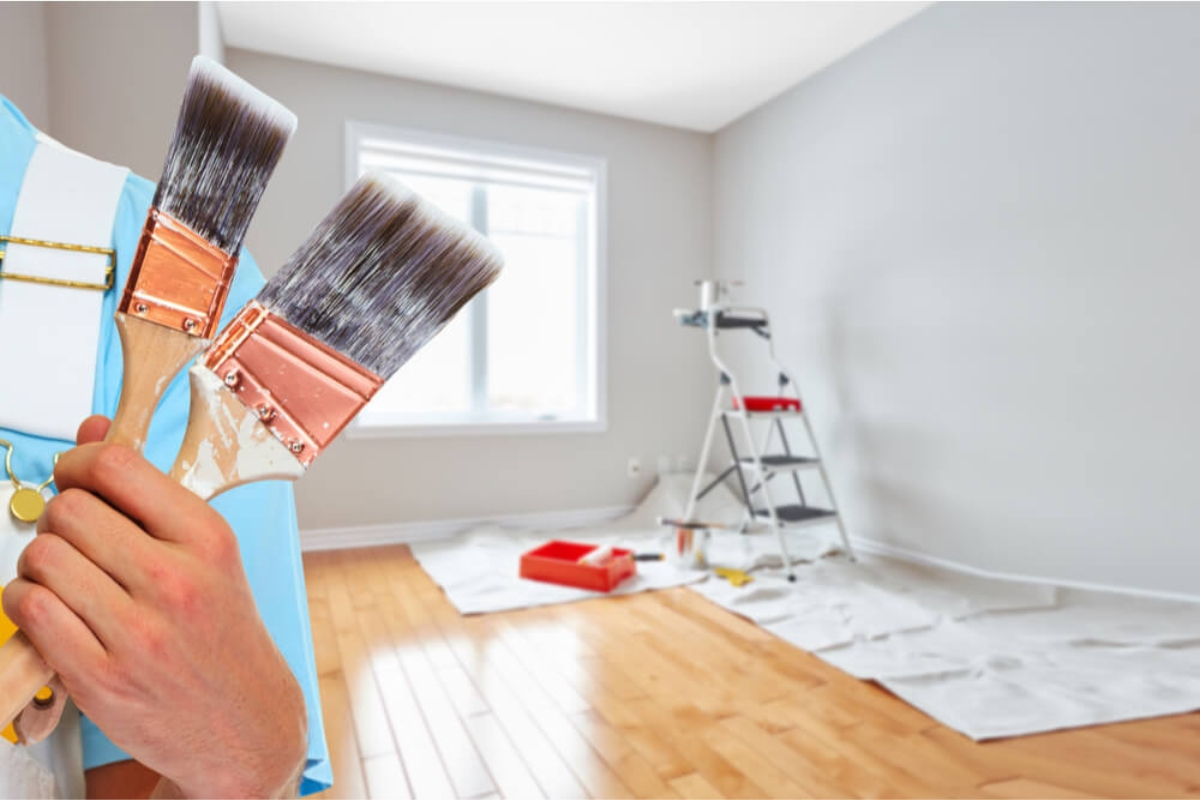
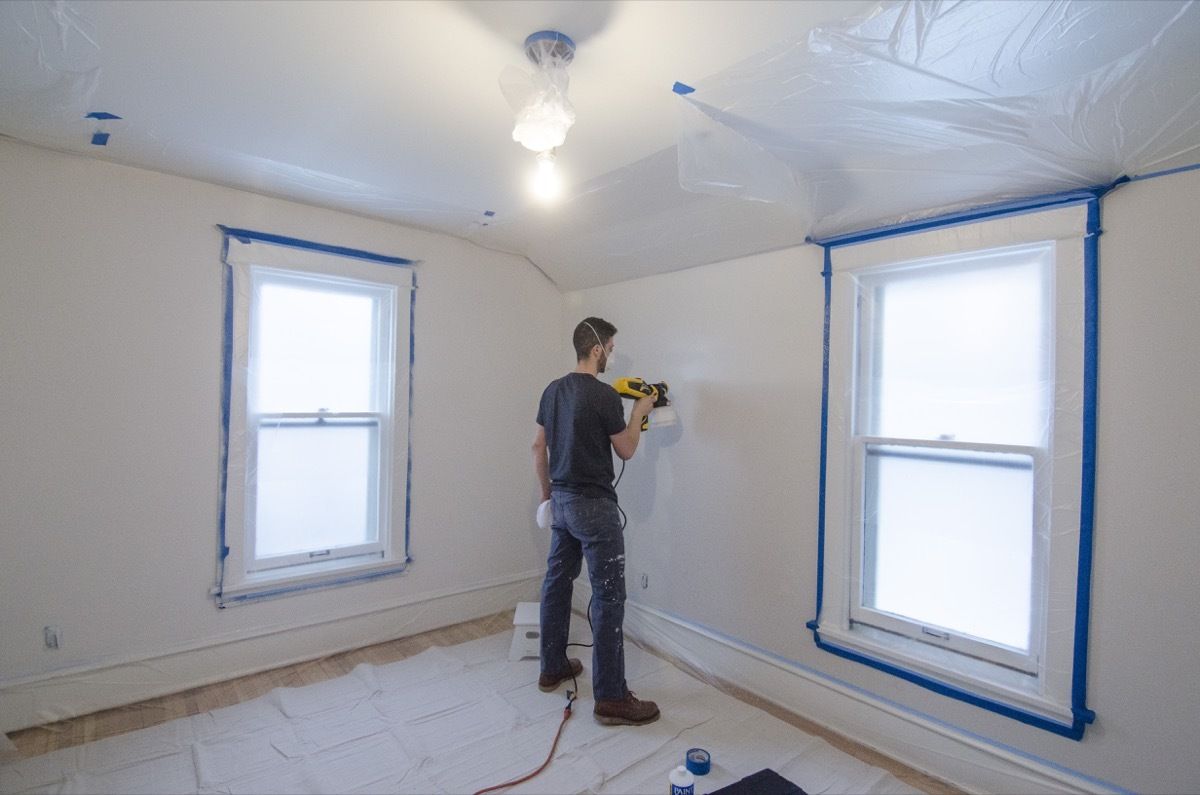
Finishing Touches
After framing a door in an interior wall and attaching the drywall, it’s time to add the finishing touches to complete the project. This includes steps to prepare the wall for painting or any other desired finish. Here’s what you need to do:
- Inspect the drywall for any imperfections, such as dents or protruding screws. Use a putty knife to fill in any small holes or gaps with joint compound. Smooth out the compound and let it dry.
- Sand the patched areas and any rough spots on the drywall until they are smooth and even with the surrounding surface.
- Apply a coat of primer to the entire wall surface, including the door frame. Primer helps seal the drywall and provides a smooth base for paint or other finishes. Allow the primer to dry according to the manufacturer’s instructions.
- If desired, apply a second coat of primer for better coverage and adhesion. This step is especially important if your chosen paint color is significantly different from the primer color.
- Once the primer is fully dry, you can proceed with painting the wall. Choose a paint color and type that suits your preference and the overall aesthetic of the room. Apply multiple coats as needed, allowing each coat to dry before applying the next.
- If you prefer a different finish, such as wallpaper or a decorative texture, follow the manufacturer’s instructions for installation. This may involve applying adhesive or texture compound to the wall surface.
- After the paint or finish has dried, inspect the door frame for any gaps between the frame and the surrounding wall. Use caulk to fill in any gaps or cracks, creating a seamless transition.
By completing these finishing touches, you will transform the framed door into a beautifully integrated feature of your interior wall. Take your time and pay attention to detail to achieve a polished and professional end result.
With the finishing touches complete, step back and admire your newly framed door in the interior wall. It will serve as both a functional entrance and a visually appealing addition to your home.
Congratulations on successfully framing a door in an interior wall!
Conclusion
Framing a door in an interior wall is a challenging yet rewarding project that can enhance the functionality and aesthetics of your home. By following the step-by-step guide outlined in this article, you can successfully frame a door and create a polished and seamless addition to your interior space.
Assessing the wall, gathering the necessary materials and tools, measuring and marking, cutting the wall studs, constructing the door frame, installing it securely, checking for level and plumb, attaching the drywall, and adding the finishing touches are all vital steps in the process. Each step should be approached with precision and attention to detail to ensure a successful outcome.
Remember to prioritize accuracy when measuring and cutting, and double-check your work along the way. Taking the time to properly align and secure the door frame, as well as ensuring the drywall is well-attached and smoothly finished, will result in a final product that you can be proud of.
Don’t be afraid to seek professional advice if you have any doubts or concerns during the process. Consulting with a professional can help ensure that the door is safely and securely framed, particularly if you are working with load-bearing walls or uncertain structural elements.
With the completion of your framed door in an interior wall, you have added value and functionality to your home. Whether you are creating a new room or updating an existing one, this project allows for a seamless transition between spaces while maintaining a visually appealing appearance.
Now, armed with the knowledge and skills gained from this comprehensive guide, you can confidently embark on framing a door in your interior wall and enjoy the satisfaction of the finished result.
Now that you've mastered framing a door, why not dive into more hands-on tasks with our guide on DIY projects? You'll find practical insights and creative ideas that make any home improvement job enjoyable. Whether you're looking to save money, customize your space, or just have fun, these projects offer a variety of benefits that are too good to miss. Ready to start your next project? Check out our detailed exploration of what makes DIY efforts so rewarding.
Frequently Asked Questions about How To Frame A Door In An Interior Wall
Was this page helpful?
At Storables.com, we guarantee accurate and reliable information. Our content, validated by Expert Board Contributors, is crafted following stringent Editorial Policies. We're committed to providing you with well-researched, expert-backed insights for all your informational needs.

0 thoughts on “How To Frame A Door In An Interior Wall”