Articles
How To Grind Coffee Beans With A Blender
Modified: February 26, 2024
Learn how to grind coffee beans with a blender in our informative articles. Harness the power of your blender to achieve the perfect coffee grind.
(Many of the links in this article redirect to a specific reviewed product. Your purchase of these products through affiliate links helps to generate commission for Storables.com, at no extra cost. Learn more)
Introduction
Welcome to the world of coffee enthusiasts! If you’re someone who appreciates the aroma and flavor of freshly ground coffee, then you’re in the right place. In this article, we will guide you on how to grind coffee beans with a blender, a handy kitchen appliance that you may already have at home.
Grinding your own coffee beans can elevate your morning coffee experience to a whole new level. By grinding the beans just before brewing, you ensure maximum freshness and release the full spectrum of flavors. While there are various specialized coffee grinders available in the market, not everyone wants to invest in a separate appliance.
Fortunately, a blender can serve as a great alternative for grinding coffee beans, especially if you’re just starting out or want to try a different method. With a few simple steps, you can achieve a consistent grind for your desired brewing method, whether it’s a French press, pour-over, or espresso.
Before we dive into the process, let’s first understand the importance of choosing the right coffee beans for grinding.
Key Takeaways:
- Elevate your coffee experience by grinding beans with a blender. Experiment with pulse times, clean your blender thoroughly, and enjoy the convenience of freshly ground coffee at home.
- Choose high-quality beans, prepare your blender, and experiment with grind sizes. With attention to detail and proper technique, you can achieve a flavorful cup of coffee using a blender.
Choosing the Right Coffee Beans
When it comes to grinding coffee beans, the quality of the beans plays a crucial role in determining the flavor of your brew. Here are a few factors to consider when selecting the right coffee beans:
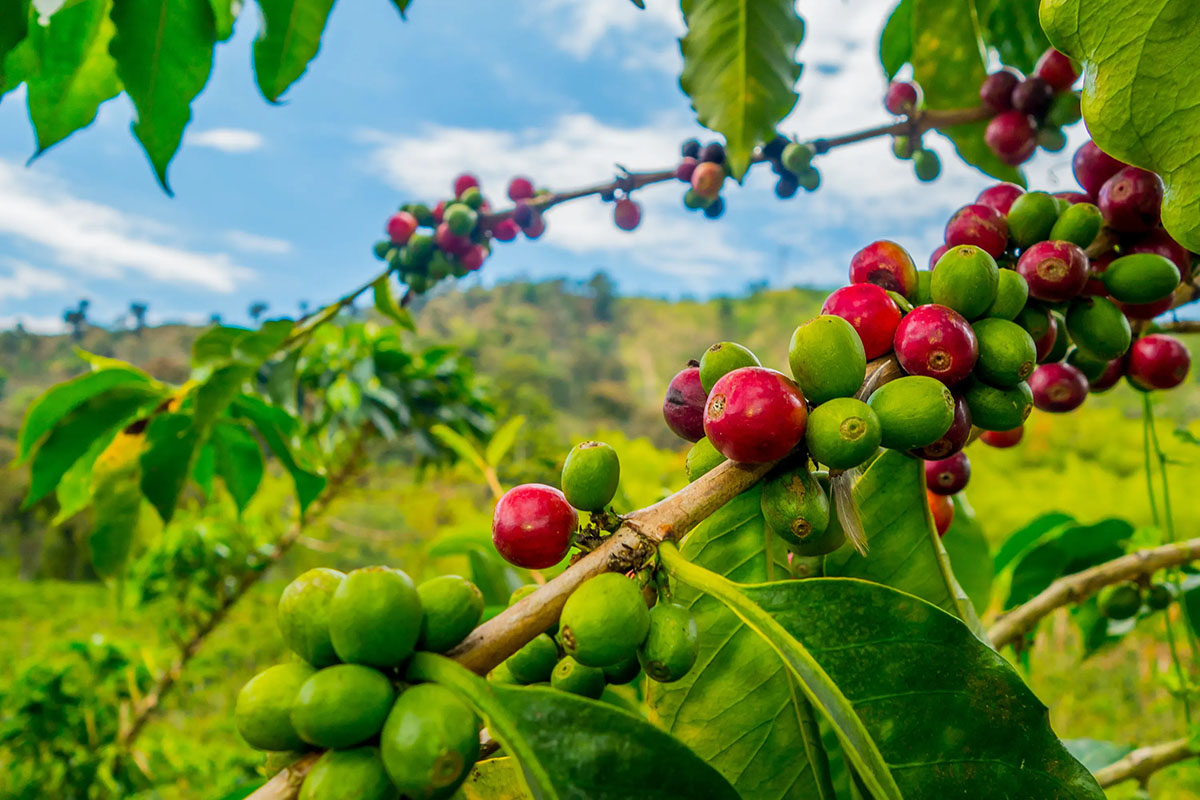
- Origin: Coffee beans are grown in different regions around the world, such as Africa, South America, and Asia. Each region has its distinct flavor profile, influenced by the climate, altitude, and soil conditions. Explore different origins to discover your preferred taste.
- Roast Level: The degree of roasting affects the flavor and aroma of the coffee. Lighter roasts maintain more of the beans’ original flavors, while darker roasts offer a bolder and smokier profile. Choose a roast level that suits your personal preference.
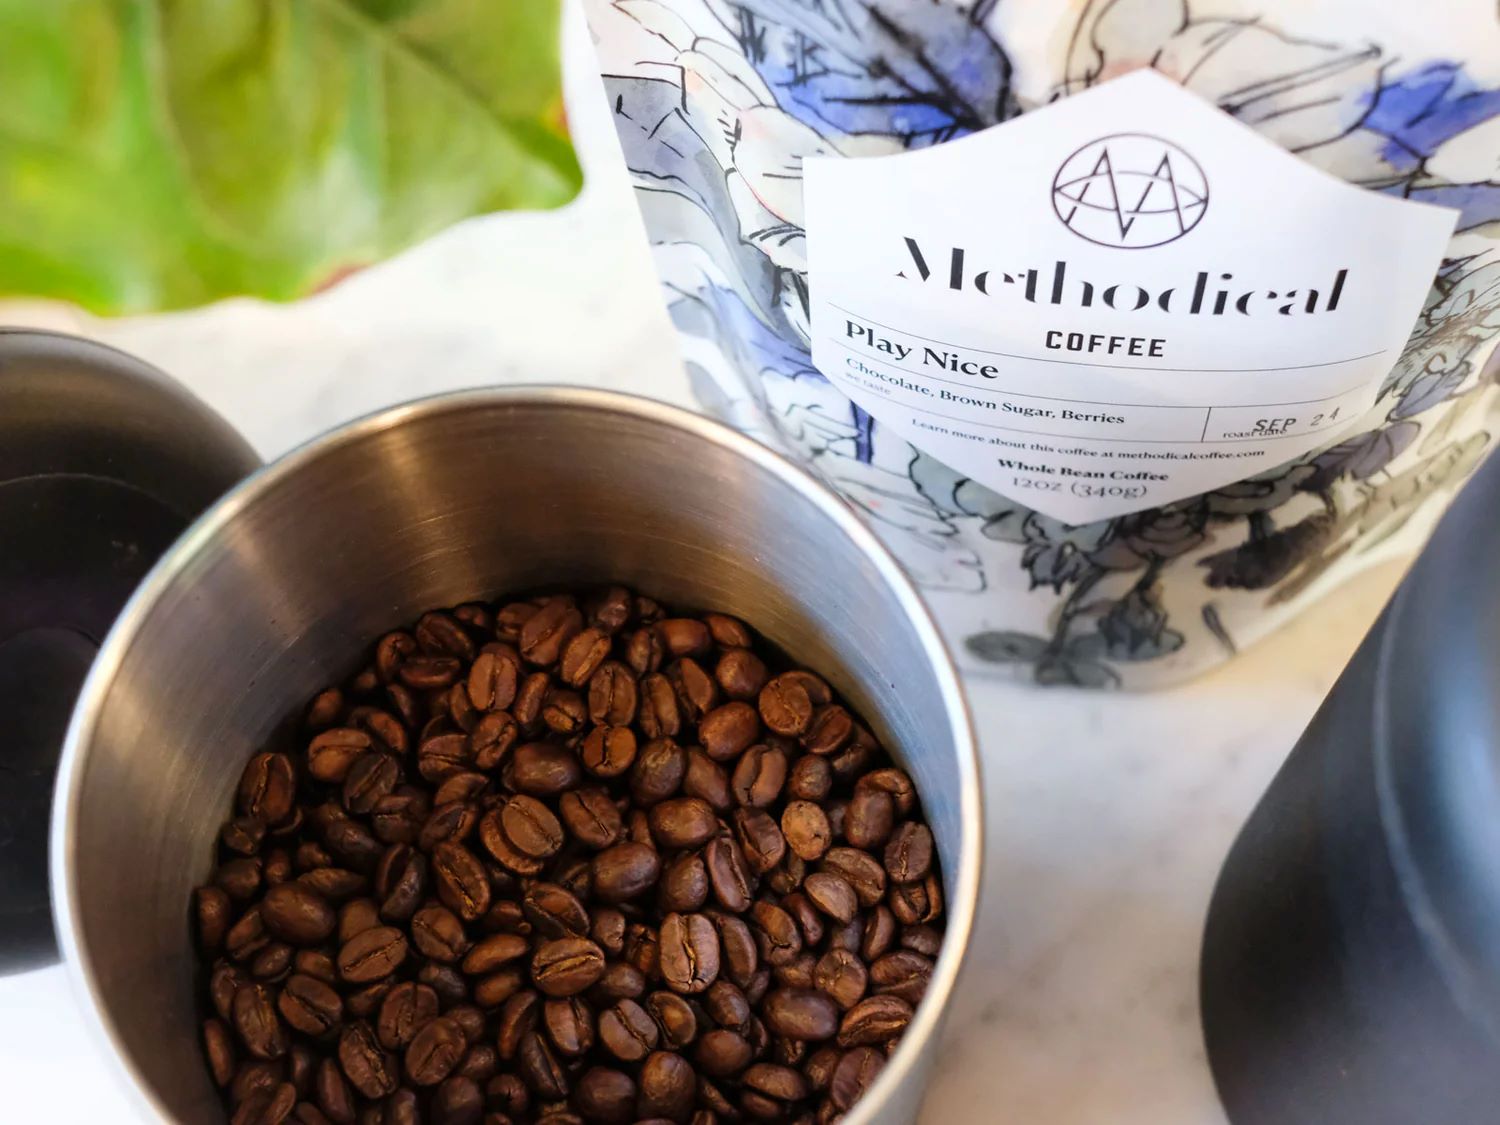
- Freshness: Opt for freshly roasted beans whenever possible. Coffee beans are at their peak flavor within two to four weeks of the roast date. Look for the roast date on the packaging or buy from local roasters who can provide you with freshly roasted beans.
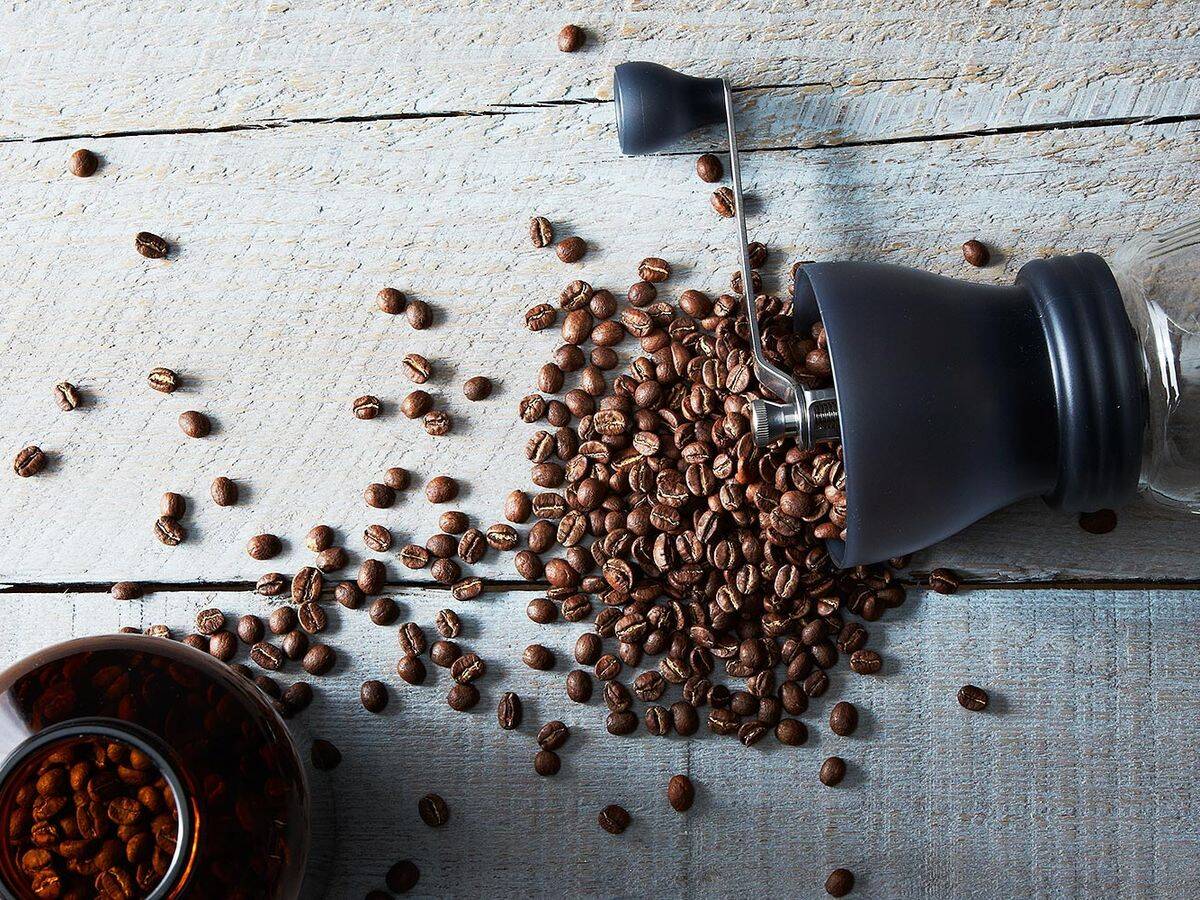
- Bean Variety: Different coffee bean varieties, such as Arabica and Robusta, have distinct characteristics. Arabica beans are known for their smooth and nuanced flavors, while Robusta beans are bolder and higher in caffeine content. Consider experimenting with different bean varieties to find your favorite.
Once you’ve selected the right coffee beans, it’s time to prepare your blender for grinding.
Preparing the Blender
Before you start grinding coffee beans in a blender, it’s important to ensure that your blender is clean and ready for use. Follow these steps to prepare your blender:
- Clean the Blender: Make sure the blender jar and lid are thoroughly cleaned. Any residue from previous blending can taint the flavor of your coffee. Wash them with warm, soapy water and rinse them well.
- Dry the Blender: After cleaning, dry the blender jar and lid completely. Moisture can lead to caking or clumping of the coffee grounds, affecting the overall grinding process. Use a clean towel or let them air dry before proceeding.
- Preheat the Blender: To prevent any unwanted flavors, preheat the blender by running it empty for a few seconds. This step also helps to remove any remaining moisture from the blender jar.
Once your blender is clean and preheated, you’re ready to grind those aromatic coffee beans.
Grinding Coffee Beans with a Blender
Now that your blender is prepared, it’s time to grind those coffee beans. Follow these steps to achieve a consistent grind:
- Measure the Coffee Beans: Determine the amount of coffee you need based on your desired brew strength. It’s recommended to use a kitchen scale for accurate measurements. A general rule of thumb is to use a ratio of 1:16, which means 1 gram of coffee for every 16 grams of water.
- Add the Coffee Beans: Place the measured coffee beans into the blender jar. Avoid overfilling the jar to ensure proper blending and prevent any damage to the blender motor.
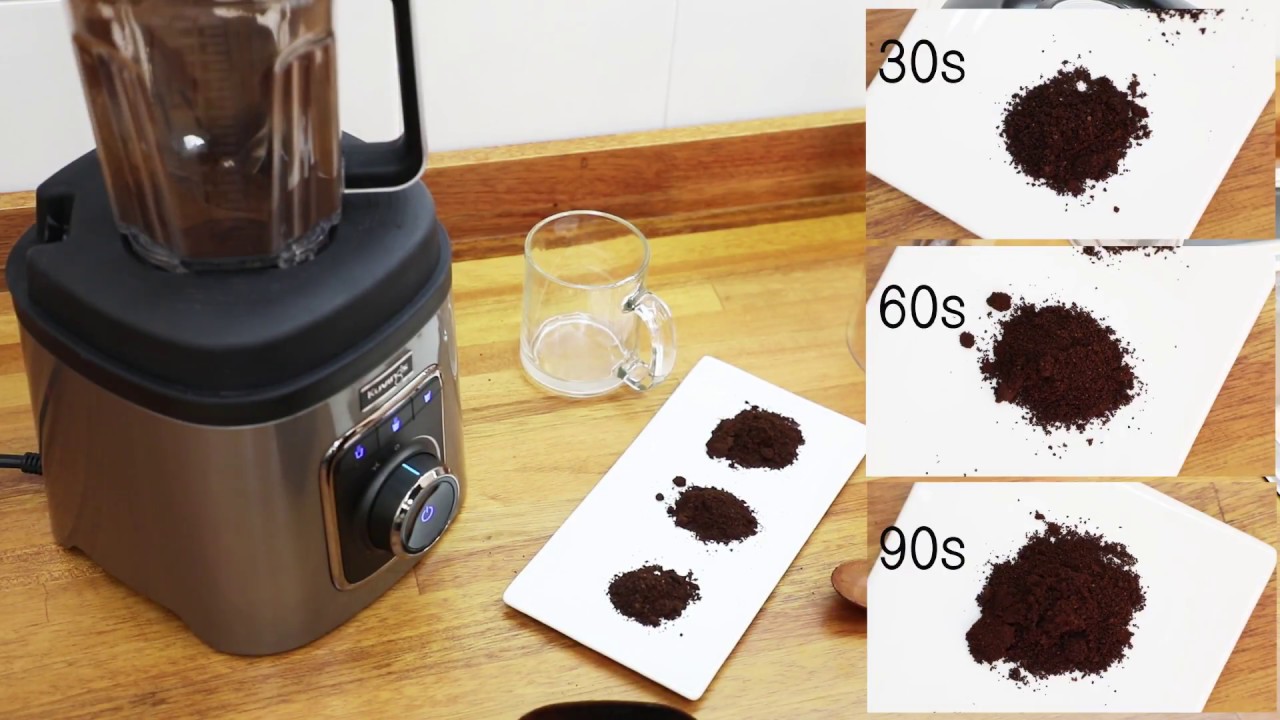
- Pulse the Blender: Start the blender and use the pulse function to grind the coffee beans. This helps to achieve a consistent grind size without overheating the beans. Pulse the blender in short bursts, allowing the beans to move around and ensuring an even grind.
- Check the Grind: After pulsing the blender, stop and check the grind size. You can do this by removing the lid and inspecting the consistency of the coffee grounds. If needed, continue pulsing for a few more seconds until you achieve the desired grind size.
Remember that the grind size depends on your brewing method. For example, a coarse grind is ideal for a French press, while a finer grind is suitable for an espresso machine. Adjust the grinding time to achieve your preferred consistency.
Once you’ve achieved the desired grind size, it’s time to clean up your blender and ensure it’s ready for future use.
When grinding coffee beans with a blender, pulse the beans in short bursts to achieve a consistent grind. Avoid overfilling the blender to ensure even grinding.
Adjusting the Grind Size
The grind size of your coffee beans determines the extraction process and ultimately affects the flavor of your brew. Here are a few tips for adjusting the grind size when using a blender:
- Experiment with Pulsing Time: If you find that the grind size is too coarse, pulse the blender for a few more seconds to achieve a finer grind. Conversely, if the grind size is too fine, shorten the pulse time to achieve a coarser consistency.
- Control the Grinding Time: The longer you grind the coffee beans, the finer the grind size will be. For a French press or drip coffee, aim for a medium to coarse consistency. For espresso or Turkish coffee, go for a fine grind.
- Observe the Consistency: As you pulse the blender, pay attention to the consistency of the coffee grounds. Ideally, you want them to be uniform in size for even extraction. Adjust the pulse time accordingly to achieve the desired consistency.
Keep in mind that finding the perfect grind size may require some trial and error. Experiment with different pulse times to adjust the grind size until you achieve the ideal consistency for your preferred brewing method.
Now that the coffee beans are ground and you’re satisfied with the grind size, it’s time to clean your blender for future use.
Read more: How To Grind Flaxseed With Blender
Cleaning the Blender after Grinding
After grinding your coffee beans with a blender, it’s essential to properly clean the blender to prevent any residue or flavors from affecting future blends. Follow these steps to ensure your blender is clean and ready for your next use:
- Remove the Coffee Grounds: Carefully empty the blender jar, ensuring that all coffee grounds are removed. You can use a spatula or a small brush to scrape out any remaining particles stuck to the jar walls.
- Disassemble the Blender: Disassemble the blender by removing the jar, lid, and any other detachable parts. Be sure to consult the blender’s user manual for proper disassembly instructions.
- Wash the Parts: Wash the jar, lid, and any removable components with warm, soapy water. Use a sponge or dishcloth to scrub away any residue. Pay extra attention to any crevices or blades that may have coffee grounds stuck in them.
- Rinse and Dry: Thoroughly rinse all the parts with clean water to remove any soap residue. Afterward, use a clean towel or let the parts air dry completely before reassembling the blender.
- Reassemble and Store: Once the parts are dry, reassemble the blender and store it in a clean, dry place until your next use.
By following these cleaning steps, you’ll ensure that your blender remains in top condition and that no residue from previous blends affects the flavor of your future coffee creations.
Now that you know how to clean your blender, let’s explore some helpful tips for using a blender to grind coffee beans.
Tips for Using a Blender to Grind Coffee Beans
Here are some helpful tips to get the most out of your blender when grinding coffee beans:
- Use Short Bursts: When pulsing the blender, use short bursts instead of continuous blending. This allows the coffee beans to move around and ensures a more consistent grind.
- Grind in Small Batches: Avoid overloading the blender with too many coffee beans at once. It’s best to grind the beans in smaller batches to achieve a more even and consistent grind.
- Avoid Overheating: Continuous blending for an extended period can cause overheating and adversely affect the quality of the coffee grounds. To prevent this, take breaks between pulsing to allow the blender motor to cool down.
- Experiment with Pulse Time: Adjust the pulse time based on your desired grind size and brewing method. Experiment with shorter or longer pulses to achieve the ideal consistency for your specific coffee preference.
- Clean the Blender Regularly: Cleaning your blender after each use is essential to maintain its performance and prevent any residue from affecting future blends. Follow the proper cleaning steps to keep your blender in optimal condition.
- Consider a Coarse Grind: If you’re unsure about the grind size, it’s generally safer to lean towards a slightly coarser grind. You can always adjust the grinding time or pulse duration to achieve a finer consistency if needed.
- Experiment with Brewing Methods: Different brewing methods require different grind sizes. With your newly ground coffee beans, don’t be afraid to experiment with various brewing methods like French press, pour-over, or espresso to find the perfect combination of flavor and extraction.
Remember, using a blender to grind coffee beans is a convenient alternative but may not produce the same level of precision as a dedicated coffee grinder. Nevertheless, with proper technique and experimentation, you can still enjoy a delicious cup of coffee made with freshly ground beans.
Now that you’re equipped with these tips, it’s time to start grinding and brewing your favorite coffee!
Conclusion
Grinding coffee beans with a blender can be a practical and cost-effective option for those who don’t have a dedicated coffee grinder. While it may not offer the same level of precision as specialized equipment, with the right technique and attention to detail, you can still achieve a consistent grind and enjoy a flavorful cup of coffee.
Remember to choose high-quality coffee beans that suit your preferences in terms of origin, roast level, and freshness. Take the time to prepare your blender properly by cleaning and drying it before use. When grinding the coffee beans, pulse the blender in short bursts and adjust the pulse time to achieve the desired grind size.
After grinding, it’s crucial to clean your blender thoroughly to prevent residue and unwanted flavors from affecting future blends. Follow the proper cleaning steps and ensure that all components are dry before storing.
As you explore the world of grinding coffee beans with a blender, don’t hesitate to experiment with different brewing methods and adjust the grind size to suit your taste. Be mindful of the tips and techniques mentioned in this article, such as using short bursts, grinding in small batches, and avoiding overheating.
So, whether you’re a coffee connoisseur looking to elevate your brewing game or simply someone who enjoys the aroma and taste of freshly ground coffee, using a blender to grind coffee beans can be a practical and accessible option. With a little practice and creativity, you can enjoy a delicious cup of coffee right in the comfort of your own home.
Now, it’s time to grab your coffee beans, fire up that blender, and start your journey to a freshly ground and flavorful coffee experience!
Frequently Asked Questions about How To Grind Coffee Beans With A Blender
Was this page helpful?
At Storables.com, we guarantee accurate and reliable information. Our content, validated by Expert Board Contributors, is crafted following stringent Editorial Policies. We're committed to providing you with well-researched, expert-backed insights for all your informational needs.


0 thoughts on “How To Grind Coffee Beans With A Blender”