
Articles
How To Make A Porch Canopy
Modified: December 7, 2023
[How To Make A Porch Canopy] articles: Discover step-by-step instructions and expert tips for creating a beautiful and functional porch canopy. Transform your outdoor space with our easy-to-follow DIY guides.
(Many of the links in this article redirect to a specific reviewed product. Your purchase of these products through affiliate links helps to generate commission for Storables.com, at no extra cost. Learn more)
Introduction
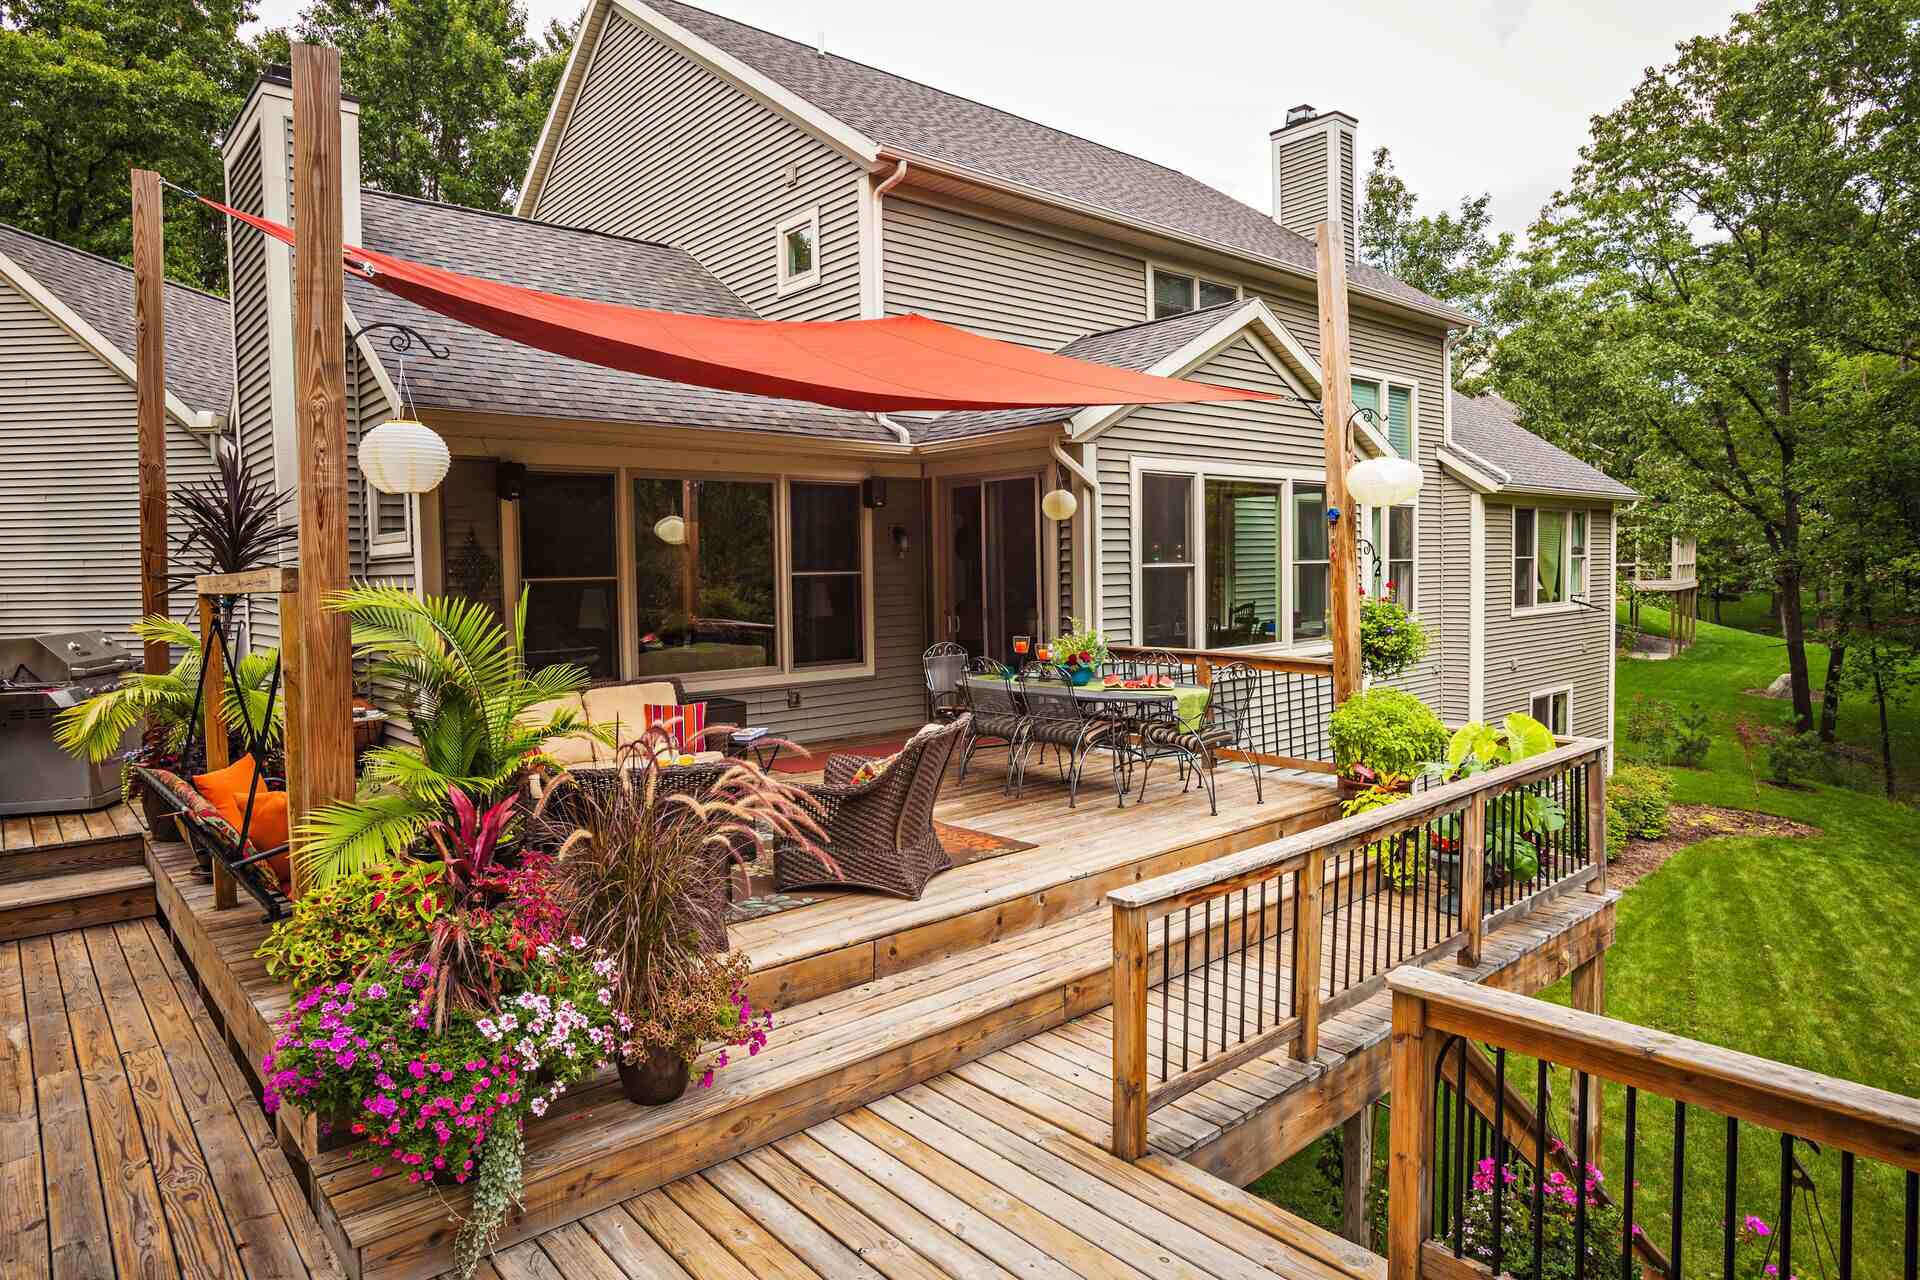
Having a porch canopy can add both style and functionality to your outdoor space. Not only does it provide shade and protection from the elements, but it also adds a beautiful design element to your home’s exterior. Whether you want to create a cozy nook to relax in or simply enhance the curb appeal of your house, building a porch canopy is a rewarding project that you can tackle yourself.
In this article, we will guide you through the steps of building a porch canopy from scratch. We will cover everything from planning and measuring to installation and final touches. So, grab your tools and let’s get started on creating a stunning porch canopy!
Key Takeaways:
- Building a porch canopy is a DIY project that adds style and functionality to your outdoor space. With careful planning, sturdy materials, and attention to detail, you can create a beautiful and inviting retreat right at your doorstep.
- Personalize your porch canopy with paint, stain, and decorative elements to reflect your unique style. Regular maintenance and upkeep will ensure its longevity, providing years of shaded relaxation and curb appeal enhancement.
Read more: How To Make A Canopy Bed
Materials Needed
Before starting your porch canopy project, gather the following materials:
- Pressure-treated lumber – for the frame and support beams
- Plywood – for the canopy
- Screws
- Angle brackets
- Measuring tape
- Saw
- Drill
- Sandpaper
- Paint or stain
- Paintbrush or roller
- Drop cloth or plastic sheeting
- Level
Make sure to choose materials that are suitable for outdoor use and can withstand the weather conditions in your area. Pressure-treated lumber is a good choice as it is resistant to rot and decay.
Add any extra materials that you may need based on your specific design and preferences.
Step 1: Measure and Plan
The first step in building a porch canopy is to measure your porch area and plan out the dimensions and design of your canopy. You want to ensure that the canopy fits properly and complements the existing architecture of your home.
Start by measuring the width and depth of your porch to determine the size of the canopy. Consider any obstructions such as doors, windows, or pillars that may affect the dimensions of your canopy. Take accurate measurements and note them down.
Next, decide on the shape and style of your canopy. You can choose a traditional straight-edge design or opt for a more decorative arched or curved design. Sketch out your ideas and envision how the canopy will look on your porch.
Once you have the measurements and design in mind, you can create a detailed plan with all the dimensions and specifications. This plan will serve as your guide throughout the construction process.
Keep in mind local building codes and regulations when planning your porch canopy. Some areas may have restrictions on the size, height, or materials used for outdoor structures.
With a well-thought-out plan in hand, you can proceed to gather the necessary materials and start building your porch canopy.
Step 2: Build the Frame
Now that you have your measurements and plan in place, it’s time to start building the frame for your porch canopy.
Begin by cutting the pressure-treated lumber according to the dimensions specified in your plan. Use a saw to make straight and accurate cuts.
Next, assemble the frame using the cut pieces of lumber. Position the pieces according to your design and secure them together using screws and angle brackets. Make sure the frame is sturdy and level.
Remember to leave enough space for the canopy to fit within the frame. This will ensure that the canopy sits securely and provides adequate shade.
During the assembly process, it’s essential to double-check your measurements and make any necessary adjustments. This will help ensure that the frame is the correct size and shape for your porch.
Once the frame is assembled, sand down any rough edges or surfaces to create a smooth finish.
It’s always a good idea to consult a professional or a knowledgeable friend if you have any doubts or concerns during the frame-building process.
With the frame complete, you are now ready to move on to the next step: attaching the canopy.
Step 3: Attach the Canopy
With the frame of your porch canopy built, it’s time to attach the canopy itself. This step requires precision and attention to detail to ensure a secure and aesthetically pleasing result.
Start by cutting the plywood to fit the dimensions of your canopy frame. Make sure to leave some extra allowance to account for any overhang or desired design elements.
Place the plywood onto the frame, ensuring that it is centered and aligned properly. Use screws or nails to secure the plywood to the frame at regular intervals along the edges and center supports.
To add extra stability and prevent warping, consider adding additional support beams underneath the canopy. These support beams can be attached perpendicular to the frame and spaced evenly for added strength.
Once the canopy is securely attached, inspect the edges and corners for any sharp or uneven areas. Sand down any rough surfaces to create a smooth and safe finish.
If desired, you can also add decorative trim to the edges of the canopy to enhance its appearance. This can be accomplished using molding or trim pieces secured with brad nails or adhesive.
Remember to consult your plan and measurements throughout the process to ensure that the canopy is properly aligned and centered.
With the canopy securely attached, you are one step closer to enjoying the shade and protection it provides. In the next step, we will add support beams for added strength and stability.
When constructing a porch canopy, be sure to use weather-resistant materials such as treated lumber or PVC. This will help ensure the longevity and durability of your canopy in various weather conditions.
Read more: How To Make An Outdoor Canopy
Step 4: Add Support Beams
Adding support beams to your porch canopy is an important step to ensure its stability and longevity. These beams will help distribute the weight evenly and prevent sagging or warping over time.
Start by measuring and cutting pressure-treated lumber to the appropriate length for your support beams. The number of beams you need will depend on the size and design of your canopy.
Position the support beams underneath the plywood canopy, perpendicular to the frame. Align them evenly and secure them to both the frame and the plywood using screws or nails.
Make sure the support beams are level and securely attached to prevent any wobbling or shifting. Use a level to check for proper alignment and make any adjustments as needed.
Adding diagonal braces between the support beams and the frame can provide additional rigidity and structural integrity. These braces can be cut from the same pressure-treated lumber and secured with screws or nails.
Once all the support beams and diagonal braces are securely in place, test the stability of the canopy by applying gentle pressure. It should feel firm and stable.
If you notice any areas that are still sagging or feel unstable, reinforce them with additional support beams or braces as needed.
By adding support beams, you are ensuring that your porch canopy will withstand the elements and provide a reliable source of shade and protection.
In the next step, we will move on to the finishing touches of painting or staining the porch canopy.
Step 5: Paint or Stain
Once the construction of your porch canopy is complete, it’s time to add the finishing touches by painting or staining the wood. This not only enhances the aesthetic appeal of the canopy but also helps protect it from the outdoor elements.
Before you begin, make sure to prepare your work area by laying down a drop cloth or plastic sheeting to protect the surrounding surfaces from paint or stain drips.
If you prefer a natural look, you can opt for staining the wood. Choose a stain color that complements the style of your home and outdoor space. Apply the stain evenly with a brush or roller, following the manufacturer’s instructions.
If you prefer a painted finish, select an exterior-grade paint that is suitable for outdoor use. Consider the color scheme of your home and the desired atmosphere of your porch when choosing the paint color. Apply the paint evenly, using a brush or roller, and allow it to dry completely between coats.
Applying multiple coats of paint or stain will provide a more durable and vibrant finish. Follow the recommended drying times between coats, as specified by the manufacturer.
Remember to pay attention to any hard-to-reach areas, such as the corners or under the support beams, to ensure complete coverage.
Once the paint or stain has dried, inspect the canopy for any uneven areas or missed spots. Touch up these areas as needed.
Painting or staining your porch canopy not only adds a beautiful finish but also helps protect the wood from the sun, rain, and other outdoor elements, extending its lifespan.
In the next step, we will move on to the installation of the porch canopy onto your porch.
Step 6: Install the Canopy
With your porch canopy frame fully constructed and finished, it’s time to install it onto your porch. This step involves carefully positioning and securing the canopy to ensure a stable and functional structure.
Begin by enlisting the help of a friend or family member to assist you in lifting and maneuvering the canopy into position.
Align the frame of the canopy with the edge of your porch, making sure it is centered and level. You can use a level and measuring tape to ensure accuracy.
Once the canopy frame is properly aligned, use screws or brackets to attach it securely to the porch. Make sure to anchor it to sturdy parts of the porch, such as the wall or supporting posts.
Check for any gaps or misalignment and make any necessary adjustments before fully securing the canopy in place.
It’s important to ensure that the canopy is tightly secured to withstand wind and other outdoor conditions. This will also prevent any unnecessary movement or rattling.
Once the canopy is securely fastened, give it a gentle shake to test its stability. It should feel solid and not wobble or shift.
If you notice any areas that require additional reinforcement, such as extra screws or braces, take the time to reinforce them for added stability.
With the canopy successfully installed, you can now move on to the final touches to complete your porch canopy project.
Step 7: Final Touches
Congratulations on reaching the final step of your porch canopy project! In this step, you will add the final touches to complete the overall look and functionality of your canopy.
Start by inspecting the canopy for any rough edges or splinters. Use sandpaper to smooth out any rough areas, ensuring a safe and comfortable surface.
If you opted for a painted finish, consider adding some decorative details to enhance the overall aesthetics. You can use stencils or freehand painting techniques to add patterns or designs to the canopy. Additionally, you may choose to paint the support beams or add contrasting colors for visual interest.
For a stained finish, you can apply a clear protectant sealer to the wood to enhance its durability and protect it from UV rays and moisture.
Once the finish is complete, take some time to clean up your work area, removing any debris or excess materials. Dispose of them properly according to your local regulations.
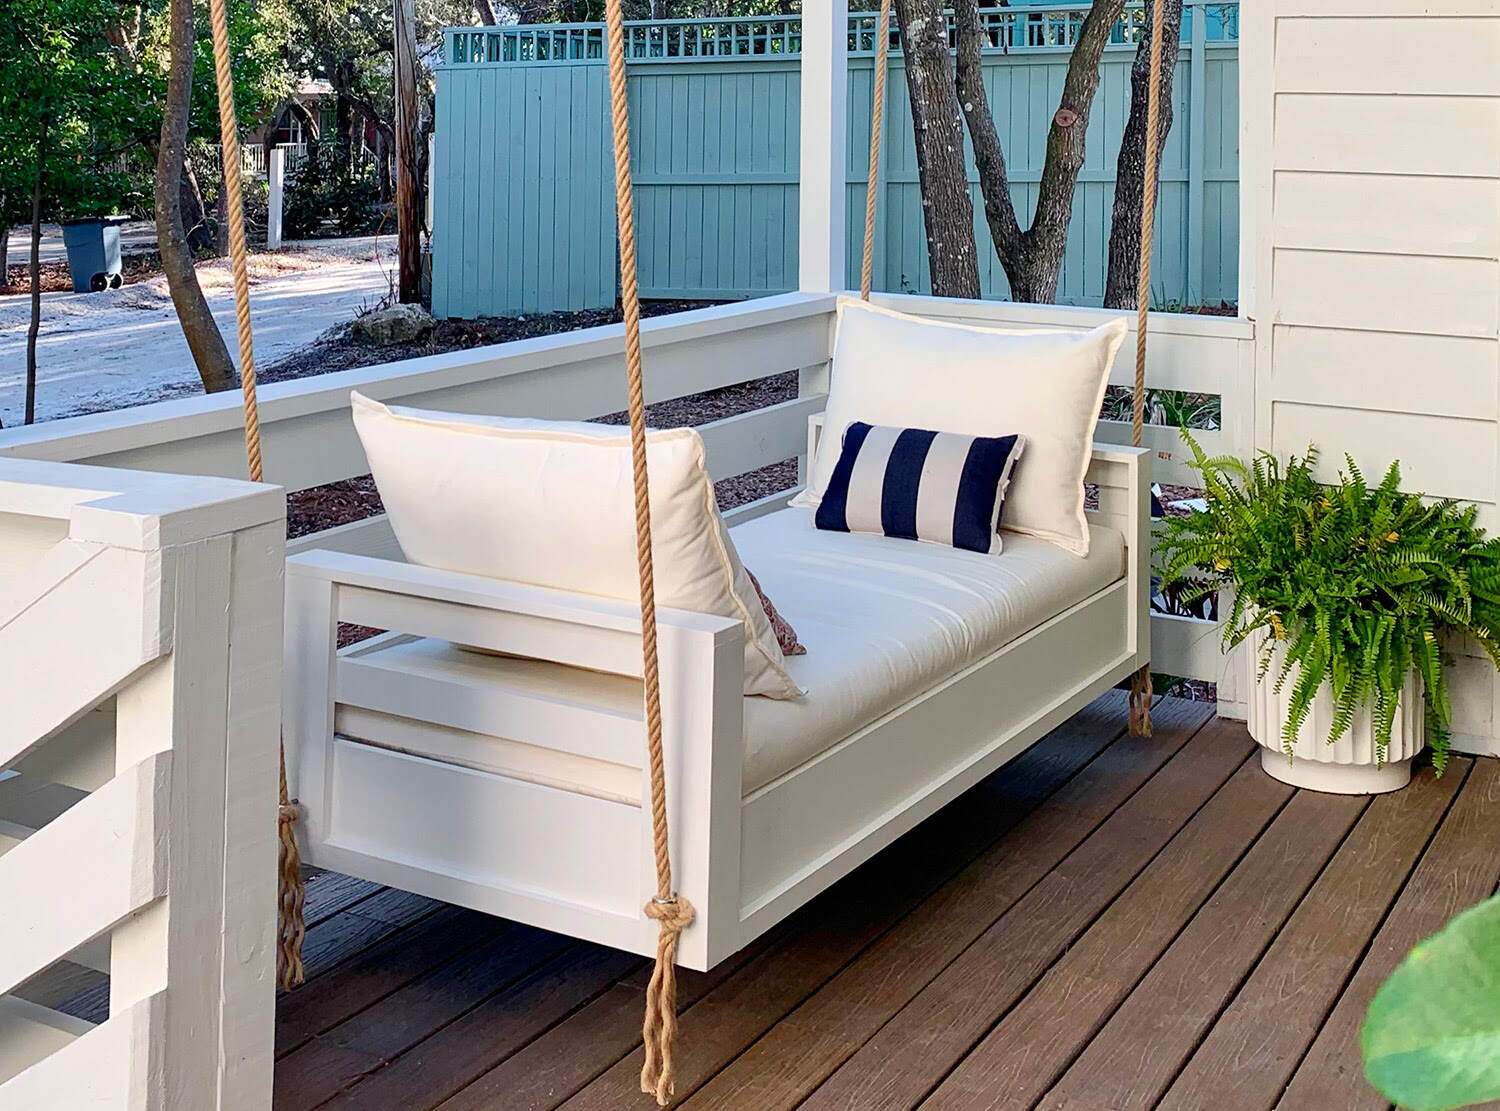
Consider adding some personal touches to your canopy, such as hanging curtains, string lights, or potted plants, to create a cozy and inviting atmosphere.
Lastly, step back and admire your newly completed porch canopy. Take some time to enjoy the shade and shelter it provides while adding a touch of style to your outdoor space.
Regular maintenance is key to ensuring the longevity of your porch canopy. Inspect it periodically for any signs of damage or wear, and make any necessary repairs or touch-ups. Additionally, clean the canopy regularly to remove any debris or dirt that may accumulate.
With the final touches in place, your porch canopy project is now complete. Sit back, relax, and enjoy your outdoor haven.
Conclusion
Building a porch canopy is a rewarding project that adds both functionality and beauty to your outdoor space. With a well-planned and executed construction process, you can create a stylish and comfortable area to relax and enjoy the fresh air.
Throughout this article, we have guided you through the steps of building a porch canopy from measuring and planning to installing and adding the final touches. By following these steps and using the recommended materials, you can create a sturdy and aesthetically pleasing canopy that will enhance the curb appeal of your home.
Remember to consider the specific requirements of your porch and local building codes when embarking on this project. Taking accurate measurements, using quality materials, and paying attention to detail will ensure a successful outcome.
Additionally, don’t be afraid to add your personal touch to the canopy design, whether it’s through paint, stain, or decorative elements. This will make your porch canopy a unique reflection of your style and taste.
Regular maintenance and upkeep will ensure the longevity of your porch canopy. Regular inspections, cleaning, and necessary repairs will help keep it in excellent condition for years to come.
So, gather your materials, put on your DIY hat, and create a porch canopy that will transform your outdoor space into a welcoming and stylish retreat.
Go ahead and start building your porch canopy today, and enjoy the benefits of a shaded and inviting porch for years to come!
Frequently Asked Questions about How To Make A Porch Canopy
Was this page helpful?
At Storables.com, we guarantee accurate and reliable information. Our content, validated by Expert Board Contributors, is crafted following stringent Editorial Policies. We're committed to providing you with well-researched, expert-backed insights for all your informational needs.


0 thoughts on “How To Make A Porch Canopy”