Home>Dining>Tableware>How To Make Cricut Coasters With Infusible Ink Pens
Tableware
How To Make Cricut Coasters With Infusible Ink Pens
Modified: January 9, 2024
Learn how to create stunning tableware with Infusible Ink Pens using your Cricut machine. Make personalized coasters that will impress your guests!
(Many of the links in this article redirect to a specific reviewed product. Your purchase of these products through affiliate links helps to generate commission for Storables.com, at no extra cost. Learn more)
Introduction
Welcome to the exciting world of Cricut crafts! If you’re looking for a fun and creative way to add a personalized touch to your home decor, then making Cricut coasters with Infusible Ink Pens is the perfect project for you.
Cricut is a cutting machine that allows you to bring your imagination to life by cutting out intricate designs on various materials. Infusible Ink Pens are specially designed to create vibrant, permanent designs that seamlessly transfer to compatible surfaces through the heat transfer process.
In this article, we will guide you through the step-by-step process of making Cricut coasters with Infusible Ink Pens. Whether you’re a seasoned Cricut enthusiast or a beginner looking to try something new, this project is suitable for crafters of all levels.
Not only will you learn how to design and create your own custom coasters, but you’ll also discover the endless possibilities that Infusible Ink Pens offer for creating unique and eye-catching designs.
So, gather your supplies and let’s dive into the world of Cricut coasters!
Key Takeaways:
- Unleash your creativity and personalize your home decor by making vibrant and permanent Cricut coasters with Infusible Ink Pens. Elevate your crafting skills and create unique, functional art pieces for yourself or as thoughtful gifts.
- Dive into the exciting world of Cricut crafts and explore the endless possibilities of designing and creating custom coasters with Infusible Ink Pens. From preparing the materials to adding the finishing touches, enjoy a fun and rewarding crafting journey.
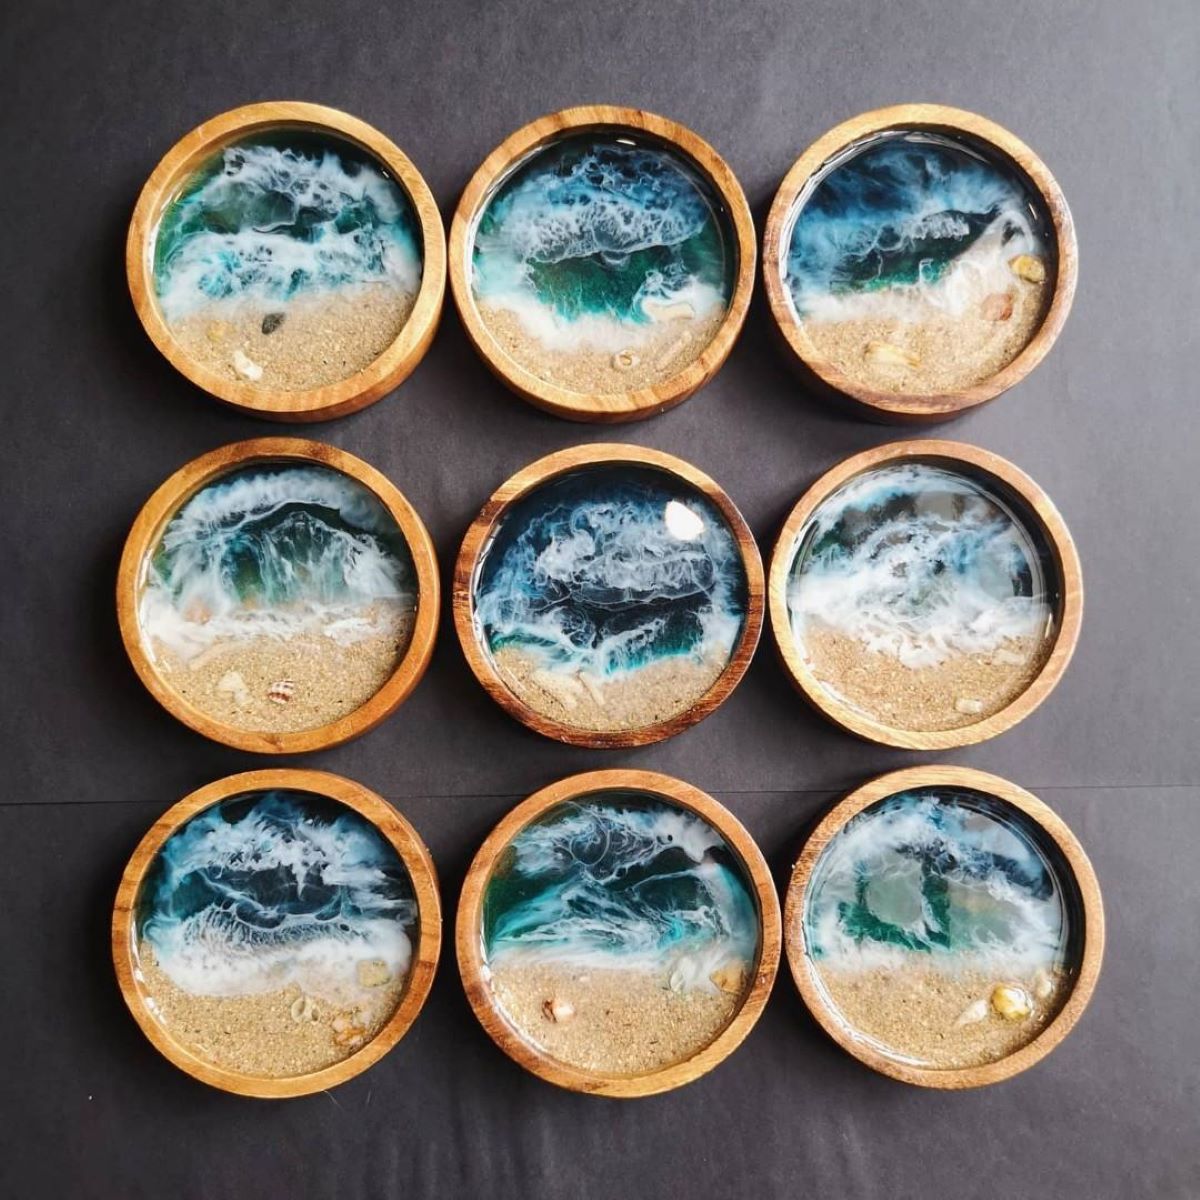
Read more: How To Make Alcohol Ink Coasters
Materials Needed
Before you begin making Cricut coasters with Infusible Ink Pens, it’s important to gather all the necessary materials. Here’s a list of what you’ll need:
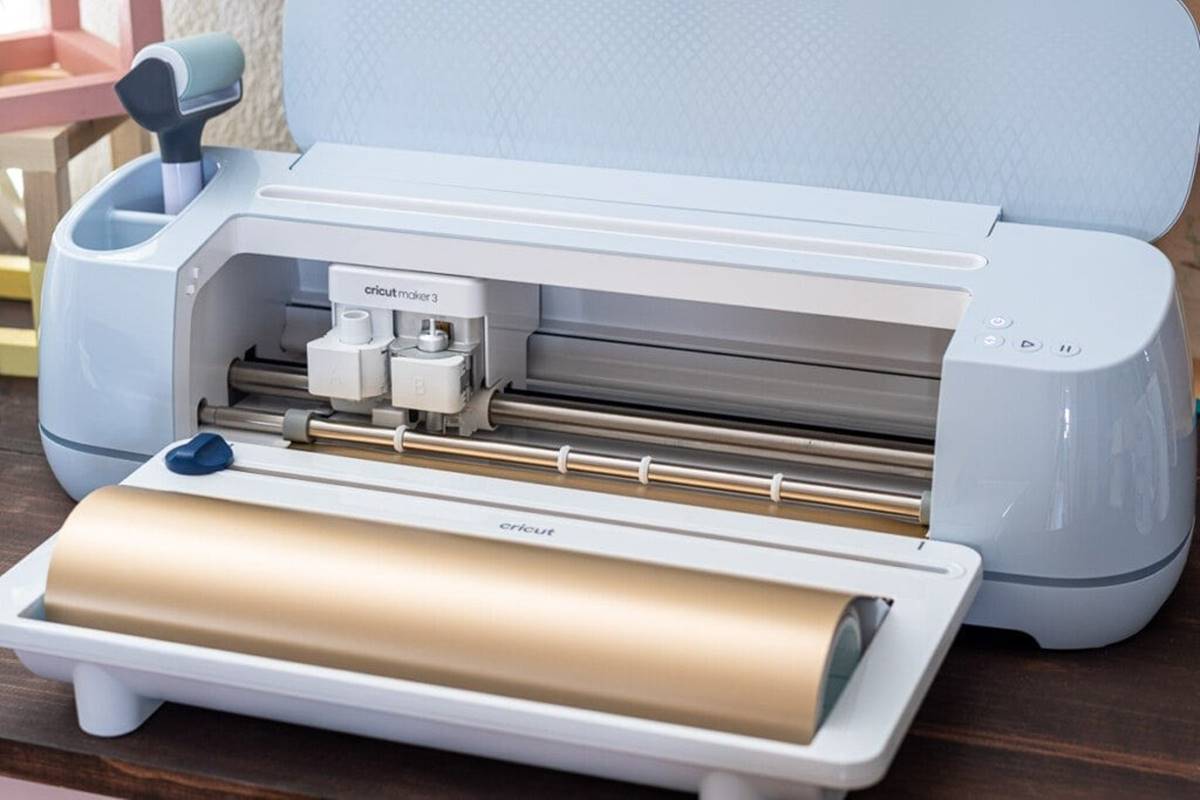
- Cricut cutting machine
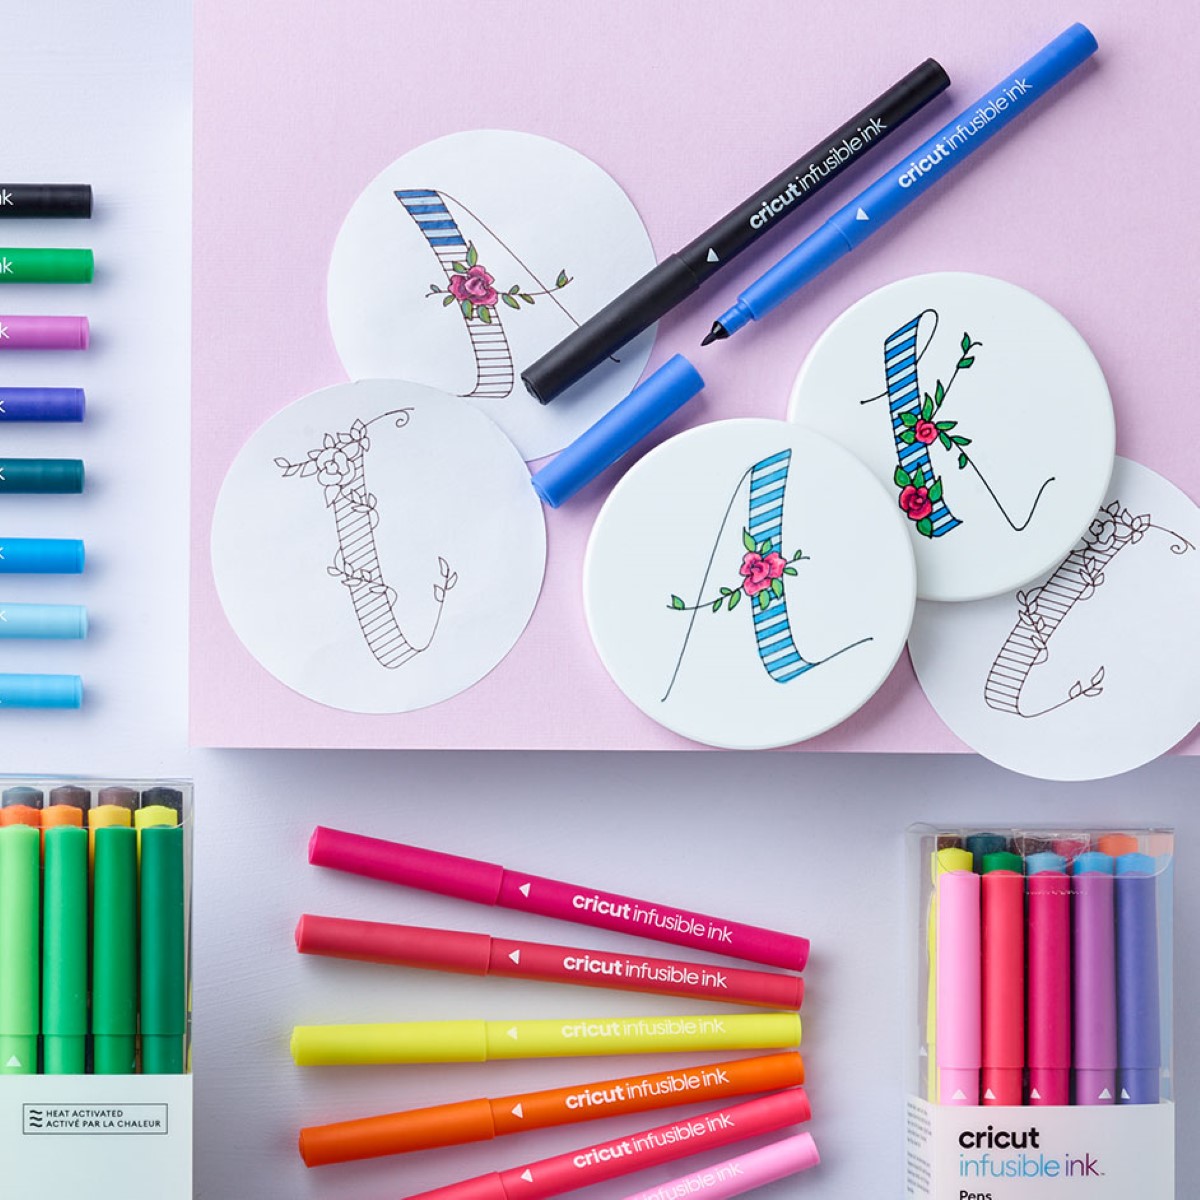
- Infusible Ink Pens (assorted colors)
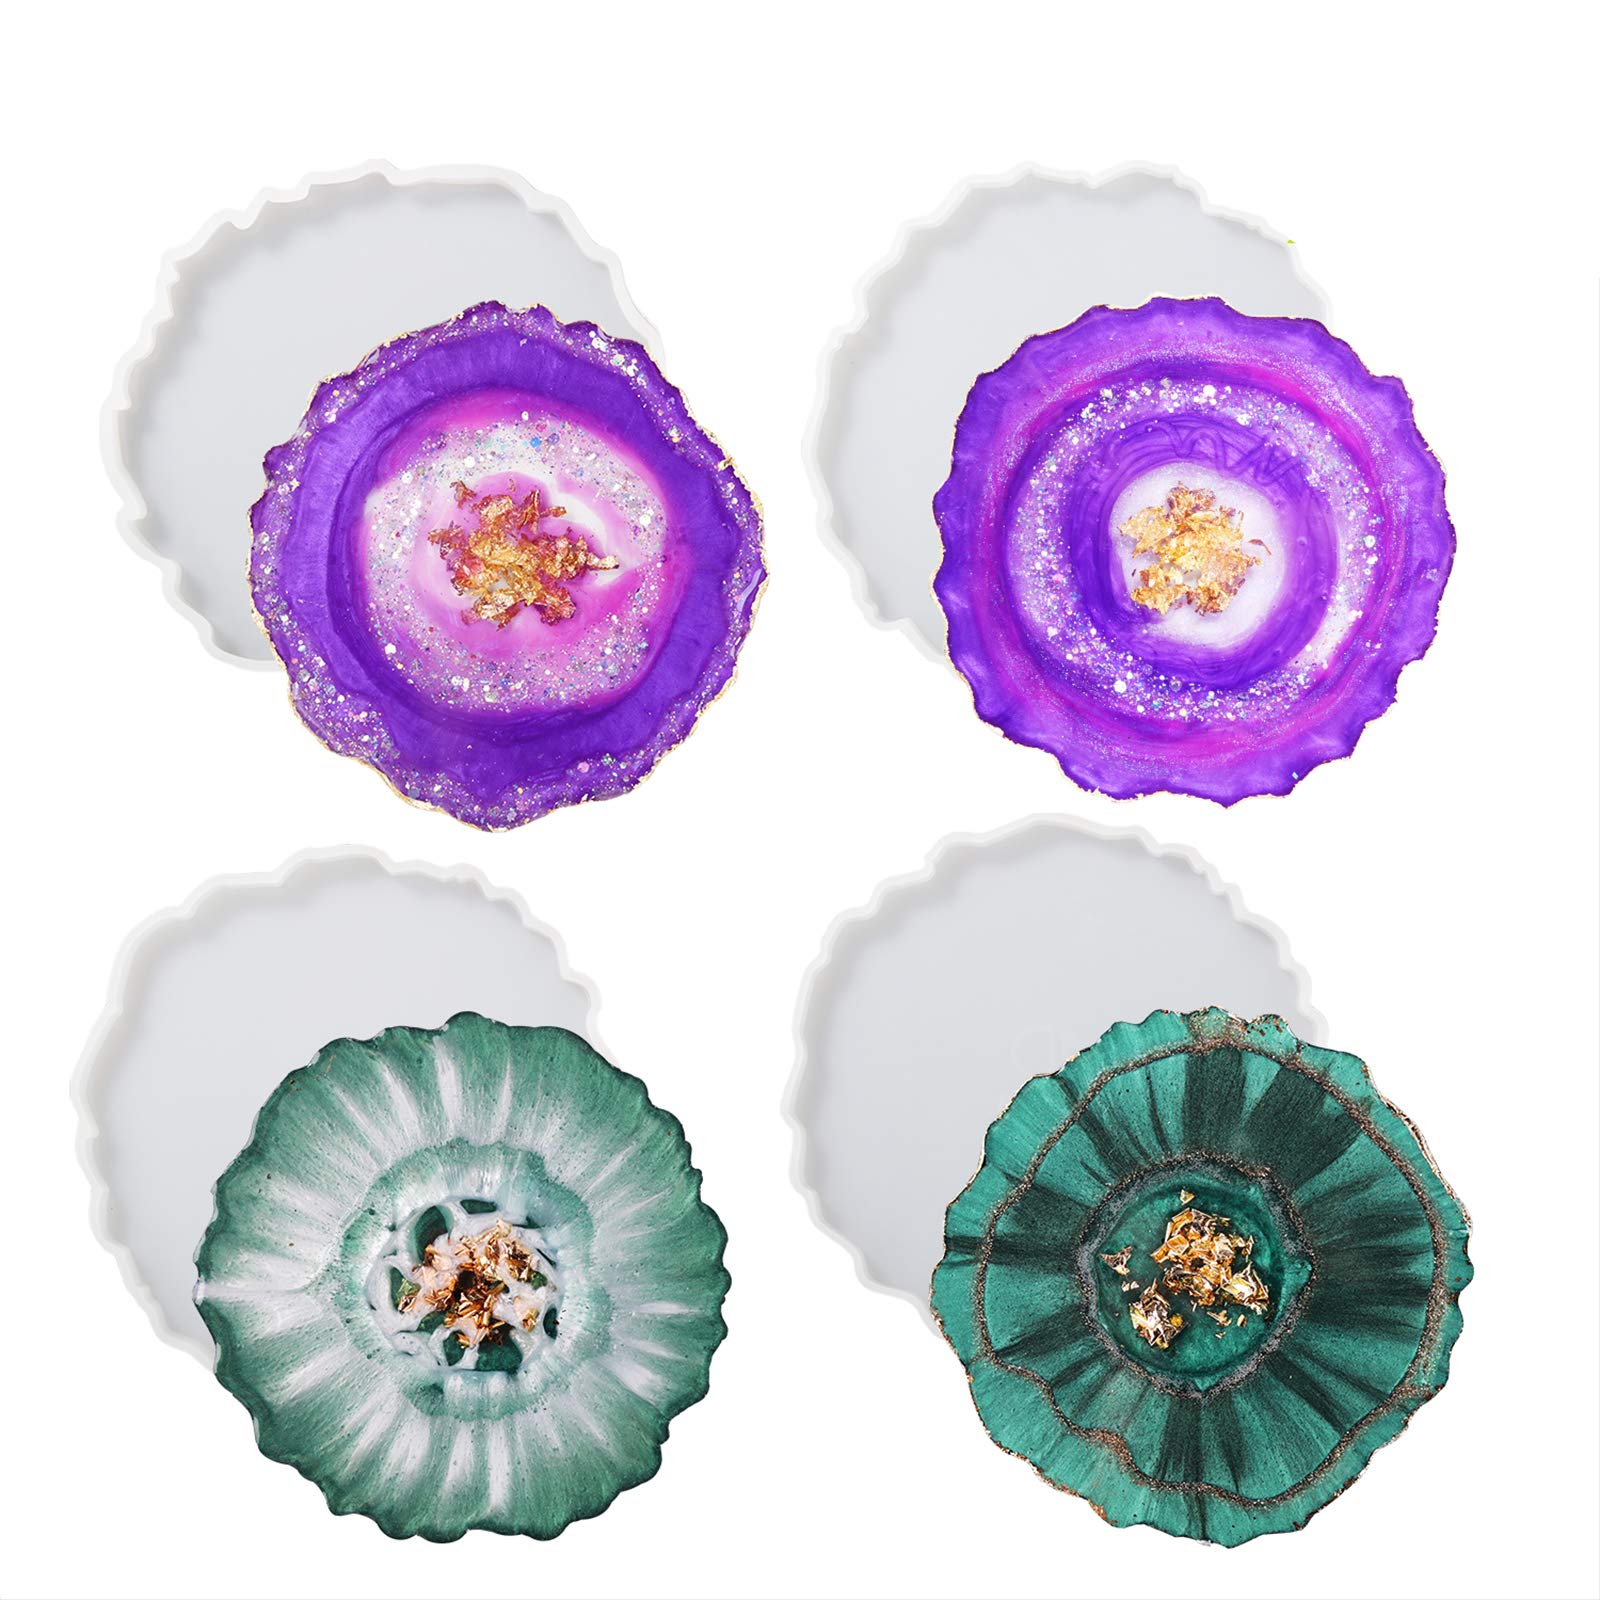
- Infusible Ink compatible coaster blanks
- Heat resistant tape
- Average grip cutting mat
- Lint roller
- Butcher paper
- Heat-resistant gloves
- Heat press or EasyPress
- Tweezers
- Craft scissors
The Cricut cutting machine is an essential tool for this project, as it allows you to precisely cut out your designs with ease. You can choose from a variety of Cricut models depending on your preferences and budget.
Infusible Ink Pens are specially formulated to create vibrant and permanent designs that seamlessly transfer to compatible surfaces. These pens come in a range of colors, allowing you to unleash your creativity and add a personal touch to your coasters.
Infusible Ink compatible coaster blanks are specially designed with a polyester coating that allows the ink to infuse into the material, creating a lasting and high-quality finish. Make sure to choose coaster blanks that are specifically designed for use with Infusible Ink.
Heat resistant tape is used to secure your design in place during the heat transfer process. This tape is designed to withstand high temperatures without leaving any residue on your coaster blanks.
The average grip cutting mat provides a stable surface for cutting out your designs with the Cricut machine. It’s important to ensure that your cutting mat has a strong grip to securely hold your materials in place.
A lint roller is handy for removing any dust or debris from your coaster blanks before applying the Infusible Ink design. This helps ensure a clean and smooth surface for optimal ink transfer.
Butcher paper is used as a protective layer during the heat transfer process. It helps to evenly distribute heat and prevent any ink from accidentally transferring to your heat press or EasyPress.
Heat-resistant gloves are essential for handling the heated surfaces and protecting your hands during the heat transfer process. These gloves provide a barrier between your skin and the heat source, ensuring your safety.
A heat press or EasyPress is used to apply heat and pressure to your coaster blanks, allowing the Infusible Ink to transfer onto the surface. Choose a heat press or EasyPress that is suitable for the size of your coaster blanks.
Tweezers are useful for removing the transfer sheet from your coaster blanks once the heat transfer process is complete. They allow you to gently lift and remove the sheet without smudging the design.
Craft scissors are handy for cutting out your coaster design from the Infusible Ink transfer sheet. Make sure to use sharp scissors for clean and precise cuts.
Now that you have all the materials you need, you’re ready to start creating your Cricut coasters!
Step 1: Preparing the Coasters
Before you can start designing your Cricut coasters with Infusible Ink Pens, it’s important to properly prepare the coaster blanks. This step ensures a clean and smooth surface for optimal ink transfer. Follow these steps to prepare your coasters:
- Start by taking out your Infusible Ink compatible coaster blanks.
- Use a lint roller to remove any dust or debris from the surface of the coaster blanks. This step ensures that your coasters are clean and ready for the ink transfer process.
- Next, prepare the average grip cutting mat by placing it on a flat surface.
- Peel off the protective backing from one of your coaster blanks and carefully place it, polyester side up, onto the cutting mat. Ensure that it is placed firmly and centered on the mat.
- Repeat this process for the remaining coaster blanks, placing each one on the cutting mat next to the previous coaster blank.
- Once all the coaster blanks are in place, use heat-resistant tape to secure them to the cutting mat. This tape will hold the coasters in place during the cutting and heat transfer process.
Now that your coaster blanks are prepared and securely taped to the cutting mat, you’re ready to move on to the next step: designing the coasters with Infusible Ink Pens.
Step 2: Designing the Coasters with Infusible Ink Pens
Designing your Cricut coasters with Infusible Ink Pens is where your creativity shines. You have the freedom to create custom designs, patterns, and even add personal touches like names or quotes. Follow these steps to design your coasters:
- Open your preferred design software or Cricut Design Space and create a new project.
- Select the shapes, images, or text you want to use for your coaster design. You can choose from pre-made designs or create your own.
- Size the design accordingly to fit your coaster blanks. Consider the placement and spacing of the design on the coaster surface.
- When you’re satisfied with your design, select the appropriate colors of Infusible Ink Pens for each element of the design.
- Uncap the selected Infusible Ink Pen and start coloring in the design on the Infusible Ink transfer sheet. Be sure to color with smooth, even strokes, saturating the paper with ink.
- Feel free to get creative with color gradients, shading, or blending techniques to make your design stand out.
- Once you’ve finished coloring in your design, set the transfer sheet aside to dry completely. This usually takes a few minutes.
- While the transfer sheet is drying, you can clean your Infusible Ink Pen tips with a lint-free cloth or paper towel to ensure vibrant colors and smooth ink flow.
- Once the transfer sheet is dry, you’re ready to move on to the next step: the heat transfer process.
Remember, designing your coasters is an opportunity to unleash your creativity and make them truly unique. Don’t be afraid to experiment with different colors and patterns to achieve the desired look. Now that your design is complete, let’s move on to the heat transfer process in the next step.
When using Infusible Ink Pens on Cricut coasters, make sure to use a lint roller to remove any dust or debris from the surface before applying the design. This will ensure a clean and smooth transfer of the ink onto the coaster.
Step 3: Heat Transfer Process
The heat transfer process is where the magic happens. It’s the step that allows the vibrant and permanent designs created with Infusible Ink Pens to transfer onto the coaster blanks. Follow these steps to complete the heat transfer process:
- Preheat your heat press or EasyPress to the recommended temperature for the specific Infusible Ink Pens and coaster blanks you are using. Refer to the manufacturer’s instructions for the correct temperature and time settings.
- While your heat press or EasyPress is preheating, place a sheet of butcher paper larger than the size of your coaster blanks on your work surface. This paper will protect your heat press or EasyPress from any ink residue.
- Take your prepared coaster blanks, still taped to the cutting mat, and place them on top of the butcher paper. Ensure they are evenly spaced apart to prevent any overlapping during the heat transfer process.
- Once your heat press or EasyPress has reached the desired temperature, carefully lift the cutting mat with the coaster blanks and place it on the bottom platen of the heat press or directly onto your work surface if using an EasyPress.
- Close the heat press or, if using an EasyPress, place it directly over the coaster blanks. Apply firm and even pressure to ensure proper heat transfer.
- Refer to the recommended heat transfer time for your specific coaster blanks and Infusible Ink Pens. This usually falls between 240-400°F (115-205°C) and 30-60 seconds.
- Once the time has elapsed, carefully lift the heat press or EasyPress and set it aside. Be cautious as the coaster blanks will be hot.
Now that the heat transfer process is complete, it’s time to move on to the next step: removing the transfer sheet.
Note: It’s important to follow the manufacturer’s instructions and safety guidelines when using heat press machines or EasyPress devices. Use heat-resistant gloves to protect your hands and exercise caution to avoid burns.
Read more: How To Store Cricut Pens
Step 4: Removing the Transfer Sheet
After completing the heat transfer process, it’s time to remove the transfer sheet from the coaster blanks. This step reveals the vibrant and permanent design that has been infused into the coasters. Follow these steps to safely and effectively remove the transfer sheet:
- While the coaster blanks are still hot, use a pair of tweezers to carefully lift and peel off the transfer sheet. Start from one corner and slowly work your way across the coaster surface.
- Be cautious not to touch the ink design with your hands or fingers as it may still be hot and could smudge.
- If you notice any areas where the ink did not fully transfer or if there are any imperfections, you can gently place the transfer sheet back over the coaster blank and repeat the heat transfer process for a few seconds.
- Once you have successfully removed the transfer sheet, set it aside to cool. You can discard it once it has completely cooled down.
- Inspect your coasters to ensure that the design has transferred smoothly and evenly. Admire your beautiful creations!
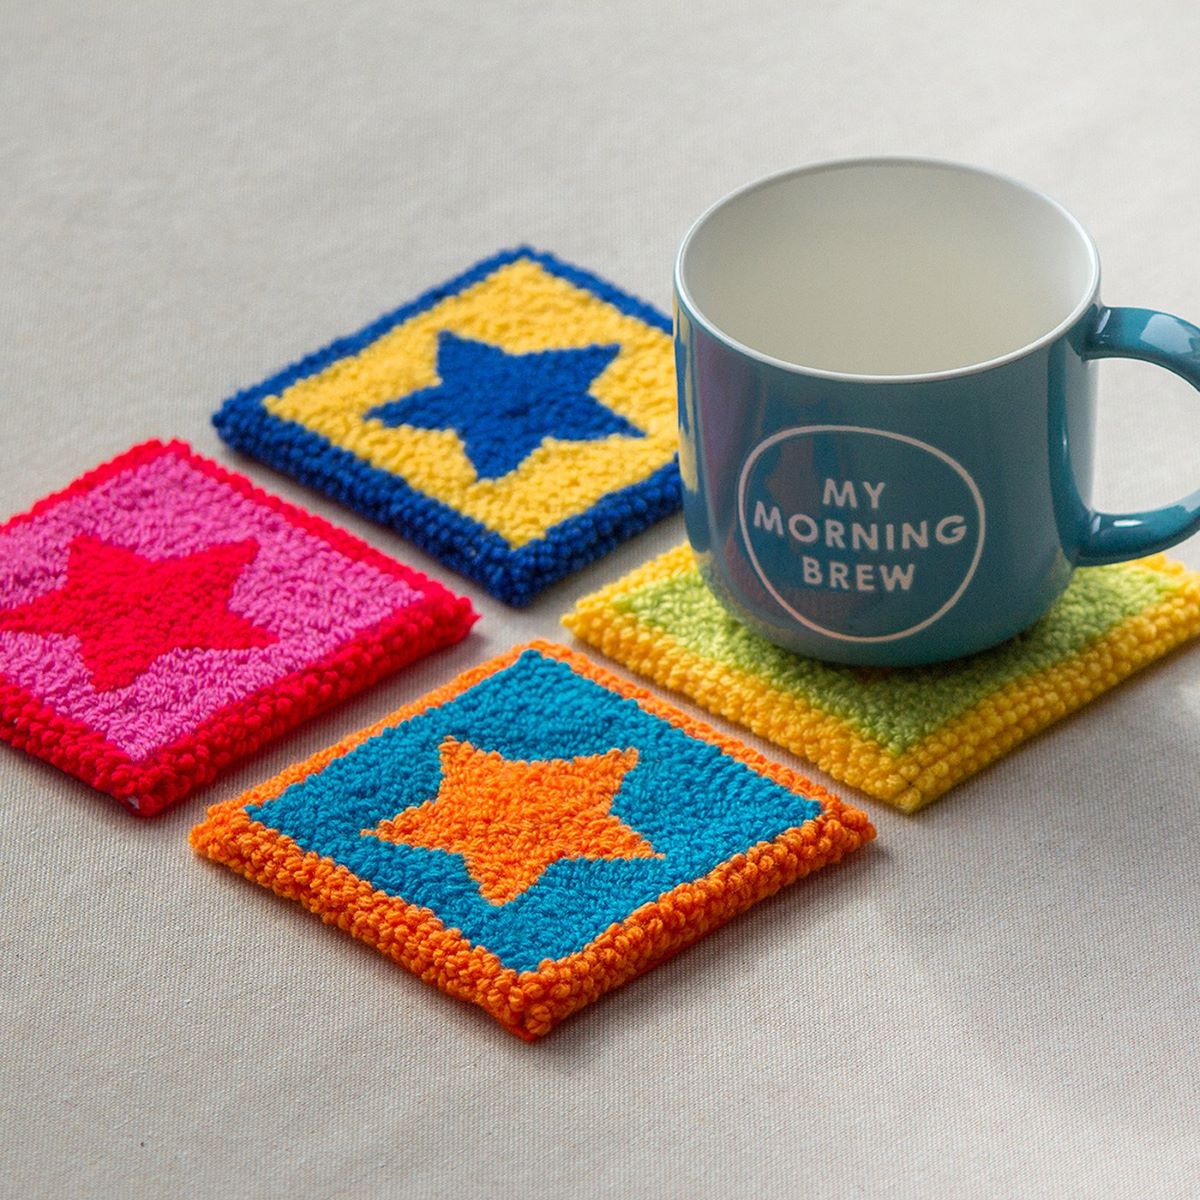
With the transfer sheet removed, your Cricut coasters are now complete and ready to be used or displayed. The vibrant and permanent designs will withstand regular use and cleaning, making your coasters a durable and personalized addition to your home decor.
Now that the transfer sheet has been removed, let’s move on to the final step: adding the finishing touches to your Cricut coasters.
Step 5: Finishing Touches
Congratulations on completing your Cricut coasters with Infusible Ink Pens! Now, let’s add some finishing touches to make your coasters even more special. Follow these steps to give your coasters a polished look:
- Allow your coasters to cool completely before handling. The ink will fully set and adhere to the coaster blanks during this time.
- Once cooled, carefully remove the coaster blanks from the cutting mat. Peel off any remaining heat-resistant tape from the edges of the coasters.
- Inspect the edges of the coasters. If there are any rough or jagged edges, use a pair of craft scissors to carefully trim and smooth them out.
- Wipe down the coaster surfaces with a clean, lint-free cloth or paper towel to remove any residue or fingerprints.
- Now, it’s time to display or use your Cricut coasters! Place them on a coffee table, dining table, or anywhere you want to add a personalized touch to your décor.
- These coasters also make great gifts for friends and family. Consider creating coordinating sets or customizing each coaster with individual designs.
- Remember to provide care instructions to those receiving the coasters. While they are durable, it’s best to hand wash them with mild soap and water to prolong their lifespan.
- Feel free to experiment with different designs, colors, and patterns to create a unique set of coasters that reflect your personal style and creativity.
Now that you’ve added the finishing touches to your Cricut coasters, sit back, relax, and enjoy using them or sharing them with loved ones.
Creating Cricut coasters with Infusible Ink Pens is a fun and rewarding project that allows you to showcase your artistic skills and make something truly unique. With the vibrant and permanent designs, these coasters will not only protect your surfaces but also add a touch of personalization to your home decor.
We hope you’ve enjoyed this step-by-step guide and that it has inspired you to explore further possibilities with your Cricut machine and Infusible Ink Pens. Happy crafting!
Conclusion
Creating Cricut coasters with Infusible Ink Pens is a fantastic way to unleash your creativity and add a personal touch to your home decor. With the vibrant and permanent designs that can be achieved, these coasters are not only functional but also serve as conversation starters and unique pieces of art.
In this article, we’ve guided you through the step-by-step process of making Cricut coasters with Infusible Ink Pens. From preparing the coasters to designing with the pens, to the heat transfer process and removing the transfer sheet, and finally adding the finishing touches, you now have the knowledge and skills to embark on this exciting crafting journey.
Remember to gather all the necessary materials and carefully prepare the coaster blanks before starting the design process. Let your creativity run wild as you choose colors, shapes, patterns, and even incorporate personal elements into your coaster designs.
The heat transfer process is where the magic happens, as the designs seamlessly infuse into the coaster blanks. Take care when removing the transfer sheet, ensuring the design has fully transferred and any imperfections are addressed.
To give your coasters a polished look, add the finishing touches such as trimming any rough edges and wiping them clean. Consider gifting these coasters to loved ones or using them to elevate your own home decor.
As you continue your crafting journey with your Cricut machine and Infusible Ink Pens, don’t be afraid to experiment, try new techniques, and let your imagination soar. The possibilities are endless, and each project is an opportunity to create something truly unique and special.
We hope this guide has inspired you to explore the world of Cricut coasters and embrace the beauty and versatility of Infusible Ink Pens. So, gather your supplies, let your creativity flow, and enjoy the process of making stunning, personalized coasters that will bring joy and style to every sip.
Frequently Asked Questions about How To Make Cricut Coasters With Infusible Ink Pens
Was this page helpful?
At Storables.com, we guarantee accurate and reliable information. Our content, validated by Expert Board Contributors, is crafted following stringent Editorial Policies. We're committed to providing you with well-researched, expert-backed insights for all your informational needs.
0 thoughts on “How To Make Cricut Coasters With Infusible Ink Pens”