Home>Technology>Smart Home Devices>How To Add Printer To Cricut
Smart Home Devices
How To Add Printer To Cricut
Modified: May 6, 2024
Learn how to add a printer to your Cricut for seamless printing of smart home devices and accessories. Follow our step-by-step guide for easy setup.
(Many of the links in this article redirect to a specific reviewed product. Your purchase of these products through affiliate links helps to generate commission for Storables.com, at no extra cost. Learn more)
Introduction
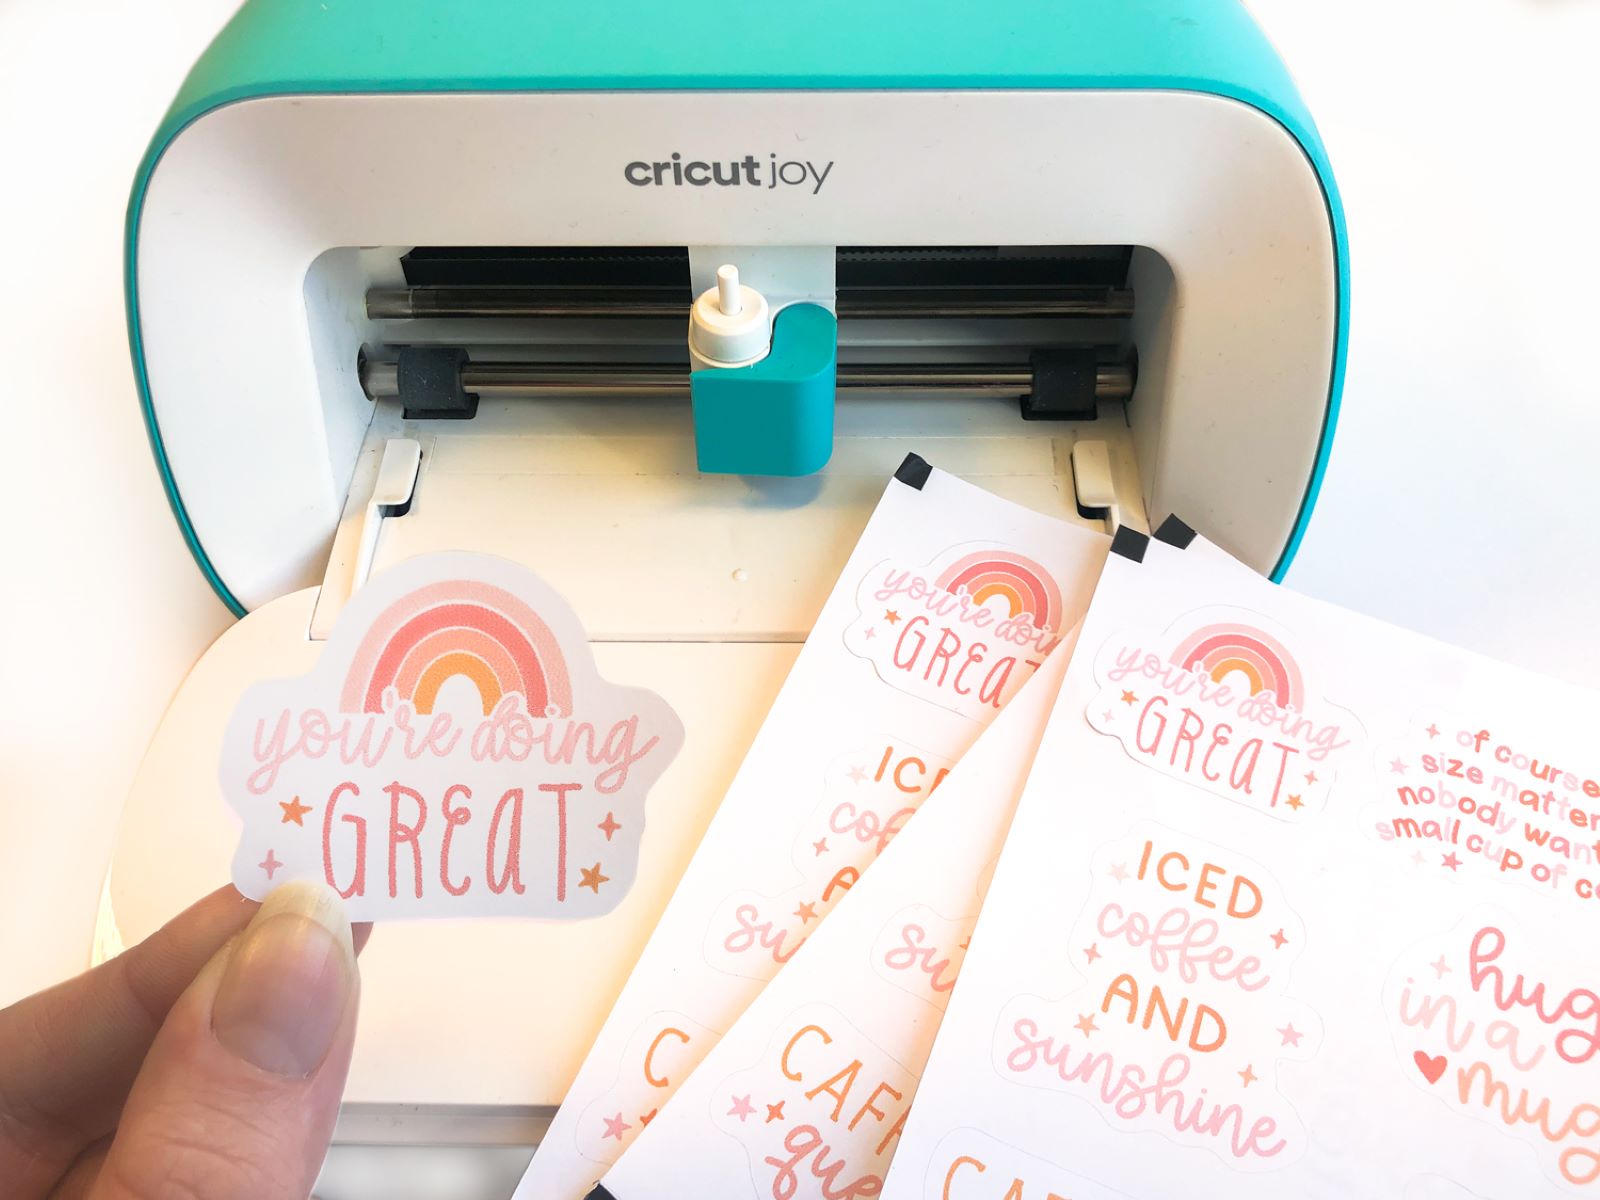
Adding a printer to your Cricut opens up a world of creative possibilities. With a connected printer, you can effortlessly print and then cut designs, stickers, and labels using your Cricut machine. The process of adding a printer to your Cricut is straightforward and can be completed in just a few simple steps. In this guide, you will learn how to seamlessly integrate your printer with your Cricut, allowing you to bring your unique designs to life with ease.
By following the steps outlined in this article, you will be able to connect your printer to your Cricut and begin printing your designs with confidence. Let's dive into the process of adding a printer to your Cricut, and unlock a new realm of creative possibilities.
Key Takeaways:
- Connecting your printer to your Cricut is easy! Just gather the materials, link the devices, set up in Cricut Design Space, and test print to unlock endless crafting possibilities.
- Once your printer is connected, you can effortlessly print and cut designs, stickers, and labels, bringing your creative vision to life with precision and ease.
Read more: How To Connect Cricut To Printer
Step 1: Gather Necessary Materials
Before you embark on the journey of connecting your printer to your Cricut, it’s essential to gather the necessary materials to ensure a smooth setup process. Here’s what you’ll need:
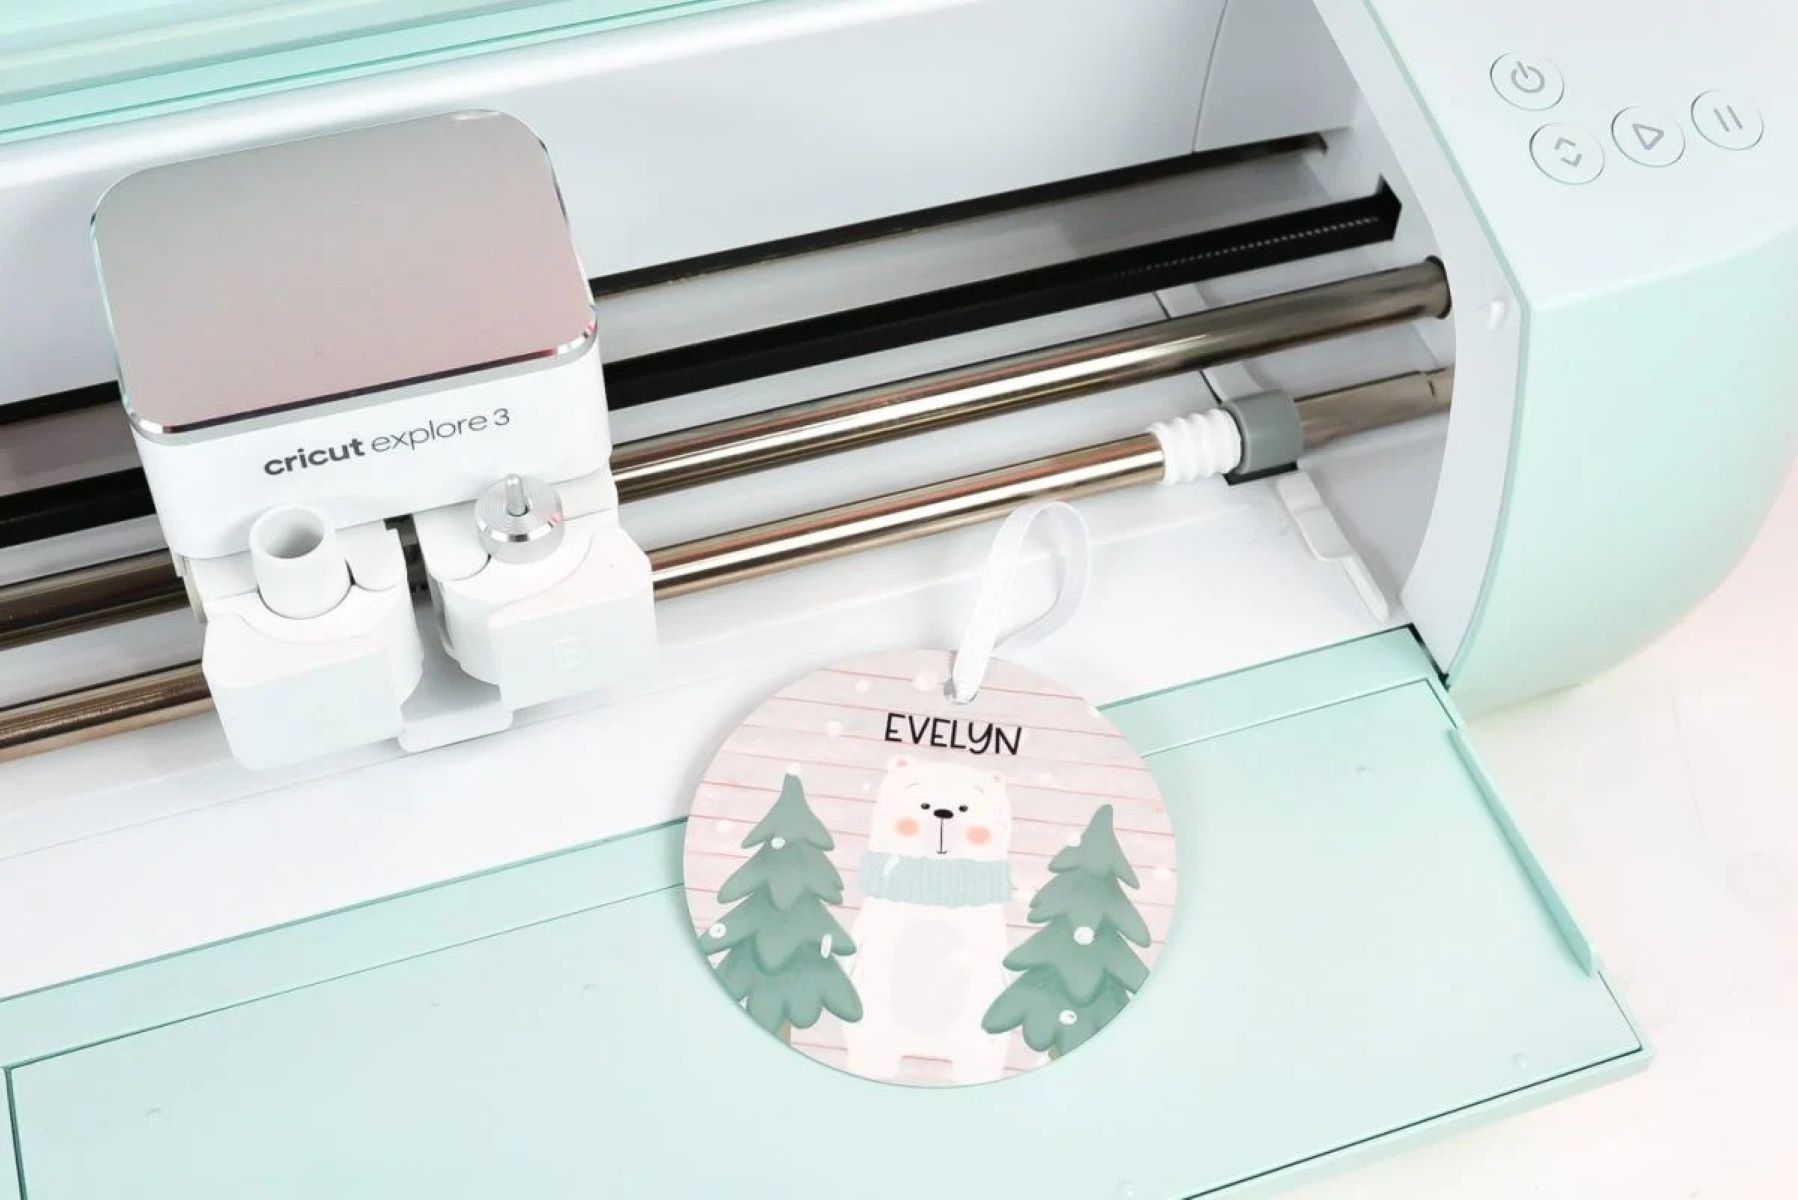
- Cricut Machine: Ensure that your Cricut machine is powered on and in working condition.
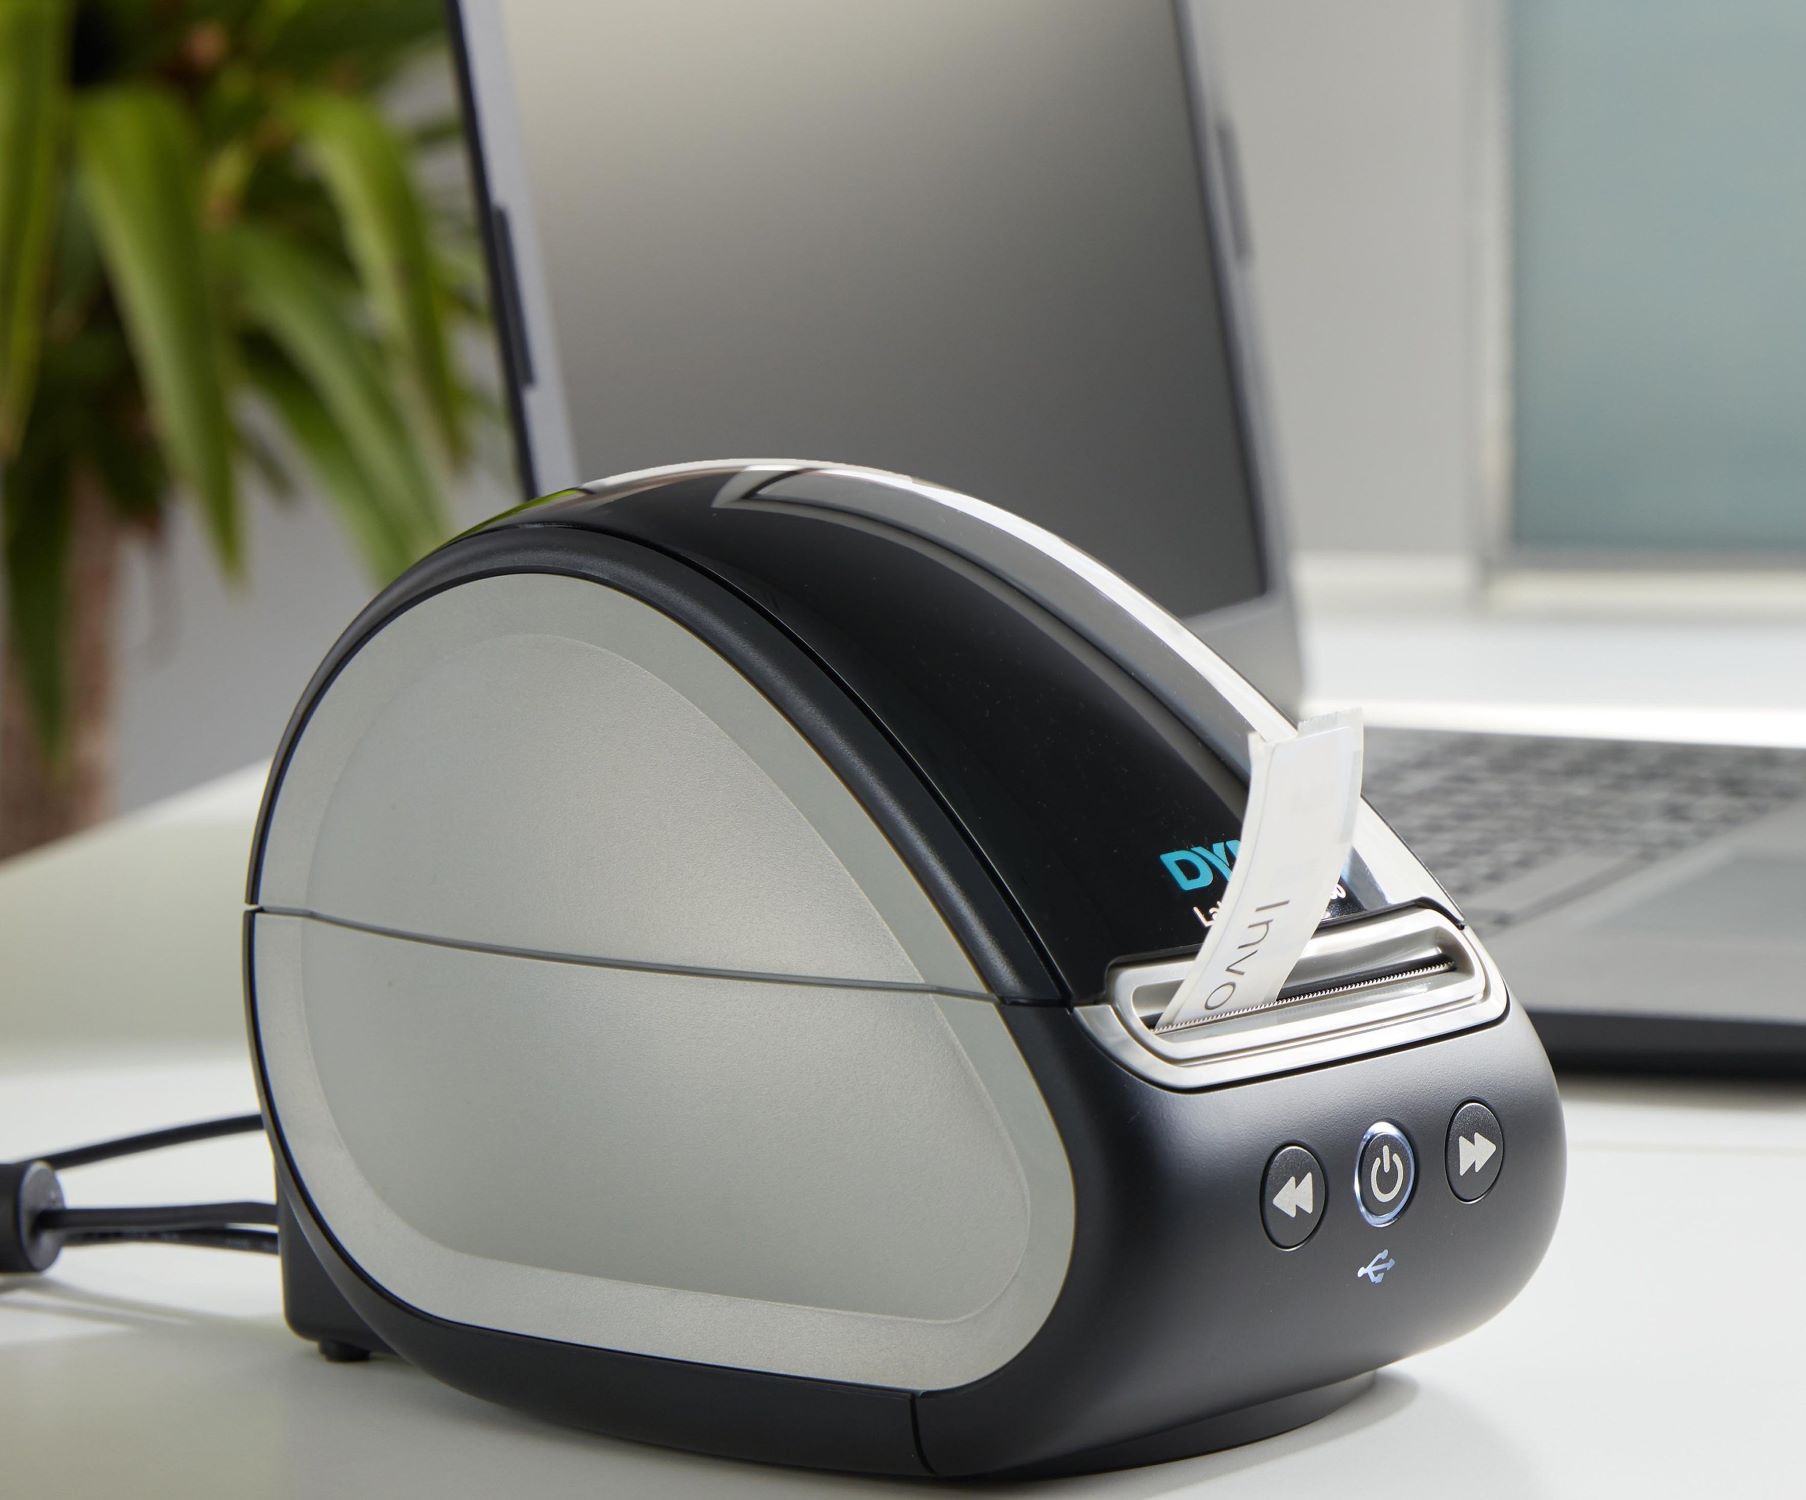
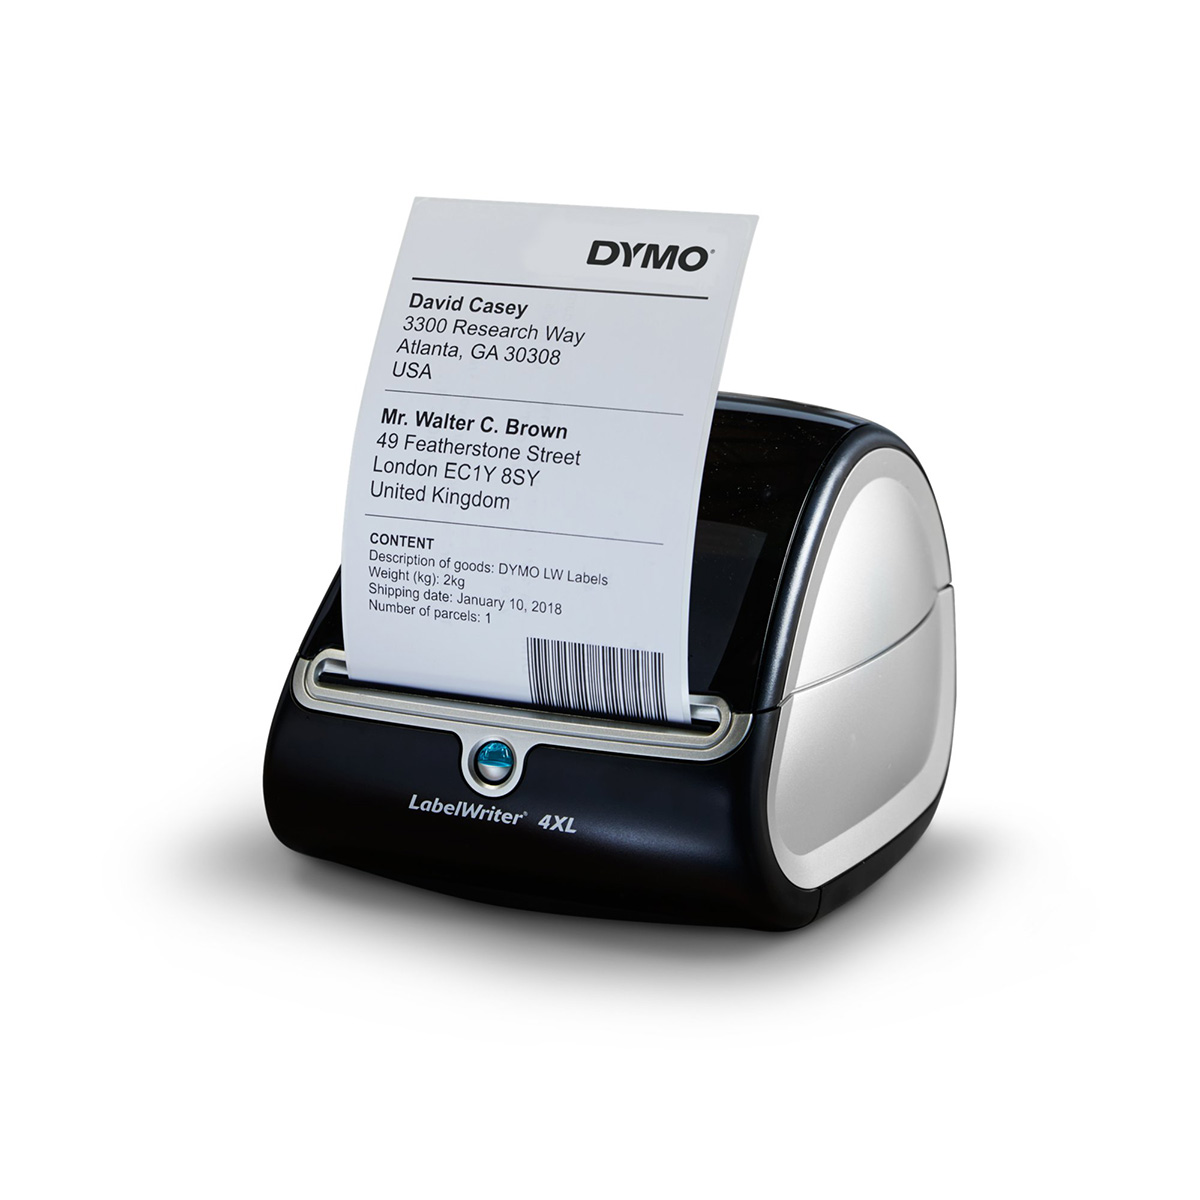
- Printer: Have your printer ready and ensure that it is compatible with the Cricut machine. Check the Cricut website or user manual for a list of supported printers.
- Computer or Mobile Device: You will need a computer or mobile device with Cricut Design Space installed to complete the setup process.
- Internet Connection: A stable internet connection is necessary to download any required software updates and to connect to Cricut Design Space.
- Printer Cable or Wireless Connection: Depending on your printer and Cricut model, you may need a USB cable or a wireless connection to link the printer to your Cricut.
- Printer Paper or Material: Have the appropriate printer paper or material ready for test printing once the setup is complete.
By ensuring that you have all the necessary materials at hand, you can streamline the process of connecting your printer to your Cricut and minimize any potential interruptions during setup.
Step 2: Connect the Printer to the Cricut
Now that you have gathered all the necessary materials, it’s time to establish the connection between your printer and your Cricut machine. Follow these steps to seamlessly link the two devices:
- Position the Printer: Place your printer within reach of your Cricut machine, ensuring that it is easily accessible for connecting cables or configuring wireless settings.
- Power Up the Printer: Turn on your printer and ensure that it is in a ready state, with no error messages or pending print jobs.
- Connect the Printer to the Cricut: Depending on your printer model and Cricut machine, you can connect the two devices using a USB cable or via a wireless connection. If using a USB cable, simply plug one end into the printer and the other into the USB port on your Cricut machine. If setting up a wireless connection, consult your printer and Cricut user manuals for specific instructions on how to pair the devices.
- Install Printer Drivers (If Necessary): If your printer requires specific drivers to be installed on your computer or mobile device, follow the manufacturer’s instructions to complete the installation process. This step is crucial for ensuring seamless communication between the printer and your Cricut machine.
- Configure Printer Settings: Once the physical connection or wireless pairing is established, configure the printer settings to align with your desired print quality and material type. Refer to your printer’s user manual for guidance on adjusting settings such as paper type, print quality, and alignment.
By following these steps, you can establish a solid connection between your printer and Cricut, laying the foundation for seamless printing and cutting of your creative designs.
Make sure your printer is compatible with Cricut by checking the list of supported printers on their website. Then, follow the step-by-step instructions provided by Cricut to add your printer to the Cricut Design Space software.
Step 3: Set Up the Printer in Cricut Design Space
With the physical connection between your printer and Cricut machine established, the next step involves configuring the printer within Cricut Design Space. Follow these steps to integrate your printer seamlessly:
- Launch Cricut Design Space: Open the Cricut Design Space application on your computer or mobile device. Ensure that you are logged in to your Cricut account to access all the features and settings.
- Select “Set Up a New Machine”: In Cricut Design Space, navigate to the “Machine” settings and select “Set Up a New Machine.” Follow the on-screen instructions to identify and connect your Cricut machine.
- Access Printer Settings: Once your Cricut machine is set up, navigate to the “Print Then Cut” settings within Cricut Design Space. Here, you can access the printer settings and configure the connected printer for use with your Cricut machine.
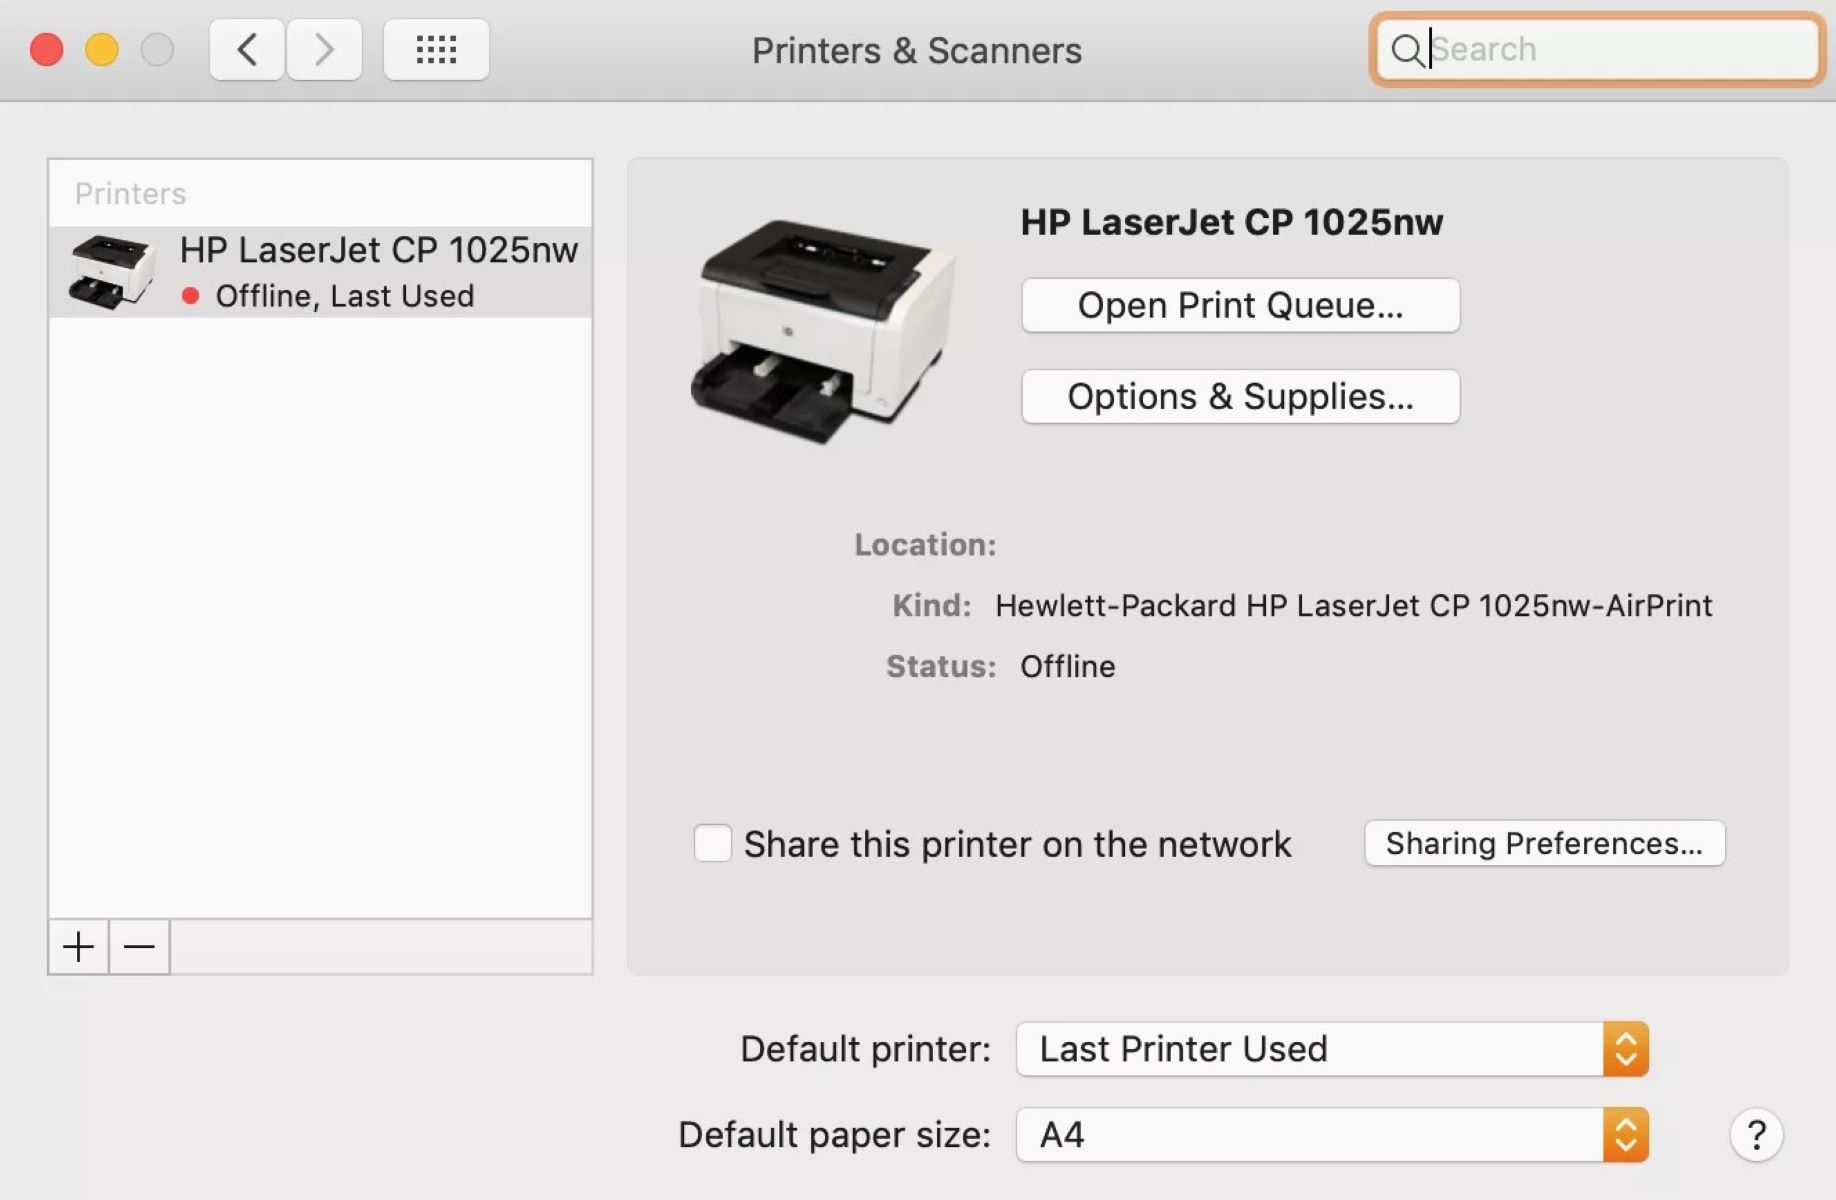
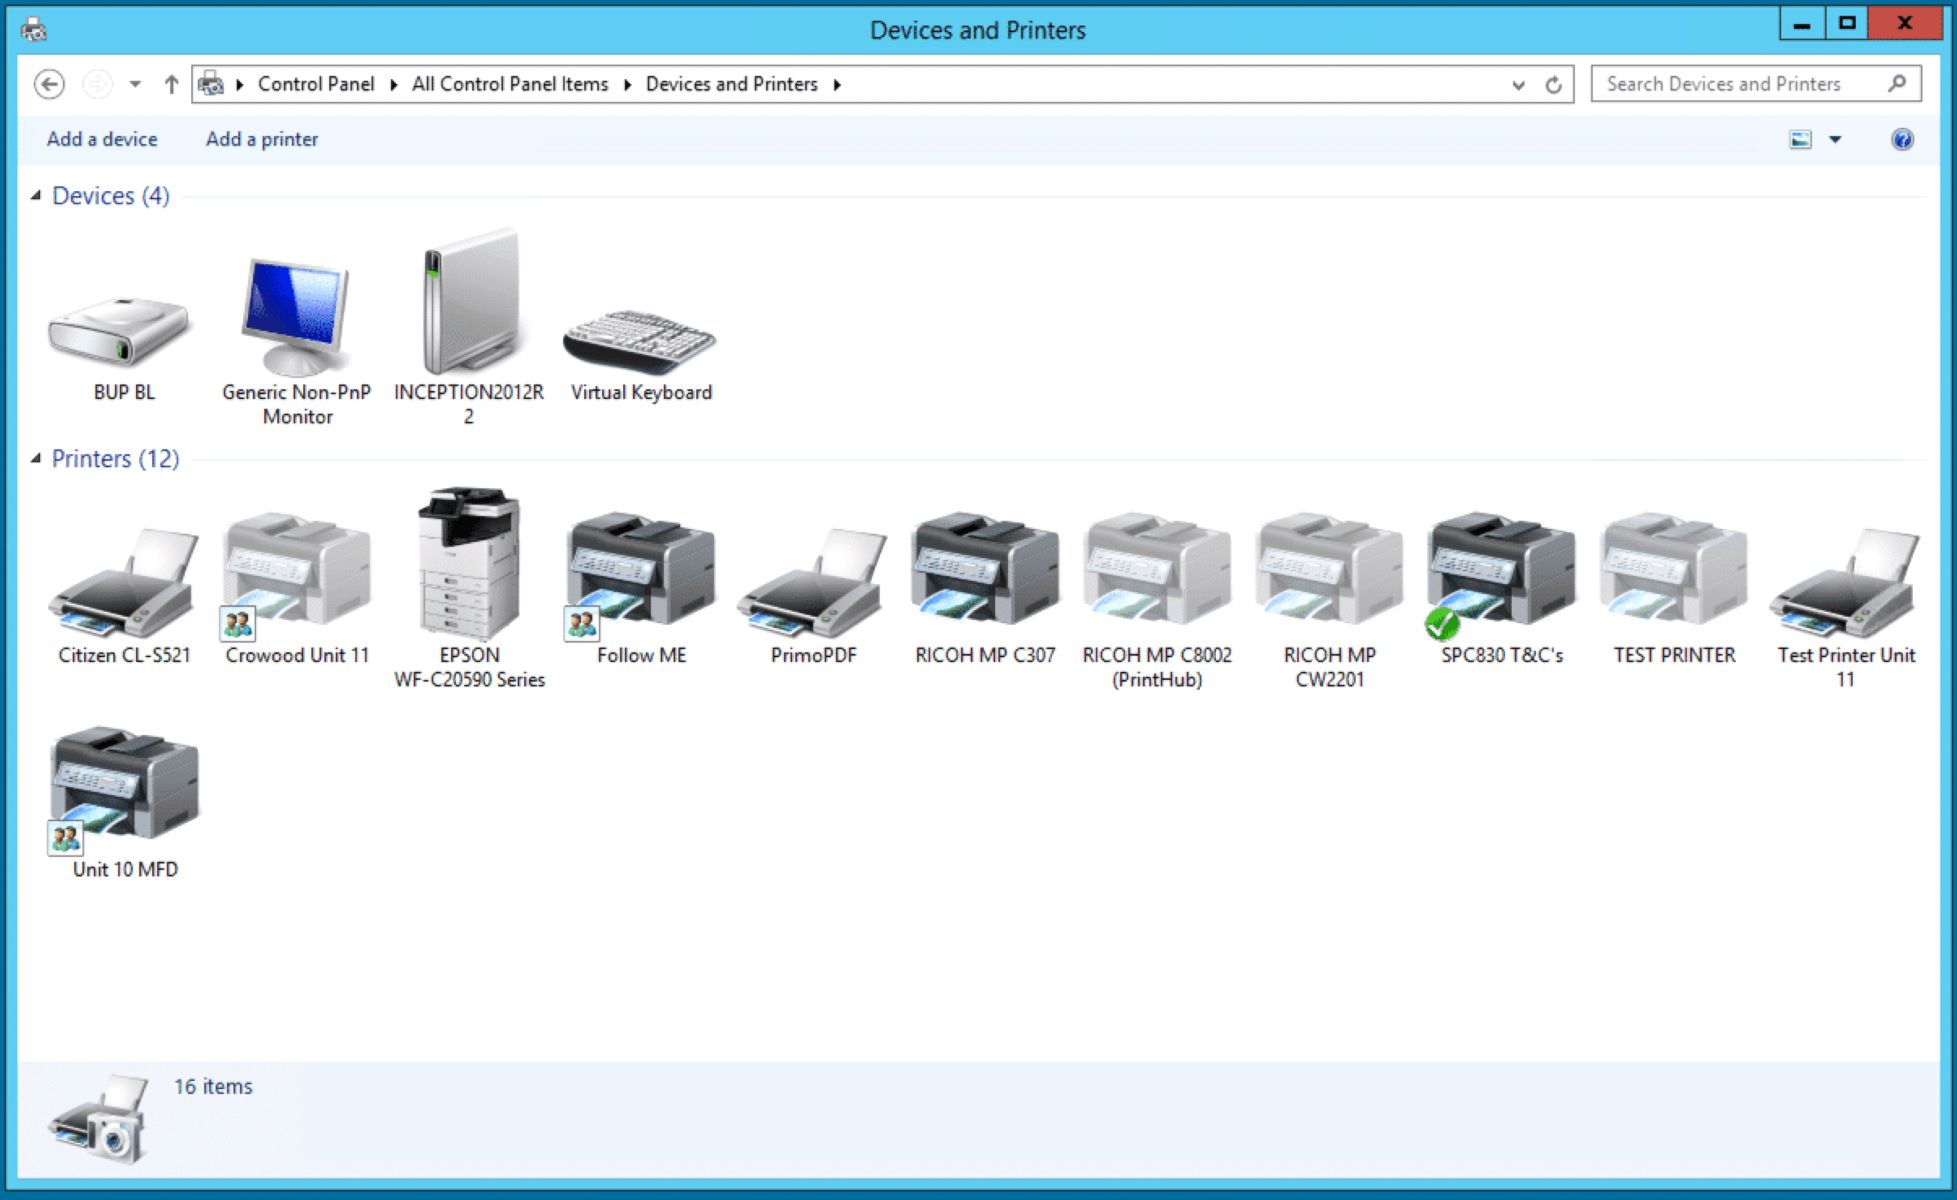
- Choose the Connected Printer: From the list of available printers, select the model that you have connected to your Cricut machine. This step ensures that Cricut Design Space communicates directly with the designated printer for all print and cut projects.
- Calibrate Print Then Cut: If prompted, follow the calibration instructions within Cricut Design Space to ensure precise alignment between the printed image and subsequent cutting by your Cricut machine. This calibration process is essential for achieving accurate and professional results.
By setting up the printer within Cricut Design Space, you can seamlessly integrate the printing functionality with your Cricut machine, unlocking the ability to create intricate designs and personalized crafts with ease.
Step 4: Test the Printer
After completing the setup process, it’s essential to conduct a test print to ensure that your printer is seamlessly integrated with your Cricut machine. Follow these steps to perform a test print and verify the functionality of the connected printer:
- Create a Test Design: In Cricut Design Space, create a simple design or select a pre-existing project that you can use for the test print. This design should ideally include a combination of graphics and text to evaluate the printer’s capabilities accurately.
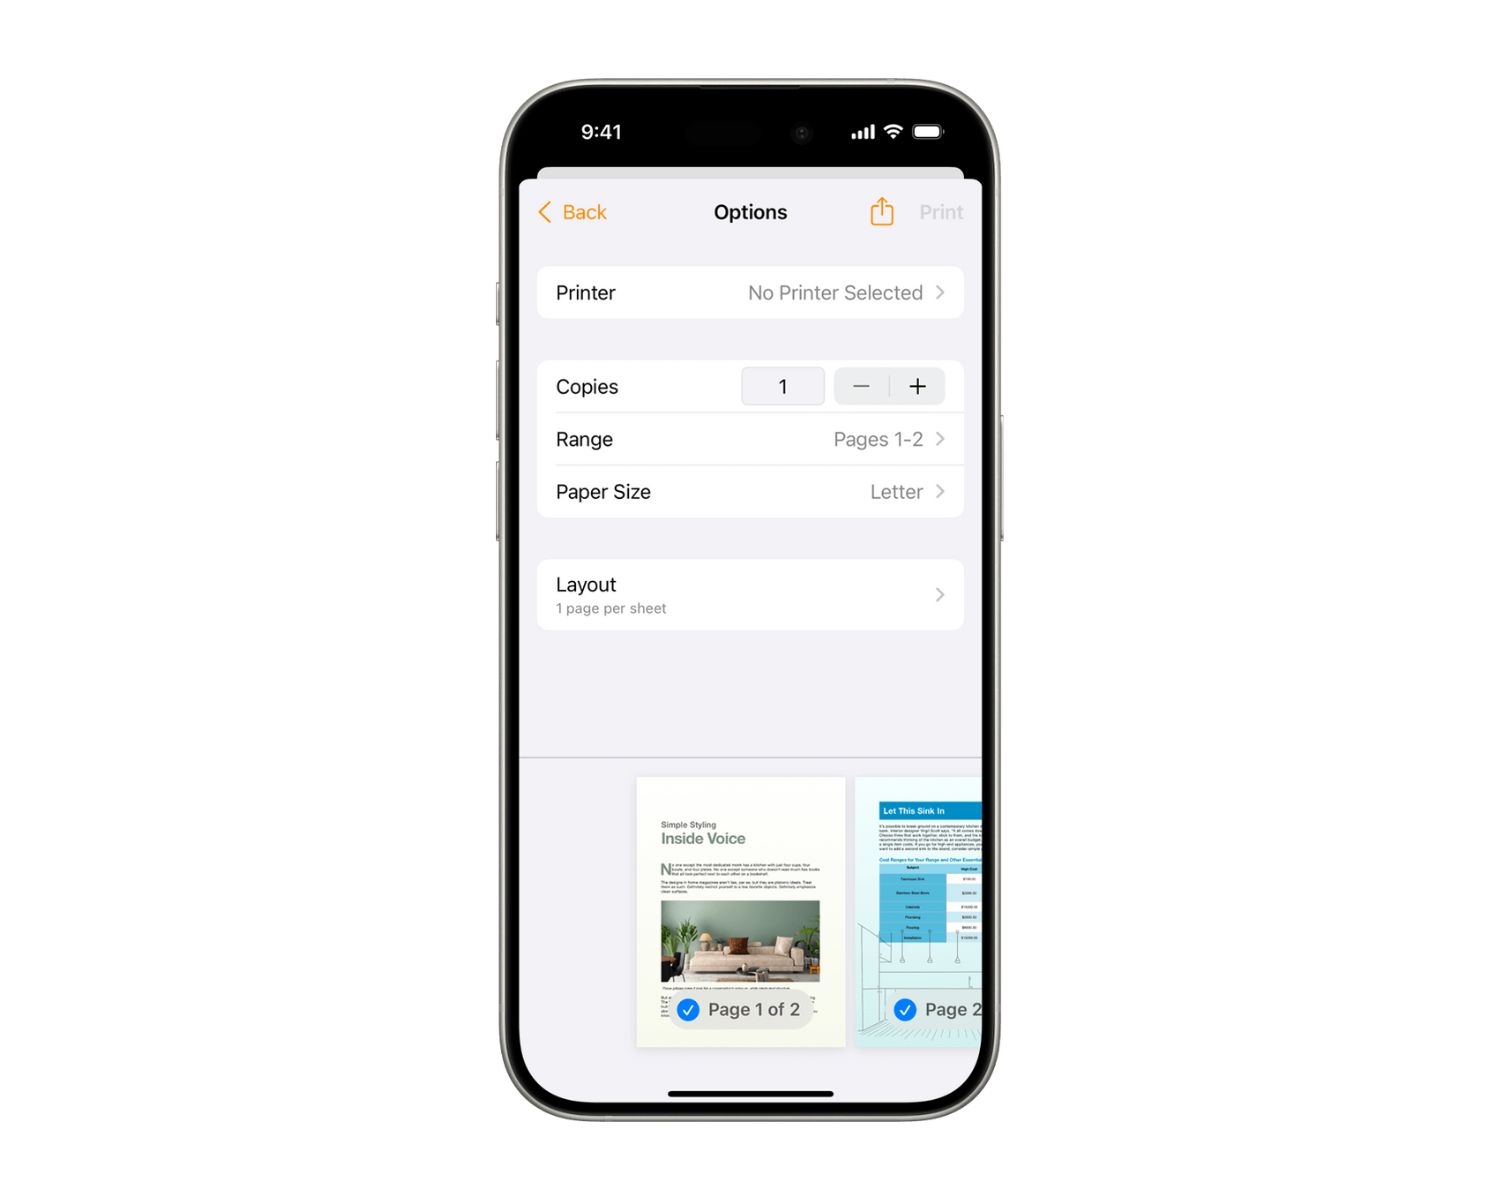
- Configure Print Settings: Once the design is ready, access the print settings within Cricut Design Space. Verify that the print settings, including color, quality, and material type, align with your preferences and the capabilities of your printer.
- Send the Design to the Printer: After configuring the print settings, initiate the print job from Cricut Design Space. Ensure that the printer receives the print command and processes the design accurately.
- Inspect the Printed Output: Once the print job is complete, carefully examine the printed output for color accuracy, sharpness, and overall quality. Verify that the design is printed precisely as intended, with no alignment issues or printing errors.
- Proceed to Cutting (Optional): If the test print meets your expectations, you can proceed to use your Cricut machine to cut around the printed design. This step allows you to evaluate the seamless coordination between printing and cutting functions.
By conducting a thorough test of the connected printer, you can gain confidence in its capabilities and ensure that it meets the standards required for your creative projects. Additionally, any issues identified during the test print can be addressed promptly, allowing you to fine-tune the printer settings for optimal performance with your Cricut machine.
Read more: What Printer Is Best To Use With Cricut
Conclusion
Adding a printer to your Cricut opens up a world of creative possibilities, allowing you to seamlessly integrate printing and cutting functions to bring your unique designs to life. By following the steps outlined in this guide, you have successfully connected your printer to your Cricut machine, setting the stage for endless crafting opportunities.
From gathering the necessary materials to conducting a comprehensive test print, you have navigated through the setup process with confidence, ensuring that your printer is seamlessly integrated with your Cricut. With this integration, you can effortlessly print and then cut designs, stickers, and labels, bringing your creative vision to fruition with precision and ease.
As you embark on your creative journey with your newly connected printer and Cricut machine, remember to explore the diverse range of projects and designs that you can now bring to life. Whether it’s personalized stickers, intricately detailed labels, or custom designs, your printer and Cricut machine stand ready to transform your ideas into tangible creations.
Embrace the fusion of technology and creativity as you harness the power of your connected printer and Cricut machine. With each print and cut project, you have the opportunity to express your unique style and imagination, making every creation a testament to your artistic vision.
Now that your printer is seamlessly integrated with your Cricut, the world of crafting and design is at your fingertips. Unleash your creativity, experiment with different materials, and let your imagination soar as you embark on a captivating journey of crafting and self-expression with your connected printer and Cricut machine.
Now that you've mastered adding a printer to your Cricut, why not put those new skills to creative use? For anyone eager to decorate with unique flair this Easter, our guide on Easter craft ideas offers ten elegant DIY projects sure to spruce up any celebration. From charming table settings to adorable decor, these crafts promise fun and inspiration for all skill levels. Ready to get crafting? Dive into our festive and stylish projects today!
Frequently Asked Questions about How To Add Printer To Cricut
Was this page helpful?
At Storables.com, we guarantee accurate and reliable information. Our content, validated by Expert Board Contributors, is crafted following stringent Editorial Policies. We're committed to providing you with well-researched, expert-backed insights for all your informational needs.


0 thoughts on “How To Add Printer To Cricut”