Home>Dining>Tableware>How To Make Personalized Wine Glasses With Cricut
Tableware
How To Make Personalized Wine Glasses With Cricut
Modified: August 30, 2024
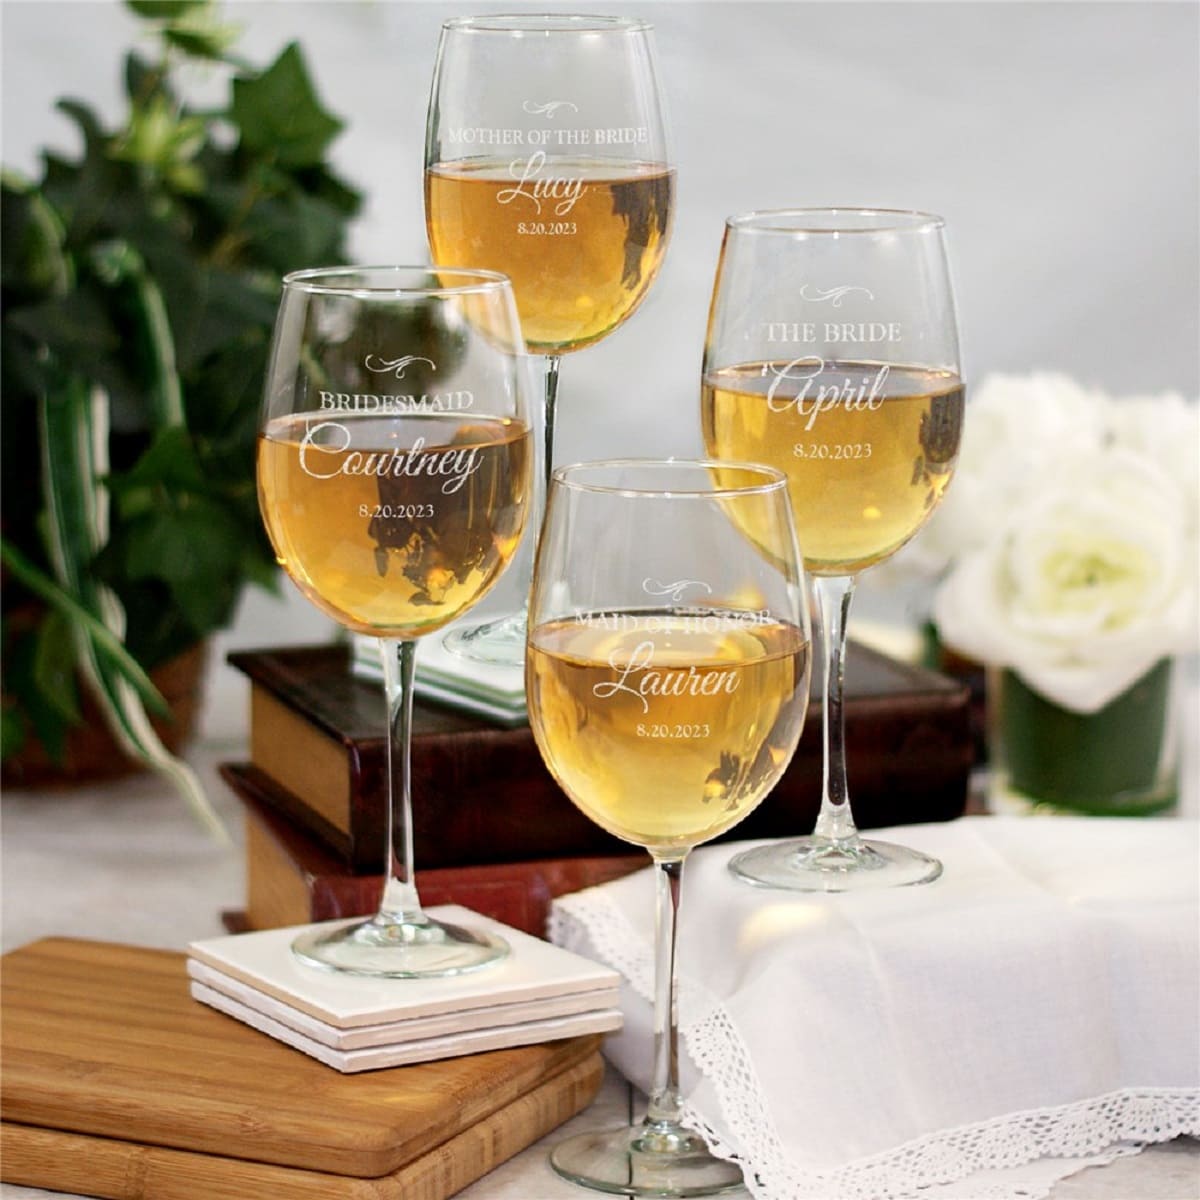
Learn how to personalize your own wine glasses using Cricut and create beautiful tableware that reflects your unique style.
(Many of the links in this article redirect to a specific reviewed product. Your purchase of these products through affiliate links helps to generate commission for Storables.com, at no extra cost. Learn more)
Materials Needed
Before you embark on your journey to create personalized wine glasses with Cricut, it’s essential to gather all the necessary materials. Having everything prepared beforehand will ensure a smooth and efficient crafting process. So, without further ado, here’s a list of the materials you’ll need:
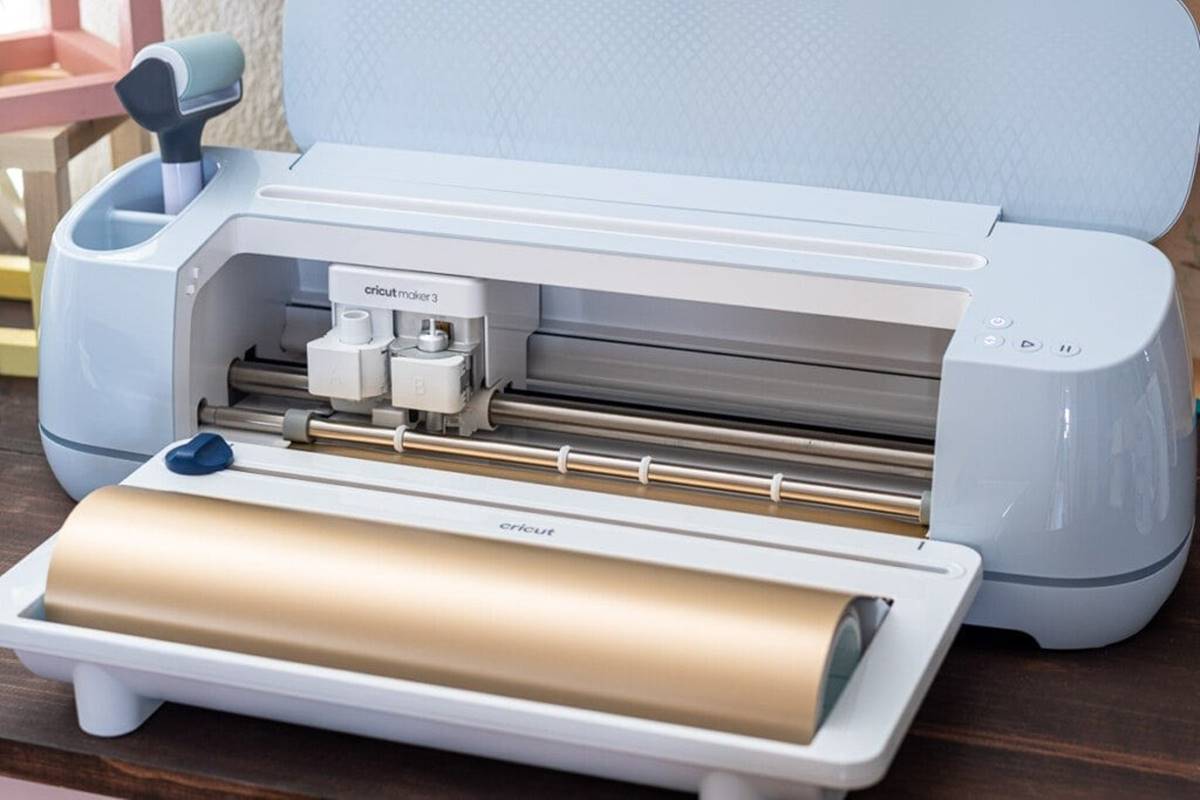
- Cricut Machine: The Cricut machine is a powerful tool that will allow you to design and cut intricate vinyl decals. Whether you have the Cricut Explore or the Cricut Maker, both machines are suitable for this project.
- Vinyl: Choose a high-quality adhesive vinyl suitable for glassware. There are various types available, including permanent and removable vinyl. Pick the one that best suits your needs and preferences.
- Transfer Tape: Transfer tape is essential for transferring and applying the vinyl decal onto the wine glass. Ensure you have a roll of transfer tape, specifically designed for use with vinyl.
- Weeding Tools: Weeding tools, such as tweezers or a weeding hook, are necessary for removing the excess vinyl from your design during the weeding process.
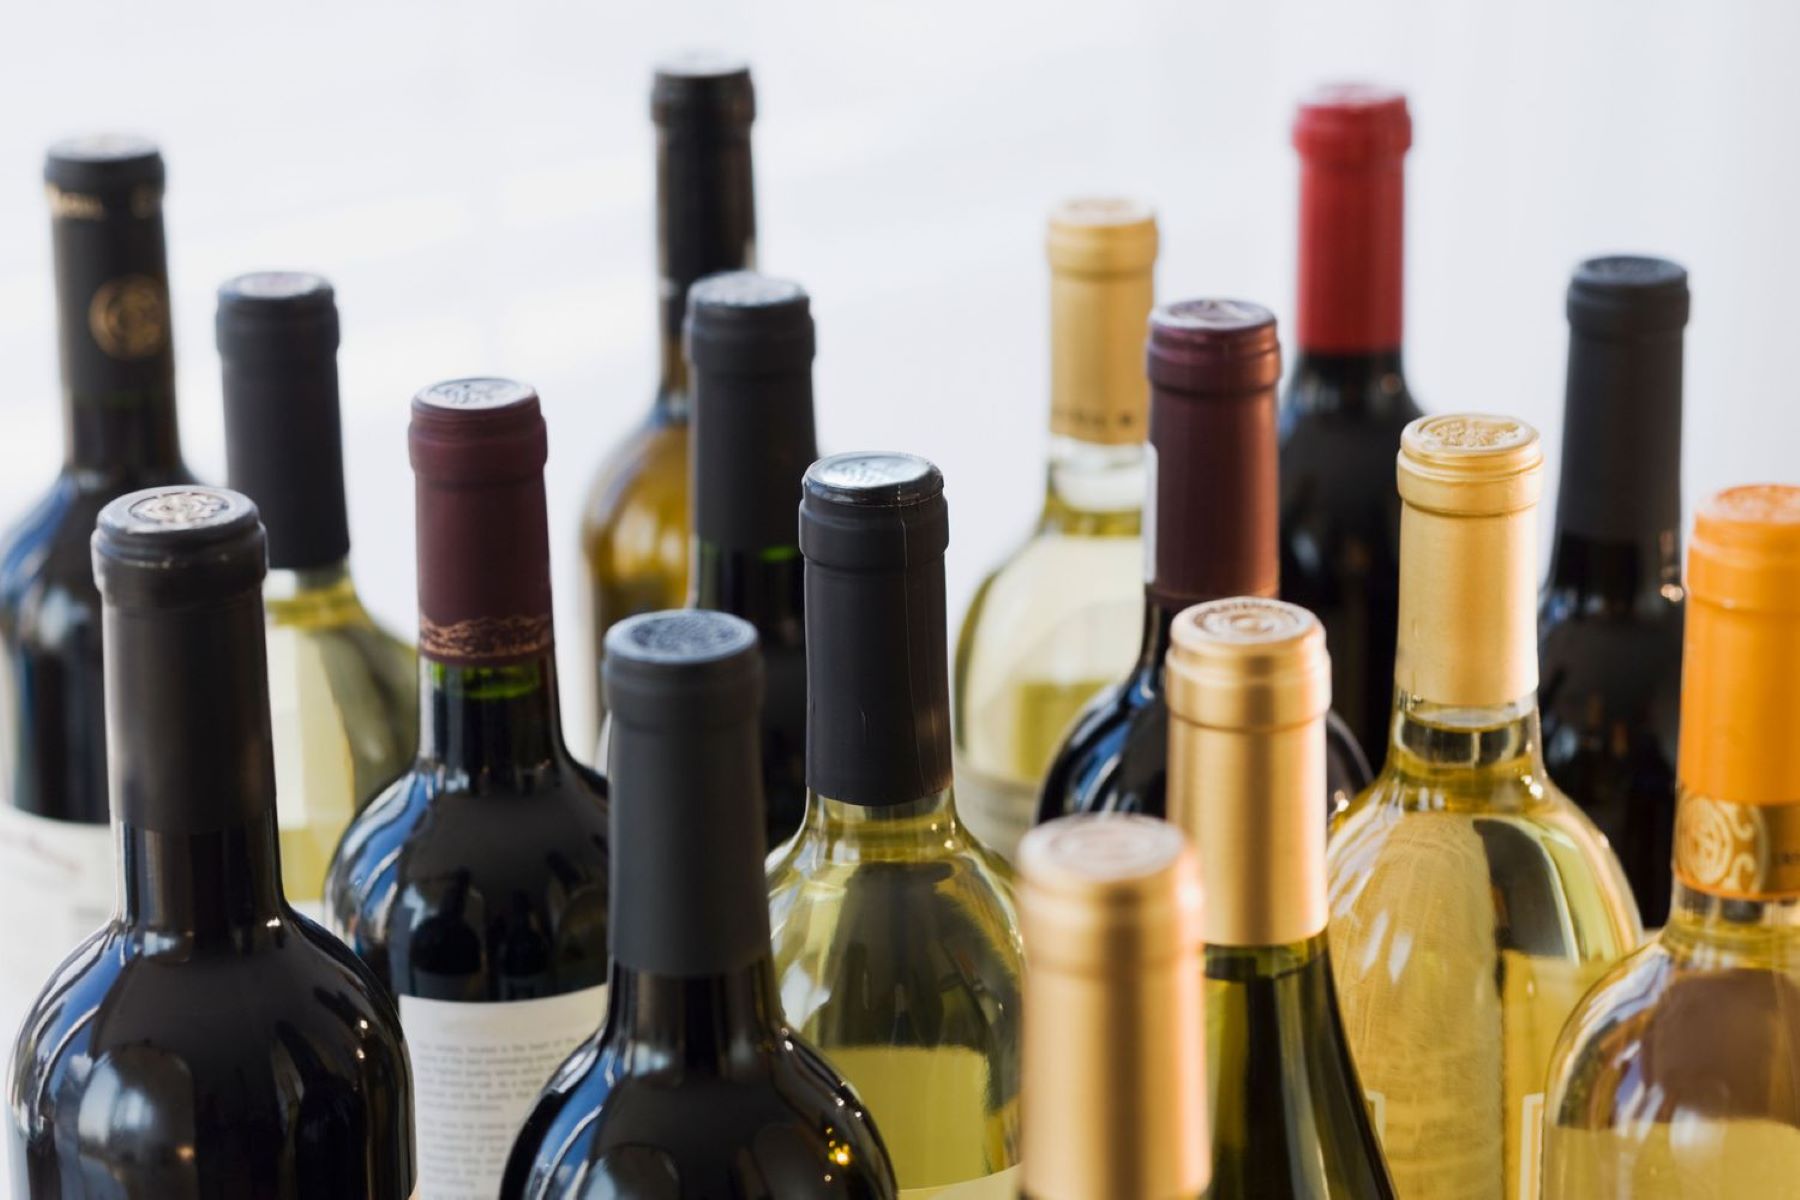
- Blank Wine Glasses: Of course, you’ll need the wine glasses themselves! Choose high-quality, plain wine glasses that have a smooth surface for easy vinyl application.
- Rubbing Alcohol: To ensure proper adhesion of the vinyl to the wine glass, clean the glass thoroughly with rubbing alcohol before applying the decal. This will remove any oils, dirt, or residue.
- Lint-Free Cloth or Paper Towels: These will come in handy while cleaning the wine glasses with rubbing alcohol. Make sure to use lint-free materials to avoid leaving any fibers on the glass.
- Heat Gun or Oven: Depending on the type of vinyl you’re using, you may need a heat gun or oven for curing the vinyl. Some vinyl requires heat to ensure it adheres properly and becomes dishwasher safe.
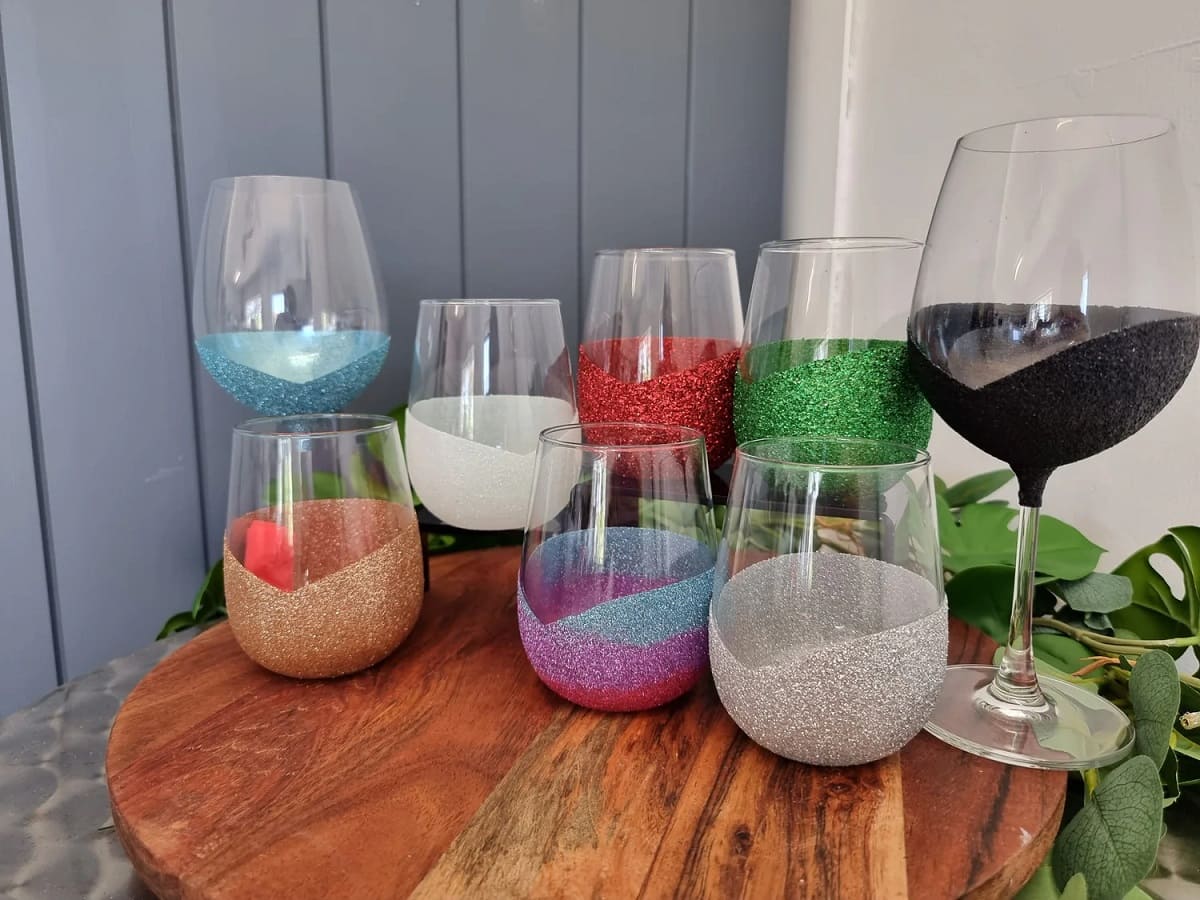
- Optional Accessories: If you want to add some extra flair to your wine glasses, feel free to include additional materials such as glitter, rhinestones, or ribbon. Get creative!
Now that you have all your materials ready, you’re one step closer to creating stunning personalized wine glasses with your Cricut machine. So, let’s move on to the next step: designing your vinyl decal!
Key Takeaways:
- Elevate your wine glass game with personalized designs using your Cricut machine. Gather materials, design, apply, and cure for stunning, dishwasher-safe results. Cheers to creativity and unique glassware!
- Transform plain wine glasses into personalized masterpieces with Cricut. Design, cut, apply, and cure vinyl decals for a touch of elegance and individuality. Unleash your creativity and enjoy the process!
Read more: How To Make Glass Cups With Cricut
Step 1: Gather Your Supplies
Before you dive into the world of personalized wine glasses with Cricut, it’s important to gather all the necessary supplies. By having everything prepared, you’ll ensure a smooth and seamless crafting process. So, let’s get started!
First and foremost, you’ll need a Cricut machine. Whether you own the Cricut Explore or the Cricut Maker, both machines are suitable for creating vinyl decals for wine glasses. Make sure your machine is in proper working condition and you have the required cutting accessories.
Next, you’ll need vinyl. Choose a high-quality adhesive vinyl that is suitable for glassware applications. You can find a variety of options on the market, such as permanent and removable vinyl. Consider the design you have in mind and select the vinyl that best suits your needs.
Transfer tape is another essential item you’ll need. This tape allows you to easily transfer and apply your vinyl decal onto the wine glass. Ensure that you have a roll of transfer tape specifically designed for use with vinyl. The right type of transfer tape will make the application process much smoother.
You’ll also require weeding tools, such as tweezers or a weeding hook. These tools are used to remove the excess vinyl from your design during the weeding process. Investing in quality tools will result in clean and precise vinyl cutouts.
Of course, you’ll need wine glasses. Choose high-quality, plain wine glasses with a smooth surface for easy vinyl application. Make sure the glasses are clean and free from any dust or debris before starting the project.
Rubbing alcohol is a must-have for preparing the wine glasses. It ensures proper adhesion of the vinyl to the glass surface. Clean the glasses thoroughly with rubbing alcohol to remove any oils, dirt, or residue that may affect the vinyl’s adherence.
Keep a lint-free cloth or paper towels handy for cleaning the wine glasses with rubbing alcohol. Using lint-free materials will prevent any fibers from getting stuck on the glass surface, ensuring a clean and smooth application of the vinyl.
Depending on the type of vinyl you’re using, you may need a heat gun or oven for curing the vinyl. Some vinyl requires heat to ensure that it adheres properly and becomes dishwasher safe. Make sure you have the necessary heating equipment for the vinyl you have chosen.
Finally, you may want to consider optional accessories to add some extra flair to your wine glasses. Glitter, rhinestones, or ribbon can bring a touch of elegance and personalization to your creations. Feel free to explore various accessories and get creative!
Now that you have gathered all your supplies, you’re well-prepared to embark on your personalized wine glass crafting journey. The next step is designing your vinyl decal, so let’s move on to Step 2!
Step 2: Design Your Vinyl Decal
Now that you have all your supplies ready, it’s time to unleash your creativity and design your vinyl decal for the wine glass. The Cricut machine allows you to create intricate and personalized designs, making each wine glass truly unique. Follow these steps to design your vinyl decal:
- Choose a Design Software: To create your vinyl decal, you’ll need design software compatible with your Cricut machine. Cricut Design Space is the recommended software that works seamlessly with Cricut machines. If you haven’t installed the software yet, download it and open a new project.
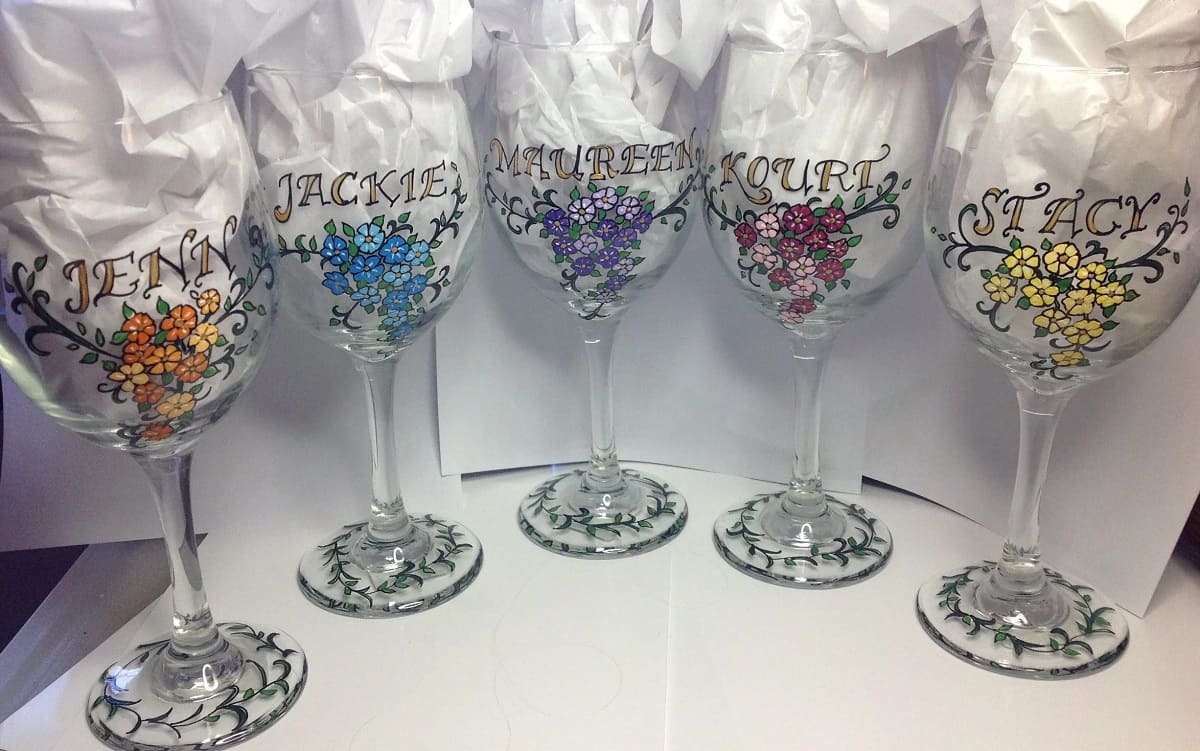
- Customize Your Design: Let your imagination run wild as you customize the design for your wine glass decal. You can create monograms, quotes, names, or any other design that suits your style. Use the various tools and features in Cricut Design Space to resize, rotate, and edit your design until you’re satisfied.
- Select the Vinyl Color: Choose the vinyl color that complements your design and matches your vision for the final product. Consider the wine glass color and the overall aesthetic you’re aiming for. It’s always helpful to create a few different designs and experiment with different vinyl colors before making a final decision.
- Choose a Suitable Font: If you’re adding text to your design, select a font that enhances the message or theme. Whether it’s elegant and cursive or bold and playful, the font choice can make a significant impact on the overall appearance of the vinyl decal.
- Group and Weld Elements: Once you’re satisfied with your design, group and weld the elements together. Grouping allows you to manipulate multiple design elements as a single unit. Welding ensures that all the separate elements are connected and will be cut as one continuous piece of vinyl.
- Ensure Proper Sizing: Before sending your design to the Cricut machine, double-check the sizing to ensure it fits well on your wine glass. Measure the available space on the glass and adjust the design accordingly within the Cricut Design Space.
- Preview and Make any Final Adjustments: Take a moment to preview your design in the Cricut Design Space to ensure it looks exactly how you envision it. Make any necessary final adjustments, such as fine-tuning the placement or scaling of the design. When you’re satisfied, save your design and proceed to the next step.
Designing your vinyl decal is an exciting and creative process. Don’t be afraid to try different designs and experiment with various elements. The Cricut machine provides endless possibilities, allowing you to bring your unique vision to life.
Once your vinyl decal design is ready, it’s time to move on to Step 3: cutting and weeding the vinyl. Stay tuned!
Step 3: Cut and Weed Your Vinyl
With your vinyl decal design perfected, it’s time to bring it to life by cutting and weeding the vinyl. This step is where your Cricut machine truly shines, as it effortlessly cuts intricate designs with precision. Follow these steps to cut and weed your vinyl:
- Prepare Your Machine: Make sure your Cricut machine is connected to your computer or mobile device and is powered on. Open the Cricut Design Space software and load your design if you haven’t done so already. Select the appropriate cutting materials and adjust the settings according to the vinyl you’re using.
- Load the Vinyl: Place your chosen vinyl onto a Cricut cutting mat, ensuring that it is aligned properly. Smooth out any wrinkles or bubbles to ensure even cutting. If necessary, use transfer tape to secure the vinyl to the cutting mat. Load the mat into the Cricut machine by following the machine’s instructions.
- Send the Design to Cut: In the Cricut Design Space software, select “Make It” to send your design to the Cricut machine for cutting. The machine will precisely cut out your design based on the settings you’ve chosen.
- Remove the Vinyl from the Mat: Once the cutting process is complete, carefully remove the cutting mat from the Cricut machine. Gently peel off the vinyl from the cutting mat, ensuring that the design remains intact.
- Weed the Excess Vinyl: Weeding is the process of removing the excess vinyl from your design. Use weeding tools, such as tweezers or a weeding hook, to carefully lift and remove the unwanted vinyl pieces. Take your time and be meticulous to ensure a clean and crisp design.
- Inspect Your Design: After weeding, take a moment to inspect and clean up any stray vinyl pieces or imperfections. Use the weeding tool to touch up any areas that need refining. It’s important to have a well-defined and precise vinyl decal before applying it to the wine glass.
Cutting and weeding the vinyl may require some practice and patience, especially when working with intricate designs. Be gentle when removing the vinyl from the cutting mat and take your time during the weeding process to achieve the best results.
Now that your vinyl decal is ready, it’s time to move on to Step 4: preparing the wine glass for application. Stay tuned!
Step 4: Prepare the Wine Glass
Now that your vinyl decal is cut and weeded, it’s time to prepare the wine glass for the application of the design. Preparation is crucial to ensure proper adhesion and longevity of the vinyl decal. Follow these steps to prepare the wine glass:
- Clean the Wine Glass: Start by thoroughly cleaning the wine glass. Use warm water and dish soap to remove any dirt, dust, or residue. Rinse the glass well to ensure it’s free from any soap residue. This step is important as it ensures a clean surface for the vinyl decal to adhere to.
- Use Rubbing Alcohol: To further prep the surface, wipe the glass with rubbing alcohol. This will remove any remaining oils or residues and provide better adhesion for the vinyl decal. Use a lint-free cloth or paper towels to ensure a clean and streak-free application.
- Mark the Placement: Before applying the vinyl decal, mark the desired placement on the wine glass. You can use a removable marker or a piece of masking tape as a guide. This will help you position the vinyl decal accurately and prevent any errors.
By following these preparation steps, you ensure that your wine glass is clean and ready for the vinyl decal application. Proper preparation is crucial for the vinyl to adhere well and prolong the lifespan of your design.
Now that you have prepared the wine glass, it’s time to move on to Step 5: applying the vinyl decal. Get ready to bring your personalized wine glass to life!
When using a Cricut to personalize wine glasses, be sure to use permanent vinyl and apply it carefully to ensure a long-lasting design. Clean the glasses thoroughly before applying the vinyl to ensure a smooth and even application.
Read more: How To Make Teacup Wine Glasses
Step 5: Apply the Vinyl Decal
With your wine glass cleaned and prepped, it’s time to apply the vinyl decal and bring your personalized design to life. Follow these steps to ensure a smooth and successful application:
- Place the Vinyl Decal: Carefully peel off the vinyl decal from the backing sheet. Align the decal with the marked placement on the wine glass. Take your time to position it accurately, ensuring that it is straight and centered on the glass. The transfer tape will help keep the design intact during the application process.
- Smooth Out the Vinyl: Use your fingers or a credit card to smoothly press down the vinyl decal onto the wine glass surface. Start from the center and work your way towards the edges to avoid any bubbles or wrinkles. Apply firm yet gentle pressure to ensure proper adhesion.
- Remove the Transfer Tape: Slowly peel off the transfer tape, starting from one corner. Pull it back at a 45-degree angle, ensuring that the vinyl decal stays in place on the wine glass. If any part of the decal lifts with the transfer tape, press it back down and smooth it out to ensure it adheres properly.
- Double Check for Air Bubbles: After removing the transfer tape, inspect the vinyl decal for any air bubbles. If you notice any, use a pin or the tip of a weeding tool to gently prick the bubble and smooth out the vinyl. Be careful not to damage the vinyl or the glass surface.
When applying the vinyl decal, it’s important to take your time and work patiently. Smooth and even application will result in a professional-looking finish. If you encounter any issues, don’t hesitate to remove and reapply the decal until you achieve the desired result.
Now that your vinyl decal is securely applied, it’s time to move on to Step 6: curing the vinyl for long-lasting durability. Get ready to add the finishing touch to your personalized wine glass!
Step 6: Cure the Vinyl
After applying the vinyl decal to your wine glass, it’s important to properly cure the vinyl to ensure its durability and longevity. This step is especially crucial if you plan on washing the wine glass or using it regularly. Follow these steps to effectively cure the vinyl:
- Heat Gun Method: If you’re using heat transfer vinyl or a vinyl type that requires heat for optimal adhesion, a heat gun or heat source is needed. Hold the heat gun at a safe distance from the vinyl decal and apply heat evenly to the entire design. Move the heat gun continuously to prevent overheating or damage to the glass. Follow the manufacturer’s instructions for the recommended time and temperature.
- Oven Method: Some types of vinyl can be cured in the oven. Place the wine glass with the vinyl decal on a baking sheet and preheat the oven to the recommended temperature specified by the vinyl manufacturer. Once the oven is heated, carefully place the baking sheet inside and let it bake for the recommended time. Keep an eye on the glass to prevent over-baking or any potential damage to the vinyl or glass.
Properly curing the vinyl will enhance its durability and make it dishwasher safe. Be sure to follow the instructions provided by the vinyl manufacturer and use caution when applying heat to the glass.
Once the vinyl is cured, it’s time to move on to Step 7: cleaning and finishing the wine glass. Get ready to unveil your beautifully personalized wine glass!
Step 7: Clean and Finish the Wine Glass
Now that your vinyl decal is applied and cured, it’s time to give your wine glass a final cleaning and add any finishing touches. This step will ensure that your personalized wine glass looks polished and ready for use. Follow these steps to clean and finish your wine glass:
- Clean the Wine Glass: Give your wine glass a final cleaning to remove any fingerprints, smudges, or residue that may have accumulated during the application and curing process. Use a lint-free cloth, a microfiber cloth, or warm soapy water to gently clean the surface of the glass. Rinse it well with warm water and pat it dry with a lint-free cloth or allow it to air dry.
- Inspect the Vinyl: Take a close look at the vinyl decal on the wine glass to ensure it is securely adhered and free of any imperfections. If you notice any lifting or bubbles, apply gentle pressure to smooth them out. Use a weeding tool or pin to fix any areas that may need touch-up.
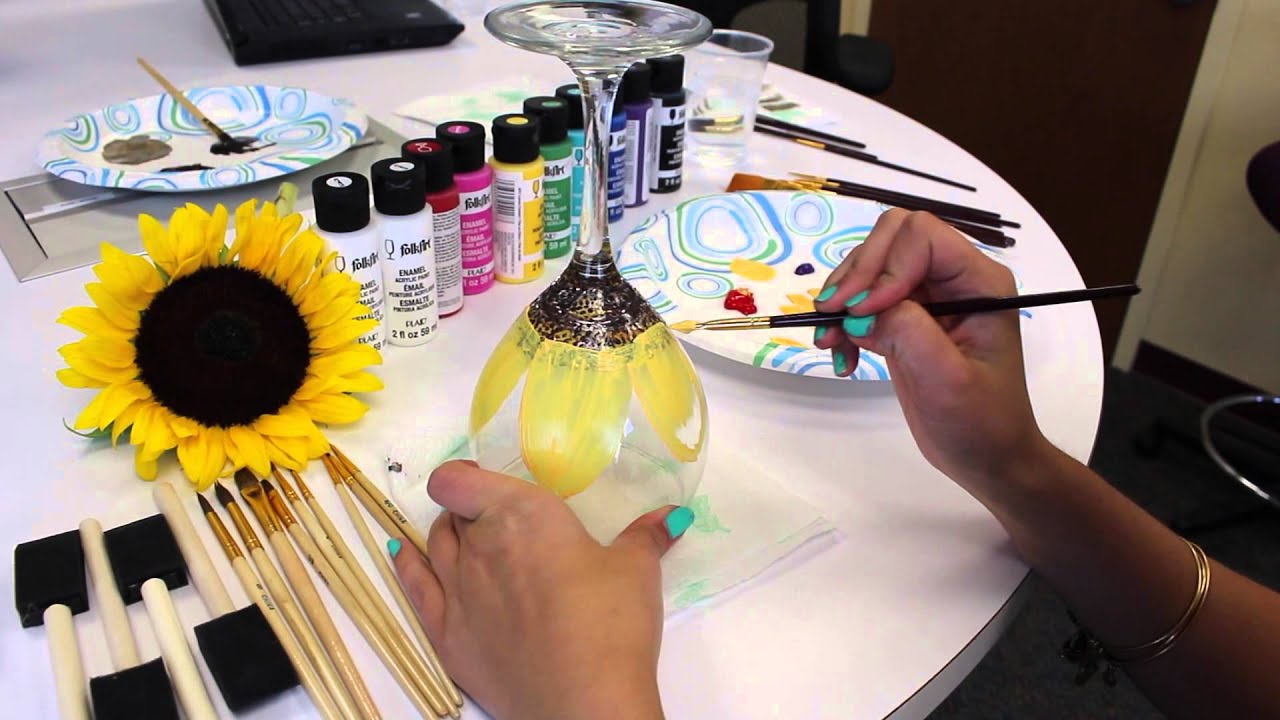
- Add Personal Touches: If desired, you can enhance the appearance of your personalized wine glass by adding additional embellishments. Consider using ribbon, glitter, or rhinestones to further customize and beautify your creation. Use a non-toxic adhesive suitable for glass to attach any additional decorations.
- Optional: Seal the Vinyl (If Recommended): Depending on the type of vinyl used and personal preference, you may choose to seal the vinyl decal for added protection and longevity. Consult the vinyl manufacturer’s recommendations to determine if sealing is necessary and, if so, use a clear sealant specifically designed for use on vinyl.
By giving your wine glass a final cleaning and inspection, you ensure that it is in its best condition. Adding personal touches or sealing the vinyl can further enhance its appearance and durability. Take your time to ensure everything is just right before showcasing your personalized wine glass to the world.
With Step 7 complete, you’re nearly finished! In the next step, Step 8, we’ll explore how to repeat the process for additional wine glasses. So, let’s move on and create even more stunning personalized wine glasses!
Step 8: Repeat for Additional Wine Glasses
Now that you have successfully personalized your first wine glass, why stop there? You can create a matching set or customize multiple wine glasses for different occasions. Follow these steps to repeat the process for additional wine glasses:
- Prepare the Supplies: Gather all the necessary supplies, including the Cricut machine, vinyl, transfer tape, weeding tools, wine glasses, rubbing alcohol, and lint-free cloth. Make sure you have enough materials for the number of wine glasses you plan to personalize.
- Design the Vinyl Decals: Use the Cricut Design Space software to design the vinyl decals for the additional wine glasses. You can create coordinating designs or customize each glass with a unique design or name. Let your creativity flow and customize each glass to your liking.
- Cut and Weed the Vinyl: Send each design to the Cricut machine for cutting, following the same steps as before. Carefully weed the excess vinyl from each design, ensuring clean and precise cutouts.
- Prepare the Wine Glasses: Clean and prep each wine glass by washing them with warm soapy water and wiping them with rubbing alcohol. Mark the placement on each glass to guide the application of the vinyl decal.
- Apply the Vinyl Decals: Place each vinyl decal on its respective wine glass, aligning it with the marked placement. Smooth out the vinyl decal by gently pressing it onto the glass surface, then remove the transfer tape. Double-check for any air bubbles and address them before moving on to the next glass.
- Cure the Vinyl (If Required): If your vinyl type requires curing, follow the same heat gun or oven methods as mentioned in Step 6 for each wine glass. Ensure each glass receives proper curing for long-lasting durability.
- Clean and Finish: Once all the vinyl decals are applied and cured, give each wine glass a final cleaning to ensure they are spotless. Inspect the vinyl decals to ensure they are securely adhered and free of imperfections.
By repeating the personalized wine glass process, you can create a stunning collection of customized glassware. Whether it’s for special occasions, gifts, or everyday use, having a set of personalized wine glasses can add a touch of elegance and uniqueness to any gathering.
With Step 8 completed, you have now mastered the art of creating personalized wine glasses with your Cricut machine. Sit back, relax, and enjoy the satisfaction of your beautifully crafted glassware!
Cheers to your creativity and the joy your personalized wine glasses will bring!
Read more: How To Make Custom Wine Glasses
Conclusion
Congratulations! You have learned how to create personalized wine glasses with your Cricut machine. By following the step-by-step process, you can now design and apply vinyl decals to transform plain wine glasses into unique, one-of-a-kind creations.
The journey began by gathering all the essential materials, including the Cricut machine, vinyl, transfer tape, and weeding tools. Designing your vinyl decal allowed you to unleash your creativity and customize the wine glass with names, monograms, quotes, or any other design that resonates with your personal style.
Cutting and weeding the vinyl required careful precision to ensure clean and precise cutouts. Preparing the wine glass involved cleaning and marking the placement for the vinyl decal. Next, you applied the vinyl decal onto the glass using the transfer tape, taking care to smooth out any bubbles or wrinkles.
Curing the vinyl, if necessary, further enhanced its durability and made it dishwasher safe. Finally, you cleaned and inspected the wine glass, added any finishing touches if desired, and repeated the process for additional glasses to expand your collection.
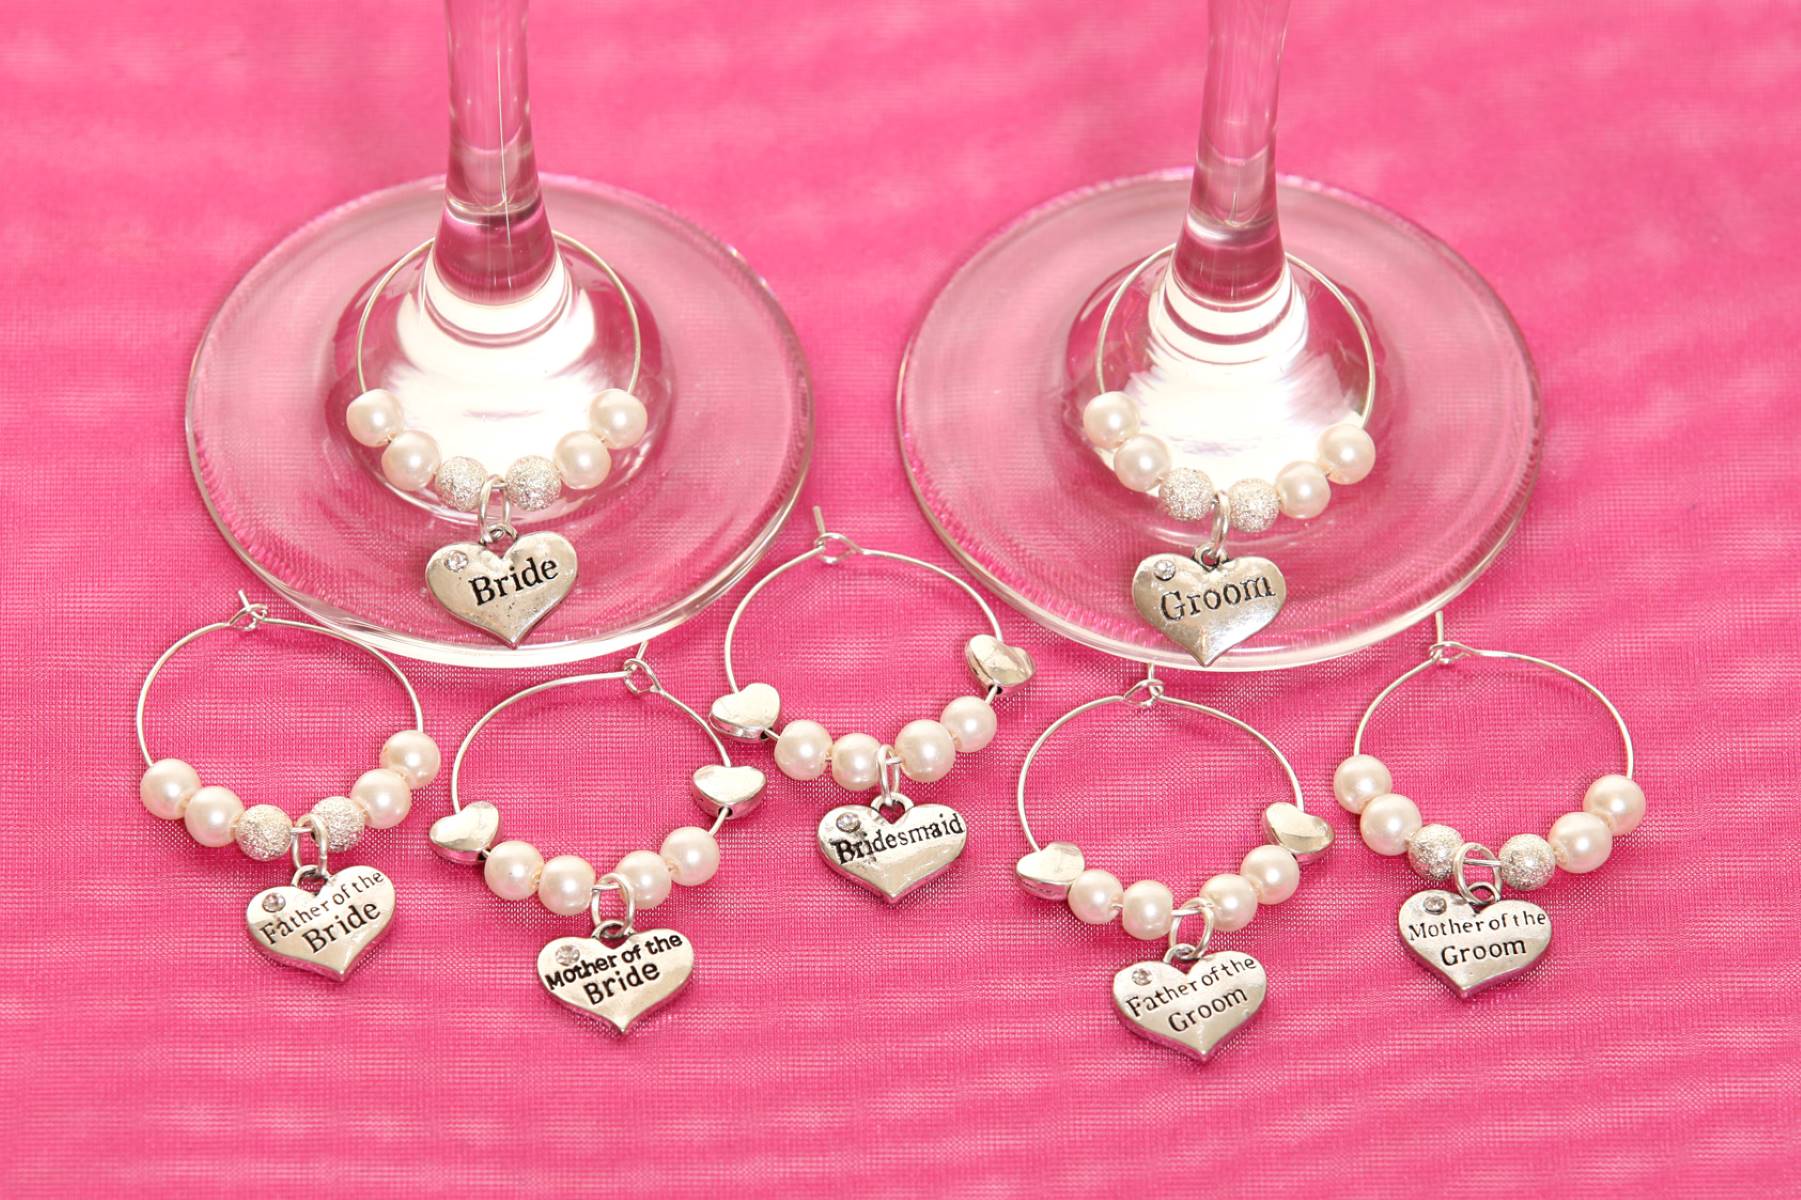
Personalized wine glasses created with the Cricut machine make perfect gifts, party favors, or additions to your home decor. If you’re wondering what to do with wine glasses, whether you’re celebrating a special occasion, hosting a gathering, or simply enjoying a glass of wine, these unique glasses will add a touch of elegance and style.
Remember to unleash your creativity and experiment with different designs, vinyl colors, and accessories to create personalized wine glasses that reflect your personality and taste. With the Cricut machine as your creative tool, the possibilities are endless!
Now it’s time to gather your materials, fire up your Cricut machine, and start creating your own personalized wine glasses. Enjoy the process, have fun, and raise a glass to your creativity and craftsmanship!
Frequently Asked Questions about How To Make Personalized Wine Glasses With Cricut
Was this page helpful?
At Storables.com, we guarantee accurate and reliable information. Our content, validated by Expert Board Contributors, is crafted following stringent Editorial Policies. We're committed to providing you with well-researched, expert-backed insights for all your informational needs.


0 thoughts on “How To Make Personalized Wine Glasses With Cricut”