Articles
What To Do If Your Toilet Wont Flush
Modified: February 11, 2024
Discover helpful articles on what to do if your toilet won't flush. Learn simple steps and expert tips to resolve this common plumbing issue.
(Many of the links in this article redirect to a specific reviewed product. Your purchase of these products through affiliate links helps to generate commission for Storables.com, at no extra cost. Learn more)
Introduction
When you find yourself in a situation where your toilet won’t flush, it can be quite frustrating and inconvenient. A properly functioning toilet is a necessity in any household, and a malfunctioning toilet can disrupt your daily routine. However, before you panic and call a plumber, there are several common causes and troubleshooting steps you can try to fix the issue yourself.
Understanding the reasons why your toilet won’t flush can help you diagnose and resolve the problem more effectively. From issues with the water supply to problems with the internal mechanisms of the toilet, identifying the root cause will guide you towards the right solution. In this article, we will explore the common causes of a toilet not flushing and provide step-by-step troubleshooting tips to help you get your toilet back in working order.
Key Takeaways:
- Troubleshooting common toilet flushing issues can often be done at home, from checking the water supply to inspecting the flapper and chain. However, seeking professional help is advisable if problems persist after attempting DIY fixes.
- Understanding the causes of a toilet not flushing, such as clogs and fill valve issues, can empower homeowners to take proactive steps in resolving the problem. If in doubt, contacting a professional plumber is the best course of action.
Read more: How Come My Toilet Wont Flush All The Way
Common Causes of a Toilet Not Flushing
There are several potential reasons why your toilet may not be flushing properly. Understanding these common causes can help you diagnose the problem and take appropriate action. Here are some of the most frequent culprits:
- Water supply issues: If there is no water flowing into the toilet tank, or if the water pressure is too low, your toilet may not have enough water to create a strong flush.
- Flapper and chain problems: The flapper is a rubber valve that opens and closes to allow water to flow from the tank to the bowl during a flush. If the flapper is worn out or the chain connecting it to the flush handle is broken or improperly adjusted, it can prevent the toilet from flushing effectively.
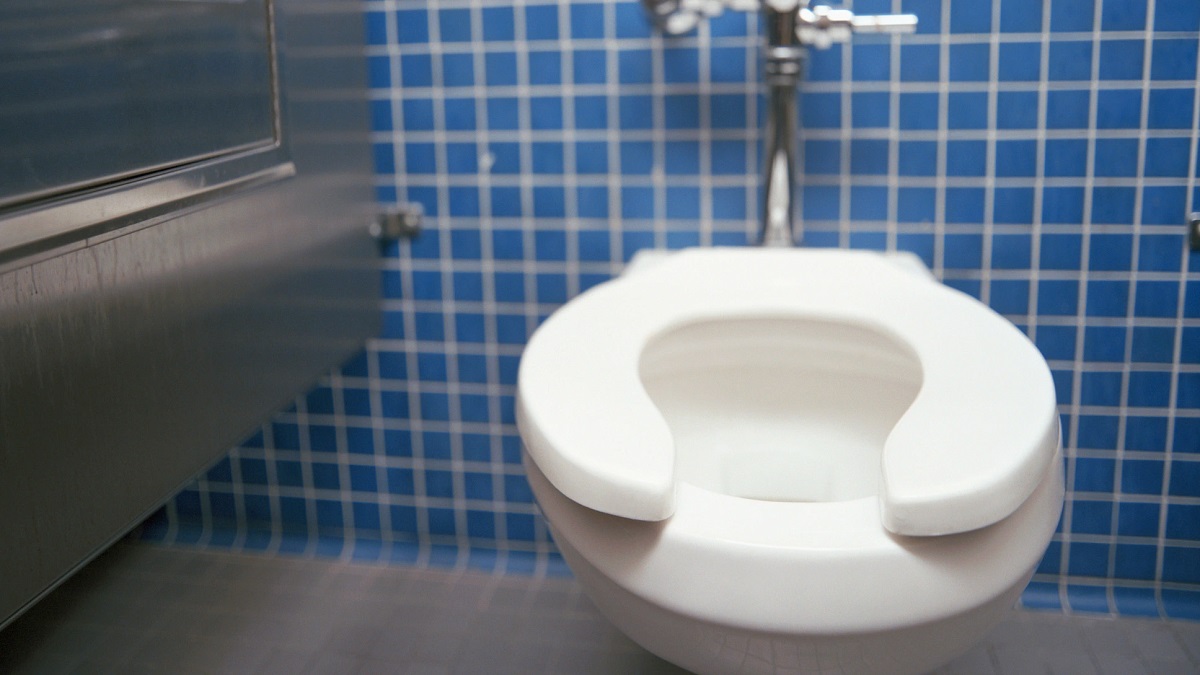
- Clogged toilet: A clog in the toilet drain pipe is a common cause of flushing problems. Solid waste, toilet paper, or foreign objects can obstruct the flow of water, resulting in a weak or incomplete flush.
- Water level in tank: The water level in the toilet tank should be set at the correct height to allow for a proper flush. If the water level is too low, it may not provide enough force to clear the bowl.
- Issues with the flush handle and mechanism: If the flush handle is loose, broken, or not properly connected to the internal mechanism of the toilet, it can prevent the flushing mechanism from functioning correctly.
- Fill valve problems: The fill valve, also known as the ballcock or float valve, regulates the water level in the tank after a flush. If the fill valve is damaged or not adjusted correctly, it can disrupt the flushing process.
- Drainage system issues: Problems with the main sewer line or the toilet’s own drain pipe can impede the flow of waste, leading to flushing difficulties.
Now that we have identified the common causes of a toilet not flushing, let’s move on to the troubleshooting steps you can take to resolve these issues.
Troubleshooting Steps
If you are facing the frustrating problem of a toilet that won’t flush, don’t worry. There are several troubleshooting steps you can take to identify and fix the issue. Follow these steps, and you’ll likely have your toilet flushing again in no time.
- Check the Water Supply: Ensure that the water supply to the toilet is turned on and providing adequate water pressure. If it’s not, you may need to adjust the shut-off valve or contact your water provider for assistance.
- Inspect the Flapper and Chain: Lift the toilet tank lid and examine the flapper. If it looks worn out or damaged, it’s time to replace it. Additionally, check the chain that connects the flapper to the flush handle. Make sure it’s properly connected and has the correct amount of slack.
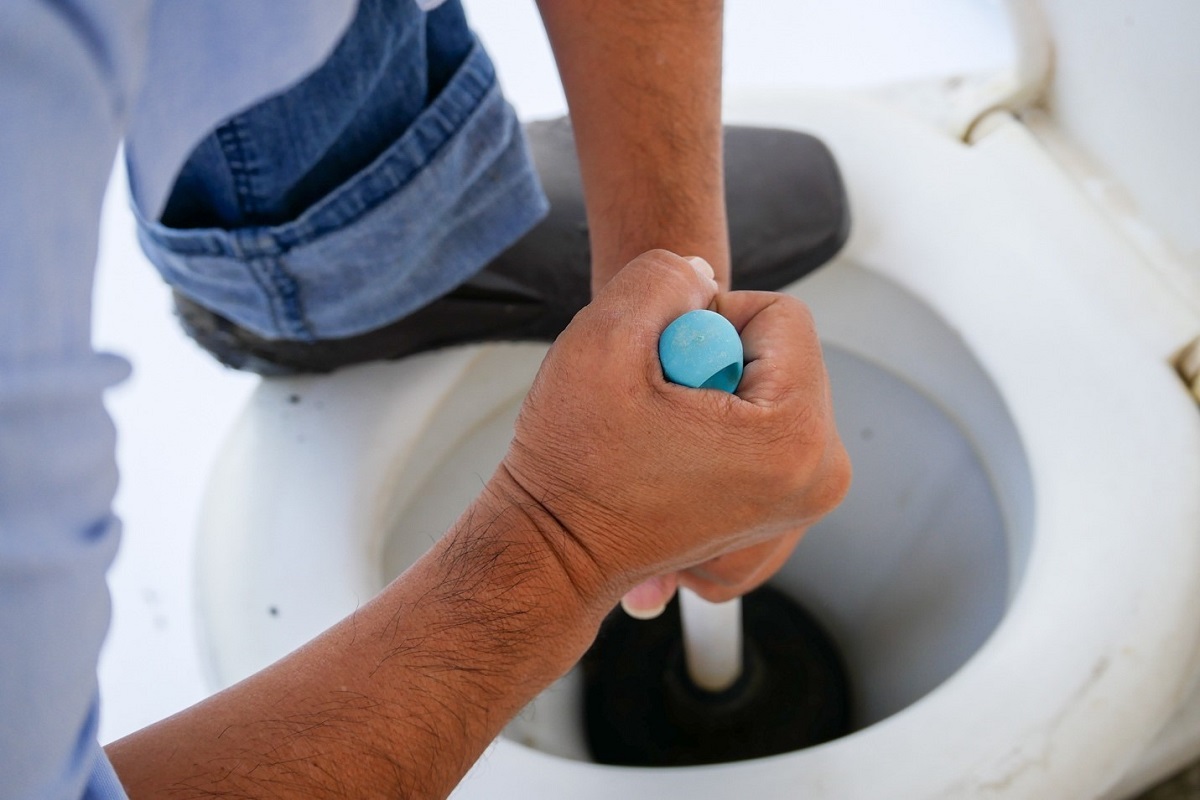
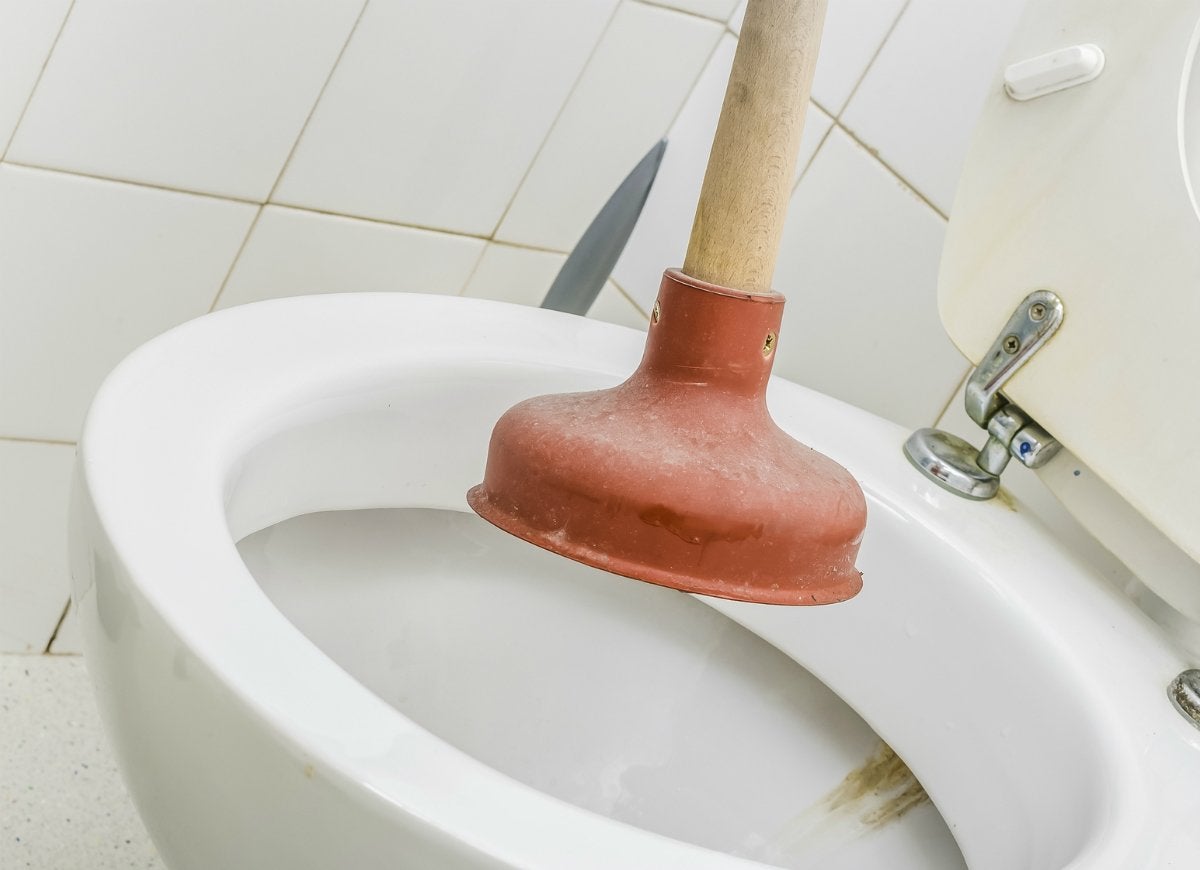
- Clear any Clogs: If you suspect a clog is causing the flushing issue, use a plunger to try and dislodge it. Create a proper seal with the plunger and vigorously plunge up and down several times. If that doesn’t work, you may need to use a toilet auger or call a professional plumber.
- Adjust the Water Level in the Tank: Locate the water level adjustment screw or knob on the fill valve. Turn it clockwise to raise the water level or counterclockwise to lower it. The water level should be around one inch below the top of the overflow tube.
- Test the Flush Handle and Mechanism: Ensure that the flush handle is tightly connected to the flushing mechanism inside the tank. If it’s loose or broken, tighten or replace it accordingly.
- Check for Fill Valve Issues: If the toilet doesn’t stop filling after a flush, the fill valve may be faulty. Adjust the float or replace the fill valve if necessary.
- Verify Drainage System: If none of the previous steps have resolved the issue, there may be a problem with the drainage system. Consult a professional plumber to inspect and address any larger issues in the main sewer line or toilet drain pipe.
By following these troubleshooting steps, you can often diagnose and fix the problem causing your toilet not to flush. However, if you’re unsure or uncomfortable attempting these repairs yourself, it’s always best to contact a professional plumber for assistance.
Check Water Supply
When troubleshooting a toilet that won’t flush, the first step is to ensure that there is an adequate water supply. A lack of water or low water pressure can hinder the flushing process. Follow these steps to check the water supply to your toilet:
- Locate the shut-off valve: Look behind or near the toilet for a valve that controls the water flow to the toilet. It is usually a small wheel or lever that you can turn to stop or allow water flow.
- Check the position of the valve: Make sure the shut-off valve is fully open. If the valve is partially or completely closed, it will restrict the water flow to the toilet tank.
- Inspect the water line: Examine the water line connecting the shut-off valve to the toilet. Look for any kinks, leaks, or blockages that could be preventing water from reaching the tank.
- Test for water pressure: Turn on other faucets in your house to check the water pressure. If the water pressure is low throughout your home, there may be an issue with your water supply system, and you will need to contact your water provider to address the problem.
- Adjust the shut-off valve: If the shut-off valve is open, but the water pressure is still low only to the toilet, try adjusting the valve slightly to increase the flow of water. Be cautious not to turn it too far, as this can cause leaks and other issues.
Once you have checked the water supply and ensured that it is functioning properly, try flushing the toilet to see if the problem has been resolved. If the toilet still doesn’t flush, move on to the next troubleshooting step.
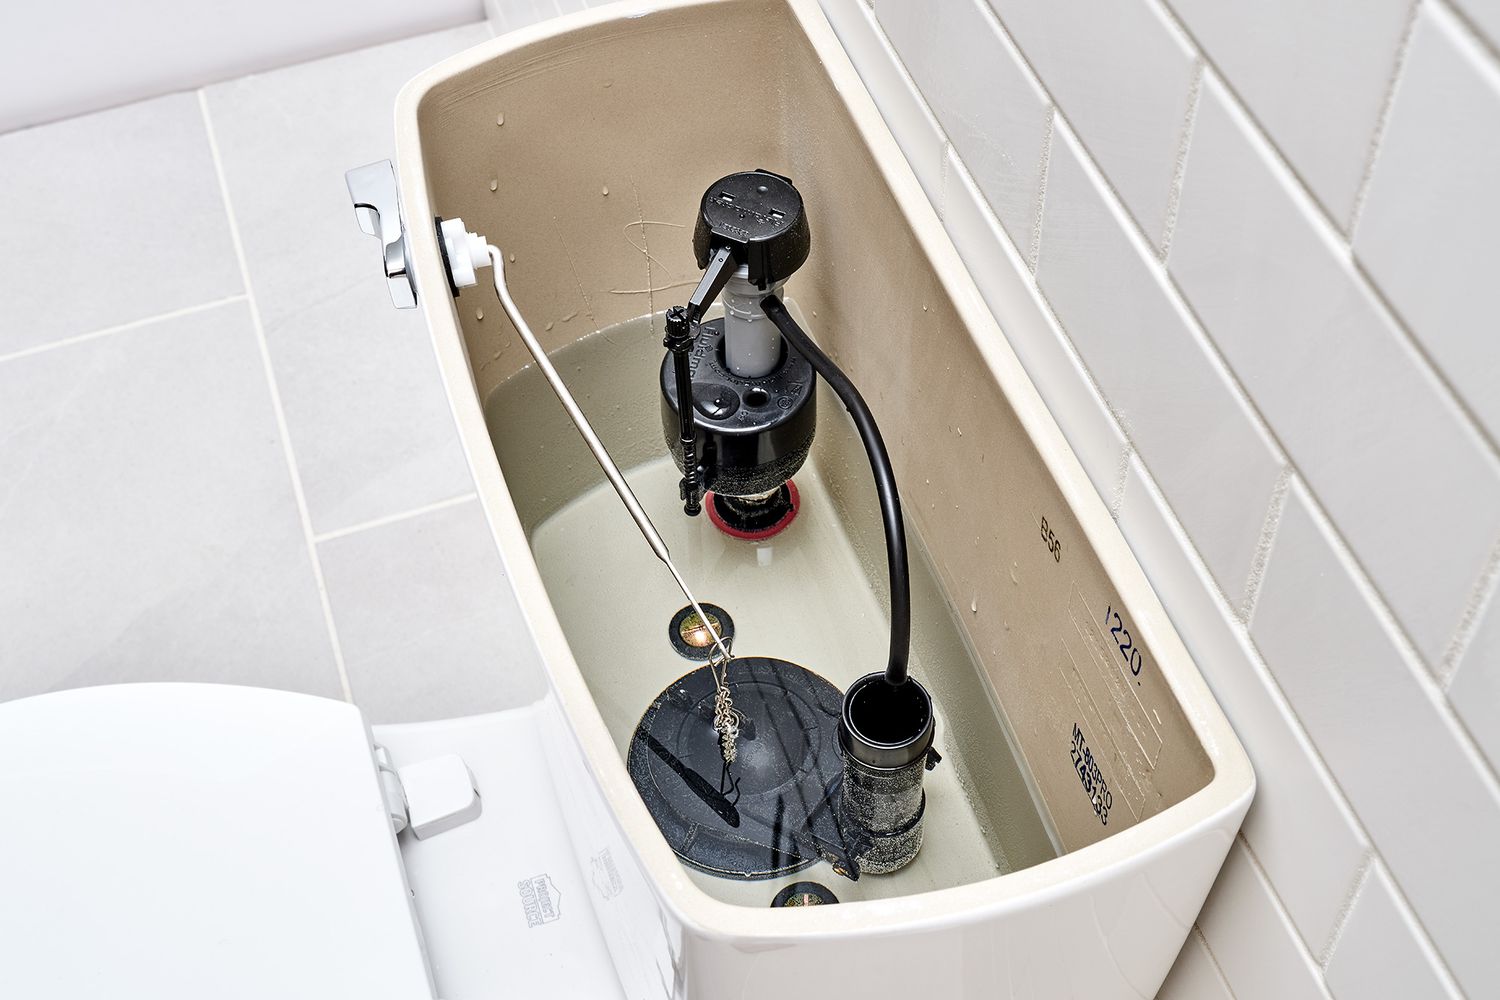
Inspect Flapper and Chain
If your toilet is not flushing properly, one of the common causes could be a problem with the flapper and chain. The flapper is a rubber valve at the bottom of the tank that lifts up when you flush the toilet, allowing water to flow from the tank into the bowl. The chain connects the flapper to the flush handle. Follow these steps to inspect and troubleshoot the flapper and chain:
- Remove the toilet tank lid: Carefully lift the lid of the toilet tank and set it aside in a safe place, ensuring it won’t get damaged.
- Observe the flapper: Take a look at the flapper and check if it is worn out, damaged, or misaligned. A worn-out or damaged flapper may not create a proper seal, leading to weak or incomplete flushing.
- Check the chain: Make sure the chain connecting the flapper to the flush handle is properly attached. It should have enough slack to allow the flapper to fully close after flushing, but not so much that it gets tangled or prevents the flapper from opening fully during a flush.
- Adjust the chain if needed: If the chain is too loose, it may prevent the flapper from closing properly after flushing. Adjust the length of the chain by either hooking it onto a different link or using a chain adjuster, ensuring there is enough slack for the flapper to close completely.
- Replace the flapper if necessary: If the flapper is damaged, degraded, or misaligned, it may need to be replaced. Turn off the water supply to the toilet, detach the old flapper, and install a new one according to the manufacturer’s instructions.
- Test the flush: With the flapper and chain properly inspected and adjusted, flush the toilet to see if the problem has been resolved. The flapper should lift up when you press the flush handle and close tightly afterward to allow proper water flow during the flush.
By examining and fine-tuning the flapper and chain, you can often resolve flush issues caused by improper sealing or incomplete opening during flushing. If the toilet still won’t flush after checking the flapper and chain, move on to the next troubleshooting step.
Read more: What Is A Flush Valve On A Toilet
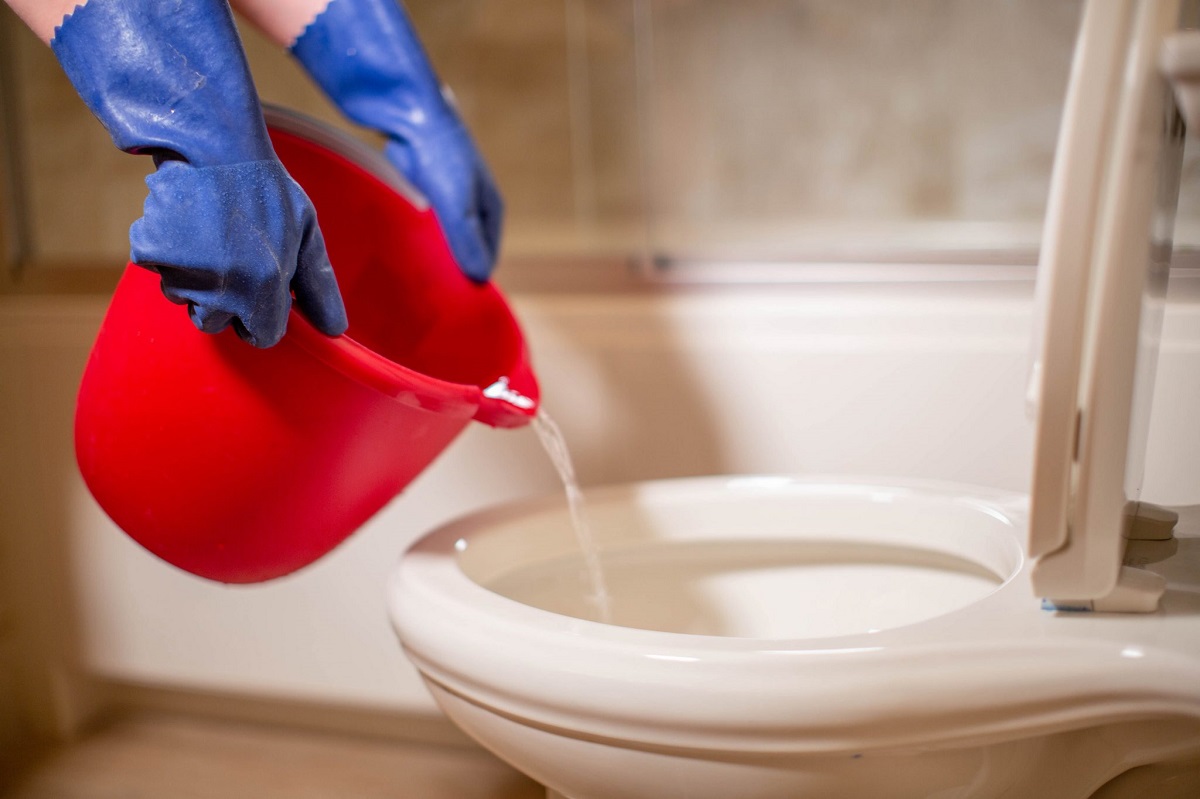
Clear any Clogs
If your toilet is not flushing properly, a clog in the toilet drain pipe may be the culprit. Solid waste, toilet paper, or foreign objects can obstruct the flow of water, leading to weak or incomplete flushes. Here are the steps to clear any clogs in your toilet:
- Gather the necessary tools: Before attempting to clear a clog, gather a plunger and a bucket. The plunger will be used to create pressure and dislodge the clog, while the bucket will come in handy for collecting any excess water.
- Create a seal with the plunger: Place the plunger over the drain opening at the bottom of the toilet bowl, ensuring that it covers the entire hole. Press the plunger down firmly to create a tight seal.
- Plunge vigorously: Push the plunger up and down forcefully, maintaining a steady pace. The pressure created by the plunging action can help dislodge the clog and restore proper water flow.
- Repeat if necessary: If the first attempt does not clear the clog, try plunging several more times. Be patient and persistent, as it may take a few attempts to successfully clear the obstruction.
- Inspect the drain: After plunging, remove the plunger and inspect the toilet bowl drain. If you see any signs of the clog being dislodged, such as water draining or debris coming to the surface, continue flushing repeatedly to flush away any remaining remnants of the clog.
- Avoid using harsh chemicals or tools: While it may be tempting to use chemical drain cleaners or tools like a toilet auger, it’s best to avoid them unless you are highly experienced. These methods can potentially damage the toilet or worsen the clog if not used correctly.
By using a plunger effectively, you can often clear minor toilet clogs and restore proper flushing. However, if the clog persists or if you are unable to clear it on your own, it’s advisable to seek the assistance of a professional plumber to avoid causing further damage to the plumbing system.
If your toilet won’t flush, try using a plunger to clear any blockages. If that doesn’t work, check the water level in the tank and ensure the flapper is sealing properly. If all else fails, it may be time to call a plumber.
Adjust Water Level in Tank
If your toilet is not flushing properly, the water level in the tank may be a contributing factor. The water level should be set at the correct height to provide enough force for a strong flush. Follow these steps to adjust the water level in the tank:
- Remove the toilet tank lid: Carefully lift the lid from the toilet tank and set it aside in a safe place, ensuring it won’t get damaged.
- Locate the water level adjustment screw or knob: Look for a device usually found on the fill valve, which controls the water level. It may be a screw at the top of the fill valve or a knob on the side.
- Lower or raise the water level: To lower the water level, turn the adjustment screw or knob counterclockwise. To raise the water level, turn it clockwise. Adjust it in small increments until the water level is at the recommended level, typically about one inch below the top of the overflow tube.
- Observe the water level: After making adjustments, let the tank fill with water and observe the water level. If the water level is too low, it may not provide enough force for a proper flush. If it is too high, water may continuously flow into the overflow tube.
- Test the flush: Flush the toilet to see if the water level adjustment has resolved the flushing issue. The water level should now be sufficient to create a strong and effective flush.
Proper water level adjustment is crucial for a well-functioning toilet. If the water level is too low, you may experience weak flushes. Conversely, if the water level is too high, it can lead to constant water running and inefficient use of water. By adjusting the water level to the recommended height, you can ensure optimal flushing performance.
If adjusting the water level does not resolve the flushing problem, proceed to the next troubleshooting step to further investigate and address the issue.
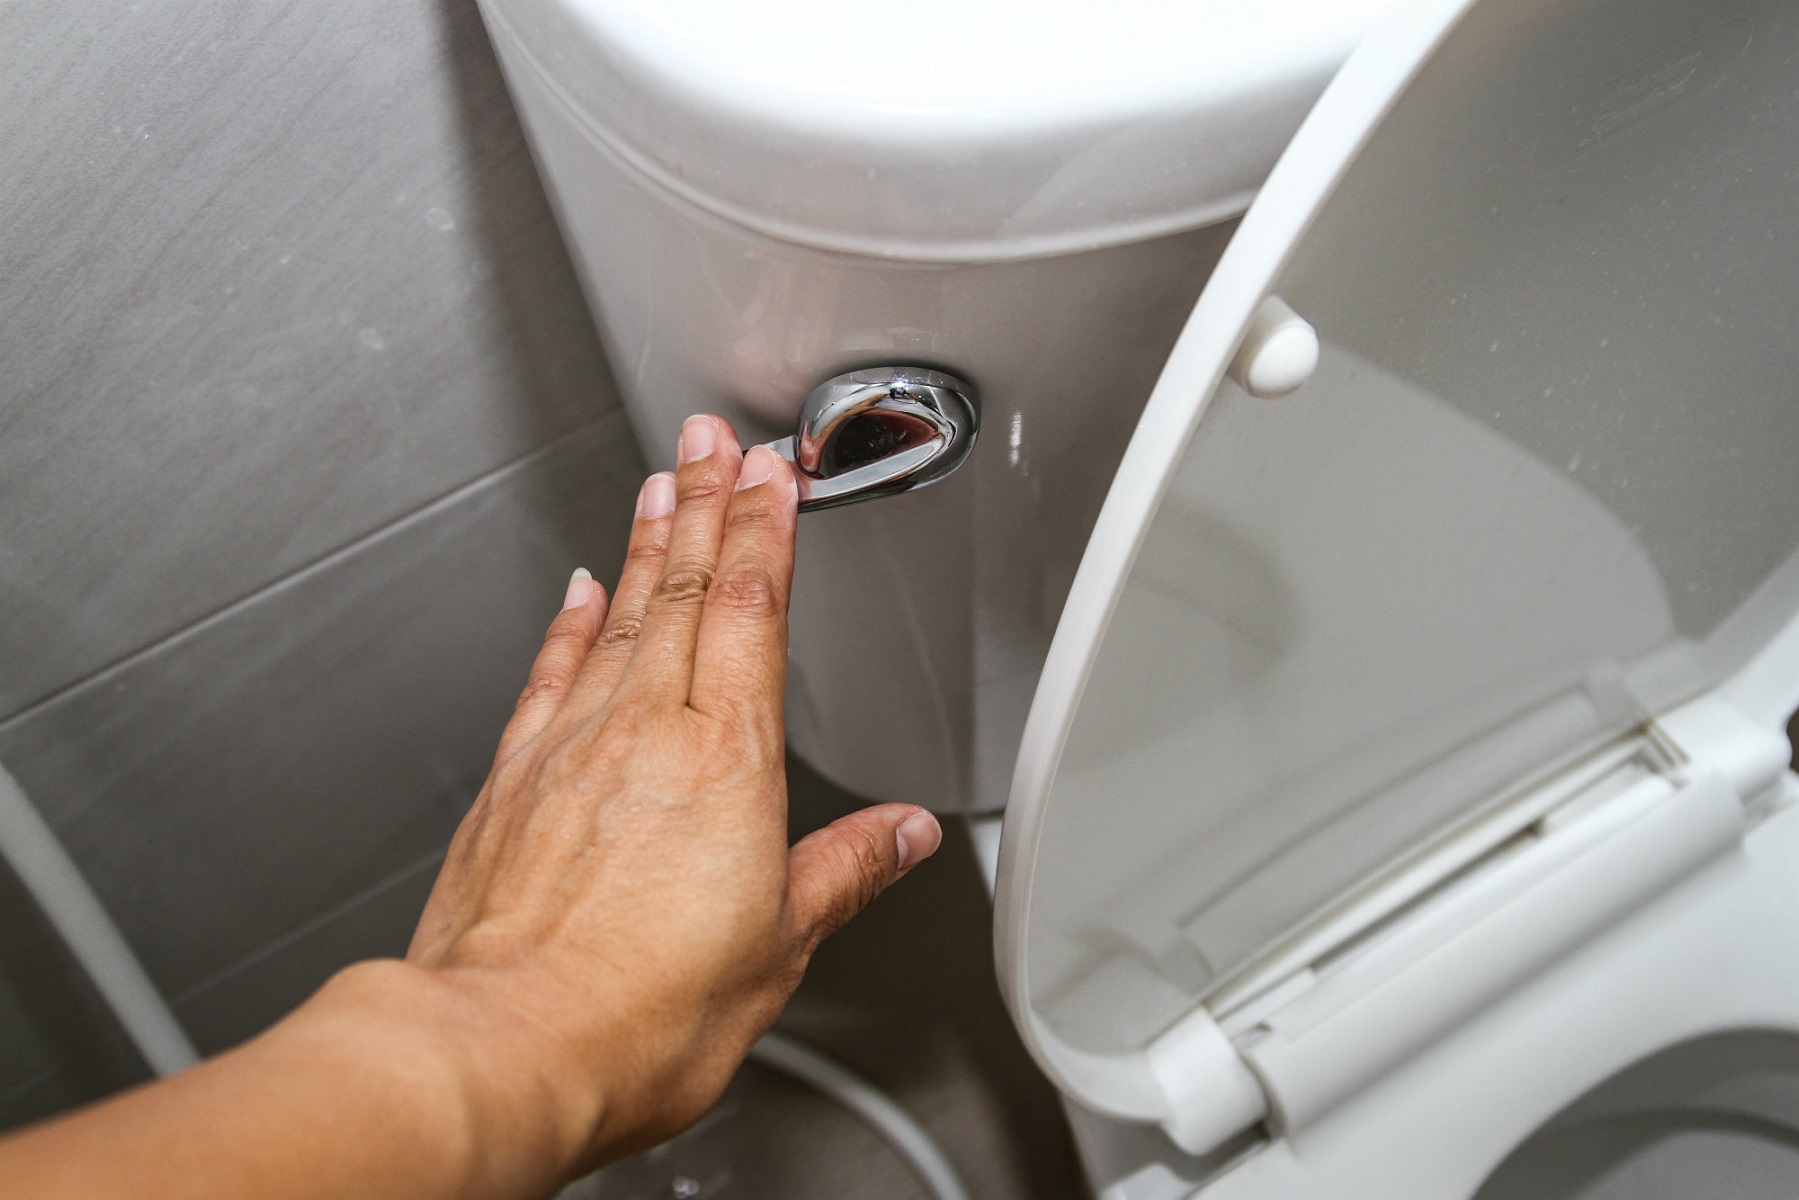
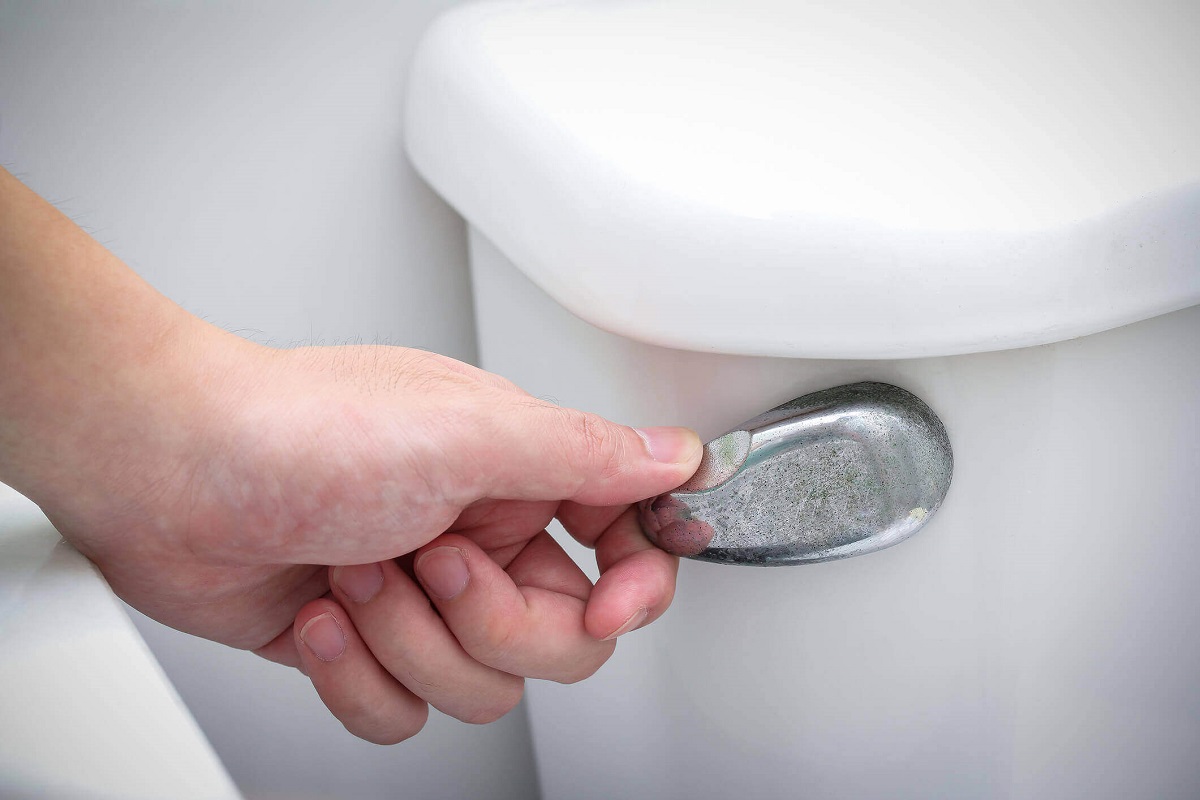
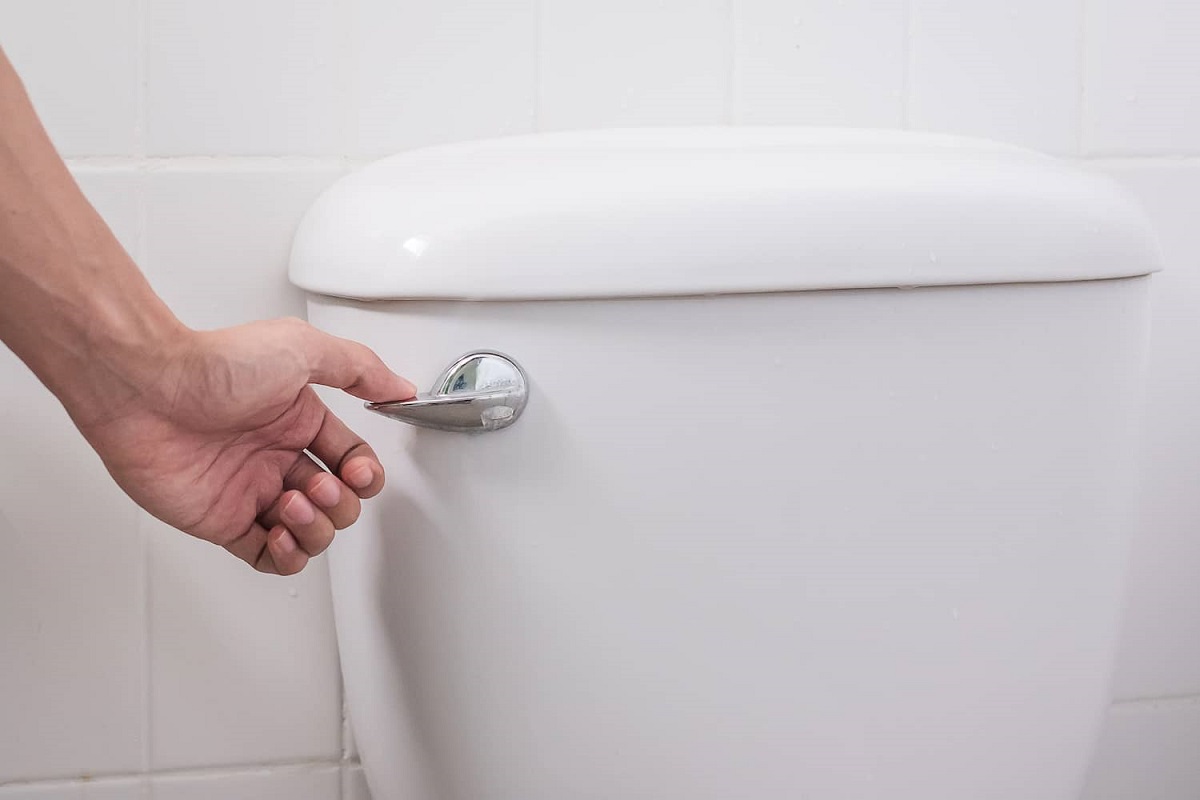
Test Flush Handle and Mechanism
If your toilet is not flushing properly, it’s important to check the flush handle and the mechanism inside the toilet tank. A loose or malfunctioning flush handle can prevent the flushing mechanism from functioning correctly. Follow these steps to test the flush handle and mechanism:
- Remove the toilet tank lid: Carefully lift the lid of the toilet tank and set it aside in a safe place, ensuring it won’t get damaged.
- Inspect the flush handle: Examine the flush handle to ensure it is tightly secured to the toilet tank. If it is loose or damaged, tighten or replace it accordingly.
- Test the flush handle: Press the flush handle to see if it engages smoothly with the flushing mechanism inside the tank. If it feels stiff, loose, or unresponsive, there may be an issue with the handle or the connecting components.
- Check the chain and flapper connection: Examine the chain that connects the flush handle to the flapper. Make sure it is properly attached and has the correct amount of slack. Adjust as needed to ensure the chain is not too loose or tight.
- Verify flapper operation: When you press the flush handle, observe the movement of the flapper. It should lift up smoothly and fully, allowing water to flow into the bowl for a proper flush. If the flapper is not lifting or is not sealing properly after flushing, it may need adjustment or replacement.
- Make necessary adjustments or replacements: If you notice any issues with the flush handle, chain, or flapper, make the necessary adjustments or replacements. Tighten or install a new flush handle, adjust the chain length, or replace the flapper if it is worn out or damaged.
- Test the flush again: After making any adjustments or replacements, flush the toilet to see if the problem has been resolved. The flush handle should operate smoothly and engage the flushing mechanism effectively.
By ensuring that the flush handle and mechanism are in good working condition, you can eliminate any potential issues that may hinder the flushing process. If the toilet still won’t flush properly, continue to the next troubleshooting step to further investigate and fix the problem.
Check for Fill Valve Issues
If your toilet is not flushing properly, it’s important to inspect the fill valve, also known as the ballcock or float valve. The fill valve controls the water level in the toilet tank after a flush. If the fill valve is damaged or not adjusted correctly, it can disrupt the flushing process. Follow these steps to check for fill valve issues:
- Remove the toilet tank lid: Carefully lift the lid of the toilet tank and set it aside in a safe place, ensuring it won’t get damaged.
- Locate the fill valve: The fill valve is usually located on the left side of the toilet tank. It is a tall, cylindrical device with a float on top.
- Inspect the fill valve for damage: Check the fill valve for any signs of damage, such as cracks, leaks, or malfunctioning components. If you notice any issues, the fill valve may need to be replaced.
- Adjust the float height: The float controls the water level in the tank. If the water level is too low, the flush may be weak. If it is too high, water may constantly flow into the overflow tube. Adjust the float height by adjusting the screw or clip on the fill valve. Lower the float to decrease the water level and raise it to increase the water level.
- Test the fill valve: To test the fill valve, flush the toilet and observe how the water refills the tank. The fill valve should shut off the water flow once the desired water level is reached. If the water continues to flow even after the tank is full, there may be an issue with the fill valve.
- Replace the fill valve if necessary: If the fill valve is damaged or not functioning properly, it may need to be replaced. Turn off the water supply to the toilet, disconnect the old fill valve, and install a new one according to the manufacturer’s instructions.
- Test the flush again: After making any adjustments or replacements to the fill valve, flush the toilet to see if the problem has been resolved. The fill valve should shut off the water flow at the correct water level, allowing for a proper flush.
By checking the fill valve and ensuring it is in good working condition, you can ensure that the toilet tank refills properly after a flush, allowing for efficient and effective flushing. If the toilet still won’t flush correctly, proceed to the next troubleshooting step to further investigate the issue.
Read more: What Is The Best Toilet For Flushing
Verify Drainage System
If your toilet is not flushing properly despite trying the previous troubleshooting steps, it’s time to inspect the drainage system. There may be issues with the main sewer line or the toilet’s own drain pipe, preventing proper waste and water flow. Follow these steps to verify the drainage system:
- Ensure other drains are functioning: Check other drains in your home, such as sinks and showers, to see if they are draining properly. If multiple drains are slow or clogged, it may indicate a problem with the main sewer line. In such cases, it’s best to contact a professional plumber to address the issue.
- Use a plumbing snake or auger: If the toilet is the only drain that is having issues, there may be a clog in the toilet’s own drain pipe. Use a plumbing snake or auger to try and remove the obstruction. Insert the snake into the drain opening and rotate it clockwise to break up or pull out the clog.
- Call a professional plumber: If you are unable to clear the clog or suspect a larger issue with the drainage system, it’s advisable to seek the assistance of a professional plumber. They have the expertise and specialized equipment to diagnose and address more complex plumbing problems.
- Consider a camera inspection: If you are experiencing persistent flushing issues or suspect a major problem with the drainage system, a plumber can perform a camera inspection. This involves inserting a small camera into the drain pipe to visually inspect for any blockages, leaks, or structural damage.
- Follow professional advice: Based on the findings of the inspection, the plumber will provide recommendations on how to resolve the drainage system problems. Follow their advice, and if necessary, schedule any further repairs or maintenance to ensure your toilet flushes properly.
Verifying the drainage system is essential if your toilet continues to have flushing problems. By addressing any potential issues with the main sewer line or the toilet’s drain pipe, you can ensure that waste and water flow freely, allowing for a proper flush.
If you have exhausted all the troubleshooting steps and the toilet still won’t flush correctly, it’s recommended to contact a professional plumber who can provide the necessary expertise and assistance to resolve the issue.
Conclusion
Dealing with a toilet that won’t flush can be frustrating, but with a little troubleshooting, you can often diagnose and fix the problem yourself. By understanding the common causes of a toilet not flushing and following the appropriate troubleshooting steps, you can restore your toilet to proper working condition.
Throughout this article, we explored various potential causes of a toilet not flushing, including issues with the water supply, flapper and chain problems, clogs, water level adjustments, flush handle and mechanism malfunctions, fill valve issues, and drainage system problems. By systematically working through these troubleshooting steps, you can identify and resolve the specific issue affecting your toilet.
Remember to check the water supply and ensure there is enough pressure. Inspect the flapper and chain for any damage or misalignment. Clear any clogs using a plunger or plumbing snake. Adjust the water level in the tank to the recommended height. Test the flush handle and mechanism for proper operation. Check for fill valve issues and adjust or replace as needed. Finally, verify the drainage system and seek professional help if necessary.
While it’s often possible to fix a toilet that won’t flush on your own, it’s important to know your limits. If you’re unsure or uncomfortable with the troubleshooting steps, or if the issue persists after attempting them, it’s best to contact a professional plumber. They have the expertise and specialized tools to diagnose and resolve more complex problems.
Maintaining a properly functioning toilet is essential for everyday convenience and comfort. By taking the time to diagnose and fix a flushing issue, you can ensure a smoothly running plumbing system and avoid further problems down the line.
Remember, if you’re ever in doubt or unable to resolve the issue yourself, don’t hesitate to seek professional help. A skilled plumber can provide the expertise and solutions needed to get your toilet flushing properly again.
Frequently Asked Questions about What To Do If Your Toilet Wont Flush
Was this page helpful?
At Storables.com, we guarantee accurate and reliable information. Our content, validated by Expert Board Contributors, is crafted following stringent Editorial Policies. We're committed to providing you with well-researched, expert-backed insights for all your informational needs.

0 thoughts on “What To Do If Your Toilet Wont Flush”