Home>Articles>How To Cut Baseboard Molding Angles With Hand Tools
Articles
How To Cut Baseboard Molding Angles With Hand Tools
Modified: October 20, 2024
Learn how to cut baseboard molding angles with hand tools in this informative article. Find step-by-step instructions and expert tips to achieve professional results.
(Many of the links in this article redirect to a specific reviewed product. Your purchase of these products through affiliate links helps to generate commission for Storables.com, at no extra cost. Learn more)
Introduction
Welcome to this comprehensive guide on how to cut baseboard molding angles with hand tools. Baseboard molding adds a finishing touch to any room, giving it a polished and refined look. However, achieving clean and precise cuts on baseboard molding can be a bit challenging, especially if you don’t have access to power tools.
But fear not! With a few simple hand tools and the right techniques, you can achieve professional-looking results. In this guide, we’ll walk you through the step-by-step process of measuring, marking, and cutting baseboard molding angles with hand tools. Whether you’re a seasoned DIY enthusiast or a novice looking to take on your first home improvement project, this guide will equip you with the knowledge and skills you need to tackle this task with confidence.
Before we dive into the details, let’s take a look at the tools and materials you’ll need for this project.
Key Takeaways:
- Achieve professional-looking baseboard molding cuts with hand tools by following precise measurements, accurate markings, and careful sanding for a polished finish.
- Whether using a miter box or coping saw, take your time, practice patience, and pay attention to detail to create seamless baseboard joints and a sophisticated room transformation.
Read more: How To Cut Asphalt With Hand Tools
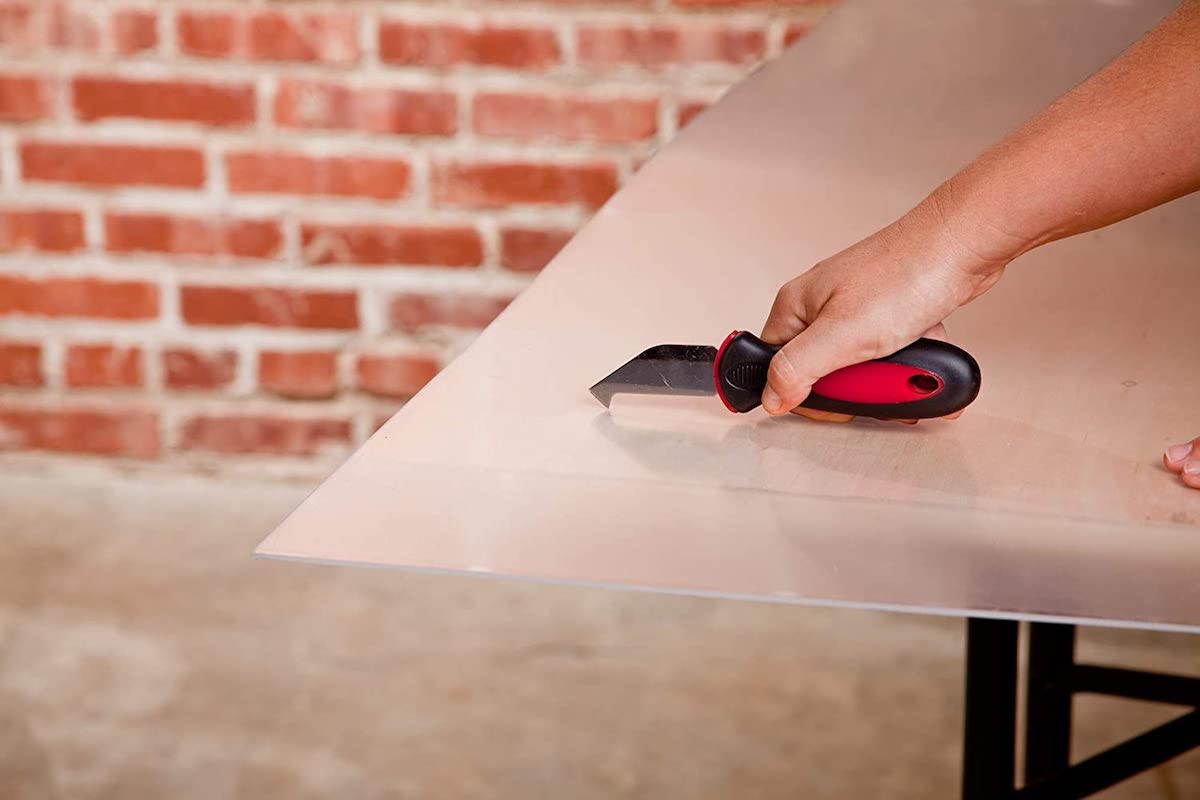
Tools and Materials Needed
Before you begin cutting baseboard molding angles with hand tools, it’s important to gather the necessary tools and materials. Here’s a list of what you’ll need:
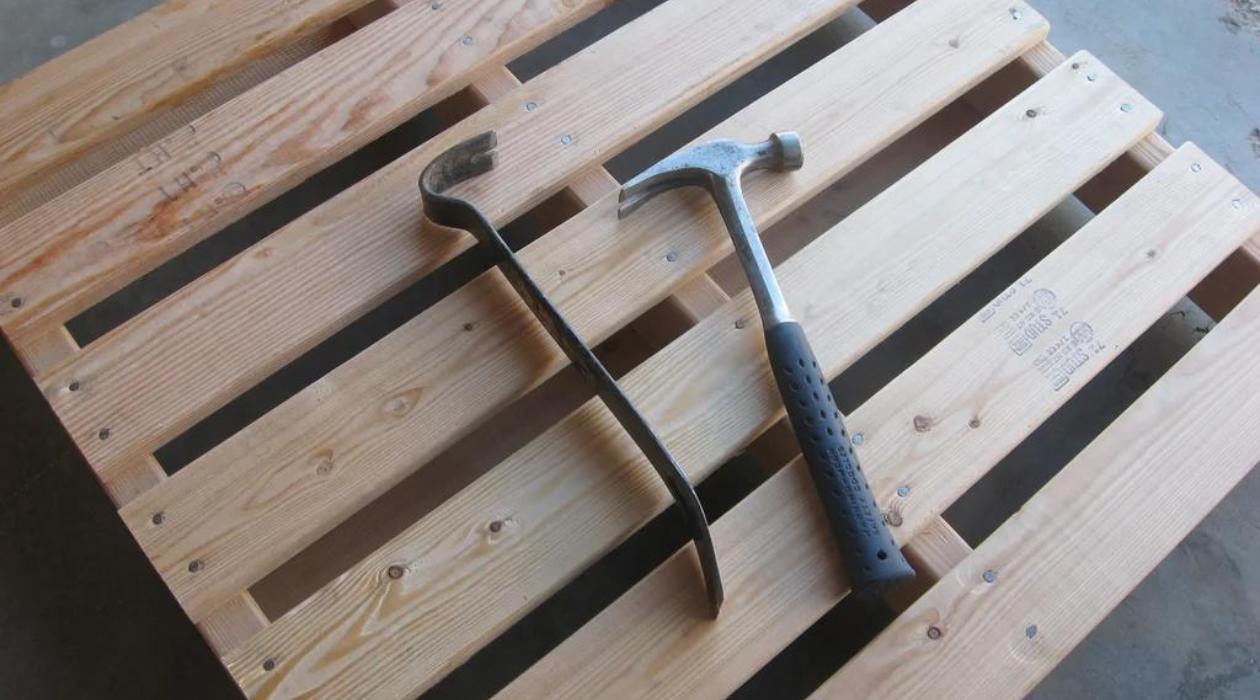
- Miter Box: This tool will help you achieve accurate and precise angle cuts on your baseboard molding.
- Coping Saw: A coping saw is essential for making detailed cuts, especially for inside corners.
- Measuring Tape: This will be used to measure the length of the baseboard and mark the cutting points.
- Pencil: You’ll need a pencil to make your markings on the baseboard.
- Sandpaper: Sandpaper will be used to smooth out any rough edges on the cut baseboard.
- Safety Glasses: It’s important to protect your eyes while working with hand tools.
- Dust Mask: When cutting and sanding the baseboard, a dust mask will help protect you from inhaling particles.
- Baseboard Molding: Of course, you’ll need the baseboard molding itself. Make sure you have enough to cover the desired area.
Once you have gathered these tools and materials, you’ll be ready to move on to the next steps of measuring and marking the baseboard.
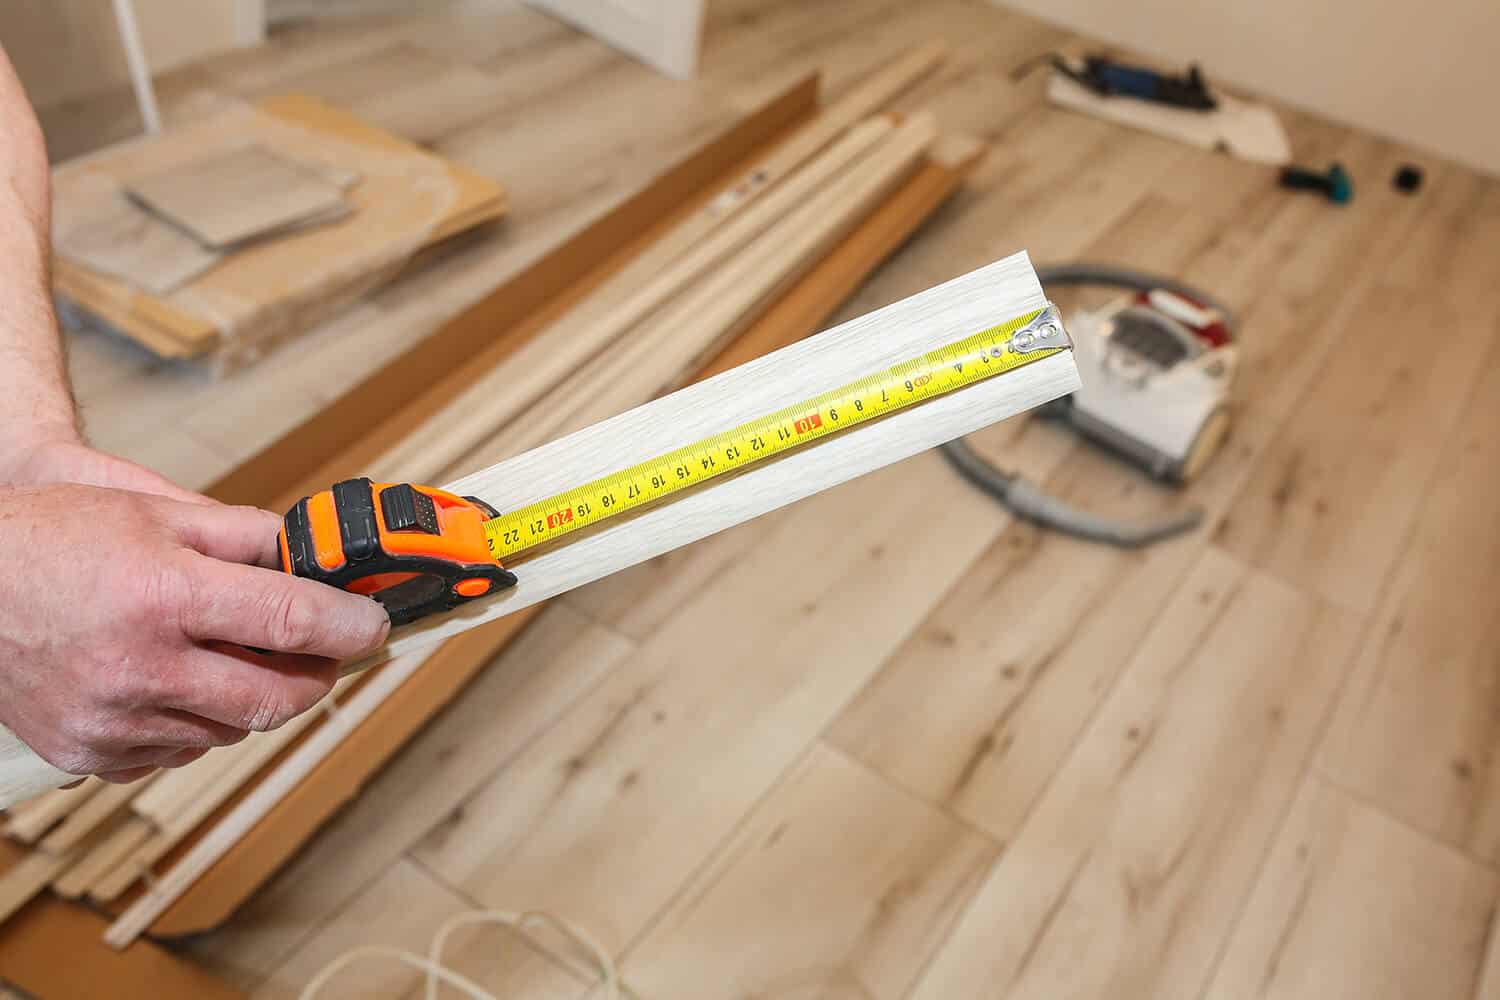
Measuring and Marking the Baseboard
Accurate measurements and proper marking are crucial when cutting baseboard molding angles. Follow these steps to ensure precise cuts:
- Measure the length of the wall: Use a measuring tape to determine the length of the wall where the baseboard will be installed. Take the measurement from one corner to another and note it down.
- Add some extra length: To account for any potential errors or uneven walls, add a few inches to the measured length. This will ensure you have enough baseboard molding to cover the entire area.
- Transfer the measurement to the baseboard: Place the baseboard molding on a flat surface with the back facing up. Use a pencil to mark the measured length on the baseboard.
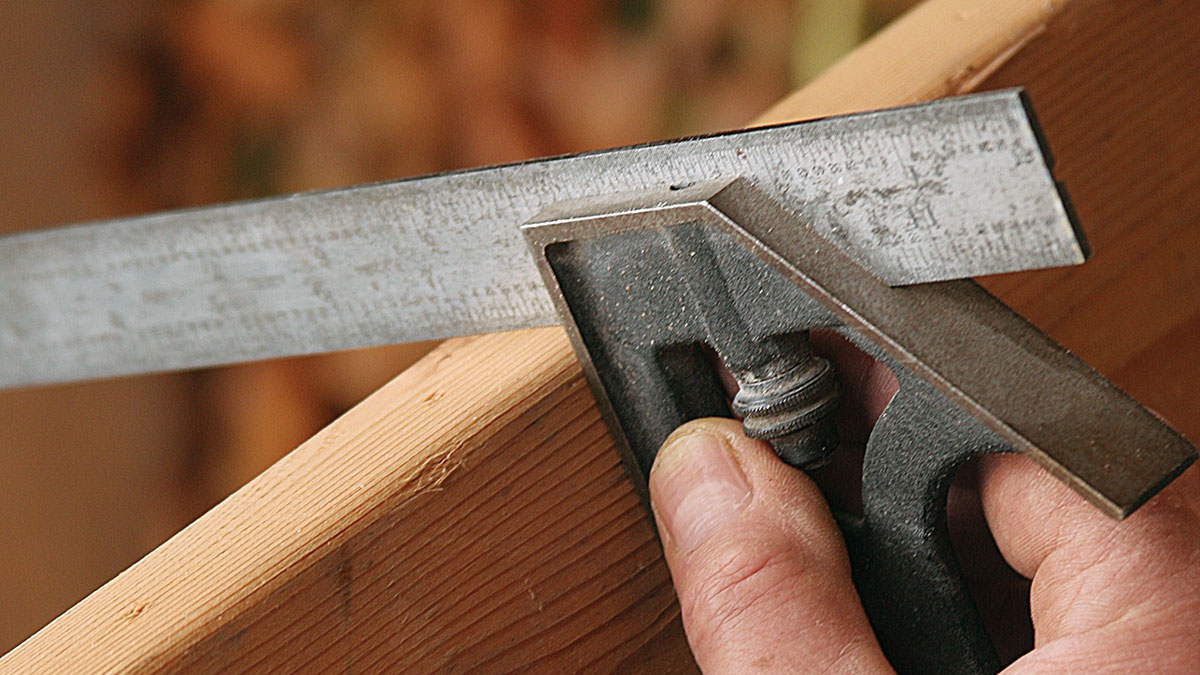
- Identify the corner angles: Determine the type of corner angles you’ll be working with – inside corners or outside corners. Inside corners are formed where two walls meet inward, while outside corners are formed where two walls meet outward.
- Measure and mark the angle cuts: For inside corners, use a protractor or an angle finder to measure the angle formed by the walls. Transfer that angle measurement to the baseboard by making a marking on both ends of the baseboard. Repeat this step for each inside corner. For outside corners, mark the baseboard where the corners will meet, ensuring the angle cut is in the right direction.
Once you have accurately measured and marked the baseboard, you can move on to cutting the angles using a miter box or a coping saw, depending on the complexity of the cuts.
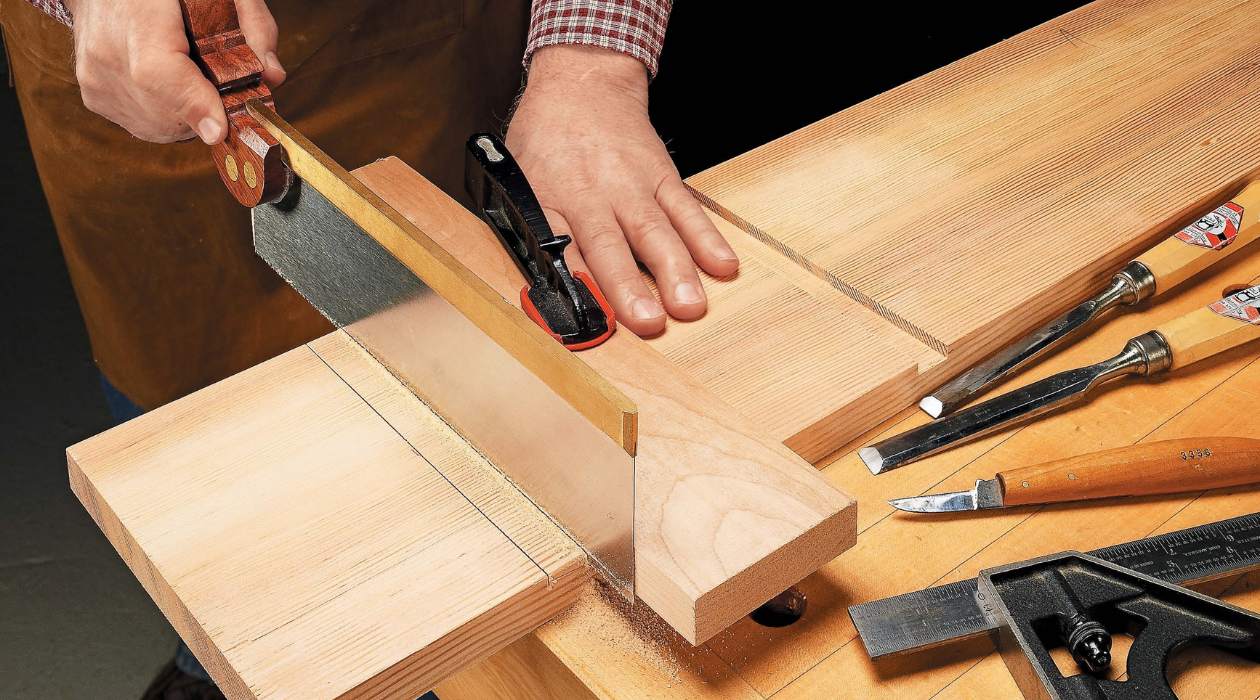
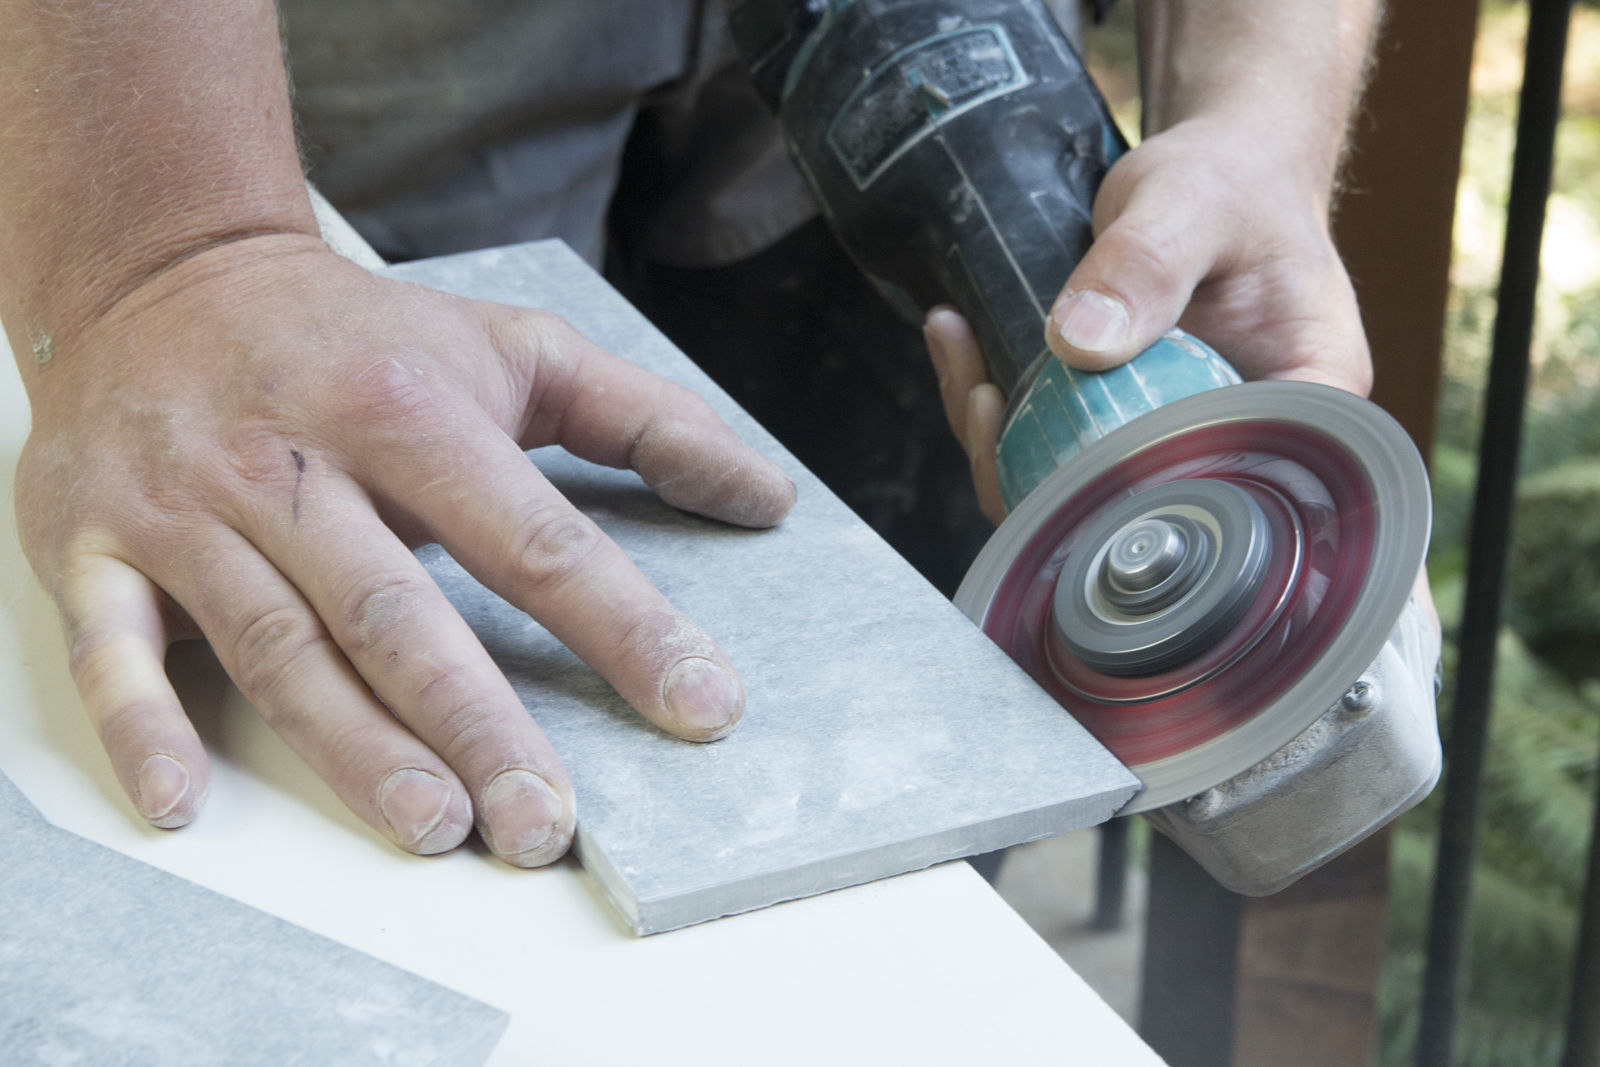
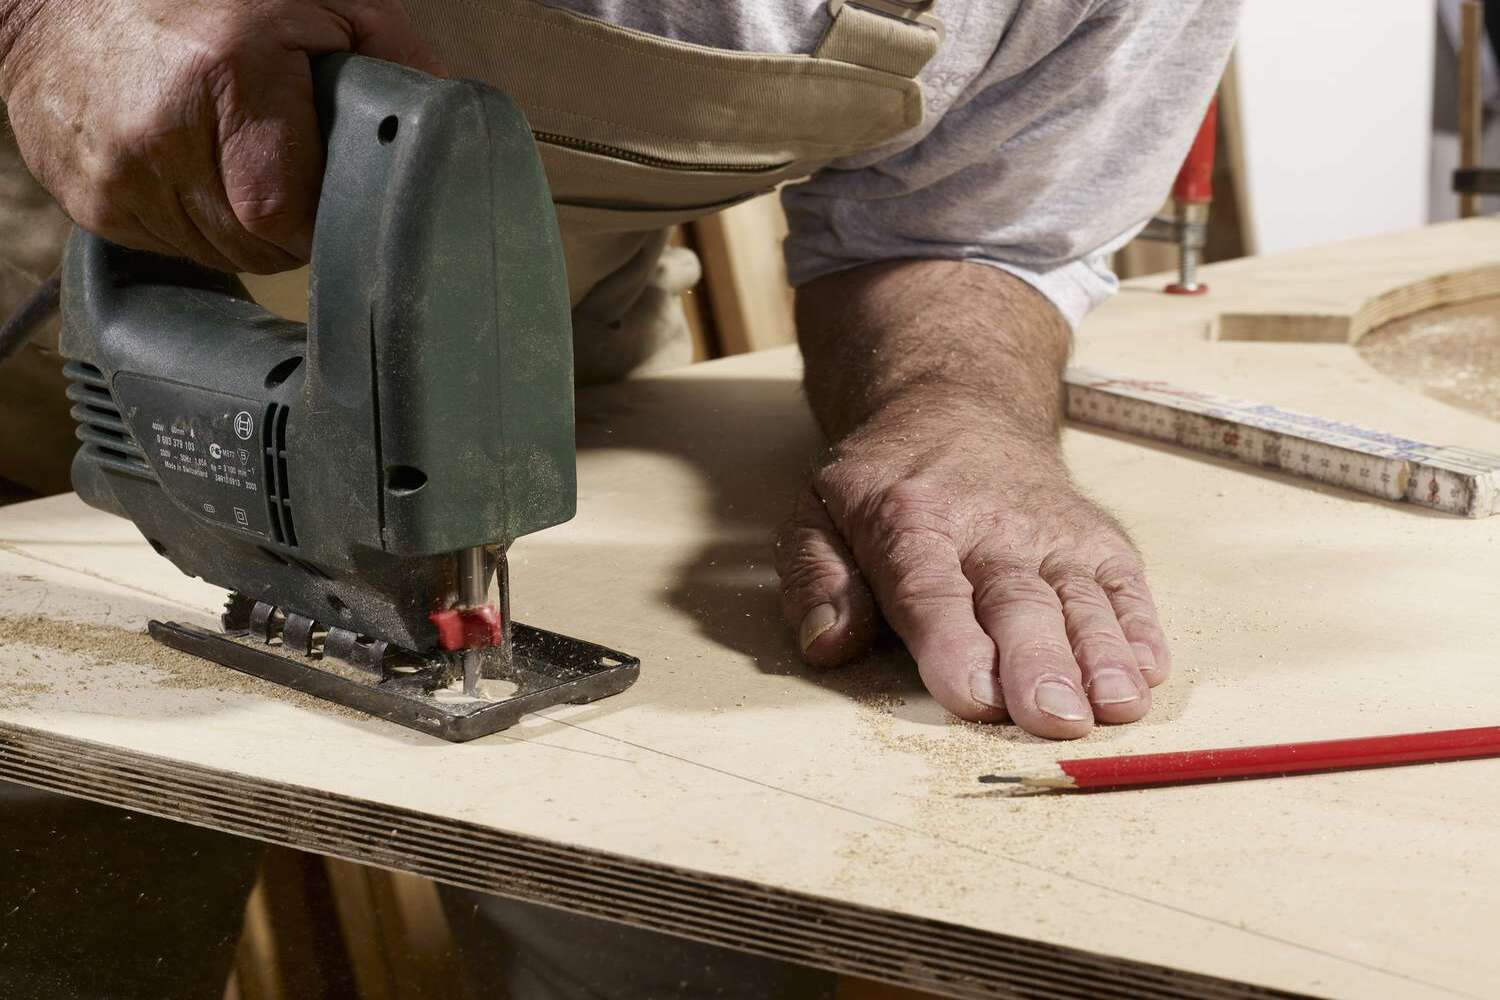
Cutting the Baseboard with a Miter Box
A miter box is a handy tool that helps you achieve precise angle cuts on baseboard molding. Follow these steps to cut the baseboard using a miter box:
- Secure the miter box: Place the miter box on a stable surface and secure it in place using clamps or by attaching it to a workbench.
- Position the baseboard: Place the baseboard molding into the miter box, ensuring that the bottom of the baseboard rests against the base of the miter box.
- Align the angle: Adjust the miter box guide to the desired angle for the cut. If you are cutting an inside corner, align the blade of the miter box with the marking you made earlier. For outside corners, align the blade in the opposite direction.
- Make the cut: Hold the baseboard firmly against the miter box and slowly saw through the molding using a back-and-forth motion. Take your time and maintain steady pressure to ensure a clean and accurate cut.
- Check the fit: Once the cut is made, remove the baseboard from the miter box and test the fit against the wall. Ensure that the angle cut matches the corner angle and that the baseboard sits flush against the wall.
- Repeat for other corners: Repeat the above steps for each corner that requires an angle cut, adjusting the miter box guide accordingly.
Remember to take breaks and check the accuracy of the cuts as you go along. It’s better to make small adjustments as you progress rather than having to redo the entire baseboard molding.
Now that you have successfully cut the baseboard angles using a miter box, let’s move on to an alternative method using a coping saw.
When cutting baseboard molding angles with hand tools, always measure twice and cut once to ensure accuracy. Use a miter box and back saw for precise 45-degree cuts.
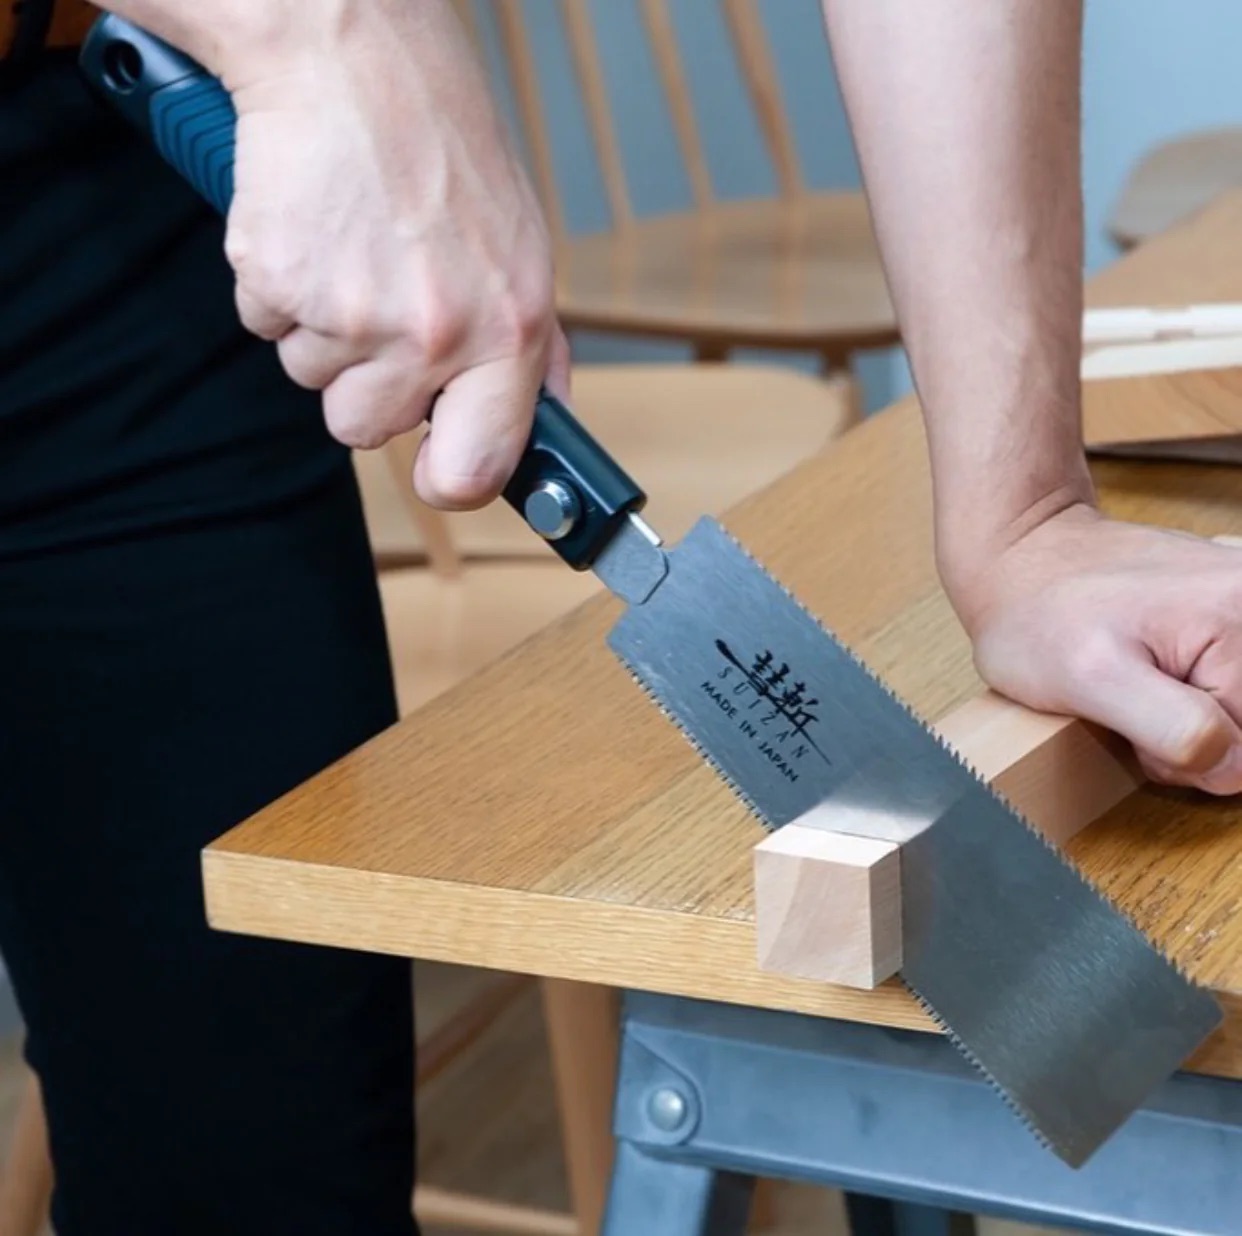
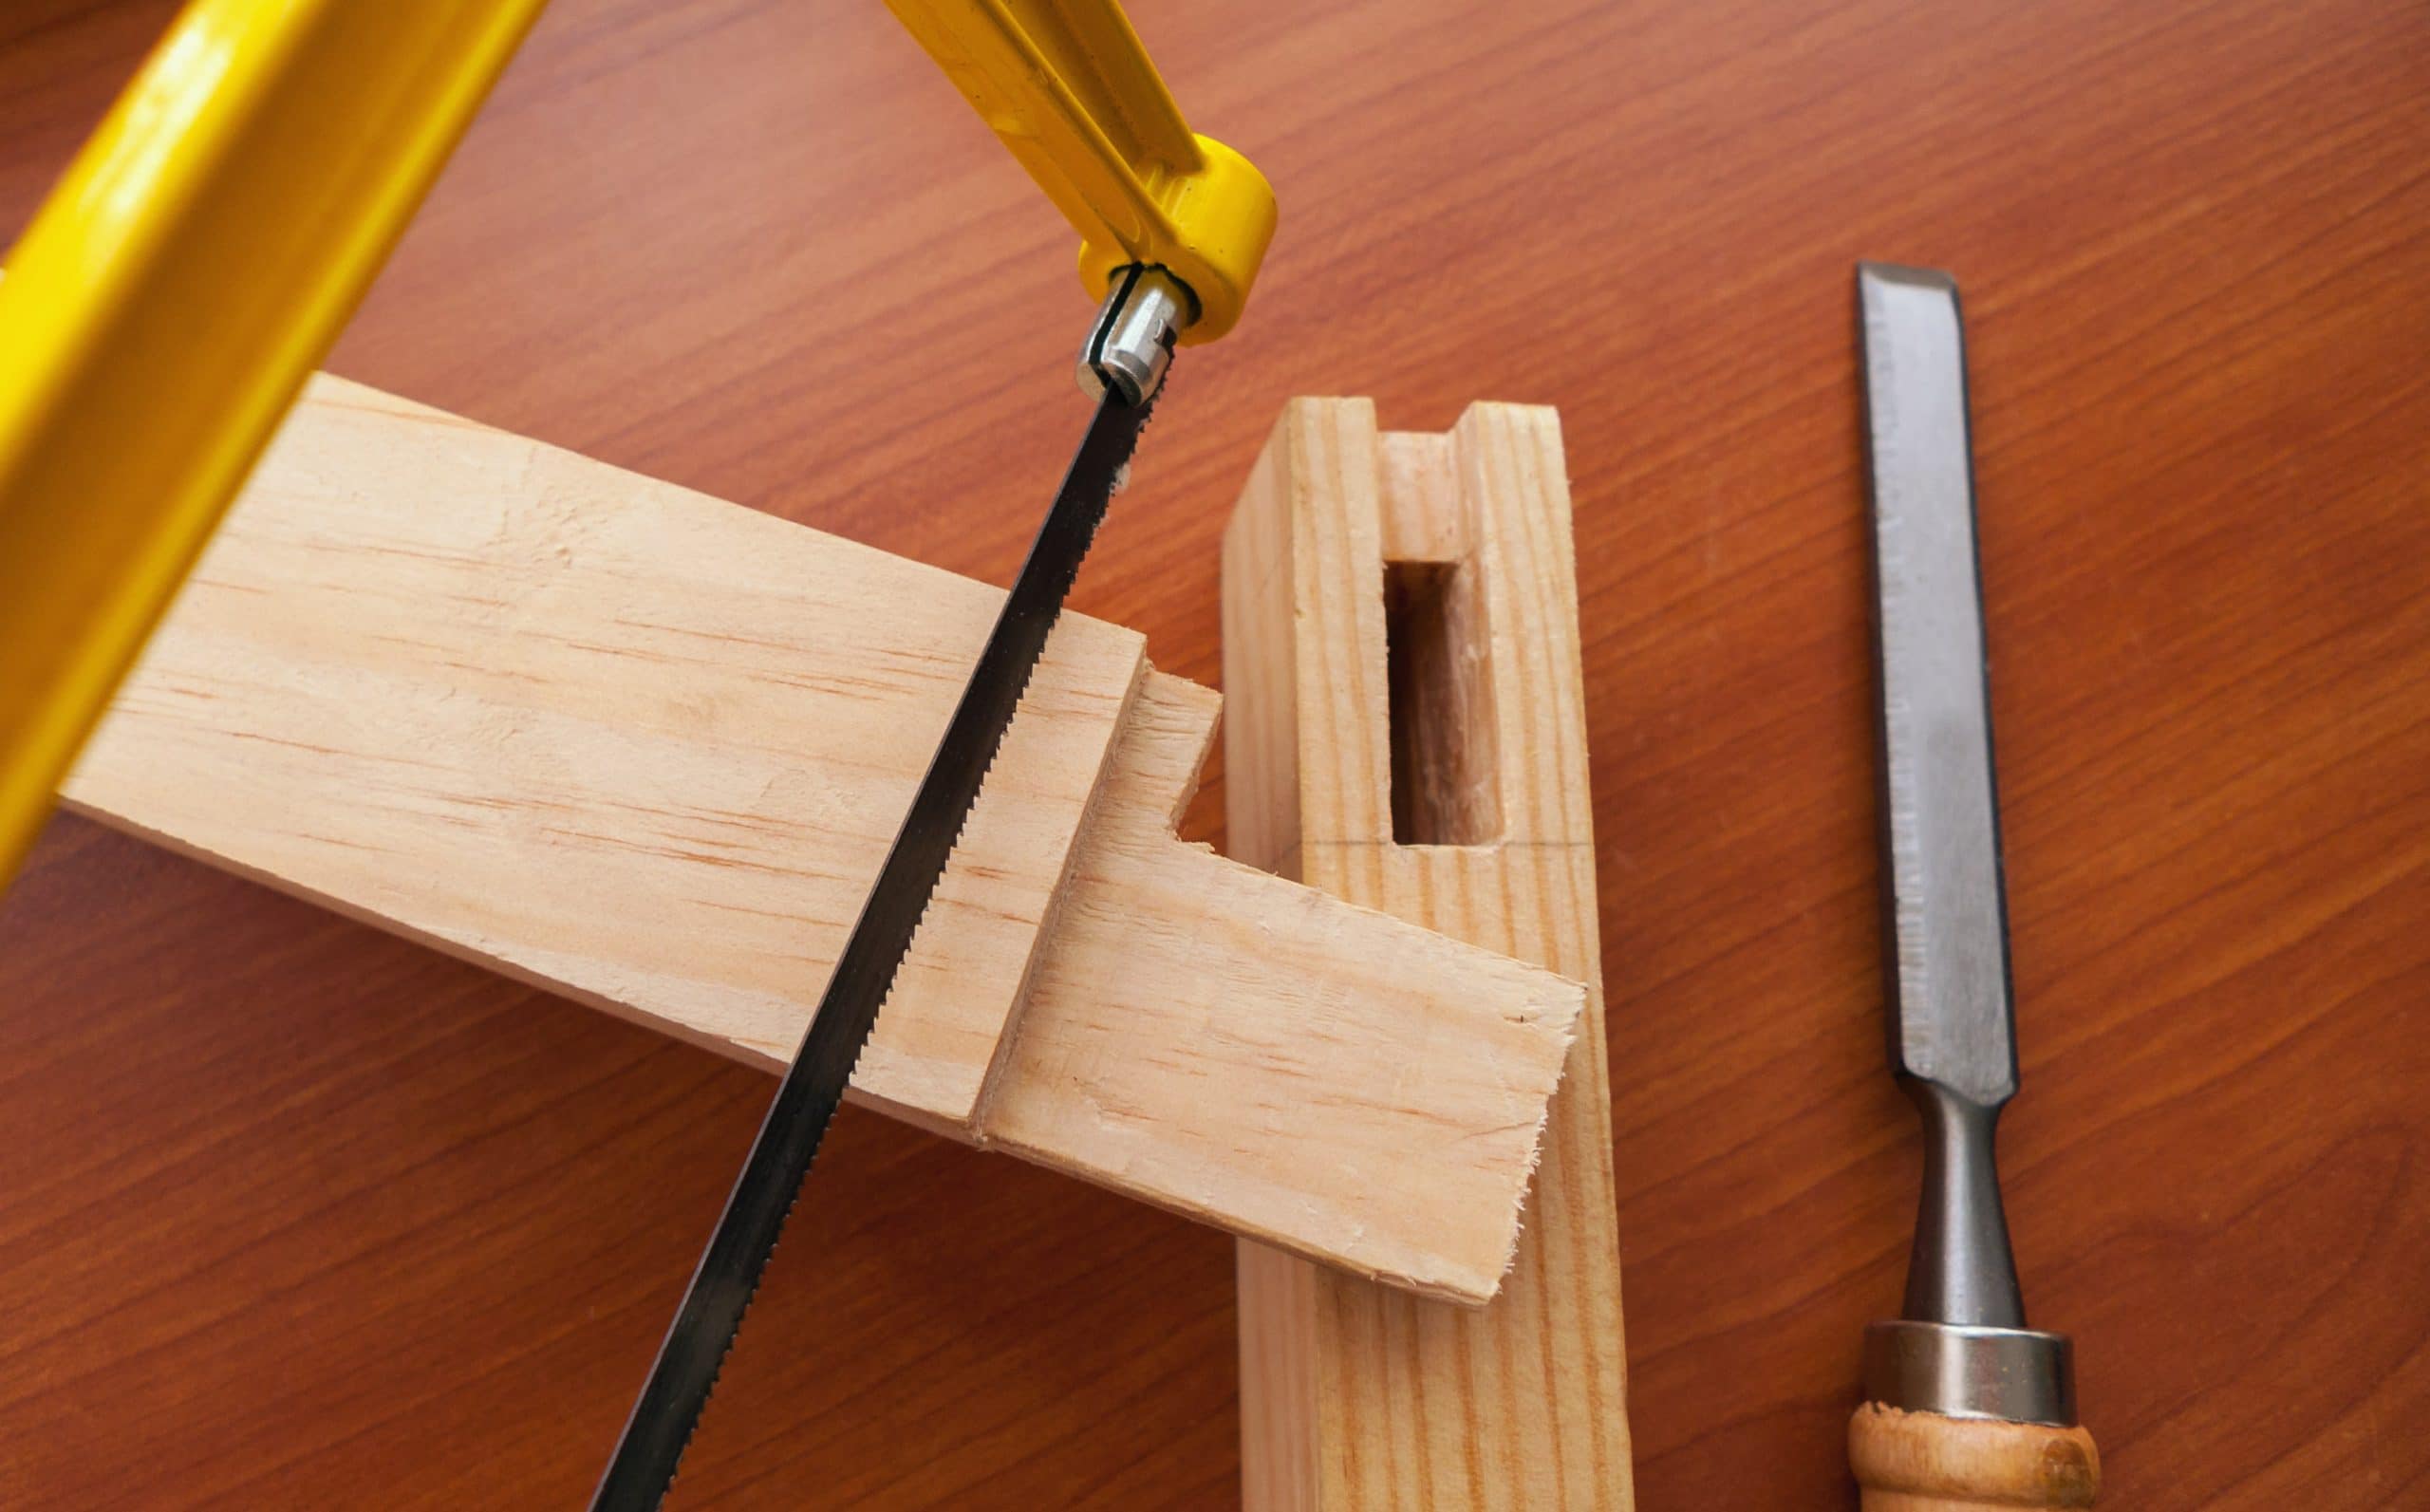
Cutting the Baseboard with a Coping Saw
If you’re dealing with more intricate baseboard angles or an irregular wall, a coping saw can be a valuable tool for achieving precise cuts. Follow these steps to cut the baseboard using a coping saw:
- Identify the inside corners: Start by identifying the inside corners where you’ll be using the coping saw. These corners typically require more detailed and precise cuts.
- Make a 45-degree miter cut: Begin by cutting a 45-degree miter angle on the end of the baseboard using a miter box or a hand saw. Ensure that the miter cut is in the opposite direction of the corner you’ll be coping.
- Cut along the profile: With the 45-degree miter cut completed, hold the baseboard in place against the wall, aligning it with the corner. Use the coping saw to follow along the profile of the baseboard, cutting away the excess wood. The goal is to create a tight-fitting joint that perfectly matches the contours of the adjacent baseboard.
- Take your time: Coping can be a time-consuming task that requires patience and precision. Take your time and make small, controlled cuts along the profile. It’s better to remove small amounts of wood at a time rather than risking removing too much and compromising the fit.
- Check the fit: Once you’ve completed the coping cuts, test the fit of the baseboard against the wall. It should fit snugly against the adjacent baseboard, with no gaps or overlapping sections.
- Repeat for other corners: Repeat the coping process for each inside corner that requires a precise fit. Make sure to adjust the miter angle and coping cuts accordingly.
Remember, coping requires practice and precision. Don’t get discouraged if your first attempts aren’t perfect. With time and experience, you’ll become more comfortable and skilled at using a coping saw to achieve seamless baseboard joints.
With the baseboard angles cut and ready to go, the next step is to sand and smooth the cut edges for a professional finish.
Read more: How To Cut Miters With Hand Tools
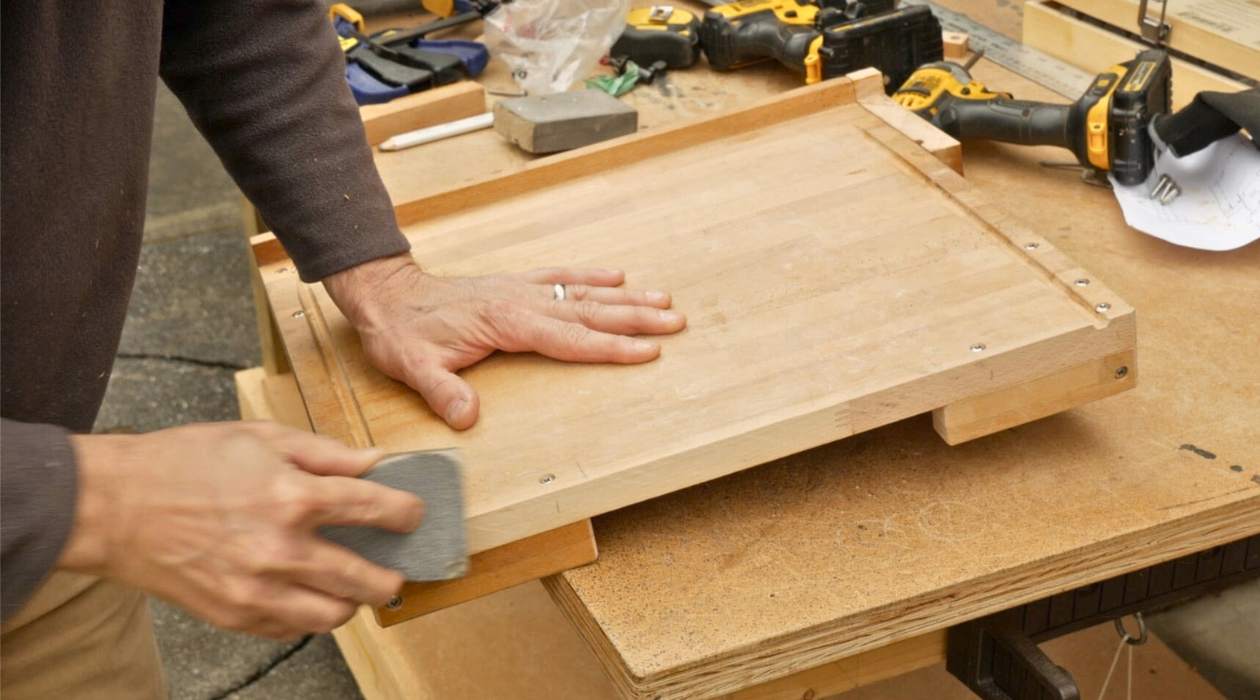
Sanding and Smoothing the Cut Edges
After cutting the baseboard angles, it’s important to sand and smooth the cut edges for a clean and professional finish. Follow these steps to achieve smooth and seamless baseboard molding:
- Prepare the sandpaper: Start by selecting the appropriate grit sandpaper. For rough edges, choose a coarse grit (around 80-100). Then, move to a finer grit (around 120-150) for smoothing and finishing.
- Sand the cut edges: Hold the sandpaper firmly and lightly sand the cut edges of the baseboard. Use small, circular motions to smooth out any rough spots or imperfections. Be careful not to apply too much pressure, as this can result in uneven or over-sanded areas.
- Check for smoothness: Periodically check the edges of the baseboard to ensure they are smooth and even. If you notice any rough areas, continue sanding until they are properly smoothed out. Remember, it’s better to take your time and achieve a smooth finish rather than rushing through the process.
- Wipe away dust: After sanding, use a clean cloth or a damp sponge to wipe away any dust or debris from the baseboard. This will help you get a better view of the sanded edges and ensure a clean installation.
- Inspect and touch up if needed: Once the baseboard edges are sanded and cleaned, inspect them closely to ensure they are smooth and ready for installation. If you notice any remaining rough spots or imperfections, lightly sand them again until the edges are completely smooth.
- Repeat for all cut edges: Repeat the sanding process for all of the cut edges on each piece of baseboard molding. Take your time with each piece to ensure a consistent and professional look.
By sanding and smoothing the cut edges, you’ll achieve a professional finish on your baseboard molding. Now that the baseboard is ready, it’s time to move on to the installation process.
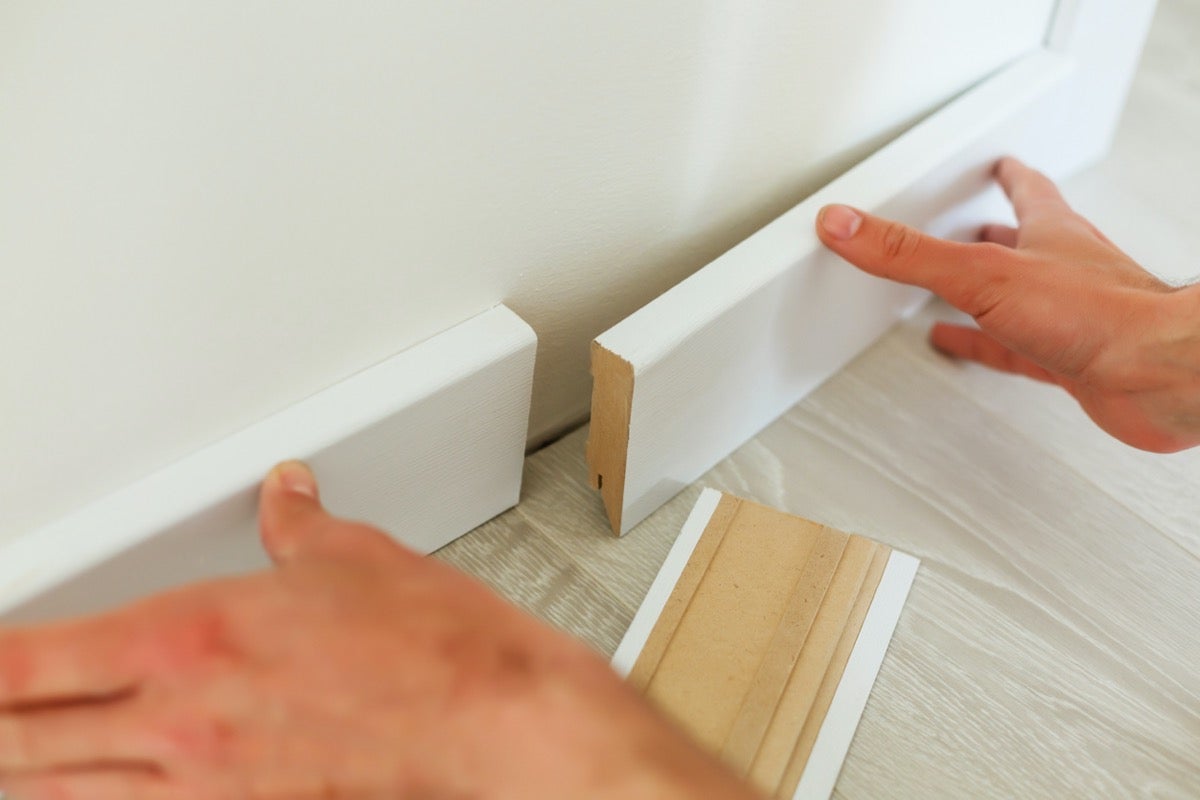
Installing the Baseboard
With the baseboard molding cut, sanded, and ready to go, it’s time to move on to the installation process. Follow these steps to install the baseboard:
- Clean the installation area: Before you begin, ensure that the wall surface is clean and free from debris. Use a damp cloth or sponge to wipe away any dirt or dust.
- Apply adhesive (optional): Depending on the type of baseboard molding and the desired level of stability, you may choose to apply construction adhesive along the back of the molding. This will help secure it to the wall.
- Position the baseboard: Starting at one end of the wall, position the baseboard molding against the wall, aligning it with the floor. Make sure it fits snugly into place.
- Secure with nails: Using a nail gun or a hammer and finishing nails, secure the baseboard to the wall. Space the nails evenly along the length of the baseboard, aiming for one nail every 12-16 inches.
- Counter-sink the nails: To ensure a seamless finish, use a nail set to gently tap the nail heads below the surface of the baseboard. This will allow you to fill the holes with wood filler later on.
- Repeat for additional sections: If the baseboard spans multiple walls, repeat the above steps for each section, making sure to miter the angles and create tight joints at the corners.
- Fill nail holes: Once all the baseboards are installed, use wood filler to fill in the nail holes. Apply the filler with a putty knife, ensuring a smooth and even surface. Allow the filler to dry according to the manufacturer’s instructions.
- Paint or finish the baseboard: If desired, paint or finish the baseboard to match your room’s decor. Apply a coat of primer and allow it to dry, followed by one or more coats of paint or stain.
- Touch up caulking (optional): To achieve a seamless look, you may choose to apply caulk along the top and bottom edges of the baseboard, as well as any visible gaps or joints. Smooth the caulk with a damp cloth or your finger for a neat finish.
Once the baseboard is installed and any finishing touches are complete, step back and admire your work. The newly installed baseboard molding adds a touch of elegance and sophistication to the room, giving it a polished and finished look.
Congratulations! You have successfully installed the baseboard molding using hand tools. Now you can enjoy the beautiful transformation of your space.
Conclusion
Cutting baseboard molding angles with hand tools may seem like a daunting task, but with the right techniques and a little bit of practice, you can achieve professional-looking results. By following the step-by-step guide outlined in this article, you’ve learned how to measure, mark, and cut baseboard molding angles with hand tools.
Whether you choose to use a miter box or a coping saw, the key is to take your time and pay attention to detail. Accurate measurements, precise cuts, and smooth sanding are essential for a seamless and professional finish.
Remember to gather the necessary tools and materials before you begin, including a miter box, coping saw, measuring tape, pencil, sandpaper, safety glasses, dust mask, and of course, the baseboard molding itself.
Once the baseboard angles are cut, it’s important to sand and smooth the edges for a clean and polished look. Take care to remove any rough spots and imperfections to achieve a professional finish.
Finally, the installation process involves positioning the baseboard, securing it to the wall with nails, filling nail holes, and optionally applying paint or finish. The end result will be a beautiful and elegant addition to your room.
With this comprehensive guide, you now have the knowledge and skills to confidently tackle the task of cutting baseboard molding angles with hand tools. So go ahead, grab your measuring tape, miter box, and coping saw, and enhance the beauty of your space with perfectly cut and installed baseboard molding.
Now that you've mastered cutting baseboard molding angles, why not expand your woodworking skills further? Our next guide offers a comprehensive look at the 14 best woodworking tools set to dominate in 2024. Whether you're a seasoned craftsman or just starting out, these tools will surely elevate your projects, ensuring precision and ease in every cut and carve. Don't miss out on refining your craft with some of the finest tools in the market.
Frequently Asked Questions about How To Cut Baseboard Molding Angles With Hand Tools
Was this page helpful?
At Storables.com, we guarantee accurate and reliable information. Our content, validated by Expert Board Contributors, is crafted following stringent Editorial Policies. We're committed to providing you with well-researched, expert-backed insights for all your informational needs.
0 thoughts on “How To Cut Baseboard Molding Angles With Hand Tools”