Articles
How To Make Vanilla Scented Candles
Modified: December 7, 2023
Learn how to make your own vanilla scented candles with our comprehensive articles. Perfect for creating a cozy and inviting atmosphere in your home.
(Many of the links in this article redirect to a specific reviewed product. Your purchase of these products through affiliate links helps to generate commission for Storables.com, at no extra cost. Learn more)
Introduction
Creating your own homemade vanilla scented candles is not only a rewarding and satisfying endeavor, but it also allows you to infuse your living space with a comforting and delightful aroma. Vanilla, with its rich and sweet scent, has long been a popular choice for candles, imparting a sense of warmth and relaxation.
In this article, we will guide you through the process of making your own vanilla scented candles from scratch. From gathering the necessary materials to pouring the wax and adding fragrance, we will provide step-by-step instructions to ensure successful results.
Before we dive into the detailed process, it’s worth noting that making candles requires careful attention and adherence to safety precautions. Always work in a well-ventilated area and keep a fire extinguisher within reach. Additionally, be sure to carefully read and follow the instructions provided with any candle-making supplies you purchase.
With that said, let’s gather our materials and get started on this exciting journey of creating beautiful and fragrant vanilla scented candles!
Key Takeaways:
- Create a cozy atmosphere with homemade vanilla scented candles. Customize your fragrance, color, and style for a personal touch. Enjoy the warm glow and delightful aroma in your living space.
- Making candles at home is a fulfilling and creative hobby. Share the joy by gifting personalized vanilla scented candles. Embrace safety, creativity, and relaxation in your candle-making journey.
Read more: How To Make Scents For Candles
Materials Needed
Before diving into the candle-making process, it’s essential to gather all the necessary materials. Here’s a list of what you’ll need:
- Wax: Choose a type of wax suitable for candle-making, such as soy wax or paraffin wax. Make sure you have enough to fill your chosen candle containers.
- Candle Containers: Select containers that are heat-resistant and appropriate for candle-making. Glass jars or tins are popular choices.
- Wicks: Use pre-tabbed wicks or wick rolls. Make sure the wick’s size matches the diameter of your candle container.
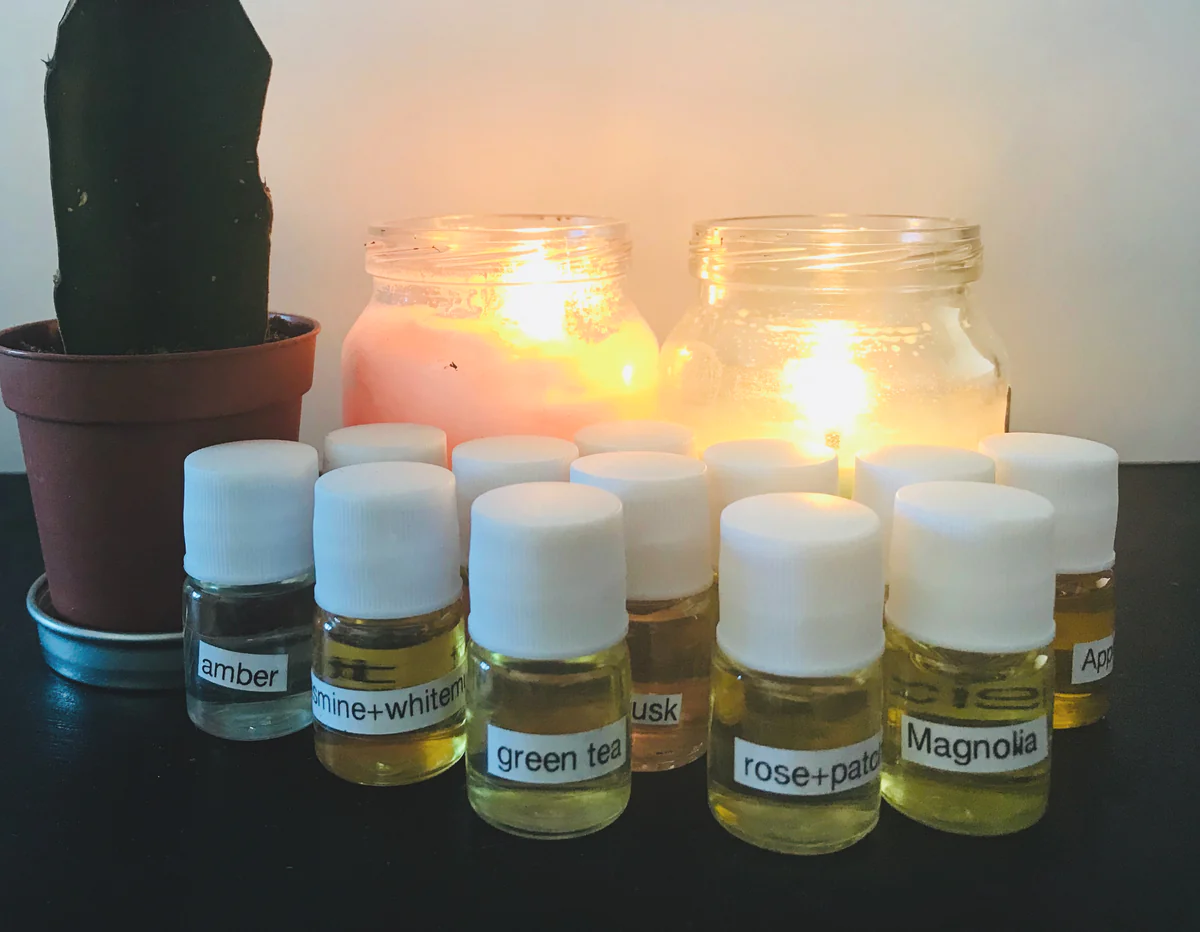
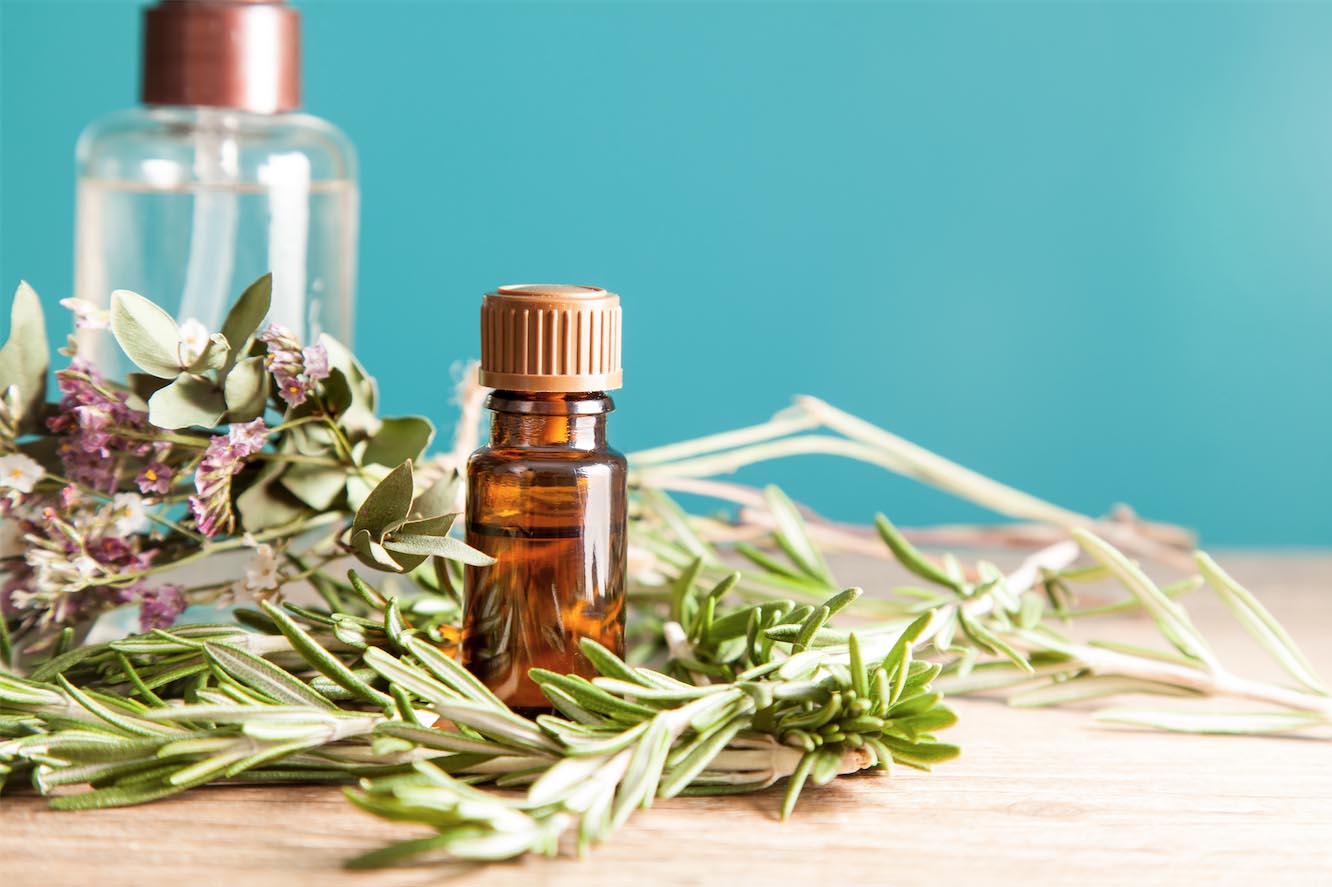
- Fragrance Oil: Look for high-quality vanilla fragrance oil specifically designed for candle-making.
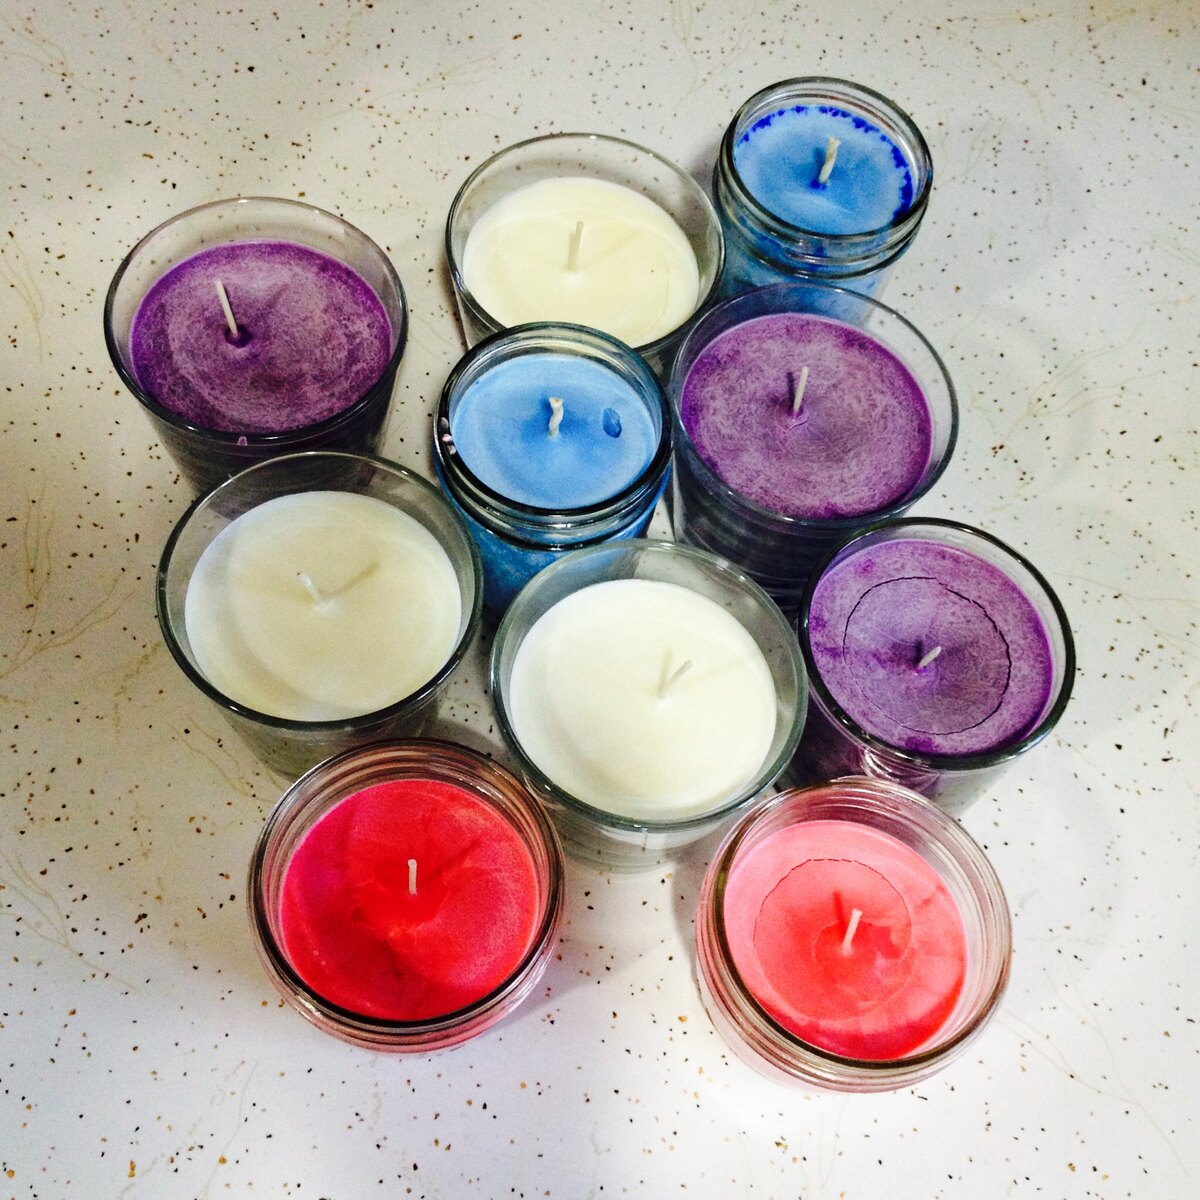
- Coloring (optional): If you prefer colored candles, add some candle dye or color chips to achieve the desired hue.
- Double Boiler or Wax Melter: You’ll need a heat-resistant container and a heat source to melt the wax. A double boiler setup or a specialized wax melter works best for this purpose.
- Thermometer: It’s crucial to monitor the wax’s temperature during the melting process. A candle-making thermometer will help ensure that the wax is heated to the proper temperature.
- Stirring Utensil: Use a heat-resistant spoon or stir stick to mix the fragrance oil and color into the melted wax.
- Adhesive: To secure the wick to the bottom of the container, you’ll need a suitable adhesive, such as hot glue or wick stickers.
- Scissors: Keep a pair of scissors handy for trimming the wick once the candle has set.
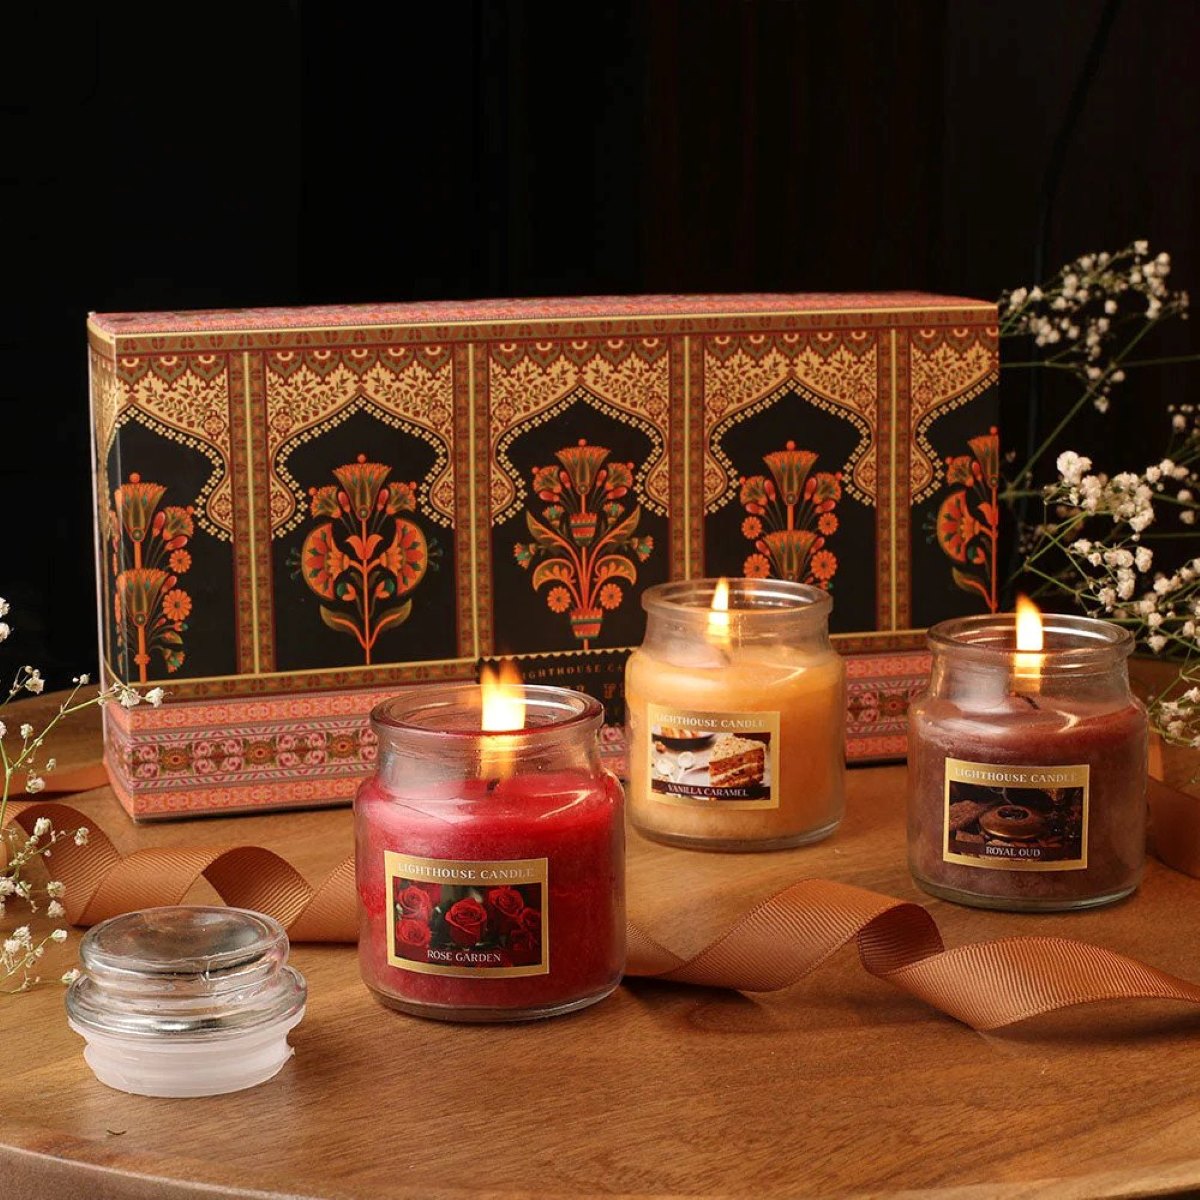
- Labels and Packaging: If you plan to gift or sell your candles, consider labeling them with the scent and your personal branding. Packaging materials like organza bags or gift boxes can add an extra touch of elegance.
Now that you have gathered all the materials needed, it’s time to move on to the step-by-step process of creating your vanilla scented candles. Get ready to embark on a creative and fragrant journey!
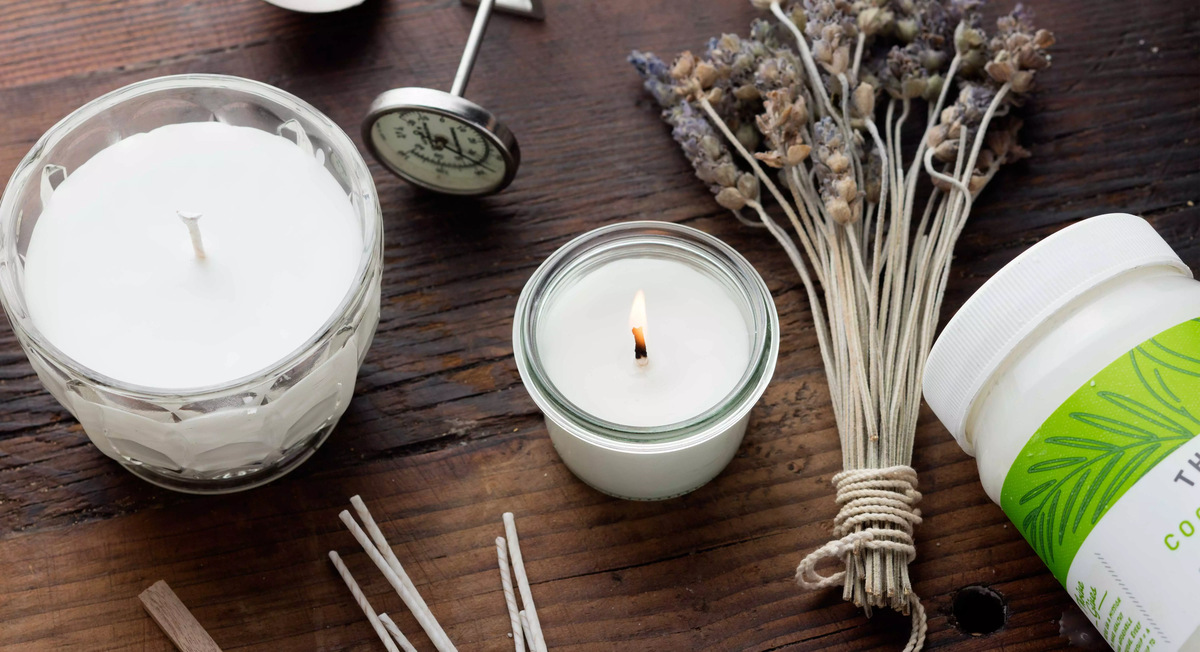
Step 1: Preparing the Wax
The first step in making vanilla scented candles is preparing the wax. Follow these instructions:
- Measure the desired amount of wax based on the volume of your candle containers. It’s recommended to use a kitchen scale for accurate measurements.
- If using a double boiler, fill the bottom pot with water and place it on the stove over low heat. If using a wax melter, follow the manufacturer’s instructions for proper use.
- Place the wax in the top pot of the double boiler or the wax melter. Heat the wax slowly, stirring occasionally to ensure even melting. Keep a close eye on the temperature using a thermometer.
- As the wax melts, continue stirring gently to prevent any clumps. Be patient and avoid rushing the process; melting wax can take some time.
- Once the wax reaches the recommended melting temperature (as indicated on the wax packaging or in the instructions), remove it from the heat source. Be careful not to exceed the wax’s maximum safe temperature.
With the wax properly melted and prepared, you’re ready to move on to the next step: adding the delightful vanilla fragrance that will fill your space with a warm and inviting aroma.
Step 2: Adding Fragrance Oil
Now that you have prepared the melted wax, it’s time to infuse it with the enticing scent of vanilla. Follow these steps to add fragrance oil to your candles:
- Select a high-quality vanilla fragrance oil specifically designed for candle-making. It’s important to use fragrance oils that are safe for use in candles to ensure a proper scent throw and a long-lasting aroma.
- Refer to the fragrance oil manufacturer’s guidelines for the recommended amount of oil per pound or ounce of wax. This will vary depending on the intensity of the fragrance oil.
- Using a heat-resistant spoon or stir stick, gently stir the fragrance oil into the melted wax. Stir for several minutes to ensure that the fragrance is evenly distributed throughout the wax.
Remember not to overpower the wax with too much fragrance oil, as this may affect the performance of the candle. It’s best to start with the recommended amount and adjust accordingly based on your personal preference and the strength of the fragrance oil.
Adding fragrance oil to your melted wax is an essential step that brings your vanilla scented candles to life. The enchanting aroma of vanilla will fill your space and create a warm and inviting ambiance.
Now that the fragrance is incorporated into the wax, it’s time to move on to the next step: wicking your candle containers so that they can hold the melted wax and provide a stable flame.
Step 3: Wicking the Container
Wicking your candle containers is a crucial step in ensuring a steady and efficient burn. Follow these instructions to properly wick your candle containers:
- Before placing the wick in the container, make sure the container is clean and free from any dust or debris. This will help ensure a clean burn and prevent any unwanted particles from interfering with the flame.
- Measure and cut the wick to a length that is slightly taller than the height of your container. It’s better to have a wick that is too long rather than too short, as you can always trim it later.
- If using a wick roll, dip the wick tab into melted wax and then center it at the bottom of the container. Apply gentle pressure to secure the wick tab in place until the wax hardens.
- If using pre-tabbed wicks, simply peel off the adhesive backing from the metal tab and press it firmly to the bottom of the container.
- To keep the wick upright and centered, you can use a wick holder or a clothespin placed across the top of the container. This will ensure that the wick remains in position during the pouring process.
Properly wicking your candle containers is essential for a clean and consistent burn. It allows the flame to access the wax evenly, ensuring that the candle burns evenly without tunneling or excessive sooting.
Now that your containers are properly wicked, it’s time to move on to the exciting part: pouring the melted wax into the containers and shaping your vanilla scented candles!
When making vanilla scented candles, be sure to use high-quality vanilla fragrance oil to ensure a strong and long-lasting scent.
Read more: How To Make Beeswax Scented Candles
Step 4: Pouring the Wax
With your containers prepped and the wicks securely in place, it’s time to pour the melted wax and bring your vanilla scented candles to life. Follow these steps for a successful pouring process:
- Carefully pour the melted wax into each container, leaving about half an inch of space at the top. It’s best to pour slowly and steadily to avoid any spills or splashes.
- Allow the wax to cool and solidify. This process may take a few hours, depending on the size of your candles and the ambient temperature. Avoid moving or disturbing the candles during this time to ensure even cooling.
- As the wax cools and solidifies, it may form a slight depression in the center. If desired, you can carefully re-melt a small amount of wax and pour it into the depression to level the surface.
It’s important to note that different types of wax have different cooling times and may require additional measures to prevent common issues such as sinkholes or air pockets. Be sure to follow the specific instructions provided with your chosen wax to achieve the best results.
With the wax poured and the candles cooling, you’re one step closer to enjoying the warm glow and delightful aroma of your homemade vanilla scented candles. The next step involves trimming the wicks to ensure a clean and efficient burn.
Step 5: Cooling and Setting
Once the wax has been poured into the containers, it’s important to allow it to cool and set properly. Follow these steps to ensure your vanilla scented candles cool and set to perfection:
- Find a safe and level surface where you can place the candles to cool. Ensure they are kept away from drafts, direct sunlight, and anything flammable.
- Allow the candles to cool at room temperature for several hours or until the wax has completely hardened. This may take anywhere from 4 to 8 hours, depending on the size of the container and the type of wax used.
- Do not disturb the candles while they are cooling and setting. Moving or touching them prematurely can cause the wax to become uneven or create unsightly air pockets.
During this cooling period, the wax undergoes a solidification process, ensuring that your candles retain their shape and structural integrity. Patience is key during this step to achieve beautiful and professional-looking results.
Once the candles have cooled and set completely, it’s time to move on to the next step: trimming the wicks to the appropriate length for a clean and efficient burn.
Step 6: Trimming the Wick
After your vanilla scented candles have cooled and set, it’s important to trim the wicks before lighting them. Trimming the wicks helps promote a cleaner burn and prevents excessive smoke. Follow these steps to trim the wicks:
- Ensure that the candles are completely cooled and hardened before trimming the wicks. This ensures that the wick doesn’t bend or break during the process.
- Using a pair of scissors or wick trimmers, carefully trim the wick to approximately ¼ inch in length. It’s best to trim the wick to a shorter length to prevent excess soot and mushrooming.
- Avoid cutting the wick too close to the wax, as leaving a little length helps with relighting the candle in the future.
- Discard the trimmed wick remnants into a suitable container to prevent any accidental ignition.
Trimming the wicks ensures a clean and even burn every time you light your candles. It helps maintain a steady flame and prevents any potential hazards associated with long and unruly wicks.
Now that your wicks are properly trimmed, your vanilla scented candles are ready for the final step: lighting them and indulging in their warm and inviting fragrance.
Step 7: Enjoying Your Vanilla Scented Candle
Congratulations! You have successfully made your own vanilla scented candles. Now it’s time to sit back, relax, and enjoy the enchanting aroma and cozy ambiance they create. Here are a few tips on how to fully appreciate your homemade candles:
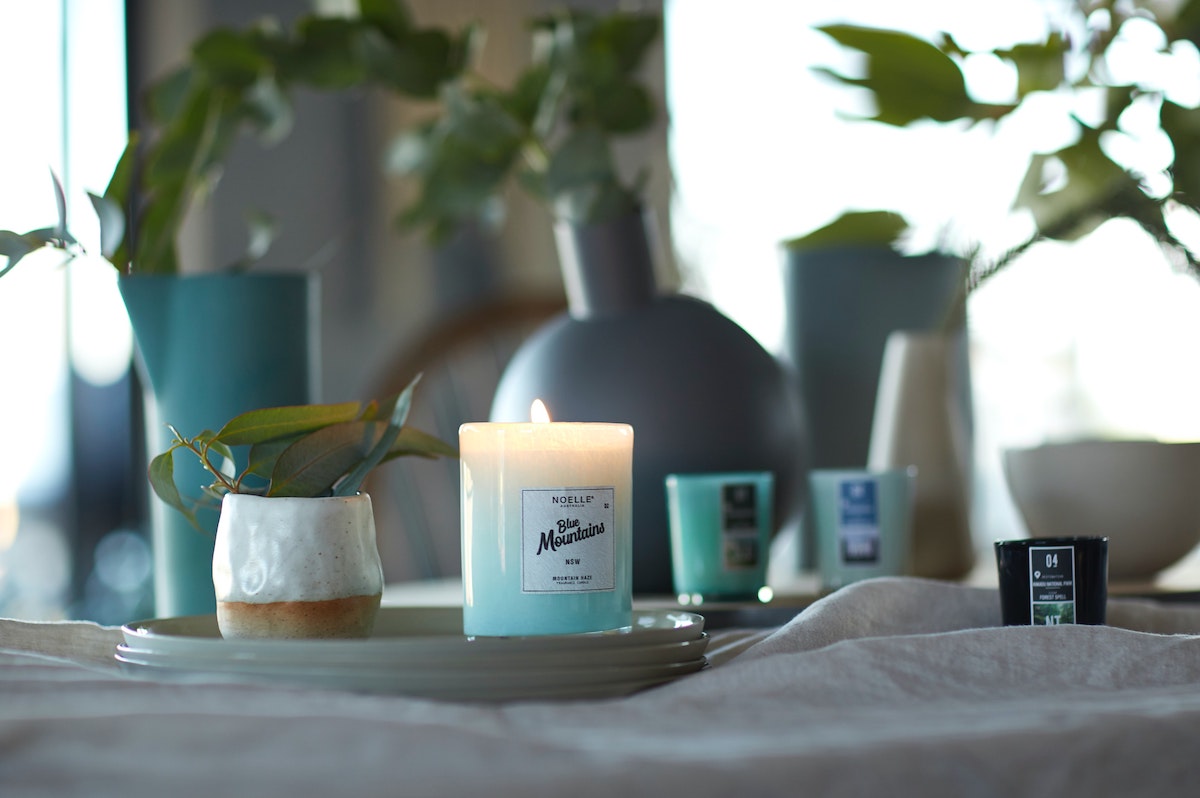
- Find the perfect spot: Choose a special place in your home where you can display and enjoy your vanilla scented candles. Whether it’s your living room, bedroom, or bathroom, find a spot where the fragrance can fill the space and create a serene atmosphere.
- Light the candle properly: Before lighting your candle, ensure that the surroundings are clear of any flammable objects and that there is no draft. Use a long-reach lighter or matches to ignite the wick and let the gentle glow envelop the room.
- Allow for a sufficient burn time: To ensure an even burn, allow the candle to melt and form a wax pool that reaches the edges of the container each time you light it. This helps prevent tunneling and maximizes the lifespan of your candle.
- Enjoy the fragrance: Breathe in the delightful scent of vanilla as it permeates the air. The warm and comforting aroma can help create a sense of relaxation and tranquility. Close your eyes, take a deep breath, and let the fragrance transport you to a state of bliss.
- Practice safety precautions: Always remember to never leave a lit candle unattended. Keep it out of reach of children and pets. Place it on a heat-resistant surface and away from any flammable materials. Safety should always be a priority when enjoying candles.
- Extend the life of your candle: To prolong the burn time of your vanilla scented candle, ensure that the wick is trimmed to the proper length before each use. Avoid burning the candle for extended periods, as this can cause the wax to overheat and reduce its lifespan.
With these tips in mind, you can fully appreciate the beauty and fragrance of your homemade vanilla scented candles. They make wonderful additions to your home decor, create a soothing atmosphere, and can also be gifted to friends and loved ones for special occasions.
Now, it’s time to sit back, unwind, and enjoy the ambiance and delightful aroma of your very own vanilla scented candles.
Happy candle burning!
Read more: How To Make Coffee Scented Candles
Conclusion
Congratulations on successfully creating your own vanilla scented candles! By following the step-by-step process, you have not only discovered a fulfilling and creative hobby but also brought warmth and delightful fragrance to your living space.
Making candles at home allows you to customize the scent, color, and style to suit your personal preferences and create a unique ambiance. Vanilla, with its sweet and comforting aroma, is a timeless choice that brings a sense of tranquility to any room.
Remember, safety should always be a priority when working with candles. Be sure to work in a well-ventilated area, follow the instructions provided with your candle-making supplies, and never leave a lit candle unattended.
Your homemade vanilla scented candles can be enjoyed for hours on end, providing a cozy and inviting environment. Whether you choose to light them during leisurely baths, intimate dinners, or moments of relaxation, the soothing scent of vanilla will enhance the atmosphere.
In addition, consider sharing the joy of your homemade candles with others. They make thoughtful and personalized gifts for birthdays, holidays, or special occasions. Package them in elegant gift boxes, tie a bow around them, and add a personalized label to make them extra special.
Now that you have mastered the art of making vanilla scented candles, don’t be afraid to explore other scents and creative techniques. Experiment with different fragrance combinations, colors, and containers to further personalize your candle-making journey.
So, light up your candles, immerse yourself in their gentle glow, and let the enticing aroma of vanilla whisk you away to a world of relaxation and tranquility. Enjoy the fruits of your labor and revel in the cozy ambiance that your homemade vanilla scented candles bring.
Happy candle-making and candle-burning!
Frequently Asked Questions about How To Make Vanilla Scented Candles
Was this page helpful?
At Storables.com, we guarantee accurate and reliable information. Our content, validated by Expert Board Contributors, is crafted following stringent Editorial Policies. We're committed to providing you with well-researched, expert-backed insights for all your informational needs.


0 thoughts on “How To Make Vanilla Scented Candles”