Articles
How To Make Coffee Scented Candles
Modified: August 27, 2024
Learn how to make coffee scented candles with our informative articles. Discover step-by-step guides and tips on creating the perfect aroma-filled candles.
(Many of the links in this article redirect to a specific reviewed product. Your purchase of these products through affiliate links helps to generate commission for Storables.com, at no extra cost. Learn more)
Introduction: Creating Coffee Scented Candles
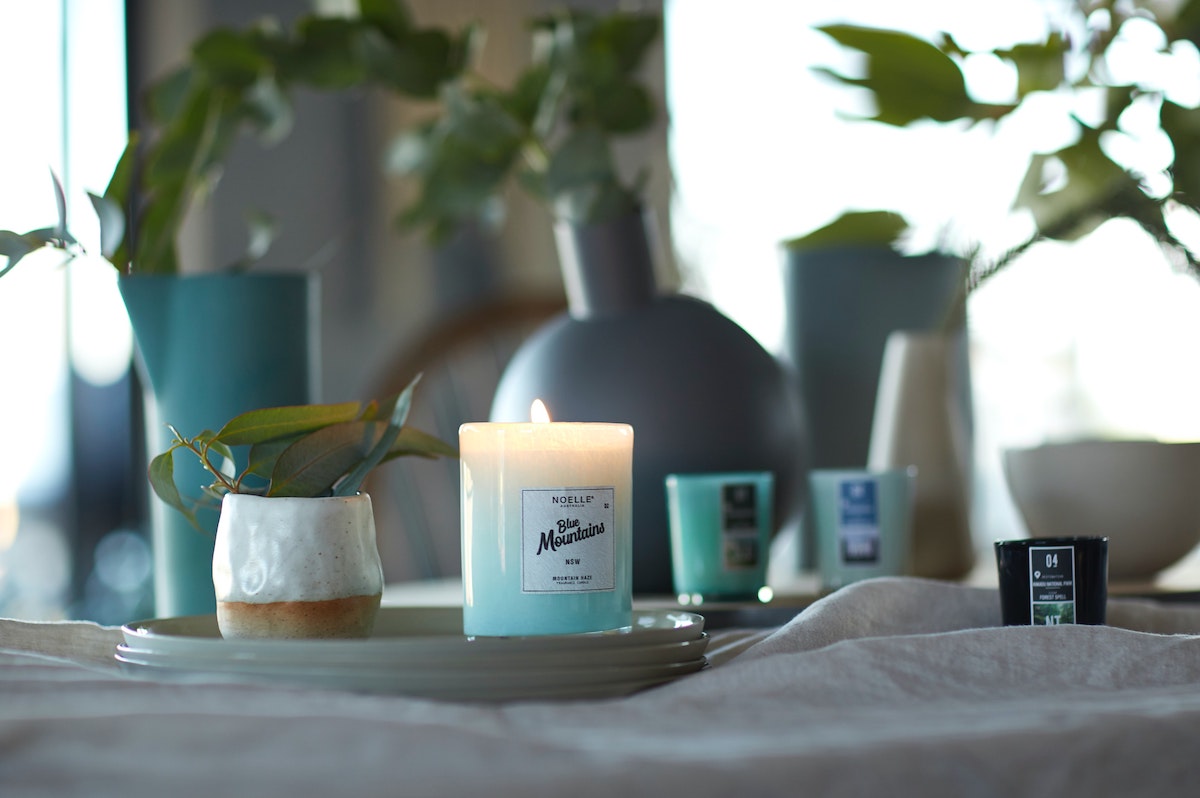
There’s something incredibly comforting about the aroma of freshly brewed coffee. The rich and inviting smell can instantly lift your mood and transport you to your favorite café. If you’re a coffee lover and a fan of candles, why not combine the two by creating your own coffee scented candles?
Coffee scented candles not only fill your home with a delightful fragrance but also create a cozy and inviting ambiance. Whether you want to relax by yourself or entertain friends, these candles can add a touch of warmth to any room. Plus, making them yourself allows you to customize the scent and enjoy the process of crafting something unique.
In this article, we will guide you through the step-by-step process of creating coffee scented candles. From gathering the materials to adding the coffee aroma and pouring the wax, we’ll cover everything you need to know to make your own delightful coffee-scented candles at home.
So, grab your apron and let’s get started on this aromatic and creative journey!
Key Takeaways:
- Crafting coffee scented candles is a delightful way to bring the comforting aroma of freshly brewed coffee into your home. Experiment with different coffee fragrances and personalize your candles for a unique sensory experience.
- Enjoy the benefits of relaxation and ambiance that coffee scented candles bring. Follow proper candle care, consider gift-giving, and continuously upgrade your candle-making skills for a fulfilling aromatic journey.
Read more: How To Make Scents For Candles
Materials Needed
Before you begin making your coffee scented candles, it’s important to gather all the necessary materials. Here’s a list of what you’ll need:
- Wax: You can use either soy wax or beeswax. Both types of wax are readily available in craft stores or online.
- Coffee Fragrance Oil: Look for a high-quality coffee-scented fragrance oil that will give your candle an authentic aroma. You can find a wide variety of coffee fragrance oils online or at specialty candle-making stores.
- Candle Wicks: Choose wicks that are appropriate for the size of your candle container. You can opt for pre-tabbed wicks, which are easier to work with.
- Container: Select a heat-resistant glass or tin container to hold the wax. Mason jars or small coffee mugs work well for this purpose.
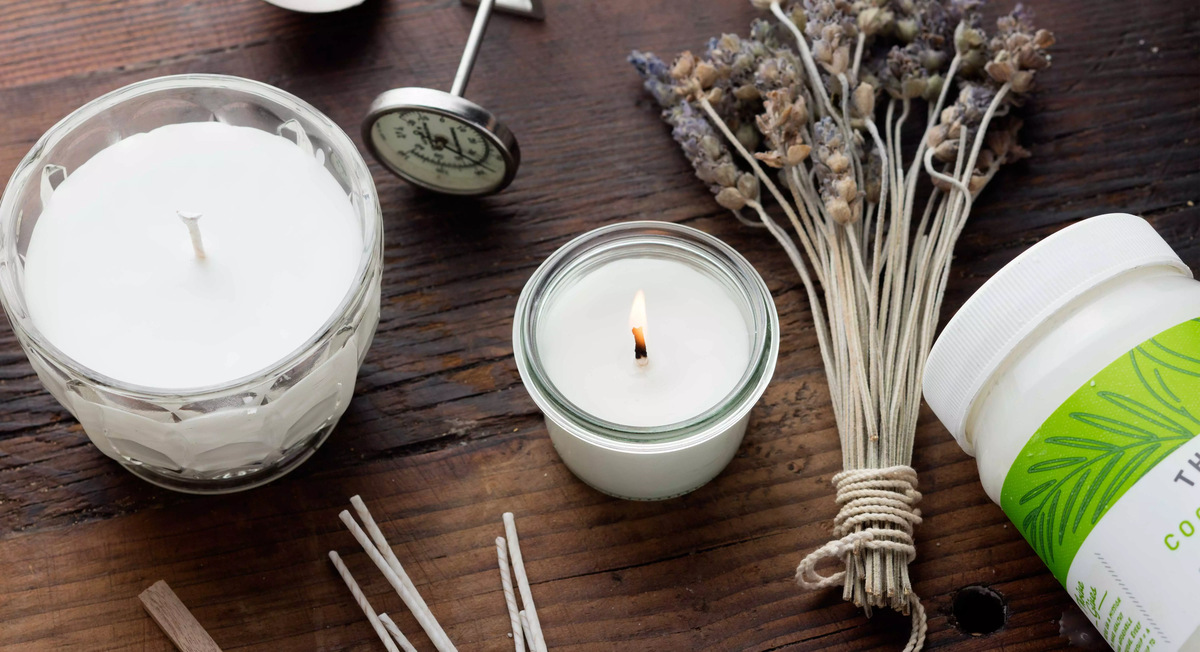
- Double Boiler or Wax Melting Pot: To melt the wax, you’ll need a double boiler setup or a dedicated wax melting pot. Avoid heating the wax directly on the stovetop.
- Thermometer: A candle thermometer is essential to ensure the wax reaches the correct temperature for fragrance oil addition.
- Stirring Utensil: Use a heat-resistant spoon or spatula for stirring the wax and fragrance oil.
- Measuring Cup or Scale: Depending on the instructions provided with your wax, you may need to measure the wax by weight or volume.
- Candle Adhesive: To secure the wick to the bottom of the container, you’ll need a candle adhesive or a hot glue gun.
- Scissors: You’ll need scissors to trim the wick later on.
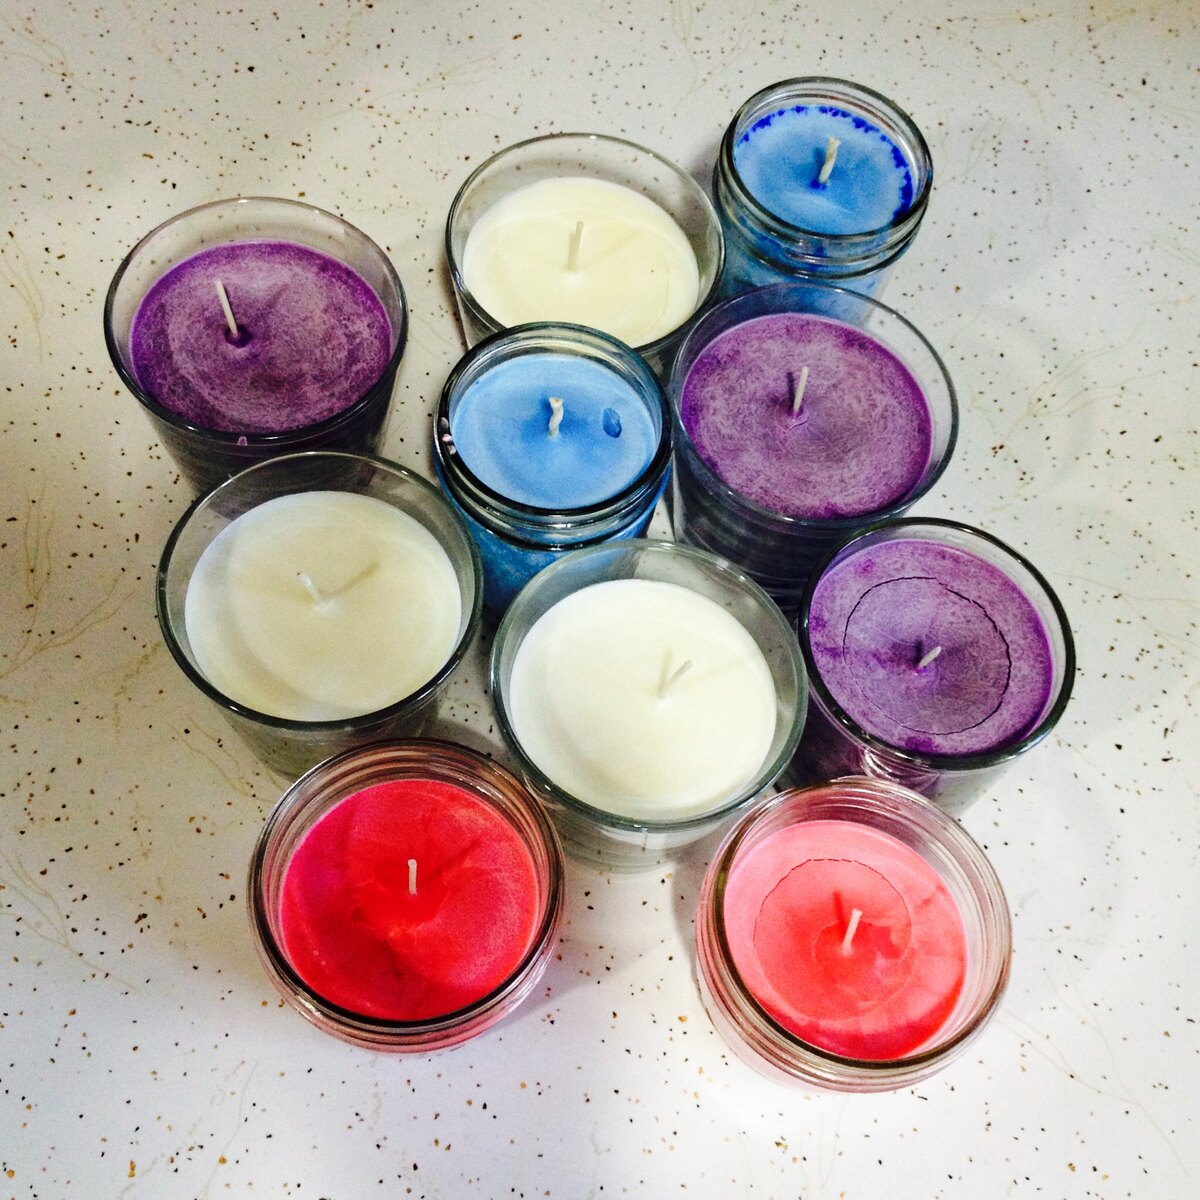
- Optional: Dye or Coffee Grounds: If you prefer colored candles or want to add some texture, you can use candle dye or coffee grounds to enhance the visual appeal.
Make sure you have all these materials at hand before you begin. This will ensure a smooth and enjoyable candle-making experience.
Step 1: Preparing the Candle Wax
The first step in creating your coffee scented candles is preparing the candle wax. Follow these instructions to get started:
- Measure the Wax: Start by measuring the desired amount of wax based on the size of your container. You can either weigh the wax on a scale or use a measuring cup if you have a volume-based wax.
- Double Boiler Setup: Fill a large pot with water and place it on the stove. Set a smaller saucepan or heatproof bowl on top of the pot to create a double boiler setup. This method helps melt the wax gently without direct heat.
- Add Wax to the Double Boiler: Place the measured wax into the smaller pot or bowl. Heat the water in the larger pot over medium heat until it starts to simmer.
- Melt the Wax: As the water simmers, the heat will slowly melt the wax in the smaller pot. Stir occasionally with a heat-resistant spoon or spatula to ensure even melting.
- Monitor the Temperature: While the wax melts, keep an eye on the temperature using a candle thermometer. The optimal temperature for adding fragrance oil is usually between 160-180°F (71-82°C), but it may vary based on the type of wax you’re using.
During this process, it’s important to be cautious and avoid direct contact with the melted wax, as it can cause burns. Keep a safe distance and use oven mitts or heat-resistant gloves if necessary.
Once the wax has completely melted and reached the desired temperature, you’re ready to move on to the next step of adding the coffee scent to your candles.
Step 2: Adding the Coffee Scent
Now that your candle wax is melted and at the optimal temperature, it’s time to infuse it with a tantalizing coffee scent. Follow these steps to add the coffee fragrance:
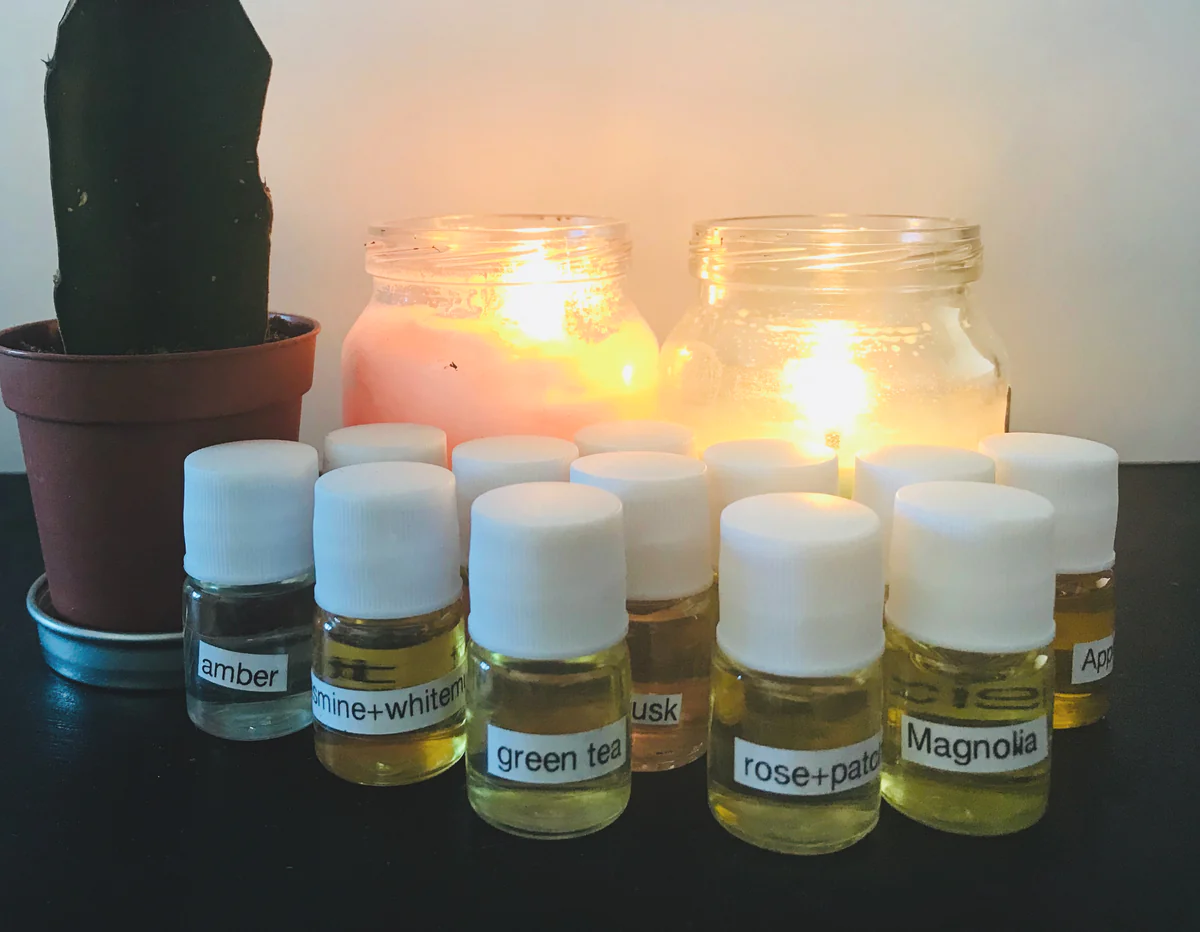
- Choose the Coffee Fragrance Oil: Select a high-quality coffee-scented fragrance oil that suits your preference. There are various options available, such as espresso, mocha, or vanilla latte scents. Pour the desired amount into a small container for easy pouring.
- Stir the Fragrance Oil: Give the fragrance oil a gentle stir to ensure it is well blended. This will help distribute the coffee aroma evenly throughout the wax.
- Add the Fragrance Oil to the Wax: Slowly pour the fragrance oil into the melted wax. Stir the mixture gently and continuously for a couple of minutes to ensure the oil is fully incorporated.
- Monitor the Temperature: While adding the fragrance oil, continue to monitor the wax’s temperature. It’s crucial to keep it within the recommended range specified by the manufacturer to achieve the best scent throw.
It’s important to note that different fragrance oils have different usage rates. Always refer to the manufacturer’s instructions to determine the appropriate amount of oil to add per pound of wax.
Once the fragrance oil is thoroughly mixed into the wax, you’ll be able to revel in the delightful aroma of coffee. The next step involves pouring the wax into the container of your choice.
Step 3: Melting the Wax
After adding the coffee scent to the wax, it’s time to proceed to the next step: melting the wax once again. This step ensures that the fragrance oil is fully incorporated and evenly distributed throughout the wax. Follow these instructions to melt the wax:
- Reheat the Wax: Place the pot or bowl with the scented wax back into the double boiler setup. Allow the wax to reheat over medium heat, stirring occasionally with a heat-resistant spoon or spatula.
- Melt Fully: Continue heating the wax until it is completely melted. As before, monitor the temperature to ensure it stays within the recommended range specific to the type of wax you’re using.
- Avoid Overheating: Be careful not to overheat the wax, as excessive heat can affect its quality and scent throw. Keep a close eye on the temperature and remove it from the heat once fully melted.
It’s important to maintain a steady heat throughout this process. Stirring the wax gently will help distribute the heat evenly and prevent any hot spots that could potentially damage the fragrance or the quality of the candle.
Once the wax is melted and has reached the desired consistency, it’s time to prepare the container for pouring.
Read more: How To Make Beeswax Scented Candles
Step 4: Preparing the Candle Container
With the wax fully melted and infused with the captivating coffee scent, it’s time to prepare the candle container for pouring. Follow these steps to ensure your candle container is ready:
- Clean the Container: Start by cleaning the container thoroughly to remove any dust or debris. This will help ensure a clean and polished finished product.
- Secure the Wick: Place a small amount of candle adhesive or hot glue at the bottom of the container. Insert the metal tab or base of the wick into the adhesive, holding it in place until it sets. Alternatively, you can use a wick sticker to secure the wick to the bottom of the container.
- Center the Wick: Make sure the wick is centered in the container. You can use a wick centering tool or simply eyeball it to ensure the wick is vertically aligned in the middle.
- Stabilize the Wick: To prevent the wick from moving or leaning during the pouring process, place a pencil or skewer across the top of the container and secure the wick in place using the clip or clothespin attached to the pencil.
By following these preparation steps, you’ll have a stable and centered wick ready for a perfect pour. The next step entails pouring the wax into the container.
When making coffee scented candles, consider using a combination of coffee essential oil and ground coffee beans for a stronger and more authentic scent.
Step 5: Pouring the Wax into the Container
Now that your candle container is prepared, it’s time to pour the melted wax and fill it with the enticing coffee aroma. Follow these steps for a successful pour:
- Prepare a Pouring Surface: Place a protective covering, such as a newspaper or wax paper, on the surface where you’ll be pouring the wax. This will catch any potential drips or spills and make clean-up easier.
- Position the Container: Place the container with the secured wick on the prepared pouring surface. Make sure it is stable and level to avoid any accidental spills.
- Pour the Wax: Slowly pour the melted wax into the container, taking care not to pour too quickly or create air bubbles. Start from the center and gradually move outwards to evenly distribute the wax.
- Leave Space at the Top: Leave about ½ inch of space at the top of the container to allow for the melted wax to settle and provide room for any decoration, if desired.
It’s important to ensure steady hands and a controlled pour to prevent any unnecessary spills or accidents. Take your time while pouring and maintain a steady flow.
Once you’ve poured the wax into the container, it’s time to move on to the next step of adding the candle wick.
Step 6: Adding the Candle Wick
With the melted wax poured into the container, it’s time to add the candle wick. Follow these steps to properly position and secure the wick:
- Trim the Wick: Before adding the wick, trim it to a length of about ½ inch. This will ensure proper burning and prevent excessive smoke.
- Center the Wick: Gently and carefully adjust the wick to the center of the candle container. Ensure that it remains straight and aligned vertically.
- Secure the Wick: To keep the wick in place during the cooling and setting process, you can use a wick holder or a wick clip to hold it in position. Alternatively, you can use a clothespin or clip attached to a pencil or skewer to suspend the wick above the container.
Properly positioning the wick is crucial for ensuring an even burn and a steady flame throughout the candle’s lifespan. Take the time to ensure it is centered and securely held in place.
Now that the wick is securely situated, it’s time to move on to the next step and allow the candle to set.
Step 7: Allowing the Candle to Set
After adding the wick to the candle, it’s time to allow the wax to cool and set. Follow these instructions to ensure a successful setting process:
- Patience is Key: It’s important to exercise patience during this step. Allowing the candle to cool and set slowly will help prevent any potential cracking or uneven surfaces.
- Avoid Disturbances: Keep the candle undisturbed during the setting process. Avoid moving or touching it to prevent any imperfections from forming on the surface.
- Find a Suitable Location: Place the container in a cool, dry location away from any drafts or direct sunlight. This will help ensure even cooling and prevent any disturbances in the setting process.
The time required for the candle to set will vary depending on the size of the container and the type of wax used. As a general rule, it can take anywhere from a few hours to overnight for the wax to completely cool and solidify.
While waiting for the candle to set, it’s important to remain patient and resist the temptation to touch or move it. Once the wax has solidified, it’s time to move on to the next step of trimming the wick.
Read more: How To Make Vanilla Scented Candles
Step 8: Trimming the Wick
After the candle has set and the wax is completely solidified, it’s time to trim the wick to the optimal length. Trimming the wick ensures a clean and safe burn. Follow these steps to trim the wick:
- Examine the Wick Length: Take a close look at the wick and assess its length. Ideally, it should be trimmed to about ¼ inch to ½ inch above the surface of the wax.
- Use Scissors: Take a pair of sharp scissors and carefully trim the wick to the desired length. Make sure to remove any excess wick so that it doesn’t interfere with the flame.
- Dispose of Trimmed Wick: Once you have trimmed the wick, gently dispose of the trimmed portion to prevent any debris from falling into the candle.
Trimming the wick is an important step in candle maintenance. It helps to prevent excessive smoke, uneven burning, and prolongs the overall life of the candle.
Now that the wick has been trimmed, it’s time to light up your coffee scented candle and enjoy the delightful aroma it brings to your space.
Step 9: Enjoying Your Coffee Scented Candle
Congratulations! You’ve successfully created your own coffee scented candle. Now it’s time to sit back, relax, and enjoy the wonderful aroma that fills your space. Here are a few tips on how to fully enjoy your coffee scented candle:
- Find the Perfect Spot: Place your candle in a location where you can fully experience the fragrance. It could be on a coffee table, in the living room, or even in your bedroom for a cozy atmosphere.
- Burn Safely: Always remember to burn your candle on a heat-resistant surface away from any flammable materials. Never leave a burning candle unattended and keep it out of reach of children and pets.
- Follow Burning Guidelines: Read and follow the burning instructions provided with your candle. It’s important to know the recommended burn time and to trim the wick regularly to ensure a safe and efficient burn.
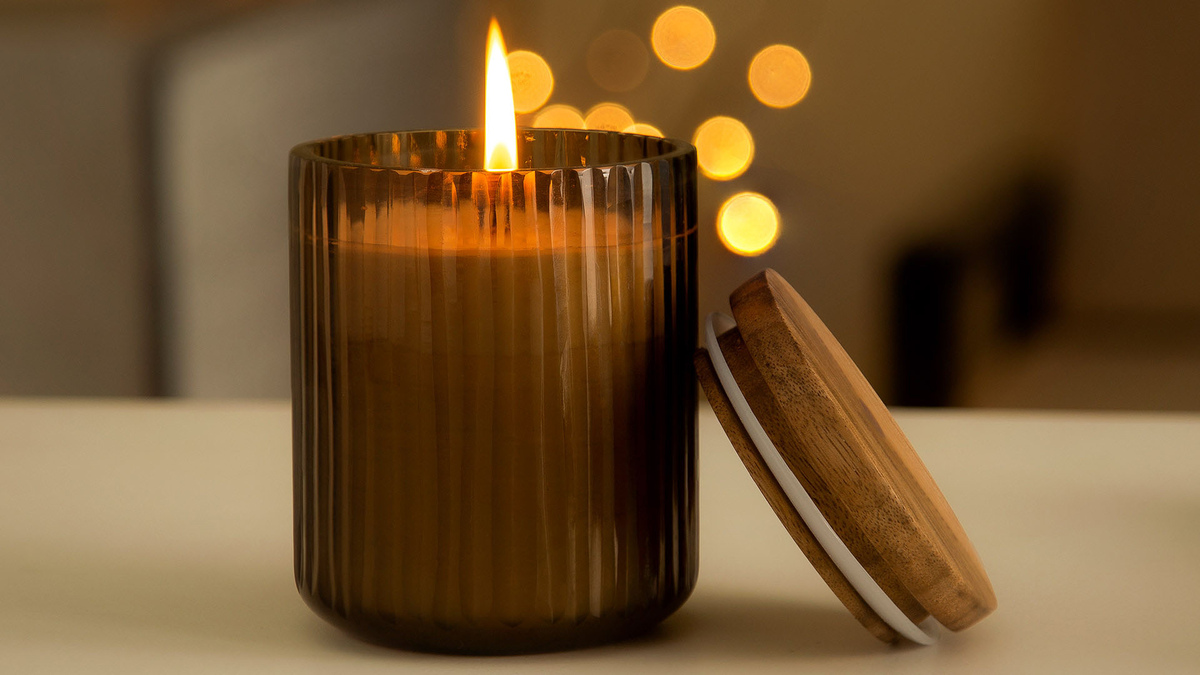
- Enjoy the Ambiance: Dim the lights and bask in the warm and inviting ambiance created by the gentle flicker of the candle flame. The soft glow adds a touch of relaxation to your space.
- Unwind and Relax: Take the time to unwind and indulge in a moment of tranquility. Enjoy a good book, listen to soothing music, or simply savor a hot cup of coffee while taking in the comforting scent of your candle.
- Create a Sensory Experience: Enhance the overall experience by pairing your coffee scented candle with other elements that stimulate the senses. Play some soft coffee shop-inspired music or brew a fresh cup of coffee to complement the aroma.
- Appreciate the Aroma: Savor the rich and inviting scent of freshly brewed coffee as it envelops your space. Close your eyes and let the aroma transport you to a cozy café, awakening your senses and providing a moment of relaxation.
Remember to always follow candle safety guidelines and exercise caution when burning candles. With proper care, your coffee scented candle will continue to delight you with its warm and inviting fragrance for many hours of enjoyment.
Now it’s time to sit back, unwind, and let the comforting aroma of your coffee scented candle envelop you in a sense of serenity and relaxation. Enjoy!
Conclusion: Tips and Final Thoughts
Congratulations on successfully creating your very own coffee scented candle! By following the step-by-step process outlined in this article, you have crafted a delightful and aromatic addition to your home. Here are some final tips and thoughts to keep in mind:
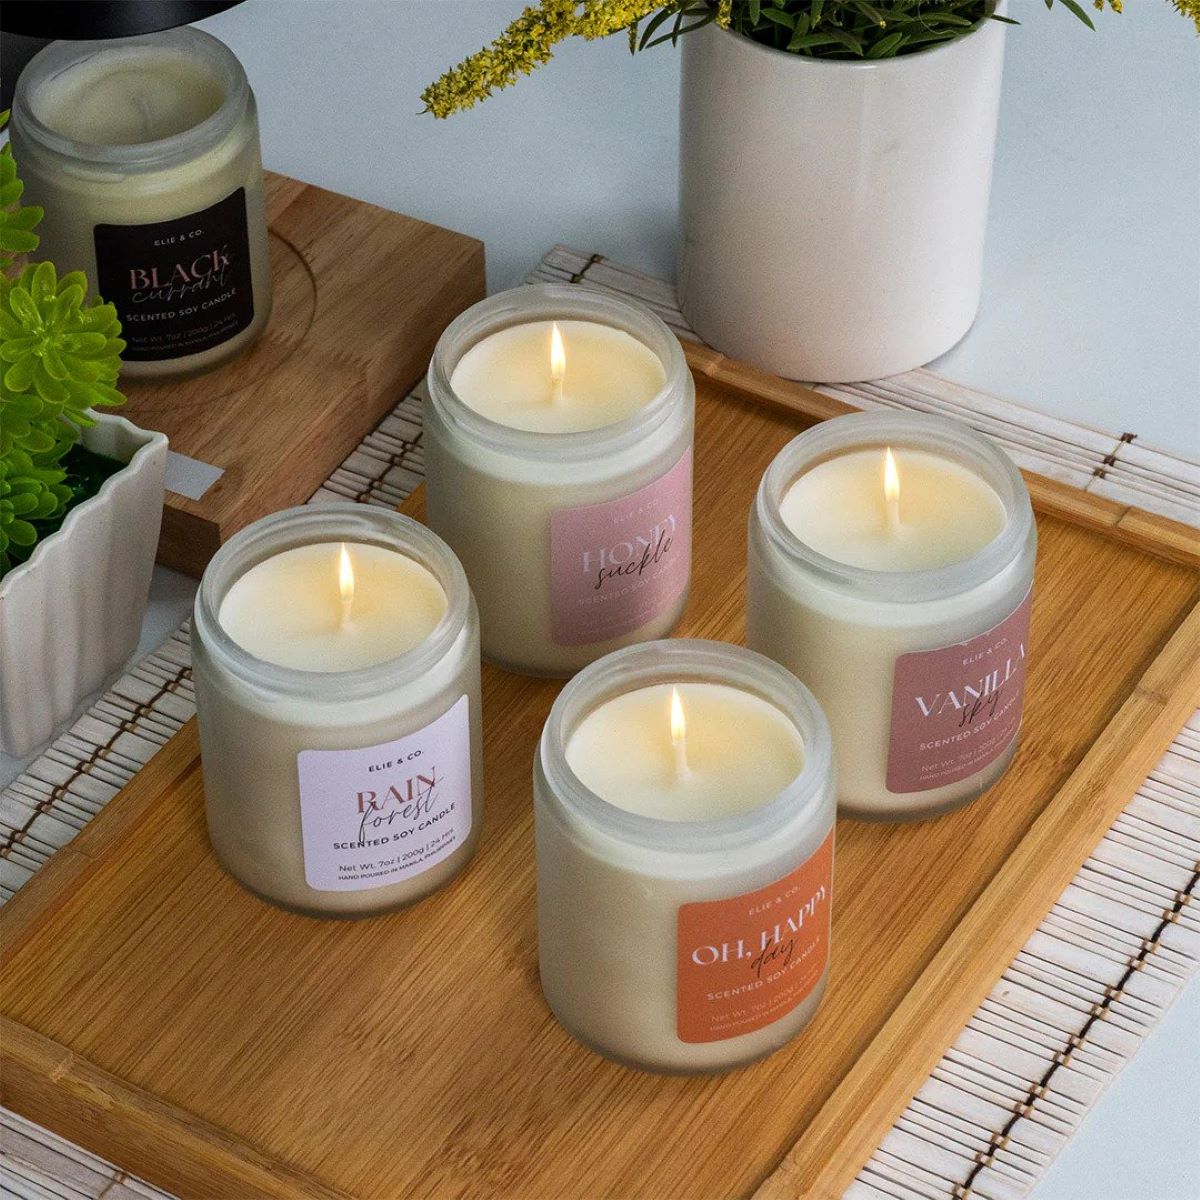
- Experiment with Coffee Varieties: If you’re a coffee enthusiast, don’t be afraid to experiment with different coffee scent options. Explore various coffee fragrances like espresso, hazelnut, or caramel macchiato to find your favorite aroma.
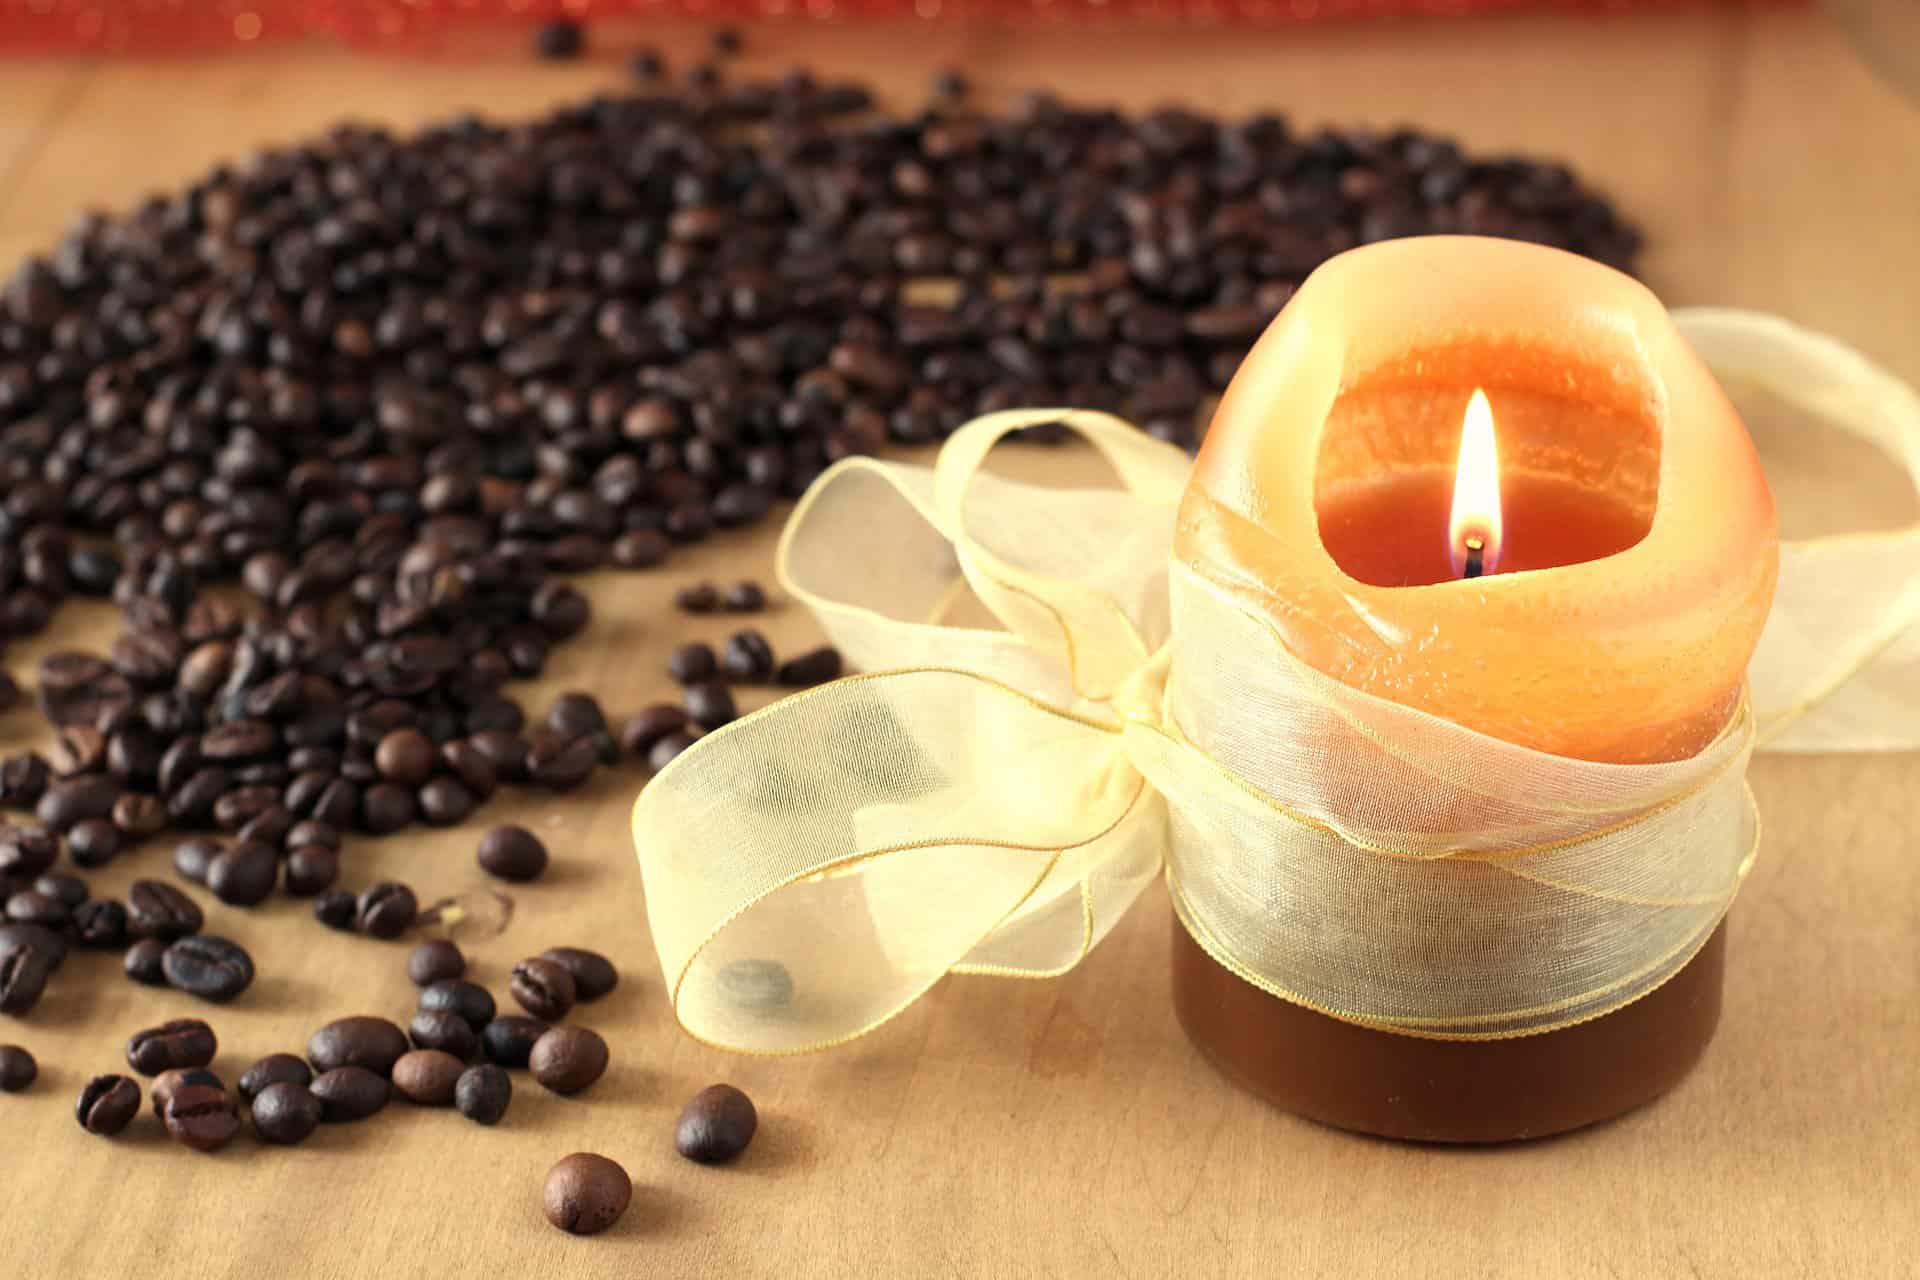
- Personalize Your Candle: Get creative and add your personal touch to the candle. Consider adding decorative elements like coffee beans or a ribbon around the container to enhance the visual appeal.
- Consider Gift-Giving: Coffee scented candles make wonderful gifts for coffee lovers and candle enthusiasts alike. Share your newfound craft by creating custom candles for friends and loved ones on special occasions.
- Upgrade Your Candle-Making Skills: The process of making scented candles is a journey of continuous learning. Experiment with different candle-making techniques, explore new fragrance combinations, and expand your skills along the way.
- Proper Candle Care: To ensure the longevity of your coffee scented candle, remember to trim the wick before each use, avoid burning it for too long, and always follow the safety instructions provided with the candle.
- Enjoy the Benefits: Aside from the delightful aroma, candles can also provide a sense of relaxation, ambiance, and tranquility. Take the time to fully enjoy the benefits that your coffee scented candle brings to your space.
Crafting coffee scented candles allows you to indulge in the comforting aroma of freshly brewed coffee and create a cozy atmosphere within your home. It’s a wonderful way to bring a little piece of your favorite café into your daily life.
So go ahead, let the captivating scent of your coffee scented candle fill the air, and immerse yourself in a sensory experience that uplifts your mood and invigorates your senses. Happy candle making and enjoy the aromatic journey!
Frequently Asked Questions about How To Make Coffee Scented Candles
Was this page helpful?
At Storables.com, we guarantee accurate and reliable information. Our content, validated by Expert Board Contributors, is crafted following stringent Editorial Policies. We're committed to providing you with well-researched, expert-backed insights for all your informational needs.


0 thoughts on “How To Make Coffee Scented Candles”