Articles
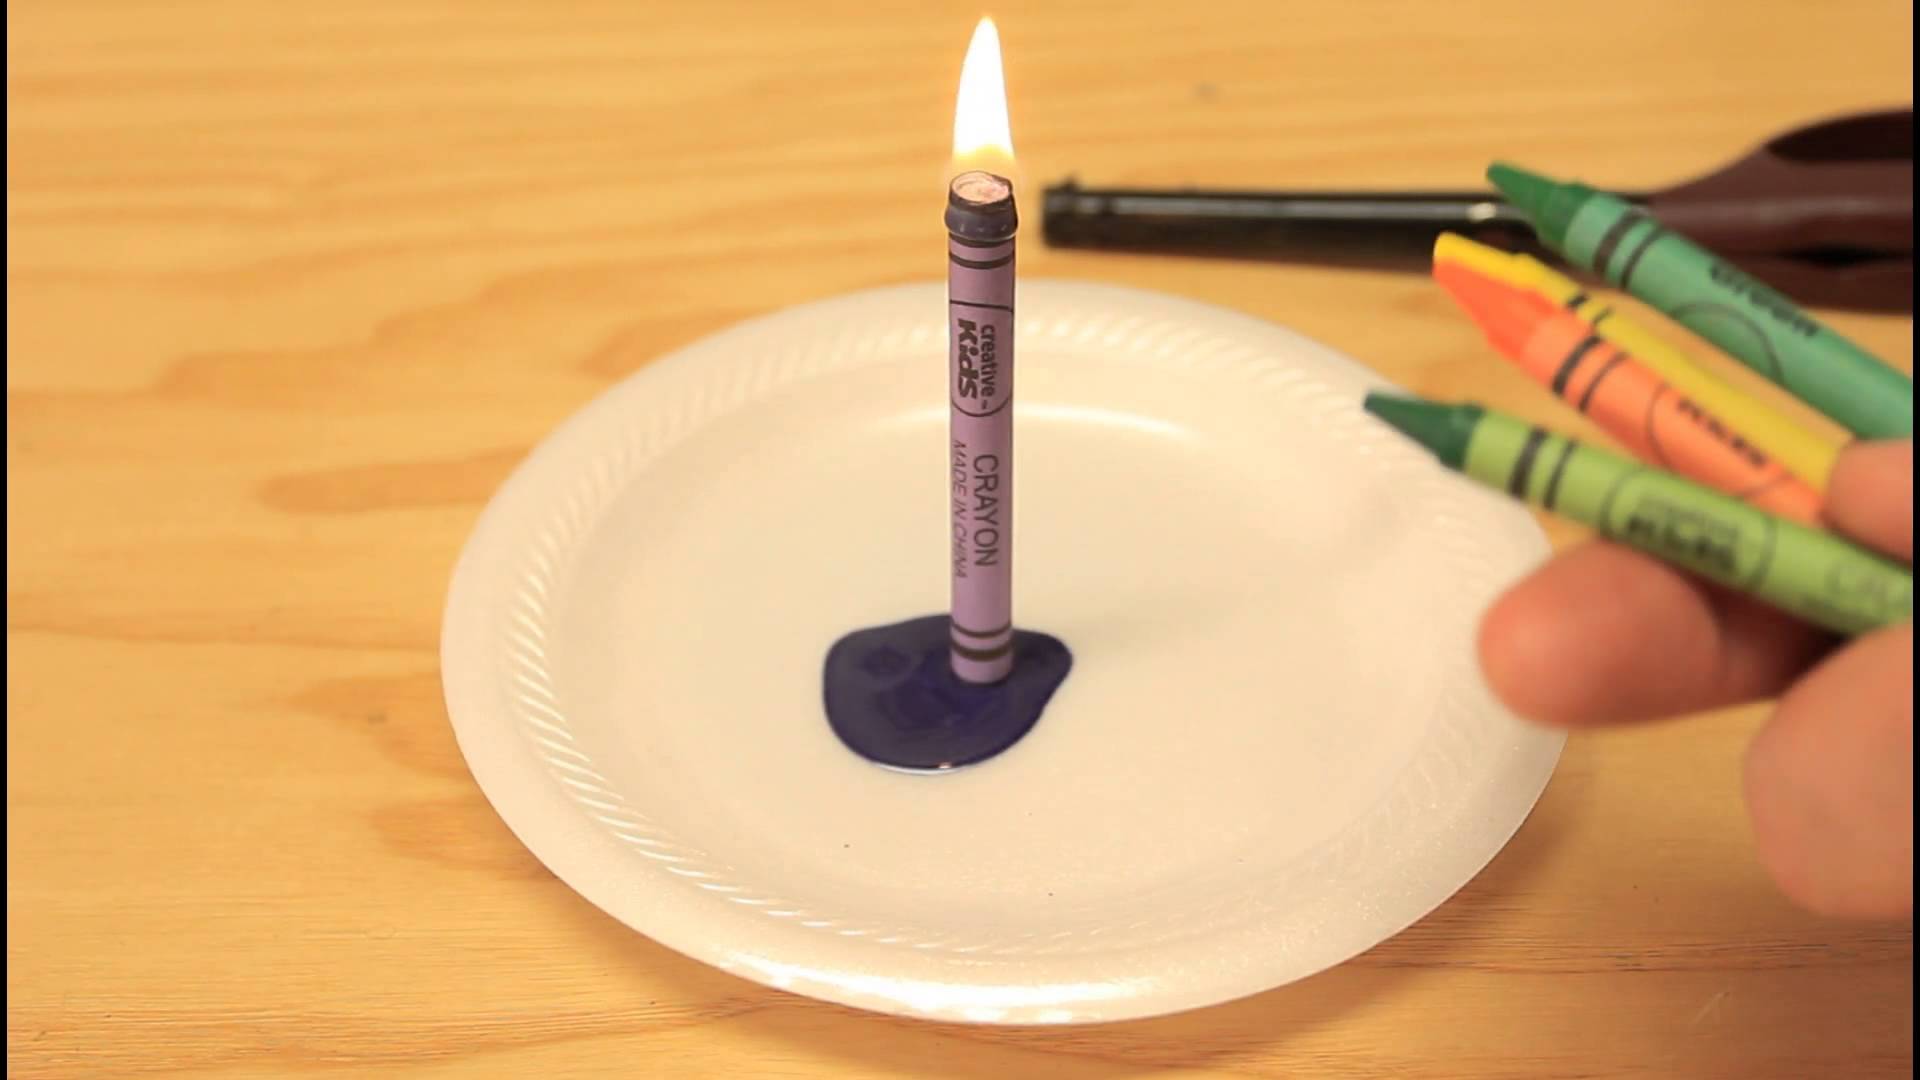
How To Make Scents For Candles
Modified: October 27, 2024
Learn how to create aromatic scents for your homemade candles with our informative articles, offering expert tips and techniques.
(Many of the links in this article redirect to a specific reviewed product. Your purchase of these products through affiliate links helps to generate commission for Storables.com, at no extra cost. Learn more)
Introduction
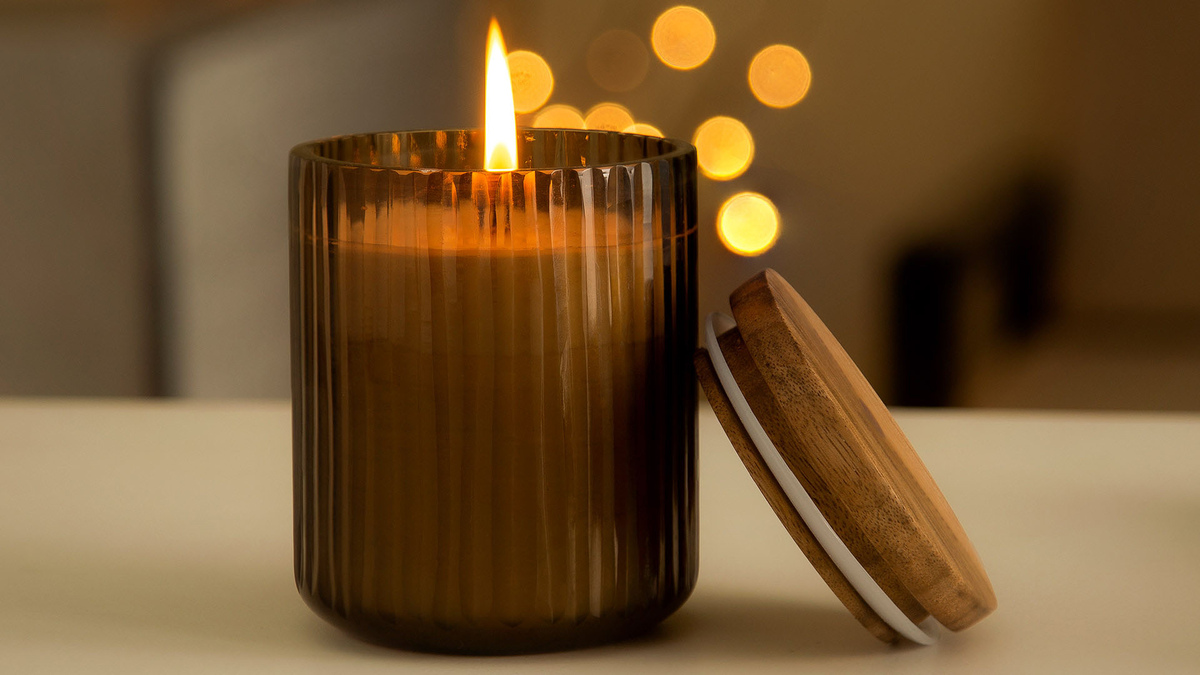
Welcome to the wonderful world of candle making! Making your own scented candles is not only a fun and creative activity, but it also allows you to personalize your living space with unique and captivating fragrances. Whether you’re a beginner or seasoned candle maker, this article will guide you through the process of making scented candles from start to finish.
Candles have been used for centuries, not just for lighting but also for their soothing and aromatic properties. The scent of a candle can create a relaxing ambiance and fill your home with delightful aromas. By making your own scented candles, you have the freedom to choose your favorite fragrances and experiment with different combinations to create a personalized olfactory experience.
Creating scented candles involves a few key steps, including choosing fragrance oils, measuring the wax, preparing the candle containers, melting the wax, adding the fragrance oils, pouring the wax, adding the wicks, allowing the candles to set, and finally, trimming the wicks. By following these steps, you’ll be able to create beautiful and fragrant candles that you can enjoy or give as thoughtful gifts.
Before we delve into the process itself, let’s take a look at the materials you’ll need for making scented candles.
Key Takeaways:
- Unleash your creativity and personalize your living space with delightful aromas by following the step-by-step process of making scented candles. Experiment with fragrance oils and enjoy the art of candle making!
- Create bespoke scents, care for your candles, and relish the soothing ambiance of DIY scented candles. From relaxation to special occasions, enjoy the magic and memorable moments they bring to your home.
Read more: How To Make Beeswax Scented Candles
Materials Needed
Before you embark on your candle making journey, it’s important to ensure that you have all the necessary materials and equipment. Here’s a list of items you’ll need to make scented candles:
- Candle wax: Choose a wax specifically designed for candle making, such as soy wax, beeswax, or paraffin wax. The type of wax you choose will depend on your personal preference and the desired outcome of your candles.
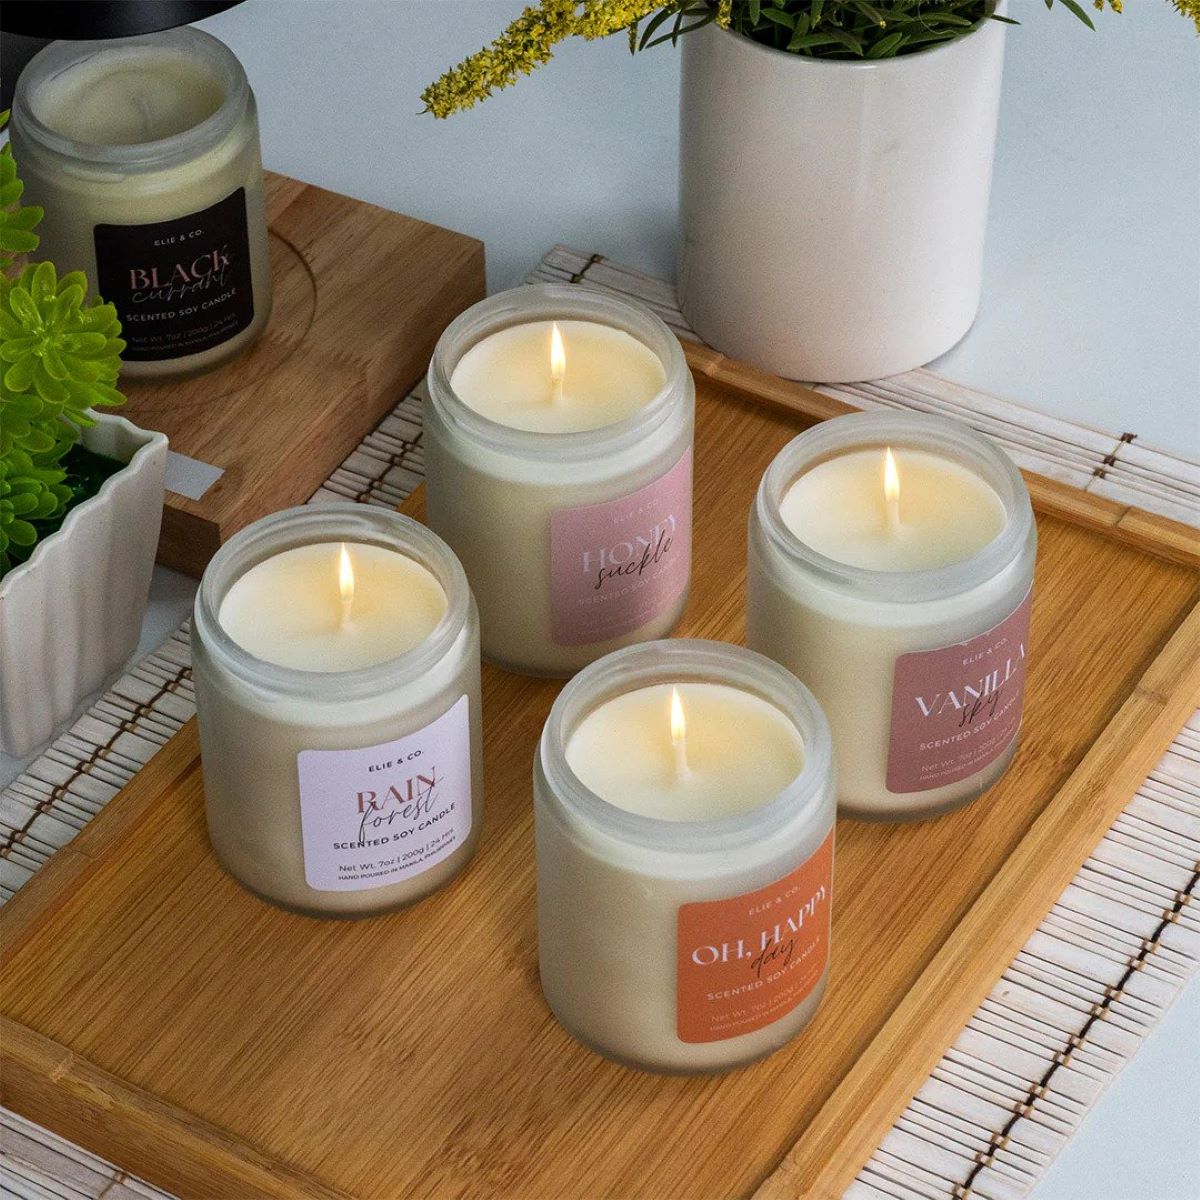
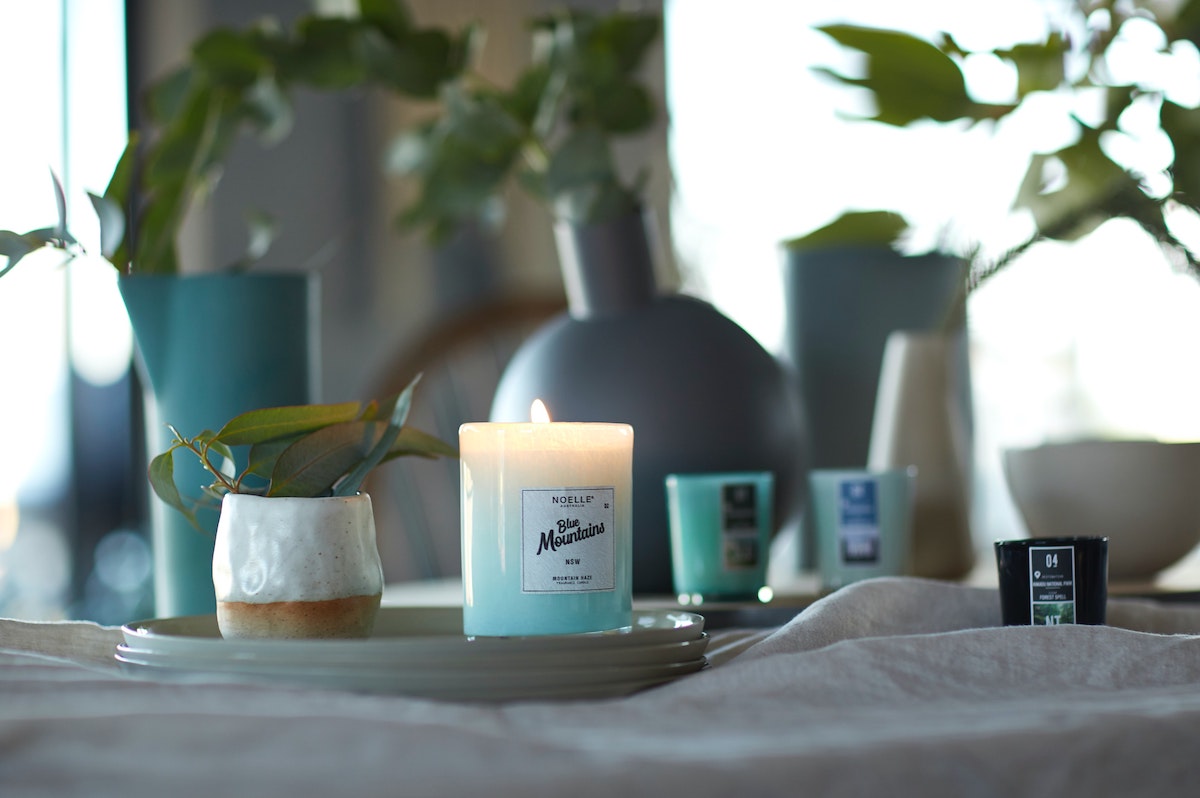
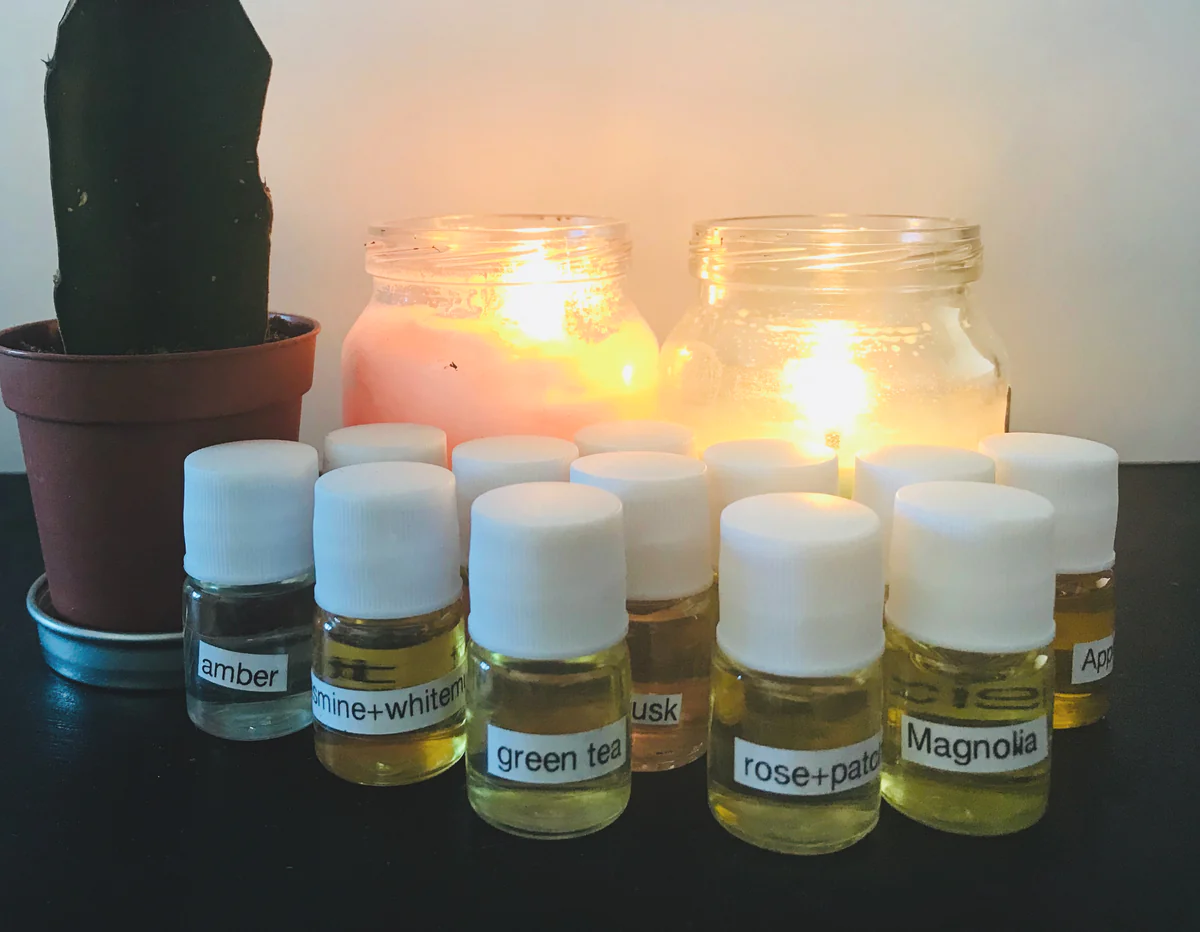
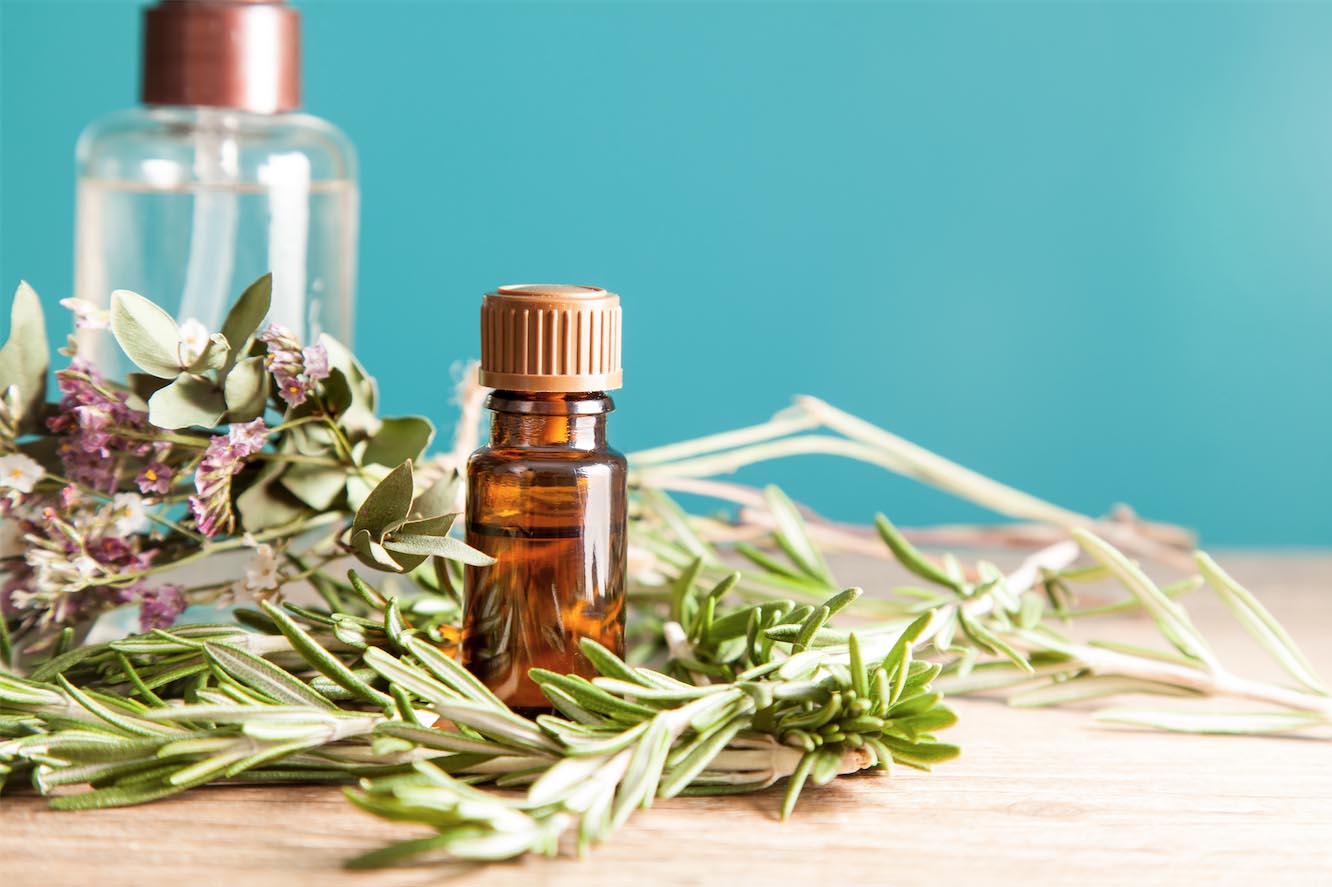
- Fragrance oils: These are essential for creating the scented aspect of your candles. You can choose from a wide range of fragrance oils, such as floral, fruity, woody, or aromatic scents. Ensure that the oils are specifically formulated for candle making.
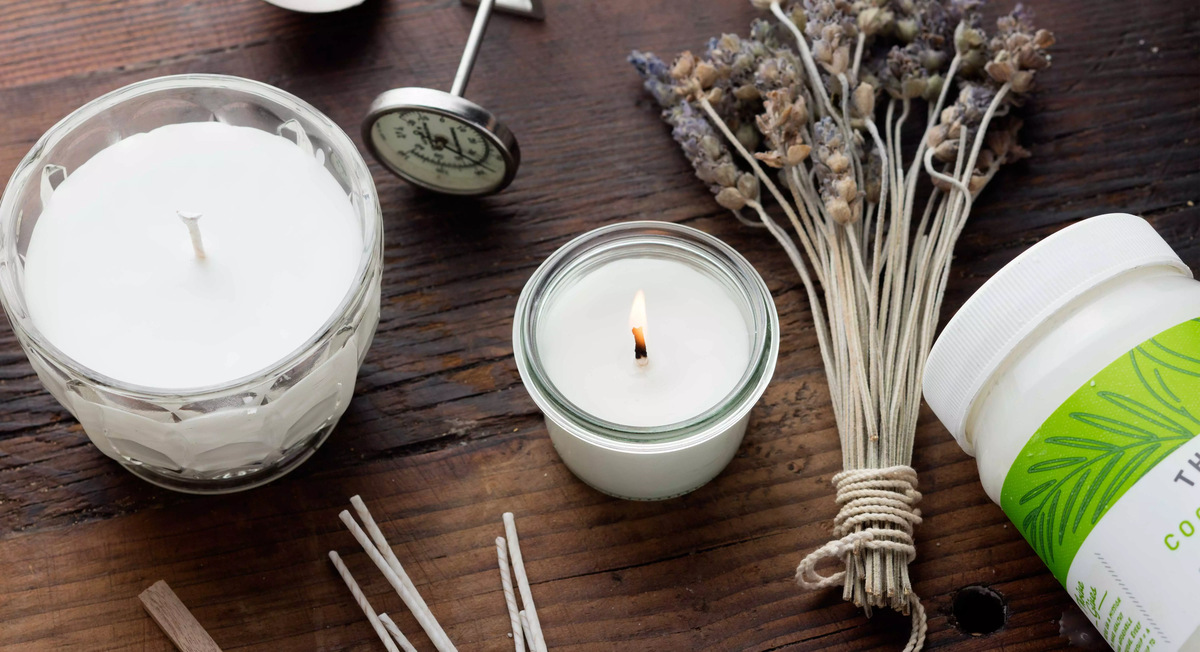
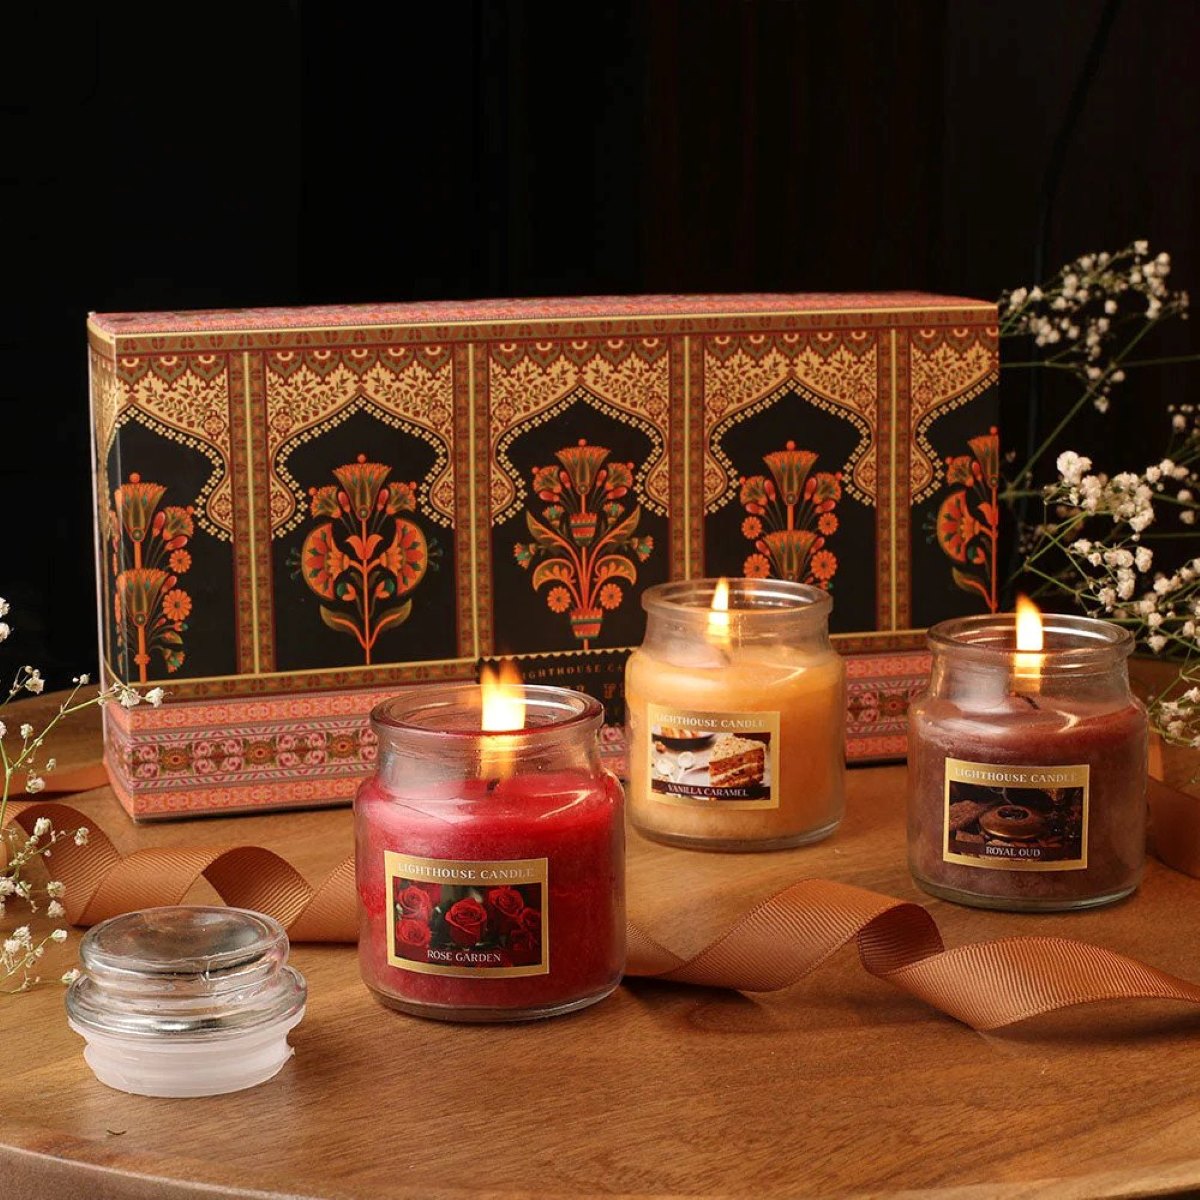
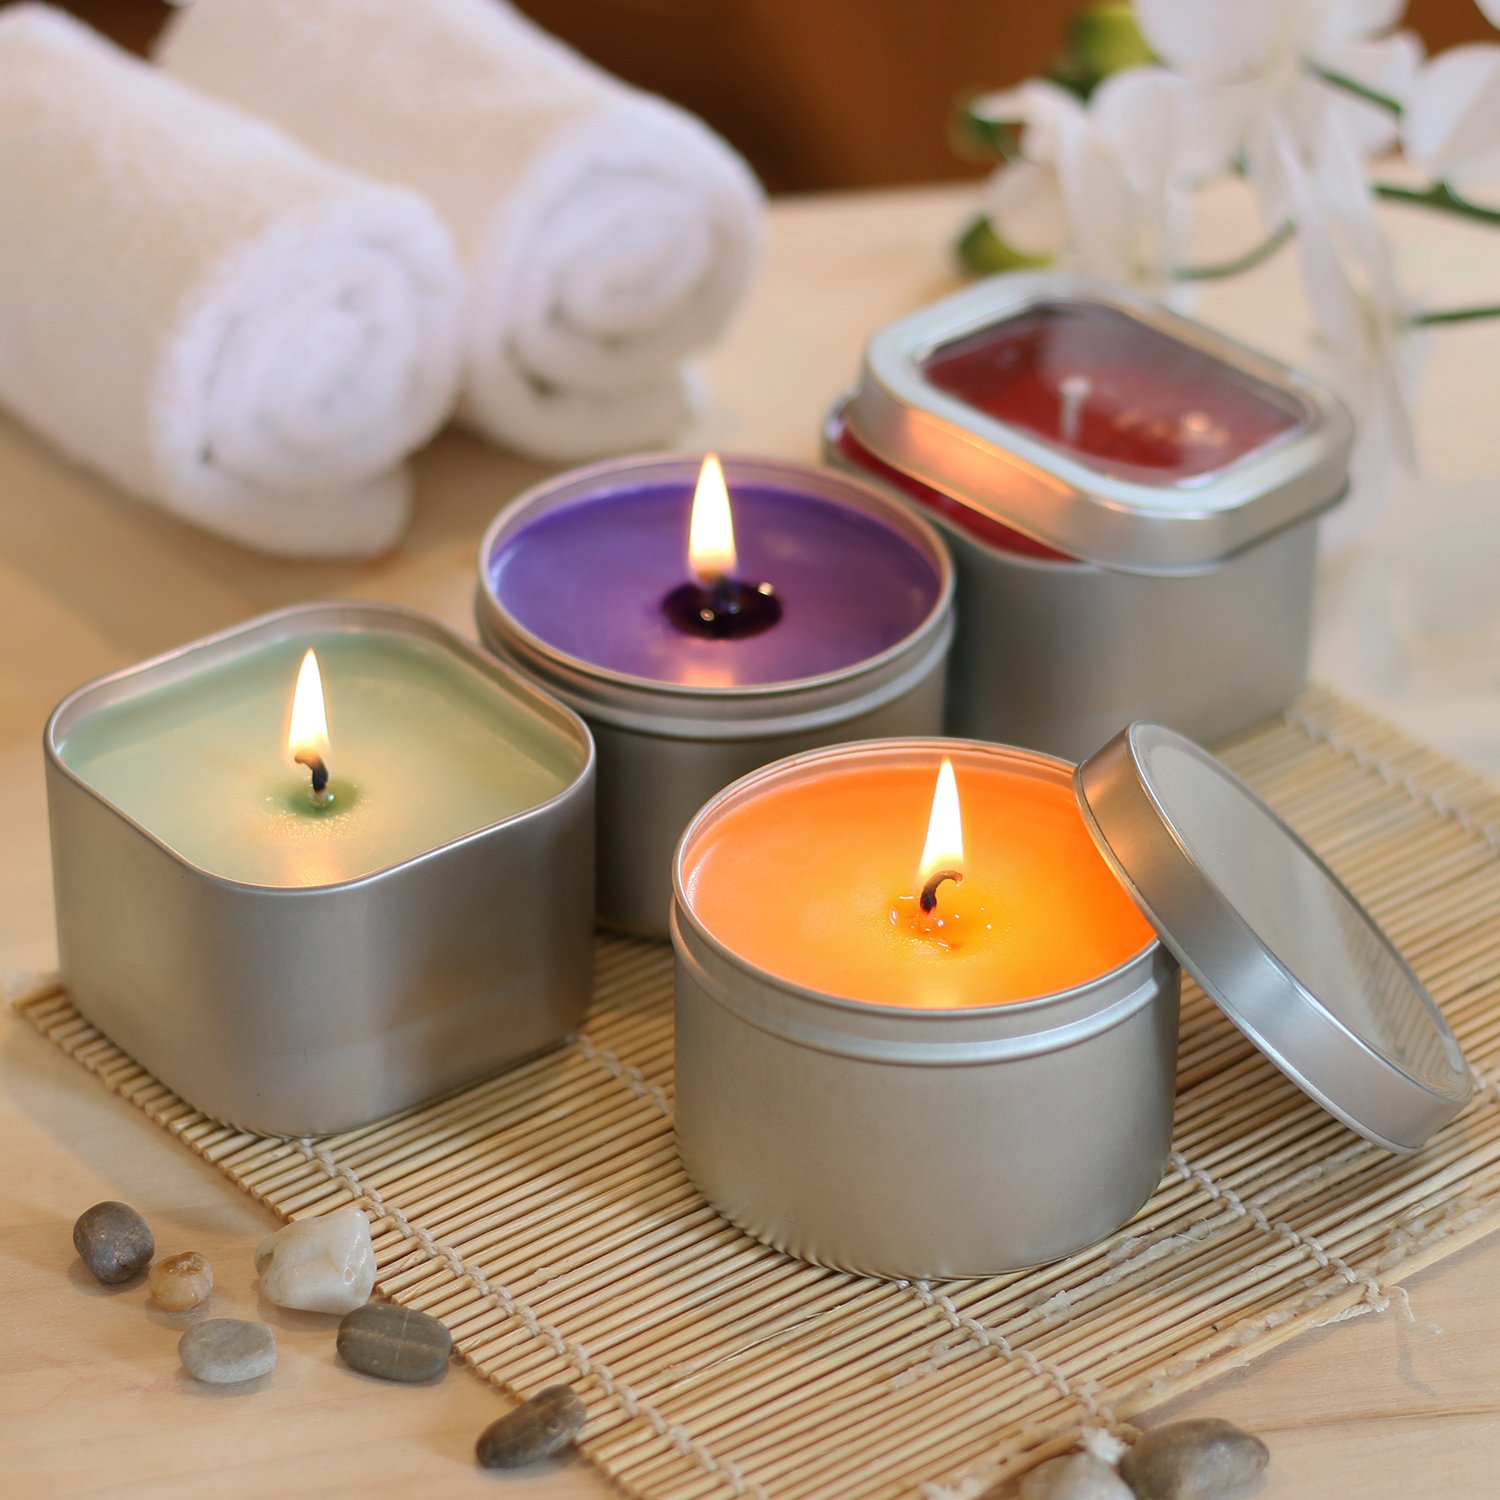
- Candle containers: Select containers that are suitable for holding melted wax and withstand the heat of the burning candle. Glass jars, tins, or ceramic containers work well for this purpose.
- Candle wicks: These are the components that allow your candles to burn. Choose wicks that are appropriate for the size and type of candles you’re making.
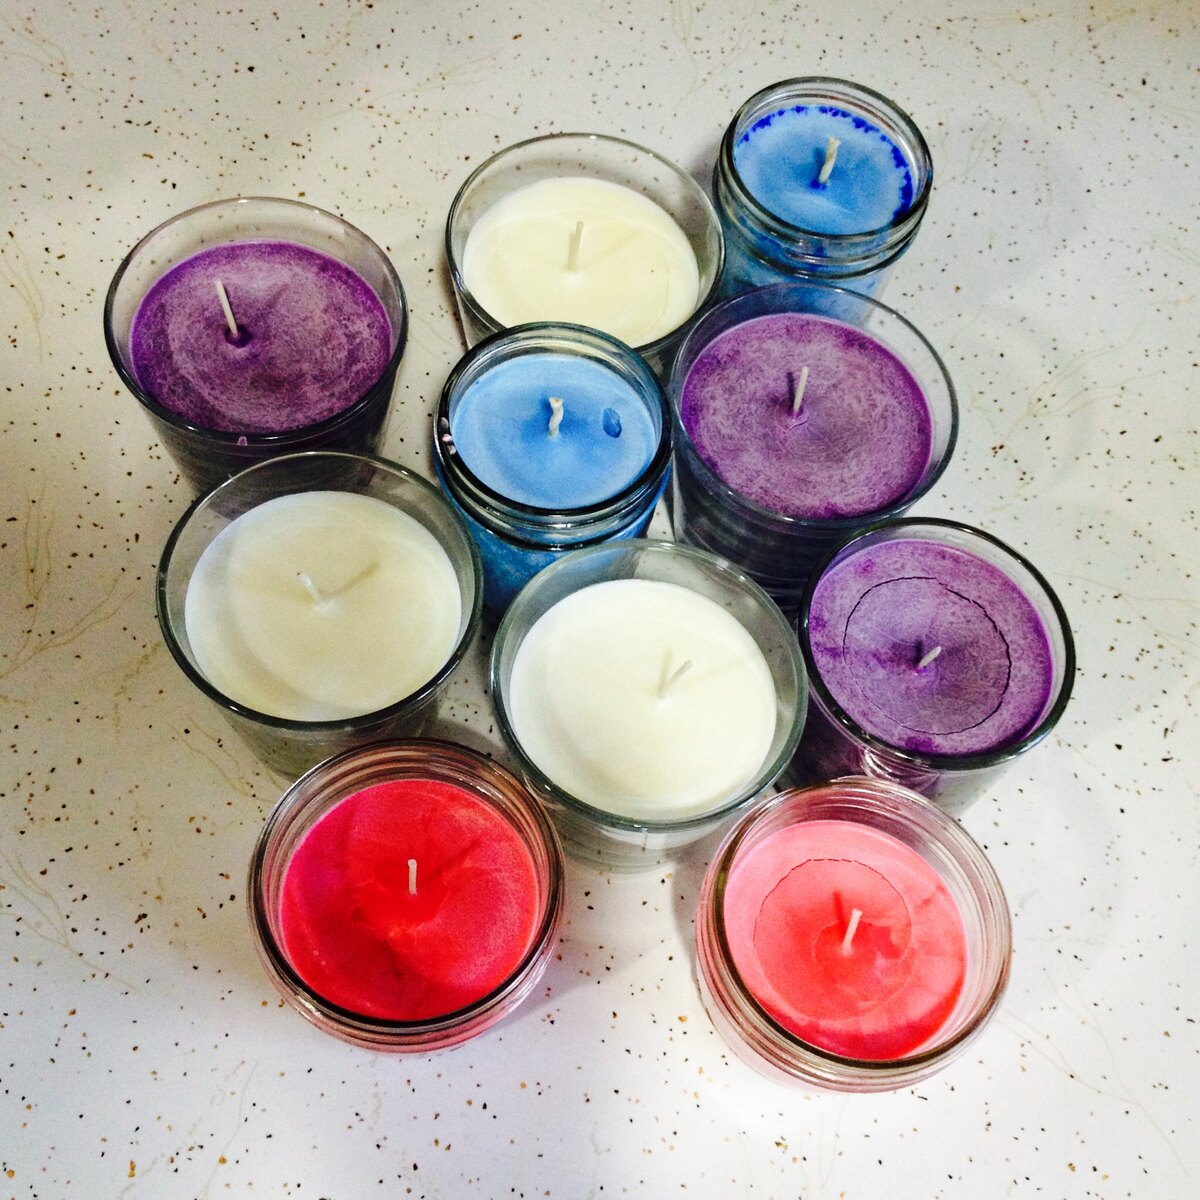
- Color dyes (optional): If you want to add color to your candles, you can use color dyes specifically formulated for candles. These come in various forms, such as liquid dyes, dye chips, or powdered dyes.
- Double boiler or melting pot: This is used to safely melt the wax. If you don’t have a double boiler, you can create one by placing a heat-resistant container (such as a Pyrex glass measuring cup) inside a pot filled with water.
- Thermometer: An essential tool for monitoring the temperature of the melted wax to ensure it’s at the appropriate temperature for adding fragrance oils.
- Stirring utensils: Use heat-resistant spoons or stirrers for mixing the fragrance oils into the melted wax.
- Hot glue gun or adhesive tabs: These are used to secure the wicks to the bottom of the candle containers.
- Scissors: Necessary for trimming the wicks once the candles have set and cooled.
By gathering these materials, you’ll be well-prepared to embark on your scented candle making adventure. Now that you have the necessary supplies, let’s move on to the step-by-step process of making scented candles.
Step 1: Choosing Your Fragrance Oils
Choosing the right fragrance oils for your scented candles is a crucial step in the candle making process. The fragrance oils you select will determine the overall scent and ambiance of your candles. Here are some tips to help you choose the perfect fragrance oils:
- Consider your preferences: Think about the scents that you personally enjoy. Do you prefer floral, fruity, fresh, or warm aromas? Consider the mood you want to create with your candles and select fragrance oils accordingly.
- Experiment with combinations: Don’t be afraid to get creative and experiment with different fragrance oil combinations. Mixing different scents can lead to unique and captivating aromas that are truly one-of-a-kind.
- Consider the season: Certain scents are popular during specific seasons. For example, floral and fruity scents are often associated with spring and summer, while warm and spicy scents are perfect for fall and winter. Tailor your fragrance oil choices to align with the season.
- Test the scents: If you’re unsure about a particular fragrance oil, consider purchasing a small quantity to conduct a test burn. This will give you a better idea of how the scent will develop once the candle is lit.
- Quality matters: Invest in high-quality fragrance oils that are specifically formulated for candle making. These oils are designed to withstand the heat of the burning candle and provide a long-lasting scent.
- Consider fragrance load: The fragrance load refers to the amount of fragrance oil you add to the wax. Follow the recommended guidelines provided with the fragrance oil to ensure the optimal scent throw without overpowering the candle.
Remember, the scent of your candles can have a powerful effect on the ambiance and atmosphere of your space. Take your time to choose fragrance oils that you truly love and that align with the desired outcome of your candles.
Once you’ve chosen your fragrance oils, it’s time to move on to the next step: measuring the wax.
Step 2: Measuring the Wax
Accurate measurement of wax is vital for creating consistent and well-performing scented candles. By properly measuring the wax, you ensure that your candles burn evenly and produce the desired scent throw. Here’s how to measure the wax:
- Weigh the wax: Using a kitchen scale or a candle-making scale, measure the required amount of wax for your candles. The amount of wax you need will depend on the size and number of candles you plan to make. Refer to the candle wax manufacturer’s guidelines for the recommended wax-to-container ratio.
- Melt more wax than you need: It’s always a good idea to melt slightly more wax than necessary to account for any potential spills or evaporation during the melting process.
- Use a heat-resistant container: Place the measured wax into a heat-resistant pouring container, such as a Pyrex glass measuring cup. This will make it easier to pour the melted wax into the candle containers later on.
Measuring the wax accurately is crucial for achieving consistent results in your candle making. By following these steps, you’ll be ready to move on to the next stage: preparing the candle containers.
Step 3: Preparing the Candle Containers
Before pouring the melted wax into the candle containers, it’s important to prepare them properly. This ensures that the wax adheres well to the containers and creates a professional-looking finished product. Here’s how to prepare the candle containers:
- Clean the containers: Start by cleaning the candle containers thoroughly. Remove any dust, dirt, or debris that may be present. This will ensure that the final candles look clean and polished.
- Secure the wick: If you’re using a wick that needs to be secured to the bottom of the container, use a hot glue gun or adhesive tabs to attach it firmly. Make sure the wick is centered in the container and pulled taut.
- Optional: Decorate the containers: If you want to add a personal touch to your candles, consider decorating the containers. You can tie a ribbon around the jar, attach a label or tag, or even paint or etch designs onto the glass. Get creative and make your candles visually appealing.
- Protect the surrounding area: Place a protective covering, such as newspaper or a cloth, on the work surface to catch any spills or drips.
By adequately preparing the candle containers, you ensure that your candles have a professional appearance and that the wicks are securely in place. With the containers ready, it’s time to move on to the next step: melting the wax.
Read more: How To Make Coffee Scented Candles
Step 4: Melting the Wax
Now that you’ve prepared the candle containers, it’s time to melt the wax. Properly melted wax is essential for creating smooth and evenly burning candles. Here’s how to melt the wax:
- Set up a double boiler: Fill a pot with water and place it on the stove. Heat the water on medium heat until it simmers. Place a heat-resistant pouring container with the measured wax inside the pot, ensuring that the water doesn’t touch the bottom of the pouring container.
- Melt the wax: As the water simmers, the heat will gradually melt the wax inside the pouring container. Stir the wax occasionally with a heat-resistant spoon or stirrer to promote even melting.
- Monitor the temperature: Use a thermometer to monitor the temperature of the melting wax. Different types of wax have different melting points, so refer to the wax manufacturer’s guidelines for the recommended melting temperature. Generally, most waxes melt between 120°F to 180°F (49°C to 82°C).
- Do not leave unattended: It’s important to never leave the melting wax unattended. Wax can become flammable if overheated, so stay vigilant and keep a close eye on the melting process.
Keep in mind that safety is paramount when melting wax. Ensure that the area is well-ventilated, and never heat the wax directly on an open flame. By following these steps, you’ll have properly melted wax ready for the next stage: adding the fragrance oils.
Step 5: Adding the Fragrance Oils
Adding fragrance oils is one of the most exciting steps in the candle making process. This is where your chosen scents come to life and infuse the wax with delightful aromas. Here’s how to add the fragrance oils to your melted wax:
- Check the temperature: Before adding the fragrance oils, ensure that the melted wax has cooled down to the recommended temperature specified by the fragrance oil manufacturer. Generally, a temperature between 180°F to 185°F (82°C to 85°C) is suitable.
- Measure the fragrance oils: Use a disposable pipette or a graduated dropper to measure the desired amount of fragrance oil. The recommended fragrance load typically ranges from 6% to 10% of the total weight of the wax used.
- Add the fragrance oils: Slowly pour the measured fragrance oils into the melted wax while stirring gently. Stir the wax and fragrance oils together for a few minutes to ensure they are well combined.
- Avoid over-stirring: While it’s important to mix the fragrance oils thoroughly, be careful not to over-stir, as it can introduce air bubbles into the wax. Stir just enough to evenly distribute the fragrance oils throughout the melted wax.
Adding fragrance oils is a crucial step in creating scented candles that fill your space with enticing aromas. Be sure to follow the recommended guidelines for fragrance load and temperature to achieve the best results. With the fragrance oils incorporated, it’s time to move on to the next step: pouring the wax into the containers.
When making scents for candles, start with high-quality fragrance oils and experiment with different combinations to create unique and appealing scents. Keep detailed notes of your recipes for future reference.
Step 6: Pouring the Wax
With the fragrance oils mixed into the melted wax, it’s time to pour the wax into the prepared candle containers. This step allows the wax to take shape and solidify, giving form to your scented candles. Here’s how to pour the wax:
- Prepare the workspace: Place the prepared candle containers on a heat-resistant surface. This will prevent any damage to the surface from the hot wax.
- Hold the wick: To ensure that the wick remains centered as you pour the wax, hold it gently in place with one hand while pouring with the other hand.
- Pour slowly and steadily: Begin pouring the melted wax into the container, starting from the center and moving toward the edges. Pour slowly and steadily to prevent any splashing or accidents.
- Leave some headspace: It’s important to leave some space at the top of the candle container to allow for expansion and to prevent any overflow when the candle burns. Leave about ½ to 1 inch (1.27 to 2.54 cm) of headspace.
- Avoid disturbing the wax: Once the wax is poured, try to avoid moving or disturbing the containers until the wax has completely solidified.
Pouring the wax into the containers is an exciting step as you witness your scented candles taking shape. Exercise patience and caution to ensure a smooth and mess-free process. With the wax poured, it’s time to move on to the next step: adding the wicks.
Step 7: Adding the Wicks
Adding the wicks is an essential step in candle making as they provide the means for your candles to burn. Proper placement and securing of the wicks ensure that your candles burn evenly and efficiently. Here’s how to add the wicks to your scented candles:
- Prepare the wicks: Trim the wicks to a suitable length, leaving approximately ¼ inch (0.64 cm) above the surface of the candle wax. This will ensure a clean and controlled burn.
- Center the wicks: Gently center the wicks in each candle container, making sure they are straight and upright. You can use a wick centering tool or simply use a pencil or skewer to adjust the position of the wicks.
- Secure the wicks: To keep the wicks in place while the candles set, you have a few options. One popular method is to use a hot glue gun to apply a small dab of hot glue to the bottom of the wick tab or metal sustainer and press it firmly onto the bottom of the container. Another option is to use adhesive tabs designed specifically for candle making.
Properly adding and securing the wicks is crucial for the performance of your scented candles. Take your time to ensure they are centered and secured firmly to prevent any wick displacement during burning. With the wicks added, it’s time to move on to the next step: allowing the candles to set.
Read more: How To Make Vanilla Scented Candles
Step 8: Allowing the Candles to Set
After pouring the wax and adding the wicks, it’s important to allow the candles to fully set and solidify before moving or using them. This ensures that the candles maintain their shape and integrity. Here’s what you need to do to allow the candles to set:
- Find a suitable location: Place the candles in a cool, undisturbed area where they can set without being moved or exposed to fluctuations in temperature or drafts. It’s best to let them set for at least 24 hours to ensure complete solidification.
- Patience is key: Resisting the temptation to touch or move the candles during the setting process is crucial. Any disturbances can disrupt the wax and affect the overall appearance and performance of the candles.
- Avoid rapid cooling or heating: Drastic changes in temperature can cause the candles to crack or warp. It’s best to allow the candles to set naturally at room temperature without any external heating or cooling sources.
Allowing the candles to set undisturbed is an essential part of the candle making process. It ensures that the wax solidifies properly, resulting in beautiful and long-lasting scented candles. Once the candles have completely set, it’s time for the final step: trimming the wicks.
Step 9: Trimming the Wicks
Trimming the wicks is a crucial step in candle maintenance as it promotes a safe and efficient burn. By keeping the wicks at the right length, you can prevent excessive smoke, mushrooming, and uneven burning. Here’s how to trim the wicks of your scented candles:
- Wait for the candles to fully set: Make sure the candles have completely cooled and solidified before attempting to trim the wicks. This usually takes a minimum of 24 hours.
- Inspect the wicks: Examine the top of each wick. If there is any mushrooming, carbon buildup, or excessively long wicks, these need to be trimmed.
- Use sharp scissors or wick trimmers: Trim the wicks to approximately ¼ inch (0.64 cm) above the surface of the candle wax. This helps to maintain a clean and controlled flame.
- Proper disposal: Discard the trimmed wick remnants in a trash bin. Do not leave them in the candle or let them fall back into the wax, as they can cause potential hazards during burning.
Regularly trimming the wicks of your scented candles ensures a safer and more enjoyable candle experience. This step is particularly important before each subsequent use to maintain optimal burn quality. With the wicks trimmed, your scented candles are now ready for the final step: enjoying their delightful fragrance.
Step 10: Enjoying Your DIY Scented Candles
Congratulations! You’ve successfully made your own scented candles from start to finish. Now it’s time to sit back, relax, and enjoy the beautiful aromas and soothing ambiance they create. Here are some tips for getting the most out of your DIY scented candles:
- Choose the perfect location: Place your candles in areas where you’ll benefit from their fragrance the most. Commonly, candles are placed in living rooms, bedrooms, bathrooms, or any space where you want to create a cozy and inviting atmosphere.
- Burn candles in a safe area: Always place your candles on a heat-resistant surface away from flammable materials. Keep them out of reach of children and pets to prevent accidents.
- Practice candle safety: Never leave a burning candle unattended. Make sure to extinguish the candle before leaving the room or going to sleep.
- Trim the wicks before each use: Remember to trim the wicks to approximately ¼ inch (0.64 cm) before lighting the candles. This helps to ensure a clean and even burn.
- Burn candles for an appropriate length of time: Allow the candles to burn long enough for the wax pool to reach the edges of the container. This prevents tunneling and promotes an even burn.
- Rotate candle use: To ensure even use of your scented candles, rotate them regularly. This prevents any one candle from being used more than the others and helps maintain their fragrance quality.
- Enjoy the aromatherapy benefits: Take a moment to indulge in the relaxing and uplifting effects of the scents. Allow the aromas to enhance your mood, help you unwind, or create a soothing ambiance during special occasions or quiet evenings at home.
By following these tips, you can make the most of your DIY scented candles and enjoy them to the fullest. Whether you’re relaxing, meditating, setting the mood for a romantic evening, or simply adding a touch of fragrance to your space, your homemade candles will enhance your environment with their beautiful scents.
Remember, candle making is a creative and enjoyable process that allows you to personalize your space with unique fragrances. So, unleash your creativity, experiment with different scent combinations, and continue to explore the art of candle making. Happy candle burning and enjoy the ambience and exquisite scents that your DIY candles bring to your life!
Now that you have learned the steps to make scented candles and how to enjoy them, you can continue to refine your skills and create even more wonderful candles for yourself or to share as thoughtful gifts. Have fun and enjoy the journey of candle making!
Conclusion
Making your own scented candles is a rewarding and fulfilling craft that allows you to unleash your creativity while filling your living space with delightful aromas. By following the step-by-step process outlined in this article, you’ve learned how to choose fragrance oils, measure the wax, prepare the candle containers, melt the wax, add the fragrance oils, pour the wax, add the wicks, allow the candles to set, trim the wicks, and, finally, enjoy the fruits of your labor.
Remember, as you embark on your candle-making journey, choose fragrance oils that resonate with your personal preferences and experiment with unique combinations to create bespoke scents. Accurate measurement of the wax and proper preparation of the candle containers are important for achieving professional-looking results. When melting the wax and adding the fragrances, maintaining the recommended temperature and load ensures optimal scent throw.
Don’t forget to care for your candles by properly trimming the wicks and following candle safety practices. And most importantly, take the time to relish the beautiful aromas and soothing ambiance that your DIY scented candles bring to your home.
So, gather your materials, ignite your creativity, and let your imagination run wild as you craft unique and personalized scented candles. From relaxing evenings to special occasions, these candles will add a touch of magic and create memorable moments for you and your loved ones. Enjoy the process, revel in the scents, and continue to explore the art of candle making as a fulfilling and delightful hobby.
Happy candle making and enjoy the wonderful world of scented candles!
Frequently Asked Questions about How To Make Scents For Candles
Was this page helpful?
At Storables.com, we guarantee accurate and reliable information. Our content, validated by Expert Board Contributors, is crafted following stringent Editorial Policies. We're committed to providing you with well-researched, expert-backed insights for all your informational needs.