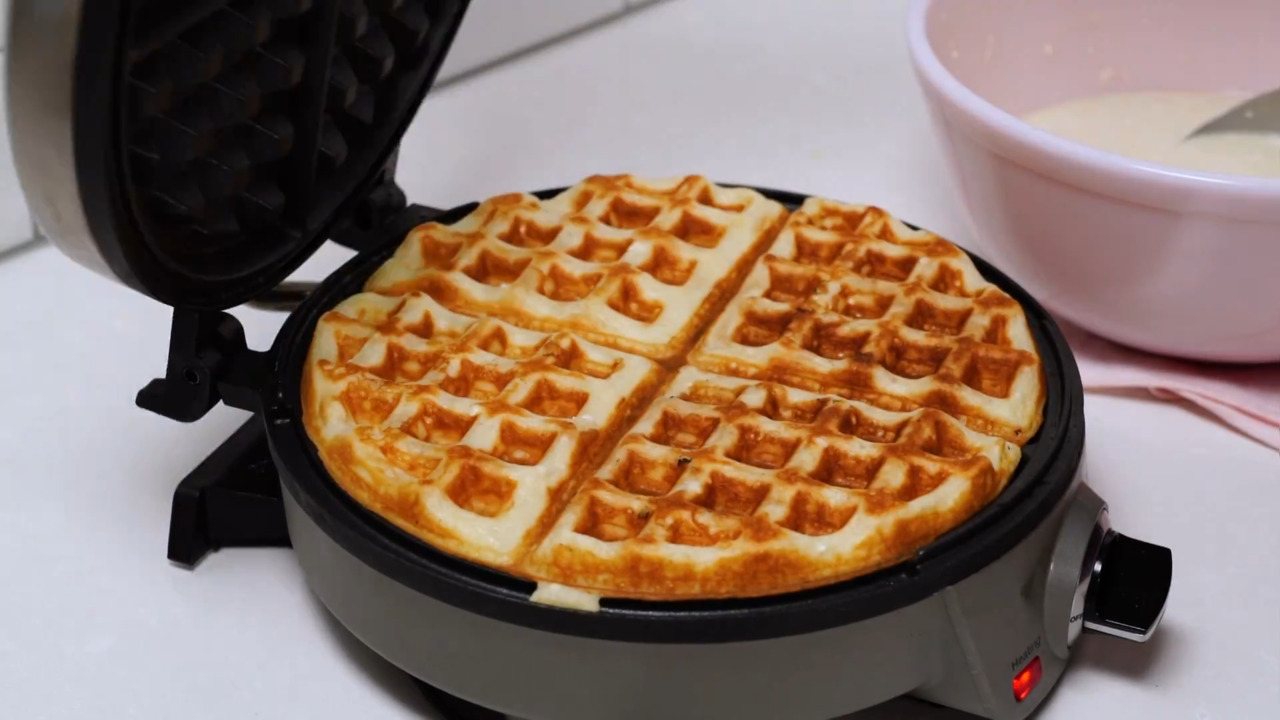

Articles
How To Make Waffles Crispy In Waffle Iron
Modified: August 26, 2024
Looking for articles on how to make your waffles crispy in a waffle iron? Discover expert tips and techniques to achieve the perfect, golden-brown texture in this comprehensive guide.
(Many of the links in this article redirect to a specific reviewed product. Your purchase of these products through affiliate links helps to generate commission for Storables.com, at no extra cost. Learn more)
Introduction
Waffles have long been a favorite breakfast treat, loved for their fluffy interior and golden brown exterior. But what really makes a waffle stand out is its crispiness. The perfect waffle has a delicate, crunchy texture that adds a delightful contrast to its soft and fluffy center. If you’ve ever wondered how to achieve that coveted crispiness in your homemade waffles using a waffle iron, then you’re in the right place.
In this article, we’ll explore the tips and techniques to make waffles crispy in a waffle iron. From understanding the waffle iron to choosing the right batter and mastering the cooking process, we’ll cover all the important steps that will take your waffle game to the next level.
So, whether you’re a seasoned waffle enthusiast looking to elevate your breakfast experience or a beginner experimenting with waffle making, read on to discover the secrets of creating irresistibly crispy waffles.
Key Takeaways:
- Master the art of making crispy waffles in a waffle iron by understanding the equipment, preheating properly, choosing the right batter, and cooking with precision. Elevate your breakfast game with irresistibly crispy homemade waffles.
- Achieve the perfect balance of fluffy interior and crispy exterior in your waffles by following expert tips. Experiment with batter recipes, cooking times, and heat settings to create personalized crispy waffles that rival your favorite breakfast spot.
Understanding the Waffle Iron
Before we dive into the process of making crispy waffles, it’s important to have a good understanding of the waffle iron itself. A waffle iron is a kitchen appliance specifically designed to cook waffle batter into a delicious breakfast treat. It consists of two hinged metal plates with a patterned grid on the inside, which gives the waffle its characteristic pattern.
Waffle irons are available in various sizes and shapes, ranging from small round ones to larger square ones. They may also come with additional features like temperature control and non-stick surfaces. Understanding the type of waffle iron you have will help you adjust the cooking process to achieve the desired level of crispiness.
One key factor to consider is the heat distribution of your waffle iron. Some models distribute heat evenly across the entire iron, while others may have hot spots. Knowing the hot spots can help you determine where to place the batter and how to adjust the cooking time for consistent crispiness.
Additionally, the thickness of the waffle iron plates also plays a role in the crispiness of the waffle. Thicker plates tend to retain heat better and can result in a crisper exterior. However, thinner plates can create a lighter and fluffier interior. It’s all about finding the right balance to achieve your desired waffle texture.
Now that we have a basic understanding of the waffle iron, let’s move on to the next step: preheating the waffle iron.
Preheating the Waffle Iron
Preheating the waffle iron is a crucial step in achieving crispy waffles. Just like any cooking appliance, allowing the waffle iron to fully preheat ensures even heat distribution and helps to develop a golden brown and crispy exterior.
Start by plugging in your waffle iron and setting it to the desired temperature. Many waffle irons come with temperature control settings, allowing you to choose between different heat levels. If your waffle iron doesn’t have a specific temperature control, a medium-high heat setting is typically a good starting point.
It’s important to give the waffle iron enough time to fully preheat. This can typically take around 5 minutes, but it’s always a good idea to consult your waffle iron’s manual for specific preheating instructions. Preheating ensures that the waffle batter comes into contact with a hot surface, resulting in a crispier texture.
While waiting for the waffle iron to preheat, you can use this time to prepare your waffle batter. This way, once the waffle iron is hot and ready, you can quickly pour the batter and start cooking to maintain optimal heat levels.
Remember, never try to rush the preheating process by using higher heat settings or overcrowding the waffle iron. This can lead to uneven cooking and may result in undercooked or burnt waffles. Patience is key when it comes to preheating your waffle iron for perfectly crispy waffles.
Now that your waffle iron is preheated and the batter is ready, let’s move on to the next step: choosing the right batter.
Choosing the Right Batter
When it comes to making crispy waffles, the type of batter you use plays a significant role. While there are countless waffle recipes out there, a few key ingredients and techniques can make a big difference in achieving that perfect crispiness.
First and foremost, it’s important to use a batter that has a higher protein content. Protein helps to create structure and crispness in the waffle. One way to increase the protein content is by using a combination of all-purpose flour and a small amount of cornstarch or protein-rich ingredients such as almond or chickpea flour.
Additionally, using a batter that has a higher fat content will help in achieving a crispy exterior. Adding melted butter or vegetable oil to the batter will contribute to the waffle’s golden brown and crunchy texture.
If you prefer a lighter and fluffier interior, you can separate the eggs and beat the egg whites to stiff peaks before folding them into the batter. This technique adds airiness, resulting in a lighter waffle while still maintaining a crisp exterior.
Furthermore, incorporating flavorings into your batter can enhance the overall taste and texture of the waffle. Consider adding vanilla extract, cinnamon, or even a hint of citrus zest to elevate the flavor profile.
Remember, the consistency of the batter is equally important. It should be thick enough to hold its shape but still pourable. If the batter is too thin, it may spread too much and result in a less crispy waffle. Adjust the batter consistency by adding more flour if it’s too thin or a splash of liquid such as milk if it’s too thick.
By choosing the right batter and paying attention to its texture and ingredients, you can set yourself up for success in creating crispy waffles. Now that we have our batter, let’s move on to the next step: using the right amount of batter.
Using the Right Amount of Batter
Using the right amount of batter is crucial for achieving evenly cooked and crispy waffles. Adding too much or too little batter can lead to uneven distribution and may result in waffles that are either overcooked or undercooked.
The amount of batter needed will depend on the size of your waffle iron and the specific instructions provided by the manufacturer. Generally, it’s recommended to use about 1/2 to 3/4 cup of batter for a standard-sized waffle iron. This amount allows for proper spreading and ensures that the waffle iron is not overloaded.
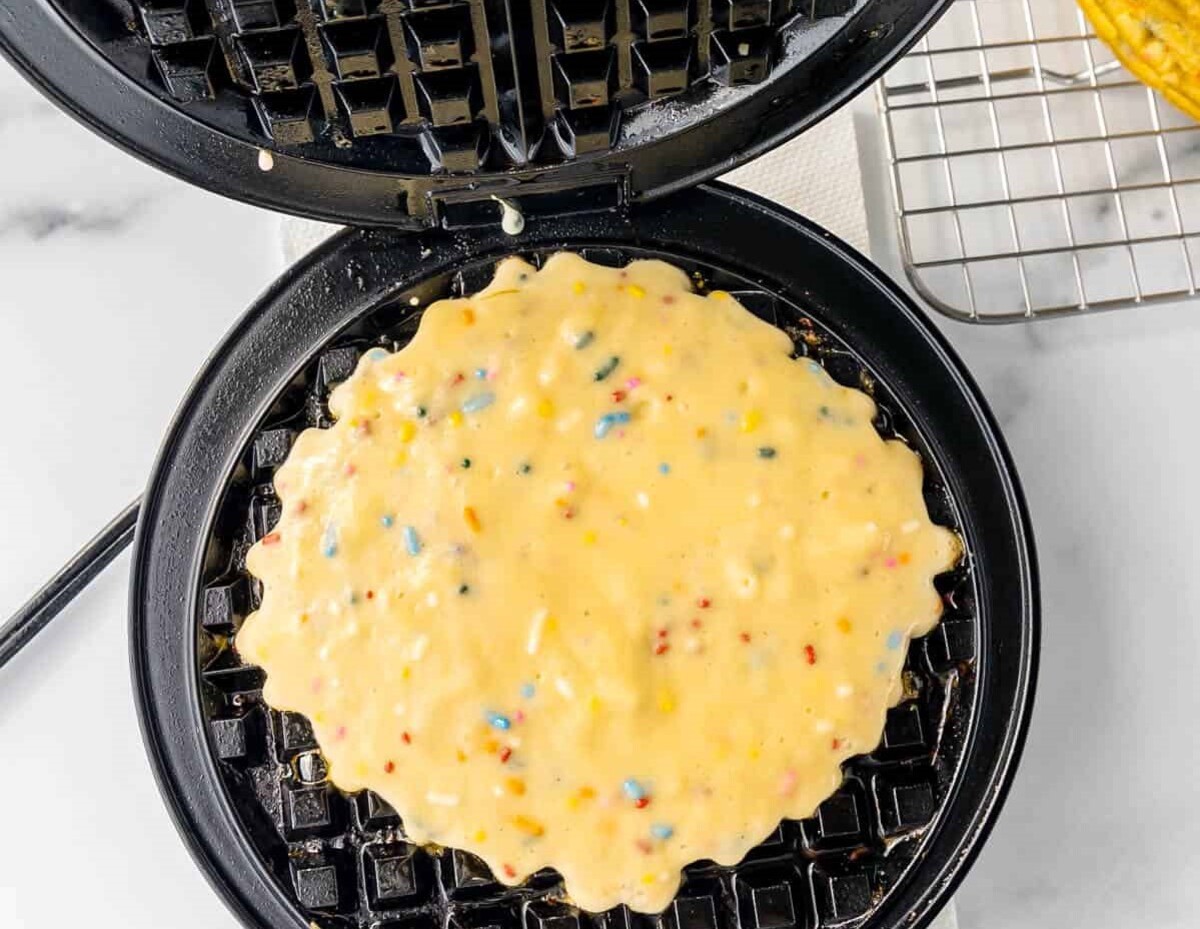
When pouring the batter onto the preheated waffle iron, start from the center and work your way towards the edges in a circular motion. This helps to ensure even distribution of the batter and avoids any clumping in the center. The goal is to create a thin and even layer of batter that will result in a crispy and uniform waffle.
It’s important to note that the batter will spread and expand as it cooks, so be sure to leave some space around the edges to prevent overflow. Overfilling the waffle iron can lead to messy spills and difficulty in achieving crispiness.
Using the right amount of batter will help you achieve perfectly shaped waffles with a crispy exterior. Now that the batter is evenly spread, let’s move on to the next step: spreading the batter evenly.
Read more: How To Make Waffle In A Waffle Iron
Spreading the Batter Evenly
Spreading the batter evenly on the waffle iron is crucial for achieving consistently crispy waffles. Uneven distribution of the batter can result in waffles that are overcooked in some areas and undercooked in others.
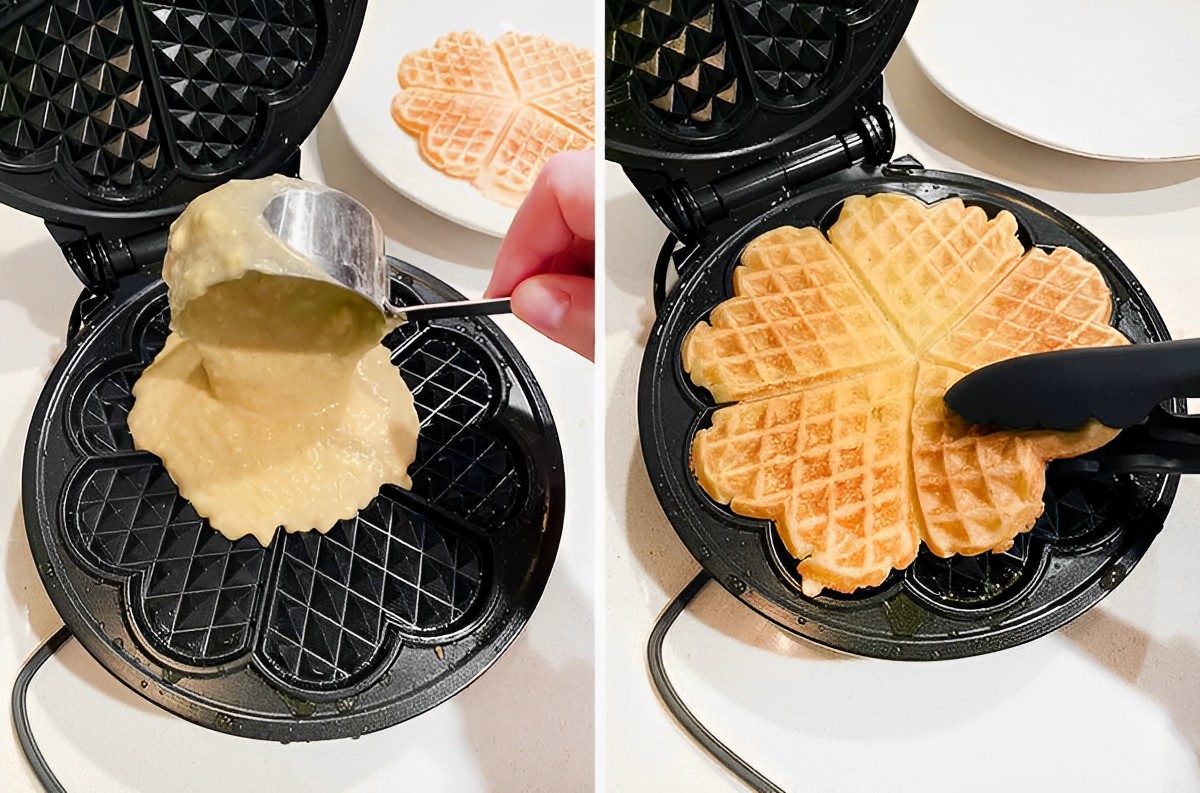
Start by pouring the batter onto the center of the preheated waffle iron. Using a ladle or a measuring cup, gently spread the batter towards the edges in a circular motion. The goal is to create a thin and even layer of batter that covers the entire surface of the waffle iron.
It’s important to avoid over-spreading the batter, as this can lead to waffles that are too thin and prone to burning. On the other hand, under-spreading the batter can result in thick and doughy waffles that lack crispiness.
If your waffle iron has a non-stick surface, you can use a silicone spatula or a heat-resistant rubber spatula to help spread the batter evenly. Gentle movements and a bit of patience are key to achieving a perfectly spread batter.
Once the batter is spread evenly, close the waffle iron and allow the magic to happen. The even distribution of the batter will ensure that each portion of the waffle cooks at the same rate, resulting in a consistent level of crispiness throughout.
Now that we’ve mastered the art of spreading the batter evenly, let’s move on to the next step: cooking time and temperature.
To make waffles crispy in a waffle iron, try adding a little cornstarch to the batter. The cornstarch helps create a crispy exterior while keeping the inside fluffy.
Cooking Time and Temperature
The cooking time and temperature are crucial factors in achieving crispy waffles. Getting the timing and heat just right will result in waffles with a beautifully golden brown and crispy exterior.
Most waffle irons have a built-in indicator, such as a light or a sound, to signal when the waffles are done. However, it’s always a good idea to keep an eye on the waffles during the cooking process to monitor their progress.
The cooking time can vary depending on the specific waffle iron and the thickness of the batter. As a general guideline, waffles typically take around 3 to 5 minutes to cook. However, it’s best to refer to your waffle iron’s manual for specific timing recommendations.
When it comes to temperature, using a medium-high heat setting is a good starting point. This allows for even browning without the risk of burning the waffles. If your waffle iron has temperature control settings, you may need to adjust the heat based on your preferences and the desired level of crispiness.
If you prefer a lighter and softer waffle, you can opt for a slightly lower heat setting. On the other hand, if you prefer a more intense crunch and darker browning, you can increase the heat slightly. However, be cautious when adjusting the heat, as too high of a temperature can result in burnt waffles.
Remember, finding the right balance of cooking time and temperature may require some experimentation. Pay attention to the visual cues, such as the color and texture of the waffle, and adjust accordingly to achieve your desired level of crispiness.
Now that your waffles are cooking to perfection, let’s move on to the next step: flipping the waffle.
Flipping the Waffle
Flipping the waffle is an important step in ensuring that both sides are cooked to perfection and have a crispy texture. It allows for even browning and makes sure that the waffle is cooked evenly throughout.
Timing is crucial when it comes to flipping the waffle. It’s best to wait until the waffle is partially cooked and has started to set before attempting to flip it. This typically happens around the halfway mark of the cooking time. Trying to flip the waffle too early can result in a messy and undercooked waffle.
When it’s time to flip, open the waffle iron carefully using oven mitts or heat-resistant gloves to protect your hands from the hot surfaces. Gently lift the top plate of the waffle iron and flip the waffle over using a spatula or tongs.
Be cautious when flipping the waffle to avoid any batter spilling out or sticking to the plates. If the waffle seems to be sticking, use a thin silicone spatula or a rubber spatula to gently release any stuck areas.
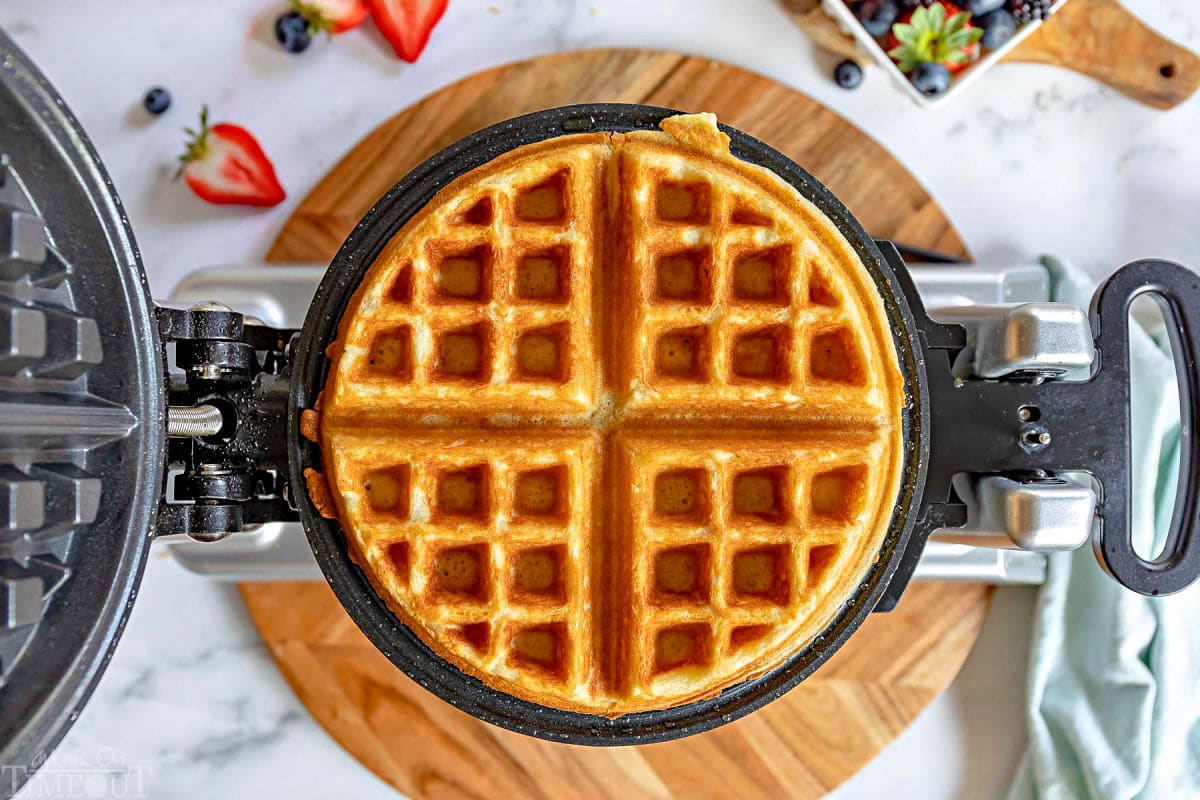
Once you have flipped the waffle, close the waffle iron and allow the other side to cook until it reaches the desired level of crispiness. Remember to keep an eye on the waffle during this time to prevent overcooking or burning.
Flipping the waffle ensures that both sides of the waffle are evenly cooked and crispy. It adds that perfect touch to achieving the ideal texture and taste. And now, it’s time for the final step: removing the waffle from the iron.
Removing the Waffle from the Iron
Removing the waffle from the iron is the final step in the waffle-making process. It is important to handle the waffle with care to maintain its shape and crispness.
Start by opening the waffle iron and lifting the top plate using oven mitts or heat-resistant gloves. To ensure that the waffle doesn’t stick to the plates, lightly grease the surface before cooking with a non-stick cooking spray or a small amount of melted butter.
Once the waffle iron is open, use a heat-resistant spatula or tongs to carefully lift the waffle out of the iron. Make sure to support the entire surface of the waffle to prevent it from breaking or crumbling.
Place the waffle on a wire rack or a plate to cool slightly. This allows the waffle to set and become crispier. Avoid stacking the waffles on top of each other immediately after removing them from the iron, as this can cause them to become soft and lose their crispness.
If you plan to serve the waffles all at once, you can keep them warm and maintain their crispiness by placing them in a preheated oven at a low temperature (around 200°F/93°C) on a wire rack. This helps to prevent them from getting soggy.
Once the waffle has cooled slightly, it’s time to enjoy the fruits of your labor. Serve the waffle with your favorite toppings, such as maple syrup, fresh fruits, whipped cream, or even a sprinkle of powdered sugar.
By delicately removing the waffle from the iron and allowing it to cool slightly, you can savor the full experience of a crispy and delicious waffle. And with that, your journey to achieving perfectly crispy waffles in a waffle iron is complete!
Before we conclude, let’s go over some additional tips to help you achieve the ultimate crispy waffle.
Read more: How To Make A Waffle Without A Waffle Iron
Tips for Achieving Crispy Waffles
To ensure consistently crispy waffles every time, consider the following tips and tricks:
- Preheat the waffle iron thoroughly to ensure even heat distribution and optimal crispiness.
- Choose a batter with a higher protein content and incorporate ingredients like cornstarch or almond flour for added crispness.
- Aim for a thicker batter consistency, which allows the waffle to hold its shape and crisp up better.
- Spread the batter evenly on the waffle iron to ensure even cooking and browning.
- Avoid overfilling the waffle iron to prevent overflow and uneven cooking.
- Use a medium-high heat setting on your waffle iron, adjusting as needed to achieve the desired level of crispiness.
- Ensure you flip the waffle when it’s partially cooked to cook both sides evenly.
- Handle the waffle with care when removing it from the iron to prevent breakage or losing its shape.
- Allow the waffle to cool slightly on a wire rack to further crisp up before serving.
- Serve the waffles immediately or keep them warm in a preheated oven to maintain their crispness.
Remember, practice makes perfect. Don’t be afraid to experiment with different batter recipes, cooking times, and heat settings to find the perfect balance for your desired level of crispiness.
By following these tips and applying the techniques shared in this article, you’ll be well on your way to creating irresistibly crispy waffles that will rival those served in your favorite breakfast spot.
So, go ahead and delight your taste buds with homemade crispy waffles that will leave you craving more. Enjoy!
And with that, your journey to achieving perfectly crispy waffles in a waffle iron is complete!
Conclusion
Making crispy waffles in a waffle iron is an art that can be mastered with practice and the right techniques. By understanding the waffle iron, preheating it properly, choosing the right batter, spreading it evenly, and cooking with the right timing and temperature, you can achieve the perfect crispy waffle every time.
Through the process of flipping the waffle and carefully removing it from the iron, you ensure that both sides are cooked to perfection, resulting in a crispy and delicious breakfast treat. Following these tips, you will be able to enjoy waffles with a delightful contrast between their fluffy and crispy textures.
Remember, don’t be afraid to experiment and personalize your waffles with different flavors, toppings, and variations of the batter. The possibilities are endless, and you can tailor your waffles to suit your preferences and create a truly unique breakfast experience.
Whether you’re a waffle enthusiast looking to elevate your breakfast routine or a beginner trying your hand at waffle making, these tips and techniques will guide you on your journey to crispy waffle success.
So, preheat that waffle iron, whip up a batch of batter, and get ready to indulge in the irresistible crispiness of homemade waffles. With a little practice and a lot of deliciousness, you’ll soon be enjoying the perfect crispy waffles in the comfort of your own kitchen.
Happy waffle making!
Frequently Asked Questions about How To Make Waffles Crispy In Waffle Iron
Was this page helpful?
At Storables.com, we guarantee accurate and reliable information. Our content, validated by Expert Board Contributors, is crafted following stringent Editorial Policies. We're committed to providing you with well-researched, expert-backed insights for all your informational needs.


0 thoughts on “How To Make Waffles Crispy In Waffle Iron”