Articles
How To Take Down Wood Blinds
Modified: January 9, 2024
Learn how to effectively take down wood blinds with these informative articles. Whether you're a novice or an experienced DIY-er, our step-by-step guides will help you tackle this task with ease.
(Many of the links in this article redirect to a specific reviewed product. Your purchase of these products through affiliate links helps to generate commission for Storables.com, at no extra cost. Learn more)
Introduction
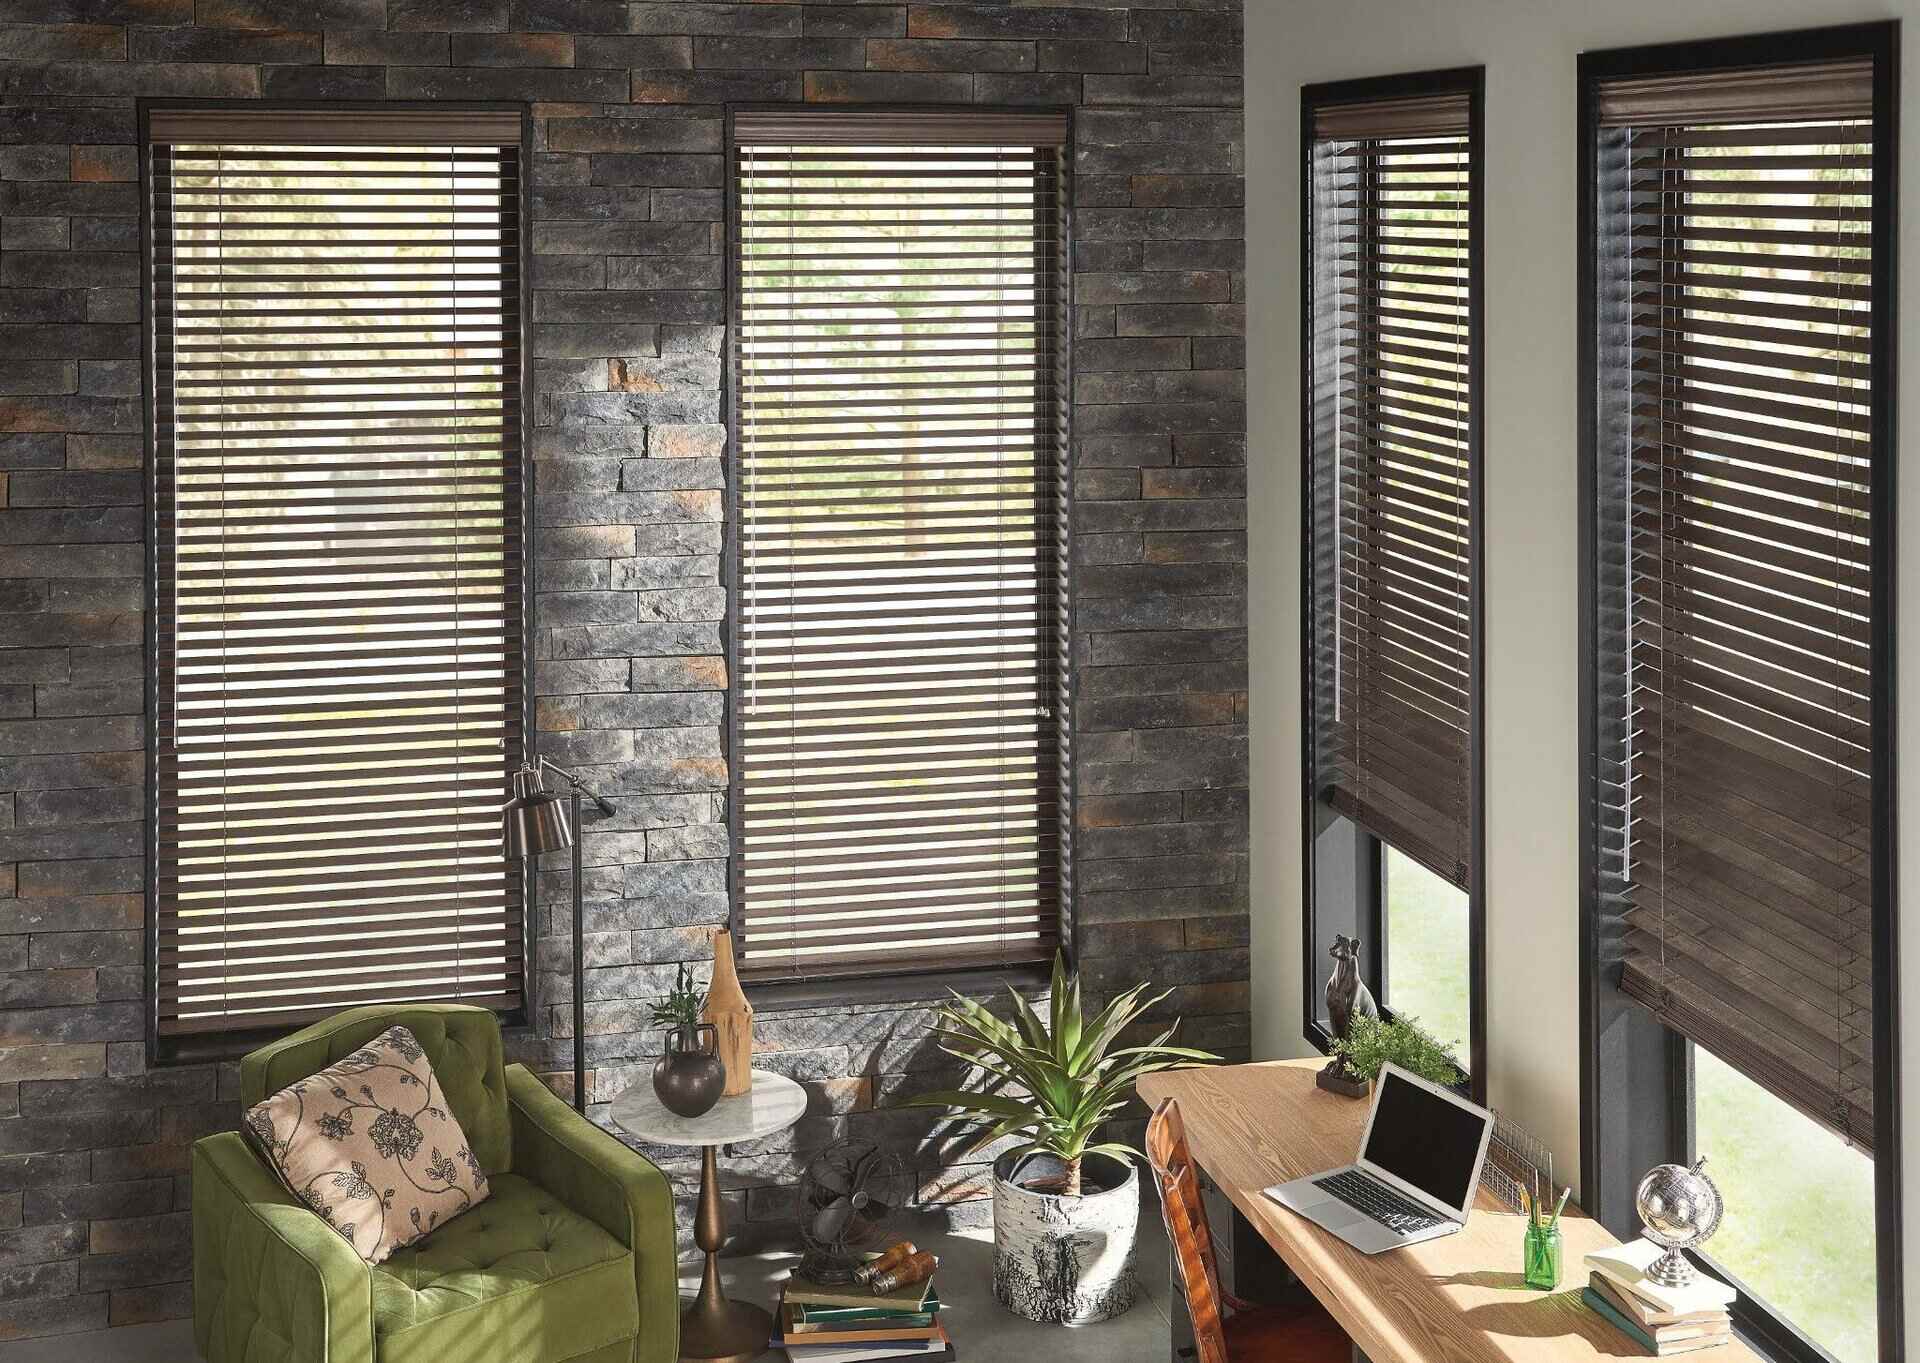
Wood blinds are a popular choice for window coverings due to their timeless appeal and natural aesthetic. However, there may come a time when you need to take them down, whether it’s for cleaning, redecorating, or replacing them with a different window treatment. While it may seem like a daunting task, with the right tools and techniques, removing wood blinds can be a straightforward process.
In this article, we will guide you through the steps to take down wood blinds properly. By following these steps, you can ensure that the process is efficient and that your blinds are safely removed without causing any damage to your windows or surrounding walls. So, let’s dive in and learn how to take down wood blinds like a pro.
Key Takeaways:
- Properly taking down wood blinds involves gathering the right tools, preparing the area, removing the valance, unlocking and lowering the blinds, removing the slats, taking down the mounting brackets, patching any holes or marks, and cleaning and storing the blinds.
- By following the step-by-step process outlined in the article, you can safely and efficiently remove your wood blinds without causing any damage to your windows or surrounding area, ensuring a successful removal process.
Read more: How To Take Down Blinds With Brackets
Step 1: Gather necessary tools and materials
Before you begin the process of taking down your wood blinds, it is important to gather all the necessary tools and materials. Having everything ready beforehand will help make the process smoother and more efficient. Here’s what you’ll need:
- A screwdriver: You’ll need a screwdriver to remove any screws holding the blinds in place. Make sure you have the appropriate size and type of screwdriver for the screws used in your blinds.
- A ladder or step stool: Depending on the height of your windows, you may need a ladder or step stool to safely reach and access the blinds.
- Optional: A cord or rope: If your blinds have long cords or strings, you may want to have a cord or rope handy to secure them and prevent them from getting tangled or damaged during the removal process.
By having all these tools and materials ready, you’ll be prepared to tackle the next steps of taking down your wood blinds.
Step 2: Prepare the area
Preparing the area before you start removing your wood blinds is an essential step to ensure a smooth and tidy process. Here are some steps to follow:
- Clean the window and surrounding area: Dust and debris can accumulate on your blinds over time. Before taking them down, it’s a good idea to clean the window and the surrounding area. This will help prevent dirt from falling onto the floor or furniture when you remove the blinds.
- Protect the floor and furniture: Lay down a drop cloth or old sheet on the floor below the window to catch any dust, screws, or other materials that may fall during the removal process. If you have furniture nearby, consider covering it as well to prevent any damage.
- Remove any obstacles: Check for any objects or decorations near the blinds that could obstruct the removal process. Clearing the area of any potential obstacles will make it easier to access the blinds and prevent any accidents or damage.
- Secure any cords or strings: If your blinds have cords or strings, make sure to secure them safely. Tuck them out of the way or use a cord wrap to prevent them from getting tangled or causing any tripping hazards during the removal process.
By taking the time to properly prepare the area, you’ll minimize the risk of accidents, keep your space clean, and make the removal process more efficient.
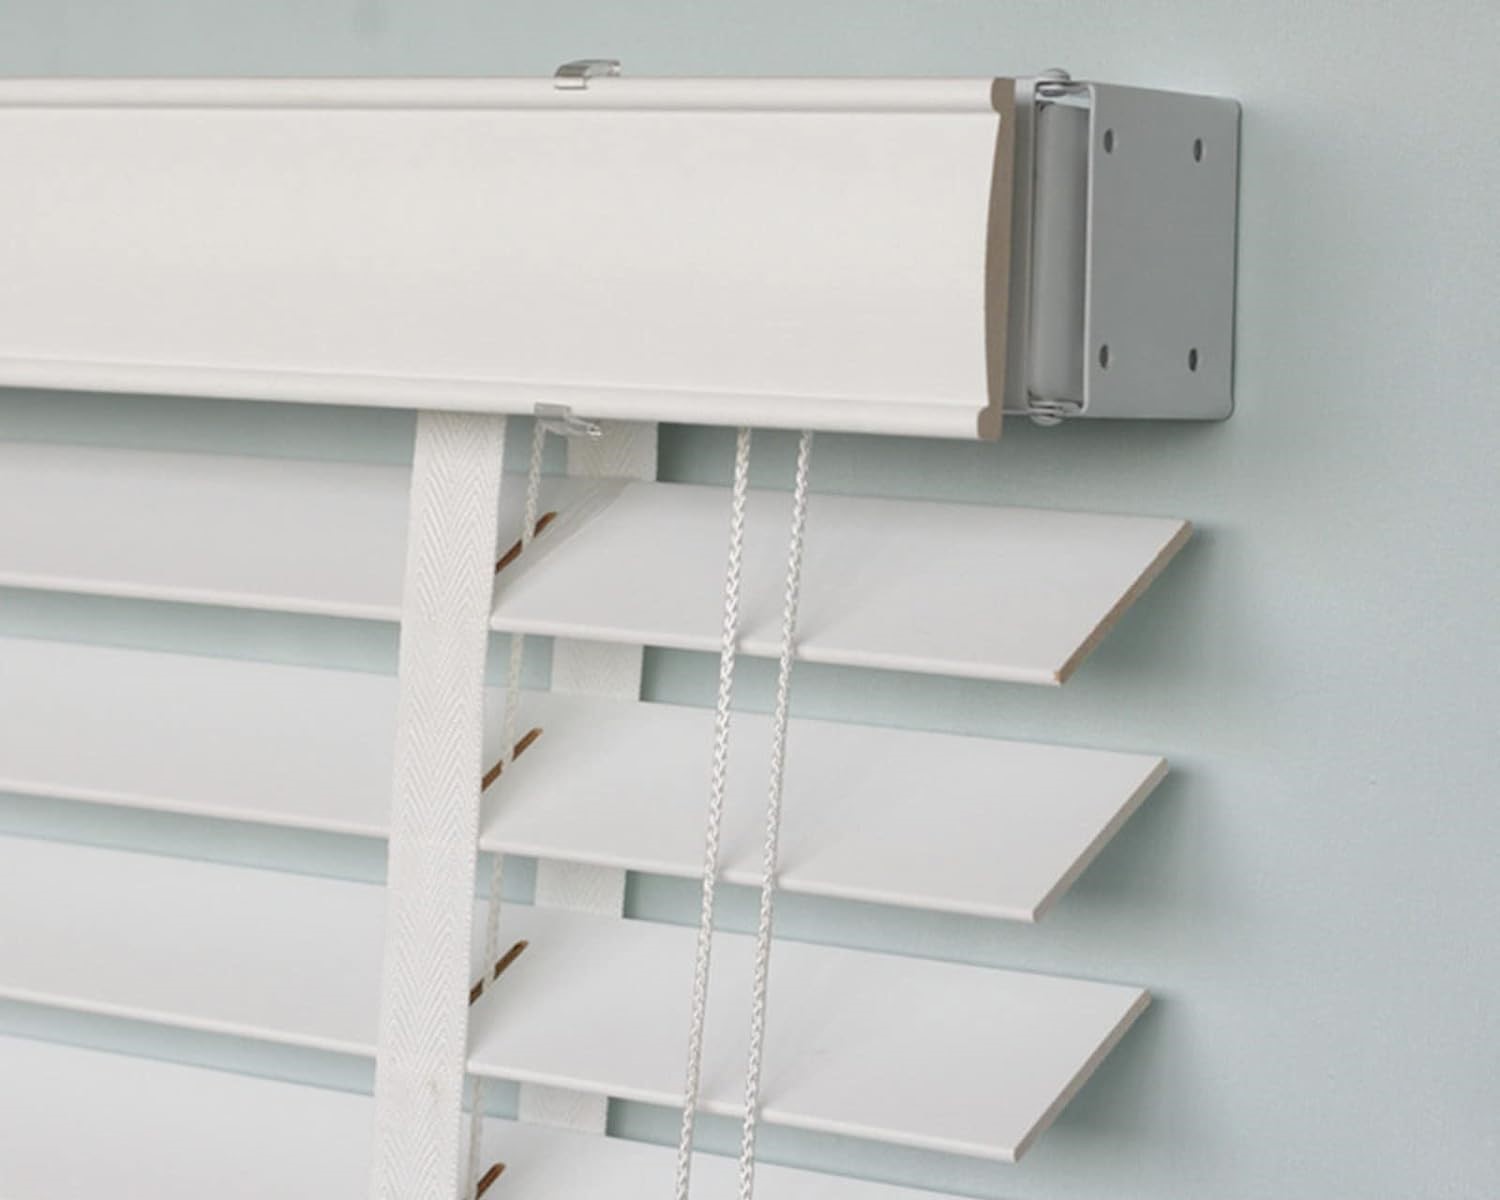
Step 3: Remove the valance
The valance is the decorative piece that covers the headrail of the blinds. Before you can remove the blinds themselves, you’ll need to take off the valance. Here’s how to do it:
- Locate the valance clips: The valance is typically attached to the headrail of the blinds using valance clips. These clips are usually located on the backside or top of the valance.
- Use a screwdriver or your fingers: Depending on the style of the valance clips, you can either use a screwdriver to gently loosen the screws, or simply use your fingers to release them from the headrail.
- Remove the valance: Once the clips are released, gently lift the valance upwards to detach it from the headrail. Take care not to force it to avoid any damage.
If your valance is attached using adhesive, you may need to carefully pry it off using a putty knife or similar tool. Take your time and be cautious to avoid damaging the valance or the surrounding walls.
Once the valance is removed, set it aside in a safe place if you plan on reusing it. If not, you can choose to discard or donate it.
With the valance out of the way, you’re ready to move on to the next step of removing the wood blinds.
Step 4: Unlock and lower the blinds
Now that the valance has been removed, it’s time to unlock and lower the blinds. Follow these steps to complete this part of the process:
- Locate the tilt rod: The tilt rod is a long, horizontal rod that runs across the top of the blinds. It controls the angle of the blind slats.
- Unlock the tilt rod: Depending on the design of your wood blinds, there may be a locking mechanism that keeps the tilt rod in place. Look for a small lock or latch near the tilt rod and release it.
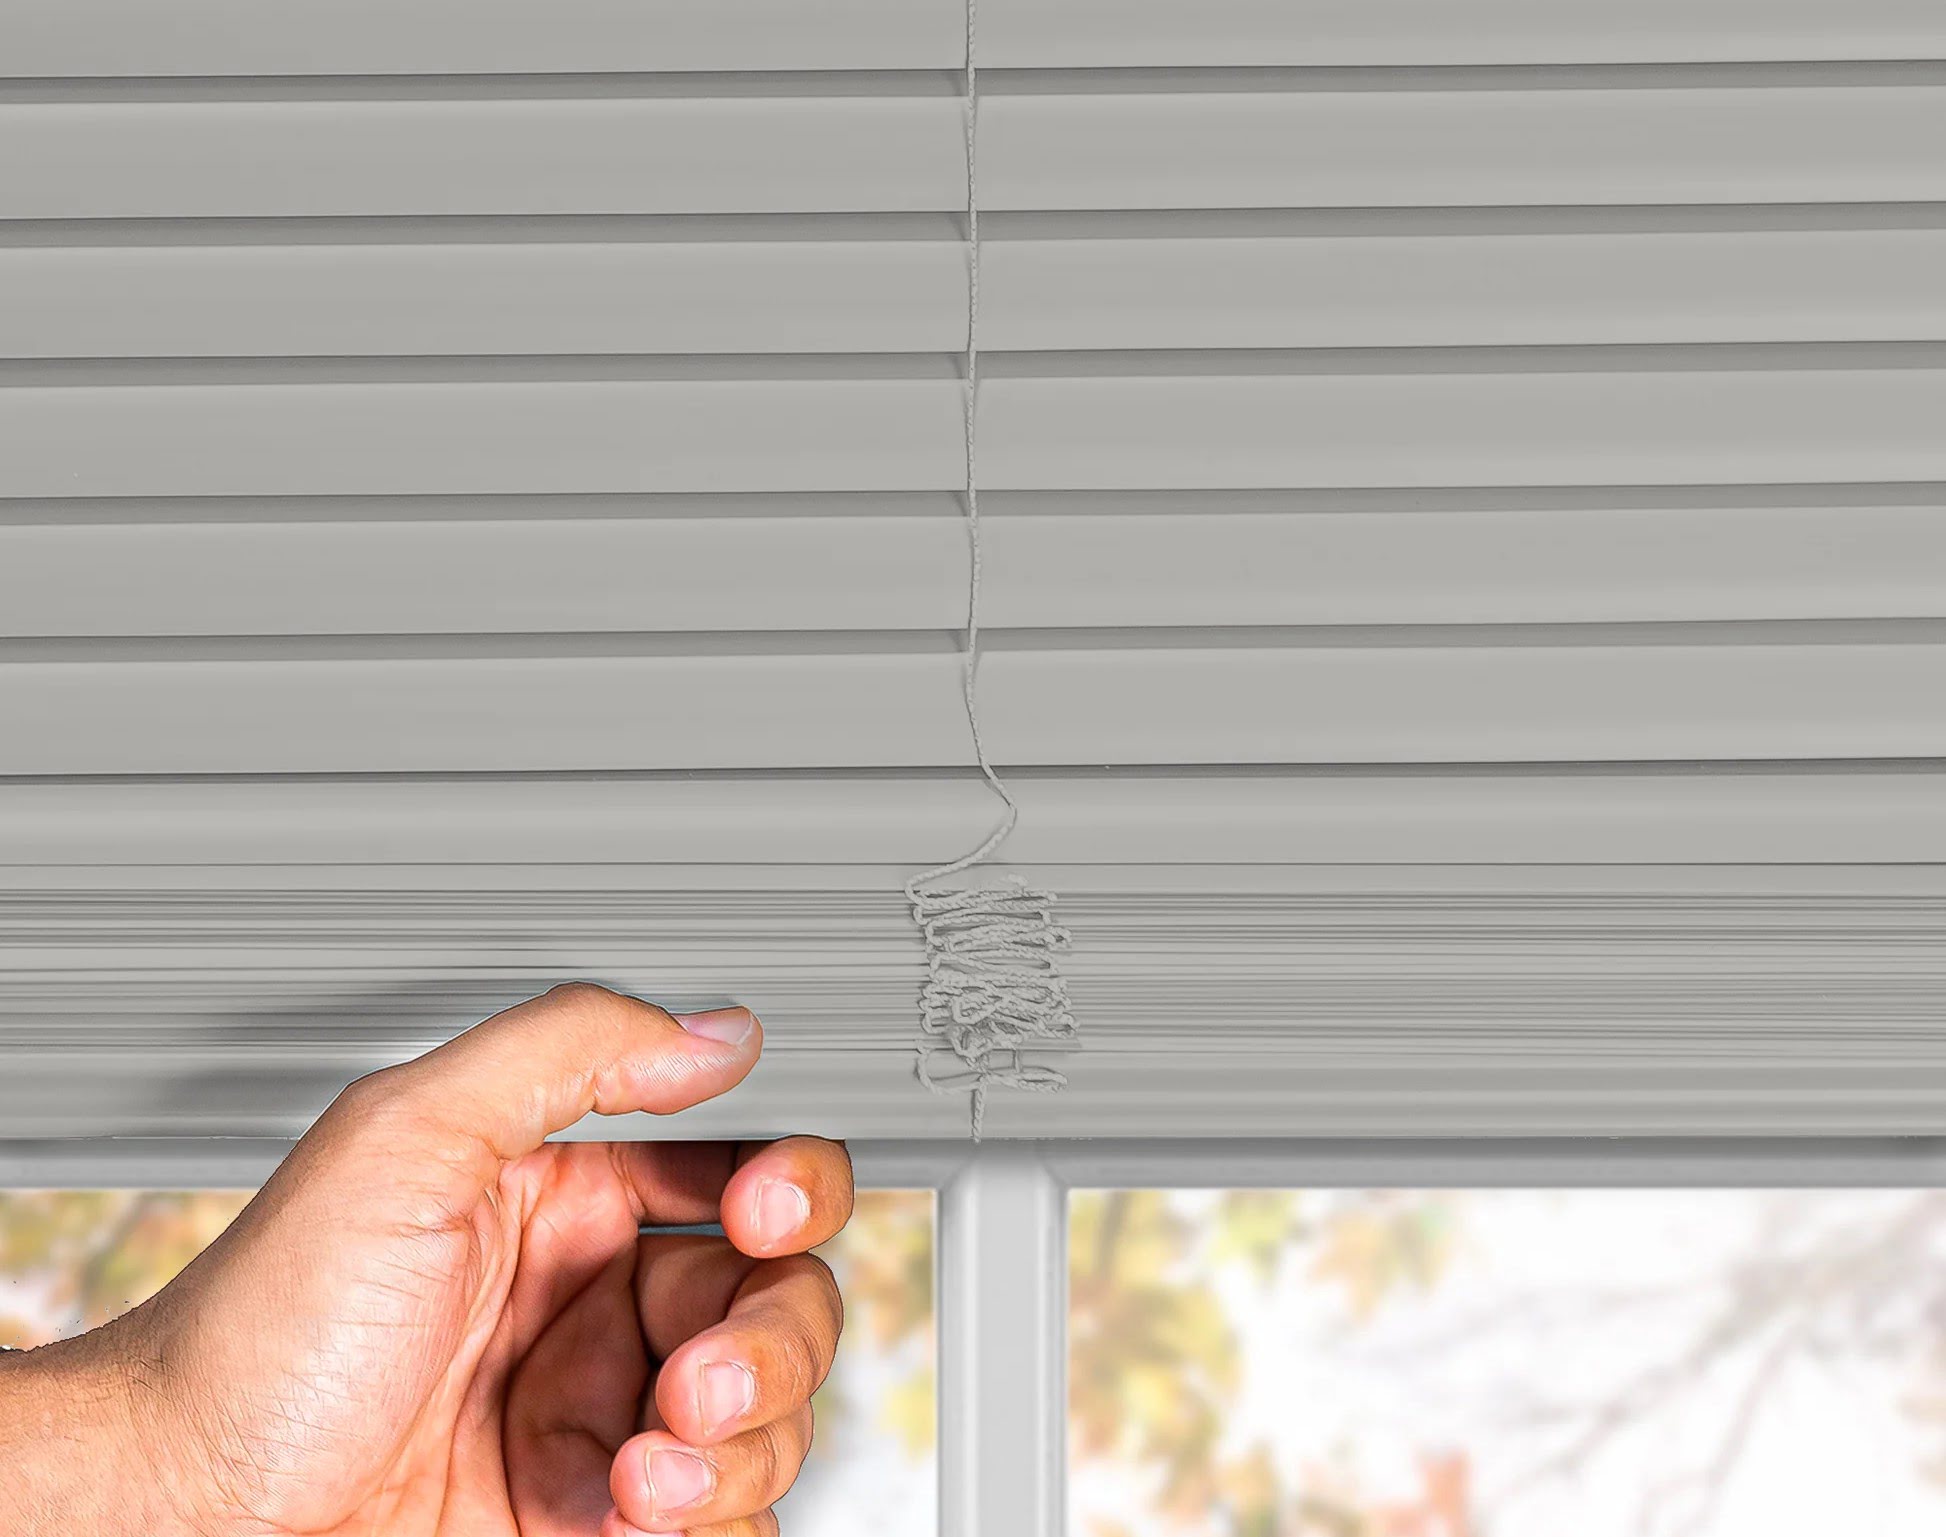
- Lower the blinds: With the tilt rod unlocked, gently pull the tilt rod towards you while simultaneously lowering the blinds. This action will release the slats, allowing them to move freely.
As you lower the blinds, be sure to hold onto the bottomrail to guide it down slowly and prevent it from swinging or crashing against the window sill. This will help protect both the blinds and the window from potential damage.
If your blinds have a cord lock mechanism, you may need to unlock it before you can lower the blinds. Look for a small cord lock or acorn-shaped device near the headrail. Simply pull on the cord in the opposite direction to release the lock and lower the blinds.
Once the blinds are fully lowered, you can proceed to the next step of removing the blind slats.
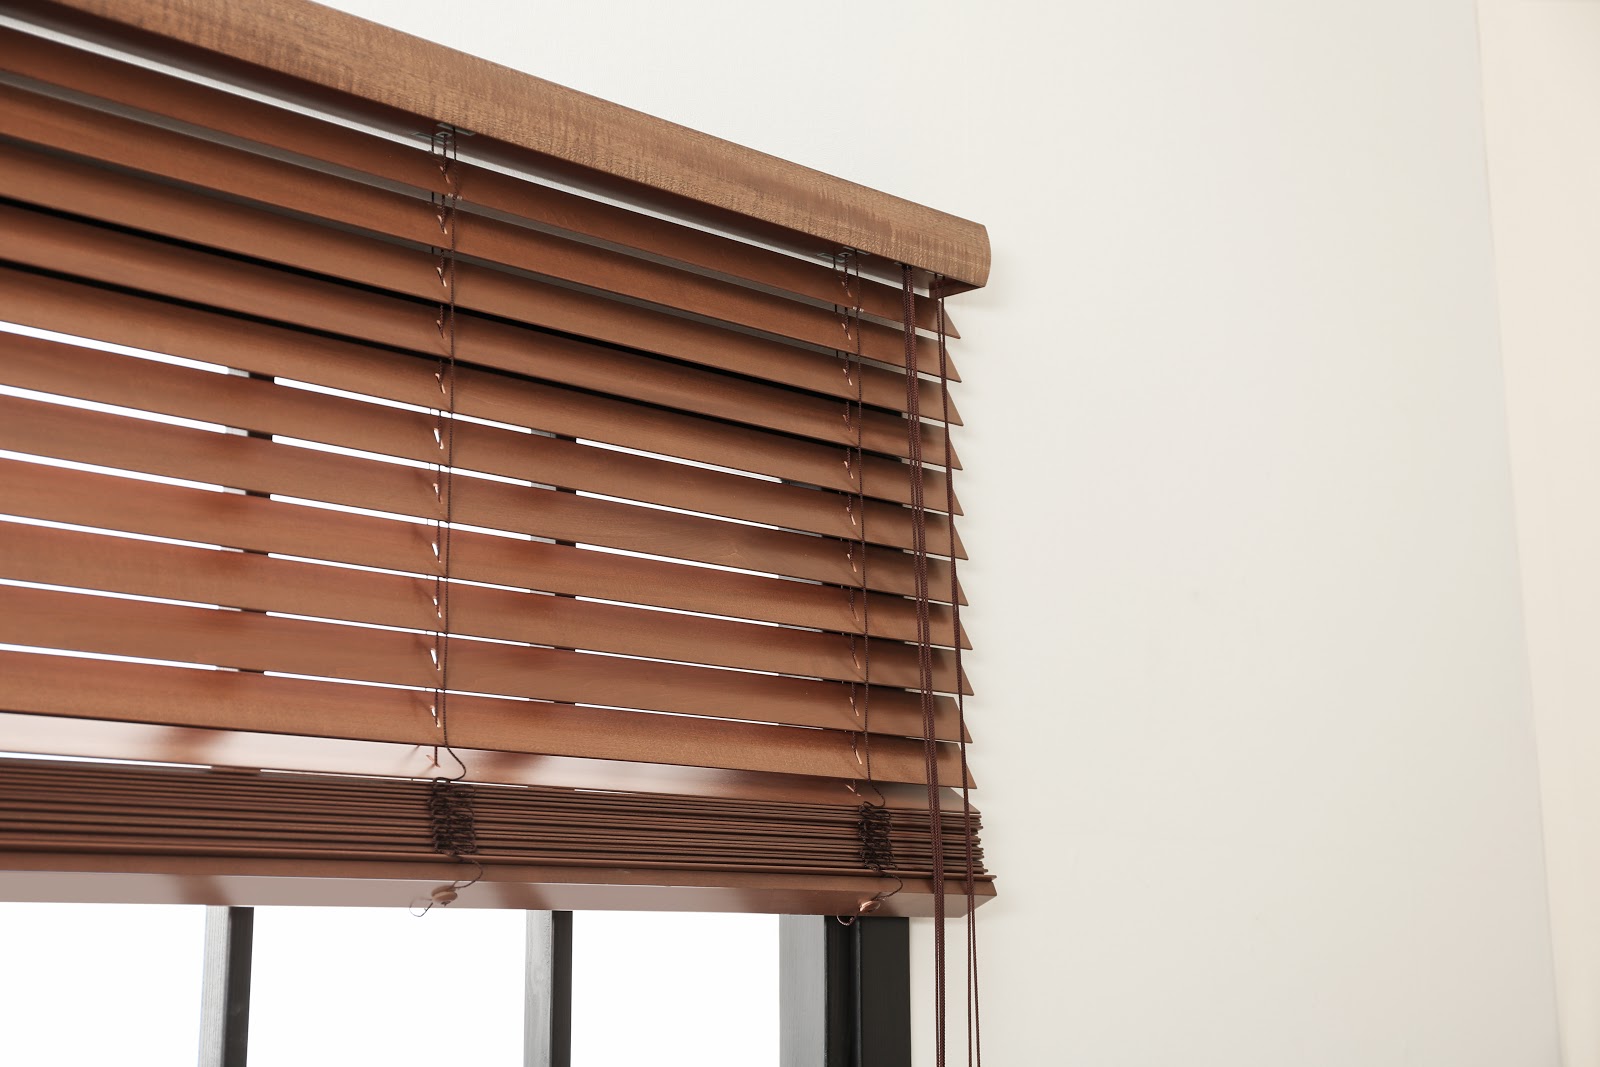
When taking down wood blinds, start by removing the valance and then unscrewing the brackets from the window frame. Carefully lift the blinds out of the brackets and set them aside for storage or cleaning.
Read more: How To Take Down Venetian Blinds
Step 5: Remove the blind slats
After lowering the blinds, it’s time to remove the individual blind slats. This step allows for easier handling and transportation of the blinds. Here’s what you need to do:
- Identify the lock or tilt mechanism: Depending on the type of wood blinds you have, there may be a lock or tilt mechanism that holds the slats in place. This mechanism is usually located on the side of the blinds near the bottom.
- Release the slats: To release the slats, use your fingers or a small tool to gently push or release the lock or tilt mechanism. This action will free the slats and allow them to slide out of the mechanism.
- Remove the slats one by one: Starting from the bottom, carefully slide each blind slat out of the mechanism. Hold onto the slat while pulling it out to avoid any bending or damage. Repeat this step for each slat until all of them are removed.
If your blinds have ladder strings or cords that hold the slats in place, you may need to untie or release them before removing the slats. Make sure to follow the same bottom-to-top approach when removing the slats.
As you remove the slats, it can be helpful to keep them in order or mark them if you plan on reusing them. This will make it easier to reassemble the blinds later or replace specific slats if needed.
With the blind slats removed, you’re one step closer to fully taking down your wood blinds.
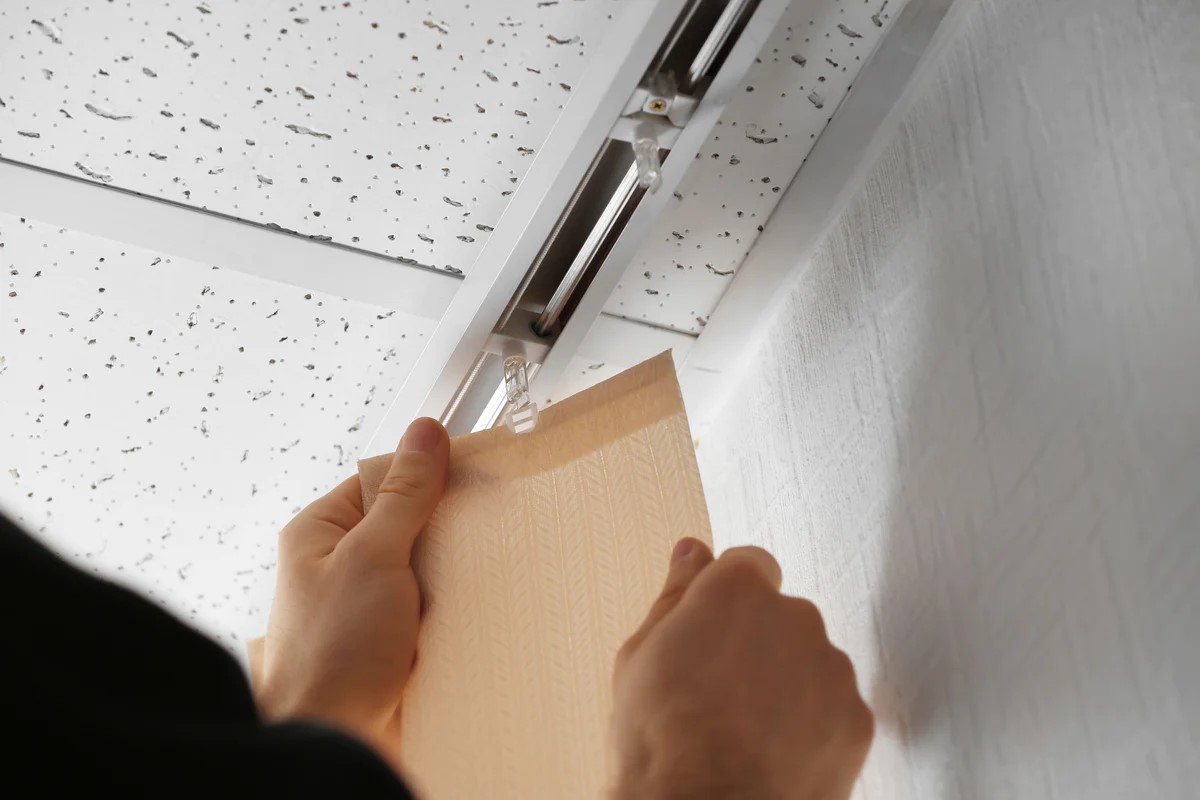
Step 6: Take down the mounting brackets
With the blind slats removed, it’s time to remove the mounting brackets that hold the blinds in place. The process may vary depending on how the brackets are attached, so follow these general steps:
- Locate the mounting brackets: The mounting brackets are typically attached to the top of the window frame or wall. Look for small screws or fasteners holding them in place.
- Prepare your tools: Depending on the type of screws used, you may need a screwdriver or drill to remove them. Make sure you have the appropriate tools on hand.
- Remove the screws: Gently unscrew the screws or fasteners holding the brackets in place. Hold the blinds with one hand while removing the screws to prevent them from falling and causing damage.
- Take down the brackets: Once the screws are removed, carefully detach the mounting brackets from the window frame or wall. Keep them organized and set them aside for future use or disposal.
It’s important to be cautious and steady when removing the mounting brackets to avoid any damage to the window frame or wall. If the brackets are firmly attached and difficult to remove, use a putty knife or similar tool to gently pry them off.
Once the mounting brackets are removed, you’re almost finished with the process of taking down your wood blinds.
Step 7: Patch any holes or marks
After removing the mounting brackets, it’s common to be left with small holes or marks on the window frame or wall. Taking the time to patch these up will leave your space looking clean and ready for any future window treatments. Here’s what you need to do:
- Inspect the area: Carefully examine the window frame or wall where the mounting brackets were attached. Look for any holes, screws, or marks that need to be addressed.
- Choose the appropriate filler: Depending on the material of the window frame or wall, select a suitable filler or patching compound. For small nail holes, a simple spackling paste or lightweight wall filler can work well.
- Apply the filler: Using a putty knife or a small spatula, apply the filler to the holes or marks. Smooth it out evenly and remove any excess to create a seamless surface. Follow the instructions provided with the filler for the best results.
- Allow time for drying: Give the filler enough time to dry and harden according to the product’s recommended drying time. This will ensure that the patched area is solid and ready for further treatment, such as painting or touch-ups.
- Sand and paint if necessary: After the filler has dried, lightly sand the patched area to create a smooth finish. If needed, apply a matching paint color to blend the patched area with the surrounding surface.
Patching up any holes or marks not only improves the appearance of your window frame or wall, but it also provides a clean canvas for future window treatments or decorations.
Once you’ve completed this step, your window area will be ready for a fresh new look.
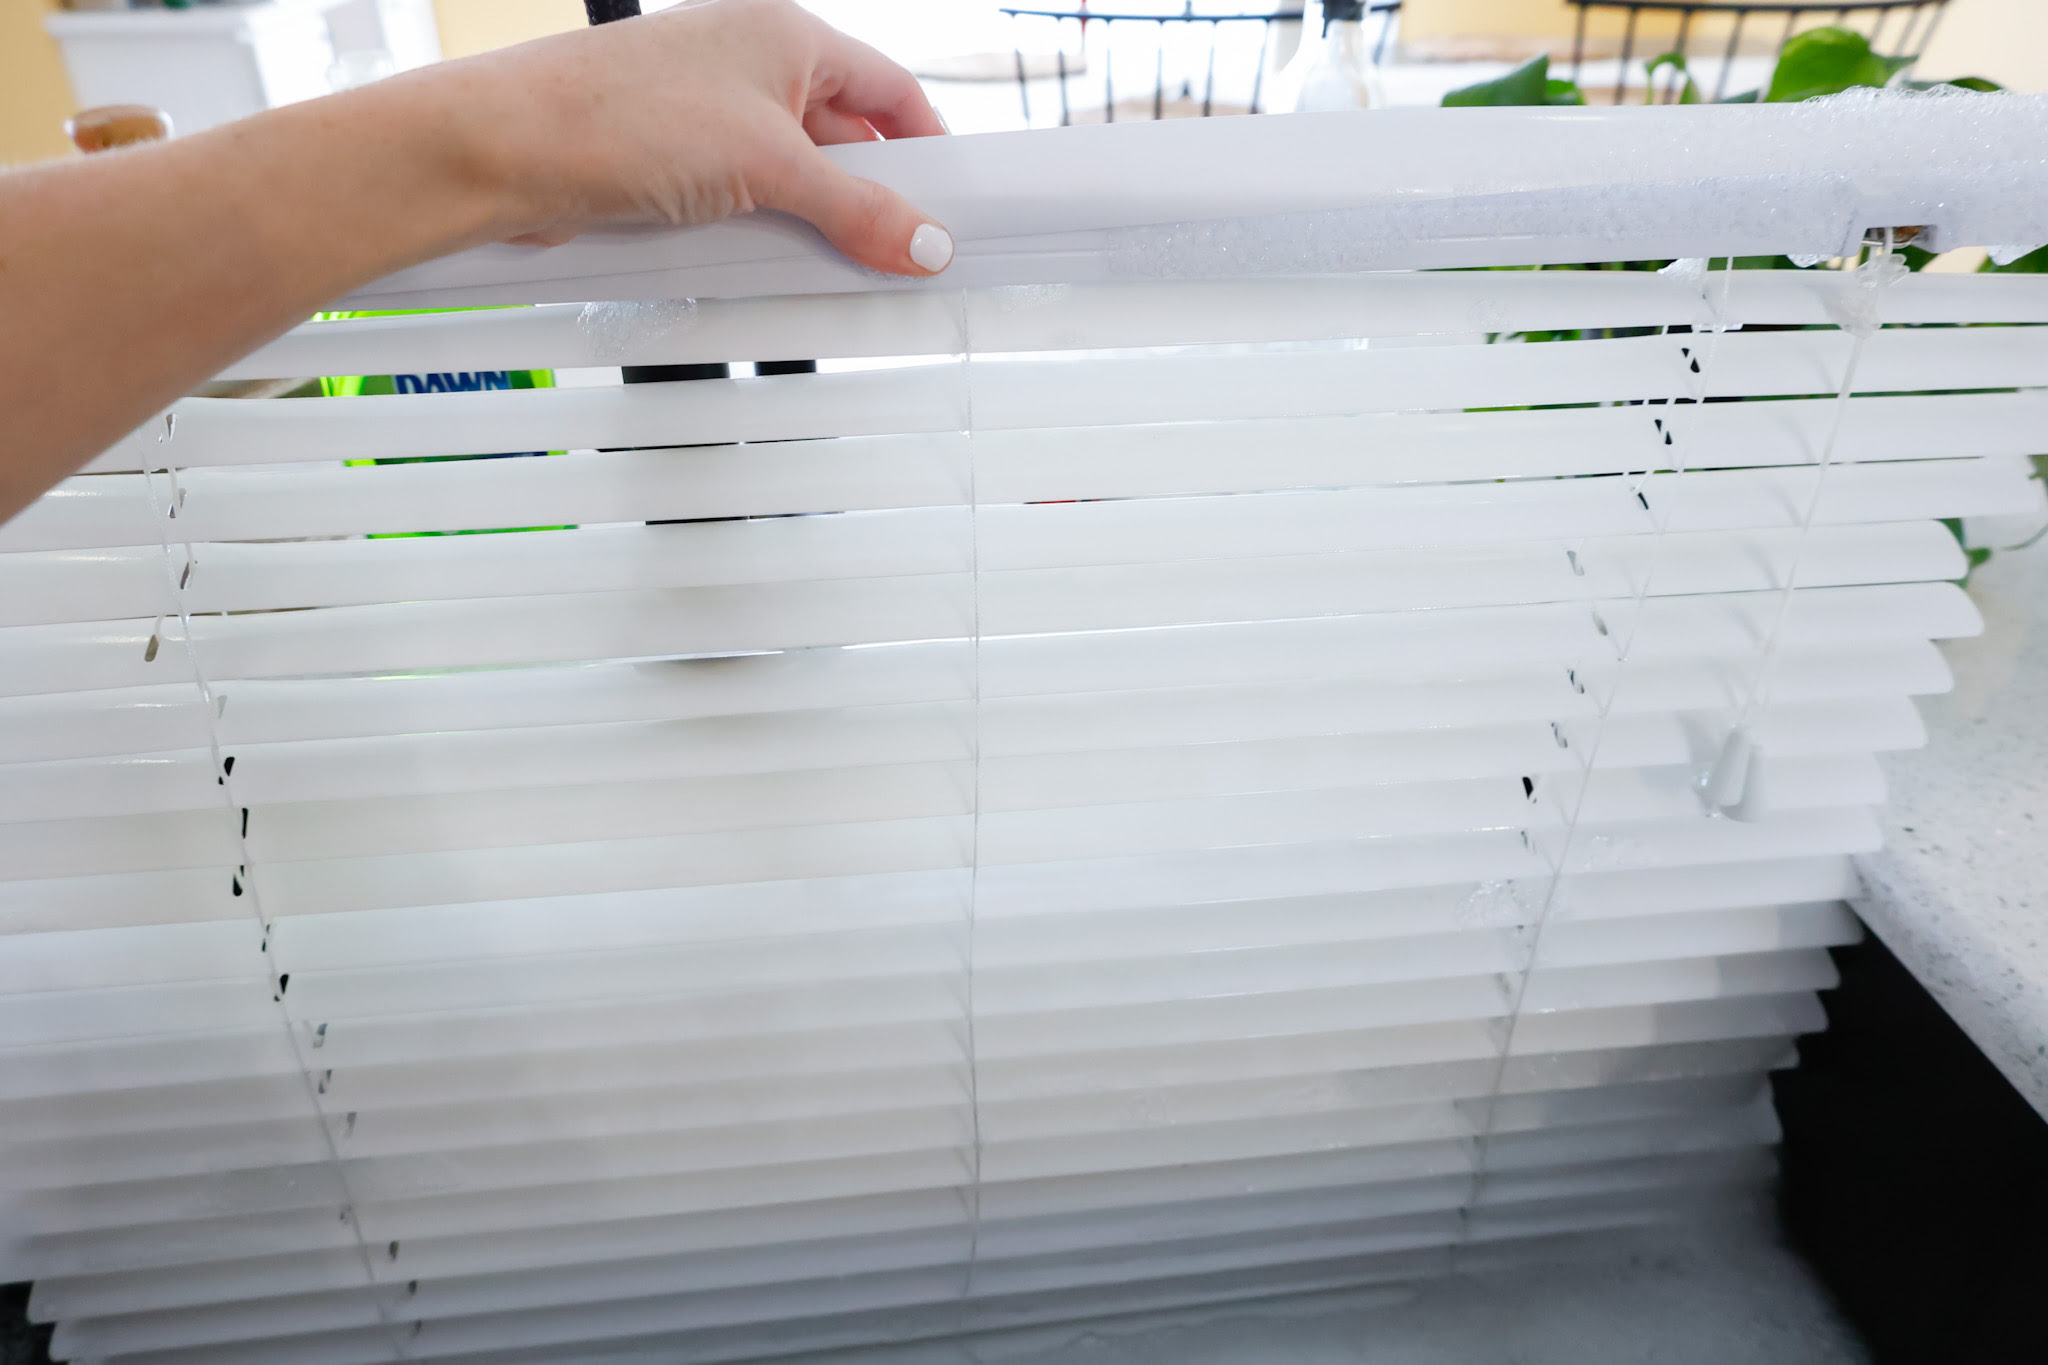
Step 8: Clean and store the blinds
Now that you have successfully taken down your wood blinds, it’s essential to clean them properly before storing them away. Here’s what you need to do:
- Dust and wipe down the blinds: Use a microfiber cloth or a feather duster to remove any dust or debris from the blind slats. Start from the top and work your way down, ensuring that all surfaces are thoroughly cleaned.
- Spot clean as needed: If there are any stains or spots on the blinds, use a mild soap solution or a specialized wood cleaner to gently clean the affected areas. Make sure to follow the instructions provided with the cleaner and test it on a small, inconspicuous area first.
- Rinse and dry: If you used a cleaning solution, rinse the blinds with clean water to remove any residue. Afterward, use a clean cloth to dry them completely. Make sure there is no excess moisture, as it can cause warping or damage to the wood.
- Inspect for any repairs: While cleaning, take the opportunity to inspect the blinds for any signs of damage or wear. If you notice any broken slats, loose cords, or other issues, consider repairing or replacing them before storing the blinds.
- Store the blinds properly: To keep your wood blinds in good condition while in storage, place them in a clean, dry, and dust-free location. You can stack them carefully or use a storage bag or box specifically designed for window blinds to protect them from dirt, dust, and potential damage.
Proper cleaning and storage will help maintain the quality and longevity of your wood blinds, ensuring they are in great condition when you decide to reinstall them or pass them on to someone else.
With your wood blinds cleaned and safely stored away, you have successfully completed the process of taking them down.
Read more: How To Take Down Mini Blinds
Conclusion
Taking down wood blinds may seem like a daunting task, but with the right knowledge and approach, it can be a straightforward process. By following the steps outlined in this article, you can safely and efficiently remove your wood blinds without causing any damage to your windows or surrounding area.
From gathering the necessary tools and materials to preparing the area, removing the valance, unlocking and lowering the blinds, removing the slats, taking down the mounting brackets, patching any holes or marks, and finally cleaning and storing the blinds, each step plays an important role in ensuring a successful removal process.
Remember to take your time, follow the instructions carefully, and exercise caution throughout the entire process. This will help minimize the risk of accidents and ensure that your wood blinds are safely taken down and ready for future use or replacement.
Whether you’re redecorating, cleaning, or simply switching to a different window treatment, knowing how to take down wood blinds can be a valuable skill. With the information provided in this article, you can confidently tackle this task and transform your windows with ease.
So, go ahead and embark on your journey of removing wood blinds, knowing that you have the skills and knowledge to do it right. Enjoy the process, and soon enough, you’ll be ready for the next step in your interior design journey.
Frequently Asked Questions about How To Take Down Wood Blinds
Was this page helpful?
At Storables.com, we guarantee accurate and reliable information. Our content, validated by Expert Board Contributors, is crafted following stringent Editorial Policies. We're committed to providing you with well-researched, expert-backed insights for all your informational needs.