Articles
How To Paint Wood Blinds
Modified: August 17, 2024
Learn the step-by-step process of painting wood blinds with our informative articles. Upgrade your blinds and give them a fresh new look!
(Many of the links in this article redirect to a specific reviewed product. Your purchase of these products through affiliate links helps to generate commission for Storables.com, at no extra cost. Learn more)
Introduction
Welcome to this comprehensive guide on how to paint wood blinds. If you’re looking to freshen up the look of your blinds or prefer a new color to match your decor, painting them is a great way to achieve the desired transformation. Whether you have traditional wooden blinds or faux wood blinds, this step-by-step tutorial will guide you through the process of painting them to give your windows a whole new look.
Painting wood blinds is a budget-friendly alternative to purchasing new ones, allowing you to update your space without breaking the bank. By following the steps outlined in this guide, you’ll be able to customize your blinds to match your personal style and create a cohesive look in any room.
Before you begin, there are a few factors to consider. First, determine whether your blinds are suitable for painting. If you have high-quality wooden or faux wood blinds, they should be paintable, but it’s always a good idea to consult the manufacturer’s recommendations to ensure you won’t compromise the functionality or warranty of the blinds.
Additionally, be mindful of the impact that painting may have on the blinds’ operation. Painting the slats may make them slightly stickier, which could affect the smooth opening and closing of the blinds. However, with proper preparation and techniques, you can minimize this potential issue and still achieve a beautiful finish.
Now, let’s dive into the step-by-step process of preparing and painting wood blinds to give them a fresh new look that will instantly update the appearance of your windows.
Key Takeaways:
- Transform your space on a budget by painting wood blinds to match your decor. Follow the step-by-step guide for professional-looking results that reflect your personal style and enhance your home’s aesthetic appeal.
- Achieve a vibrant and long-lasting finish by choosing the right paint, proper preparation, and sealing your painted wood blinds. Enjoy the process and transform your windows into stunning focal points.
Read more: How To Make Wood Blinds
Preparing the Wood Blinds
Before you begin painting your wood blinds, it’s crucial to properly prepare them to ensure that the paint adheres well and provides a smooth finish. Follow these steps to prepare your wood blinds:
- Remove the Blinds: Take down the blinds from the window and lay them on a flat surface. This will make the painting process easier and allow you to work more comfortably.
- Clean the Blinds: Use a gentle cleaner or mild soap and warm water to clean the blinds thoroughly. This step is essential to remove any dust, dirt, or grease, as they can interfere with the paint’s adherence. Rinse the blinds with clean water and allow them to dry completely.
- Tape off the Mechanism: If your blinds have a lift or tilt mechanism, use painter’s tape to cover it up. This will prevent any paint from getting on the moving parts and ensure the blinds continue to function properly.
- Remove Any Hardware: Take off any hardware, such as knobs or decorative elements, from the blinds. This will make it easier to paint evenly and avoid any missed spots.
- Protect the Surrounding Area: Lay down drop cloths or plastic sheets to protect the surface underneath the blinds from any paint splatters or drips.
By properly preparing your wood blinds, you create a clean and smooth canvas for painting. This step is crucial in achieving a professional-looking finish and ensuring that the paint adheres properly to the blinds’ surface.
Choosing the Right Paint
When it comes to painting wood blinds, selecting the right type of paint is essential for achieving a beautiful and long-lasting finish. Here are some factors to consider when choosing the paint:
- Paint Type: Opt for a paint that is suitable for wood surfaces. Latex or acrylic-based paints are commonly used for wood blinds due to their durability and ease of application.
- Finish: Consider the desired look and functionality of your blinds. Satin or semi-gloss finishes are popular choices as they provide a smooth and durable surface that is easy to clean, making it ideal for blinds.
- Color: Select a color that complements your overall interior decor or the specific room where the blinds will be installed. It’s best to choose a paint color that is in harmony with the existing color scheme or creates a striking contrast, depending on your design preference.
- Quality: Invest in a high-quality paint to ensure better coverage, durability, and resistance to fading. Good quality paint will adhere well to the blinds’ surface and provide a long-lasting finish.
- Environmentally Friendly Options: If you prefer to use eco-friendly products, look for paints that are labeled as low VOC (volatile organic compounds) or zero VOC. These paints have lower levels of harmful chemicals and are better for both your health and the environment.
Before purchasing the paint, consult with the paint professional at your local home improvement store who can guide you in making the right choice based on your specific needs. It’s also a good idea to read customer reviews or get recommendations from friends or family who have tackled similar painting projects.
Remember, choosing the right paint is crucial for achieving a professional-looking finish and ensuring the longevity of your newly painted wood blinds. Take the time to research and select the best paint for the job, and you’ll be rewarded with stunning results that enhance the overall aesthetic of your space.
Cleaning the Blinds
Prior to painting your wood blinds, it’s important to give them a thorough cleaning. Cleaning the blinds not only removes dust and grime but also ensures a smooth surface for the paint to adhere to. Here’s how to clean wood blinds:
- Dust the Blinds: Start by using a feather duster, microfiber cloth, or a vacuum cleaner with a brush attachment to remove any loose dust or debris from the blinds. Move from top to bottom, using gentle strokes to avoid damaging the slats.
- Spot Clean Stains: If you have any stains or spots on the blinds, mix a mild detergent or dish soap with warm water in a bucket or basin. Dip a clean cloth or sponge into the soapy solution and gently blot the stained areas. Avoid scrubbing vigorously, as this may damage the wood or the finish of the blinds.
- Rinse with Clean Water: Use a clean cloth or sponge dampened with plain water to rinse off the soapy residue from the blinds. Make sure to wring out the cloth or sponge well to avoid excessive moisture on the wood.
- Dry the Blinds: After rinsing, use a dry, lint-free cloth or towel to thoroughly dry the blinds. This step is crucial to prevent water damage and ensure that the wood is completely dry before painting.
It’s important to note that if your wood blinds have a specialized finish or treatment, you should refer to the manufacturer’s instructions for cleaning to avoid any potential damage. Additionally, if the blinds are extremely dirty or have stubborn stains, you might consider professional blind cleaning services.
By thoroughly cleaning your wood blinds, you’ll remove any surface grime, allowing the paint to adhere smoothly and evenly. This step is essential for achieving professional-looking results and ensuring that the painted finish lasts for years to come.
Sanding the Blinds
After cleaning the wood blinds, the next step is sanding. Sanding creates a smooth surface and helps the paint adhere better to the wood. Follow these steps to sand your wood blinds:
- Gather the Supplies: You’ll need sandpaper, a sanding block or sponge, and a clean cloth to wipe away dust.
- Choose the Right Grit: Select sandpaper with a medium grit, around 120 to 150. This grit level is suitable for removing any remaining roughness or imperfections on the wood surface.
- Sand Lightly: Hold the sandpaper and wrap it around the sanding block or use a sanding sponge for better grip and control. Start sanding the wood blinds in the direction of the grain, applying gentle pressure. Avoid excessive sanding, as it can damage the wood or remove the finish.
- Smooth Out Edges and Corners: Pay extra attention to any rough edges or corners of the blinds. Use your fingers or a sanding sponge to smooth them out gently.
- Wipe Away Dust: After sanding, use a clean cloth to wipe away any dust or debris from the blinds. This step is crucial to ensure a clean painting surface.
Sanding the wood blinds not only prepares the surface for paint but also helps remove any imperfections, such as rough patches or minor dings. It creates a smooth and even canvas for applying the paint, resulting in a professional-looking finish.
Remember to wear a dust mask and protective eyewear during sanding to avoid inhaling or getting sanding dust in your eyes. Additionally, make sure that the blinds are completely dry before proceeding to the next step.
Now that the wood blinds are clean and sanded, the next step is to prime them before applying the paint. This will ensure better paint adhesion and improve the overall finish. Let’s dive into the process of priming the wood blinds in the next step.
Read more: How To Paint Fabric Blinds
Priming the Wood Blinds
Priming the wood blinds is a crucial step in the painting process. Priming not only helps the paint adhere better to the surface but also provides a smooth and even base for the final coat of paint. Follow these steps to prime your wood blinds:
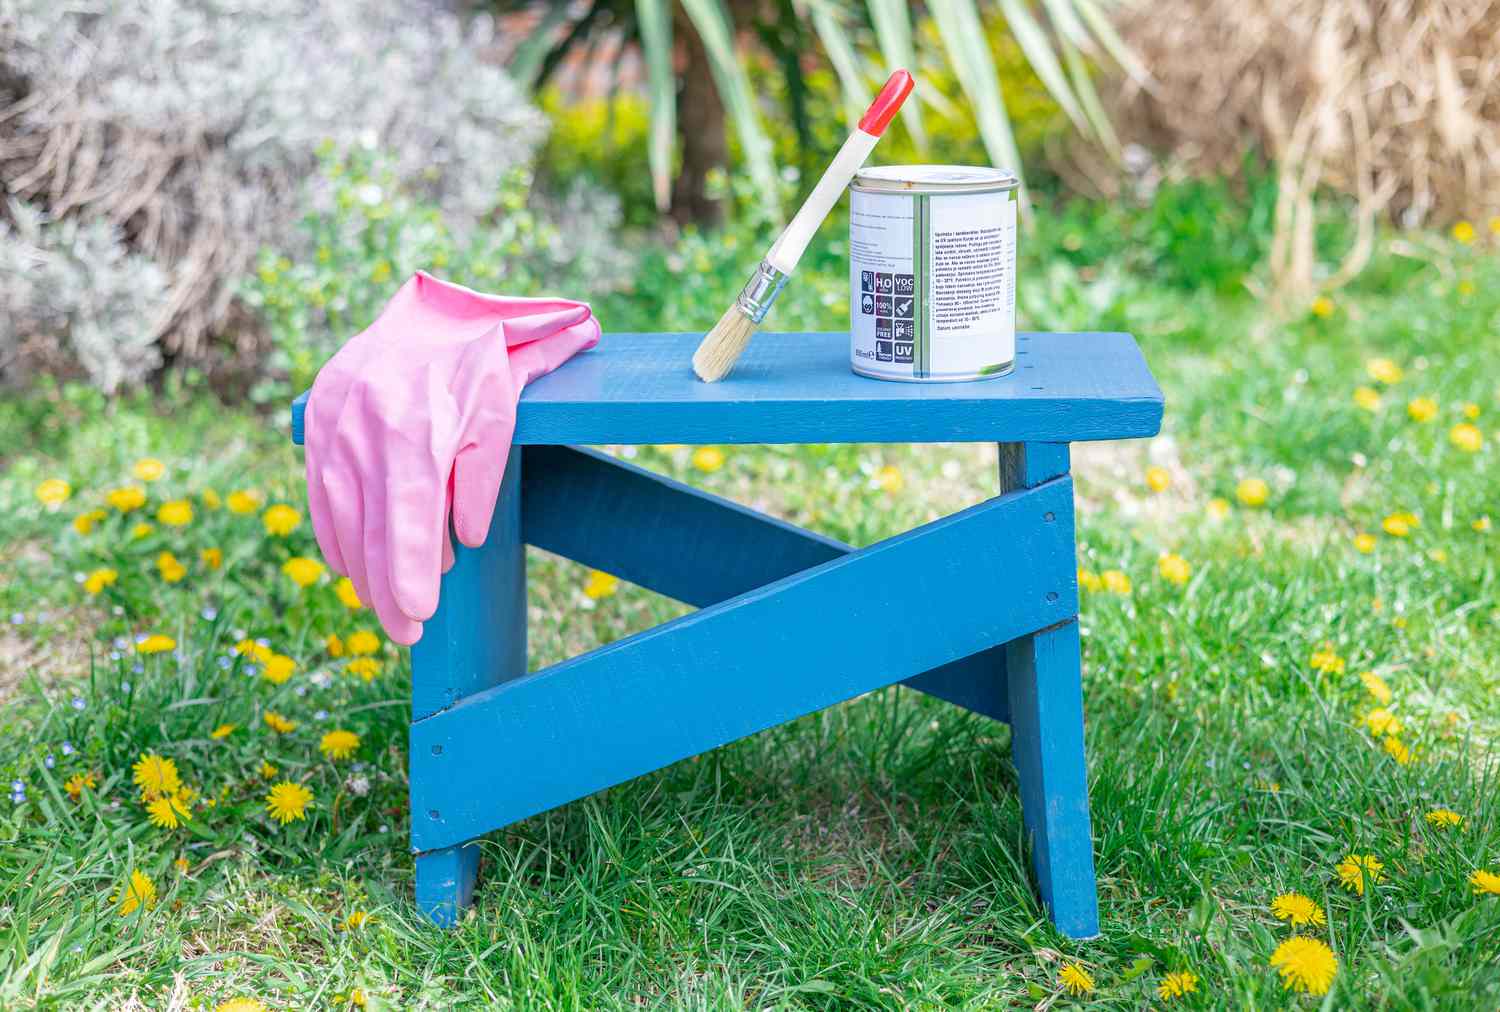
- Gather the Supplies: You’ll need a high-quality primer suitable for wood surfaces, a paintbrush or foam roller, painter’s tape, and a drop cloth.
- Prepare the Work Area: Lay down a drop cloth or plastic sheet to protect the surrounding area from any primer spills or drips.
- Tape off Areas: Use painter’s tape to cover any parts of the blinds that you don’t want to be primed, such as the strings or mechanisms.
- Stir the Primer: Open the primer can and give it a good stir to ensure it is well mixed.
- Apply the Primer: Dip the paintbrush or foam roller into the primer, removing any excess. Begin applying the primer onto the wood blinds, working in long, even strokes, following the direction of the slats. Pay attention to getting an even and thorough coverage, but avoid applying the primer too thickly as this can cause drip marks or a clumpy finish.
- Allow the Primer to Dry: Follow the drying time mentioned on the primer’s label. Typically, it takes a few hours for the primer to dry completely. Make sure to allow sufficient drying time before moving on to the next step.
- Inspect for Uniformity: Once the primer is dry, inspect the blinds for any missed spots or inconsistencies. Touch up any areas that need additional primer to ensure an evenly primed surface.
Priming the wood blinds creates a smooth and even surface for the final paint application. It helps the paint adhere better to the blinds, prevents uneven absorption, and enhances the overall durability and longevity of the painted finish.
After priming, it’s time to move on to the exciting part—applying the paint to bring new life to your wood blinds!
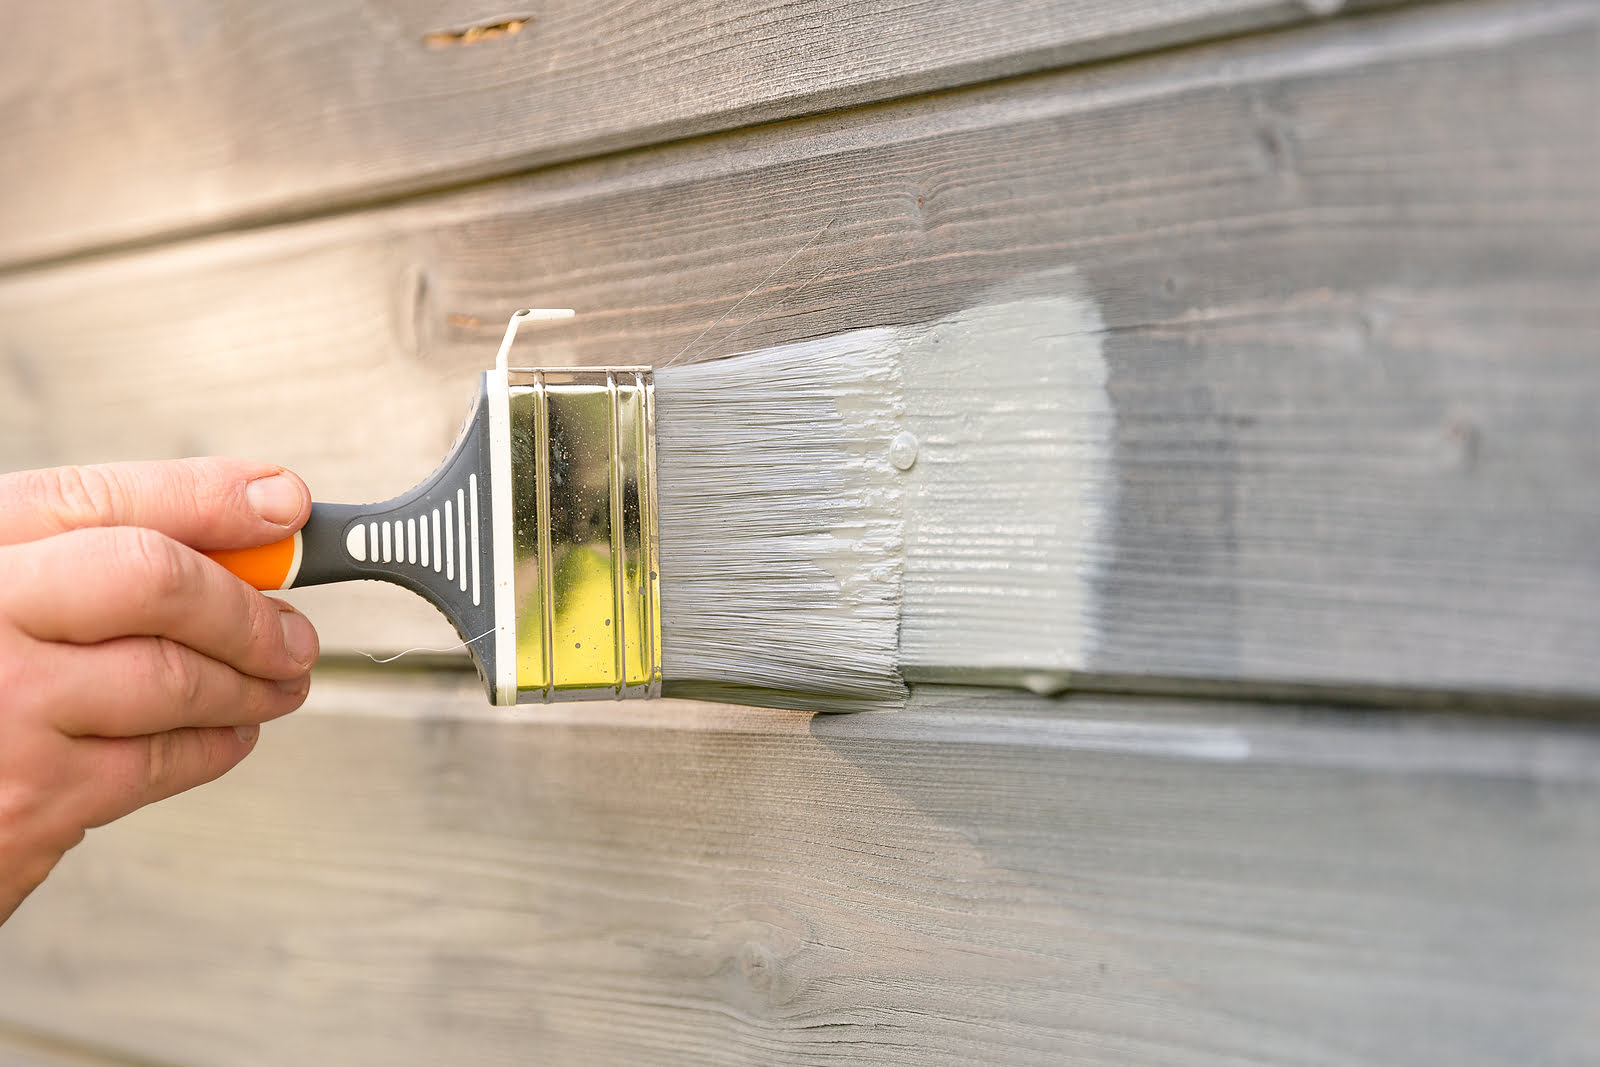
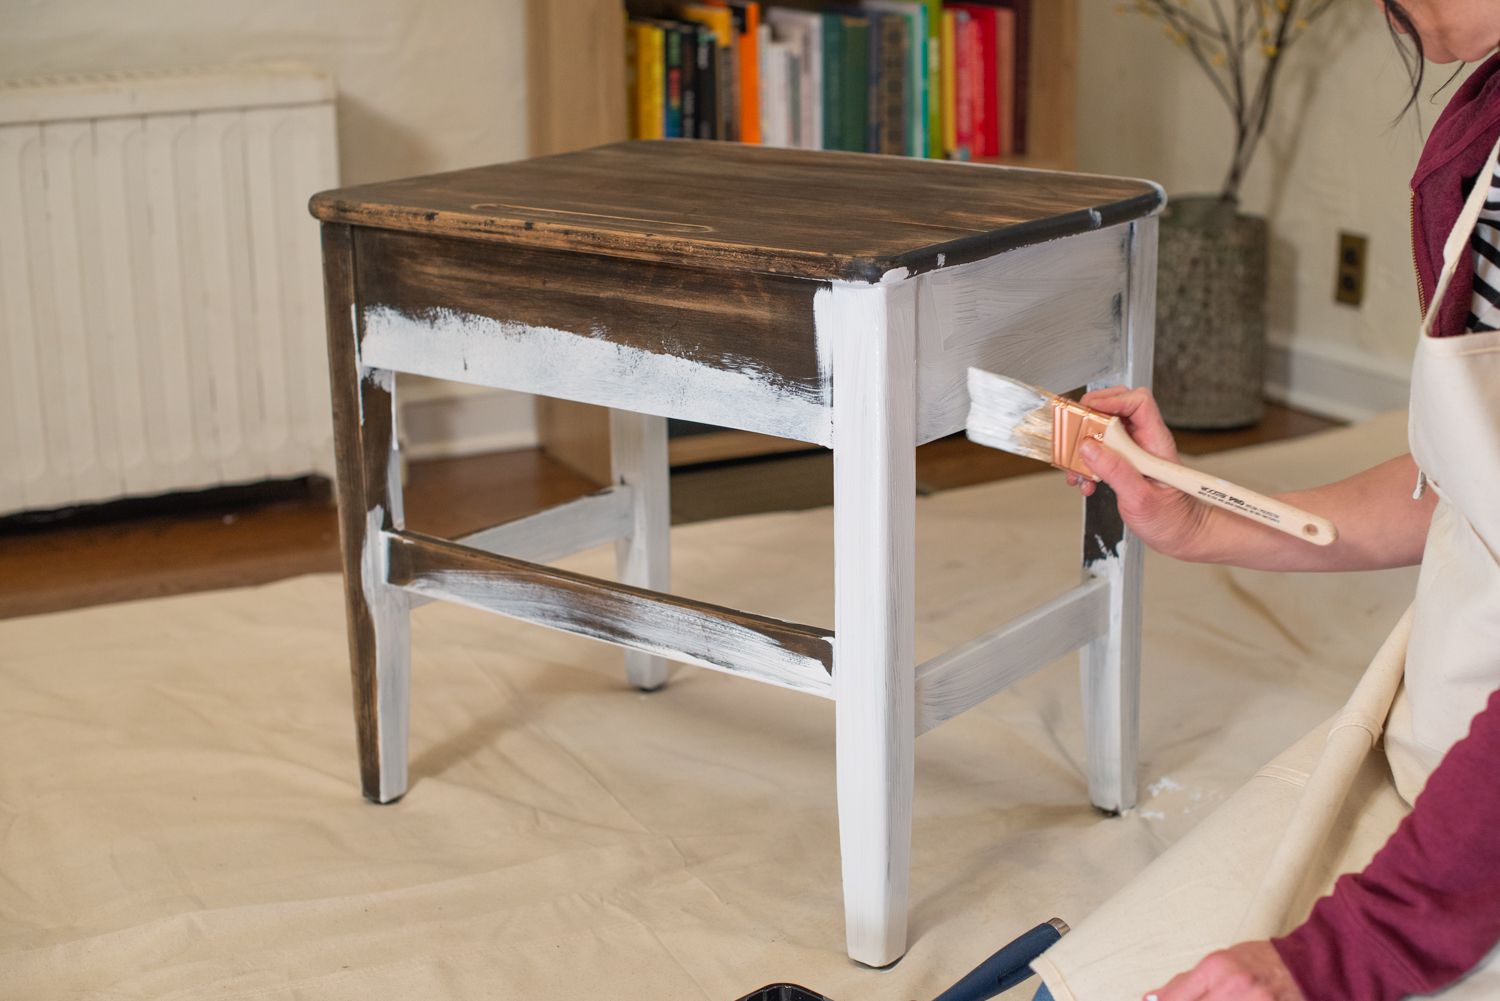
When painting wood blinds, be sure to sand the surface first to ensure the paint adheres properly. Use a high-quality primer and paint for best results.
Applying the Paint
Now that you’ve prepared the wood blinds by cleaning, sanding, and priming, it’s time to apply the paint. Follow these steps to achieve a smooth and professional finish:
- Gather the Supplies: You’ll need high-quality paint suitable for wood surfaces, a paintbrush or foam roller, a paint tray, painter’s tape, and a drop cloth.
- Prepare the Work Area: Lay down a drop cloth or plastic sheet to protect the surrounding area from any paint spills or drips.
- Tape off Areas: Use painter’s tape to cover any parts of the blinds that you don’t want to be painted. This includes the strings, mechanisms, and any hardware.
- Stir the Paint: Open the paint can and give it a good stir to ensure it is well mixed. This will help to distribute any settled pigments and ensure consistent color.
- Start Painting: Dip the paintbrush or foam roller into the paint, removing any excess. Begin applying the paint onto the wood blinds, working in long, even strokes, following the direction of the slats. Make sure to coat each slat evenly and avoid applying the paint too thickly, as it may lead to drips or a clumpy finish.
- Work in Sections: Paint one section at a time, ensuring a thorough and even application. If necessary, go back and touch up any missed spots or areas that require additional coverage.
- Allow the Paint to Dry: Follow the drying time mentioned on the paint can. Typically, it takes a few hours for the paint to dry, but it’s best to allow it to cure overnight to ensure it fully sets.
While painting, be mindful of the temperature and humidity levels in the room. Avoid painting in excessively hot or humid conditions, as it can affect the drying time and the quality of the finish.
After the paint has dried, inspect the blinds for any imperfections or missed spots. Touch up any areas that require additional paint to achieve a consistent and flawless finish.
Once the paint is fully dry and you’re satisfied with the coverage, it’s time to proceed to the next step—adding a second coat for a professional-looking result.
Adding a Second Coat
Adding a second coat of paint is crucial for achieving a smooth and professional-looking finish on your wood blinds. The second coat helps to enhance the color vibrancy, coverage, and durability of the paint. Follow these steps to apply the second coat:
- Ensure the First Coat is Fully Dry: Before applying the second coat, make sure that the first coat of paint is completely dry. Refer to the drying time mentioned on the paint can, and if possible, allow the first coat to cure overnight for optimal results.
- Gently Sand the First Coat (Optional): If you notice any imperfections or rough areas on the first coat, you can lightly sand them using a fine-grit sandpaper. This step helps to smooth out any bumps or drips. After sanding, wipe away the sanding dust with a clean cloth.
- Prepare the Work Area: Lay down a drop cloth or plastic sheet to protect the surrounding area from any paint spills or drips.
- Stir the Paint: Give the second can of paint a good stir to ensure it is well mixed and consistent in color.
- Apply the Second Coat: Using a paintbrush or foam roller, apply the second coat of paint in the same manner as the first coat, following the direction of the slats. Ensure even coverage and smooth strokes. Pay extra attention to any missed spots or areas that might require additional paint.
- Allow the Second Coat to Dry: Follow the drying time mentioned on the paint can. Similar to the first coat, it’s best to allow the second coat of paint to cure overnight to ensure it fully sets.
Applying a second coat of paint helps to achieve a more flawless and opaque finish. It adds depth to the color and ensures that the wood blinds look professional and well-painted.
After the second coat has dried, carefully inspect the blinds for any remaining imperfections or missed spots. Touch up any areas that require additional paint, ensuring a consistent and smooth finish across all the slats.
With the second coat applied and fully dry, you’re ready to move on to the final step—sealing and protecting your newly painted wood blinds.
Seal and Protect
After painting your wood blinds, it’s important to seal and protect them to ensure the longevity of the finish. Sealing the paint helps to protect it from damage, such as scratches, moisture, and fading. Follow these steps to seal and protect your newly painted wood blinds:
- Gather the Supplies: You’ll need a clear polyurethane sealer suitable for wood surfaces, a paintbrush or foam brush, and a clean cloth.
- Read the Instructions: Read the instructions on the polyurethane sealer can to understand its specific application and drying time.
- Test in an Inconspicuous Area (Optional): If you’re concerned about the sealer affecting the appearance of your painted blinds, test it in a small, inconspicuous area first to ensure the desired result.
- Apply the Sealer: Dip the brush into the sealer, removing any excess. Apply a thin and even coat of sealer onto the painted surfaces of the blinds, including the slats and edges. Work in long, smooth strokes, following the direction of the slats. Take care to avoid drips or pooling of the sealer.
- Allow to Dry: Follow the drying time mentioned on the sealer can. Typically, it takes a few hours for the sealer to dry, but it’s best to allow it to cure overnight for optimal results.
- Inspect and Apply Additional Coats (Optional): Once the first coat of sealer is dry, inspect the blinds to determine if an additional coat is needed. If desired, apply a second coat of sealer following the same process as the first. This will provide extra protection for your wood blinds.
- Clean Up: Clean the brush or foam brush thoroughly with soap and water, following the manufacturer’s instructions.
Sealing your painted wood blinds helps to protect the finish from everyday wear and tear. It enhances durability, makes the blinds easier to clean, and guards against color fading caused by sunlight exposure.
Remember to follow the specific instructions provided by the manufacturer of the polyurethane sealer you’re using, as different brands may have slight variations in application and drying times.
With the blinds properly sealed and protected, you can now reinstall them in your windows and enjoy the refreshed and vibrant look they bring to your space.
Read more: What Is Faux Wood Blinds?
Final Tips and Considerations
As you complete the process of painting your wood blinds, here are some final tips and considerations to keep in mind:
- Proper Ventilation: Ensure that the area where you are painting and priming the blinds is well-ventilated. Open windows or use fans to circulate fresh air, especially when working with paint or primer that emits strong fumes.
- Patience and Care: Take your time during each step of the process. Rushing can lead to uneven paint application, drips, or blemishes on the blinds. Exercise caution and pay attention to detail for the best results.
- Consider Professional Help: If you’re unsure about any aspect of the painting process, or if you have expensive or delicate blinds, it might be worth considering hiring a professional to ensure a flawless and high-quality finish.
- Protect the Surrounding Areas: Use drop cloths or plastic sheets to protect the surrounding surfaces, furniture, and flooring from paint splatters or spills. This will prevent any accidental damage and make for easier cleanup.
- Maintaining the Painted Blinds: After painting, avoid excessive moisture or harsh cleaning chemicals that may damage the painted surface. Instead, use a mild soap and water solution or a gentle cleaning cloth to keep the blinds clean and dust-free.
- Match the Paint Color: If you plan on touching up or repainting specific sections of the blinds in the future, keep a record of the paint color and brand. This will make it easier to match the color accurately.
- Experiment with Finishes: Depending on your personal preference and the style of your space, you can experiment with different finishes such as matte or glossy paint. Test a small area with different finishes to see which one suits your blinds and overall decor the best.
- Consider Alternative Options: If you want to change the color of your blinds frequently, or if you are hesitant about permanently altering the blinds, consider using temporary methods such as fabric shades or blinds that can easily be switched out or removed.
- Follow Safety Precautions: When working with paint, primer, or sealer, always follow the manufacturer’s instructions, wear appropriate safety gear such as gloves and goggles, and keep these products out of reach of children and pets.
By keeping these tips in mind and taking the time to properly prepare, paint, and seal your wood blinds, you’ll be able to achieve a stunning and refreshed look that complements your home decor. Enjoy the process and the transformation you will bring to your living spaces!
Conclusion
Painting wood blinds is a fantastic way to update the look of your windows and give your space a fresh new vibe. With the right preparation, paint selection, and techniques, you can transform your blinds into a customized element that complements your decor and reflects your personal style.
Throughout this comprehensive guide, we’ve covered each step of the process, from preparing the wood blinds through cleaning and sanding, to priming, painting, and sealing. By following these steps and considering the tips and considerations provided, you can achieve professional-looking results that will enhance the aesthetic appeal of your windows.
Remember to take your time and exercise caution during each stage of the process. Proper preparation, including cleaning and sanding, is essential for creating a smooth and even canvas for the paint. Choosing high-quality paint and primer, as well as applying multiple coats and sealing the blinds, will ensure a durable and long-lasting finish.
As you embark on your wood blinds painting journey, don’t forget to consider safety precautions, proper ventilation, and protecting your surroundings. If you ever feel unsure or overwhelmed, don’t hesitate to seek professional assistance for the best outcome.
Now that you have the knowledge and step-by-step instructions, it’s time to gather your materials and get started. Whether you’re updating the blinds in your living room, bedroom, or any other space, enjoy the process and have fun transforming your windows into stunning focal points.
With a little creativity, patience, and attention to detail, your painted wood blinds will become a beautiful addition to your home decor, offering both style and functionality for years to come.
Frequently Asked Questions about How To Paint Wood Blinds
Was this page helpful?
At Storables.com, we guarantee accurate and reliable information. Our content, validated by Expert Board Contributors, is crafted following stringent Editorial Policies. We're committed to providing you with well-researched, expert-backed insights for all your informational needs.


0 thoughts on “How To Paint Wood Blinds”