Articles
How To Measure A Computer Fan
Modified: October 18, 2024
Learn how to measure a computer fan with this informative article. Find out the necessary steps and tools needed to accurately measure your computer fan.
(Many of the links in this article redirect to a specific reviewed product. Your purchase of these products through affiliate links helps to generate commission for Storables.com, at no extra cost. Learn more)
Introduction
Computer fans play a crucial role in maintaining the optimal temperature of your computer system. They help dissipate heat generated by the components, preventing overheating and ensuring smooth functioning. However, there may be times when you need to measure a computer fan, whether for replacement or upgrade purposes. In this article, we will guide you through the steps on how to measure a computer fan accurately.
Before we dive into the steps, let’s gather the necessary tools you will need for this process. Having these on hand will make the measurement process easier and more efficient:
- Tape measure or ruler
- Phillips screwdriver or appropriate tool to open the computer case
- Pen and paper to jot down measurements
Now, let’s get started with measuring your computer fan.
Key Takeaways:
- Ensure safety and accuracy by shutting down and unplugging your computer before measuring the fan. Use the right tools and follow the step-by-step guide to obtain accurate measurements for a compatible replacement or upgraded fan.
- Gather essential fan specifications such as size, height, airflow, voltage, and current to select the right replacement or upgraded fan. Safely reassemble your computer system and enjoy improved cooling and performance.
Read more: How To Make Computer Fan Quieter
Tools needed
Before you begin measuring your computer fan, it’s essential to gather the necessary tools to ensure accuracy and ease of the process. Here are the tools you will need:
- Tape measure or ruler: You will need a tape measure or ruler to measure the dimensions of the computer fan accurately. Make sure it has clear markings and is long enough to reach the entire diameter of the fan.
- Phillips screwdriver or appropriate tool: In order to access the computer fan, you will likely need to open the computer case. A Phillips screwdriver or the necessary tool for your specific case type will be required to remove the screws holding the case in place.
- Pen and paper: It’s important to keep a pen and paper handy to jot down the measurements as you go. This will help you keep track of the data and ensure you don’t forget any important details.
With these tools at your disposal, you’re now ready to proceed with measuring your computer fan. Follow the next steps to ensure accurate measurements and gather the necessary information for any future replacements or upgrades.
Step 1: Shutdown and unplug the computer
Before you start measuring the computer fan, it’s important to ensure your computer is safely shut down and unplugged. This step is crucial for your safety as well as for preventing any accidental damage to the computer system.
Follow these steps to properly shut down and unplug your computer:
- Save your work and close all applications: Make sure to save any unsaved work and close all open applications on your computer. This will prevent any data loss or corruption.
- Click on the “Start” menu: Locate the “Start” button on the taskbar and click on it. A menu will appear.
- Select “Shut down” or “Restart”: From the menu, select either “Shut down” or “Restart” to initiate the shutdown process. If you choose “Restart,” make sure to wait until the computer fully shuts down and powers back on before proceeding with the measurement process.
- Unplug the power cord: Once your computer is completely shut down, locate the power cord connected to the back of the computer tower or the power adapter for a laptop. Gently unplug the power cord from the electrical outlet.
- Optional: Press and hold the power button: To fully discharge any remaining power in the system, you can press and hold the power button on the computer tower or laptop for a few seconds. This will ensure that there is no residual charge left in the system, which can sometimes affect the accuracy of the measurements.
By following these steps, you have successfully shut down your computer and disconnected it from the power source. This ensures a safe and controlled environment to proceed with opening the computer case and measuring the fan.
Step 2: Open the computer case
Now that your computer is safely shutdown and unplugged, it’s time to open the computer case to access the internal components, including the computer fan. Follow these steps to open the case:
- Locate the screws: Examine the back or side panel of your computer case to identify the screws holding it in place. Most computer cases use Phillips screws, but some may require different types of screws or fasteners.
- Use the appropriate tool: Match the correct screwdriver or tool to the type of screws on your computer case. If you’re uncertain, consult the computer’s manual or look for online resources specific to your case model.
- Remove the screws: Use the screwdriver to carefully remove the screws from the case panel. Place the screws in a safe location, such as a small container, to prevent them from getting lost.
- Slide or lift the panel: Once the screws are removed, gently slide or lift the panel to open the computer case. Be cautious not to use excessive force, as some cases may have additional latches or clips securing the panel.
- Set aside the case panel: Set the removed case panel in a secure area away from your workspace, ensuring it won’t accidentally get damaged or cause any obstruction during the measurement process.
Remember, different computer cases have varying designs and mechanisms for opening. If you encounter any difficulties or are unsure about the steps required for your particular case, it’s recommended to refer to the manufacturer’s instructions or seek assistance from an experienced professional.
With the computer case successfully opened, you’re now ready to locate the computer fan and proceed with measuring it.
Step 3: Locate the computer fan
Now that you have the computer case opened, it’s time to locate the computer fan within the system. The computer fan is typically positioned near the central processing unit (CPU) or other heat-generating components. Follow these steps to find the computer fan:
- Observe the internal components: Take a moment to visually inspect the inside of your computer case. Look for a fan or fans positioned near the motherboard, CPU, or other areas where heat is likely to be generated. The fan will consist of a circular frame with blades or fins attached.
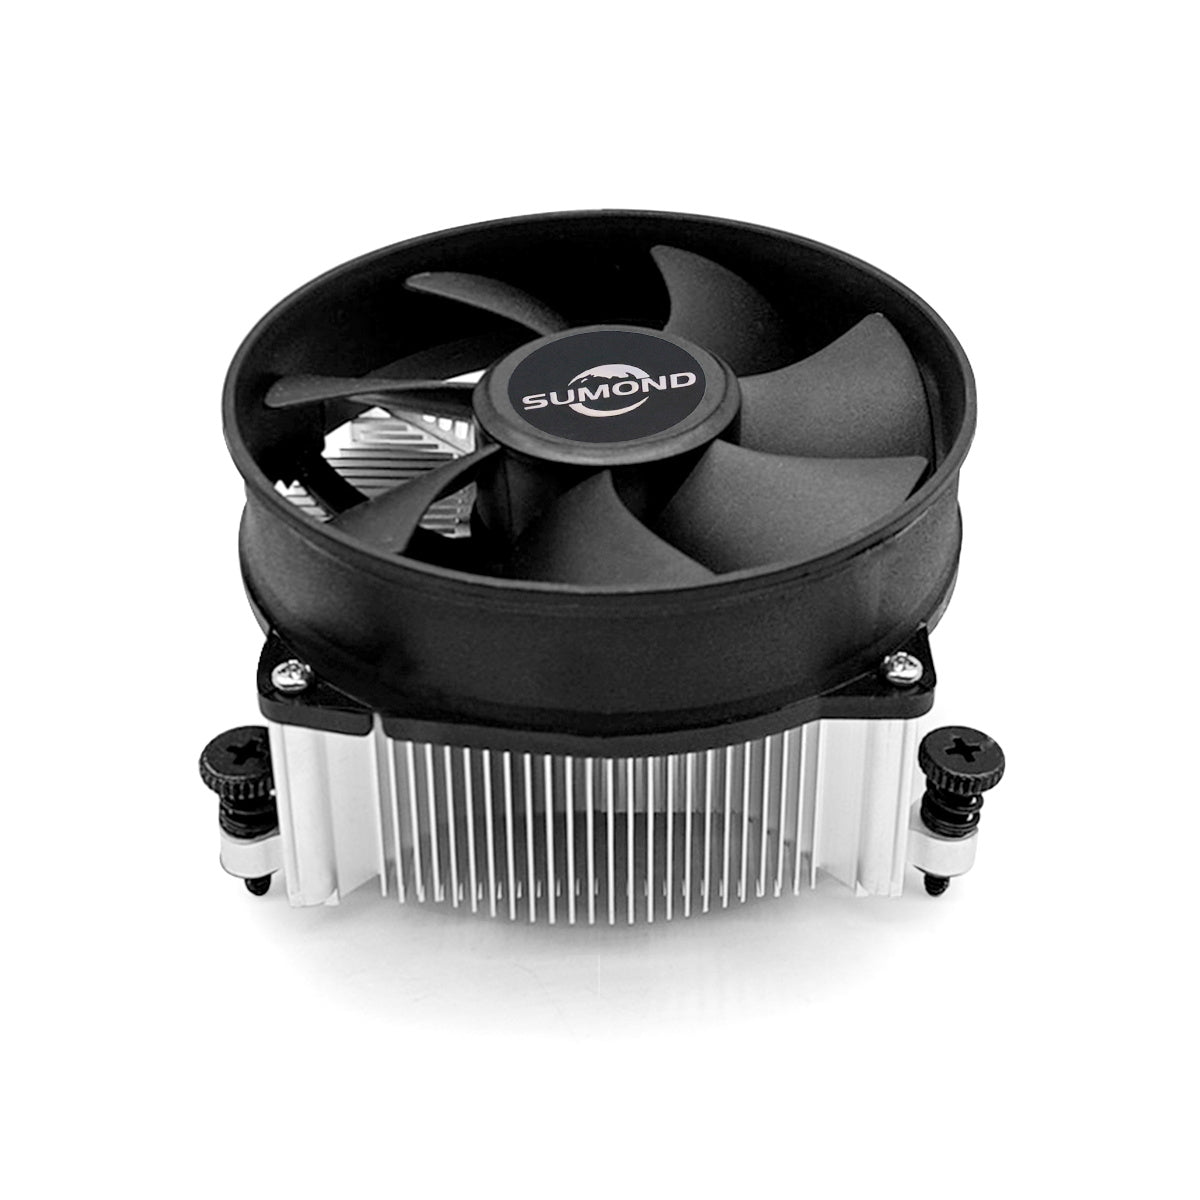
- Identify the CPU fan: The most prominent fan in your computer system is likely to be the CPU fan. It is specifically designed to cool the CPU, a critical component in your computer. The CPU fan is often larger than other fans in the system.
- Check for additional fans: Some computer systems may have additional fans to aid in cooling other components, such as the graphics card or power supply unit. These fans may vary in size and location, but they are typically positioned near their respective components.
- Take note of any fan labels or markings: As you locate the computer fan, check for any labels or markings on it. Manufacturers often include information such as the fan size, model number, or specifications. This can be helpful when determining the exact measurements and specifications of the fan.
If you’re having trouble locating the computer fan, consult the computer’s manual or search for online resources specific to your computer model. Take your time to ensure you properly identify the fan before proceeding with the measurement process.
Once you have located the computer fan, it’s time to measure its size, height, and other specifications. We will guide you through these steps in the following sections.
Read more: How To Turn Off Computer Fan
Step 4: Measure the fan’s size (diameter)
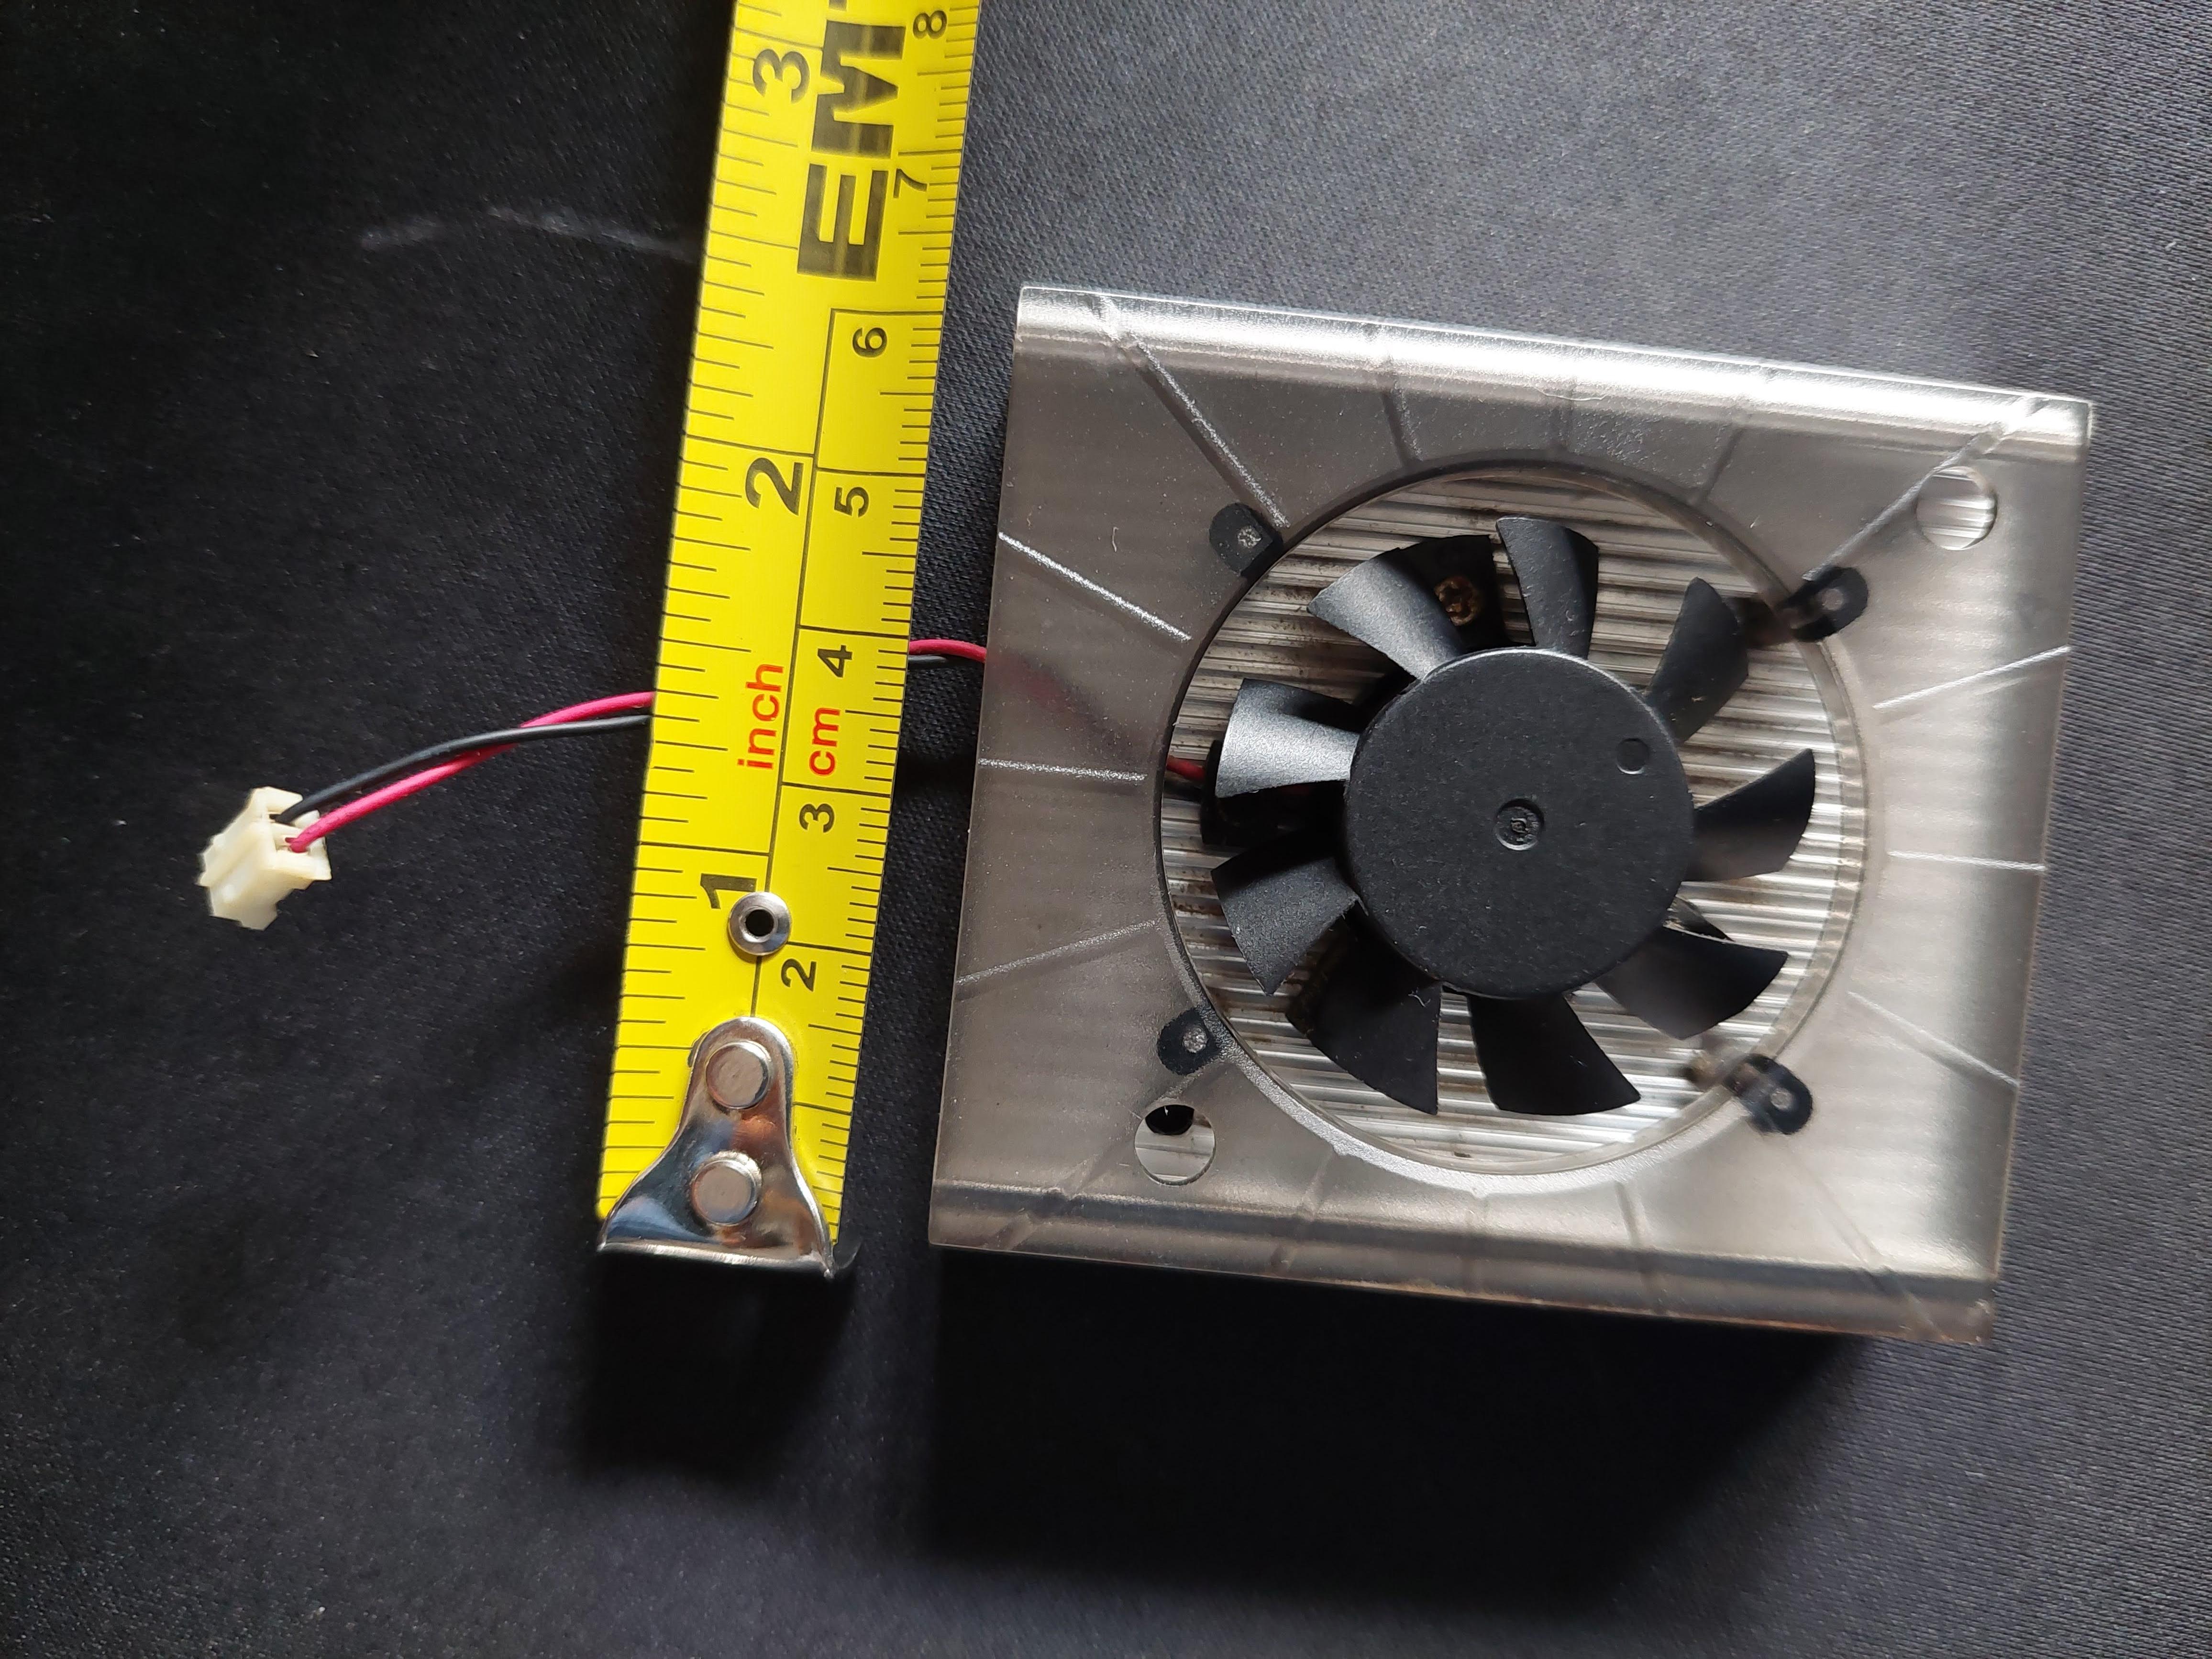
Measuring the size of the computer fan is an essential step to ensure compatibility when replacing or upgrading the fan. The most common measurement for a computer fan is its diameter, which is typically measured in millimeters (mm). Follow these steps to accurately measure the fan’s size:
- Locate the center of the fan: Identify the center of the computer fan where the blades or fins attach. This is the point from which you will measure the diameter.
- Take out the tape measure or ruler: Retrieve your tape measure or ruler, ensuring it is long enough to reach the entire diameter of the fan.
- Place the measuring device at one end: Position the starting point of your tape measure or ruler at one edge of the fan’s center. Make sure it is aligned with the outer edge of the fan where the blades or fins begin.
- Measure across the center: Gently stretch the tape measure or ruler across the center of the fan, ensuring it stays in line with the outer edge. Read the measurement at the point where the opposite edge of the fan’s center aligns with the measuring device.
- Record the measurement: Note down the measured diameter in millimeters (mm). This measurement will be required when selecting a replacement or upgraded fan for your computer system.
It’s important to exercise care and precision when measuring the fan’s size to avoid inaccuracies that could lead to compatibility issues. Additionally, note that the fan size typically refers to the size of the fan’s frame or outer casing, not necessarily the size of the blades or fins themselves.
Now that you have measured the fan’s size, let’s move on to measuring its height or thickness in the next step.
When measuring a computer fan, be sure to measure the diameter of the fan blades from one end to the other. This will give you the correct size for replacement or upgrade.
Step 5: Measure the fan’s height/thickness
In addition to measuring the diameter, it’s important to measure the height or thickness of the computer fan. This measurement is crucial to ensure compatibility when replacing or upgrading the fan. Follow these steps to accurately measure the fan’s height:
- Locate the side of the fan: Identify the side of the computer fan where you can observe its height or thickness. This is typically the side of the fan where you can see the space between the blades or fins.
- Take out the tape measure or ruler: Retrieve your tape measure or ruler, ensuring it is long enough to reach the entire height of the fan.
- Place the measuring device at one end: Position the starting point of your tape measure or ruler at one edge of the fan’s side. Make sure it is aligned with the outer edge of the side where you can see the space between the blades or fins.
- Measure across the side: Gently stretch the tape measure or ruler across the side of the fan, ensuring it stays in line with the outer edge. Read the measurement at the point where the opposite edge of the side aligns with the measuring device.
- Record the measurement: Note down the measured height or thickness in millimeters (mm). This measurement will be required when selecting a replacement or upgraded fan for your computer system.
Similar to measuring the fan’s size, it’s important to be precise and exercise caution when measuring the height or thickness. This will ensure accurate compatibility when selecting a new fan for your computer.
With the fan’s size and height measured, you now have key dimensions that will help in finding a suitable replacement or upgraded fan. In the next step, we will delve into determining the fan’s airflow or CFM (cubic feet per minute).
Step 6: Determine the fan’s airflow (CFM)
The airflow of a computer fan, measured in cubic feet per minute (CFM), determines its ability to effectively cool the system. Determining the fan’s CFM is important when choosing a replacement or upgraded fan that can adequately meet your cooling needs. Follow these steps to determine the fan’s airflow:
- Locate the fan’s specifications: Check the label or markings on the fan itself to see if it provides information about its airflow or CFM. Some fans may have this information directly listed on the sticker or label.
- Refer to the manufacturer’s documentation: If the fan’s specifications are not listed on the fan itself, consult the manufacturer’s documentation. The fan’s CFM value may be included in the product specifications or technical information provided by the manufacturer.
- Search online resources: If the fan’s specifications are not readily available, search online resources such as the manufacturer’s website, fan reviews, or computer hardware forums. These sources often provide detailed information about specific fan models, including their airflow or CFM ratings.
- Use a CFM measurement tool (optional): If you are unable to find the fan’s CFM information through the above methods, you can use a CFM measurement tool specifically designed for fans. These tools typically involve directing the airflow from the fan into a device that measures the CFM. However, note that this method may require more advanced technical knowledge.
It’s important to note that not all computer fans have the CFM value readily available. The availability of this information may vary depending on the fan model and manufacturer.
By determining the fan’s airflow or CFM, you will have a better understanding of its cooling capabilities and how it compares to other fans on the market. This knowledge will help you make an informed decision when selecting a replacement or upgraded fan for your computer system.
In the next step, we will explore how to note down the fan’s voltage and current, which are important specifications to consider.
Step 7: Note down the fan’s voltage and current
When measuring a computer fan, it’s crucial to note down the fan’s voltage and current specifications. These specifications determine the power requirements of the fan and are essential for ensuring compatibility and proper functioning. Follow these steps to note down the fan’s voltage and current:
- Locate the fan’s specifications: Check the label or markings on the fan itself to see if it provides information about its voltage and current. Some fans may have this information directly listed on the sticker or label.
- Refer to the manufacturer’s documentation: If the fan’s specifications are not listed on the fan itself, consult the manufacturer’s documentation. The voltage and current requirements may be included in the product specifications or technical information provided by the manufacturer.
- Search online resources: If the fan’s specifications are not readily available, search online resources such as the manufacturer’s website, fan reviews, or computer hardware forums. These sources often provide detailed information about specific fan models, including their voltage and current ratings.
It’s important to note that the voltage and current specifications of computer fans vary depending on the fan model and manufacturer. The most common voltage rating for computer fans is 12 volts (V), but it’s always best to confirm this information specific to the fan you are measuring.
By noting down the fan’s voltage and current specifications, you will have the necessary information to ensure compatibility when selecting a replacement or upgraded fan for your computer system. This will help to avoid any issues with power supply or compatibility with the motherboard or fan controller.
In the next step, we will cover how to safely replace the computer case and plug it back in, concluding the process of measuring and noting down the required fan specifications.
Read also: 10 Amazing Computer Fan for 2025
Step 8: Replace the computer case and plug it in
Once you have completed the measurement process and noted down all the necessary fan specifications, it’s time to reassemble your computer system. Follow these steps to safely replace the computer case and plug it back in:
- Position the case panel: Take the case panel that you had set aside earlier and align it properly with the computer case. Make sure to line up any screw holes or clips.
- Secure the panel: Use the appropriate tool, such as a Phillips screwdriver, to reinsert and tighten the screws that hold the case panel in place. Ensure they are snug, but be cautious not to overtighten them.
- Double-check the connections: Before plugging in the computer, ensure that all internal cables, fans, and components are properly connected and secured. Check that the CPU fan, graphics card, and power supply connections are correctly positioned.
- Plug in the power cord: Take the power cord that you had unplugged earlier and insert it back into the appropriate power outlet. Make sure the cord is securely connected and not loose.
- Turn on the computer: Press the power button on your computer to turn it on. If all connections and components are properly set, the computer should boot up successfully.
- Monitor the fan’s operation: Once the computer is powered on, observe the fan’s operation. Ensure it spins smoothly and consistently without any unusual noises. If you notice any issues, double-check the connections and consult the fan’s specifications or manufacturer’s documentation.
By following these steps, you will safely replace the computer case and restore the power to your computer system. It’s important to ensure all connections and components are secured before powering on the computer to prevent any damage or malfunctions.
Congratulations! You have successfully measured the computer fan, noted down its specifications, and reassembled your computer system. You now have the necessary information to select a compatible replacement or upgraded fan that will meet your cooling needs.
Remember, if you are unsure about any step or encounter any difficulties during the process, it’s recommended to consult the computer’s manual or seek assistance from a knowledgeable professional.
Enjoy your newly measured computer fan and the improved performance and cooling it will bring to your computer system!
Conclusion
Measuring a computer fan is an important process to ensure compatibility and optimal cooling within your computer system. By accurately measuring the fan’s size, height, airflow, voltage, and current, you gain valuable information necessary for selecting a replacement or upgraded fan that will meet your specific needs.
Throughout this article, we have provided a step-by-step guide on how to measure a computer fan. Starting with shutting down and unplugging your computer, opening the computer case, locating the fan, and measuring its size and height, you have learned the essential techniques to obtain accurate measurements.
Additionally, we discussed how to determine the fan’s airflow (CFM) and note its voltage and current specifications. These details are crucial for ensuring compatibility and proper functioning of the replacement or upgraded fan.
Finally, we covered the process of safely replacing the computer case and plugging it back in, concluding the measurement process and allowing you to restore power to your computer system.
Remember, if you encounter any difficulties or are unsure about any step, it’s always recommended to consult the computer’s manual or seek assistance from knowledgeable professionals. It’s important to prioritize safety and accuracy throughout the measurement process.
Now armed with the knowledge of how to measure a computer fan, you can confidently select the right fan for your system, ensuring optimal cooling and performance. Keep your computer running smoothly and efficiently with a properly measured and replaced fan!
Frequently Asked Questions about How To Measure A Computer Fan
Was this page helpful?
At Storables.com, we guarantee accurate and reliable information. Our content, validated by Expert Board Contributors, is crafted following stringent Editorial Policies. We're committed to providing you with well-researched, expert-backed insights for all your informational needs.


0 thoughts on “How To Measure A Computer Fan”