Home>Articles>How To Repurpose A Computer Cabinet Into A Pantry
Articles
How To Repurpose A Computer Cabinet Into A Pantry
Modified: January 18, 2024
Learn how to repurpose a computer cabinet into a functional pantry with our step-by-step articles. Get creative and transform your space today!
(Many of the links in this article redirect to a specific reviewed product. Your purchase of these products through affiliate links helps to generate commission for Storables.com, at no extra cost. Learn more)
Introduction
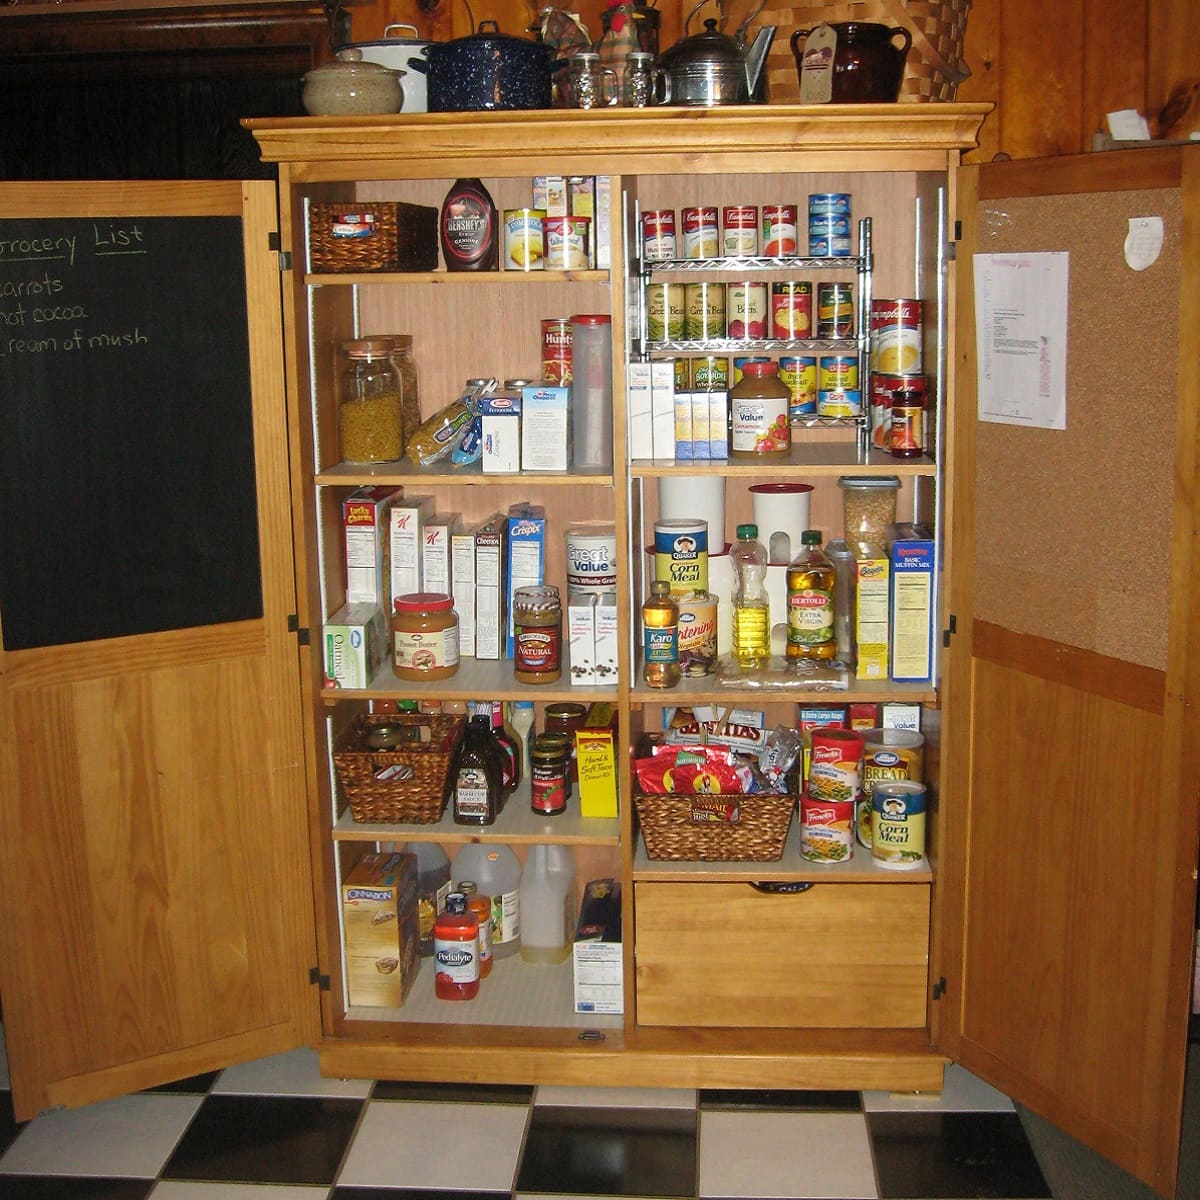
Welcome to the world of repurposing! If you have an unused computer cabinet lying around and are in need of some extra kitchen storage, why not turn it into a pantry? Repurposing furniture is not only a sustainable way to give new life to old items, but it can also be a fun and creative project that adds a unique touch to your home.
In this article, we will guide you through the process of repurposing a computer cabinet into a pantry. You’ll learn how to transform a piece of furniture designed for technology into a functional and stylish storage solution for your kitchen essentials. With a few simple steps, you’ll have a custom pantry that not only maximizes space but also adds character and charm to your home.
Before we dive into the process, let’s clarify what exactly we mean by repurposing. Repurposing is the act of taking an item originally designed for one purpose and finding a new use or function for it. In this case, we’re repurposing a computer cabinet, which is typically used to house computer hardware, and turning it into a pantry to store food, cookware, and other kitchen items.
Repurposing furniture allows you to flex your creativity and think outside the box. It’s a chance to breathe new life into items that might otherwise end up in a landfill. Plus, repurposing can be a more affordable option compared to buying new furniture. So, if you’re up for a DIY project that combines sustainability, creativity, and practicality, let’s get started on repurposing that computer cabinet into a pantry!
Key Takeaways:
- Transform an unused computer cabinet into a stylish and functional pantry by following simple steps. Repurposing furniture is a sustainable, creative, and cost-effective way to add character to your home.
- Repurposing a computer cabinet into a pantry not only maximizes space but also showcases your creativity. Enjoy the benefits of a well-organized pantry and contribute to a more eco-friendly lifestyle.
Step 1: Emptying and Cleaning the Computer Cabinet
The first step in repurposing a computer cabinet into a pantry is to empty out its contents and thoroughly clean the interior. Start by unplugging any electronics, such as a computer or monitor, and remove any cables or accessories that may be attached to the cabinet.
Once the cabinet is empty, give it a good cleaning. Use a mild detergent mixed with water to wipe down the interior surfaces, including shelves, drawers, and the back panel. Pay special attention to any sticky residue or dirt buildup, as these can interfere with the functionality and cleanliness of your pantry. You may also want to consider using a disinfecting wipe to sanitize the surfaces.
After cleaning, allow the cabinet to dry completely before moving on to the next step. This will ensure that your pantry is free from any moisture that could cause damage or promote mold growth.
While you’re at it, take a moment to evaluate the condition of the cabinet. Look for any signs of damage, such as scratches, dents, or loose hinges. If necessary, make note of the repairs that need to be done and gather the materials needed to fix them. This will ensure that your pantry not only looks great but also functions properly.
By emptying and cleaning the computer cabinet, you are starting with a blank canvas for your pantry project. This step sets the foundation for a clean and organized storage space that will efficiently house your kitchen essentials. With the interior fresh and ready, it’s time to move on to the next step: removing shelves and organizers.
Step 2: Removing Shelves and Organizers
Now that your computer cabinet is clean and ready, it’s time to remove any shelves and organizers that were originally designed for computer hardware. These components are not suitable for a pantry and may hinder the storage of your kitchen items.
Start by carefully assessing the layout of the cabinet. Look for any shelves, brackets, or organizers that are attached to the interior. Typically, computer cabinets have adjustable shelves that can be easily removed. Use a screwdriver or a drill to unscrew any screws or bolts securing the shelves in place.
If there are any stubborn shelves that won’t budge, check if there are additional fasteners or screws that need to be removed. Some computer cabinets may have hidden screws or extra support brackets that keep the shelves in place. Take your time to locate and remove all necessary components.
Once all shelves and organizers are removed, take a moment to envision how you want your pantry to be organized. Consider the types of food and kitchen items you plan to store and think about the most efficient way to arrange them. This will help you determine if any additional modifications, like adding adjustable shelves or hooks, are needed in the next steps.
Removing shelves and organizers is an essential step in repurposing the computer cabinet into a pantry. By doing so, you are creating an open space that can be customized to fit your specific storage needs. With a clean slate, you’re ready to move on to the next step: patching holes and repairing any damage.
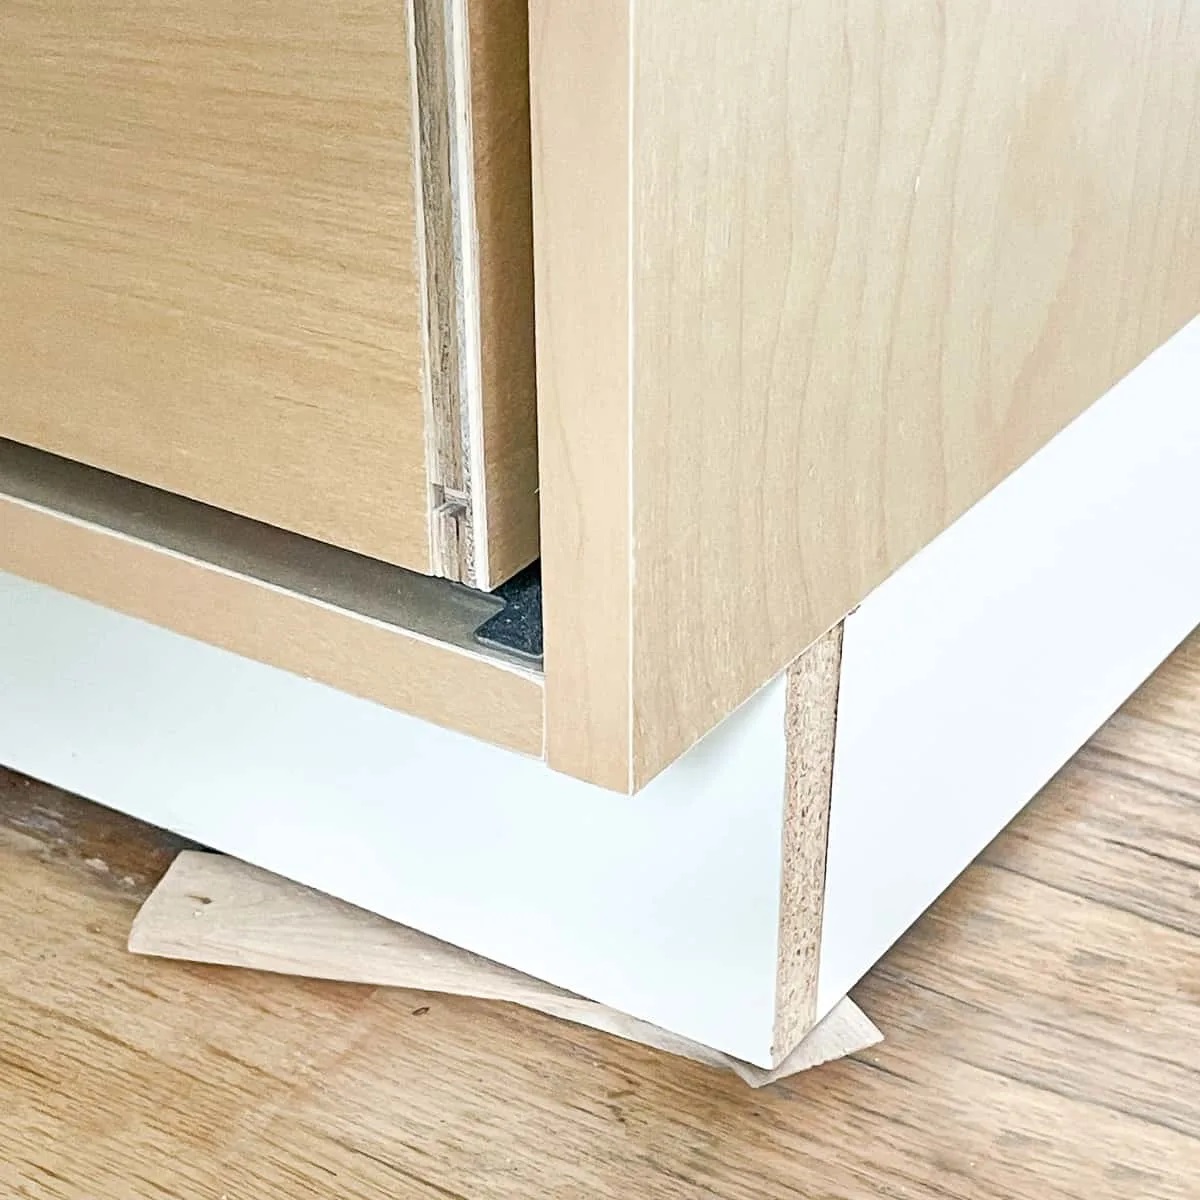
Step 3: Patching Holes and Repairing Any Damage
After removing shelves and organizers from the computer cabinet, it’s time to assess and repair any damage or holes that may be present. This step ensures that your pantry not only looks well-maintained but also functions optimally for storing your kitchen essentials.
Start by examining the interior and exterior of the cabinet for any visible damage. Look for scratches, dents, or holes that may need to be addressed. If you find any small holes or cracks, you can easily patch them using wood filler or putty. Apply the filler or putty according to the manufacturer’s instructions and allow it to dry completely before moving on to the next step.
If there are larger holes or structural damage, you may need to assess whether professional repairs are necessary. In such cases, it’s best to consult a furniture repair specialist who can provide guidance and assistance in fixing more significant issues.
Once the holes and damage have been patched, take the time to sand the affected areas. This will ensure a smooth and seamless surface for any further refinishing or painting steps. Be sure to wipe away any dust or debris from sanding before moving on.
Additionally, inspect the cabinet’s hardware, such as hinges or drawer slides. If any of these components are loose, tighten them or replace them if needed. Ensure that the doors and drawers operate smoothly and securely, as this is crucial for the functionality of your pantry.
By patching holes and repairing any damage, you are not only improving the aesthetics of the cabinet but also ensuring its structural integrity. This step sets the stage for the next steps in the repurposing process, such as painting or refinishing the cabinet.
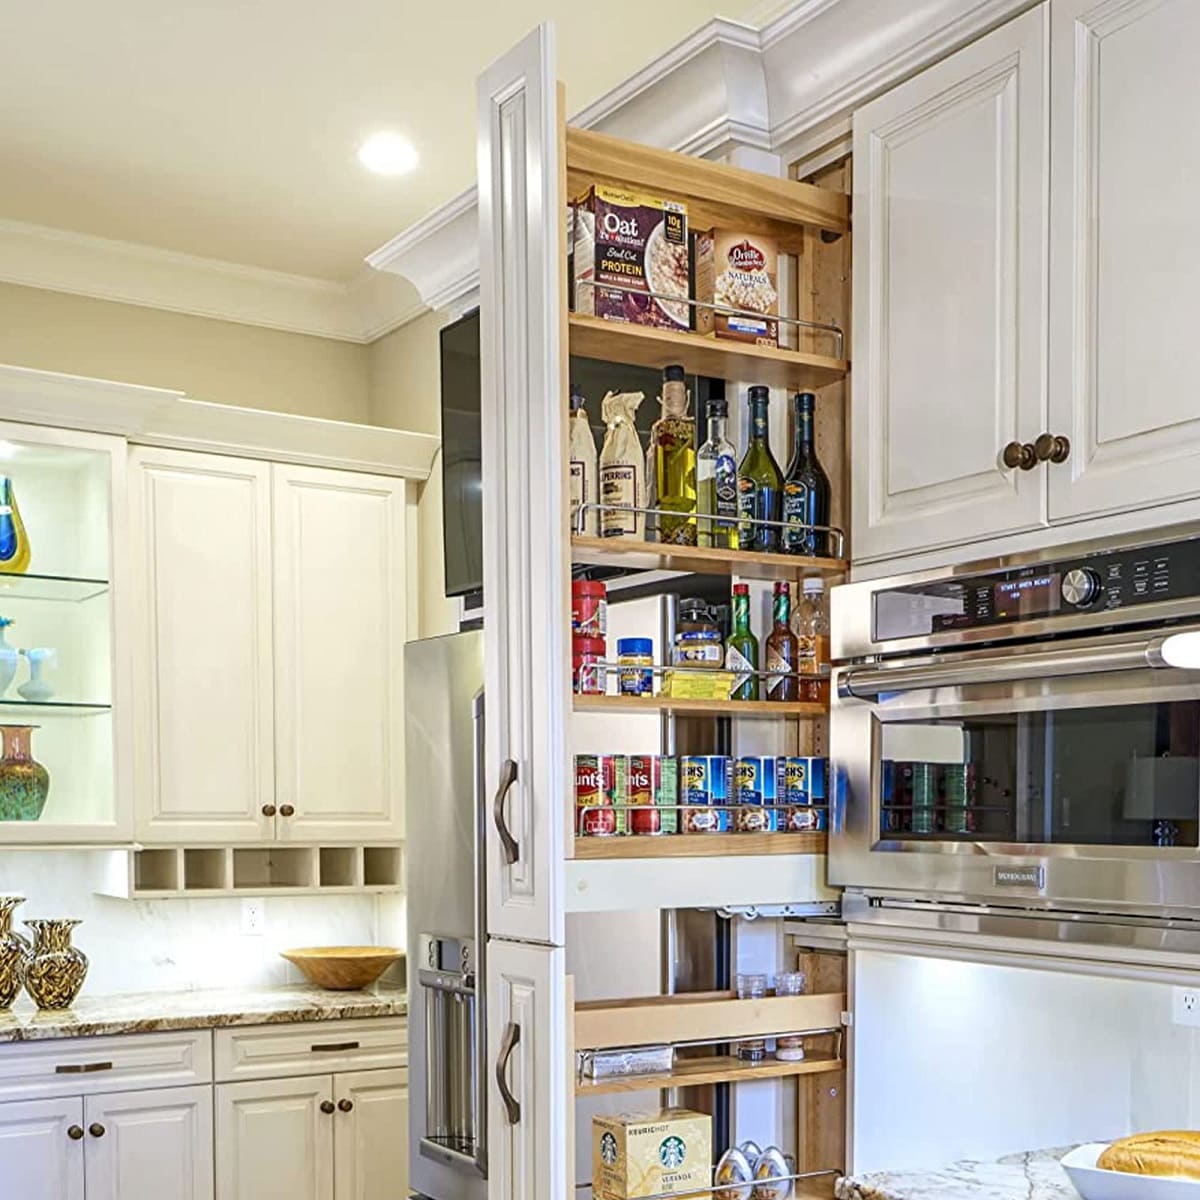
Step 4: Adding Adjustable Shelves
Now that you have a clean and repaired cabinet, it’s time to customize the interior to maximize storage space. Adding adjustable shelves to your pantry allows you to create a versatile storage solution that can accommodate items of different sizes.
Before adding new shelves, take measurements of the cabinet’s interior to determine the dimensions for the adjustable shelves. Use a tape measure to measure the width, height, and depth of the available space. These measurements will guide you in purchasing or cutting the appropriate materials.
There are several options for adjustable shelving materials, including wood, melamine, or wire shelving. Choose a material that suits your style preference and aligns with the needs of your pantry. For example, if you plan to store heavier items like canned goods, opt for a sturdy material that can withstand the weight.
If you prefer a more customized approach, you can purchase or cut the shelves yourself using a table saw or circular saw. Be sure to sand the edges to achieve a smooth finish and remove any sharp corners.
Once you have your shelves ready, it’s time to install them. Place the brackets or supports in the desired positions inside the cabinet, making sure they are level. Then, simply rest the shelves on top of the brackets or insert them into the supports. Adjust the shelves as needed to accommodate the height of your items.
Adding adjustable shelves to your pantry provides you with the flexibility to rearrange and reorganize your storage space as your needs change over time. It allows you to efficiently utilize the available space and create a customized pantry that suits your lifestyle.
With the adjustable shelves in place, you’re now ready to move on to the next step: painting or refinishing the cabinet.
Consider adding shelves to the inside of the computer cabinet to create more storage space for pantry items. This will maximize the use of the cabinet and make it more functional for your pantry needs.
Read more: What Is A Pantry Cabinet
Step 5: Painting or Refinishing the Cabinet
Now that the interior of your pantry is organized with adjustable shelves, it’s time to focus on the cabinet’s exterior. Painting or refinishing the cabinet can transform its appearance and add a fresh, new look to your kitchen.
Before you begin, consider the style and color scheme you want for your pantry. Do you want it to blend seamlessly with your existing kitchen decor, or do you prefer a bold pop of color? Think about the overall aesthetic you want to achieve and choose a paint color or refinishing method accordingly.
If you decide to paint the cabinet, start by thoroughly cleaning and sanding the exterior surface. This step ensures that the paint adheres properly and creates a smooth finish. Use a primer to prepare the surface for painting, especially if the cabinet has a glossy or laminate finish. Apply the primer evenly and allow it to dry according to the manufacturer’s instructions.
Once the primer is dry, you can begin applying the paint. Use a brush or roller to achieve an even coat, working in long, smooth strokes. Apply multiple coats if necessary, allowing each layer to dry completely before applying the next. This will ensure a durable and professional-looking finish. Consider adding a clear top coat for added protection and longevity.
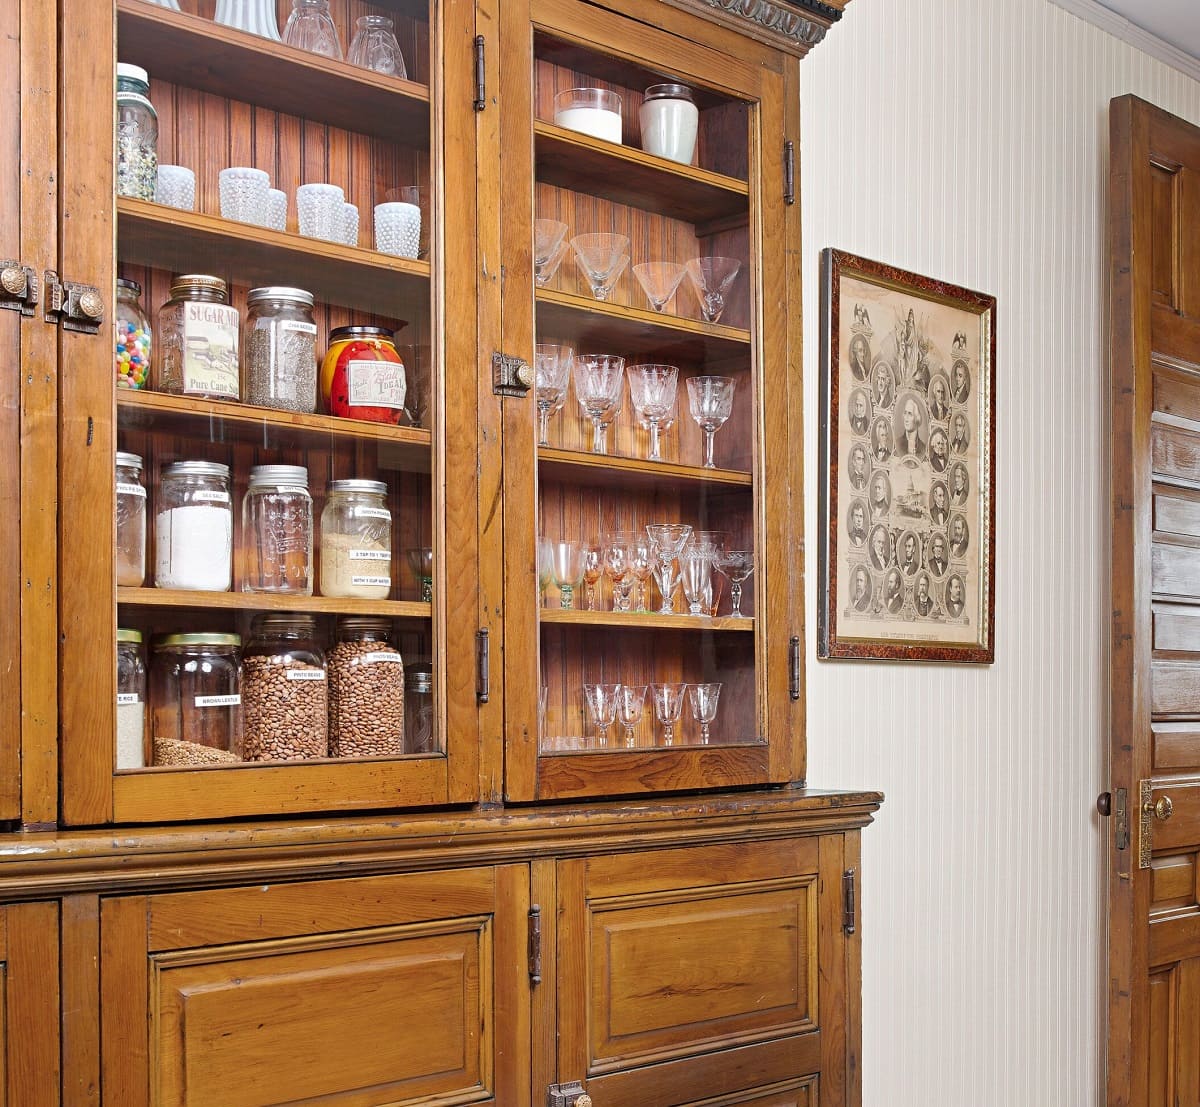
If you prefer a natural or wood-grain look, you can choose to refinish the cabinet instead. Start by sanding the existing finish to remove any old paint or varnish. Be sure to sand with the grain to avoid damaging the wood. Once the surface is smooth, wipe away any dust or debris.
Next, apply a wood stain of your choice using a brush or cloth, following the manufacturer’s instructions. Apply the stain evenly and work in small sections. Allow the stain to penetrate for the recommended duration, and then wipe away any excess to achieve your desired color. Once the stain has dried, add a clear protective coat, such as polyurethane or varnish, to seal and protect the wood.
Painting or refinishing the cabinet not only enhances its appearance but also protects the surface from everyday wear and tear. It allows you to personalize your pantry and create a cohesive look in your kitchen.
With the cabinet’s exterior transformed, it’s time to move on to the next step: installing hardware and accessories to add functionality and style to your pantry.
Step 6: Installing Hardware and Accessories
Adding hardware and accessories to your repurposed computer cabinet-turned-pantry is the next step in the process. This step not only enhances the functionality of your pantry but also adds a touch of style and personality to the overall design.
Start by selecting the hardware that fits your desired aesthetic and complements the look of your pantry. Choose handles, knobs, or pulls that are durable and easy to grip, as these will be used frequently. Consider the material, finish, and style of the hardware to ensure it aligns with your overall design scheme.
Measure and mark the desired locations for the hardware, taking into account the height and width of your cabinet doors and drawers. Use a level to ensure that the hardware is straight and aligned. If the cabinet already has existing holes from its previous use as a computer cabinet, you may be able to reuse them. Otherwise, use a drill to create new holes for the hardware, making sure to choose a drill bit size that matches the hardware’s screws.
Once the hardware is in place, tighten the screws to secure them firmly to the cabinet doors and drawers. Double-check that the hardware is aligned and functioning properly, ensuring that doors open and close smoothly.
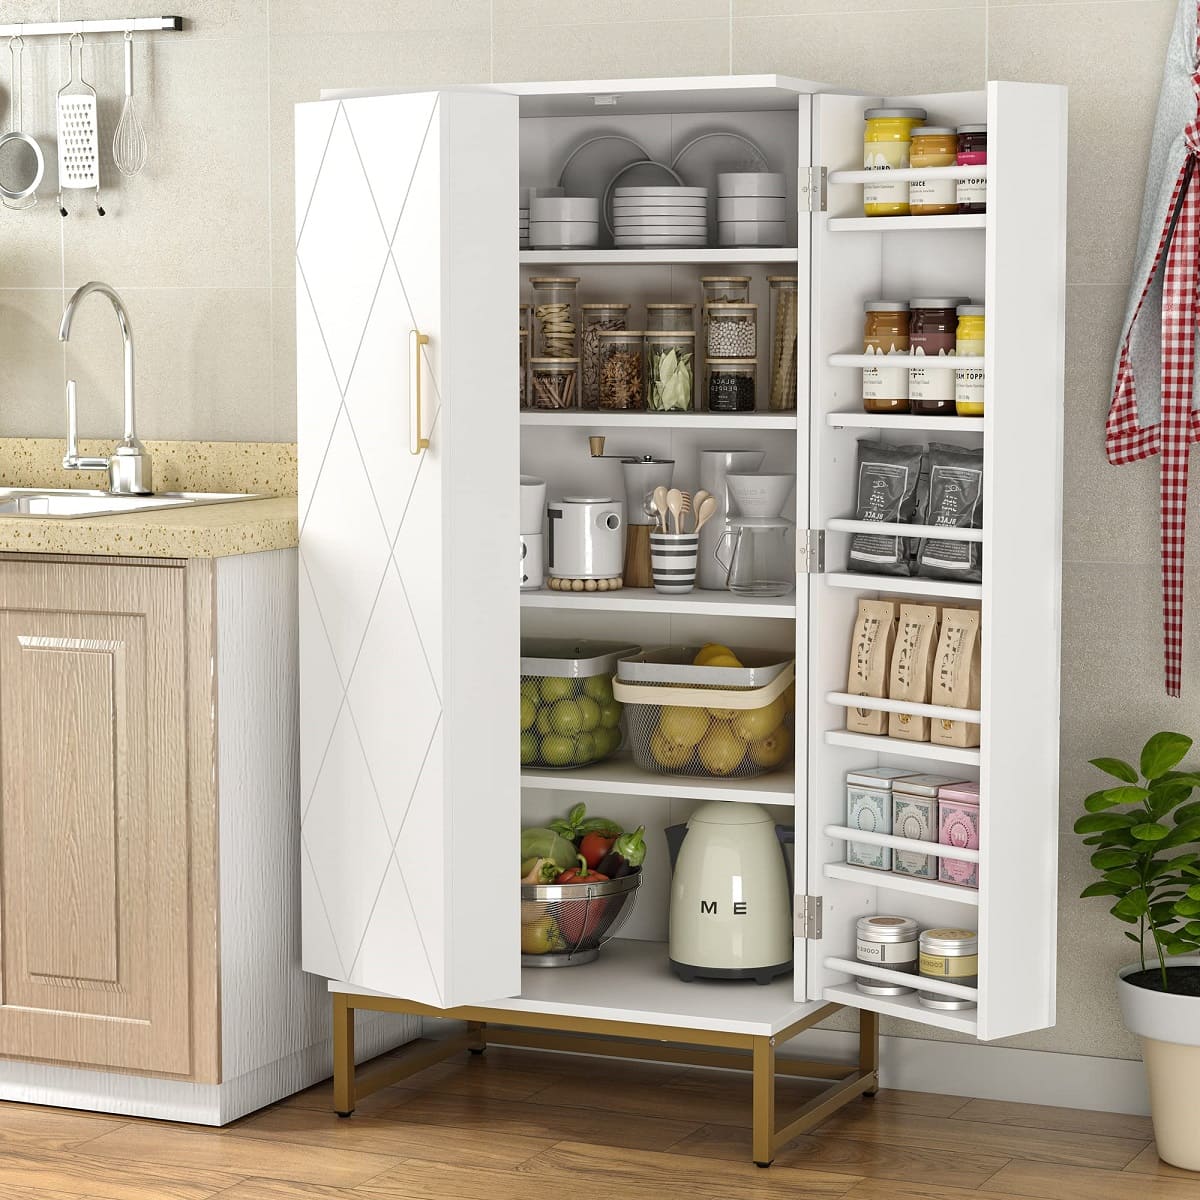
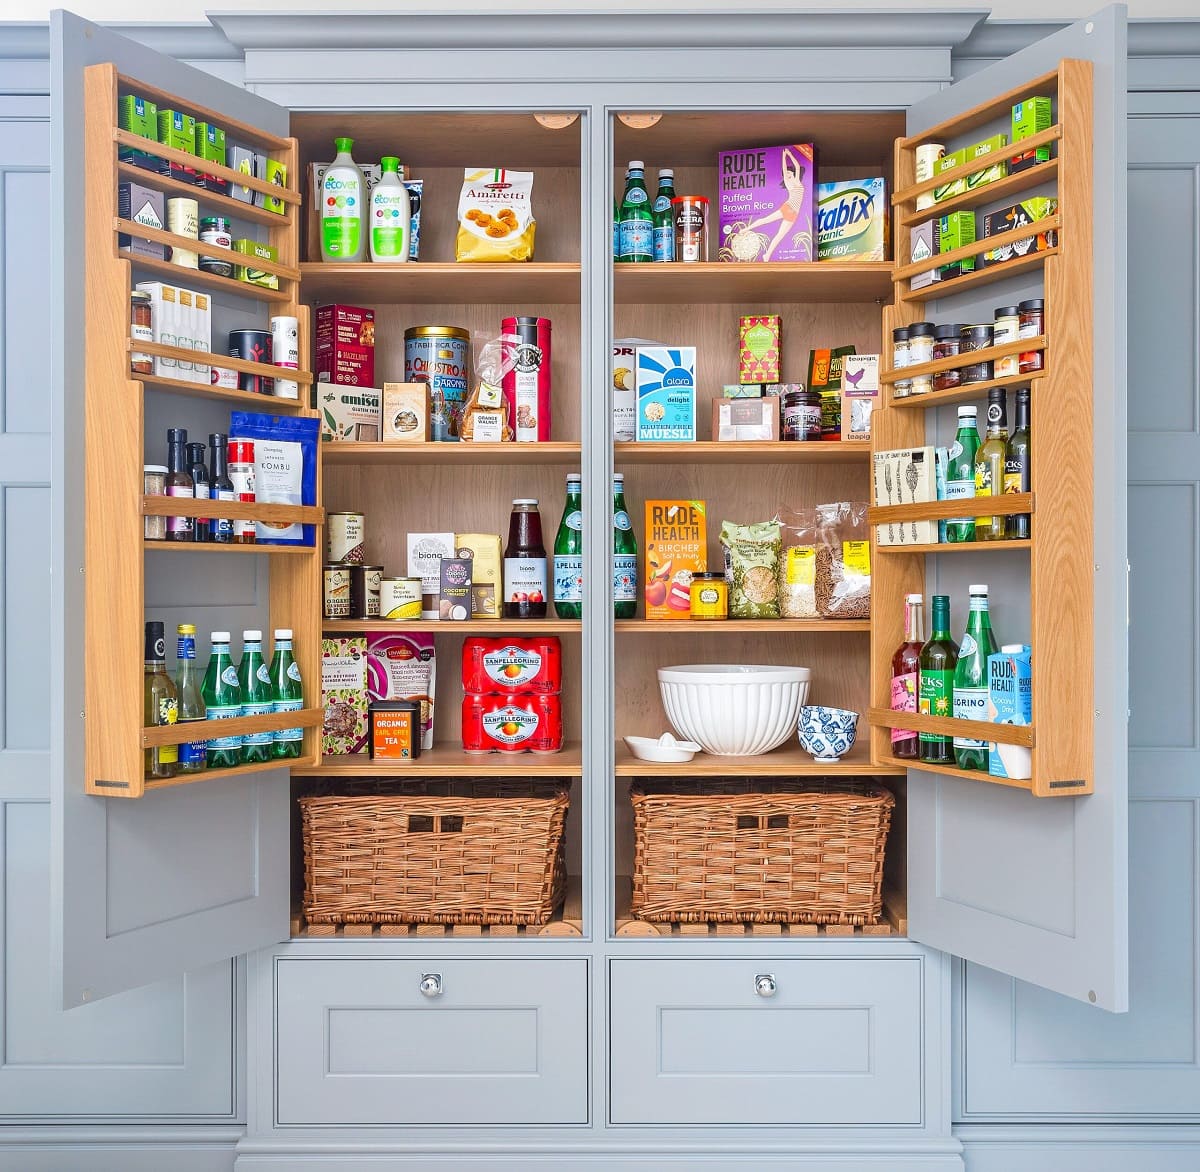
In addition to hardware, consider adding accessories to further enhance the functionality of your pantry. For example, install hooks or racks on the interior side of cabinet doors to hang utensils, oven mitts, or measuring cups. Add a magnetic strip on the inside of the cabinet door to hold small metal items like spice jars or knives. Utilize door-mounted spice racks or shelves to maximize storage space.
These accessories help optimize the storage capacity of your pantry and keep frequently used items within easy reach. Additionally, they contribute to an organized and efficient kitchen space.
With the hardware and accessories installed, your pantry is more functional and visually appealing. Now it’s time to move on to the next step: organizing and stocking the pantry.
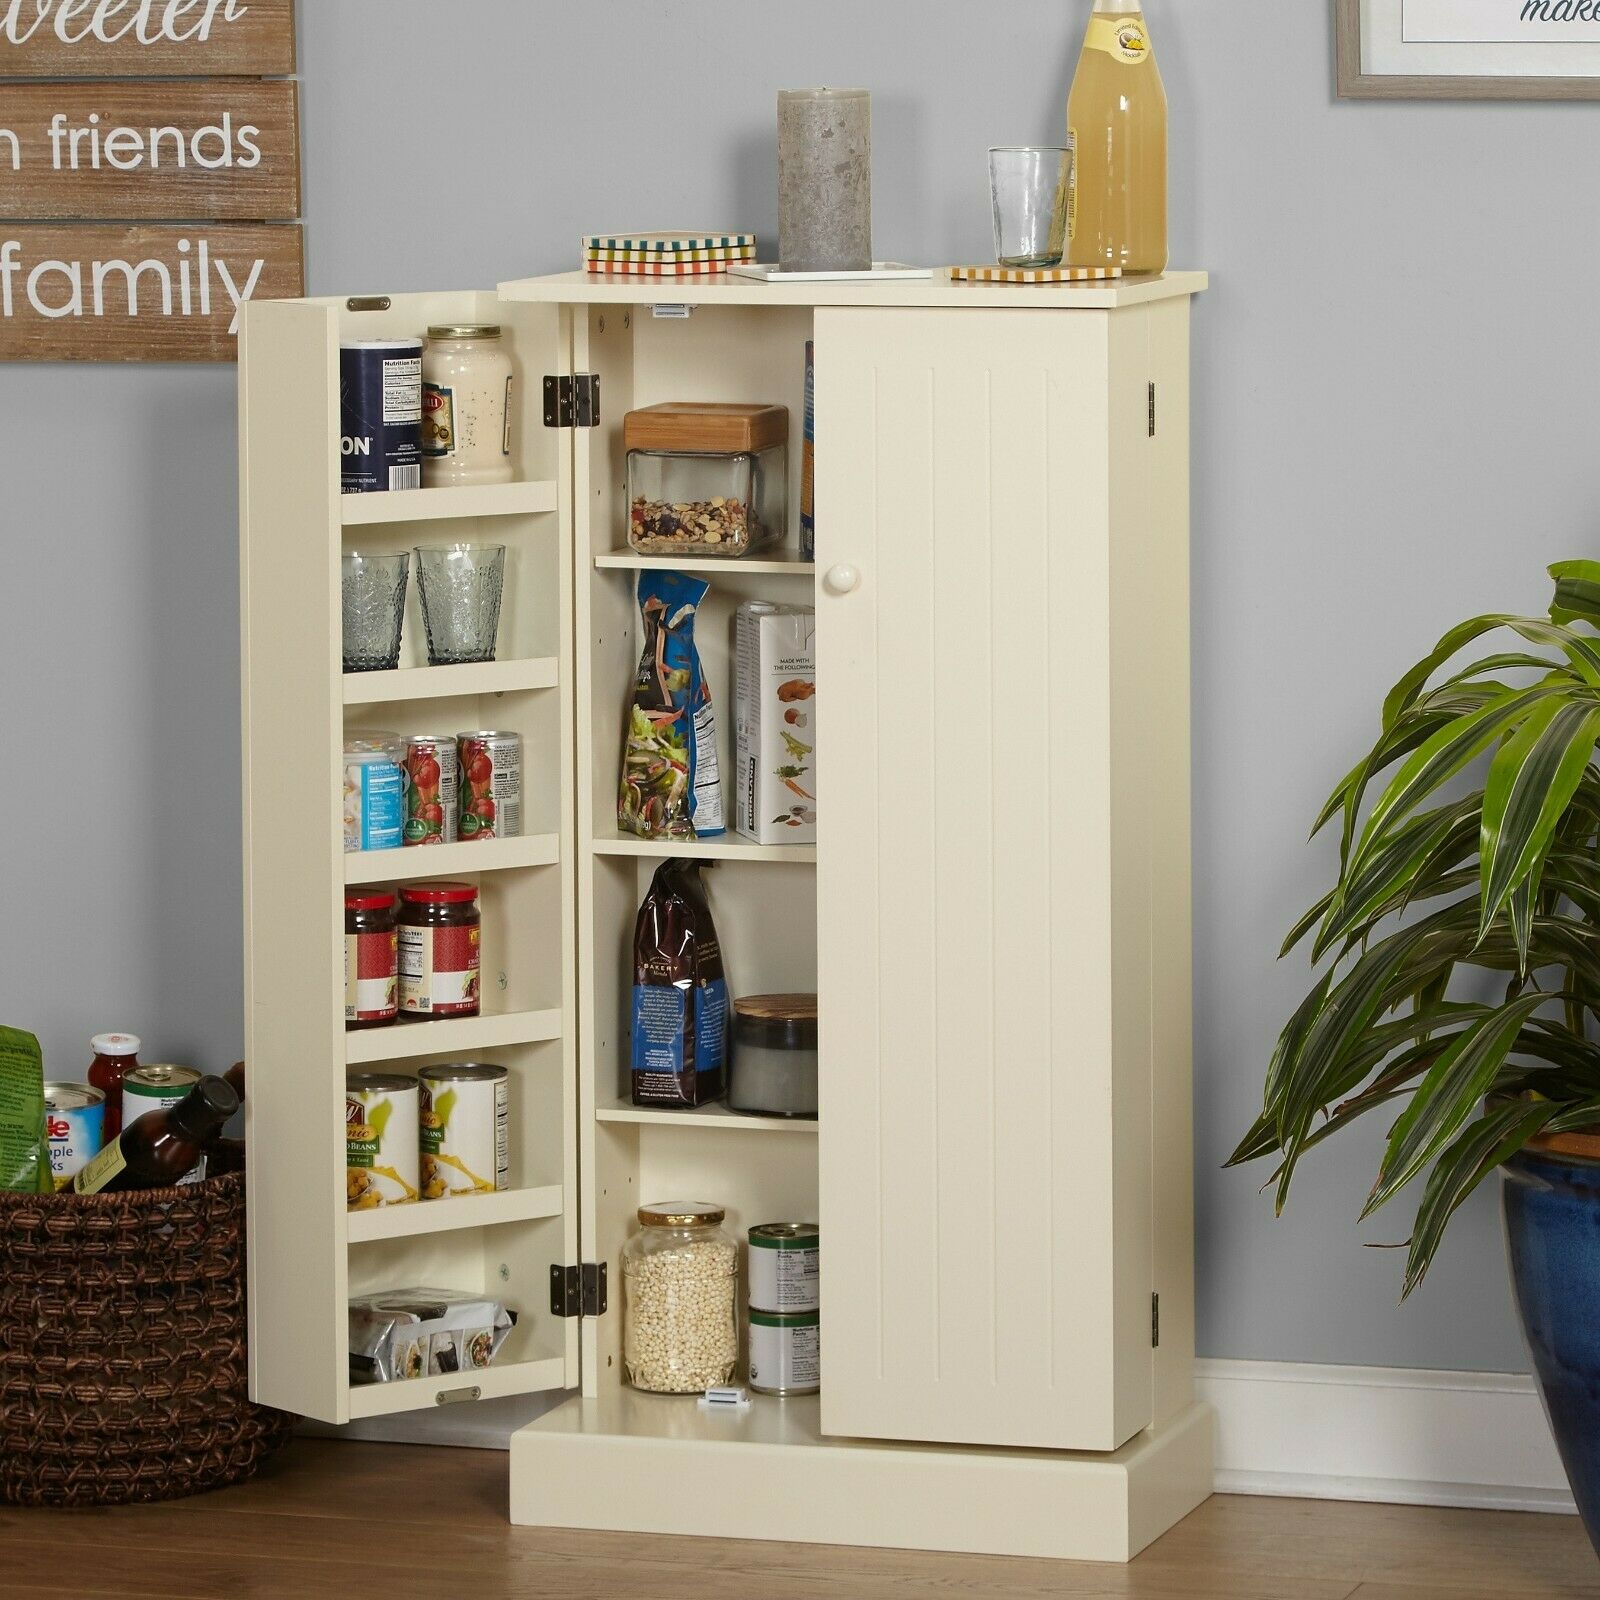
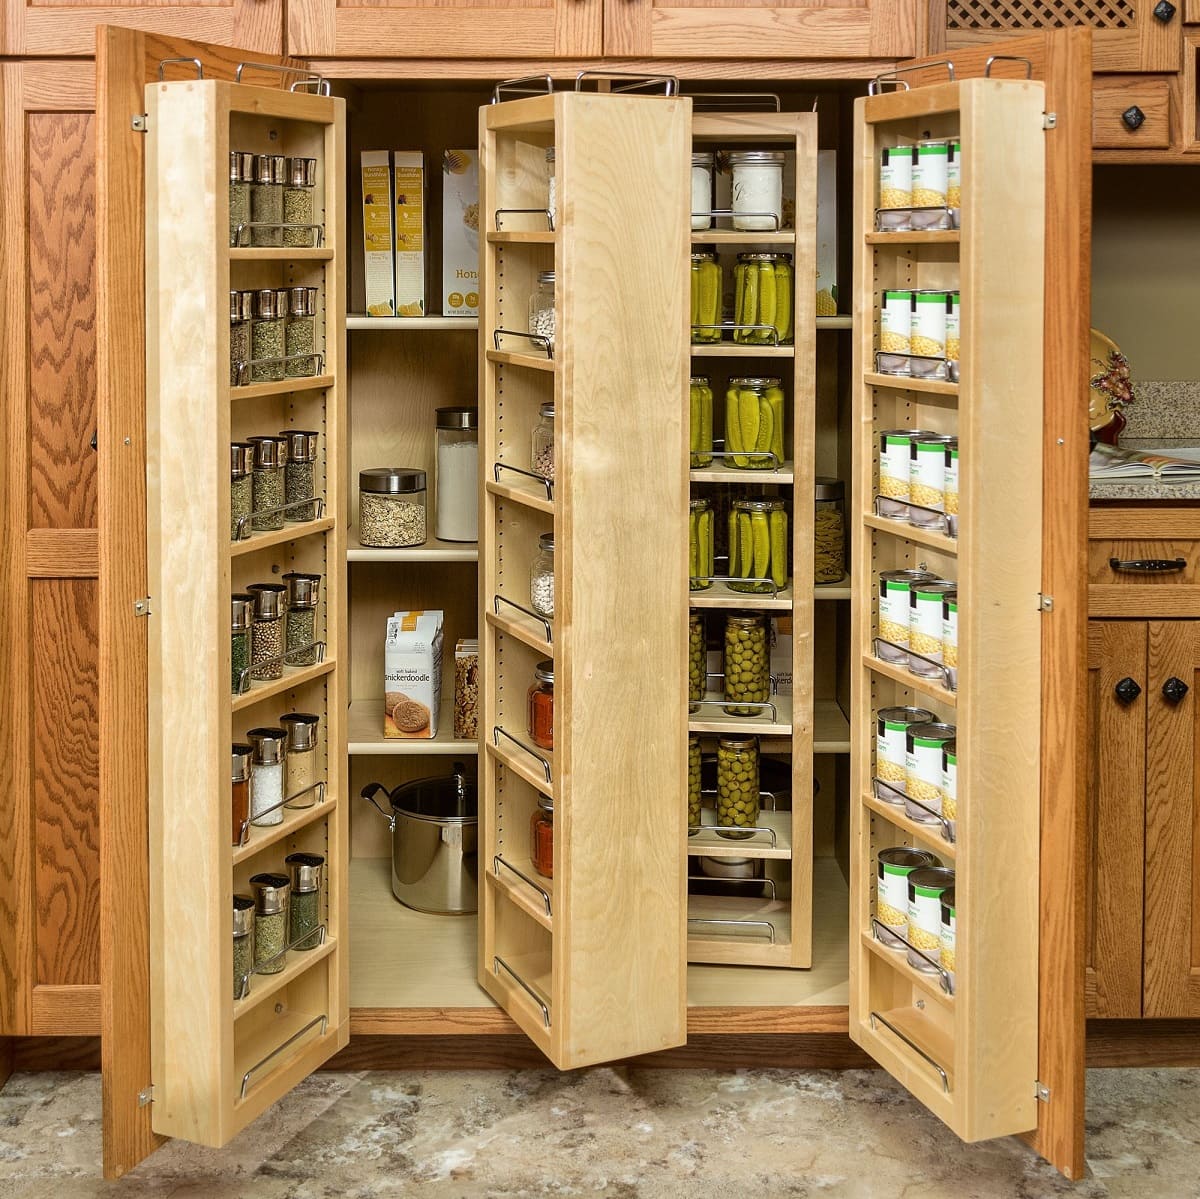
Step 7: Organizing and Stocking the Pantry
Now that your repurposed computer cabinet has been transformed into a functional pantry, it’s time to organize and stock it with all your kitchen essentials. This step is crucial for creating an efficient and easily accessible storage system.
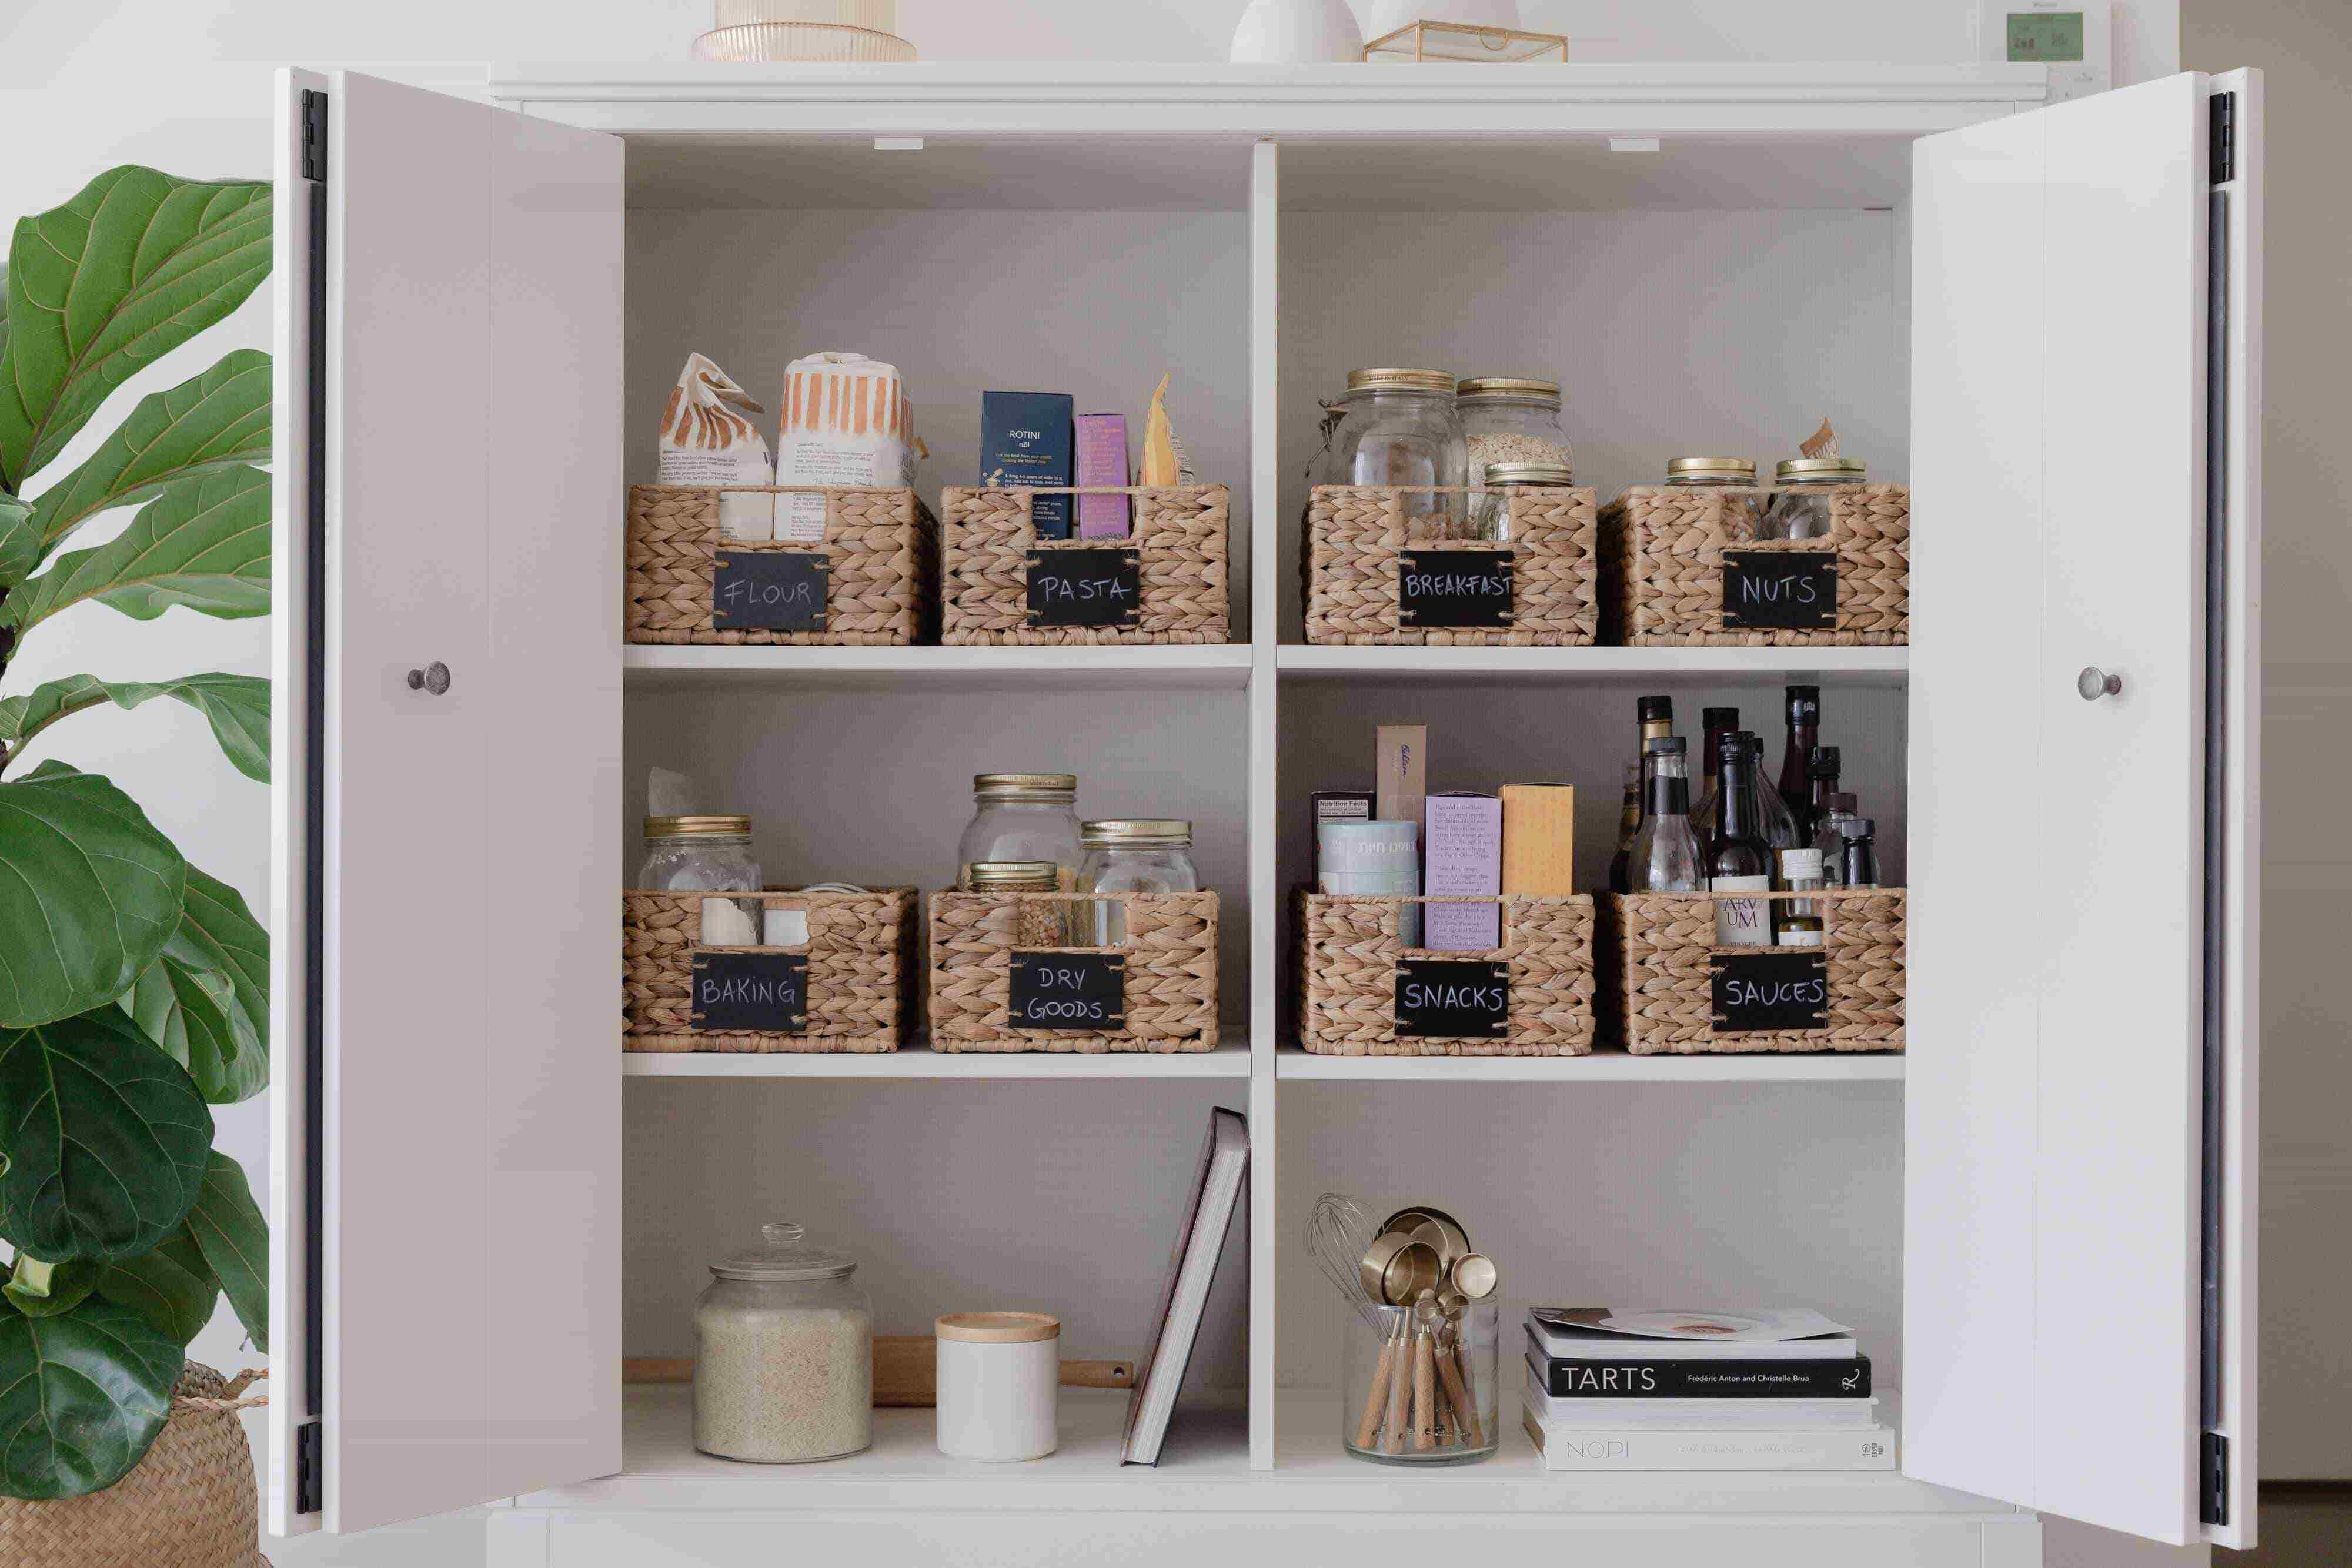
Start by categorizing your items. Group similar items together, such as canned goods, dry goods, spices, and baking supplies. This will make it easier to find what you need when cooking or meal planning.
Consider using bins, baskets, or clear containers to further organize your pantry. Label each container to quickly identify its contents. This not only adds a neat and tidy look to your pantry but also helps you maintain inventory control and prevent food waste.
When stocking your pantry, be mindful of expiration dates and rotate items accordingly. Place newer items towards the back and older items towards the front to ensure that nothing goes to waste.
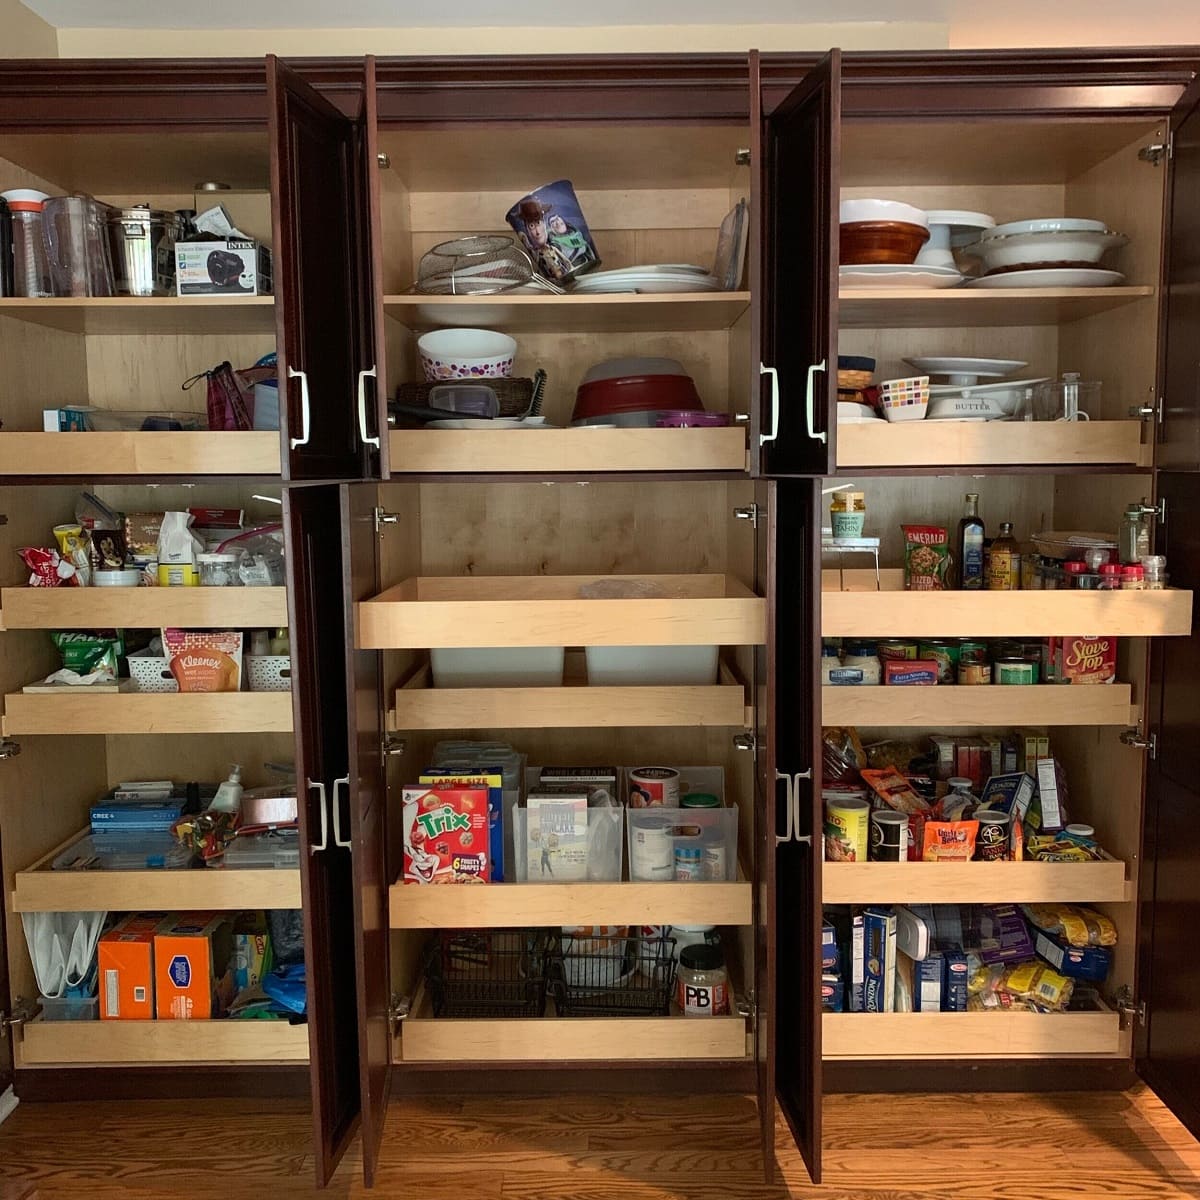
Utilize the adjustable shelves to your advantage by configuring them to accommodate items of different heights. Group taller items in one area and shorter items in another to optimize space and visibility.
In addition to food items, consider incorporating other kitchen essentials into your pantry, such as kitchen gadgets, small appliances, or even cookbooks. Make use of hooks or storage racks to hang pots, pans, and utensils on the interior side of the cabinet doors.
Lastly, make your pantry visually appealing by arranging items in an aesthetically pleasing manner. Consider color coordinating or arranging items by size or frequency of use.
Remember to periodically check and organize your pantry to maintain its functionality. Take note of items that need replenishing and make adjustments as your needs change over time.
By organizing and stocking your pantry thoughtfully, you’ll create a well-functioning storage area that makes meal preparation and planning more efficient and enjoyable.
With your pantry organized and stocked, you’re almost finished. Let’s move on to the final step: maintenance and upkeep tips to ensure your pantry remains in top shape.
Step 8: Maintenance and Upkeep Tips
Congratulations on successfully repurposing your computer cabinet into a functional and stylish pantry! To ensure that your pantry remains in top shape and continues to serve its purpose effectively, it’s important to follow some maintenance and upkeep tips.
First and foremost, regular cleaning is essential to keep your pantry tidy and hygienic. Wipe down the interior surfaces, including shelves, drawers, and cabinet doors, periodically to remove any spills, dust, or crumbs. Use a mild detergent and warm water solution for general cleaning, and consider using disinfecting wipes for a more thorough sanitization.
Additionally, it’s a good practice to check and rotate your stock regularly. Remove any expired or spoiled items and make note of what needs to be restocked. This will not only help you maintain a well-organized pantry but also prevent food waste.
Keep an eye out for any signs of pests, such as insects or rodents. Take preventive measures by sealing any gaps or cracks that may serve as entry points. Use airtight containers or jars to store dry goods and pantry staples to deter pests from invading your pantry.
Adjust and rearrange the adjustable shelves as needed to accommodate changing needs and items of different sizes. This will help you maximize the space and make the most of your pantry’s storage potential.
Periodically check the hardware, such as hinges and drawer slides, to ensure that they are secure and functioning properly. Tighten any loose screws and make any necessary adjustments to keep your pantry doors and drawers working smoothly.
Lastly, make it a habit to declutter your pantry on a regular basis. Remove any items that you no longer need or use, and consider donating them to local food banks or shelters. Keeping your pantry clutter-free will make it easier to find what you need and maintain an organized space.
By following these maintenance and upkeep tips, you’ll be able to enjoy a functional and efficient pantry for years to come. Regular cleaning, stock rotation, pest prevention, and decluttering will ensure that your pantry remains a well-organized and accessible storage solution in your kitchen.
Congratulations once again on your successful pantry transformation! Your repurposed computer cabinet is now a functional and stylish space that adds character and organization to your kitchen. Enjoy the benefits of your new pantry and happy cooking!
Read more: How Deep Should A Pantry Cabinet Be
Conclusion
Repurposing a computer cabinet into a pantry is a rewarding and creative project that allows you to transform an unused piece of furniture into a functional and stylish storage solution for your kitchen. By following the steps outlined in this article, you can easily repurpose your cabinet and create a pantry that maximizes space, enhances organization, and adds charm to your home.
From emptying and cleaning the cabinet to removing shelves and organizers, patching holes, adding adjustable shelves, and painting or refinishing the cabinet, each step contributes to the successful transformation of your computer cabinet into a pantry. Installing hardware and accessories, organizing and stocking the pantry, and maintaining it through regular cleaning, stock rotation, and decluttering are essential for keeping your pantry functional and efficient for years to come.
Repurposing furniture is not only a sustainable practice but also an opportunity to showcase your creativity. It allows you to give new life to old items and create a unique and personalized space in your home. By repurposing a computer cabinet, you’re not only saving money by avoiding the purchase of new furniture but also reducing waste and contributing to a more eco-friendly lifestyle.
Remember, the key to successfully repurposing a computer cabinet into a pantry is to approach the project with enthusiasm and creativity. Consider your storage needs, visualize the end result, and make thoughtful choices in terms of color, materials, and accessories.
With a repurposed computer cabinet pantry, you’ll have a functional and stylish storage solution for your kitchen essentials. Enjoy the benefits of a well-organized pantry, easy access to your favorite ingredients, and the satisfaction of having created something unique. So, roll up your sleeves, embrace the DIY spirit, and start repurposing that computer cabinet into a pantry that will be the envy of all your friends!
Frequently Asked Questions about How To Repurpose A Computer Cabinet Into A Pantry
Was this page helpful?
At Storables.com, we guarantee accurate and reliable information. Our content, validated by Expert Board Contributors, is crafted following stringent Editorial Policies. We're committed to providing you with well-researched, expert-backed insights for all your informational needs.


0 thoughts on “How To Repurpose A Computer Cabinet Into A Pantry”