Articles
How To Install Hunter Ceiling Fan With Remote
Modified: October 27, 2024
Learn how to easily install a Hunter ceiling fan with a remote control in just a few simple steps. Find articles and guides to help you complete the installation process effortlessly.
(Many of the links in this article redirect to a specific reviewed product. Your purchase of these products through affiliate links helps to generate commission for Storables.com, at no extra cost. Learn more)
Introduction
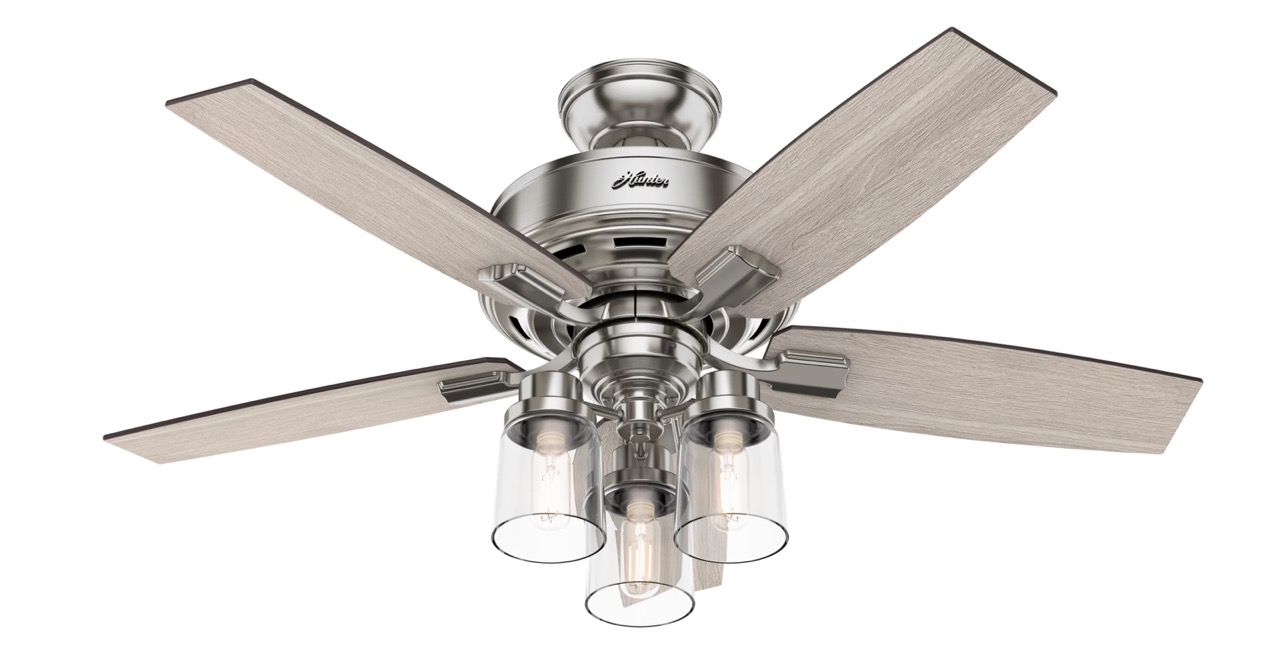
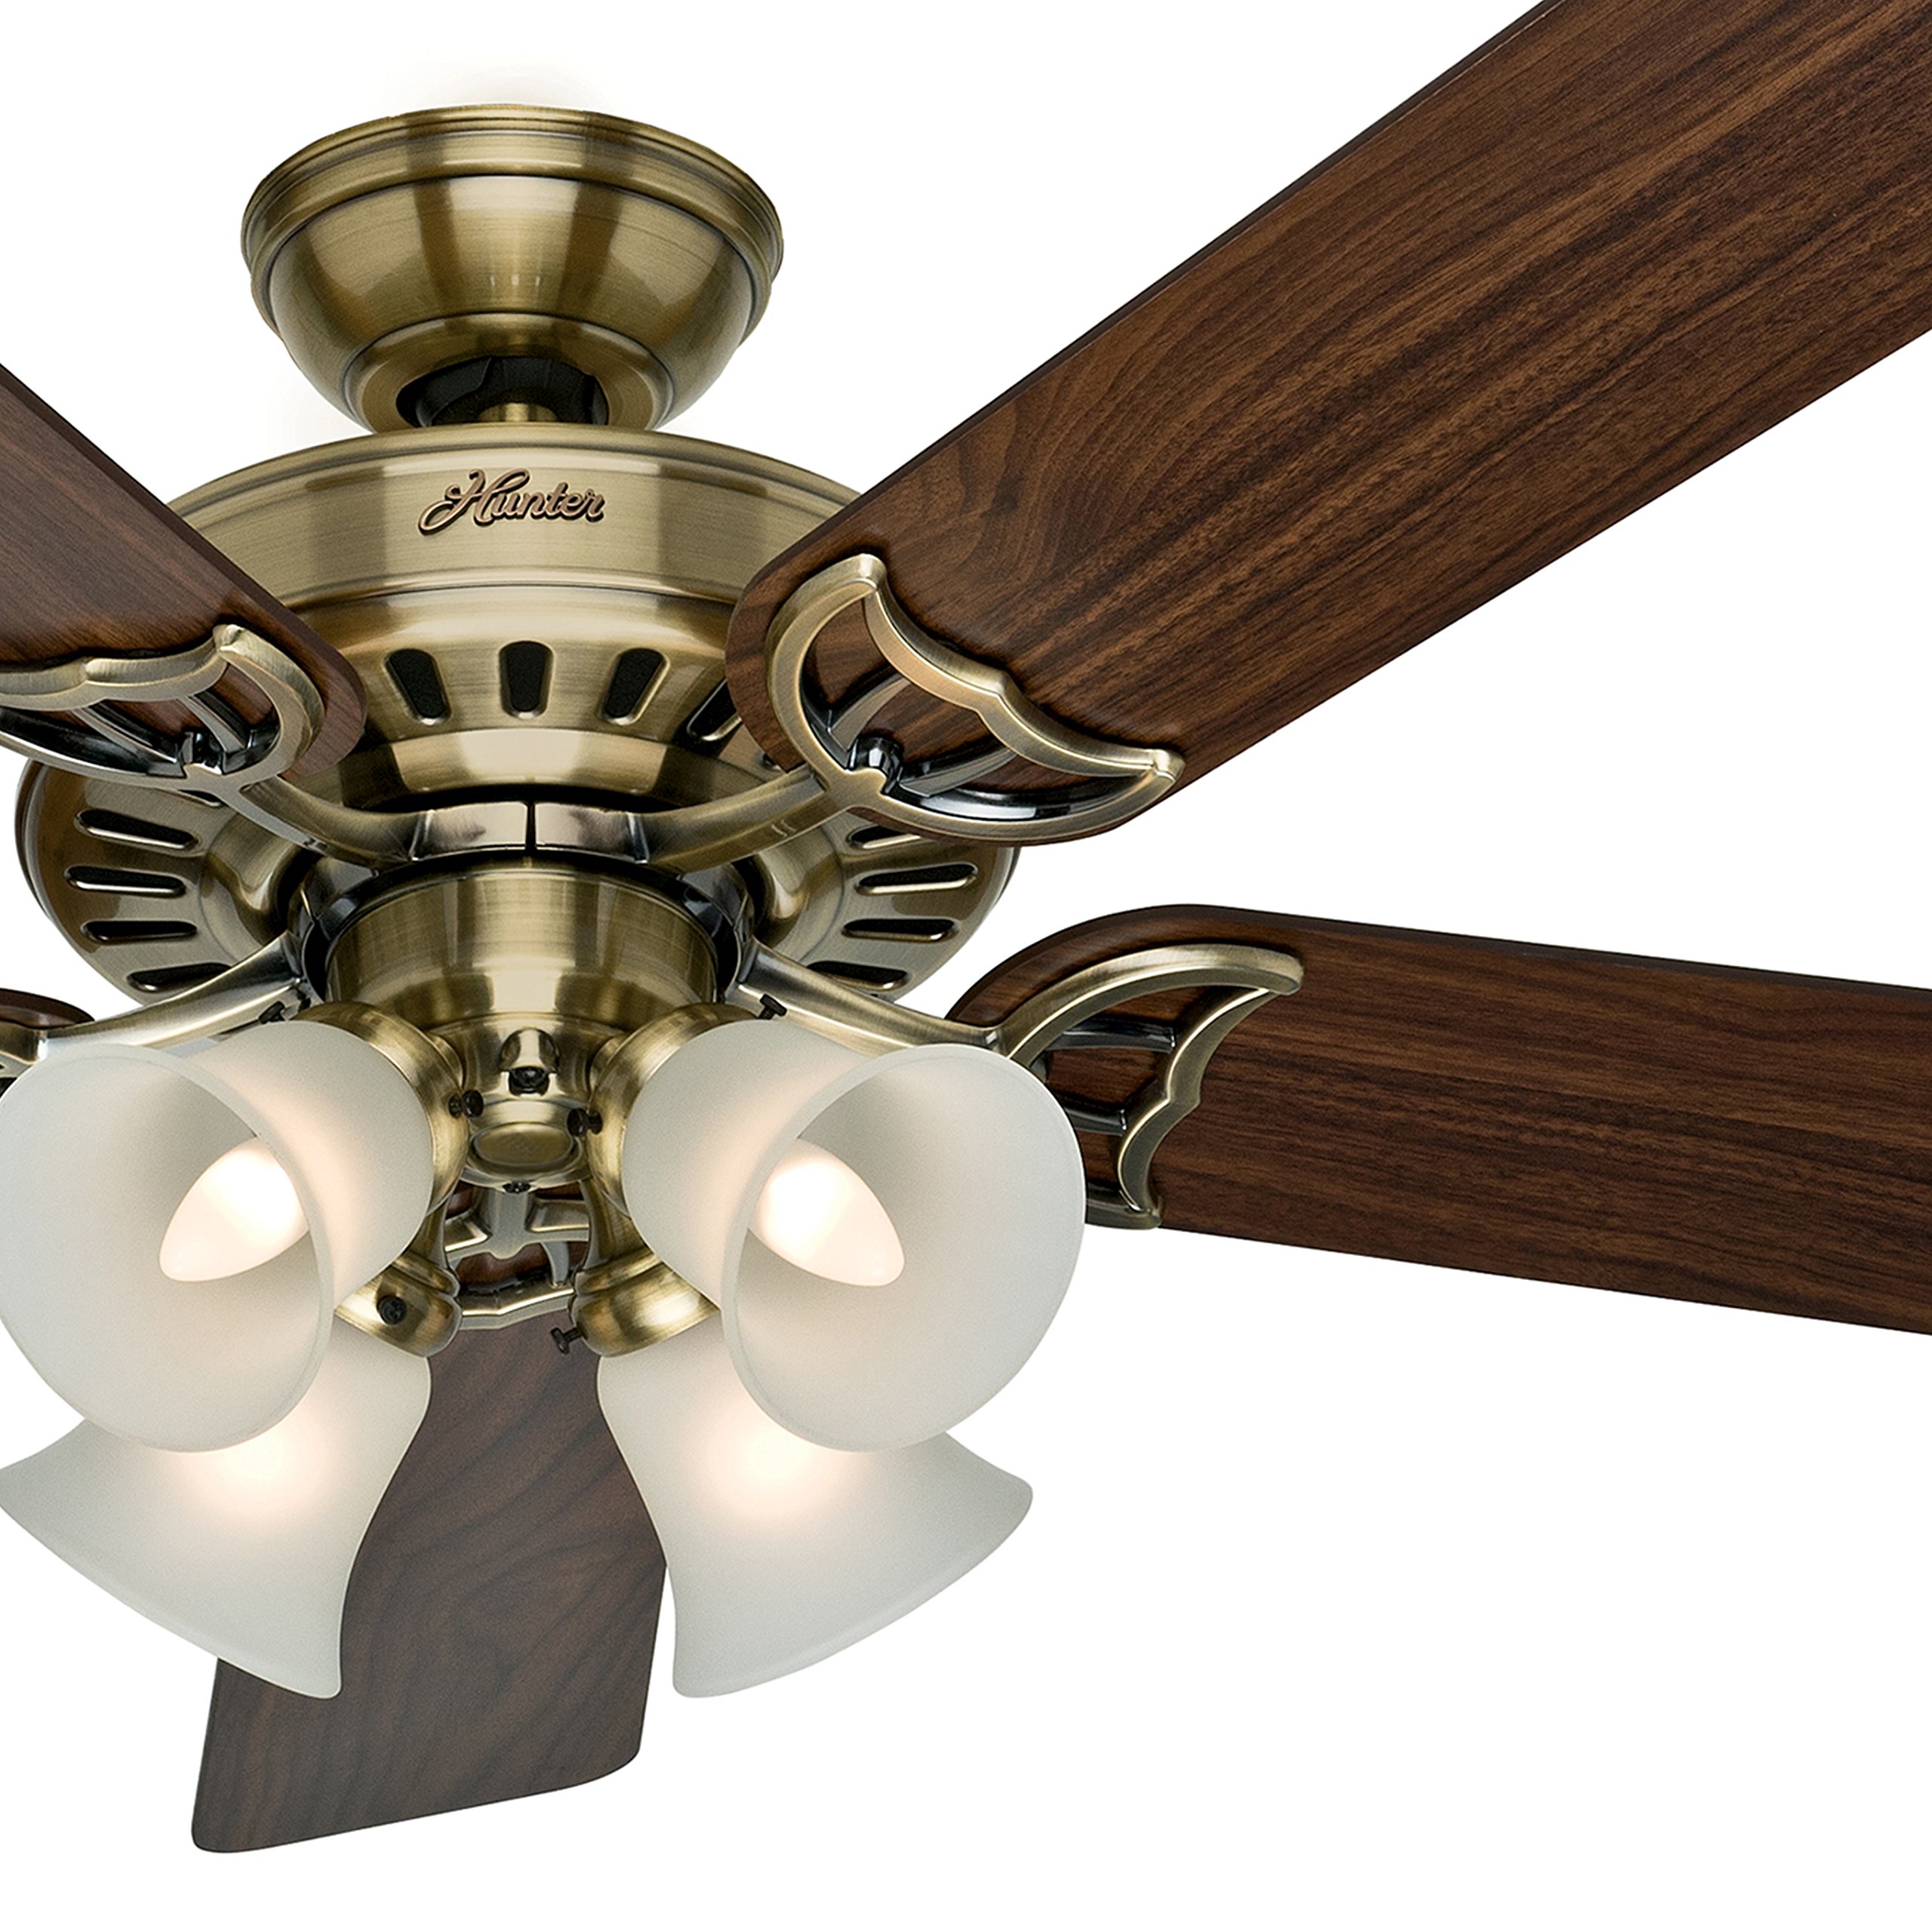
Welcome to our guide on how to install a Hunter ceiling fan with a remote control. Hunter ceiling fans are known for their quality and durability, and with the added convenience of a remote control, they provide a comfortable and efficient cooling solution for any space. Installing a ceiling fan may seem like a daunting task, but with the right tools and instructions, it can be a straightforward and rewarding DIY project.
In this article, we will walk you through the step-by-step process of installing a Hunter ceiling fan with a remote control. Whether you’re replacing an old fan or adding a new one, this guide will help you navigate the installation process with confidence.
Before we begin, it’s important to note that working with electrical components can be dangerous. Ensure that you follow all safety precautions and, if you’re unsure about any step, consult a licensed electrician. Let’s get started on transforming your space with a stylish and functional Hunter ceiling fan!
Key Takeaways:
- Transform any space with a stylish and functional Hunter ceiling fan with remote control. Follow the step-by-step guide for a rewarding DIY installation experience.
- Prioritize safety, thorough testing, and final adjustments to enjoy the comfort and convenience of your Hunter ceiling fan with remote control for years to come.
Read more: How To Wire Hunter Ceiling Fan
Step 1: Gather the necessary tools and materials
Before you begin installing your Hunter ceiling fan with a remote control, it’s essential to gather all the necessary tools and materials. This will ensure a smooth installation process and prevent any delays or interruptions. Here are the items you’ll need:
- Hunter ceiling fan kit (includes fan motor, blades, mounting bracket, and hardware)
- Remote control kit (included with some Hunter ceiling fans, but may need to be purchased separately)
- Ladder or step stool
- Screwdriver
- Adjustable wrench or pliers
- Wire cutters/strippers
- Electrical tape
- Wire connectors (included with the fan kit or purchased separately)
- Electrical tester
- Stud finder (if applicable)
- Pencil
- Measuring tape
- Wire nuts
- Light fixture unit (if installing one)
Having all these tools and materials ready beforehand will save you time and prevent frustration during the installation process. Make sure you have a clear workspace and organize the tools in a convenient manner. Now that you have all the necessary items, let’s move on to the next step.
Step 2: Turn off the power supply
Before you begin any electrical installation, it is crucial to turn off the power supply to the area where you will be working. This step is essential to ensure your safety and prevent any accidents or electrical shocks.
To turn off the power supply, follow these steps:
- Locate the electrical panel in your home. This is usually found in a basement, utility room, or garage.
- Open the electrical panel door.
- Locate the circuit breaker that controls the power to the area where you will be installing the ceiling fan.
- Switch off the circuit breaker by flipping the corresponding switch to the “Off” position.
- For extra safety, use a non-contact voltage tester to ensure that the power is indeed turned off. This device will detect the presence of voltage in the wires without the need for direct contact.
Once you have confirmed that the power supply is turned off, you can proceed with the installation process without any risk of electrical shock. Remember to exercise caution and always treat electrical wiring as if it’s live until you have verified that it’s not.
Keep in mind that if you are unsure about turning off the power supply or need assistance, it is always recommended to consult a licensed electrician.
Step 3: Assemble the fan components
With the power supply turned off, you’re ready to start assembling the components of your Hunter ceiling fan. This step involves attaching the fan motor, blades, and mounting bracket.
Follow these steps to assemble the fan components:
- Open the fan kit and lay out all the components on a flat surface.
- If your ceiling fan has a light fixture, follow the manufacturer’s instructions to attach it to the fan motor before proceeding.
- Take the fan motor and locate the mounting bracket. Attach the bracket to the fan motor using the provided screws and ensure it is securely fastened.
- Next, locate the blades and align them with the blade brackets on the fan motor. Insert the screws through the holes in the blades and tighten them securely.
- Once the blades are attached, it’s essential to balance the fan to ensure smooth operation and minimize wobbling. Follow the manufacturer’s instructions to balance the fan if necessary.
- Double-check all the connections and screws to ensure everything is properly secured. This will help prevent any issues during installation and operation.
By following these steps, you will have successfully assembled the fan components of your Hunter ceiling fan. Take your time during this process to ensure everything is aligned and securely attached. Now that the fan components are assembled, let’s move on to mounting the ceiling fan in the next step.
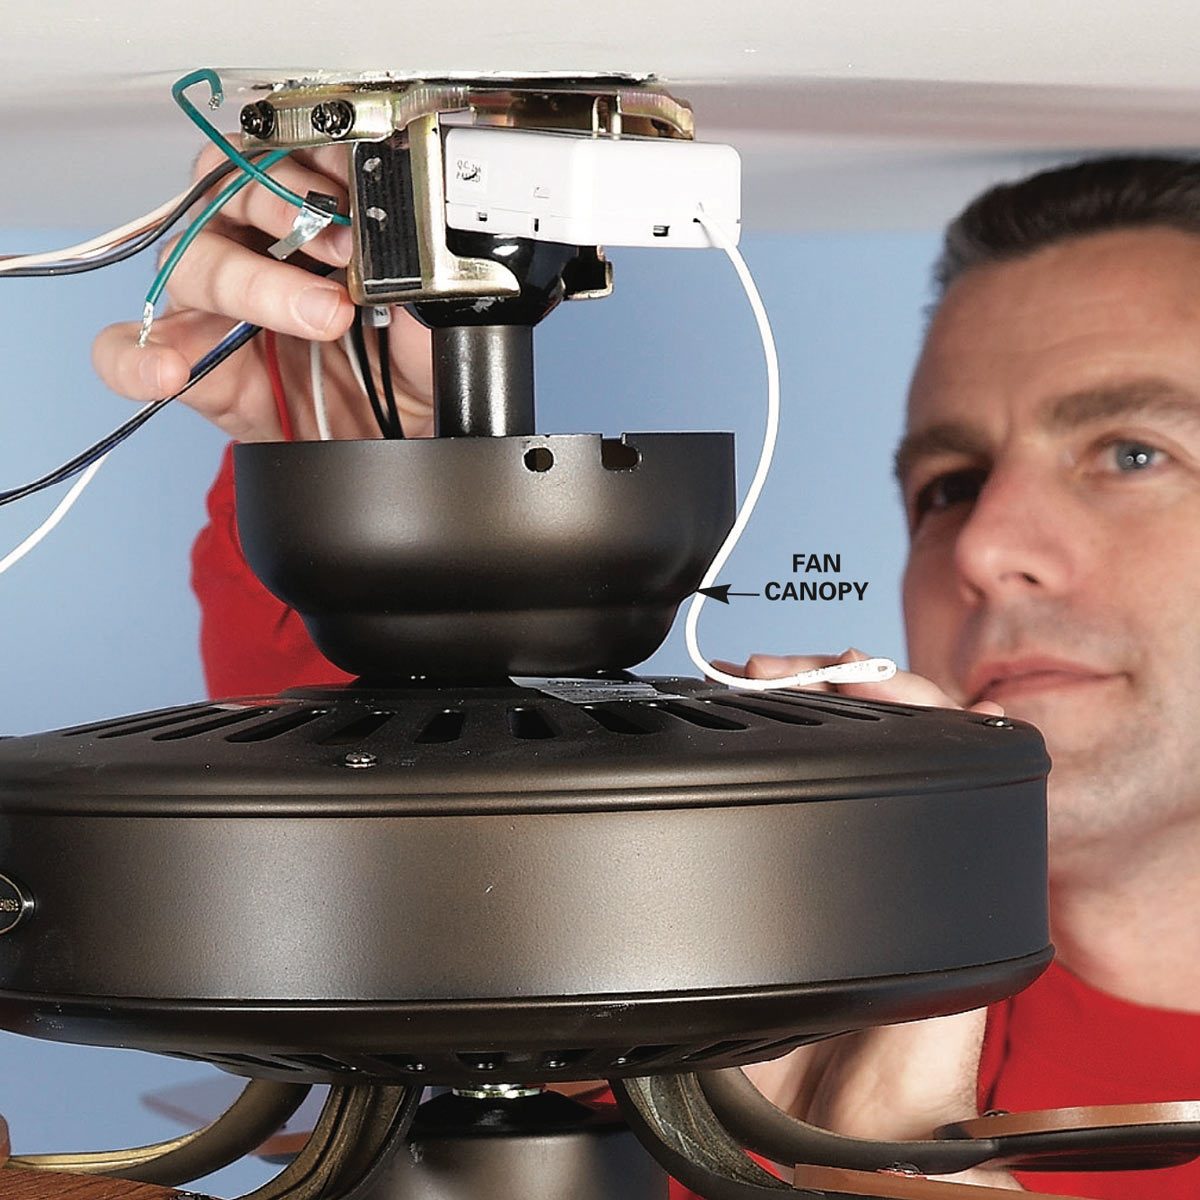
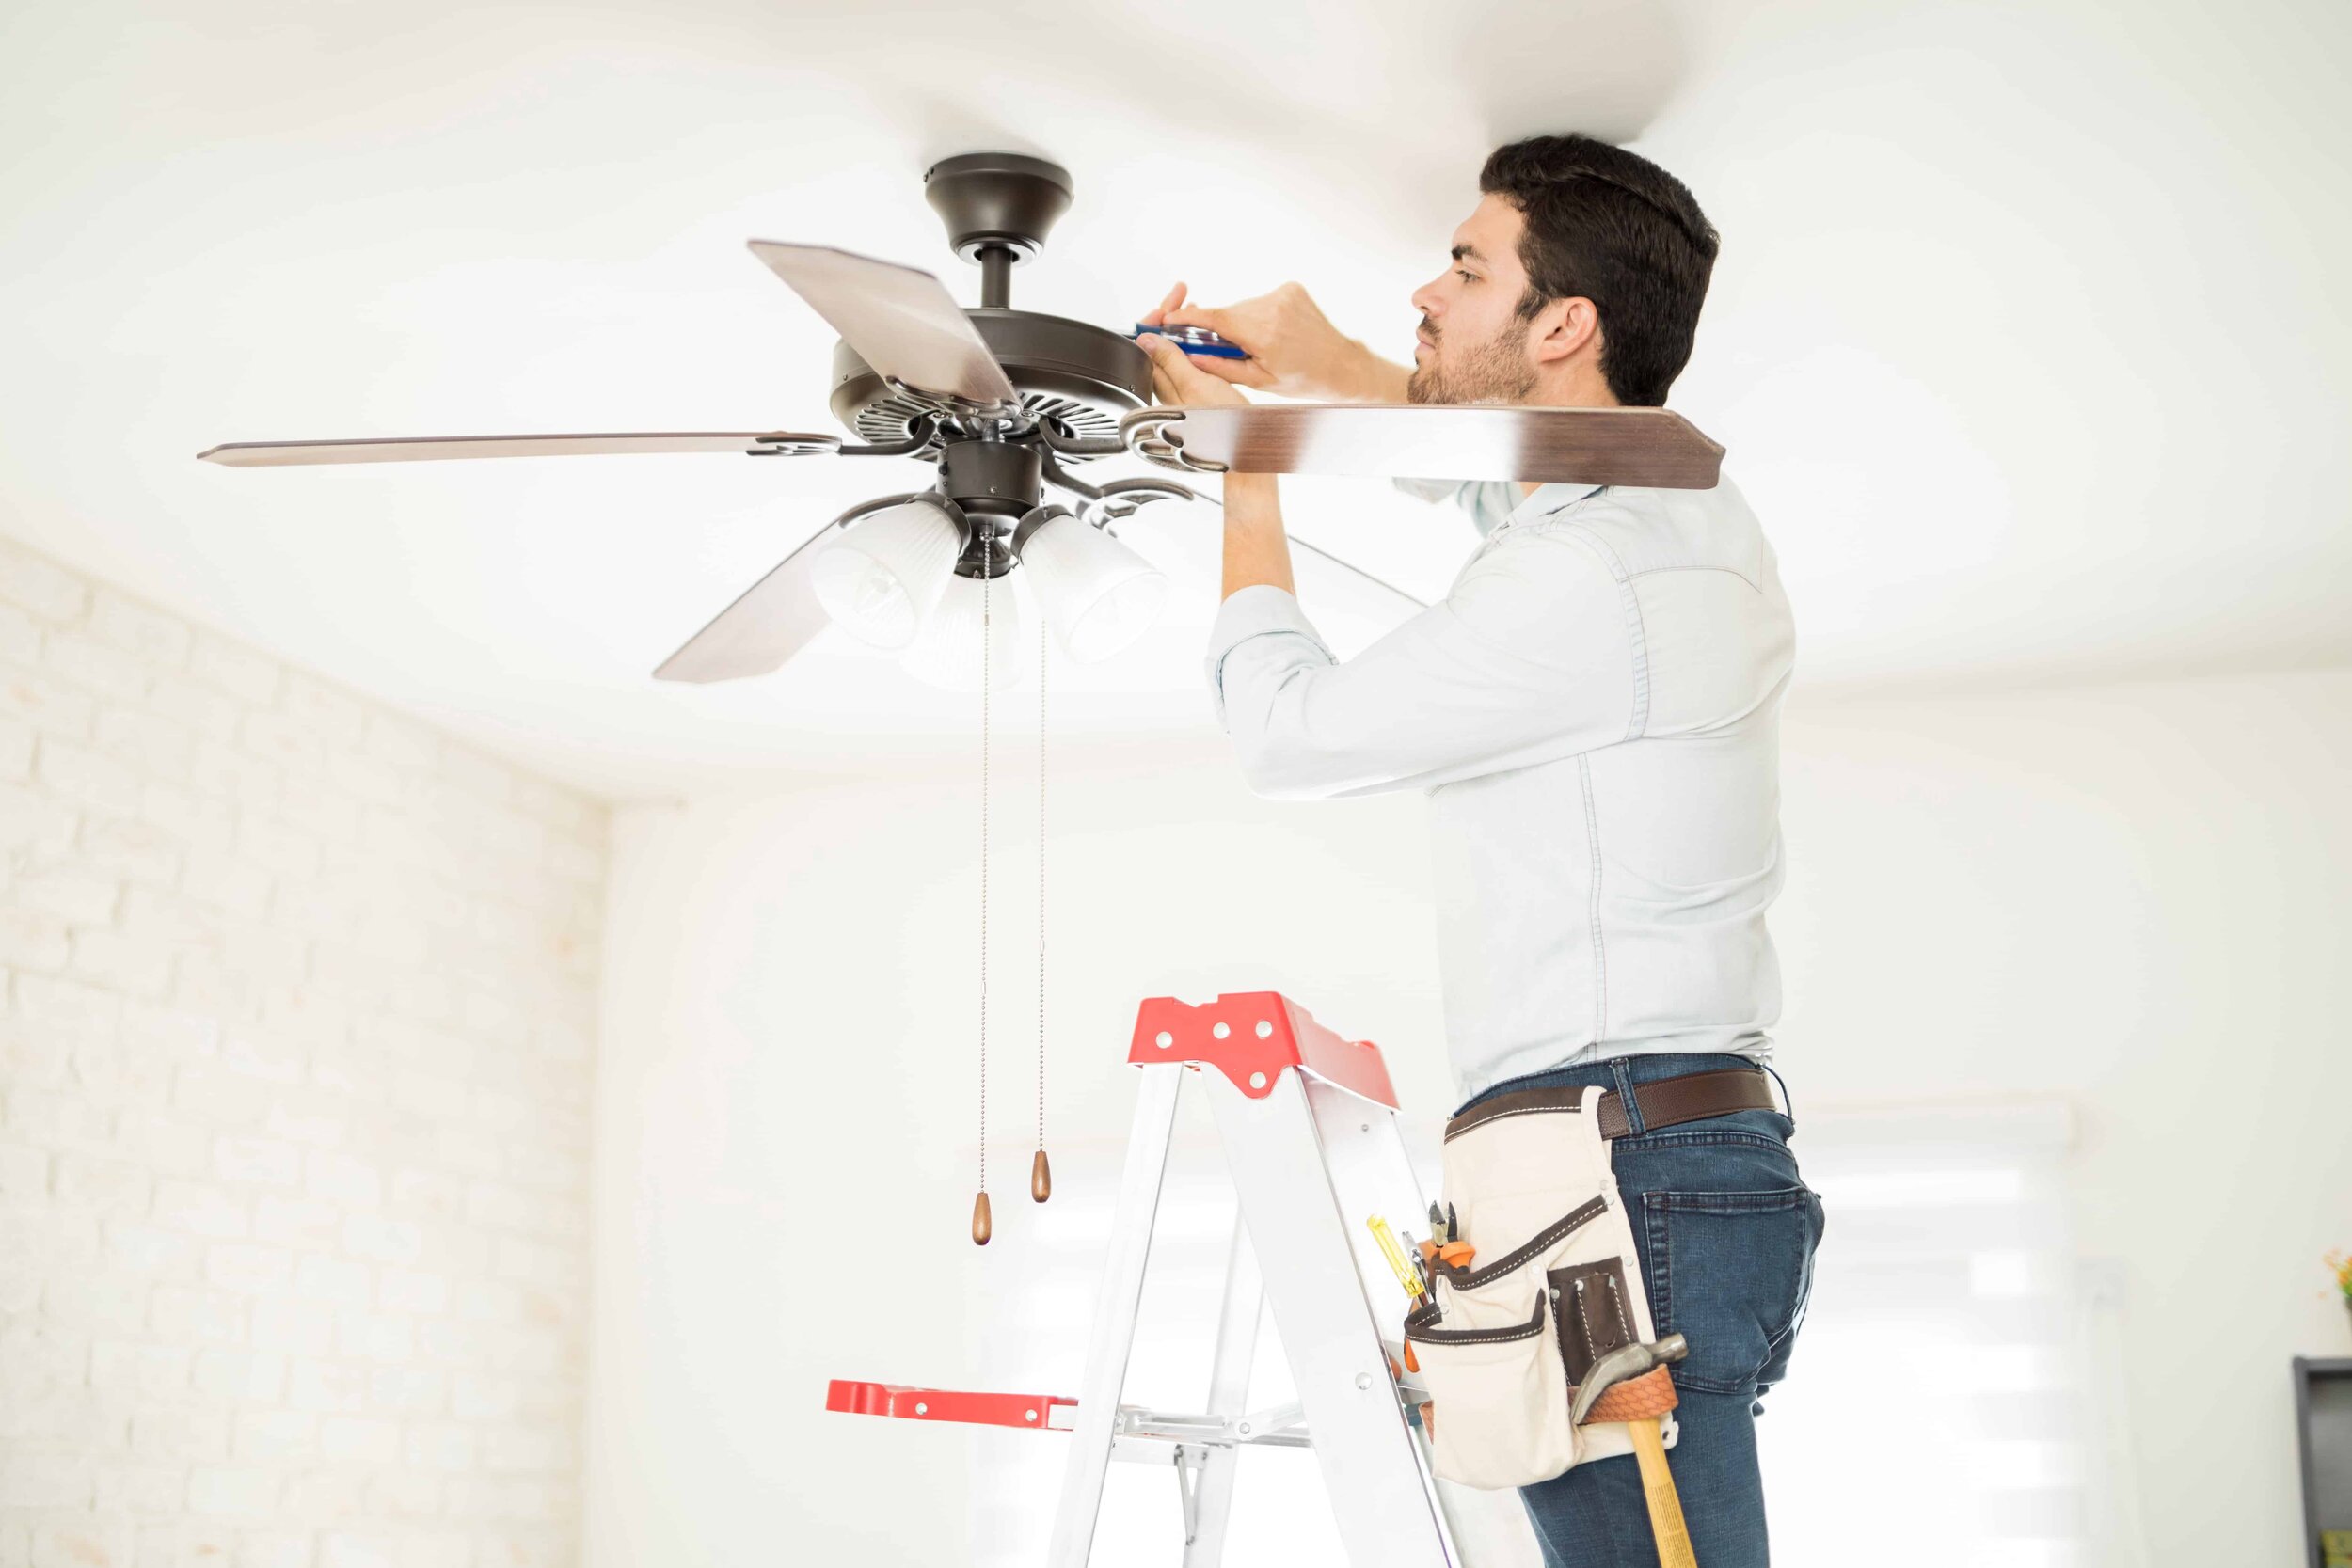
Step 4: Mount the ceiling fan
With the fan components assembled, it’s time to mount your Hunter ceiling fan. This step involves attaching the mounting bracket to the ceiling and securing the fan in place. Follow these steps to mount the ceiling fan:
- Locate the electrical box in the ceiling where you plan to install the fan. Ensure that the box is rated to support the weight of the fan.
- If there is an existing ceiling fan or light fixture, remove it by unscrewing the mounting screws and disconnecting the electrical wires.
- Hold the mounting bracket against the electrical box and align the screw holes. Secure the bracket in place using the provided screws.
- Ensure that the mounting bracket is level using a carpenter’s level. Adjust and tighten the screws as needed to achieve a level position.
- Thread the fan wires through the center hole of the mounting bracket. This will allow you to easily connect the electrical wires later.
- Double-check the stability of the mounting bracket by giving it a gentle tug. It should be firmly attached to the ceiling without any wobbling.
Once you have successfully mounted the bracket to the ceiling, you’re ready to proceed with the electrical wiring in the next step. Take your time during this step to ensure the bracket is securely attached and level.
Note: If you do not have an existing electrical box or a secure mounting surface, it is recommended to consult a professional electrician to install one for you.
Read more: How To Reverse Hunter Ceiling Fan
Step 5: Connect the electrical wiring
With the mounting bracket securely in place, it’s time to connect the electrical wiring for your Hunter ceiling fan. This step involves making the necessary electrical connections to ensure proper operation of the fan and remote control.
Follow these steps to connect the electrical wiring:
- Identify the electrical wires coming from the ceiling and the wires attached to the fan motor. They are typically color-coded:
- Black wire – Hot wire (power supply)
- White wire – Neutral wire (grounded circuit)
- Green or bare copper wire – Ground wire
- Using wire cutters or strippers, strip about half an inch of insulation off the ends of the wires.
- Match the wires according to their colors and connect them:
- Black to black (hot to hot)
- White to white (neutral to neutral)
- Green or bare copper to green or bare copper (ground to ground)
- Secure the wire connections by twisting them together and covering them with a wire connector. Make sure the connections are tight and insulated.
- If your ceiling fan has a light fixture, connect the additional wires following the manufacturer’s instructions. This may involve connecting a separate blue wire for the light.
After making the connections, tuck the wires neatly into the electrical box and ensure that they are not pinched or obstructed when you attach the fan motor to the mounting bracket.
Remember to use electrical tape to secure any loose wires and prevent them from coming into contact with each other or interfering with the fan’s operation.
Once the electrical connections are securely made, you can proceed to install the remote control receiver in the next step.
When installing a Hunter ceiling fan with a remote, make sure to carefully follow the instructions provided in the manual. Ensure that the power is turned off at the circuit breaker before beginning the installation process to avoid any accidents.
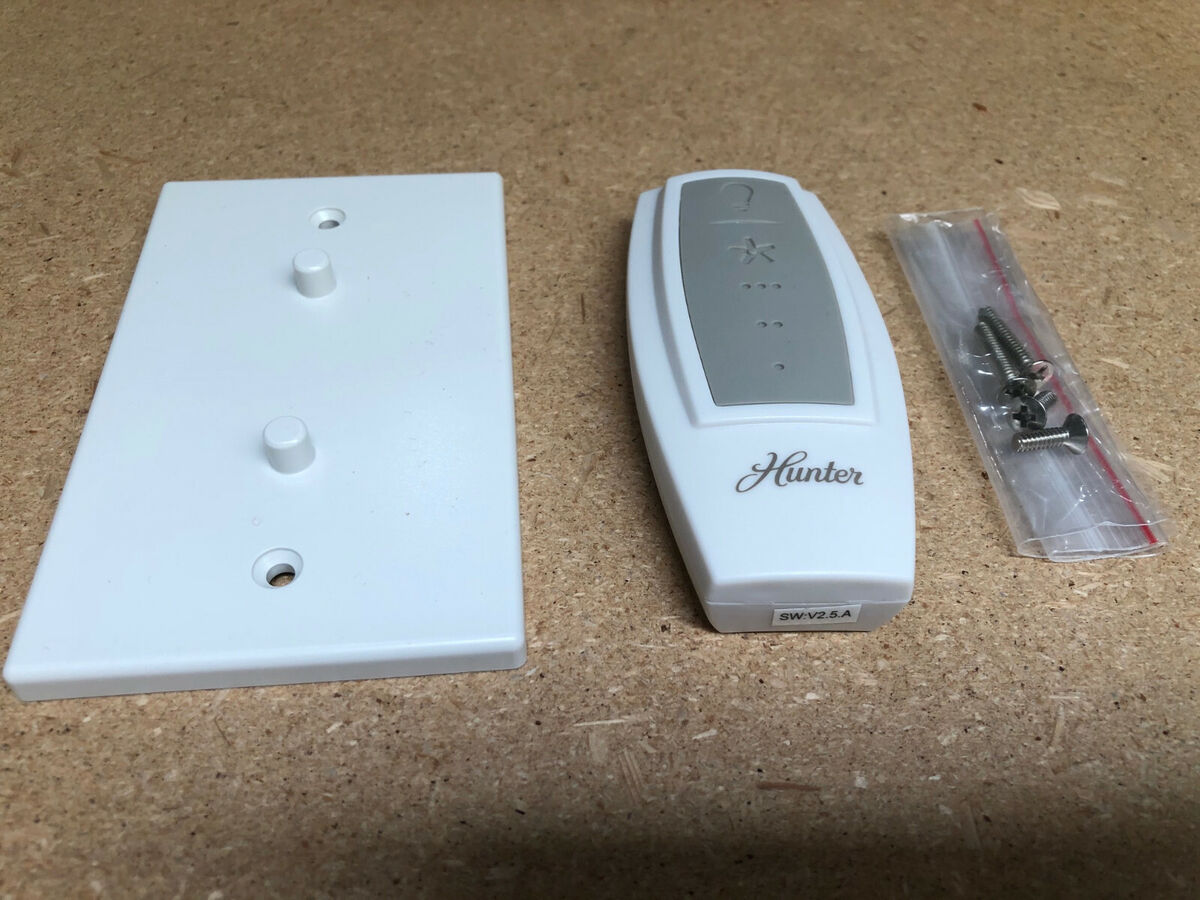
Step 6: Install the remote control receiver
Installing the remote control receiver for your Hunter ceiling fan is an important step in gaining the convenience and ease of controlling the fan from a distance. The receiver allows you to adjust the fan speed, turn the fan on or off, and control any additional features.
Follow these steps to install the remote control receiver:
- Locate the remote control receiver in the fan kit or as a separate accessory if not included.
- Identify the wiring harness coming from the fan motor that connects to the receiver.
- Insert the wiring harness connector into the corresponding port on the remote control receiver. Ensure that the connection is secure.
- Secure the remote control receiver to the fan motor housing using the provided screws. Place it in a location that allows for easy access to the receiver and does not interfere with the fan’s components.
- Tuck any excess wiring neatly into the fan motor housing to prevent it from being visible or getting in the way.
Once the remote control receiver is installed, you’re one step closer to enjoying the convenience of controlling your Hunter ceiling fan from anywhere in the room.
Note: If your ceiling fan already includes an integrated remote control, skip this step as the receiver is already built into the fan assembly.
In the next step, we’ll move on to attaching the fan blades to the fan motor.
Step 7: Attach the blades to the fan
Now that the remote control receiver is installed, it’s time to attach the fan blades to the fan motor of your Hunter ceiling fan. Properly attaching the blades is crucial for ensuring the fan’s smooth and balanced operation.
Follow these steps to attach the blades to the fan:
- Take each fan blade and align it with the corresponding blade bracket on the fan motor.
- Insert the provided screws through the holes in the blades and into the blade brackets.
- Tighten the screws securely, ensuring that they are evenly tightened for each blade.
- Once all the blades are attached, double-check their alignment to ensure they are all at the same level. This will help avoid any wobbling or imbalances while the fan is in operation.
- Gently give each blade a slight tug to ensure they are securely attached to the fan motor.
When attaching the blades, make sure to follow the manufacturer’s instructions to ensure you are aligning them correctly and using the appropriate screws. Take your time during this step to ensure that the blades are securely attached and properly aligned.
Once the blades are successfully attached, you can move on to installing the light fixture (if applicable) in the next step.
Step 8: Install the light fixture (if applicable)
If your Hunter ceiling fan includes a light fixture or if you have chosen to add one separately, this step will guide you through the process of installing it. Adding a light fixture to your ceiling fan can provide additional functionality and enhance the ambiance of your space.
Follow these steps to install a light fixture on your Hunter ceiling fan:
- Locate the light kit that came with your ceiling fan or the separate light fixture that you have chosen.
- Ensure that the power to the ceiling fan is turned off before proceeding.
- If there is an existing light fixture, remove it by unscrewing the mounting screws and disconnecting the electrical wires.
- Attach the light fixture to the fan motor housing using the provided screws. Make sure it is securely fastened.
- Connect the electrical wires from the light fixture to the corresponding wires in the fan motor housing:
- Match the black wire from the light fixture to the black wire from the fan.
- Match the white wire from the light fixture to the white wire from the fan.
- Connect the ground wire from the light fixture to the green or bare copper wire in the fan.
- Secure the wire connections with wire nuts and ensure they are tightly fastened.
Once the light fixture is securely attached and the electrical connections are made, restore power to the ceiling fan to test the functionality of the light. Adjust any additional settings as needed.
Remember to always refer to the manufacturer’s instructions for your specific ceiling fan model and light fixture when installing a light kit. If you are unsure about any step, it’s recommended to consult a licensed electrician.
In the next step, we’ll cover how to test the fan and remote control operation.
Read more: How To Remove A Hunter Ceiling Fan
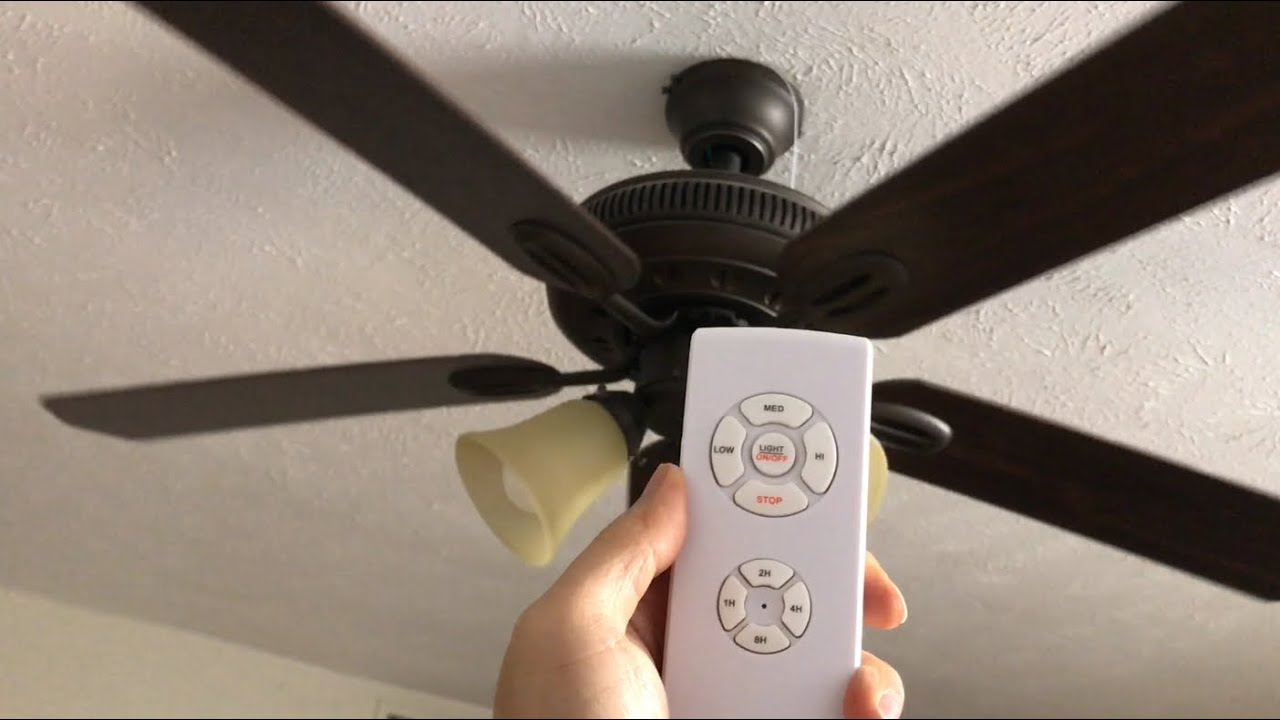
Step 9: Test the fan and remote control operation
After completing the installation of your Hunter ceiling fan with a remote control, it’s crucial to test the fan and remote control operation. This step ensures that everything is functioning correctly and allows you to make any necessary adjustments before finalizing the installation.
Follow these steps to test the fan and remote control operation:
- Turn on the power supply to the fan at the electrical panel.
- Use the remote control to turn on the fan by pressing the appropriate buttons. The fan should start spinning at the desired speed.
- Test the different fan speed settings to ensure that they are functioning properly. The remote control should be able to adjust the fan speed smoothly from low to high.
- Test any additional features of the remote control, such as the fan direction (if applicable) and the light controls (if you have installed a light fixture).
- Check for any unusual noises or vibrations while the fan is in operation. If you notice any, double-check the blade alignment and tighten any loose screws if necessary.
- Ensure that the fan blades are rotating in the correct direction for optimal airflow. In most cases, the fan blades should rotate counterclockwise for cooling airflow.
- If there are any issues with the fan or remote control operation, consult the manufacturer’s troubleshooting guide or contact their customer support for assistance.
By thoroughly testing the fan and remote control operation, you can ensure a seamless and enjoyable experience once the installation is complete. Take your time during this step to identify and address any potential problems before finishing up the installation.
In the next step, we’ll cover some final adjustments and safety precautions to consider.
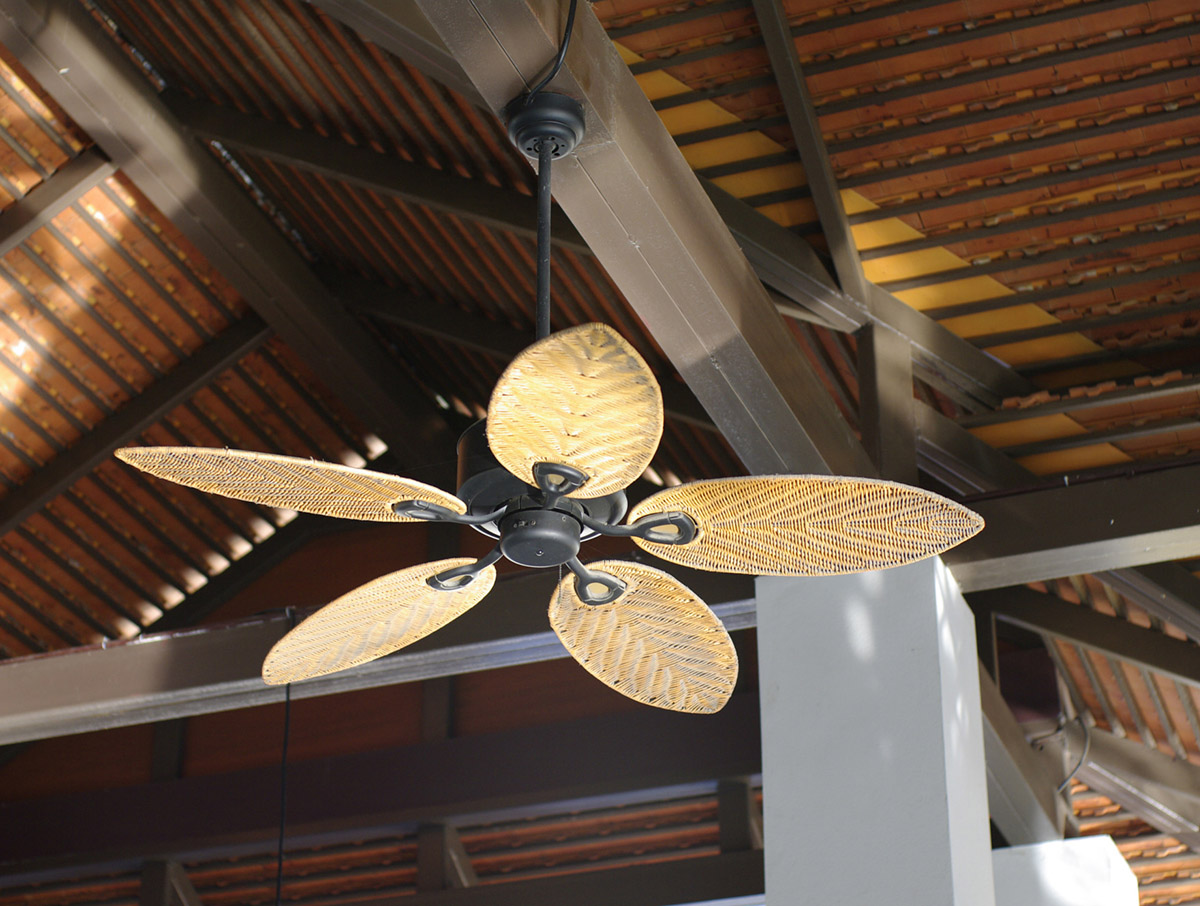
Step 10: Final adjustments and safety precautions
As you near the end of the installation process for your Hunter ceiling fan with a remote control, it’s important to make some final adjustments and take necessary safety precautions. These steps will ensure that your ceiling fan operates smoothly and safely for years to come.
Follow these final adjustments and safety precautions:
- Check the stability of the fan by gently pushing it from different angles. It should not wobble or move excessively.
- If you notice any wobbling, use a balancing kit (included with some fans) or purchase one separately to correct the balance. The kit typically consists of weights that attach to the blades to eliminate any wobbling.
- Ensure that the fan blades are at least 18 inches away from any surrounding walls or objects for optimal airflow and safety.
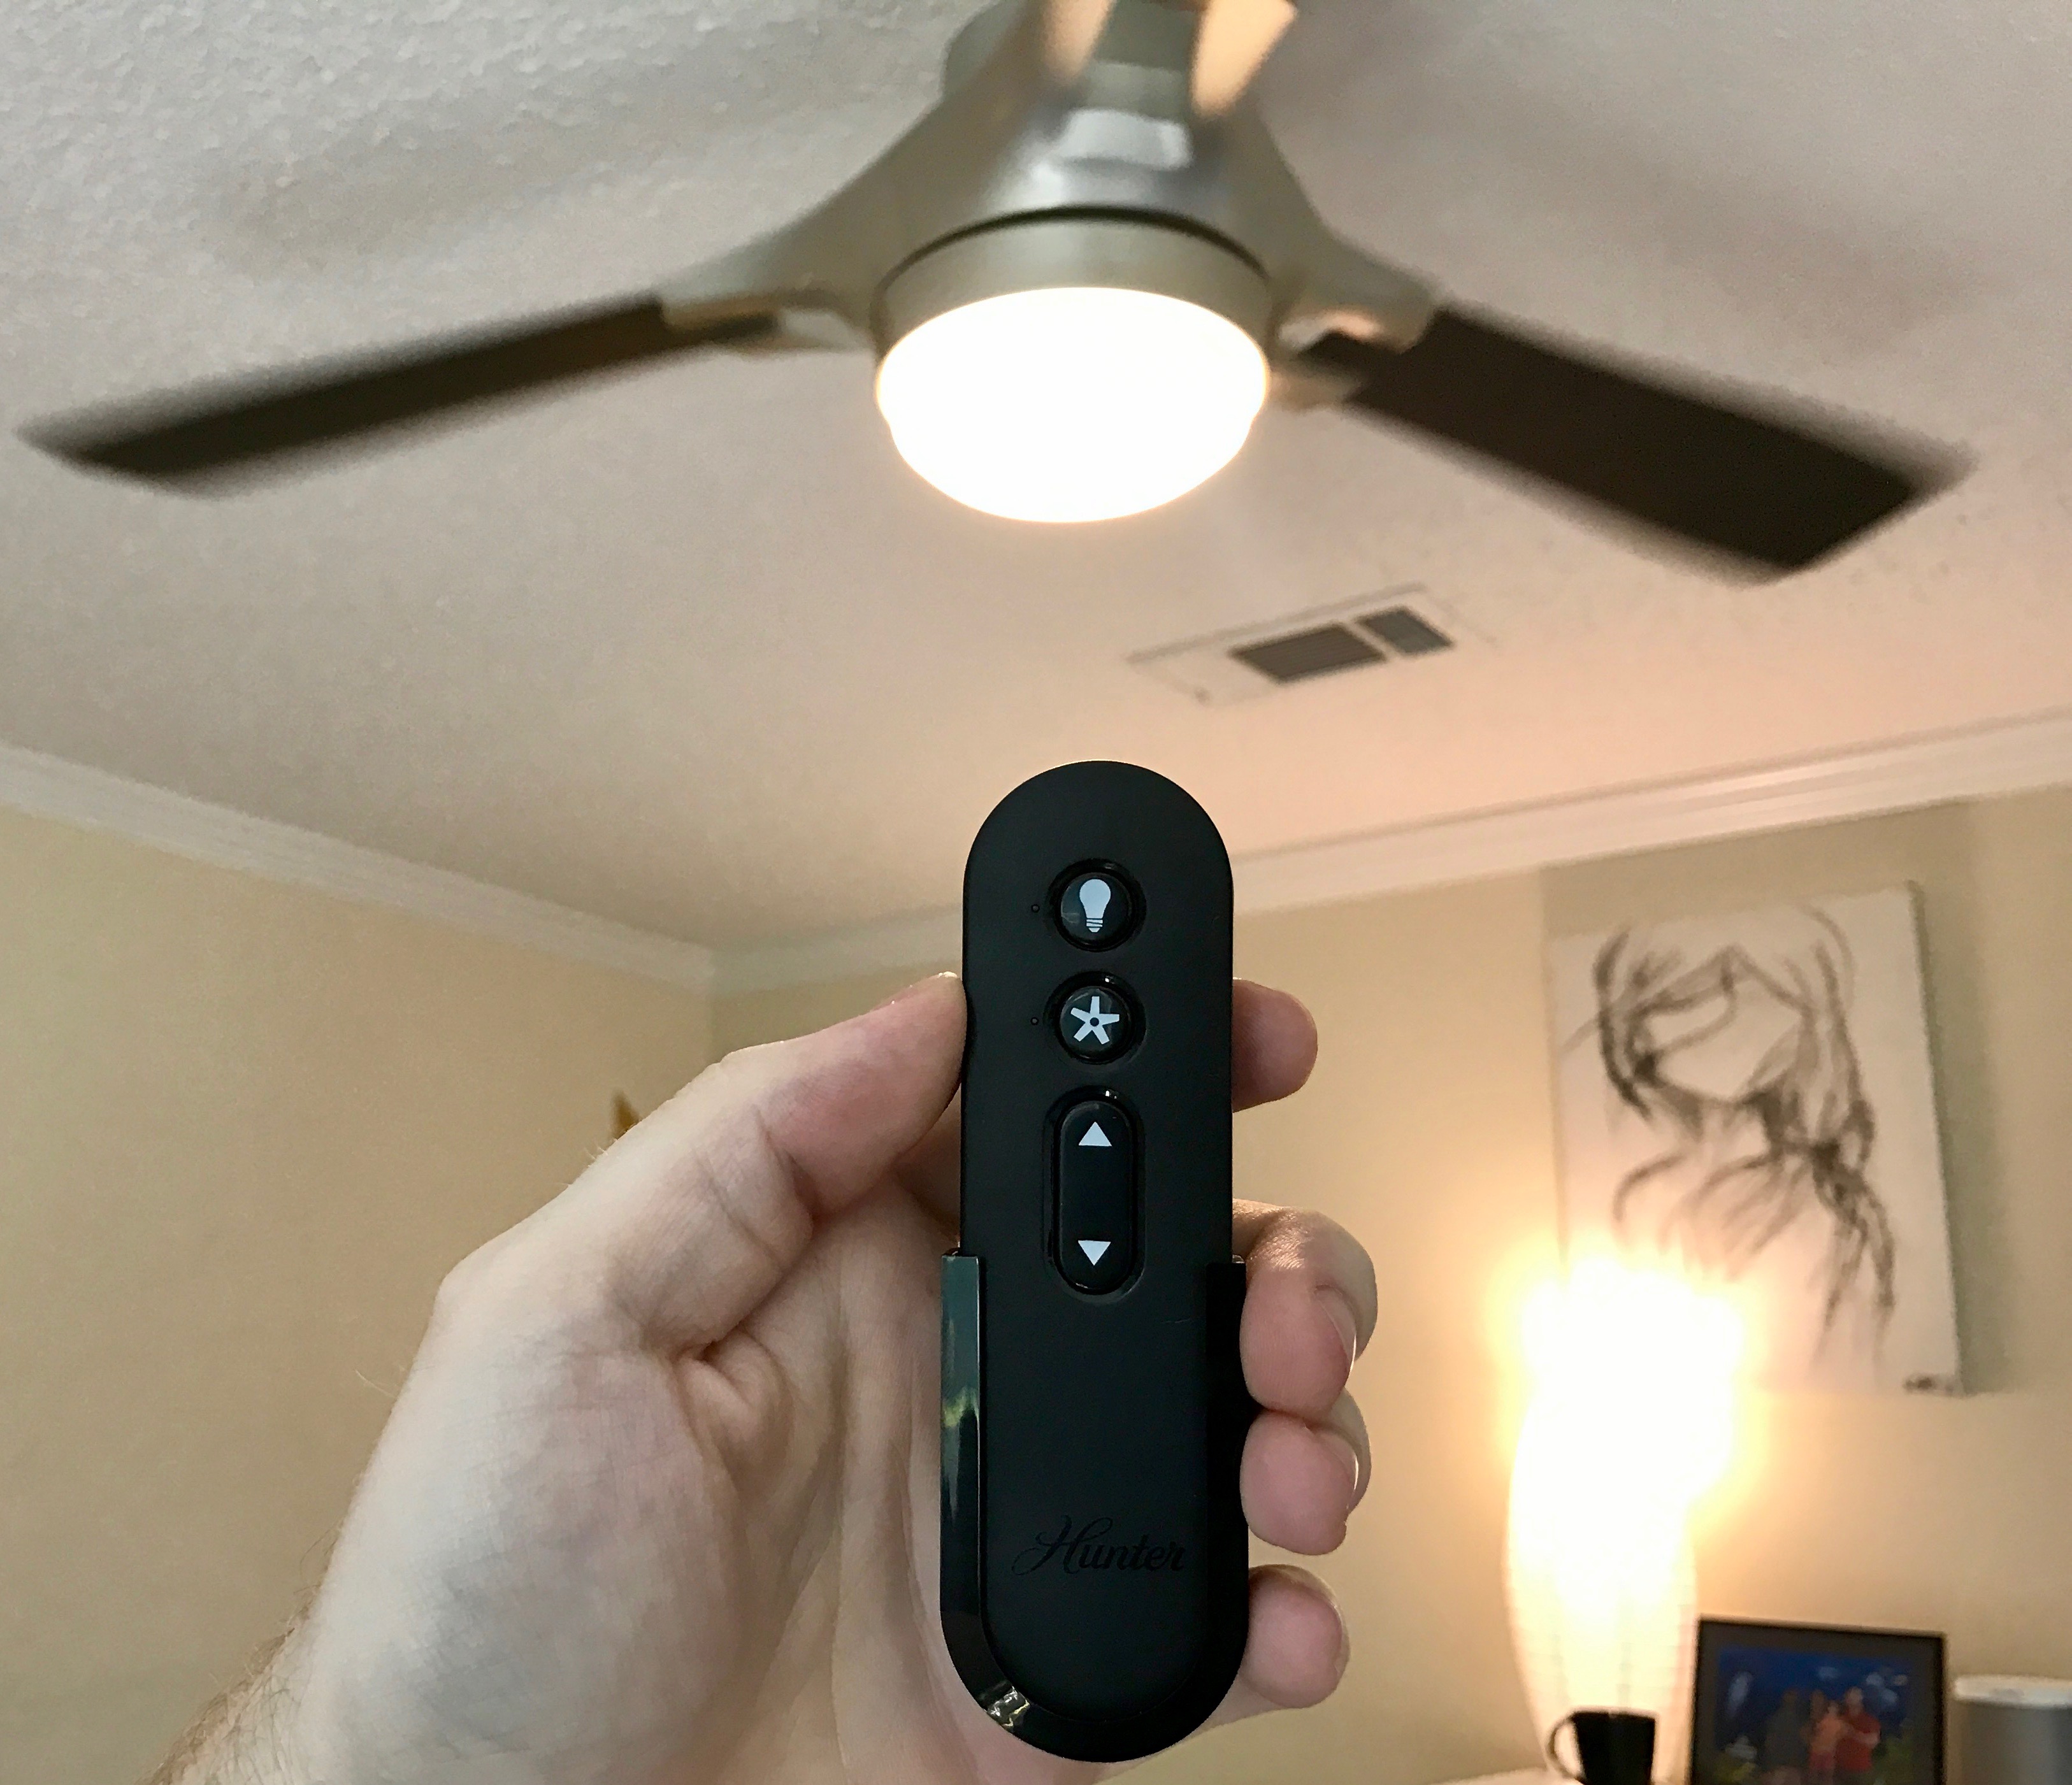
- Verify that the remote control is synced correctly with the ceiling fan. Follow the manufacturer’s instructions for syncing or pairing the remote control if necessary.
- Familiarize yourself with the features and functions of the remote control, including the fan speed settings, reversing the fan direction (if applicable), and controlling any installed light fixture.
- Regularly clean and maintain your ceiling fan to prevent dust buildup and ensure optimal performance. Use a soft cloth or duster to clean the blades and check for any loose screws during cleaning.
- Keep in mind that ceiling fans are not designed to cool an empty room. Always turn off the fan when leaving the room to conserve energy.
- Follow all safety guidelines and recommendations provided by the manufacturer, such as maximum wattage for light fixtures, proper use of electrical components, and precautions when working with electricity.
- If you have any concerns or questions about the installation or operation of your Hunter ceiling fan, it’s always best to consult a licensed electrician for assistance.
By making these final adjustments and adhering to safety precautions, you can enjoy the comfort, convenience, and longevity of your Hunter ceiling fan with a remote control.
Congratulations! You have successfully installed a Hunter ceiling fan with a remote control. Sit back, relax, and enjoy the cool breeze and enhanced atmosphere in your space!
If you have any further questions or need additional support, refer to the manufacturer’s instructions or reach out to their customer support for assistance.
Conclusion
Installing a Hunter ceiling fan with a remote control can transform any space into a comfortable and stylish oasis. With the convenience of remote control operation, you can easily adjust the fan speed, direction, and even control the lighting without ever leaving your seat. Although installing a ceiling fan may seem like a daunting task, following the step-by-step guide provided in this article will help you navigate the installation process with confidence.
From gathering the necessary tools and materials to testing the fan and remote control operation, each step plays a crucial role in ensuring a successful installation. Taking the time to assemble the fan components properly and securely mount the fan on the ceiling is essential for optimal performance and safety.
Connecting the electrical wiring correctly and installing the remote control receiver allows for seamless operation and control of the fan and any additional features. Attaching the blades and, if desired, installing a light fixture adds the finishing touches to your ceiling fan installation.
Throughout the installation process, it’s crucial to prioritize safety. Turning off the power supply, following proper electrical wiring procedures, and consulting a licensed electrician when unsure are key elements in ensuring a safe installation experience.
By thoroughly testing the fan and remote control operation, you can identify and address any issues before completing the installation. Making final adjustments, such as balancing the fan and maintaining proper clearance, will contribute to its smooth operation and optimal airflow.
As you enjoy the comfort and convenience of your Hunter ceiling fan with a remote control, don’t forget to regularly clean and maintain it to preserve its performance and longevity. Following manufacturer recommendations and adhering to safety precautions will help ensure a trouble-free and enjoyable experience with your ceiling fan for years to come.
Now that you have followed this comprehensive guide, you have acquired the knowledge and skills to install a Hunter ceiling fan with a remote control. So go ahead, sit back, and relish in the cool breeze and rejuvenating ambiance provided by your new ceiling fan!
Excited about mastering ceiling fan installations or diving into home improvements? Our guides have you covered! If you're looking to replace a light with a fan, our detailed ceiling fan installation guide will walk you through every step. For those itching to tackle broader home upgrades, check out our comprehensive home improvement tips. And if extending electrical connections is on your list, our step-by-step electrical wiring guide makes it simpler than you might think. Each guide provides practical advice to help you enhance your living space efficiently and safely.
Frequently Asked Questions about How To Install Hunter Ceiling Fan With Remote
Was this page helpful?
At Storables.com, we guarantee accurate and reliable information. Our content, validated by Expert Board Contributors, is crafted following stringent Editorial Policies. We're committed to providing you with well-researched, expert-backed insights for all your informational needs.


0 thoughts on “How To Install Hunter Ceiling Fan With Remote”