Home>Technology>Home Entertainment Systems>How To Duplicate Computer Screen On A Projector

Home Entertainment Systems
How To Duplicate Computer Screen On A Projector
Modified: January 9, 2024
Learn how to duplicate your computer screen on a projector for your home entertainment system. Follow these simple steps to set up your projector and enjoy a seamless viewing experience.
(Many of the links in this article redirect to a specific reviewed product. Your purchase of these products through affiliate links helps to generate commission for Storables.com, at no extra cost. Learn more)
Introduction
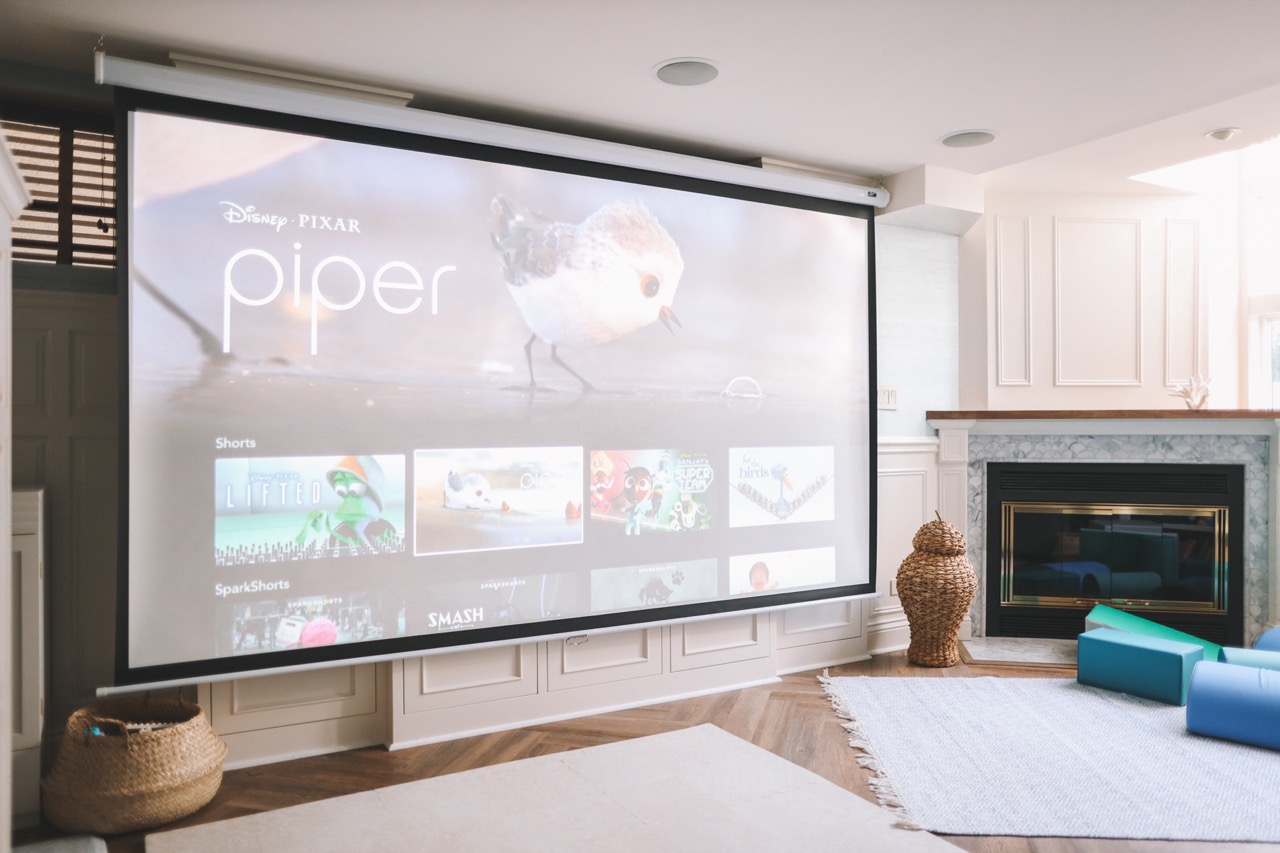
Welcome to the exciting world of home entertainment systems! In today's digital age, the ability to duplicate your computer screen on a projector opens up a realm of possibilities for immersive viewing experiences, impactful presentations, and seamless multitasking. Whether you're a movie enthusiast, a gaming aficionado, or a professional delivering a compelling presentation, the process of duplicating your computer screen on a projector is a valuable skill to master.
By connecting your computer to a projector and duplicating the screen, you can effortlessly share content with a larger audience, enjoy a cinematic viewing experience from the comfort of your home, or deliver impactful presentations in professional settings. This article will guide you through the process, providing step-by-step instructions, valuable tips, and troubleshooting advice to ensure a seamless and enjoyable experience.
So, grab your favorite snacks, settle into your favorite viewing spot, and let's embark on an adventure into the realm of duplicating your computer screen on a projector. Whether you're aiming to host a movie night to remember, level up your gaming experience, or deliver a captivating presentation, this guide will equip you with the knowledge and skills to make it happen. Let's dive in and unlock the full potential of your home entertainment system!
Key Takeaways:
- Easily connect your computer to a projector for a bigger screen experience by following simple steps like gathering cables, selecting duplicate screen option, and adjusting display settings.
- Troubleshoot common issues like no display, resolution mismatch, and audio playback problems to ensure a seamless and enjoyable experience when duplicating your computer screen on a projector.
Read more: How To Split Screen On A Projector
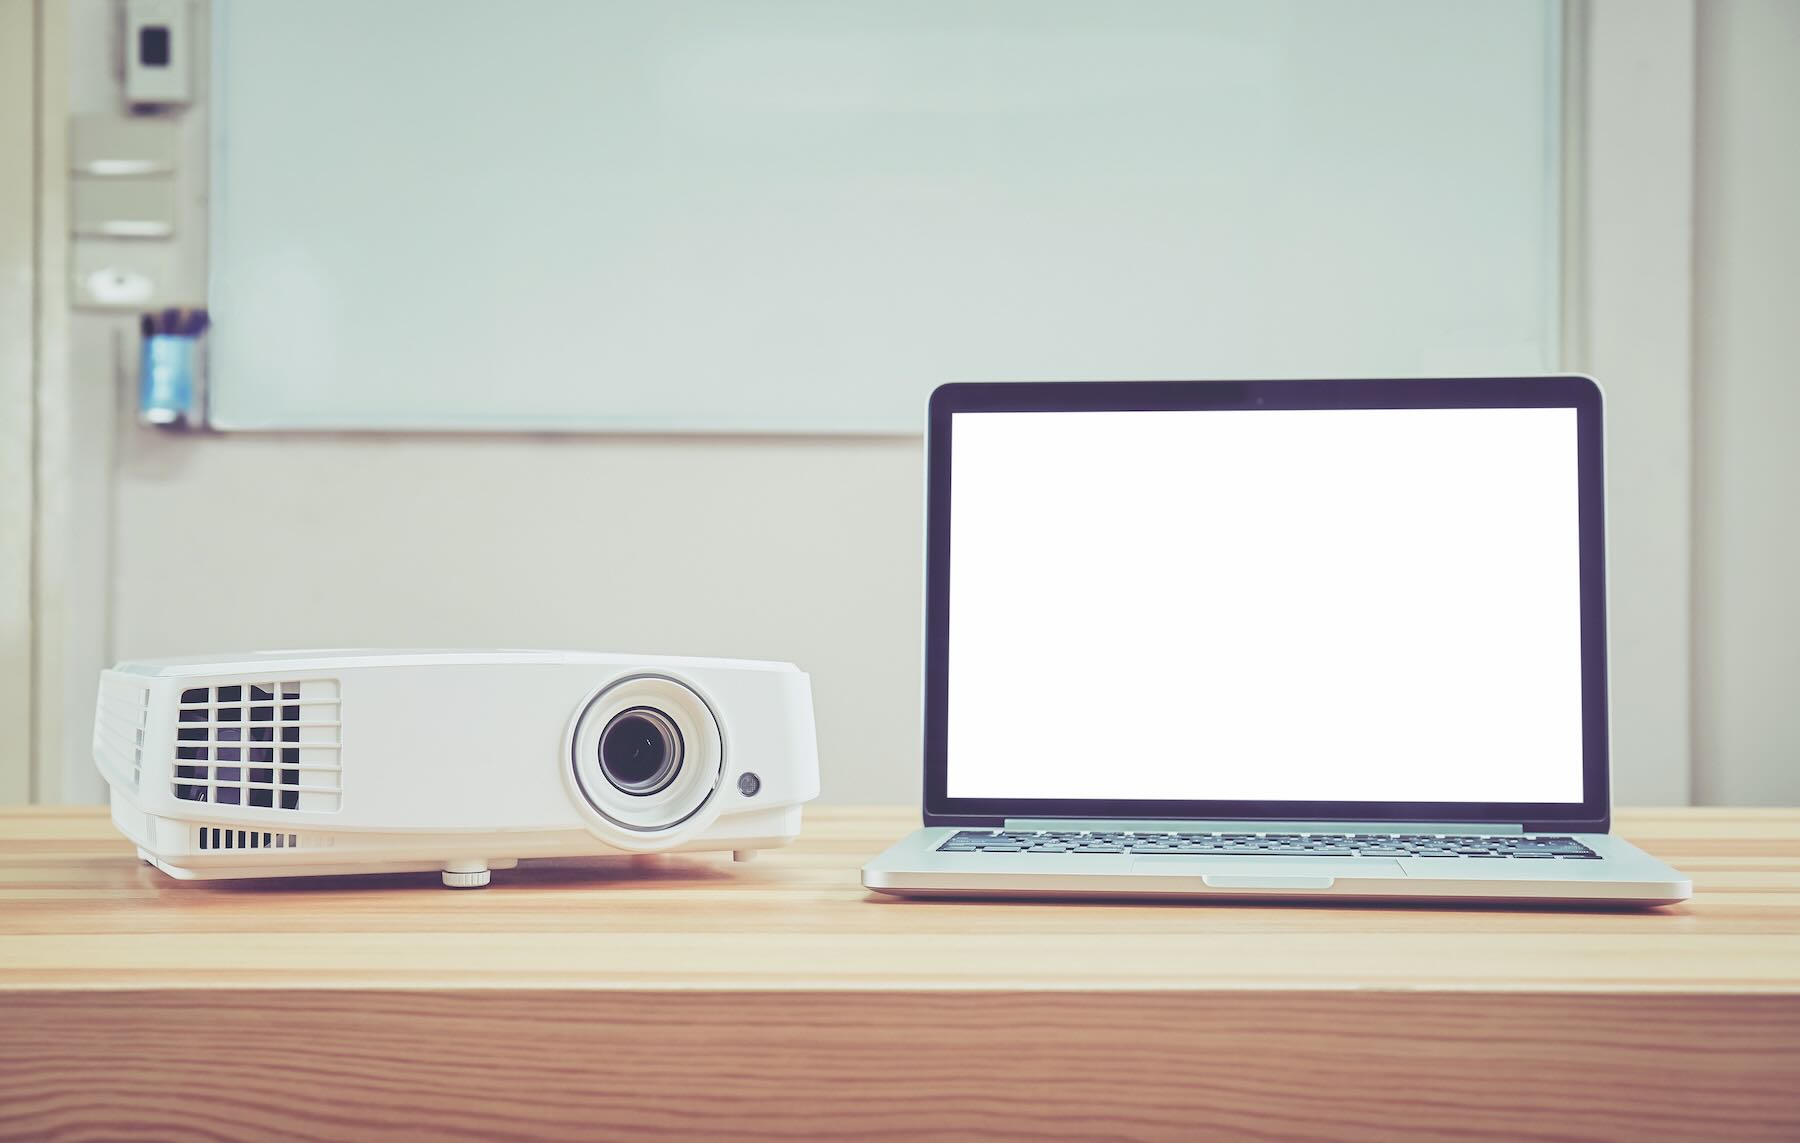
Connecting the Projector to the Computer
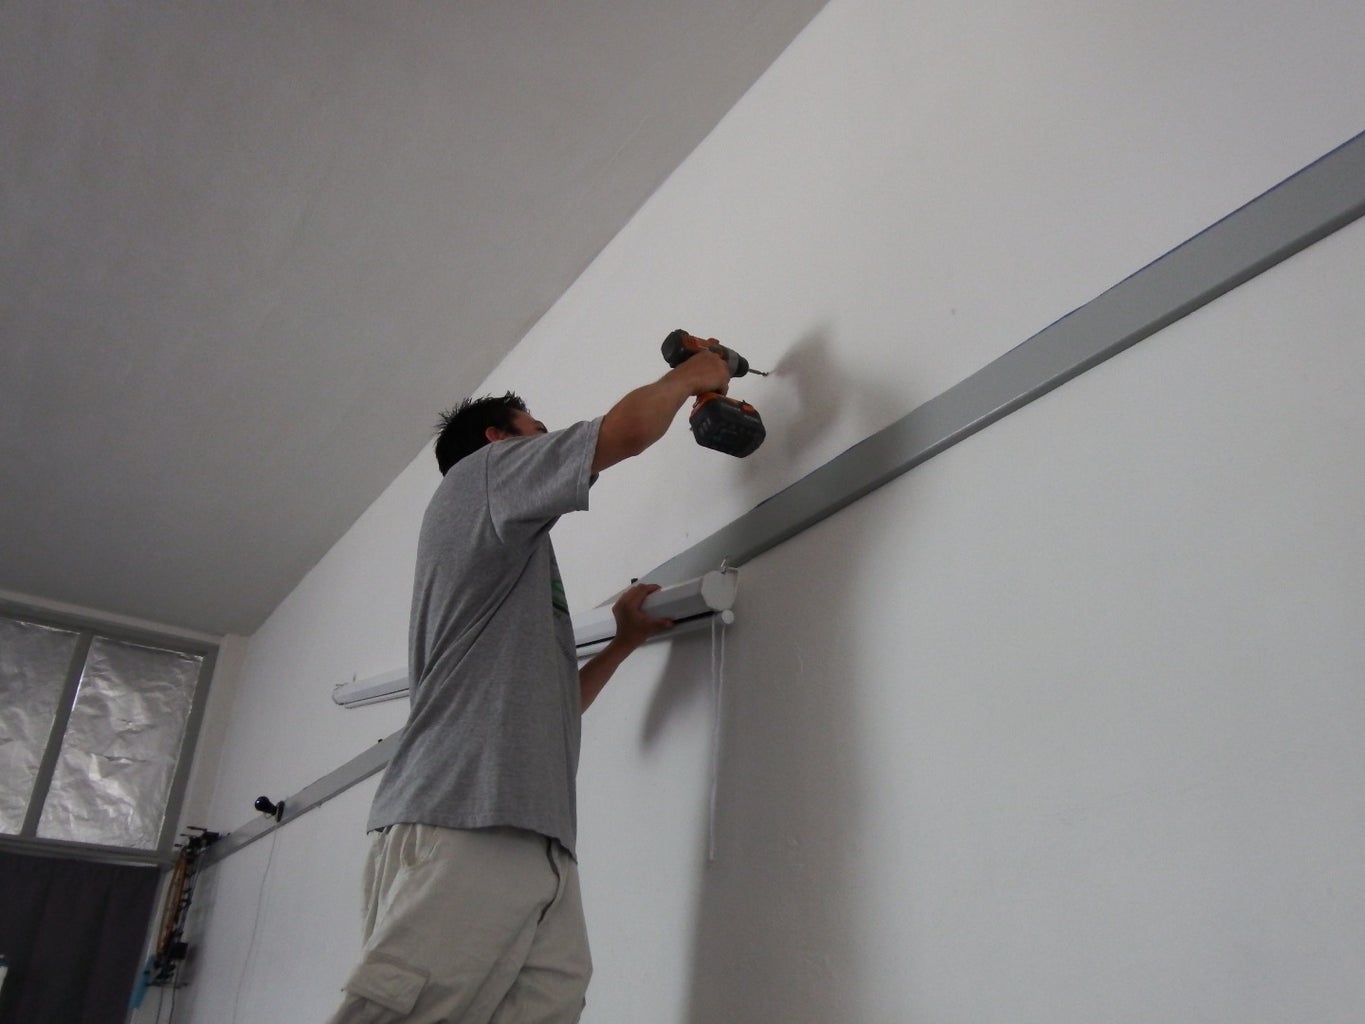
Before you can duplicate your computer screen on a projector, you need to establish a physical connection between the two devices. Here are the steps to connect your projector to your computer:
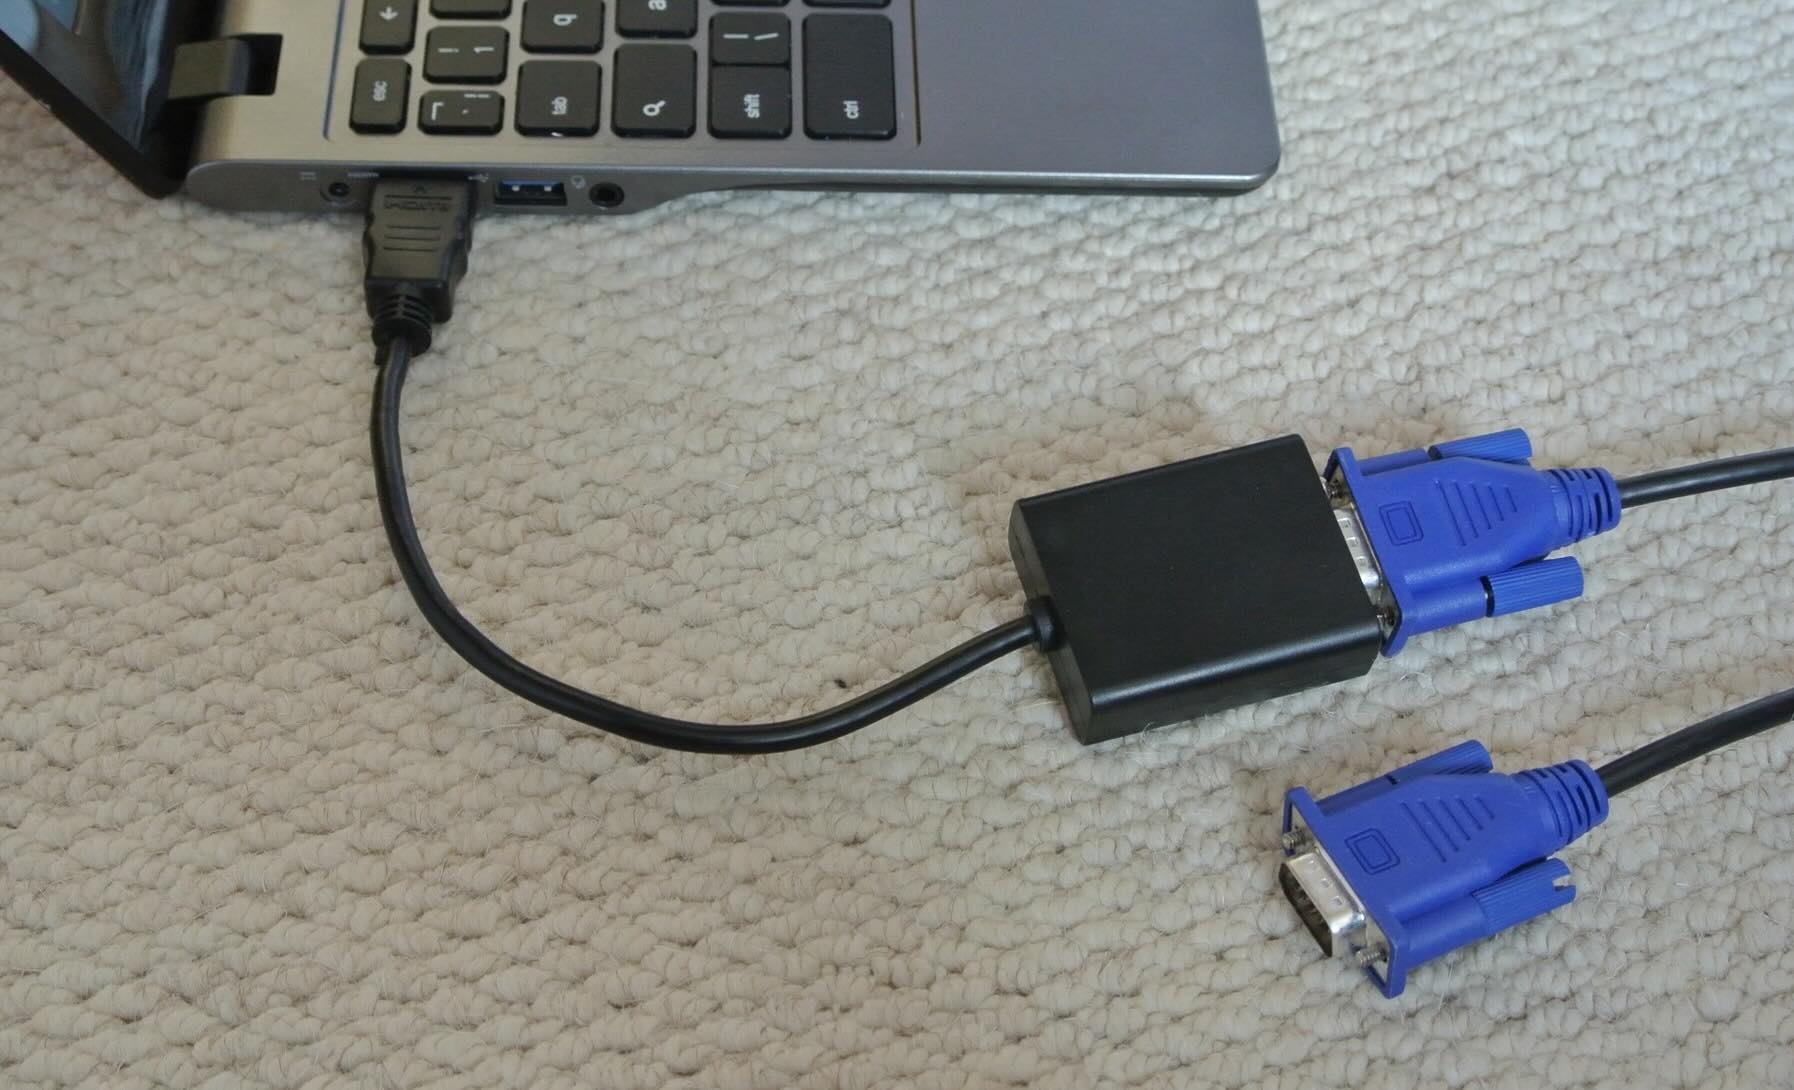
- Gather the Necessary Cables: Ensure that you have the appropriate cables to connect your computer to the projector. Most projectors support HDMI, VGA, or USB connections. Check the ports available on both your computer and the projector to determine the type of cable you need.
- Power Off Both Devices: Before making any connections, power off both your computer and the projector to avoid any potential electrical issues.
- Connect the Cable: Depending on the available ports, connect one end of the cable to the video output port on your computer (HDMI, VGA, or USB-C) and the other end to the corresponding input port on the projector.
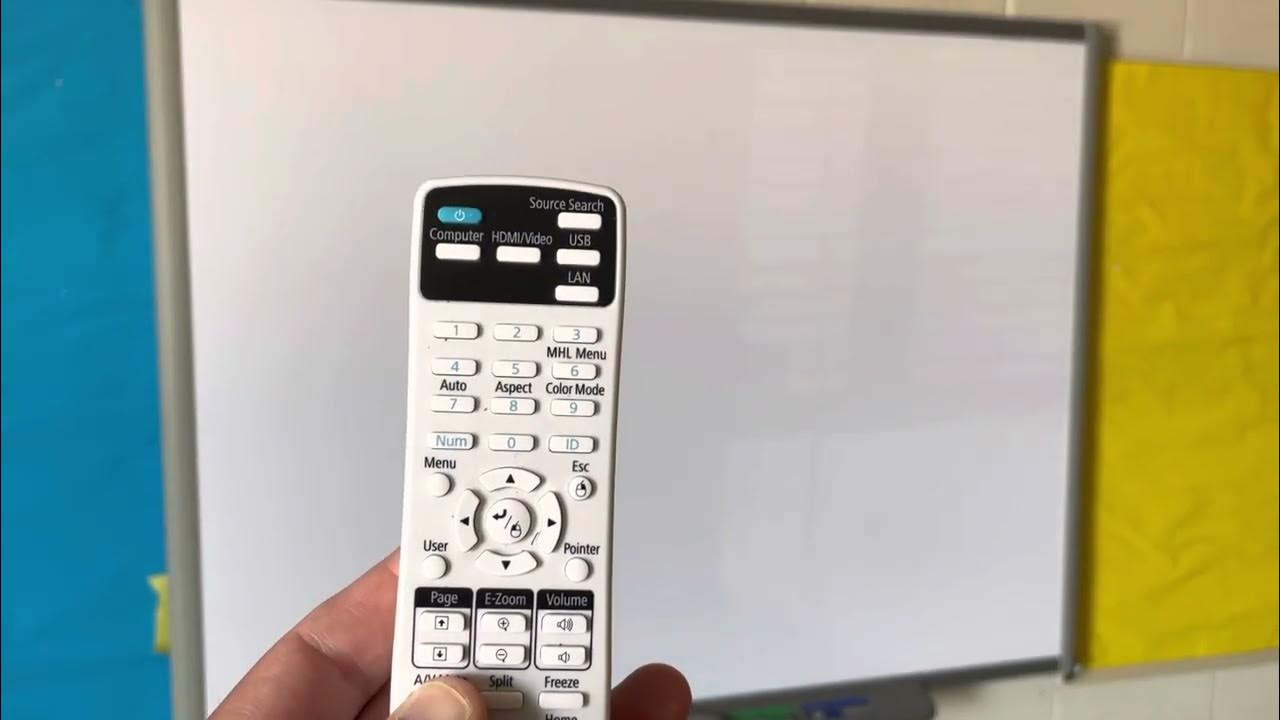
- Power On the Devices: Once the cable is securely connected, power on your computer and then the projector. Allow the devices to recognize and establish the connection.
Once the physical connection is established, your computer and projector should be ready to communicate with each other. With the hardware in place, you are now prepared to proceed to the next crucial step: selecting the duplicate screen option.
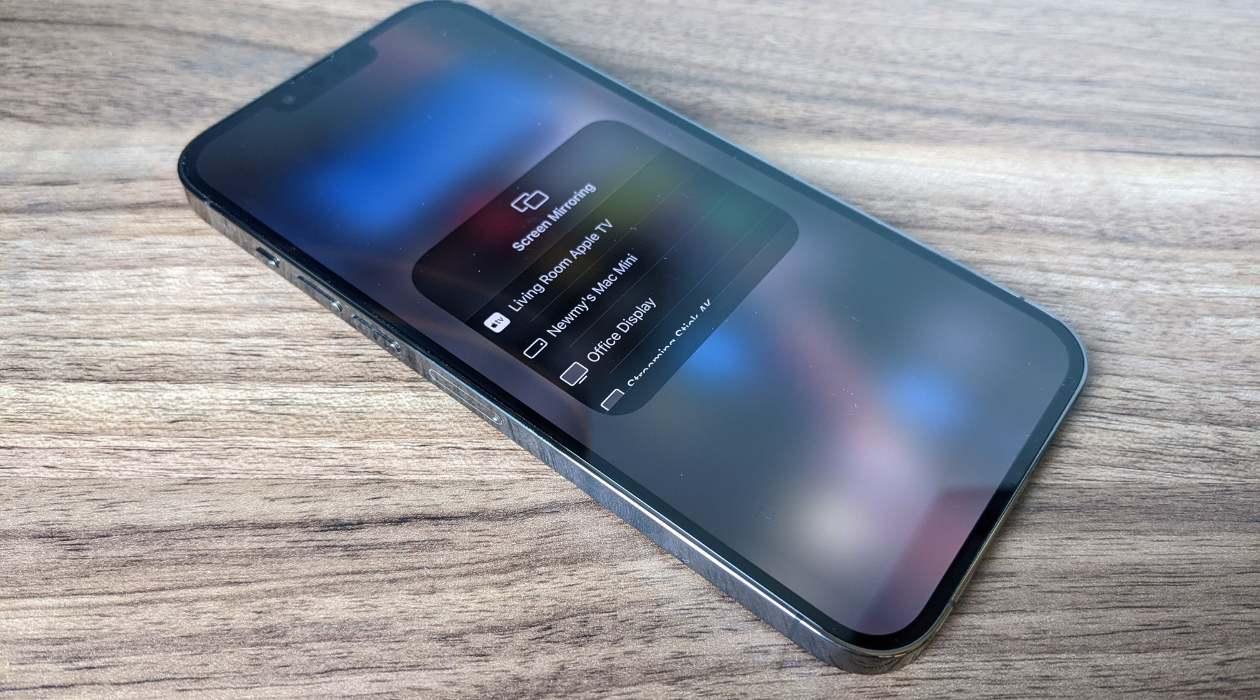
Selecting the Duplicate Screen Option
After successfully connecting your projector to the computer, the next step is to select the duplicate screen option. This process allows you to mirror or duplicate the content displayed on your computer screen onto the projector. Follow these steps to select the duplicate screen option:
- Access Display Settings: On your computer, navigate to the display settings. The method to access display settings may vary based on your operating system. For Windows users, right-click on the desktop and select “Display settings.” For Mac users, go to the Apple menu, select “System Preferences,” and click on “Displays.”
- Identify the Projector: In the display settings, you should see the option to detect or identify the connected projector. This allows your computer to recognize the additional display and configure the settings accordingly.
- Select Duplicate Display: Once the projector is detected, look for the option to set the display mode. Choose the “Duplicate” or “Mirror” option to ensure that the content displayed on your computer screen is replicated on the projector.
- Adjust Display Order: In some cases, you may need to adjust the display order to ensure that the content appears correctly on both screens. This can typically be done by dragging and arranging the display icons in the display settings window.
By selecting the duplicate screen option, you enable your computer to transmit the same content to both the computer screen and the projector, creating a seamless mirrored display. With this step completed, you are now ready to fine-tune the display settings to ensure optimal viewing quality and alignment.
Connect your computer to the projector using a VGA or HDMI cable. Then, press the Windows key + P and select “Duplicate” to display the same image on both screens.
Adjusting Display Settings
Once you have selected the duplicate screen option and mirrored your computer screen onto the projector, it’s essential to adjust the display settings for optimal viewing quality and alignment. Here are the key steps to fine-tune the display settings:
- Resolution and Aspect Ratio: Access the display settings on your computer and ensure that the resolution and aspect ratio are optimized for the projector. Select a resolution that is supported by both your computer and the projector to avoid any distortion or stretching of the displayed content.
- Screen Orientation: Depending on the placement of the projector and the desired viewing angle, you may need to adjust the screen orientation. This can typically be done through the display settings by selecting landscape or portrait mode based on your preferences.
- Brightness and Contrast: Adjust the brightness and contrast settings on the projector to achieve the desired visual impact. This step is crucial for creating an immersive viewing experience, especially when watching movies or delivering presentations in varying lighting conditions.
- Audio Output Configuration: If your presentation or entertainment content includes audio, ensure that the audio output is configured to transmit sound through the projector’s speakers or an external audio system for a captivating auditory experience.
- Alignment and Keystone Correction: Use the projector’s keystone correction feature to adjust the image alignment and ensure that the displayed content appears accurately proportioned and free from distortion, especially when projecting onto non-flat surfaces.
By meticulously adjusting the display settings, you can enhance the visual and auditory experience when duplicating your computer screen on a projector. Whether you’re immersing yourself in a cinematic masterpiece, engaging in a gaming marathon, or delivering a compelling presentation, optimized display settings play a crucial role in elevating the overall experience.
Troubleshooting Common Issues
While duplicating your computer screen on a projector can significantly enhance your viewing and presentation experiences, it’s essential to be prepared to troubleshoot common issues that may arise. Here are some common challenges and their troubleshooting solutions:
- No Display on the Projector: If the projector is not displaying the duplicated content from your computer, double-check the physical connections. Ensure that the cables are securely connected, and the input source on the projector is set to the correct port (HDMI, VGA, etc.). Additionally, verify that the projector is powered on and the correct input source is selected.
- Resolution Mismatch: If the content appears distorted or does not fit the projector screen properly, revisit the display settings on your computer. Adjust the resolution and aspect ratio to match the supported settings of the projector, ensuring a seamless display of content.
- Audio Playback Issues: If you encounter challenges with audio playback through the projector, verify the audio output settings on your computer. Ensure that the correct audio output device is selected to transmit sound through the projector’s speakers or an external audio system.
- Image Alignment Problems: In cases where the projected image appears skewed or distorted, utilize the projector’s keystone correction feature to align the image accurately. Additionally, ensure that the projector is positioned at an appropriate distance and angle to achieve optimal image clarity and alignment.
- Interference or Signal Loss: If you experience signal loss or interference during the duplication process, check for potential sources of interference such as other electronic devices or wireless signals in the vicinity. Reposition the projector and minimize potential sources of interference to ensure a stable and uninterrupted connection.
By familiarizing yourself with these common issues and their troubleshooting solutions, you can overcome potential challenges and ensure a seamless experience when duplicating your computer screen on a projector. Troubleshooting effectively empowers you to maximize the potential of your home entertainment system and deliver impactful presentations with confidence.
Read more: How To Make A Projector Screen
Conclusion
Congratulations! You have successfully navigated the process of duplicating your computer screen on a projector, unlocking a world of immersive entertainment and impactful presentations. By following the steps outlined in this guide, you have gained the knowledge and skills to seamlessly connect your computer to a projector, select the duplicate screen option, adjust display settings, and troubleshoot common issues.
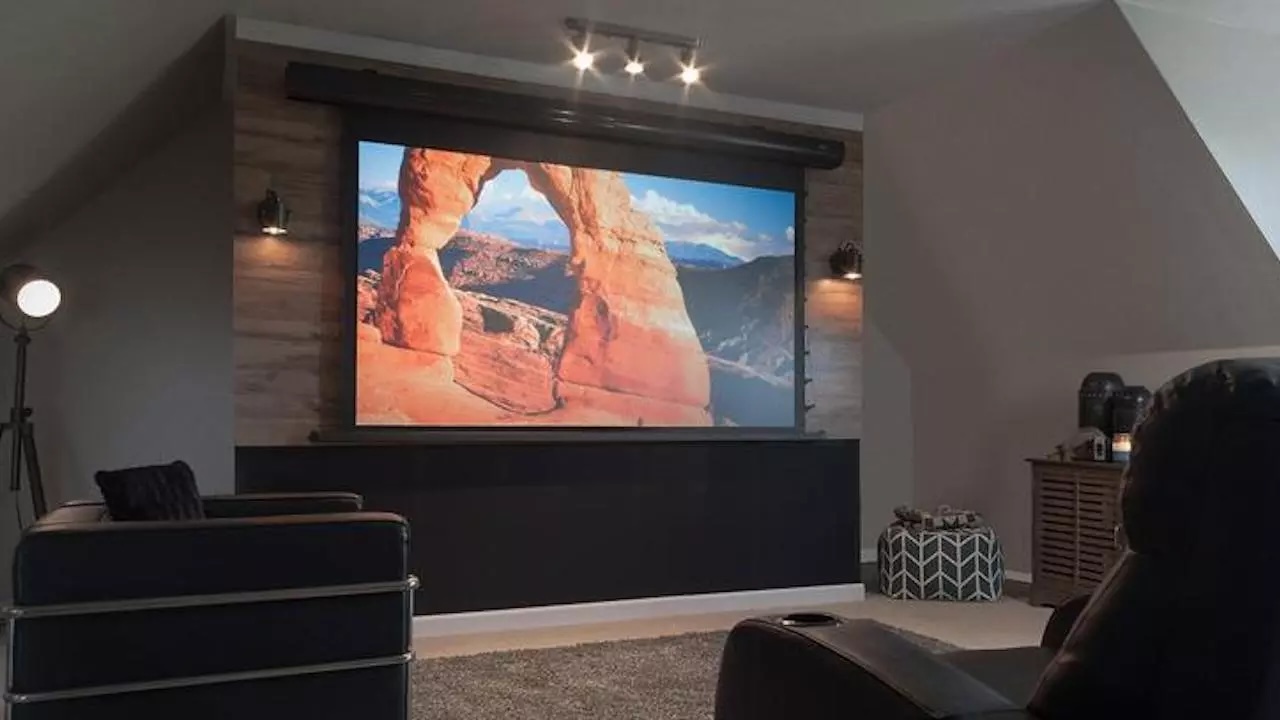
Whether you’re transforming your living room into a captivating home theater, engaging in multiplayer gaming experiences on a larger screen, or delivering compelling presentations in professional settings, the ability to duplicate your computer screen on a projector empowers you to elevate your viewing and presentation experiences.
As you continue to explore the endless possibilities of your home entertainment system, remember to optimize the display settings to ensure an immersive visual and auditory experience. Embrace the seamless connectivity between your computer and the projector, and leverage the troubleshooting strategies to overcome any challenges that may arise.
With your newfound expertise in duplicating your computer screen on a projector, you are well-equipped to embark on a journey of cinematic adventures, engaging presentations, and memorable shared experiences with friends and family. Embrace the power of technology to transform your space into a hub of entertainment and creativity, where every viewing and presentation experience becomes an unforgettable event.
So, gather your favorite content, dim the lights, and let the magic of duplicated screens on a projector transport you to a world of boundless entertainment and impactful storytelling. Your home entertainment system has evolved, and you are at the forefront of creating unforgettable moments through the seamless duplication of your computer screen on a projector.
Frequently Asked Questions about How To Duplicate Computer Screen On A Projector
Was this page helpful?
At Storables.com, we guarantee accurate and reliable information. Our content, validated by Expert Board Contributors, is crafted following stringent Editorial Policies. We're committed to providing you with well-researched, expert-backed insights for all your informational needs.


0 thoughts on “How To Duplicate Computer Screen On A Projector”