
Articles
How To Measure Gutters
Modified: October 18, 2024
Learn how to measure gutters with our informative articles. Get expert tips and guidance to ensure accurate measurements for your gutter installation.
(Many of the links in this article redirect to a specific reviewed product. Your purchase of these products through affiliate links helps to generate commission for Storables.com, at no extra cost. Learn more)
Introduction
Welcome to our guide on how to measure gutters! Whether you’re installing new gutters or replacing old ones, accurate measurements are crucial to ensure a proper fit and effective water drainage. Measuring gutters might seem like a daunting task, but with the right tools and techniques, you’ll be able to complete the task with ease.
In this article, we’ll walk you through the step-by-step process of measuring gutters, covering everything from initial preparation to recording the measurements. By following these instructions, you’ll be well-equipped to tackle your gutter project efficiently and accurately.
Before we dive in, let’s quickly go over the tools and materials you’ll need for this project.
Key Takeaways:
- Accurate gutter measurements are crucial for proper installation or replacement. Follow step-by-step instructions, take additional measurements, and record details for a successful gutter project.
- Prioritize safety, gather necessary tools, and measure length, width, and depth of gutters. Record measurements and communicate effectively for a smooth installation process.
Read more: How To Use A Ladder Without Damaging Gutters
Tools and Materials Needed
Before you begin measuring your gutters, gather the following tools and materials:
- Tape measure: A reliable tape measure is essential for accurate measurements. Opt for a tape measure that is at least 25 feet long to ensure you can easily measure the length of your gutters.
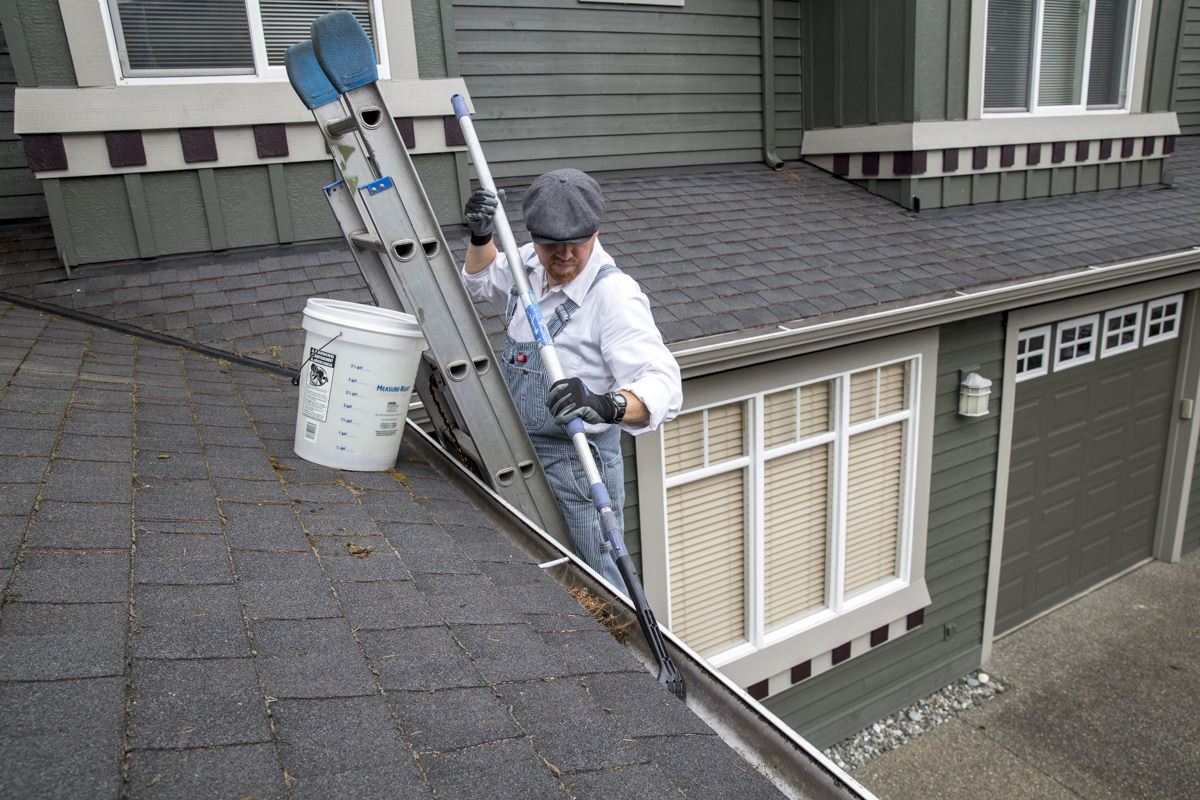
- Ladder: Depending on the height of your gutters, you may need a sturdy ladder to access them safely. Make sure the ladder is in good condition and placed on a stable surface before use.
- Pencil and paper: These simple tools will allow you to record your measurements as you go along, ensuring you don’t forget any important details.
- Safety equipment: It’s always important to prioritize safety when working at heights. Wear appropriate safety gear, such as gloves and goggles, to protect yourself throughout the process.
Now that you have all the necessary tools and materials, let’s move on to the step-by-step process of measuring your gutters.
Step 1: Preparation
Before you can begin measuring your gutters, it’s essential to prepare your work area. Here’s what you need to do:
- Safety first: Ensure that the area around the gutters is clear and free from any potential hazards that could lead to accidents. Remove any debris or objects that may obstruct your access to the gutters.
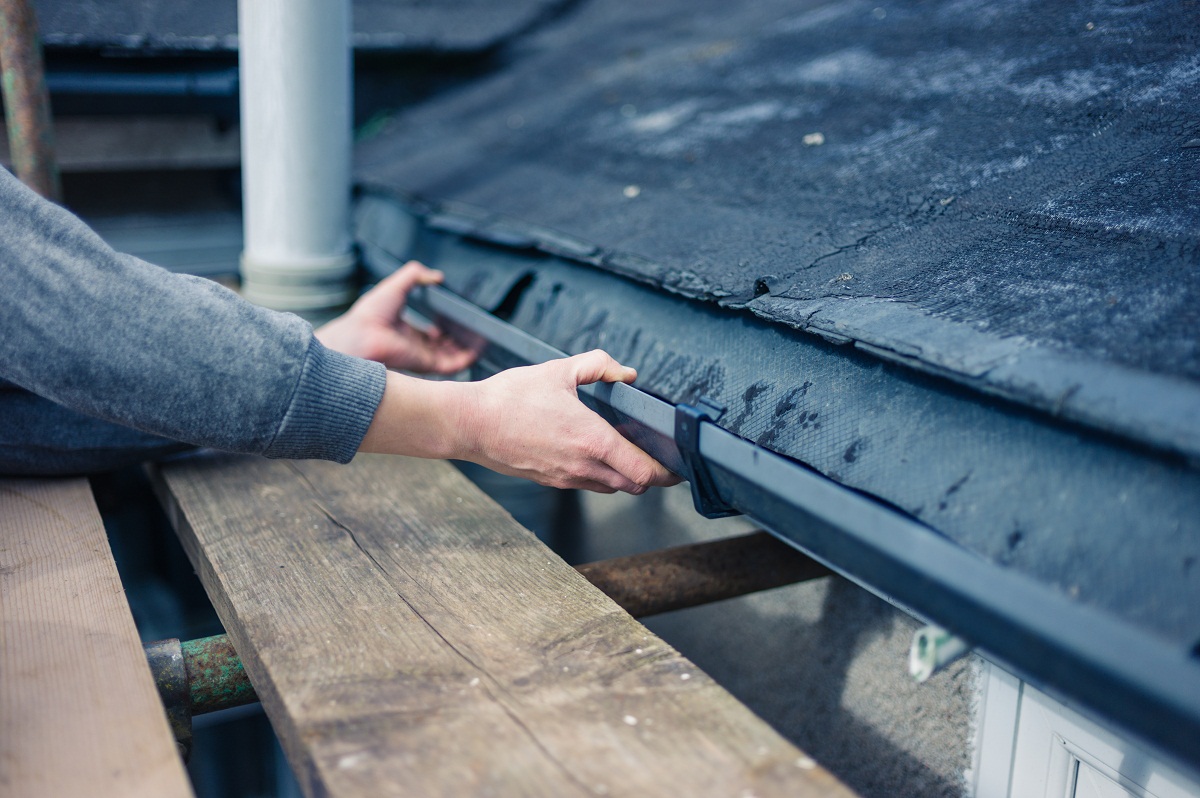
- Get your ladder: Place the ladder securely on a flat surface near the area of the gutter you will be measuring. Make sure the ladder is stable and positioned at an appropriate angle to ensure your safety while working.
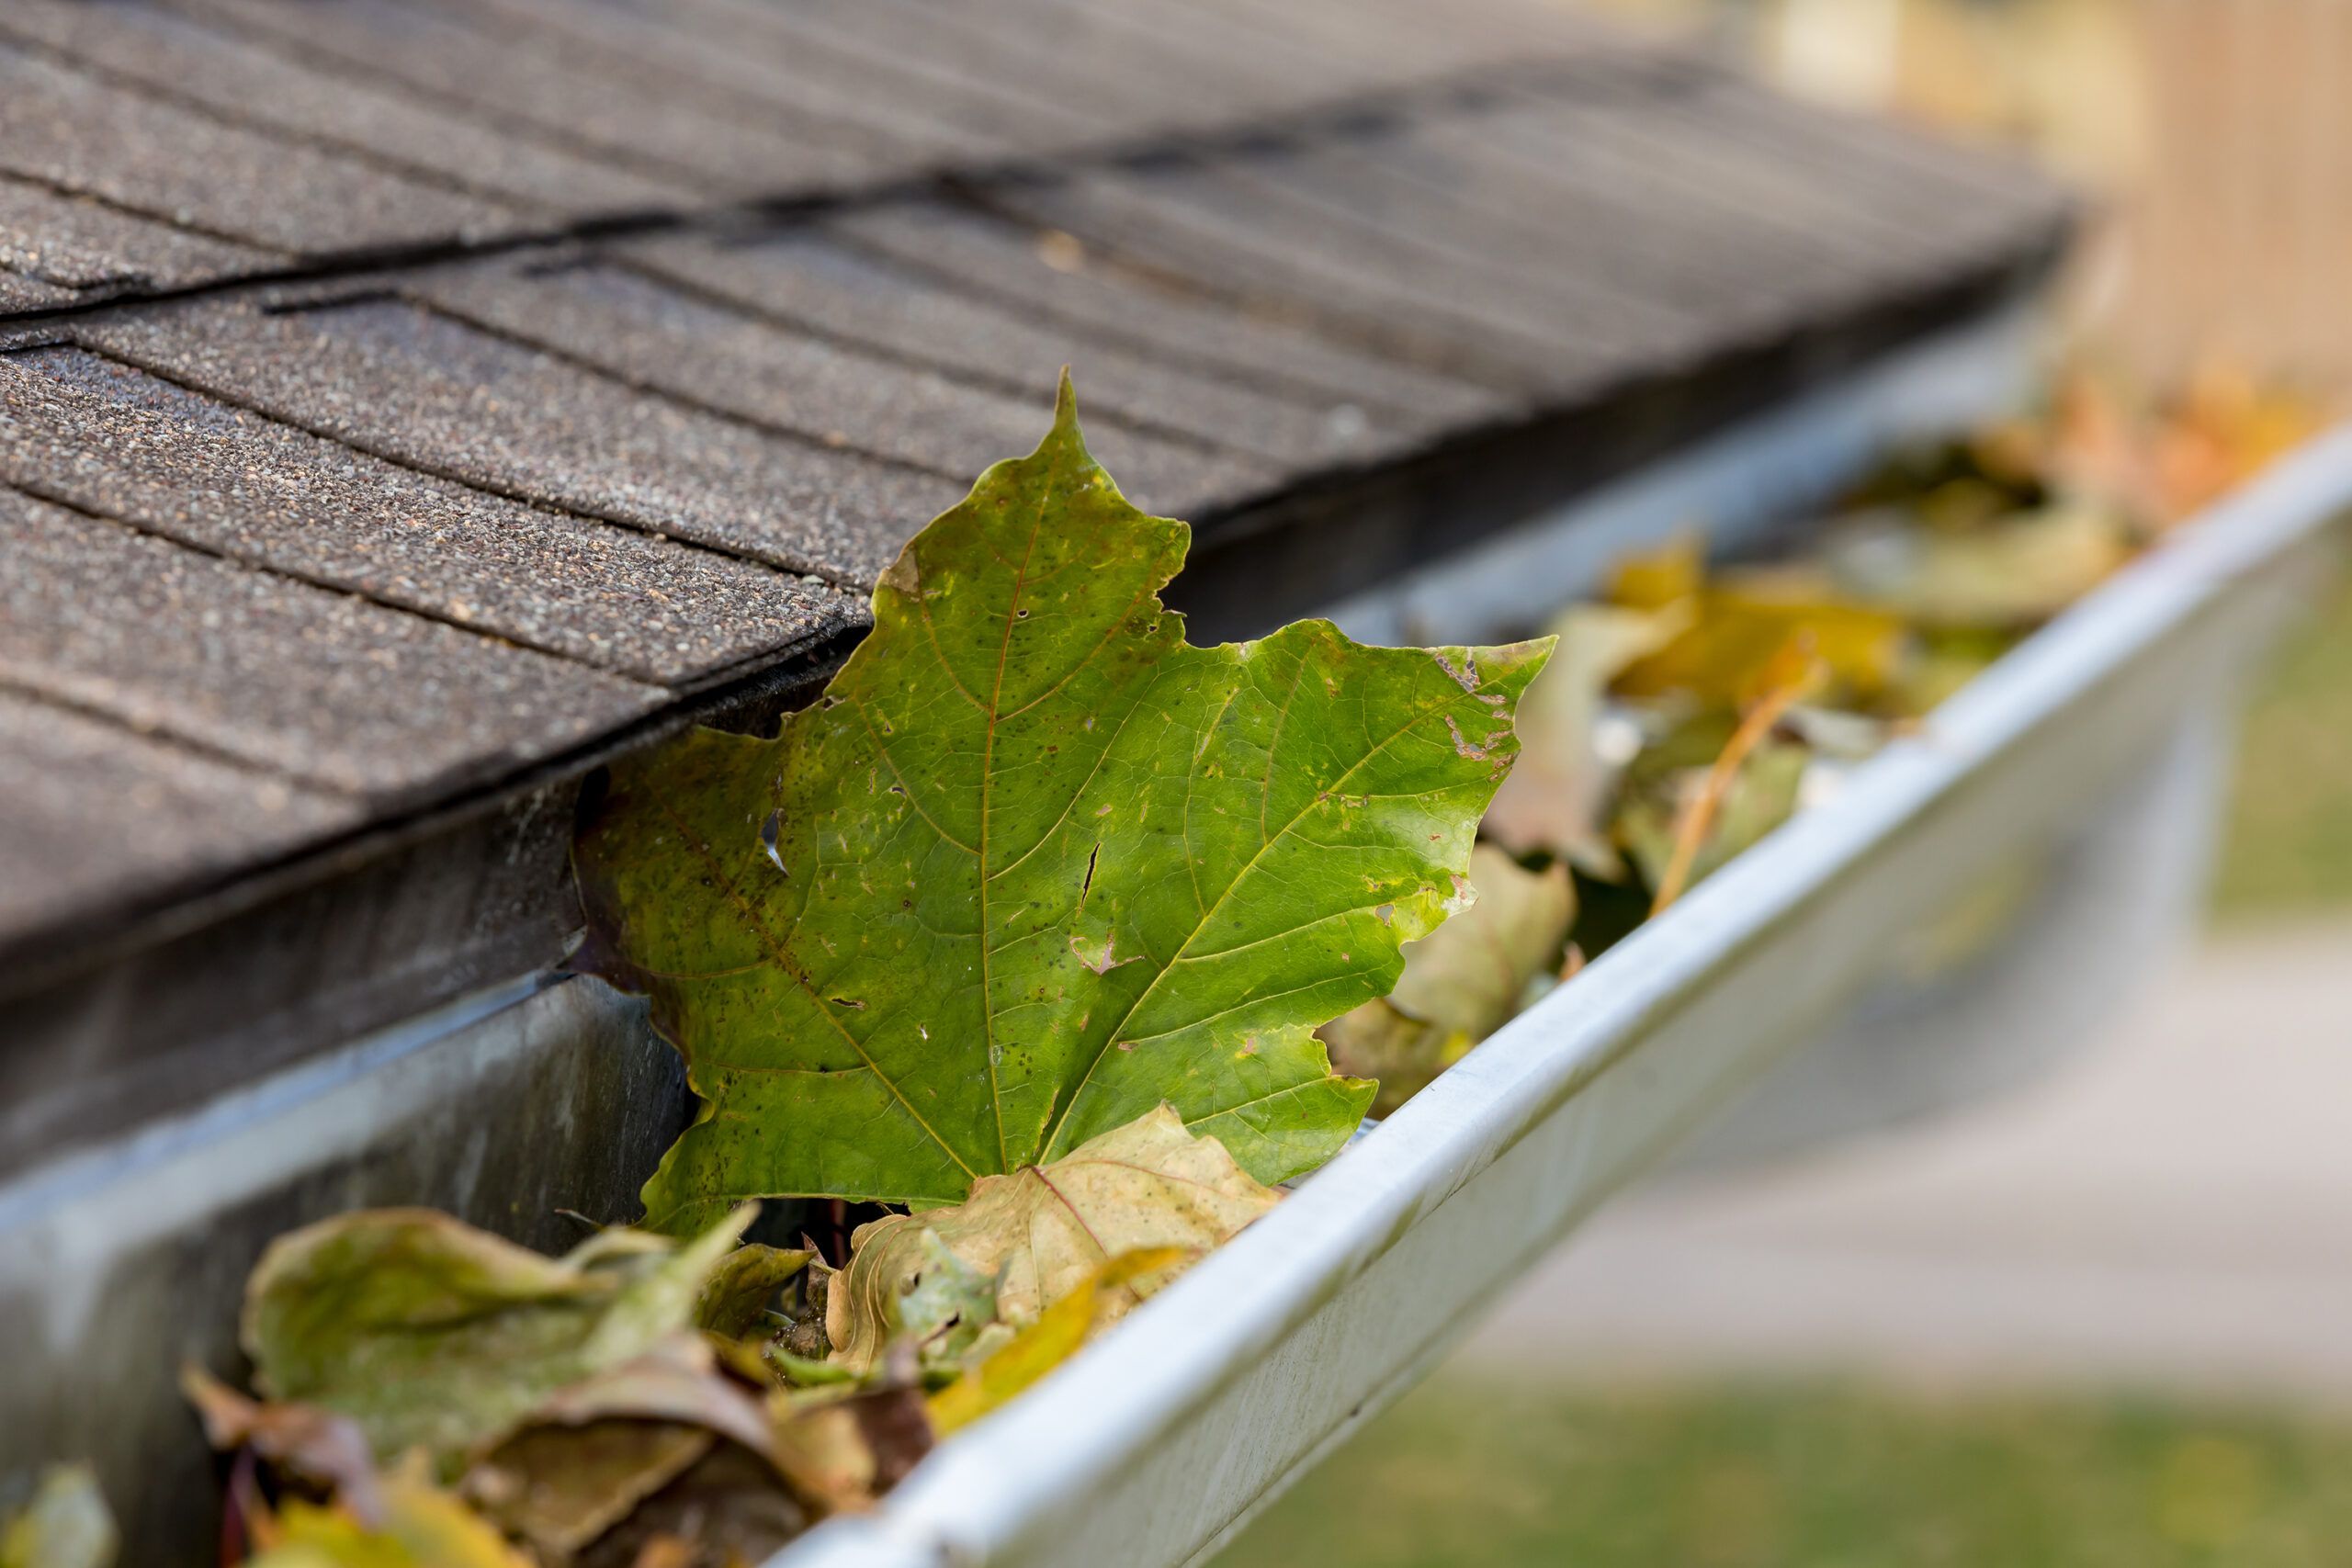
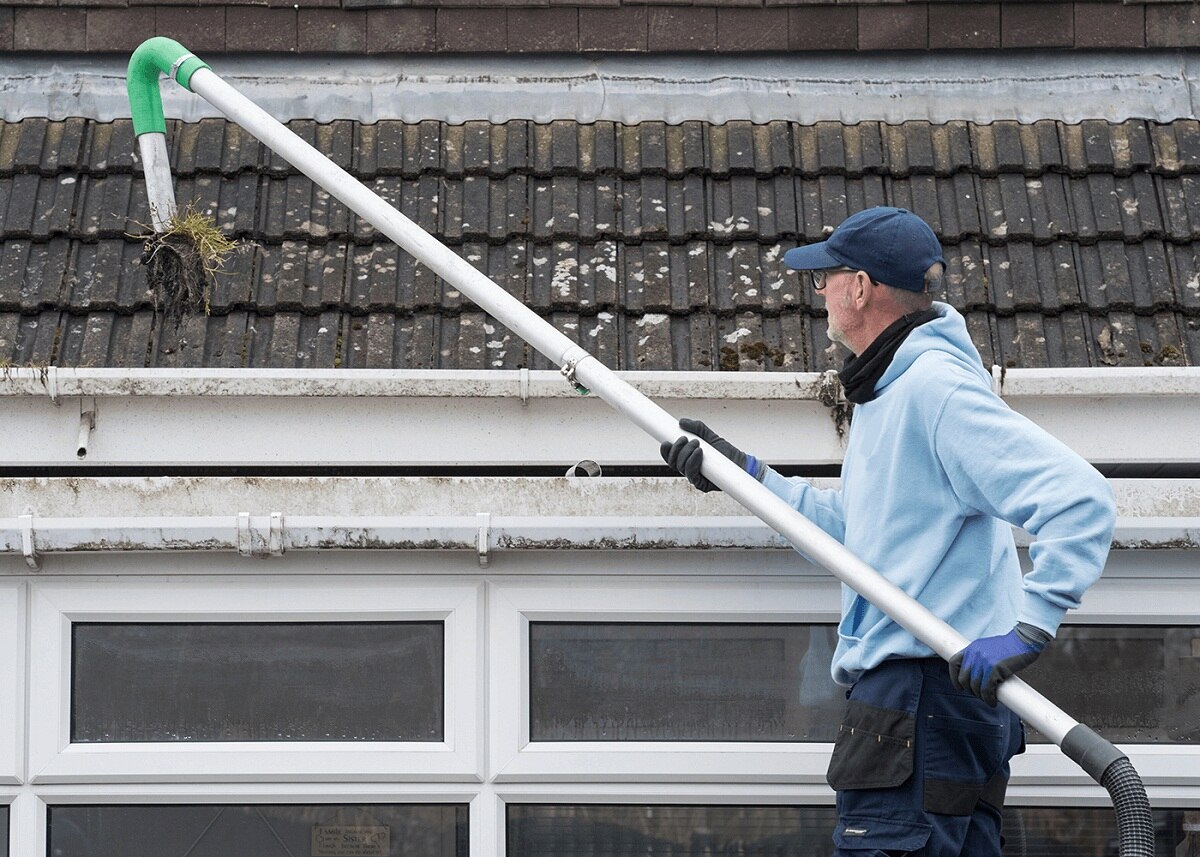
- Inspect the gutters: Take a moment to inspect the gutters for any signs of damage or wear. If you notice any issues, such as rust, holes, or sagging sections, it might be a good idea to consider replacing the gutters altogether.
By taking the time to prepare your work area and ensuring your safety, you can proceed with confidence to the next steps of measuring your gutters. Now let’s move on to measuring the length of the gutter.
Step 2: Measuring the Length of the Gutter
Measuring the length of the gutter is a crucial step in determining the appropriate size for your replacement or new gutter installation. Follow these steps to accurately measure the length:
- Position yourself: Climb up the ladder to a height that allows you to easily reach the gutter. Make sure you have a clear view of the entire length of the gutter.
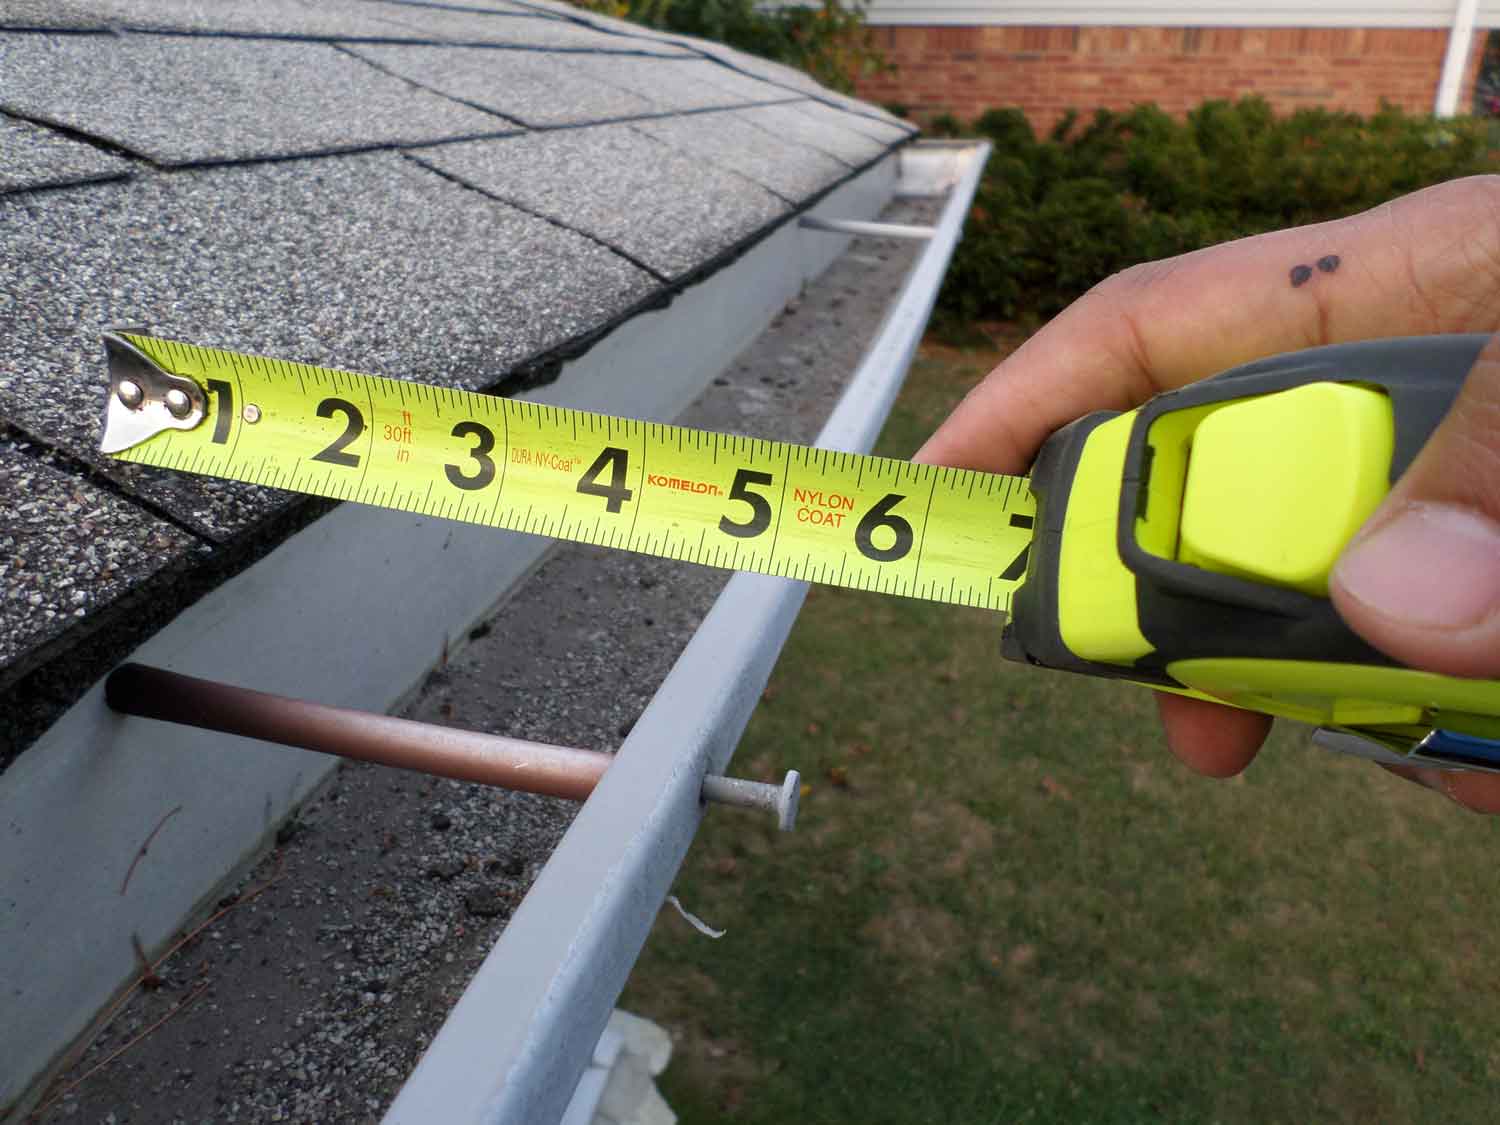
- Start at one end: Begin measuring from one end of the gutter, and extend your tape measure along the entire length. Use caution to keep the tape measure straight and in line with the gutter to obtain an accurate measurement.
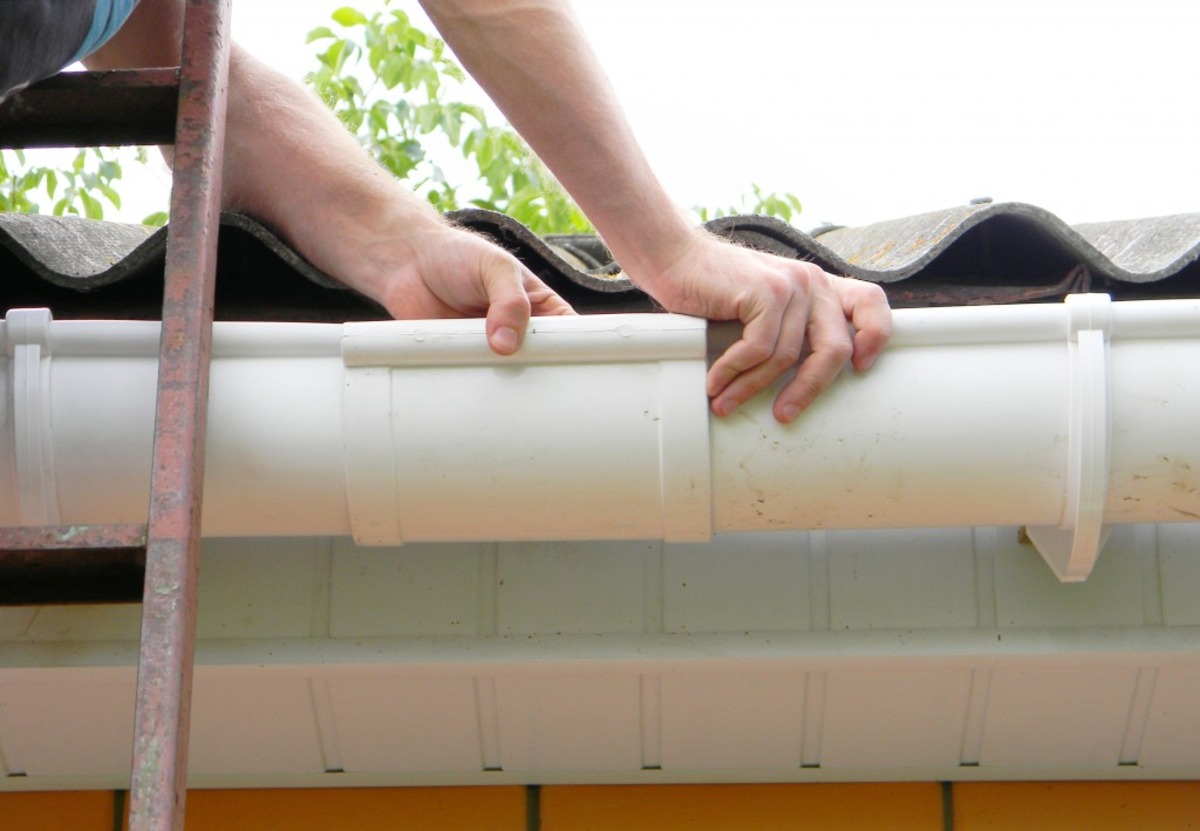
- Account for corners: If your gutter has corners or turns, measure each individual section separately. Start at the edge of one corner and measure up to the point where the gutter begins to turn. Repeat this process for each section.
- Record the measurement: Jot down the measurements on your paper, specifying which section each measurement corresponds to. This will help you keep track of the different lengths as you move along the gutter.
Remember to measure each section of the gutter individually, accounting for any corners or turns. Taking precise measurements will ensure that the replacement or new gutters fit snugly and function properly. Now, let’s move on to measuring the width of the gutter.
Step 3: Measuring the Width of the Gutter
In addition to the length, it’s important to measure the width of the gutter to ensure proper water flow and compatibility with your downspouts. Follow these steps to accurately measure the width:
- Position yourself: Stand securely on the ladder or step stool, ensuring your balance and safety. Make sure you have a clear view of the gutter and can easily access its width.
- Place the tape measure: Position the tape measure across the top opening of the gutter, from one inner edge to the other.
- Record the measurement: Take note of the width measurement on your paper or a notepad, ensuring to specify the unit of measurement used (inches, centimeters, etc.).
By measuring the width of the gutter, you will have an accurate understanding of its size, allowing you to select the appropriate replacement or new gutter for your installation. Now, let’s move on to the next step: measuring the depth of the gutter.
When measuring gutters, always measure the length of each section and the total linear footage. Also, measure the width and depth to ensure proper sizing for replacement or installation.
Read more: How Far Should Gutters Extend Past The Roof
Step 4: Measuring the Depth of the Gutter
The depth of the gutter is another important measurement to consider when selecting the right gutter system for your needs. This measurement will help you determine the capacity of the gutter to handle water flow. Here’s how to measure the depth of the gutter:
- Position yourself: With your ladder securely in place, position yourself to get a clear view of the gutter’s opening.
- Place the tape measure: Insert the tape measure into the gutter and extend it downwards until it reaches the bottom. Make sure the tape measure is firmly against the inner edge of the gutter.
- Read the measurement: Take note of the measurement on your paper or notepad, specifying the unit of measurement used (inches, centimeters, etc.).
By measuring the depth of the gutter, you will have a better understanding of its capacity to handle rainfall and debris. This measurement is crucial in selecting gutters that can effectively manage water drainage. Now, let’s move on to the next step: conducting additional measurements.
Step 5: Conducting Additional Measurements
While measuring the length, width, and depth of the gutter are the primary measurements, there are a few additional measurements you should consider to ensure a proper fit and functionality of your gutter system. Here are some additional measurements to take:
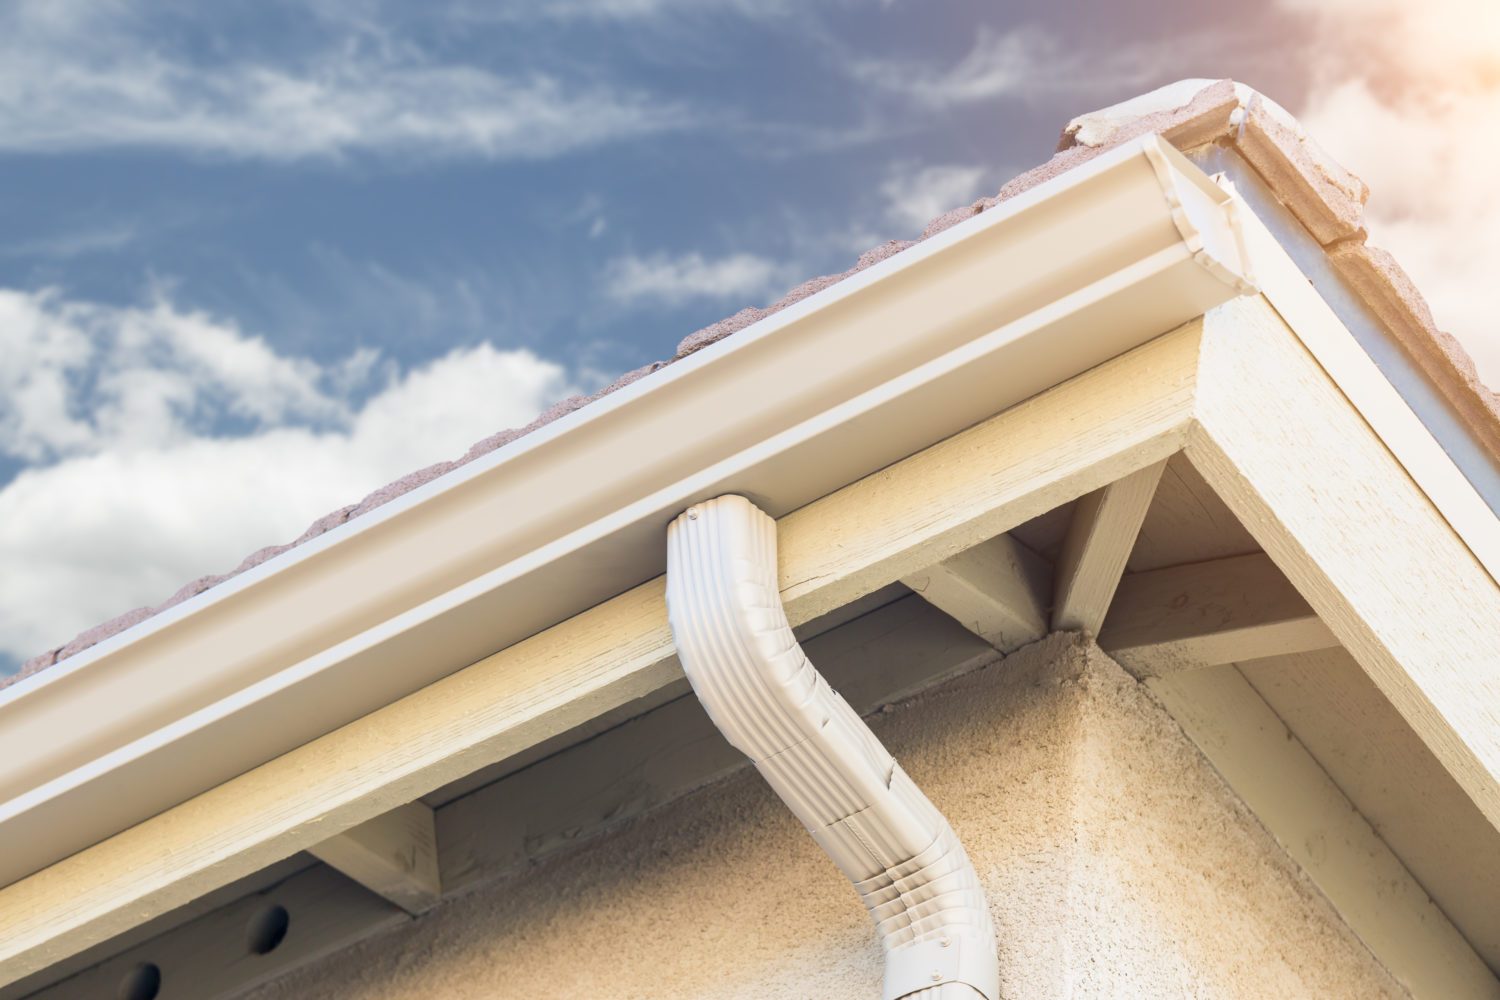
- Downspout location: Assess the placement of your downspouts and measure the distance between them. This measurement will help you determine the number and positioning of downspouts needed for efficient water drainage.
- Slope or pitch: Determine the slope or pitch of the gutter by measuring the vertical drop over a specific horizontal distance. This measurement is crucial for proper water flow as it ensures that water moves towards the downspouts.
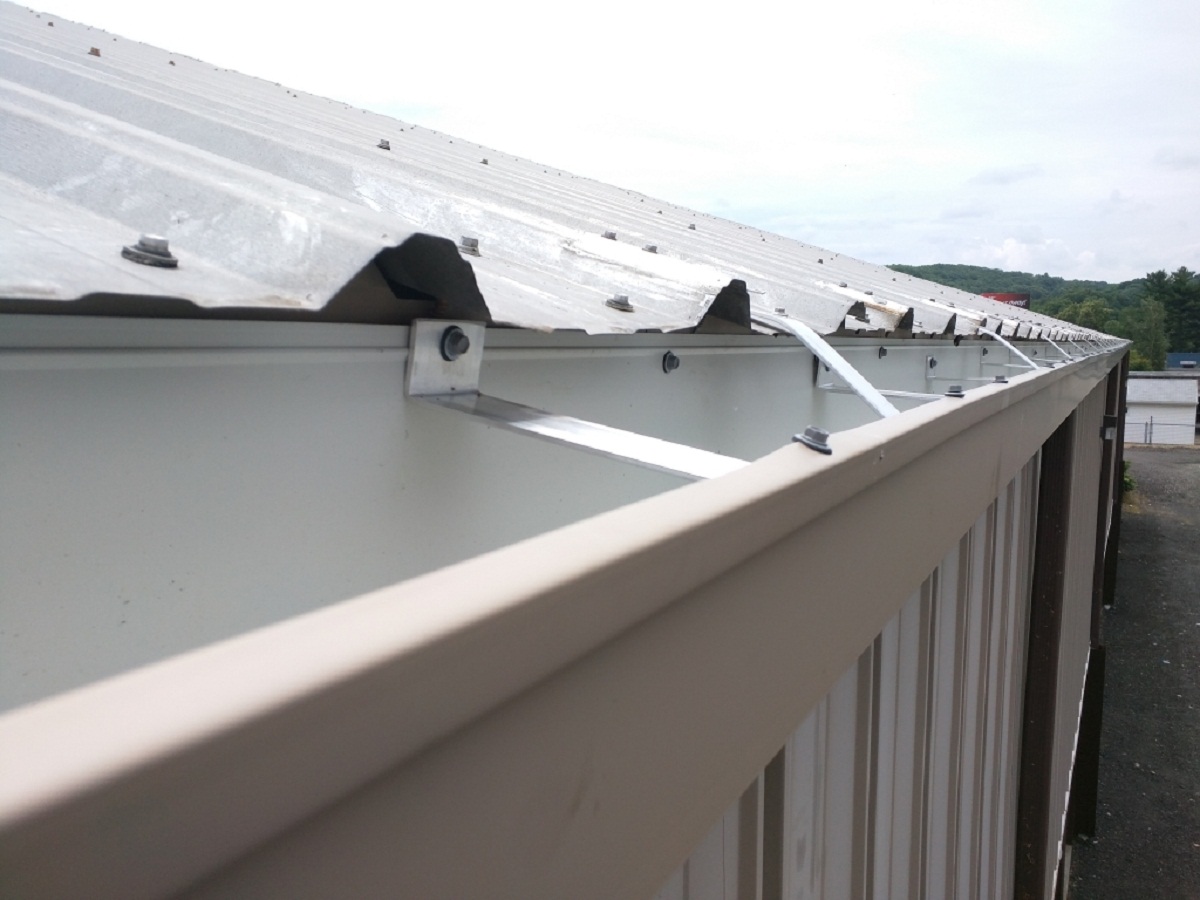
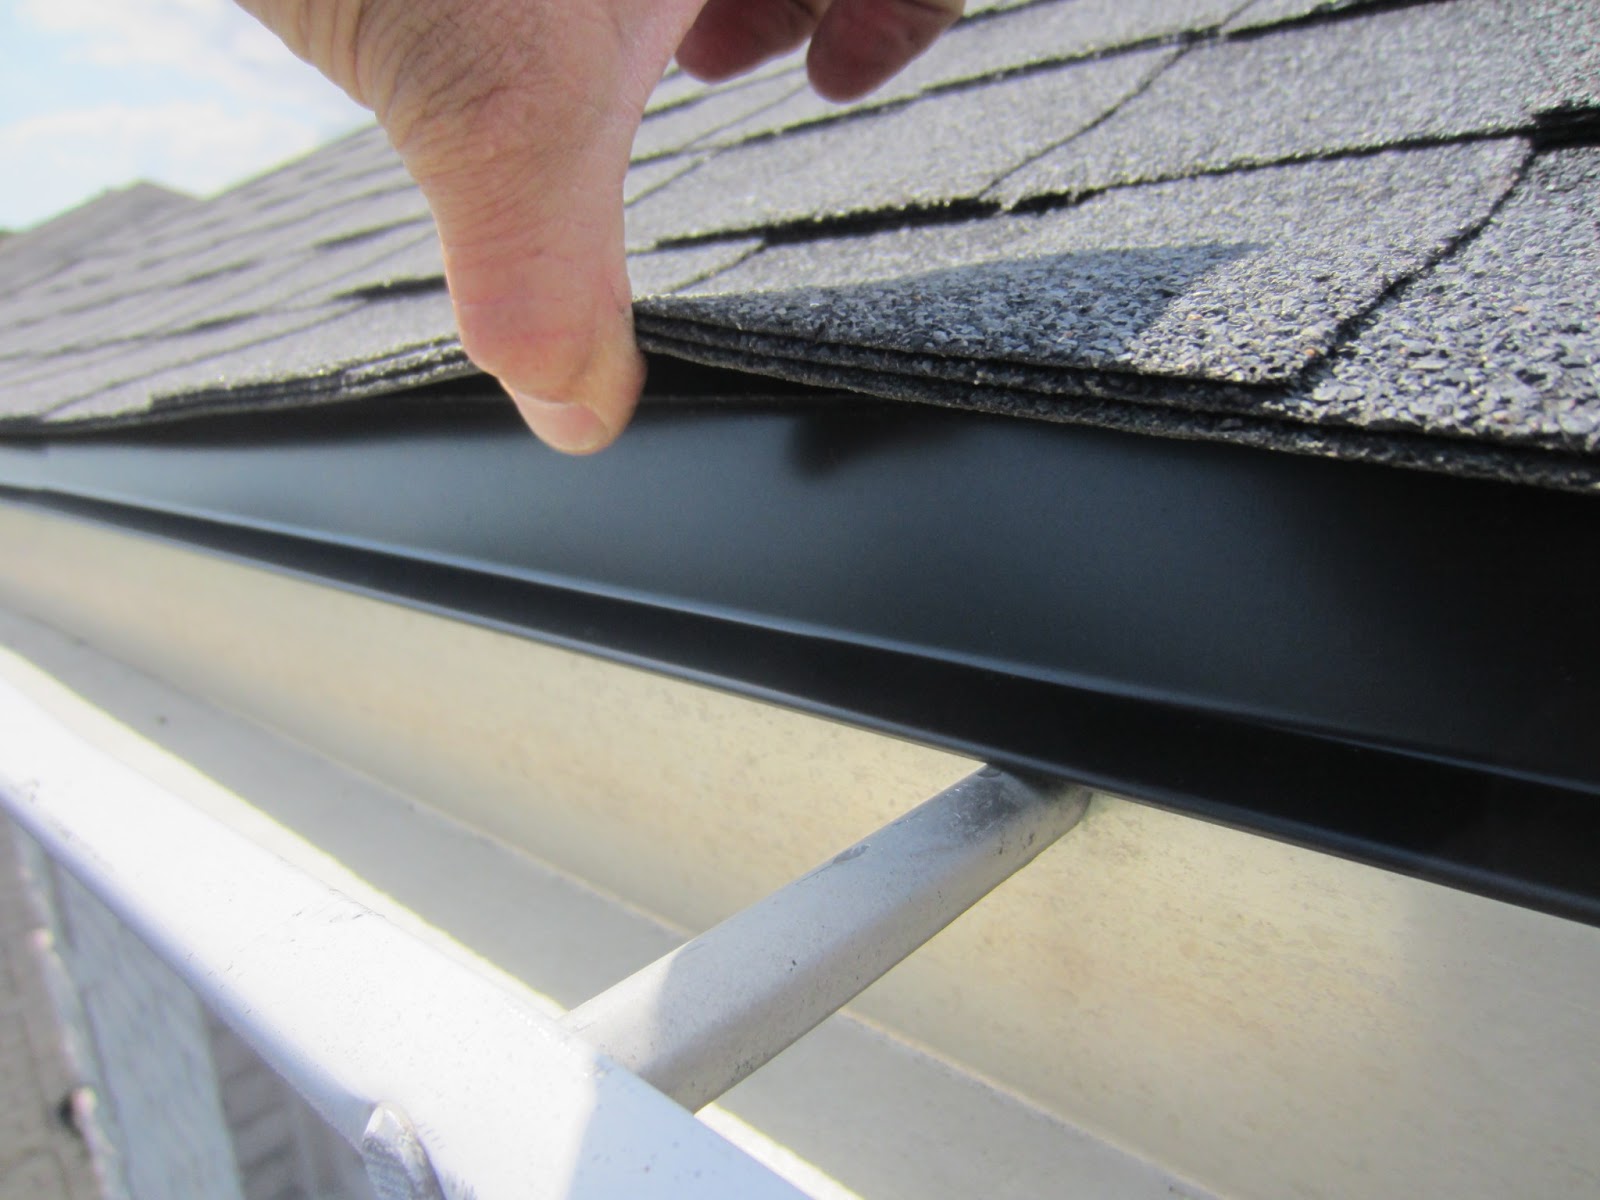
- Overhang: Measure the overhang of the gutter beyond the edge of the roof. This measurement is important to guide the water away from the foundation of your home.
These additional measurements will provide you with a comprehensive understanding of your gutter system and its requirements. By considering these factors, you can ensure a successful gutter installation that effectively directs water flow and protects your property. Now, let’s move on to the next step: recording the measurements.
Step 6: Recording the Measurements
Recording the measurements of your gutters is crucial for reference and future use. It allows you to accurately communicate the dimensions to suppliers or contractors, ensuring you get the right materials and achieve the desired results. Here’s how to record the measurements:
- Organize your notes: Gather all the measurements you have taken, including the length, width, depth, downspout location, slope, and overhang. Ensure you have them written down clearly on your paper or notepad.
- Label each measurement: Indicate the specific location or section of the gutter beside each measurement. This labeling will help you identify which measurement corresponds to a particular area.
- Note any special requirements: If there are any unique features or considerations for your gutter installation, such as a curved section or special connectors, make sure to record these details as well. This information will assist in selecting the appropriate materials.
Recording these measurements and additional details will serve as a handy reference during the gutter installation process. It will also help suppliers or contractors understand your requirements accurately. By keeping a well-organized record, you can ensure a smoother gutter installation experience.
Now, armed with precise measurements and thorough documentation, you are well-prepared to proceed with your gutter project. Whether you’re installing new gutters or replacing existing ones, these measurements will help you select the right materials and achieve optimal performance.
Congratulations on successfully measuring your gutters! With this knowledge, you can confidently move forward with your gutter installation or replacement project. Remember to prioritize safety and follow proper installation guidelines. Enjoy the benefits of a well-maintained and properly functioning gutter system!
Conclusion
Measuring gutters may seem like a daunting task, but with the right tools and step-by-step instructions, it becomes a manageable and essential part of any gutter installation or replacement project. By accurately measuring the length, width, depth, and other important aspects of your gutters, you ensure a proper fit and efficient water drainage system.
In this guide, we’ve covered the necessary tools and materials, the preparation needed for measuring gutters, and the step-by-step process for measuring the length, width, and depth of the gutter. We also discussed the importance of conducting additional measurements such as downspout location, slope, and overhang.
Remember to record your measurements and any special requirements to communicate effectively with suppliers or contractors. Having this information at hand will ensure a smoother and more successful gutter installation.
Now that you have completed this guide and have a thorough understanding of how to measure gutters, you’re ready to take on your gutter project with confidence. Whether you’re a DIY enthusiast or seeking professional assistance, you have the knowledge and tools to make informed decisions and achieve optimal results.
By measuring your gutters accurately, you’ll be able to select the right materials, ensure proper water drainage, and protect your property from potential water damage. So, get started on your gutter project, and enjoy the peace of mind that comes with a well-maintained and efficient gutter system.
Frequently Asked Questions about How To Measure Gutters
Was this page helpful?
At Storables.com, we guarantee accurate and reliable information. Our content, validated by Expert Board Contributors, is crafted following stringent Editorial Policies. We're committed to providing you with well-researched, expert-backed insights for all your informational needs.


0 thoughts on “How To Measure Gutters”