Articles
How To Install Gutters Without Fascia
Modified: October 28, 2024
Learn how to install gutters without fascia with our helpful articles. Get step-by-step instructions and expert tips to complete the project successfully.
(Many of the links in this article redirect to a specific reviewed product. Your purchase of these products through affiliate links helps to generate commission for Storables.com, at no extra cost. Learn more)
Introduction:
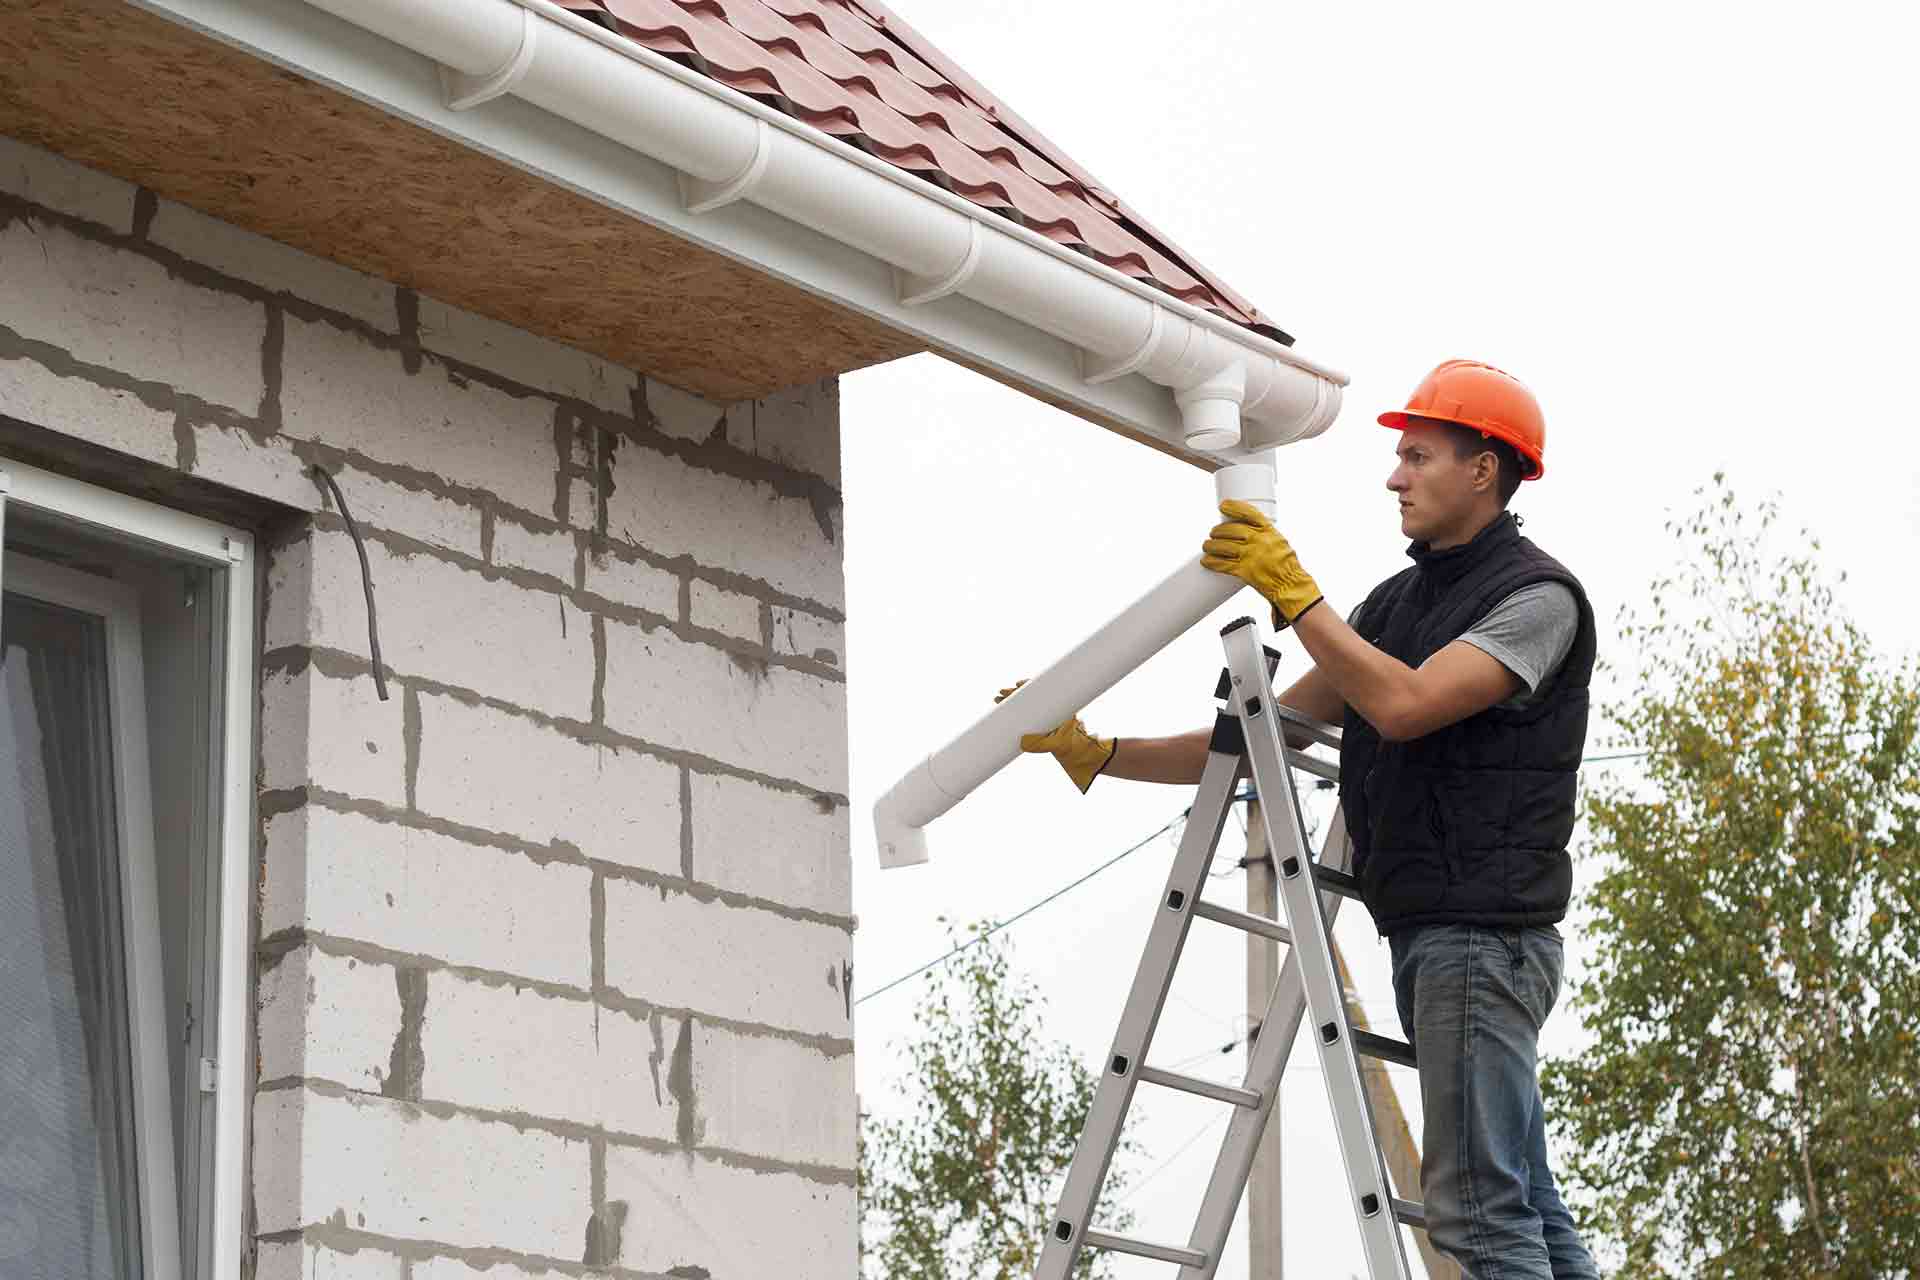
Installing gutters is essential for maintaining the integrity of your home and protecting it from water damage. Gutters collect rainwater from the roof and direct it away from the foundation, preventing issues such as basement flooding, soil erosion, and damage to the exterior walls.
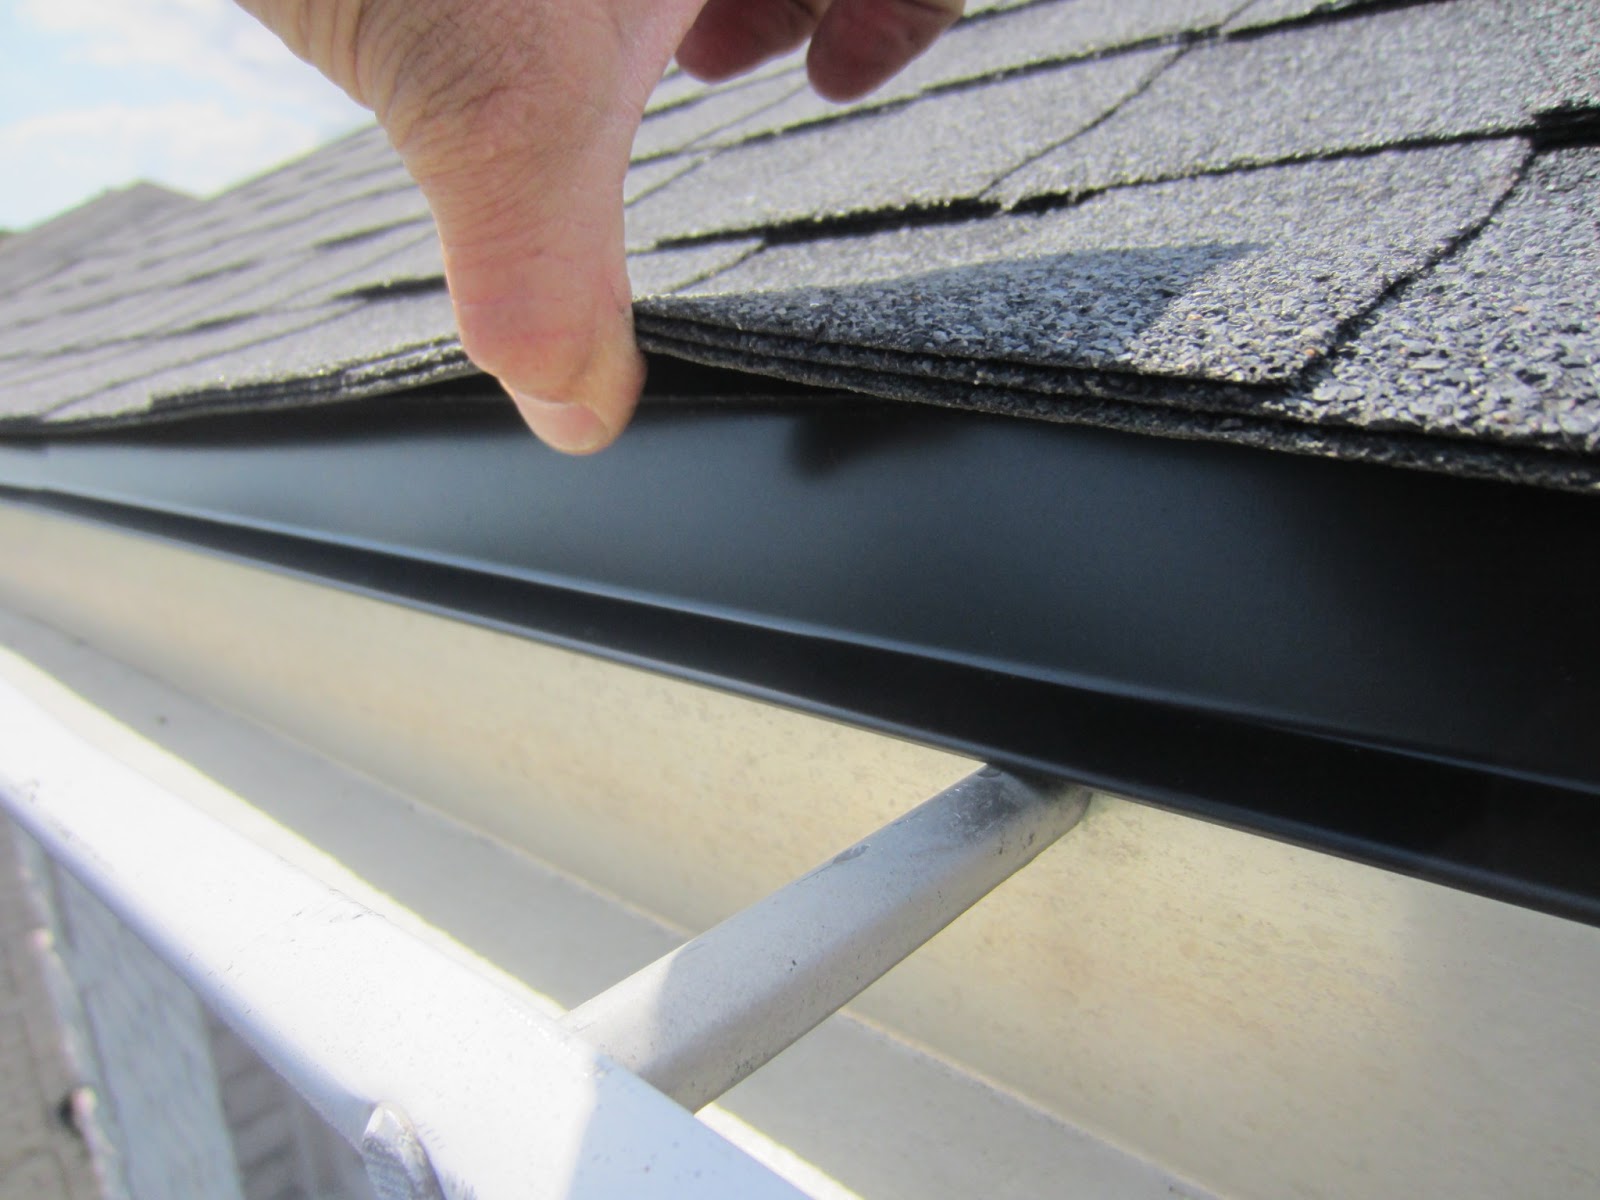
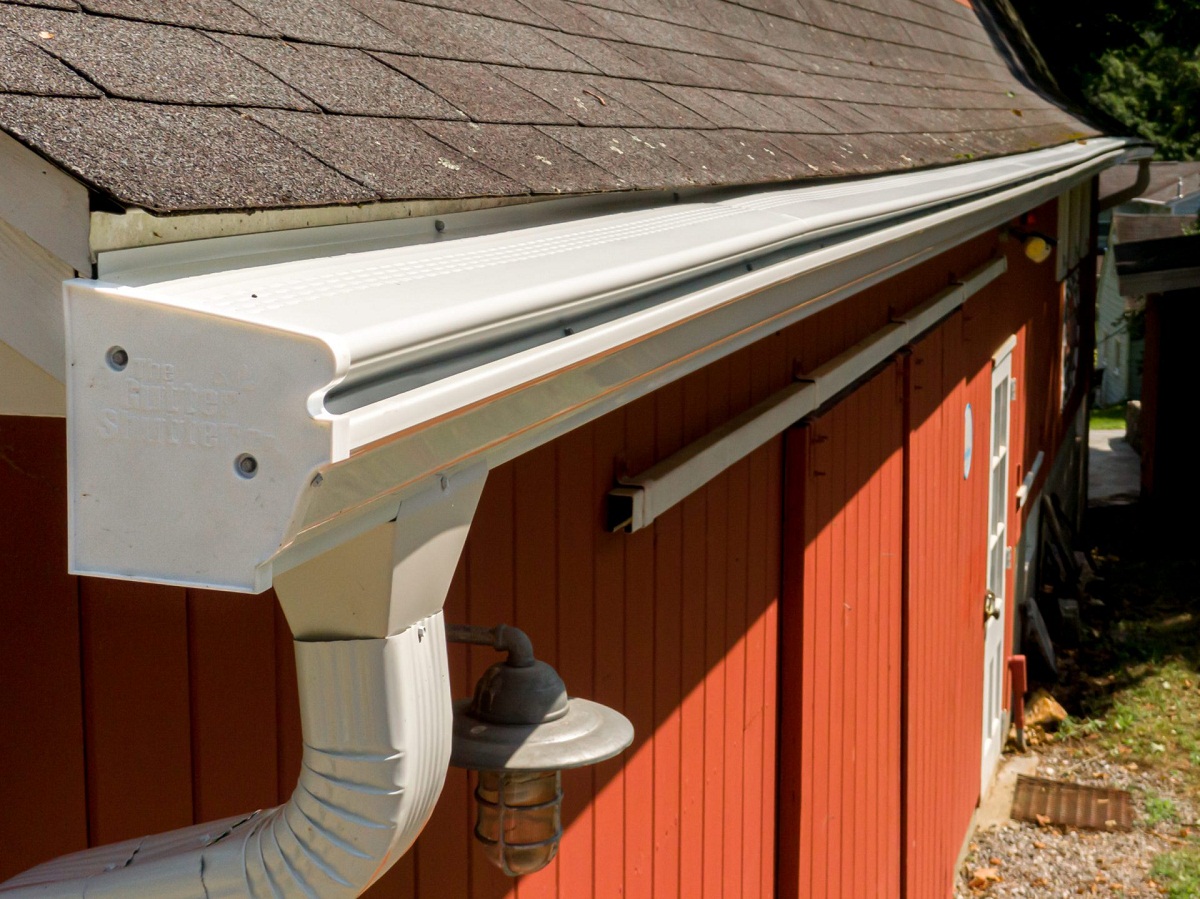
While traditional gutter installations involve attaching the gutters to the fascia board, there are situations where fascia boards may be missing or not suitable for gutter installation. In such cases, you can install gutters without fascia by using alternate mounting methods.
In this article, we will guide you through the process of installing gutters without fascia, step by step. By following these instructions, you can ensure that your gutters are securely mounted and effectively divert rainwater away from your home.
Before we dive into the installation process, let’s take a look at the materials you will need for this project.
Key Takeaways:
- Installing gutters without fascia is achievable with the right materials and step-by-step guidance. Ensure proper measurement, secure bracket installation, and functional downspout connection for effective rainwater diversion.
- After installation, test the gutters for functionality and prioritize regular maintenance to prevent debris buildup. With the right approach, you can safeguard your home from water damage and enjoy long-term protection.
Read more: How To Install Gutters On Angled Fascia
Materials Needed:
Before you start the gutter installation process, gather the following materials:
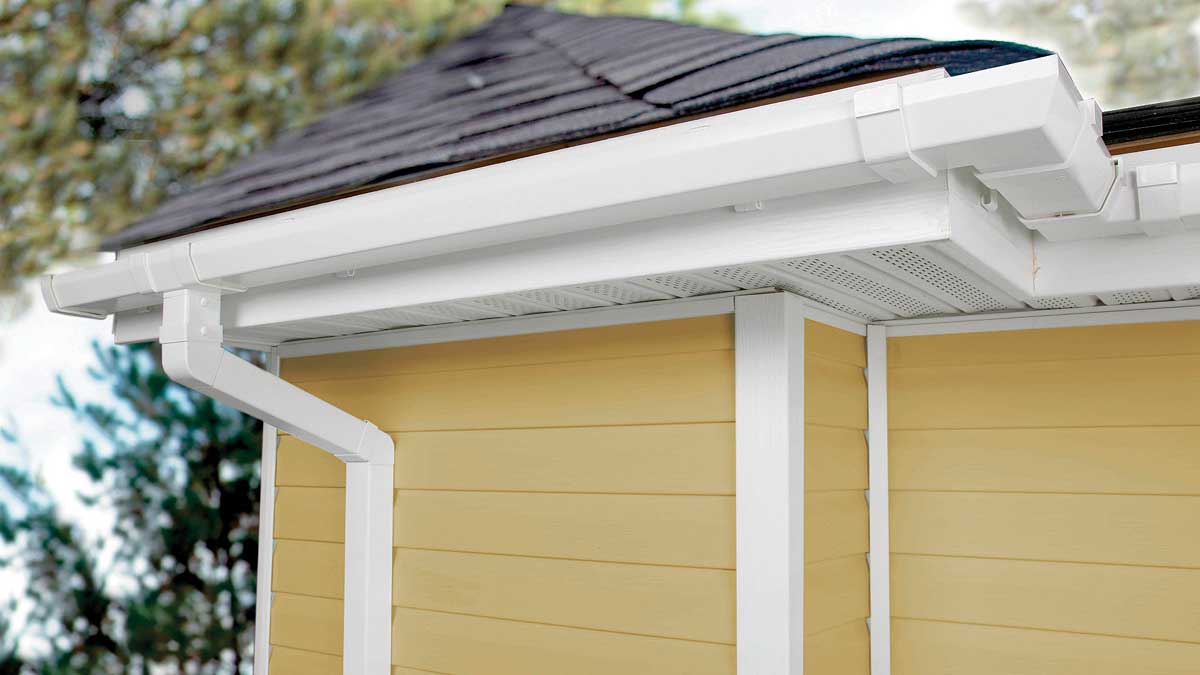
- Gutters: Purchase seamless aluminum gutters that are appropriate for the size and style of your home. Measure the length required, and consider adding a little extra to allow for any corners or turns.
- Mounting Brackets: Opt for gutter brackets that are designed for installations without fascia. These brackets provide stability and secure attachment to the roofline.
- Gutter Screws: Use corrosion-resistant screws to attach the gutter brackets to the roofline securely.
- Downspouts: Depending on your home’s layout, determine the number and size of downspouts needed. Downspouts direct the water from the gutters to the ground.
- Elbows and Connectors: Obtain elbow joints and connectors to connect the downspouts at appropriate angles and lengths.
- Silicone Sealant: Use silicone sealant to seal any gaps and joints to ensure a waterproof gutter system.
- Tape Measure: Accurate measurements are crucial for proper gutter placement. Use a tape measure to measure the necessary lengths.
- Hacksaw or Electric Saw: A saw will be necessary to cut the gutters and downspouts to the required lengths.
- Caulking Gun: A caulking gun will be used to apply silicone sealant accurately.
- Ladder or Scaffold: Depending on the height of your roof, you will need a ladder or scaffold to access the roofline safely.
- Safety Equipment: It’s important to prioritize safety during the installation process. Wear gloves, safety glasses, and non-slip footwear. Use a harness if working at significant heights.
Now that you have the necessary materials ready, let’s move on to the first step of the gutter installation process.
Step 1: Measure and Mark the Gutter Placement
The first step in installing gutters without fascia is to measure and mark the placement of the gutters along the roofline. Follow these steps:
- Start at the highest point of the roofline and work your way down. Use a tape measure to determine the length of the area where you want to install the gutter.
- Take note of any corners or turns in the roofline. Measure the length of those sections separately.
- Using a chalk line or a pencil and a straight edge, mark the exact placement of the gutter along the roofline. This will serve as a guide during the installation process.
- Ensure that the marked line is level for proper gutter installation. Use a level tool to check the accuracy of the line.
- Measure and mark the locations of the downspouts as well, ensuring they are strategically placed to provide efficient water drainage.
Once you have measured and marked the gutter placement, you can move on to the next step, which involves installing the gutter mounting brackets.
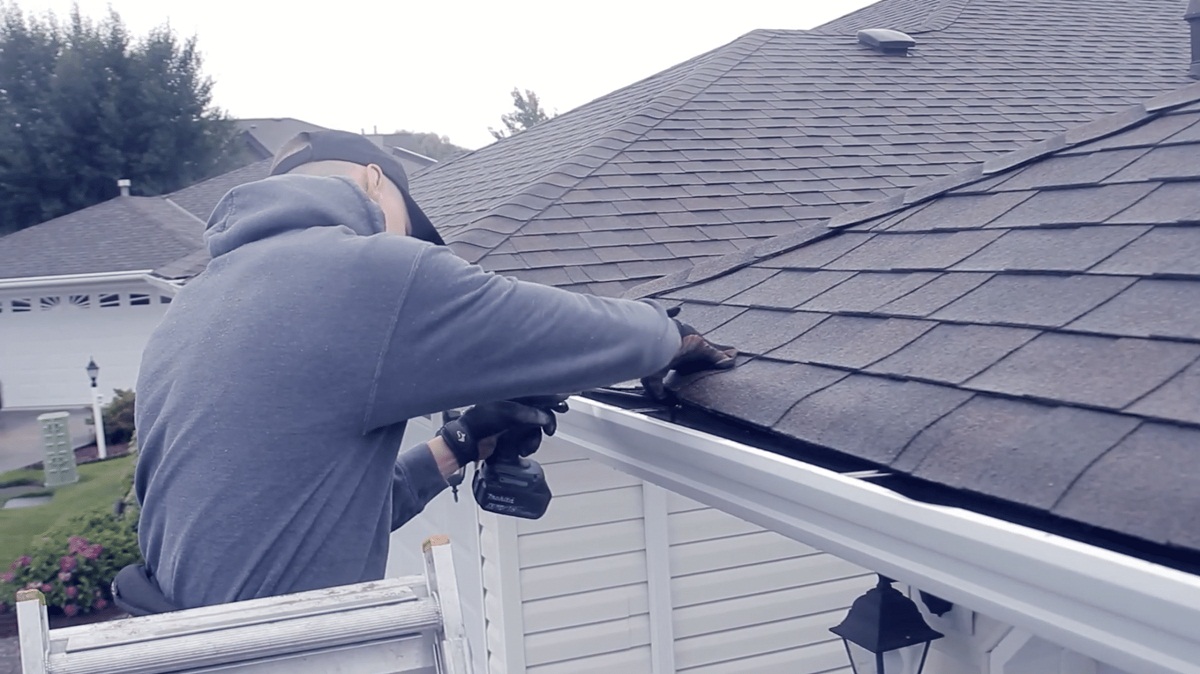
Step 2: Install Gutter Mounting Brackets
After measuring and marking the gutter placement, it’s time to install the gutter mounting brackets. These brackets will provide stability and support for the gutters. Follow these steps:
- Start at one end of the marked gutter line and position the first gutter mounting bracket approximately 6 inches from the corner.
- Using the gutter screws, attach the bracket to the roofline. Ensure that the bracket is securely fastened by tightening the screws.
- Continue placing the brackets along the marked line, spacing them approximately 2 feet apart. Adjust the spacing if needed, keeping in mind that the gutters should slope slightly towards the downspouts for proper water drainage.
- For corners and turns, use corner brackets to secure the gutters in place. Follow the manufacturer’s instructions for proper installation of these specialized brackets.
- Double-check that all the brackets are securely installed and aligned with the marked line. This will ensure that the gutters are properly supported and level.
Once the gutter mounting brackets are installed, you can proceed to the next step, which involves attaching the gutters to the brackets.
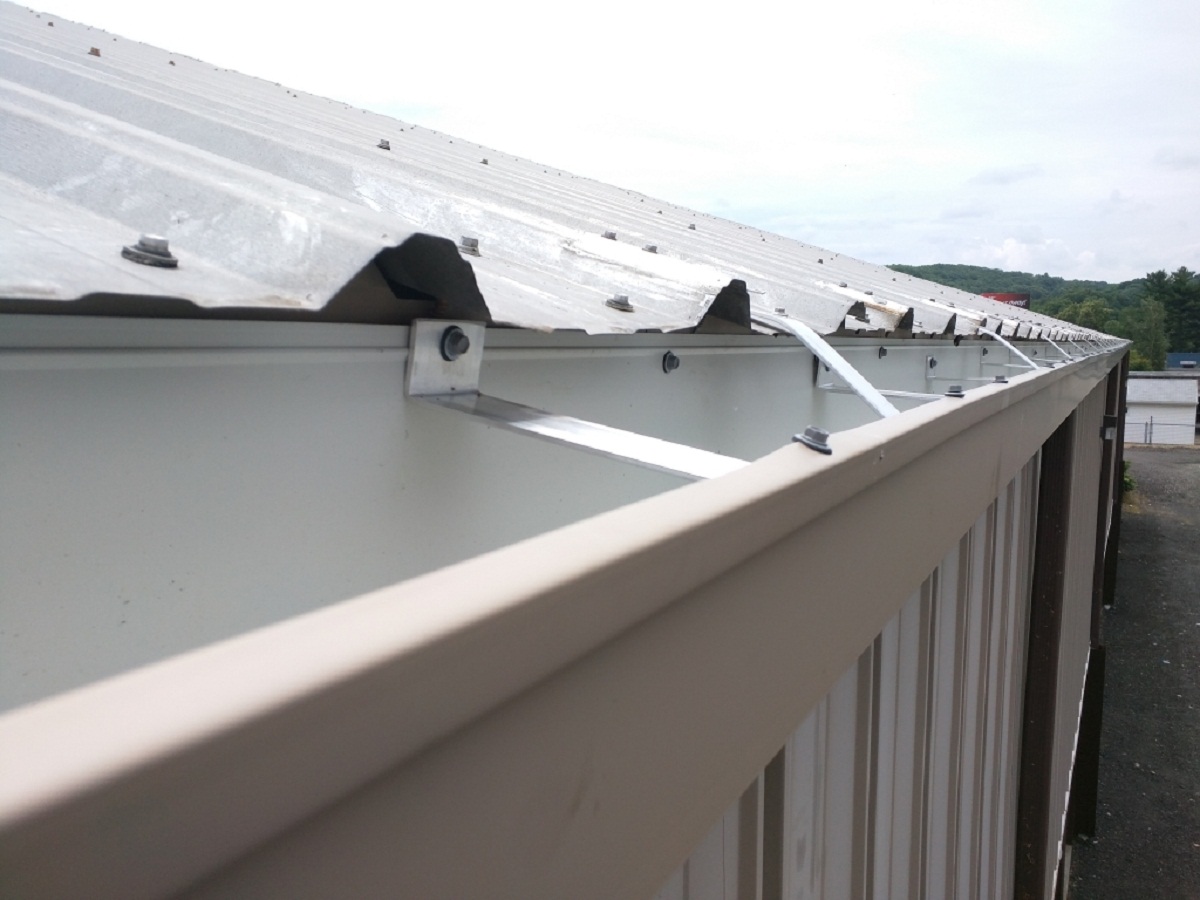
When installing gutters without fascia, use a roof strap to secure the gutter to the roof instead. This will provide a stable and secure attachment for the gutter system.
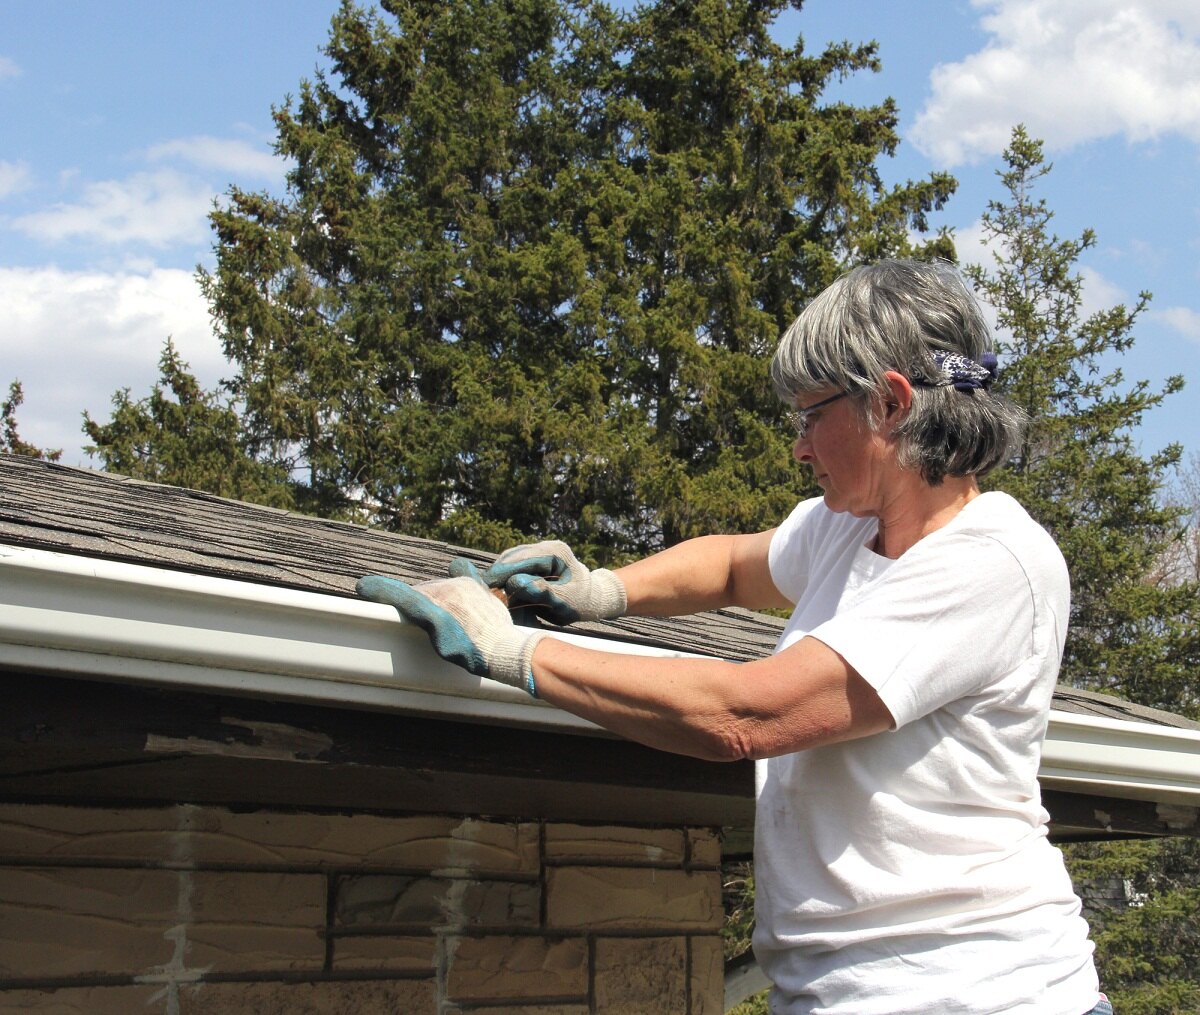
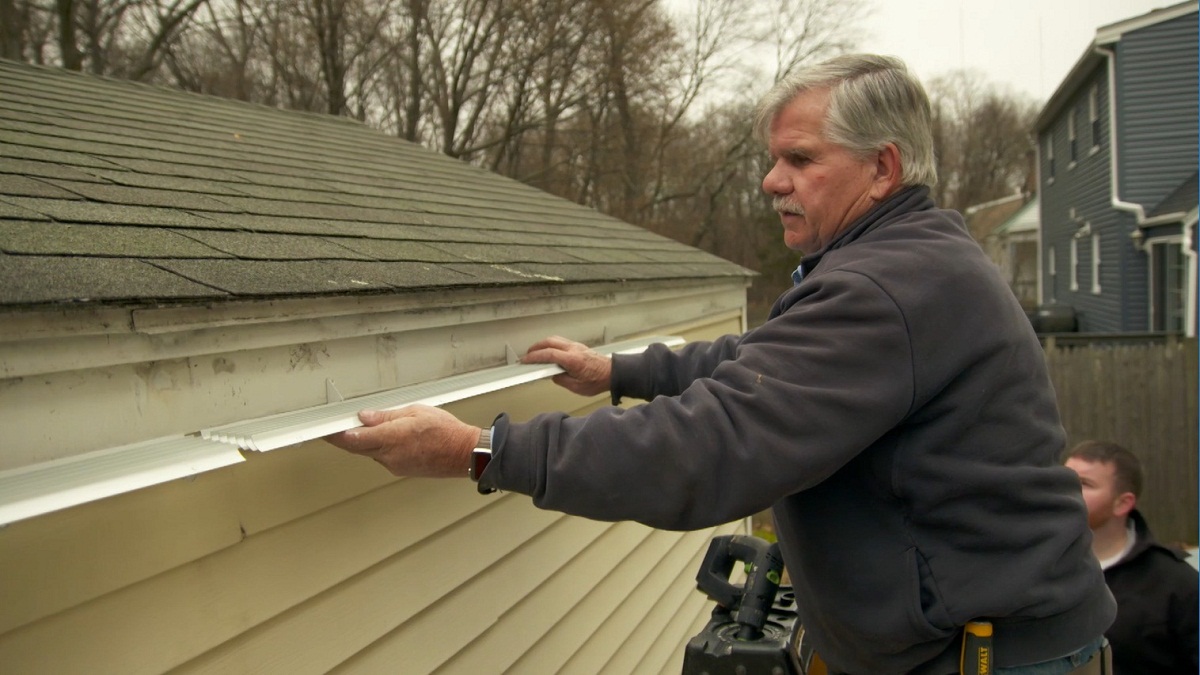
Step 3: Attach the Gutters
With the gutter mounting brackets securely in place, it’s time to attach the gutters to the brackets. Follow these steps:
- Start at one end of the gutter line and position the gutter into the first mounting bracket. Ensure that the gutter fits snugly and is parallel to the roofline.
- Insert gutter screws through the holes in the gutter and into the bracket. Tighten the screws to secure the gutter in place. Repeat this process for each bracket along the gutter line.
- If the gutter is longer than the standard length, join two gutter sections using gutter connectors. Apply a bead of silicone sealant on the inside of the connector and slide it onto the two gutter sections until they fit snugly together.
- Apply silicone sealant on the inside of the gutter end caps and slide them onto the ends of the gutters to close them off. This will prevent water from leaking out of the ends.
- Continue attaching the gutters to the mounting brackets until you reach the end of the gutter line. Ensure that each gutter section is properly aligned and securely fastened.
Once all the gutters are attached to the mounting brackets, you can move on to the next step, which involves connecting the downspouts.
Read more: How To Remove Gutters To Replace Fascia
Step 4: Connect the Downspouts
After attaching the gutters to the mounting brackets, the next step is to connect the downspouts. Downspouts play a crucial role in directing the water collected by the gutters away from the foundation of your home. Follow these steps:
- Measure the required length for each downspout and cut them accordingly using a hacksaw or electric saw. Ensure that the downspouts reach from the bottom of the gutters to the desired location where water can safely drain away from the foundation.
- Attach the first section of the downspout to the outlet of the gutter. Secure it using screws or connectors, depending on the specific type of downspout you are using.
- If your downspouts need to navigate around corners or obstacles, use elbow joints to connect the sections at the appropriate angles. Apply silicone sealant on the inside of the elbow joints before connecting them to ensure a watertight seal.
- Continue connecting the downspout sections using connectors or additional elbows until you reach the desired length and location for water discharge. Use screws or brackets to secure the downspout to the wall, ensuring stability and proper alignment.
- Test the downspouts for functionality by pouring water into the gutters. Observe the flow of water and ensure that it is effectively directed away from the foundation of your home. Make any necessary adjustments or repairs to ensure optimal performance.
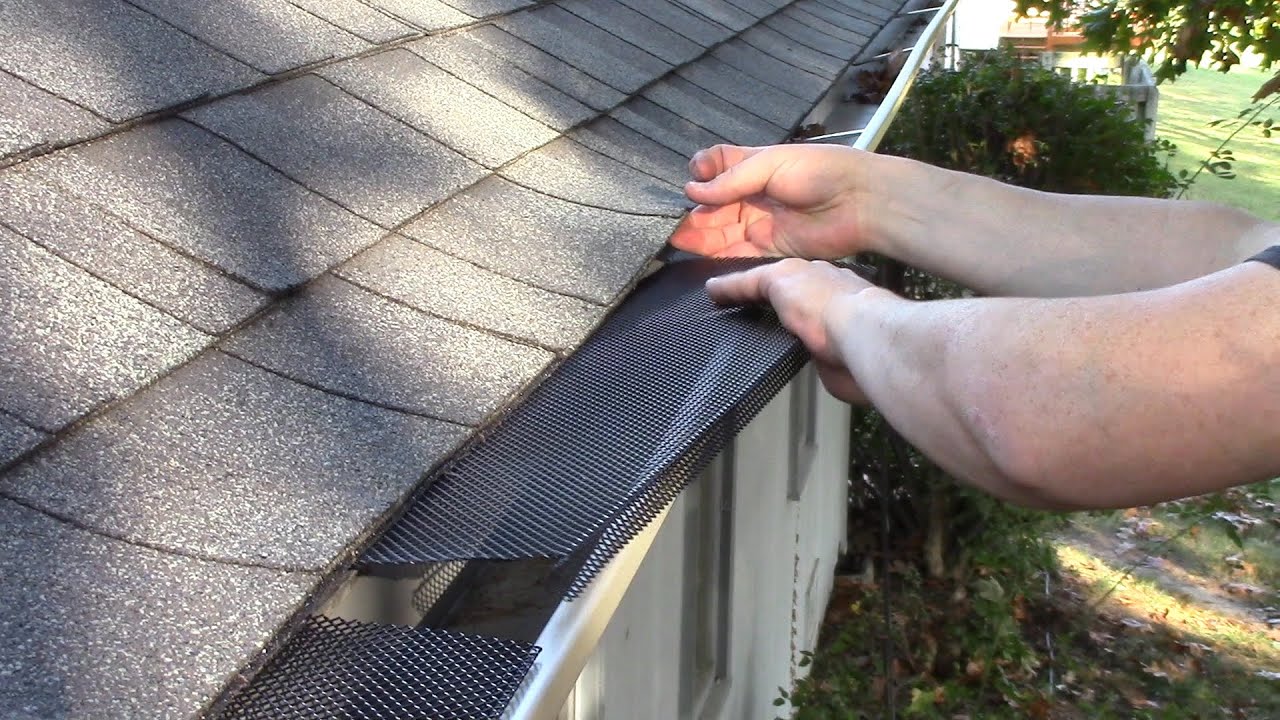
Connecting the downspouts completes the installation process for gutters without fascia. To ensure long-lasting functionality, periodically inspect the gutters and downspouts for debris buildup or damage, and clean them as needed.
Congratulations on successfully installing gutters without fascia! Your home is now protected from water damage, and you can enjoy the peace of mind that comes with having a reliable gutter system.
Step 5: Test the Gutters for Proper Functionality
After completing the installation of gutters without fascia, it is essential to test them for proper functionality. This step will ensure that the gutters effectively collect and divert rainwater away from your home. Follow these steps to test your gutters:
- Wait for a rainy day or simulate rainfall using a garden hose.
- Observe the flow of water as it enters the gutters. Make sure there is no water overflow or leakage from any sections of the gutters.
- Check for proper water drainage through the downspouts. Ensure that the water is directed away from the foundation of your home.
- Inspect the gutter seams, connections, and downspouts for any signs of leaks or blockages.
- If you notice any issues, make the necessary adjustments or repairs. This may involve repositioning the gutters, tightening connections, or clearing any debris that may be causing blockages.
By thoroughly testing the gutters, you can address any potential issues early on, ensuring that your gutter system is functioning optimally and providing the necessary protection for your home.
Congratulations! You have successfully installed gutters without fascia and tested them for proper functionality. Your efforts will help safeguard your home from water damage and maintain its structural integrity for years to come.
Remember to periodically inspect and clean your gutters to prevent debris buildup and maintain their effectiveness. With proper maintenance, your gutters will continue to protect your home and provide peace of mind.
Conclusion:
Installing gutters without fascia can be a practical solution for homes where fascia boards are missing or not suitable for gutter installation. By following the step-by-step process outlined in this article, you can successfully install gutters that effectively divert rainwater away from your home and protect it from potential water damage.
Remember to gather all the necessary materials before starting the installation process. Measure and mark the gutter placement accurately, ensuring that it is level and aligned with the roofline. Install gutter mounting brackets to provide stability and support for the gutters. Attach the gutters securely to the brackets and connect the downspouts to direct water away from the foundation.
After completing the installation, test the gutters for proper functionality by observing the flow of water during rainfall or using a garden hose. Make any necessary adjustments or repairs to ensure that the gutters are effectively collecting and diverting water.
Maintaining your gutters is equally important. Regularly inspect and clean them to prevent debris buildup and blockages that can hinder their performance. By taking these measures, you can ensure that your gutter system remains in good condition and continues to protect your home for years to come.
Installing gutters without fascia may seem like a daunting task, but with the right materials and guidance, it can be accomplished successfully. By following the steps provided in this article and exercising proper maintenance, you can enjoy the benefits of a reliable gutter system and the peace of mind that comes with knowing your home is well-protected.
Frequently Asked Questions about How To Install Gutters Without Fascia
Was this page helpful?
At Storables.com, we guarantee accurate and reliable information. Our content, validated by Expert Board Contributors, is crafted following stringent Editorial Policies. We're committed to providing you with well-researched, expert-backed insights for all your informational needs.


0 thoughts on “How To Install Gutters Without Fascia”