Articles
How To Make Dough Without Stand Mixer
Modified: October 19, 2024
Learn how to make dough without a stand mixer with these helpful articles. Find step-by-step instructions and tips for mixing dough by hand, saving you time and effort.
(Many of the links in this article redirect to a specific reviewed product. Your purchase of these products through affiliate links helps to generate commission for Storables.com, at no extra cost. Learn more)
Introduction
Are you craving freshly baked bread or homemade pizza but don’t have a stand mixer? Don’t worry! Making dough without a stand mixer is easier than you think. In fact, it can be a fun and rewarding process that allows you to get your hands dirty and truly connect with the dough-making experience. Whether you’re a beginner or a seasoned home baker, this article will guide you through the steps of making dough without a stand mixer.
There’s something incredibly satisfying about mixing and kneading dough by hand. It allows you to feel the texture and consistency of the dough, which can help you develop a better understanding of the baking process. Plus, you don’t need any fancy equipment – just a few simple ingredients and a little bit of patience.
In this article, we’ll cover the basic steps of making dough without a stand mixer. From mixing the dry ingredients to kneading the dough and finally using it to create delicious baked goods, you’ll discover that the process is not only doable but also enjoyable. So, roll up your sleeves and let’s get started on this dough-making adventure!
Key Takeaways:
- Making dough without a stand mixer is a rewarding and enjoyable process that allows you to truly connect with the dough-making experience, develop a better understanding of baking, and get creative with personalized flavors and fillings.
- Kneading and resting the dough are essential steps in creating light and airy baked goods, while using the dough to make bread, pizza, rolls, buns, or pastries opens up a world of delicious homemade culinary creations.
Read more: How To Make Dough In A Kitchenaid Mixer
Ingredients
Before you start making dough without a stand mixer, gather the following ingredients:
- 2 ½ cups all-purpose flour
- 2 ¼ teaspoons active dry yeast
- 1 teaspoon sugar
- 1 teaspoon salt
- 1 cup warm water
- 2 tablespoons olive oil
These simple and readily available ingredients are the building blocks of any basic dough recipe. The flour provides structure, while the yeast helps the dough rise and gives it a light and airy texture. The sugar adds a touch of sweetness, and the salt enhances the flavor. The warm water activates the yeast, and the olive oil adds moisture and richness.
Feel free to customize your dough by adding additional ingredients such as herbs, spices, cheeses, or even small diced vegetables. This will give your baked goods a unique and personalized touch.
Step 1: Mix the Dry Ingredients
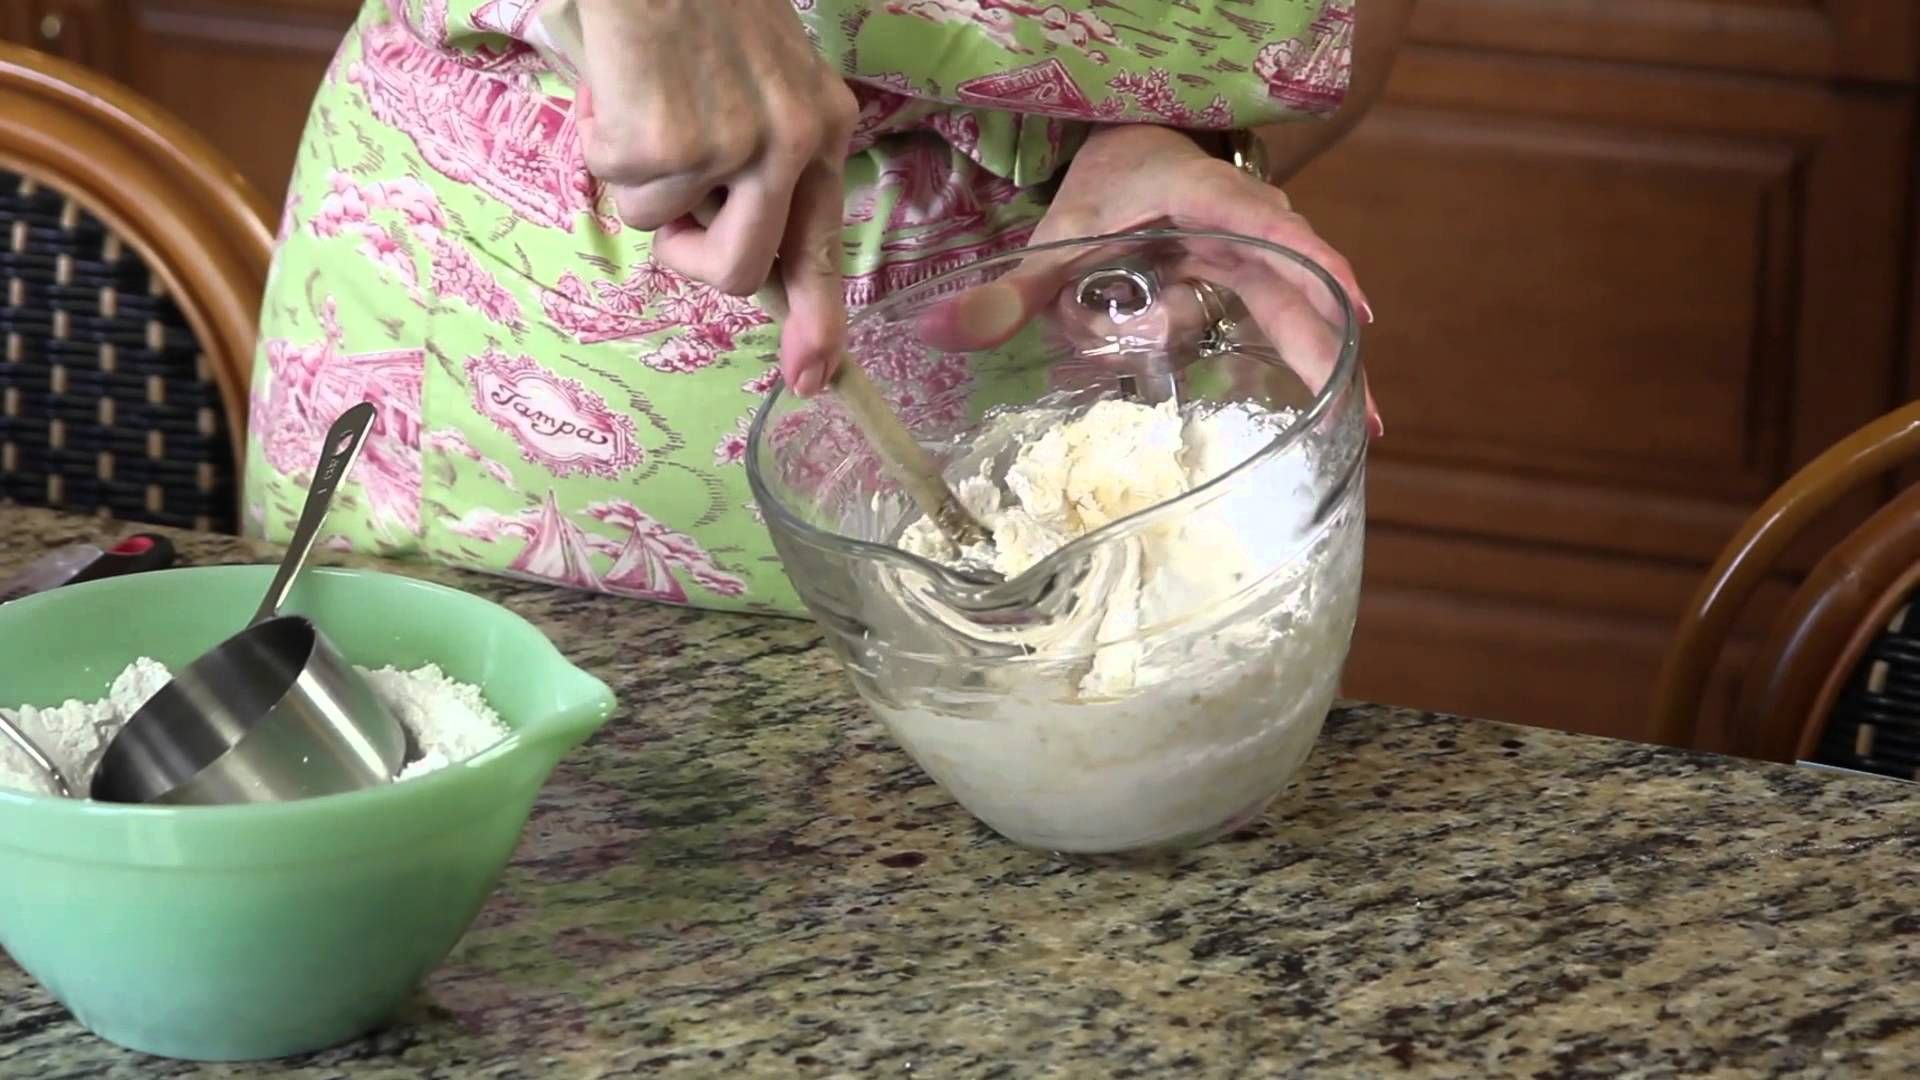
The first step in making dough without a stand mixer is to mix the dry ingredients. In a large mixing bowl, combine 2 ½ cups of all-purpose flour, 2 ¼ teaspoons of active dry yeast, 1 teaspoon of sugar, and 1 teaspoon of salt. Use a whisk or a fork to thoroughly mix the ingredients together.
By whisking the dry ingredients, you ensure that the yeast, sugar, and salt are evenly distributed throughout the flour. This helps to activate the yeast and ensures that your dough rises properly during the fermentation process.
Make sure to measure your ingredients accurately, especially the flour. Using too much or too little flour can affect the texture and consistency of your dough. If you prefer whole wheat dough, you can substitute a portion of the all-purpose flour with whole wheat flour for a nuttier flavor and added nutrition.
Once the ingredients are well-mixed, you’re ready to move on to the next step of the dough-making process.
Step 2: Add the Wet Ingredients
After mixing the dry ingredients, it’s time to add the wet ingredients to the dough. Start by creating a well in the center of the dry mixture. Then, pour in 1 cup of warm water and 2 tablespoons of olive oil. The water should be warm to the touch, but not too hot, as high temperatures can kill the yeast.
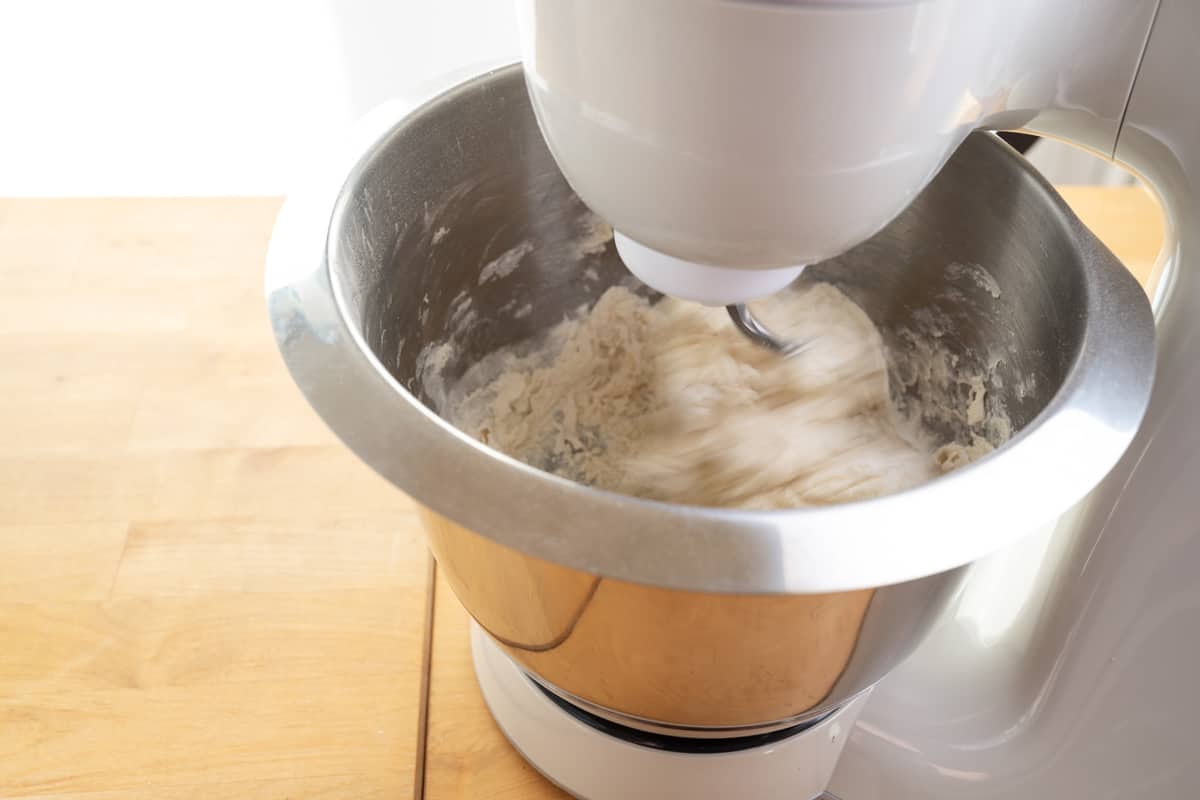
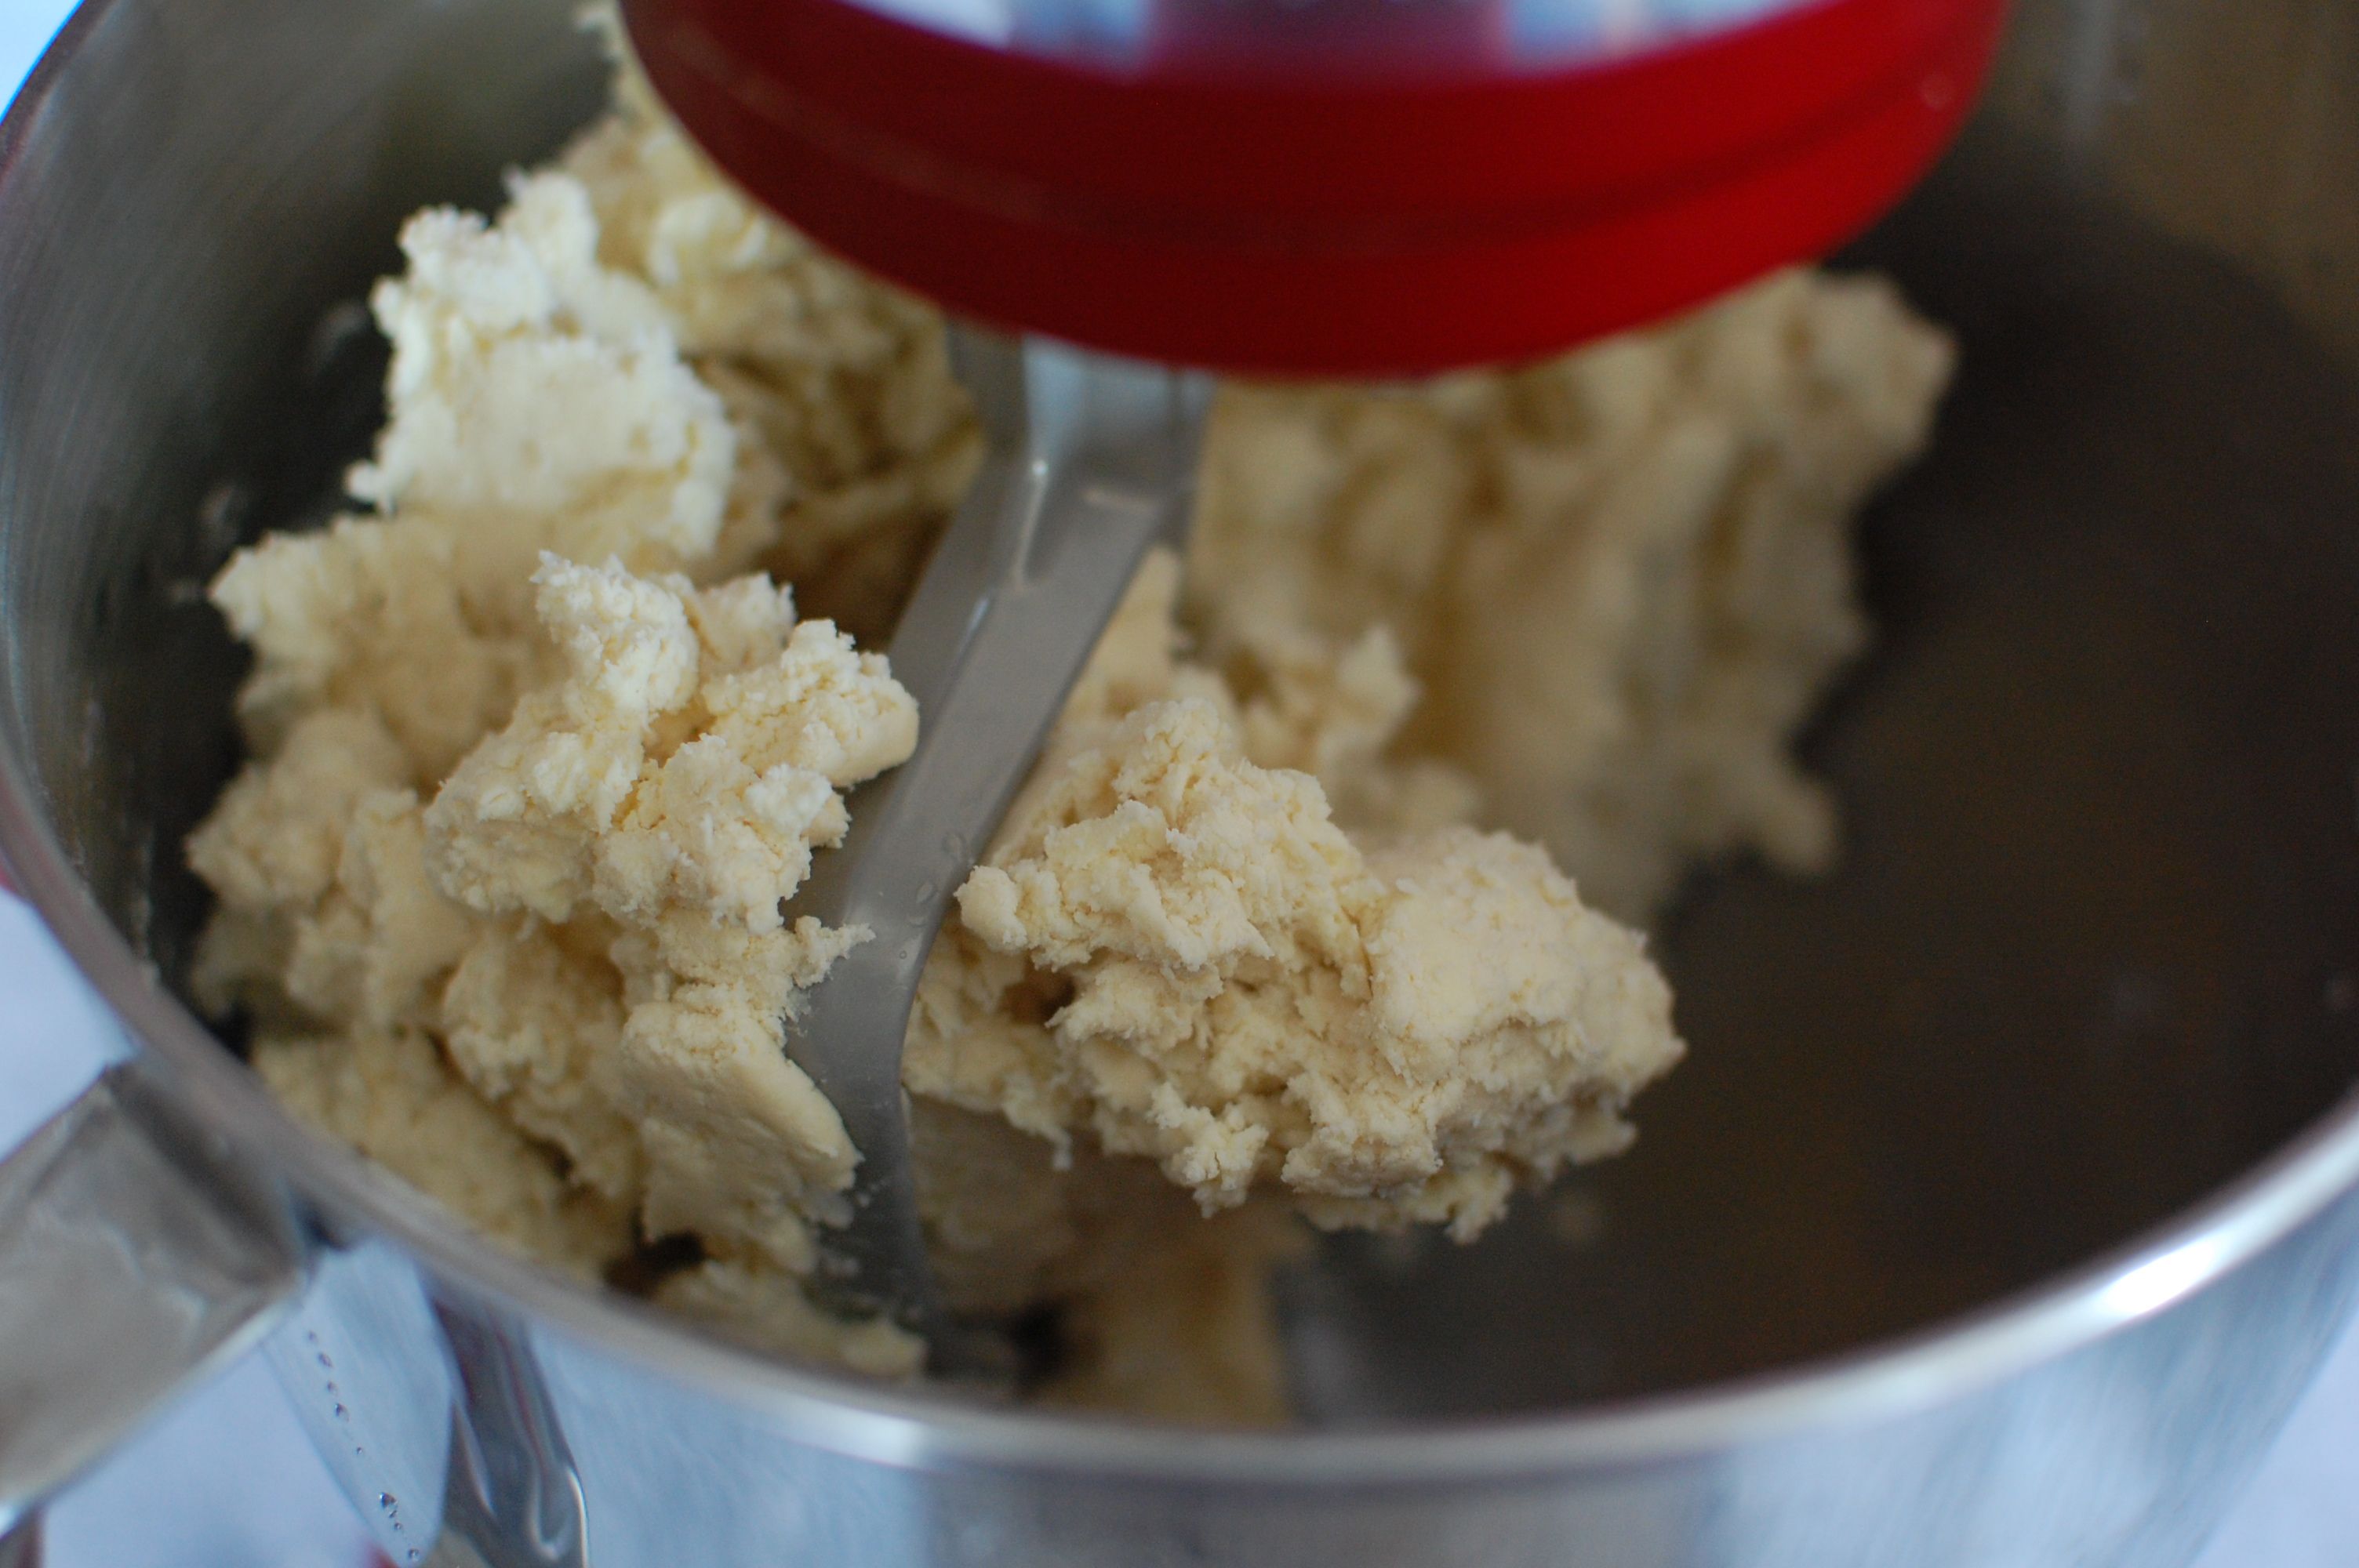
Using a spoon or your hands, gradually incorporate the wet ingredients into the dry mixture. Start by stirring gently in a circular motion, gradually incorporating more flour as you go. Continue mixing until a shaggy dough forms.
The addition of water and olive oil helps to hydrate the flour and activate the yeast. The olive oil also adds richness and a subtle flavor to the dough. As you mix, you’ll notice that the dough becomes more cohesive and easier to work with.
If the dough feels too dry, you can add a little more water, a tablespoon at a time, until it reaches the desired consistency. On the other hand, if the dough seems too sticky, you can sprinkle in a small amount of flour and knead it to incorporate it properly.
Once the wet ingredients are fully incorporated, it’s time to move on to the next step – kneading the dough.
When making dough without a stand mixer, use a large mixing bowl and a sturdy wooden spoon or silicone spatula to combine the ingredients. Knead the dough by hand on a floured surface until smooth and elastic.
Step 3: Knead the Dough
Now that you have mixed the wet and dry ingredients together, it’s time to knead the dough. Kneading is an essential step in developing the gluten in the dough, which gives it structure and elasticity.
To knead the dough, lightly flour a clean work surface, such as a countertop or a large cutting board. Turn the dough out onto the floured surface and begin kneading.
Start by pushing the dough away from you using the heel of your hand. Fold the dough in half toward you, then rotate it a quarter turn. Repeat this process, pushing, folding, and rotating, for about 10 minutes. You should feel the dough become smoother and more elastic as you knead.
Kneading dough not only develops the gluten but also redistributes the yeast throughout the dough. This ensures that the yeast has ample access to food and helps create a light and airy texture in the finished baked goods.
During the kneading process, be mindful of the dough’s consistency. If it feels too sticky, you can lightly dust your hands or the work surface with flour. However, be cautious not to add too much flour as it can make the dough dense and dry.
Once you’ve kneaded the dough to the desired consistency, it’s time to move on to the next step – letting the dough rest.
Step 4: Rest the Dough
After kneading the dough, it’s important to let it rest. This rest period allows the gluten strands that were developed during kneading to relax and the yeast to ferment, resulting in a more flavorful and easier-to-work-with dough.
To rest the dough, place it back into the mixing bowl and cover it with a clean kitchen towel or plastic wrap. Let the dough sit at room temperature for about 1 hour or until it has doubled in size. The exact time may vary depending on the ambient temperature and the strength of the yeast.
During the resting period, the yeast feeds on the sugar in the dough, producing carbon dioxide gas as a byproduct. This gas gets trapped within the gluten network, causing the dough to rise and become airy.
Be patient during the resting process as it is essential for the dough’s flavor development. If you’re short on time, you can place the dough in a slightly warm environment, such as near a warm oven or on top of a warm surface, to speed up the fermentation process.
Once the dough has doubled in size, it’s ready to be used in your desired recipe. If you’re not planning to use the dough immediately, you can refrigerate it for up to 24 hours or freeze it for future use.
Now that the dough has rested and risen, it’s time for the final step – using the dough to create delicious culinary creations.
Step 5: Use the Dough
After the dough has rested and risen, it’s time to put it to use and create a variety of delicious baked goods. Here are a few ways you can use your homemade dough:
- Bread: Shape the dough into a loaf, place it in a greased bread pan, and let it rise for about 30 minutes. Then, bake it in a preheated oven at 375°F (190°C) for 25-30 minutes or until golden brown and hollow-sounding when tapped.
- Pizza: Roll out the dough into the desired size and thickness, and add your favorite toppings. Bake the pizza in a preheated oven at 450°F (230°C) for 12-15 minutes or until the crust is crispy and the cheese is melted and bubbly.
- Rolls and Buns: Divide the dough into smaller portions, shape them into rolls or buns, and let them rise for about 20-30 minutes. Bake them in a preheated oven at 375°F (190°C) for 15-20 minutes or until golden brown.
- Pastries: Use the dough to make sweet or savory pastries such as turnovers, empanadas, or hand pies. Fill the dough with your desired fillings, fold it over, and seal the edges. Bake in a preheated oven according to the specific recipe instructions.
Remember to preheat your oven before baking any of the above items to ensure proper heat distribution and baking results.
Once your baked goods are ready, remove them from the oven and let them cool slightly before indulging in their deliciousness. Freshly baked bread or homemade pizza made from scratch can be incredibly satisfying and rewarding.
With your newfound skill of making dough without a stand mixer, the possibilities are endless. Get creative, experiment with different flavors and fillings, and enjoy the process of homemade baking. You’ll be amazed at the incredible results you can achieve with just a few simple ingredients and a little bit of effort.
So, roll up your sleeves, gather your ingredients, and let your imagination run wild as you embark on the journey of making mouthwatering dough creations!
Frequently Asked Questions about How To Make Dough Without Stand Mixer
Was this page helpful?
At Storables.com, we guarantee accurate and reliable information. Our content, validated by Expert Board Contributors, is crafted following stringent Editorial Policies. We're committed to providing you with well-researched, expert-backed insights for all your informational needs.


0 thoughts on “How To Make Dough Without Stand Mixer”