Home>Kitchen & Cooking>Kitchen Gadgets & Utensils>How To Make Bread Without A Stand Mixer
Kitchen Gadgets & Utensils
How To Make Bread Without A Stand Mixer
Modified: March 19, 2024
Learn how to make delicious bread without a stand mixer using simple kitchen gadgets and utensils. Discover easy techniques for homemade bread.
(Many of the links in this article redirect to a specific reviewed product. Your purchase of these products through affiliate links helps to generate commission for Storables.com, at no extra cost. Learn more)
Introduction
Welcome to the world of bread making! Whether you’re a seasoned baker or a novice in the kitchen, there’s something undeniably therapeutic about the process of creating a fresh loaf of bread from scratch. While the thought of making bread without a stand mixer might seem daunting at first, it’s a rewarding and achievable endeavor that allows you to connect with the age-old tradition of bread making in a hands-on way.
The act of kneading dough, watching it rise, and savoring the aroma of freshly baked bread wafting through your kitchen is a truly gratifying experience. In this guide, we’ll explore the art of making bread without the aid of a stand mixer. By using simple techniques and readily available tools, you can craft delicious loaves of bread that rival those found in artisan bakeries.
So, roll up your sleeves, dust off your apron, and get ready to embark on a journey that will not only fill your home with the irresistible scent of freshly baked bread but also fill your soul with a sense of accomplishment and joy. Let’s dive into the world of handcrafted bread making without a stand mixer and discover the magic of turning basic ingredients into a delectable staple that brings people together.
Key Takeaways:
- Embrace the joy of handcrafted bread making without a stand mixer. Enjoy the therapeutic process of kneading, shaping, and baking to create delicious loaves that reflect your care and creativity.
- Connect with the timeless tradition of bread making. From mixing and kneading to proofing and baking, each step is a rewarding journey that yields delectable homemade bread.
Read more: How To Make Cookies Without A Mixer
Ingredients and Equipment
Before delving into the process of making bread without a stand mixer, it’s essential to gather the necessary ingredients and equipment. The beauty of bread making lies in its simplicity, as it only requires a handful of basic components and minimal tools. Here’s what you’ll need:
Ingredients:
- Flour: The foundation of any bread recipe, all-purpose or bread flour is commonly used for its high protein content, which contributes to the structure and texture of the bread.
- Yeast: Whether using active dry yeast or instant yeast, this essential ingredient is responsible for the leavening process, causing the dough to rise and develop a light, airy crumb.
- Water: A key component that hydrates the flour and activates the yeast, resulting in the development of gluten and the fermentation process that gives bread its characteristic flavor.
- Salt: Enhances the flavor of the bread while also regulating the fermentation process and strengthening the dough structure.
Equipment:
- Large Mixing Bowl: An ample bowl provides ample space for combining and kneading the dough.
- Wooden Spoon or Silicone Spatula: Ideal for mixing the ingredients and initially incorporating the flour and water.
- Bench Scraper: Facilitates the process of folding and shaping the dough during the kneading and shaping stages.
- Baking Sheet or Dutch Oven: For baking the bread, a baking sheet or Dutch oven will suffice, depending on the desired shape and crust of the loaf.
- Cloth or Plastic Wrap: Used to cover the dough during the proofing stage, promoting a conducive environment for fermentation.
With these fundamental ingredients and equipment at your disposal, you’re well-equipped to commence your bread-making journey without the need for a stand mixer. Embrace the simplicity of the process and revel in the joy of creating homemade bread that’s both wholesome and delicious.
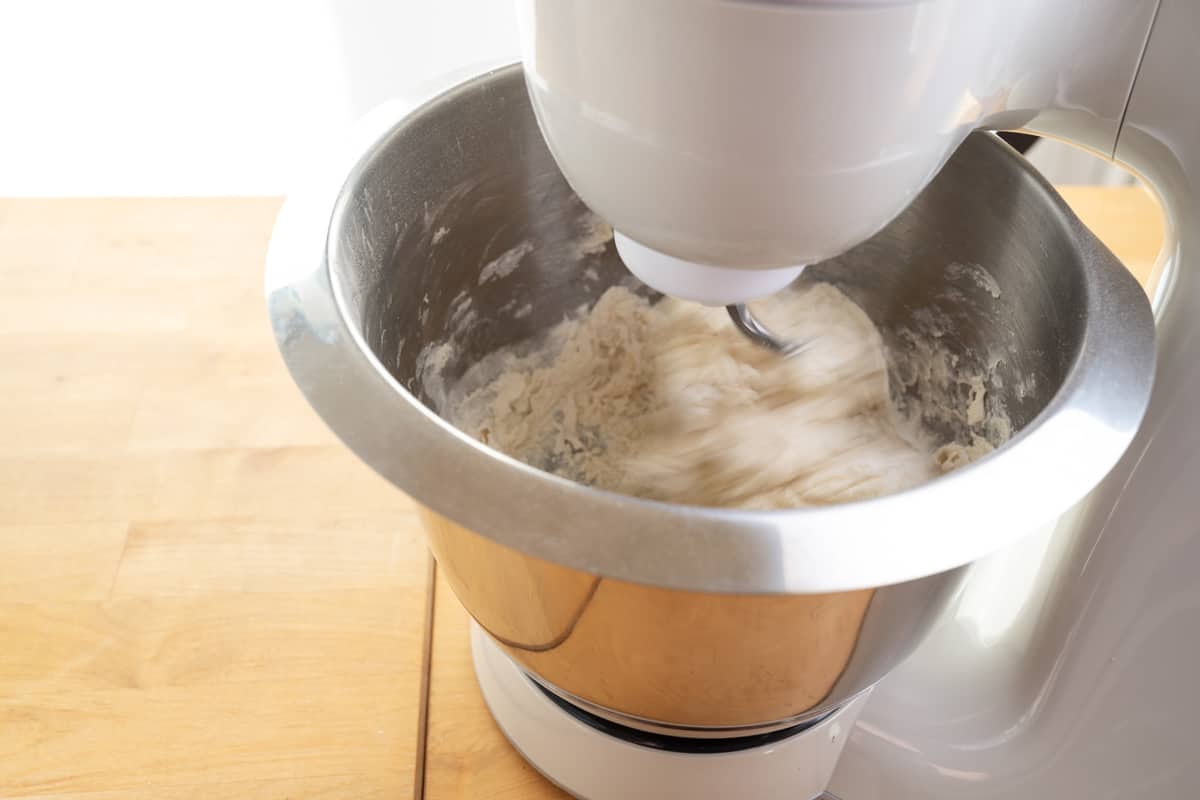
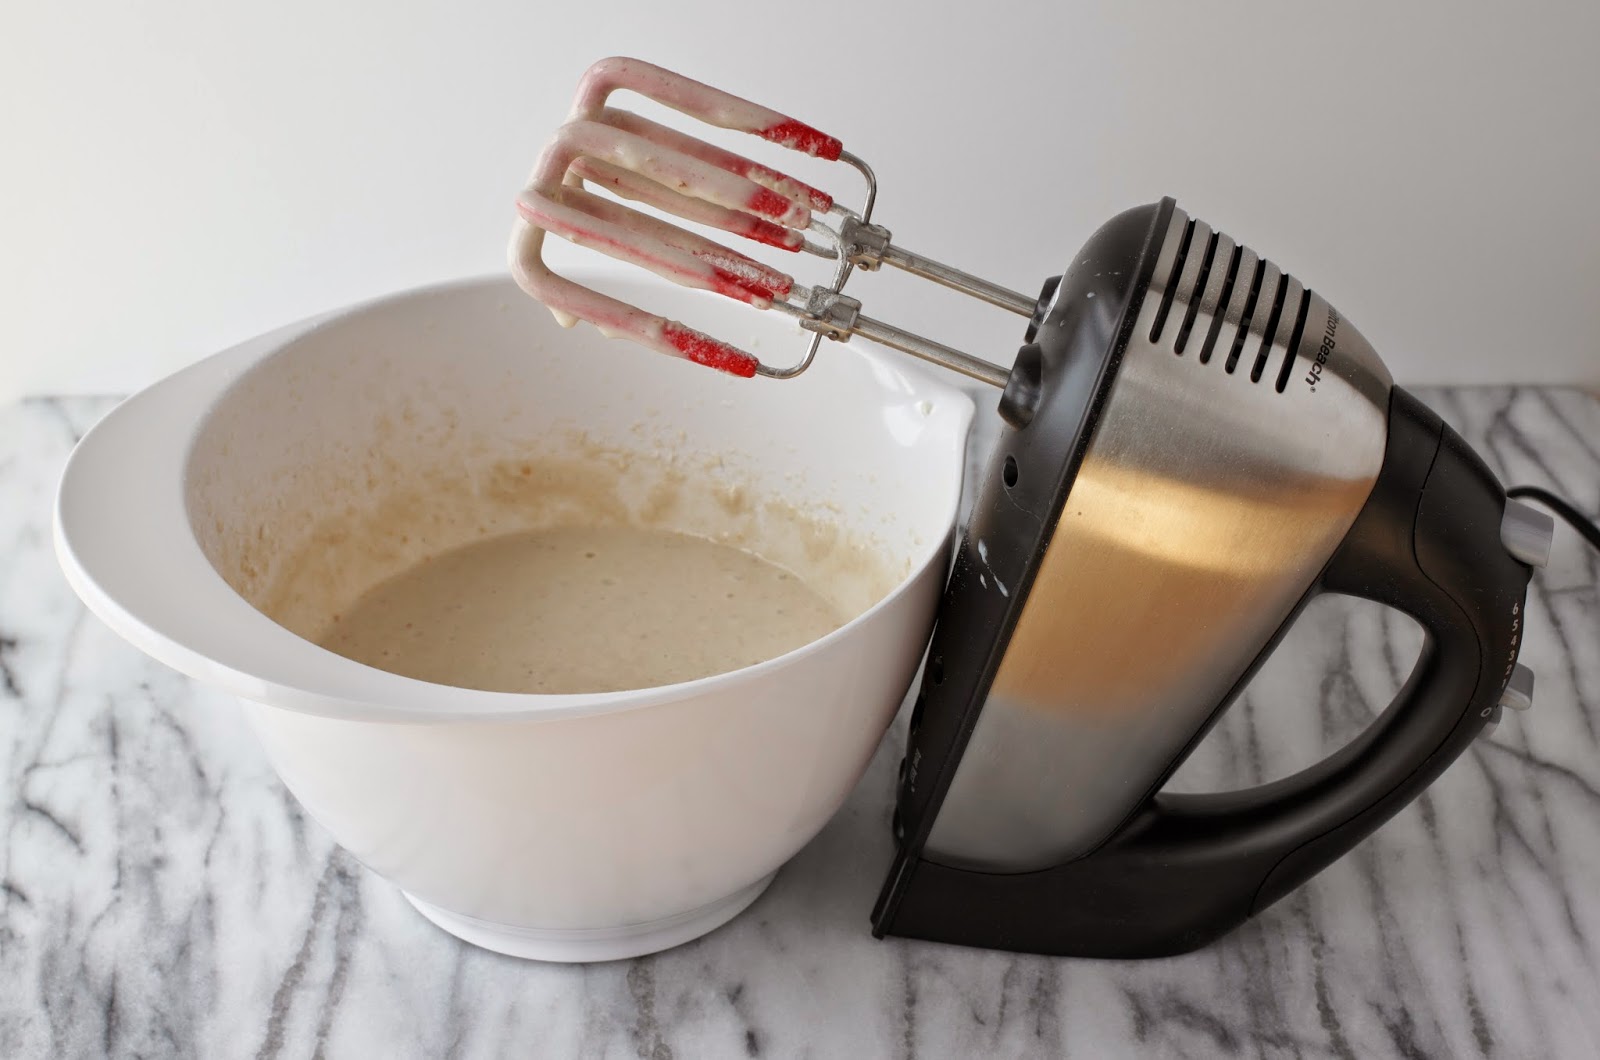
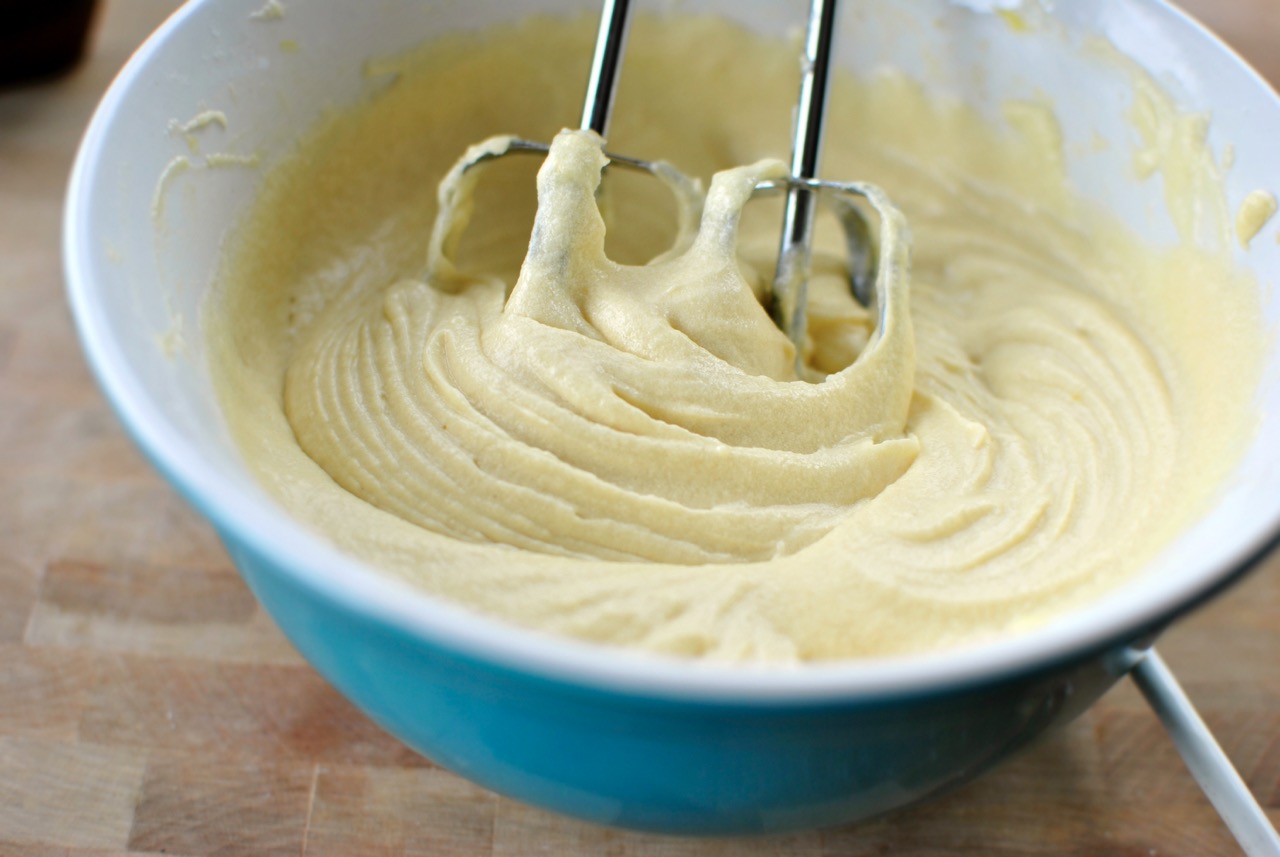
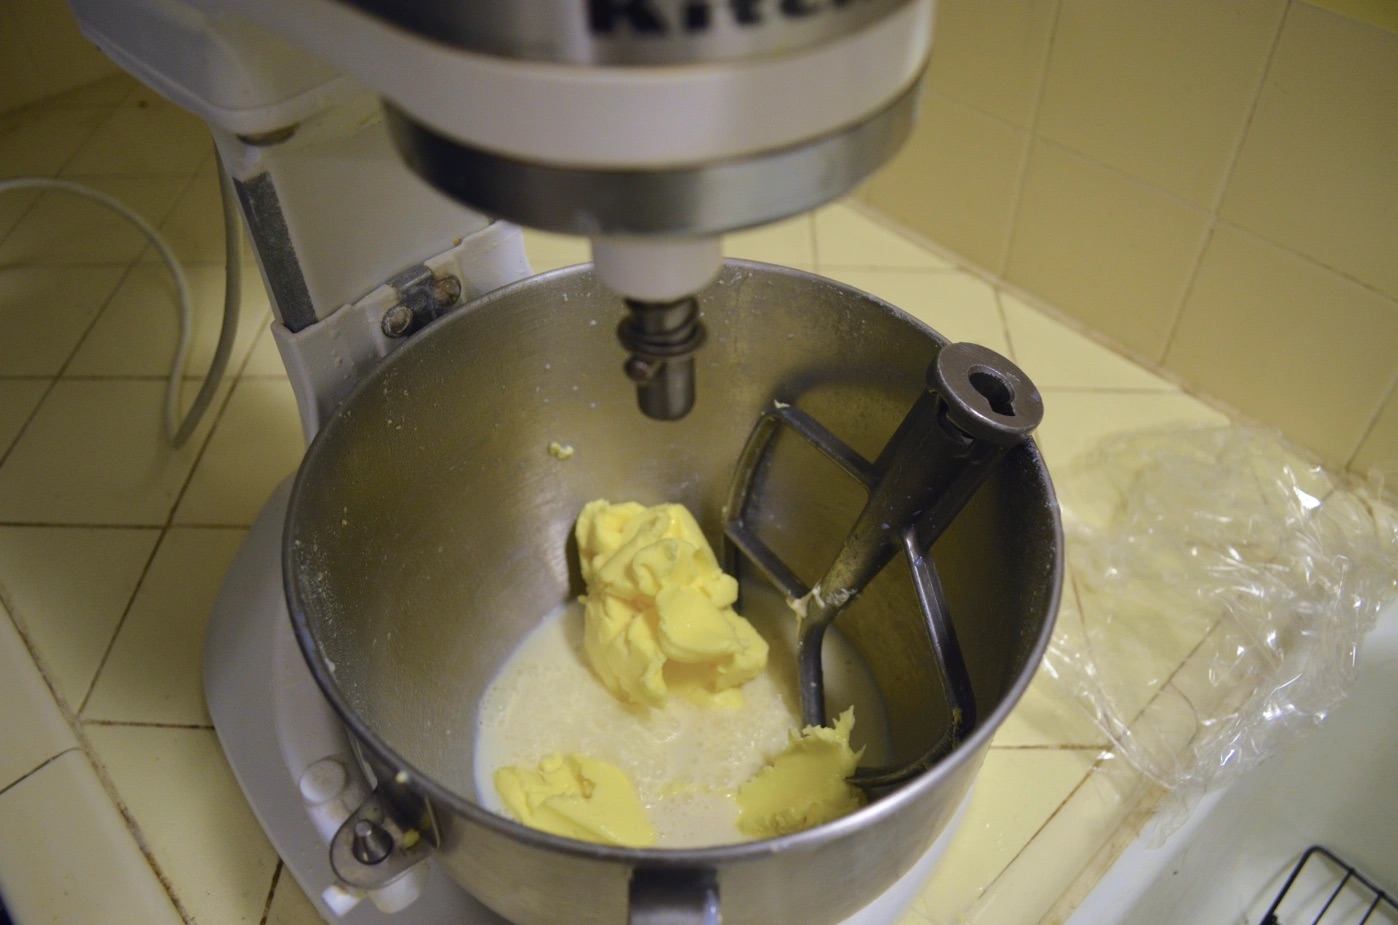
Mixing and Kneading
Once you have assembled your ingredients and equipment, it’s time to dive into the heart of bread making: mixing and kneading the dough. While a stand mixer can expedite this process, the tactile experience of hand-mixing and kneading the dough offers a deeper connection to the art of bread making. Here’s how to proceed:
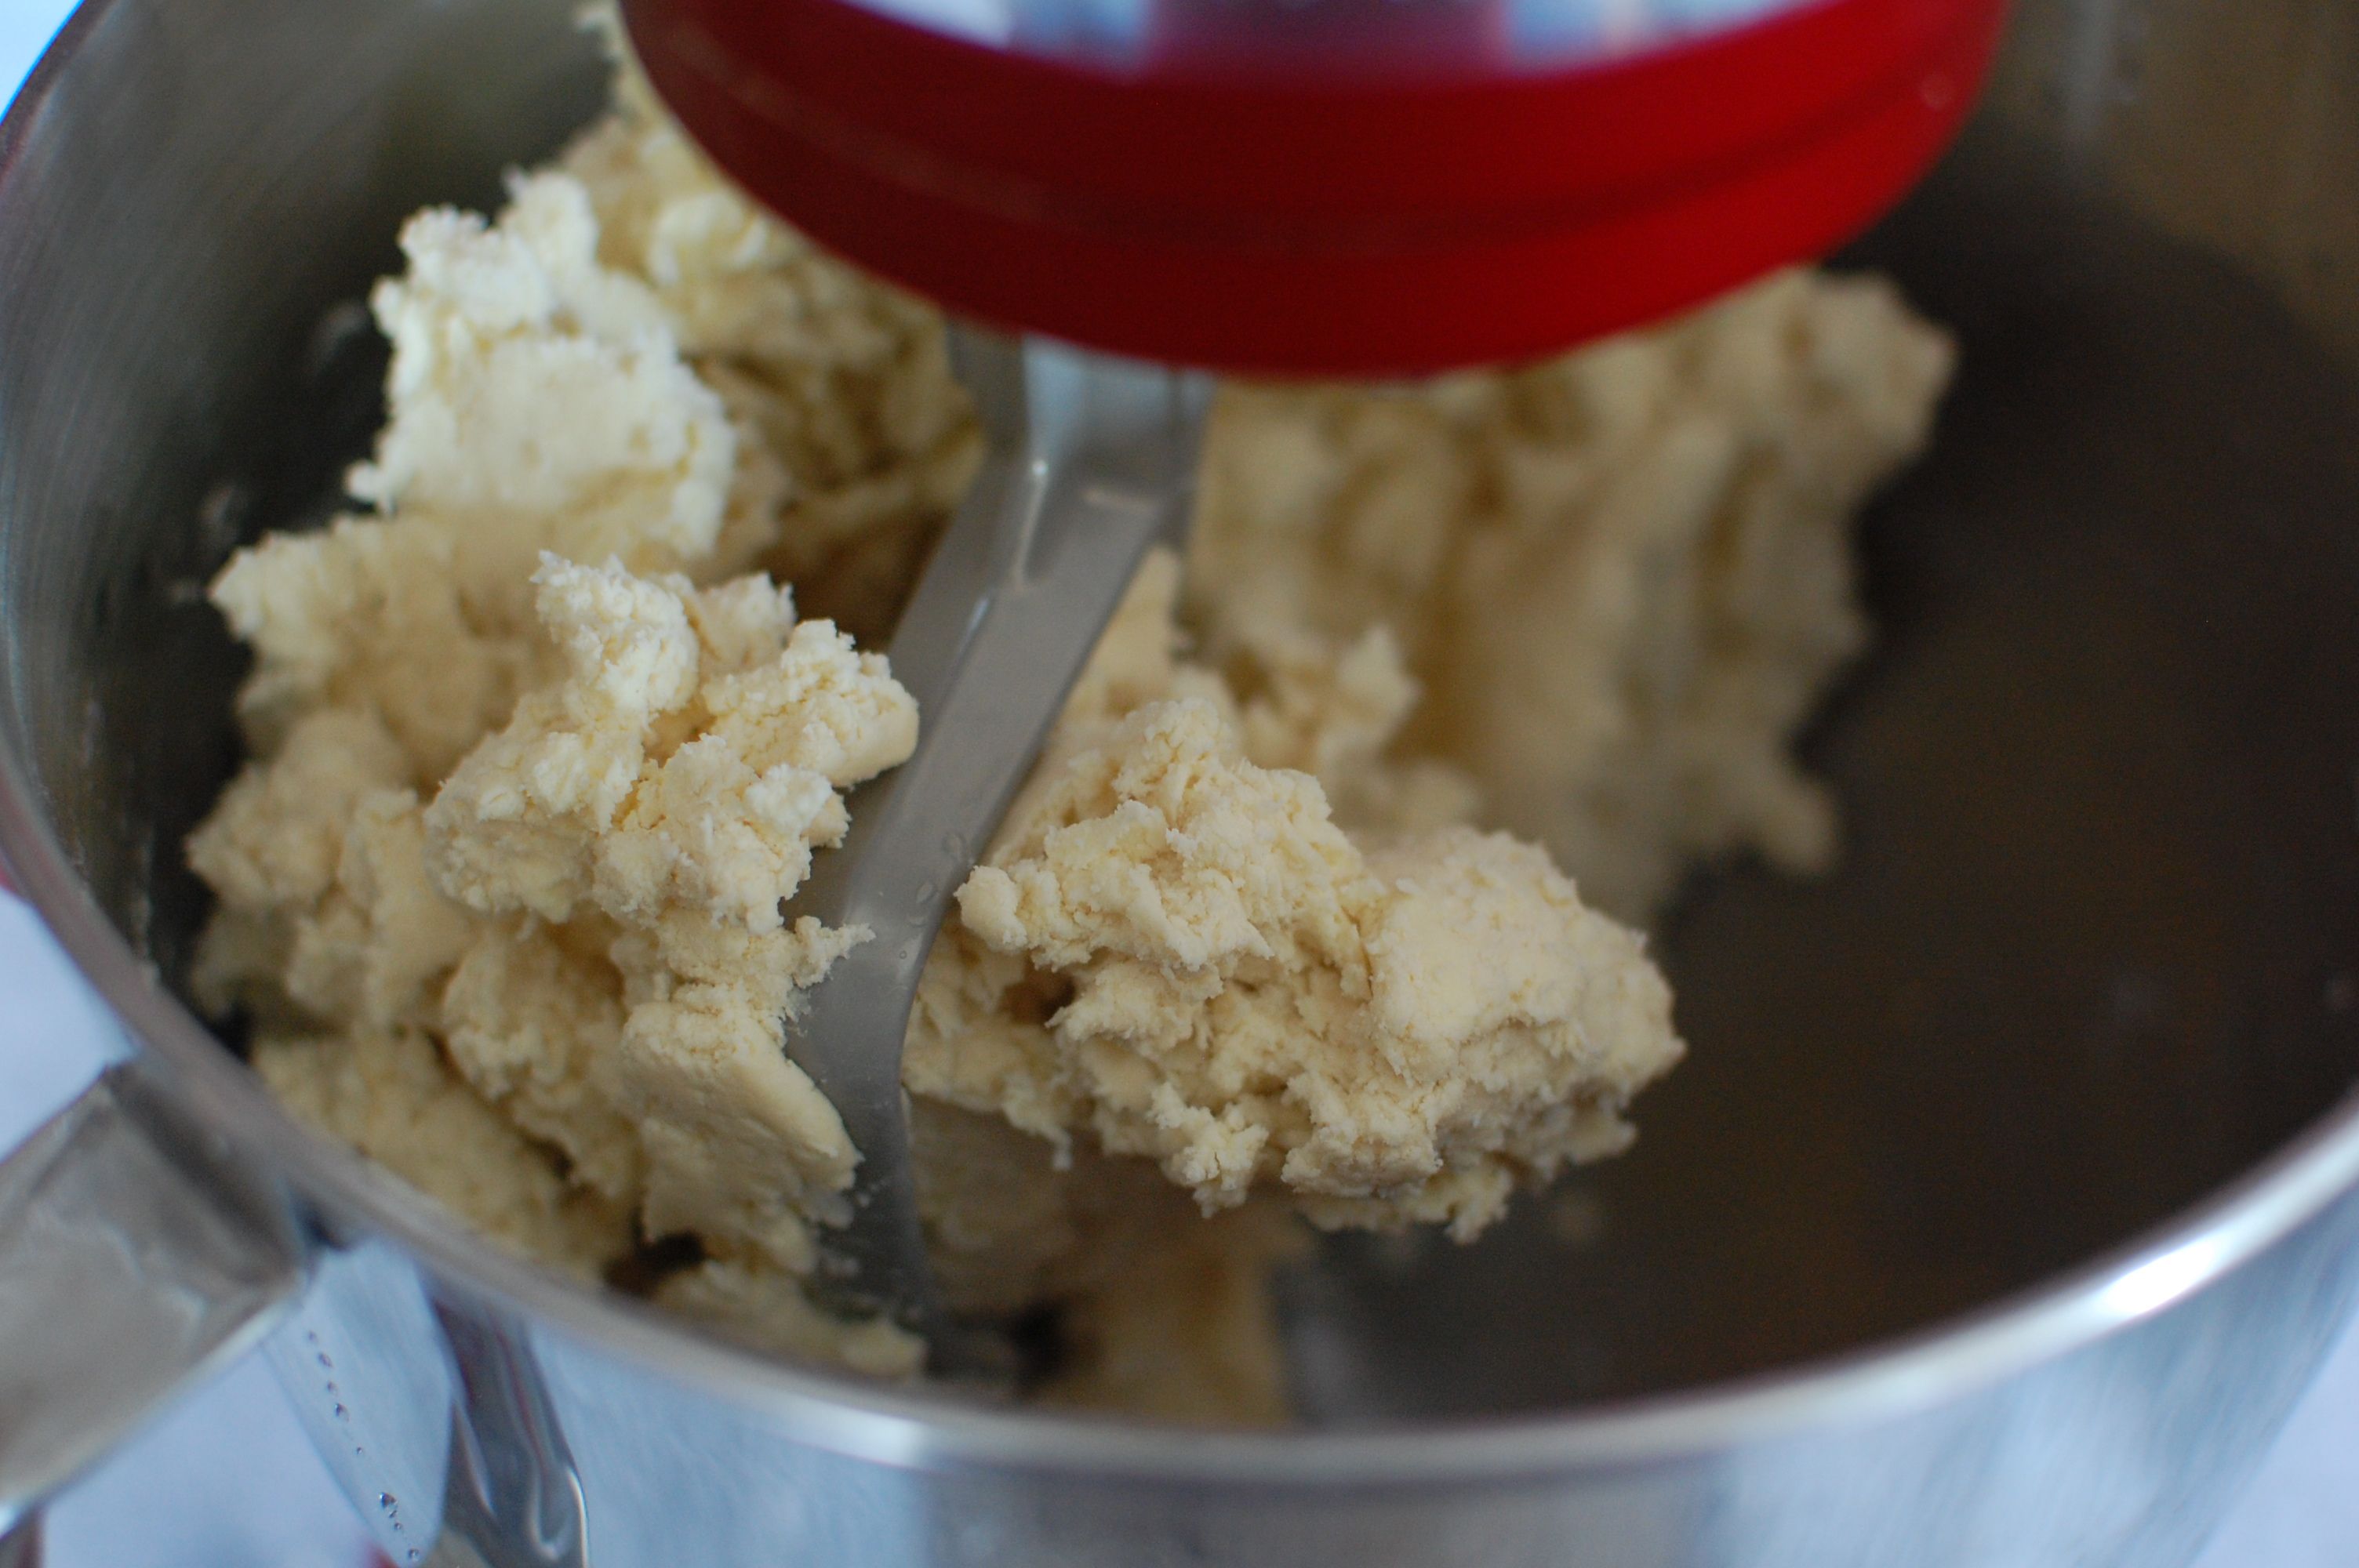
1. Mixing: In a large mixing bowl, combine the flour, yeast, and salt, ensuring an even distribution of the dry ingredients. Gradually add the water while stirring with a wooden spoon or silicone spatula until a shaggy dough forms. Once the dough begins to come together, it’s time to transition to the kneading stage.
2. Kneading: Turn the dough out onto a lightly floured surface, ready to embark on the kneading process. With the heel of your hand, firmly push the dough away from you, then fold it back over itself. Rotate the dough a quarter turn and repeat this motion, adding more flour as needed to prevent sticking. The goal is to develop the gluten in the dough, resulting in a smooth, elastic texture. This process typically takes 10-15 minutes, and you’ll notice the dough becoming more supple and springy as you knead.
During the kneading process, embrace the rhythmic motion and feel the transformation of the dough under your hands. It’s a meditative practice that allows you to immerse yourself in the creation of something truly special. As you knead, envision the delightful loaf of bread that will emerge from this humble dough, infused with your care and attention.
While hand-kneading requires a bit of physical effort, the reward is well worth it. Not only will you achieve a profound sense of satisfaction, but you’ll also develop a deeper understanding of the dough’s characteristics and how they evolve throughout the bread-making process.
Remember, the key to successful mixing and kneading lies in patience and attentiveness. By embracing the simplicity of these foundational steps, you’ll pave the way for a delightful bread-making experience that culminates in a freshly baked masterpiece.
Read more: How To Make Frosting Without Mixer
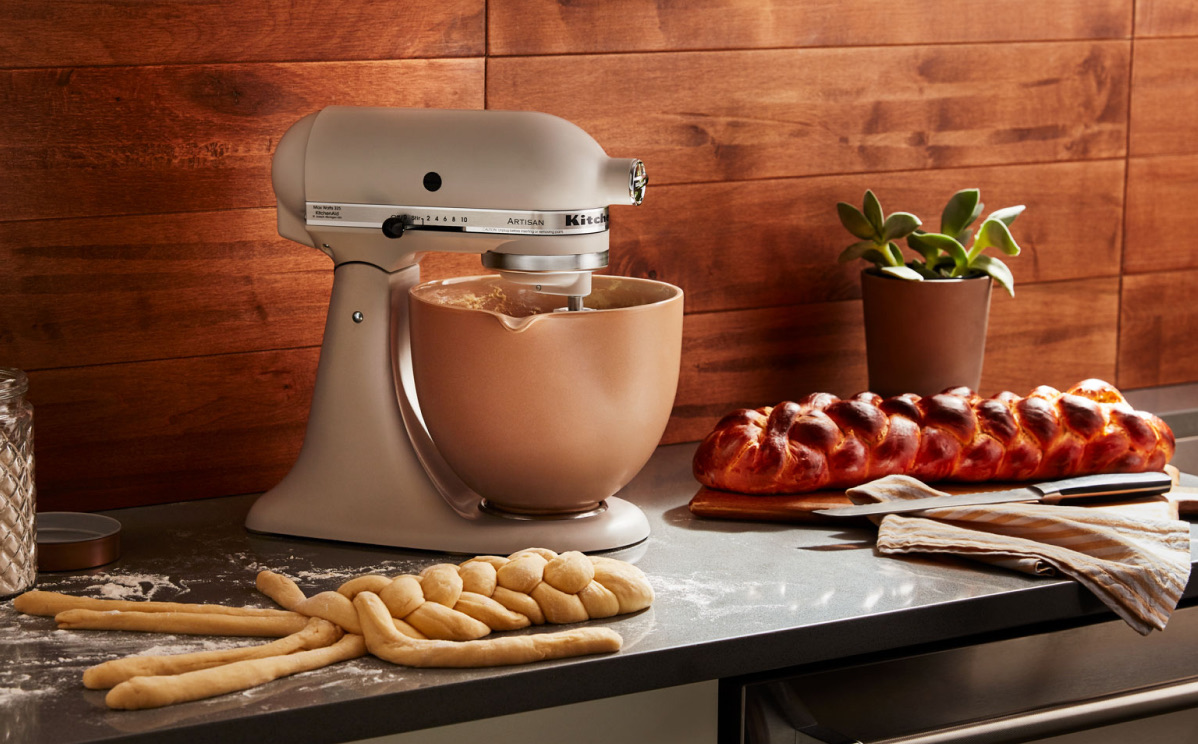
Proofing and Shaping
After the dough has been mixed and kneaded to perfection, the next crucial steps in the bread-making process are proofing and shaping. These stages are pivotal in developing the flavor, texture, and structure of the bread, allowing it to transform from a simple mass of dough into a beautifully risen and shaped loaf. Here’s how to proceed:
1. Proofing: Once the dough is smooth and elastic from the kneading process, place it back into the mixing bowl and cover it with a cloth or plastic wrap. Allow the dough to rest in a warm, draft-free environment for the initial rise. During this proofing stage, the yeast ferments and releases carbon dioxide, causing the dough to expand and develop flavor. Depending on the recipe, the proofing time may range from 1 to 2 hours, or until the dough has doubled in size.
2. Shaping: After the dough has completed its initial rise, gently deflate it by pressing down on it with your fingertips. Turn the dough out onto a lightly floured surface and begin shaping it into the desired form. Whether crafting a classic round loaf, an oblong batard, or intricate artisanal shapes, the shaping process allows you to impart your personal touch on the bread. Embrace the tactile nature of this stage, feeling the dough respond to your hands as it takes on its final shape.
During the shaping process, pay attention to the tension and surface tautness of the dough, as these factors contribute to the loaf’s structure and rise during baking. Engage in this creative aspect of bread making, envisioning the beautifully formed loaf that will emerge from the oven, ready to be shared and savored.
As the dough undergoes the proofing and shaping stages, take a moment to appreciate the transformation it undergoes. From a humble mixture of flour, water, yeast, and salt emerges a work of culinary art, infused with the care and attention you’ve devoted to its creation. These stages represent the alchemy of bread making, where simple ingredients are elevated into a nourishing and delightful staple.
By embracing the meditative rhythm of proofing and shaping, you’ll witness the evolution of the dough into a masterpiece that embodies the essence of homemade bread, ready to be baked to golden perfection.
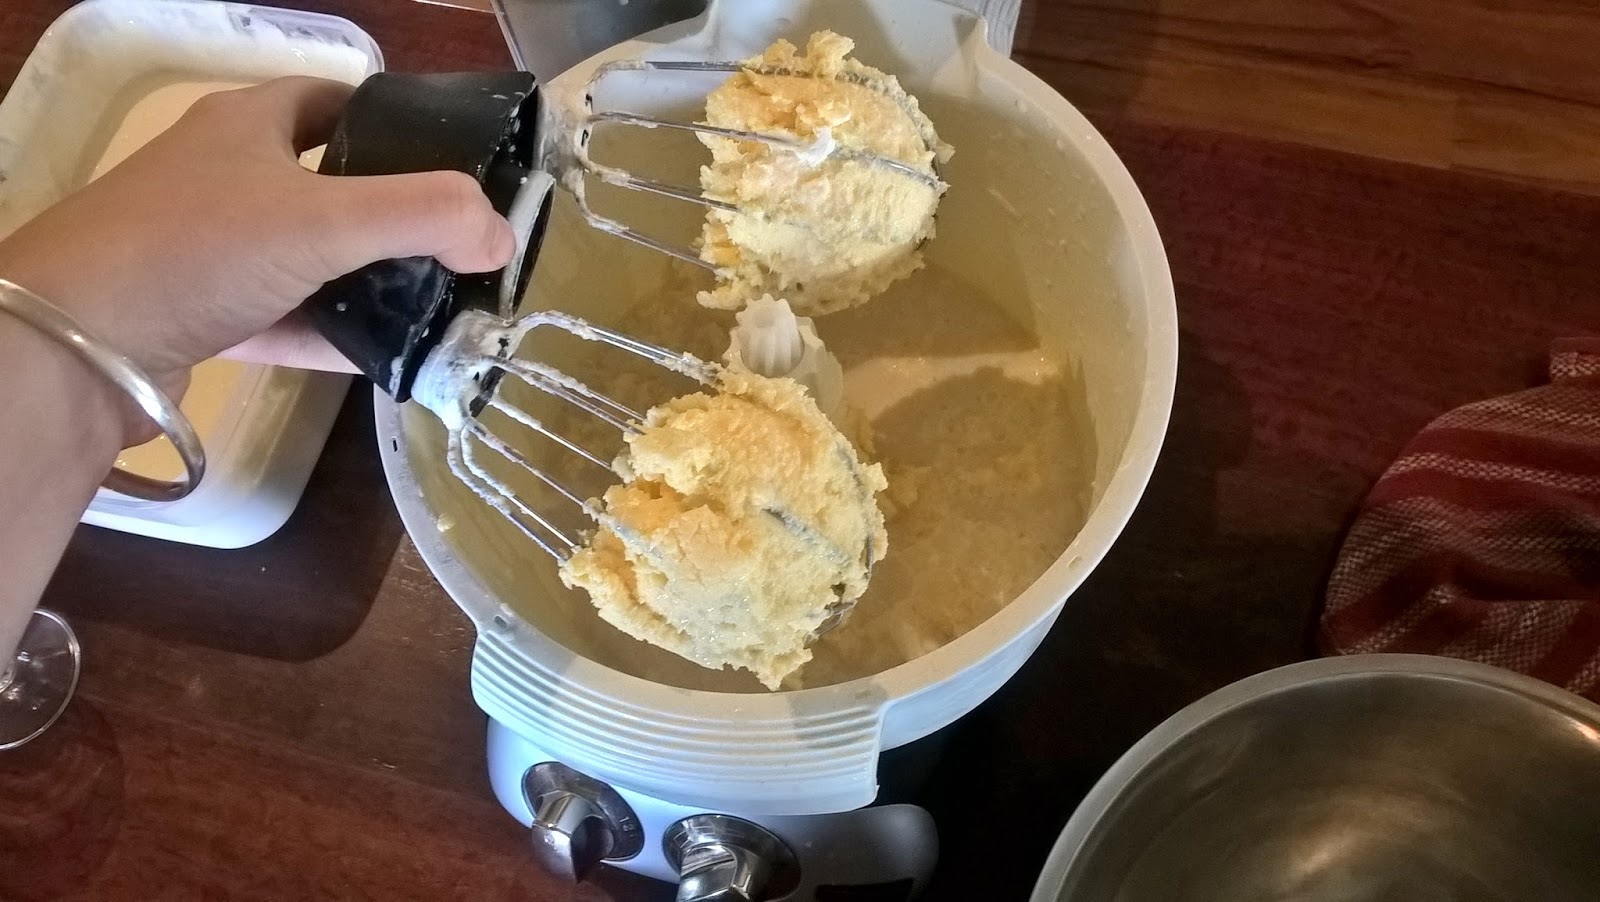
When making bread without a stand mixer, use a large mixing bowl and a sturdy wooden spoon to mix and knead the dough by hand. This will help develop the gluten and create a good texture in the bread.
Baking
As the shaped dough undergoes its final rise, it’s time to embark on the transformative stage of baking, where the aromas of fresh bread will soon fill your kitchen. Baking without a stand mixer allows you to connect with the traditional method of using an oven to coax the dough into a golden, crusty loaf. Here’s how to proceed:
1. Preparation: Preheat your oven to the specified temperature indicated in your recipe, ensuring that it reaches the ideal heat for baking the type of bread you’ve crafted. If you’re using a baking sheet, lightly dust it with flour or line it with parchment paper. If a Dutch oven is your chosen vessel, ensure it’s preheated along with the oven to create a conducive environment for the bread to rise and develop a crust.
2. Scoring: Before placing the dough in the oven, consider scoring the surface with a sharp knife or razor blade. This not only adds an artisanal touch to the loaf but also allows for controlled expansion during baking, preventing the bread from bursting unevenly. Embrace this opportunity to infuse the bread with your creative flair, crafting intricate patterns or simple slashes that enhance its visual appeal.
3. Baking: Once the oven has reached the desired temperature and the shaped dough is ready, carefully transfer it to the preheated baking vessel. If using a baking sheet, slide the dough onto the prepared surface. For a Dutch oven, carefully place the dough into the preheated vessel and cover it with the lid to create a steamy environment that promotes oven spring and a crisp crust.
As the bread bakes, your kitchen will be enveloped in the tantalizing aroma of freshly baked bread, signaling the culmination of your labor of love. Embrace the anticipation as the dough transforms into a golden-brown masterpiece, its crust crackling and singing as it reaches perfection.
4. Cooling: Once the bread has achieved a golden hue and sounds hollow when tapped on the bottom, it’s time to remove it from the oven and allow it to cool on a wire rack. This crucial step ensures that the interior of the bread finishes setting, resulting in a desirable crumb texture. Exercise patience during this phase, as allowing the bread to cool completely before slicing will yield the best results.
As you witness the bread emerge from the oven, take pride in the culmination of your efforts. The golden-brown crust, the symphony of crackles, and the tantalizing aroma are a testament to your dedication to the craft of bread making. With each loaf you bake, you’ll further refine your skills and deepen your connection to the timeless tradition of homemade bread.
Conclusion
Congratulations! You’ve embarked on a delightful journey into the realm of bread making without the aid of a stand mixer, discovering the joy of crafting homemade loaves that reflect your care and creativity. As you’ve witnessed, the process of creating bread by hand is a deeply rewarding endeavor that allows you to connect with the timeless art of baking in a meaningful way.
Throughout this guide, you’ve explored the fundamental stages of bread making, from mixing and kneading to proofing, shaping, and finally, the transformative act of baking. By embracing each step with patience and attentiveness, you’ve not only produced delicious loaves of bread but also cultivated a deeper understanding of the alchemy that occurs when basic ingredients are transformed into a nourishing staple.
As you continue your bread-making journey, consider experimenting with different types of flour, enriching your loaves with seeds, nuts, or herbs, and exploring a myriad of shapes and scoring patterns. Each loaf you create is an opportunity to infuse your personal touch, resulting in a unique and delectable creation that reflects your passion for the craft.
Remember, the act of bread making is as much about the process as it is about the end result. Embrace the tactile nature of kneading, savor the aromas that waft through your kitchen as the bread bakes, and relish the joy of sharing your freshly baked loaves with loved ones. Whether you’re crafting a simple sandwich bread, a rustic artisan loaf, or a flavorful specialty bread, each creation is a testament to your dedication and creativity.
As you savor each slice of your homemade bread, enriched with the warmth and aroma of your kitchen, take pride in the fact that you’ve mastered the art of making bread without a stand mixer. Your journey has just begun, and with each loaf, you’ll further refine your skills and deepen your appreciation for the time-honored tradition of bread making.
So, as you embark on future bread-making endeavors, may your hands be perpetually dusted with flour, your kitchen filled with the aromas of freshly baked bread, and your heart brimming with the joy of creating something truly special. Happy baking!
Frequently Asked Questions about How To Make Bread Without A Stand Mixer
Was this page helpful?
At Storables.com, we guarantee accurate and reliable information. Our content, validated by Expert Board Contributors, is crafted following stringent Editorial Policies. We're committed to providing you with well-researched, expert-backed insights for all your informational needs.


0 thoughts on “How To Make Bread Without A Stand Mixer”