Articles
How To Use Stanley Cubix Laser Level
Modified: January 5, 2024
Discover helpful articles on how to make the most of your Stanley Cubix laser level, from setup to advanced techniques. Enhance your precision and productivity with our step-by-step guides and expert tips.
(Many of the links in this article redirect to a specific reviewed product. Your purchase of these products through affiliate links helps to generate commission for Storables.com, at no extra cost. Learn more)
Introduction
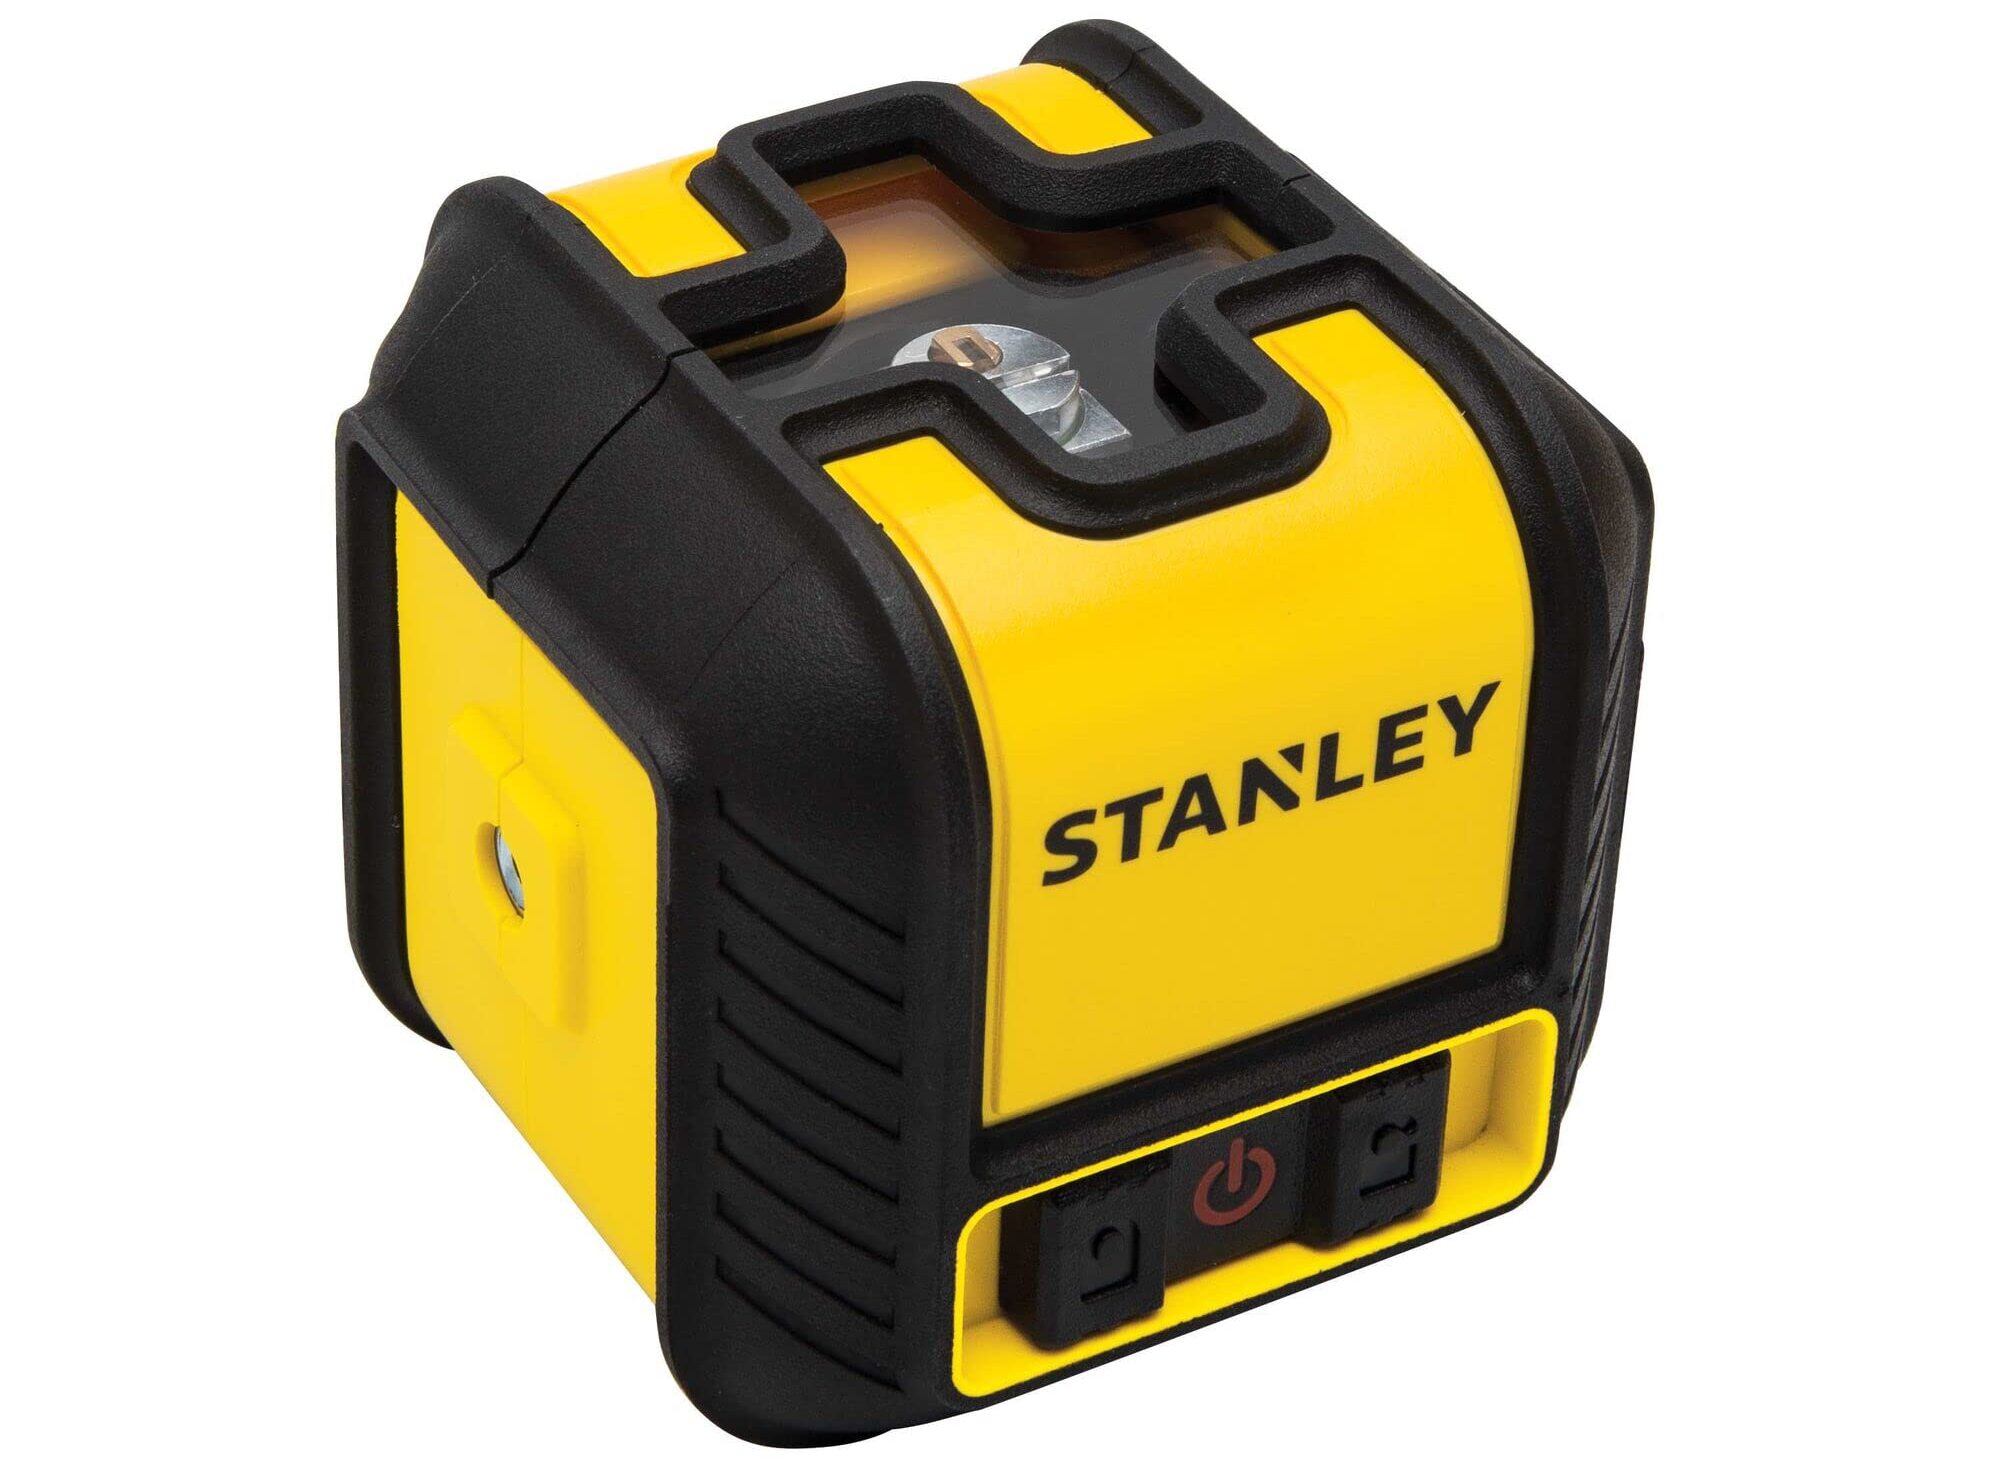
The Stanley Cubix Laser Level is a versatile and reliable tool designed to assist both professionals and DIY enthusiasts in achieving precise and accurate measurements. This compact and easy-to-use laser level is a must-have for anyone involved in construction, woodworking, or home improvement projects.
The Stanley Cubix Laser Level offers a wide range of features and functions to ensure accuracy and efficiency in your projects. With its advanced laser technology, this tool provides a clear, visible laser beam that can be projected both horizontally and vertically. This makes it ideal for aligning cabinets, installing shelves, hanging pictures, and performing various other tasks that require accurate leveling.
Nowadays, precision is key, and using a laser level can significantly enhance the accuracy and efficiency of your work. Unlike traditional bubble levels, laser levels offer more flexibility, ease of use, and accuracy, making them an essential tool for both professionals and DIYers.
One of the key advantages of using a laser level is the ability to achieve level and plumb lines with ease. The Stanley Cubix Laser level offers a self-leveling feature, which ensures that the laser line remains level even if the tool is not perfectly leveled. This eliminates the guesswork and helps to save time and effort.
Additionally, the Stanley Cubix Laser Level provides a range of advanced features that further enhance its functionality. These include pulse mode, which enables the laser beam to be detected by a laser detector, making it suitable for outdoor applications. The lock function allows for the projection of angled lines for tasks such as installing railing or staircases.
Using a laser level not only improves accuracy and efficiency but also reduces the risk of errors and rework. This ultimately leads to better quality work and increased client satisfaction. Whether you are a professional contractor or a DIY enthusiast, investing in a reliable laser level like the Stanley Cubix Laser Level is a smart decision that can greatly improve the outcome of your projects.
In the following sections, we will explore the unboxing and setup process, how to use the Stanley Cubix Laser Level, and some useful tips for accurate measurements. Let’s dive in and discover the capabilities of this incredible tool.
Key Takeaways:
- The Stanley Cubix Laser Level offers advanced features such as self-leveling, pulse mode, and a lock function, providing versatility for a wide range of applications in construction, woodworking, and home improvement projects.
- Proper care and maintenance, along with troubleshooting common issues, are essential for ensuring the longevity and optimal performance of the Stanley Cubix Laser Level, empowering users to achieve precise and professional results.
Unboxing and Setup
When you first receive your Stanley Cubix Laser Level, it’s important to begin with the unboxing process to ensure that all components are intact. Here’s a step-by-step guide on how to unbox and set up your laser level.
1. Unpacking the Stanley Cubix Laser Level:
The Stanley Cubix Laser Level typically comes in a compact and sturdy packaging. Carefully remove the packaging and locate the laser level unit.
2. Components included in the package:
The package should contain the following components:
- Stanley Cubix Laser Level unit
- Mounting bracket or magnetic base
- Instruction manual
- Batteries (if included)
Ensure that all items are present and in good condition. If any components are missing or damaged, contact the manufacturer or retailer for assistance.
3. Battery installation:
If your Stanley Cubix Laser Level requires batteries, you will need to install them before use. The battery compartment is usually located on the back or bottom of the unit. Open the compartment and insert the batteries, ensuring that you follow the correct polarity (+/-) indicated inside the compartment.
4. How to calibrate the laser level:
Calibrating the laser level is an essential step to ensure accurate measurements. Consult the instruction manual for the specific calibration process for your Stanley Cubix Laser Level model. In general, the calibration process involves placing the laser level on a level surface and adjusting the leveling screws until the built-in leveling bubble is centered. This ensures that the laser beam projected is perfectly level or plumb.
It’s important to note that some models of the Stanley Cubix Laser Level may feature a self-leveling capability, eliminating the need for manual calibration. In such cases, the laser level will automatically level itself when powered on.
By following these steps, you can successfully unbox and set up your Stanley Cubix Laser Level. Once you have completed the setup process, you can start using this versatile tool for a wide range of applications. In the next section, we will explore the basic operation of the Stanley Cubix Laser Level.
Basic Operation
Now that you have set up your Stanley Cubix Laser Level, it’s time to familiarize yourself with its basic operation. Understanding how to power on/off the device, select the desired mode, adjust the laser beam visibility, and use the built-in leveling bubble is essential for optimal performance.
1. Powering on and off the device:
To power on the Stanley Cubix Laser Level, locate the power switch or button, usually located on the side or top of the unit. Press and hold the power button until the device powers on. To power off the device, press and hold the power button again until it shuts down. It’s important to conserve battery life by turning off the laser level when not in use.
2. Selecting the desired mode (horizontal or vertical):
The Stanley Cubix Laser Level offers two main modes of operation – horizontal and vertical. To select the desired mode, locate the mode switch or toggle, usually located near the power button. Move the switch to the horizontal position for projecting a horizontal laser line or to the vertical position for projecting a vertical line. The mode selection will depend on the specific task you are performing.
3. Adjusting the laser beam visibility:
The laser beam visibility can be adjusted to suit different lighting conditions and working environments. Look for the laser beam visibility adjustment dial or button on the laser level. By rotating the dial or pressing the button, you can increase or decrease the brightness and visibility of the laser beam. Adjust it according to your needs for optimal visibility during use.
4. Using the built-in leveling bubble:
The Stanley Cubix Laser Level is equipped with a built-in leveling bubble, which helps to ensure accurate leveling. The leveling bubble is usually located on the top or side of the device. When setting up the laser level, use the built-in bubble to ensure that the device is level or plumb. Adjust the leveling screws until the bubble is centered within the lines on the bubble vial. This will ensure that the laser beam projected is perfectly level or plumb.
By mastering these basic operations, you can easily power on/off the Stanley Cubix Laser Level, select the appropriate mode, adjust the laser beam visibility, and utilize the built-in leveling bubble for accurate measurements. In the next section, we will delve into using the laser level for various applications.
Using the Laser Level
Once you have familiarized yourself with the basic operation of the Stanley Cubix Laser Level, it’s time to learn how to use it effectively for your projects. In this section, we will explore the process of mounting the laser level, adjusting the leveling screws, understanding the laser beam projection, and marking reference points.
1. Mounting the laser level on a tripod or other surfaces:
To ensure stability and accuracy, it is best to mount the Stanley Cubix Laser Level on a tripod or other surfaces. Most laser levels come with a mounting bracket or magnetic base, allowing for easy attachment to tripods, walls, or other surfaces. Secure the mounting bracket onto the laser level, and then attach it to a tripod or mount it on a steady surface using the magnetic base. Make sure that the laser level is securely attached before proceeding.
2. Adjusting the leveling screws for precise alignment:
Prior to turning on the laser level, it’s crucial to adjust the leveling screws for precise alignment. The leveling screws are located on the bottom or sides of the laser level. Use a screwdriver or the provided adjustment tool to turn the screws and adjust the position of the laser level until it is perfectly level or plumb. The built-in leveling bubble can be used as a guide during this process. Once the laser level is properly leveled, tighten the leveling screws to secure its position.
3. Understanding the laser beam projection:
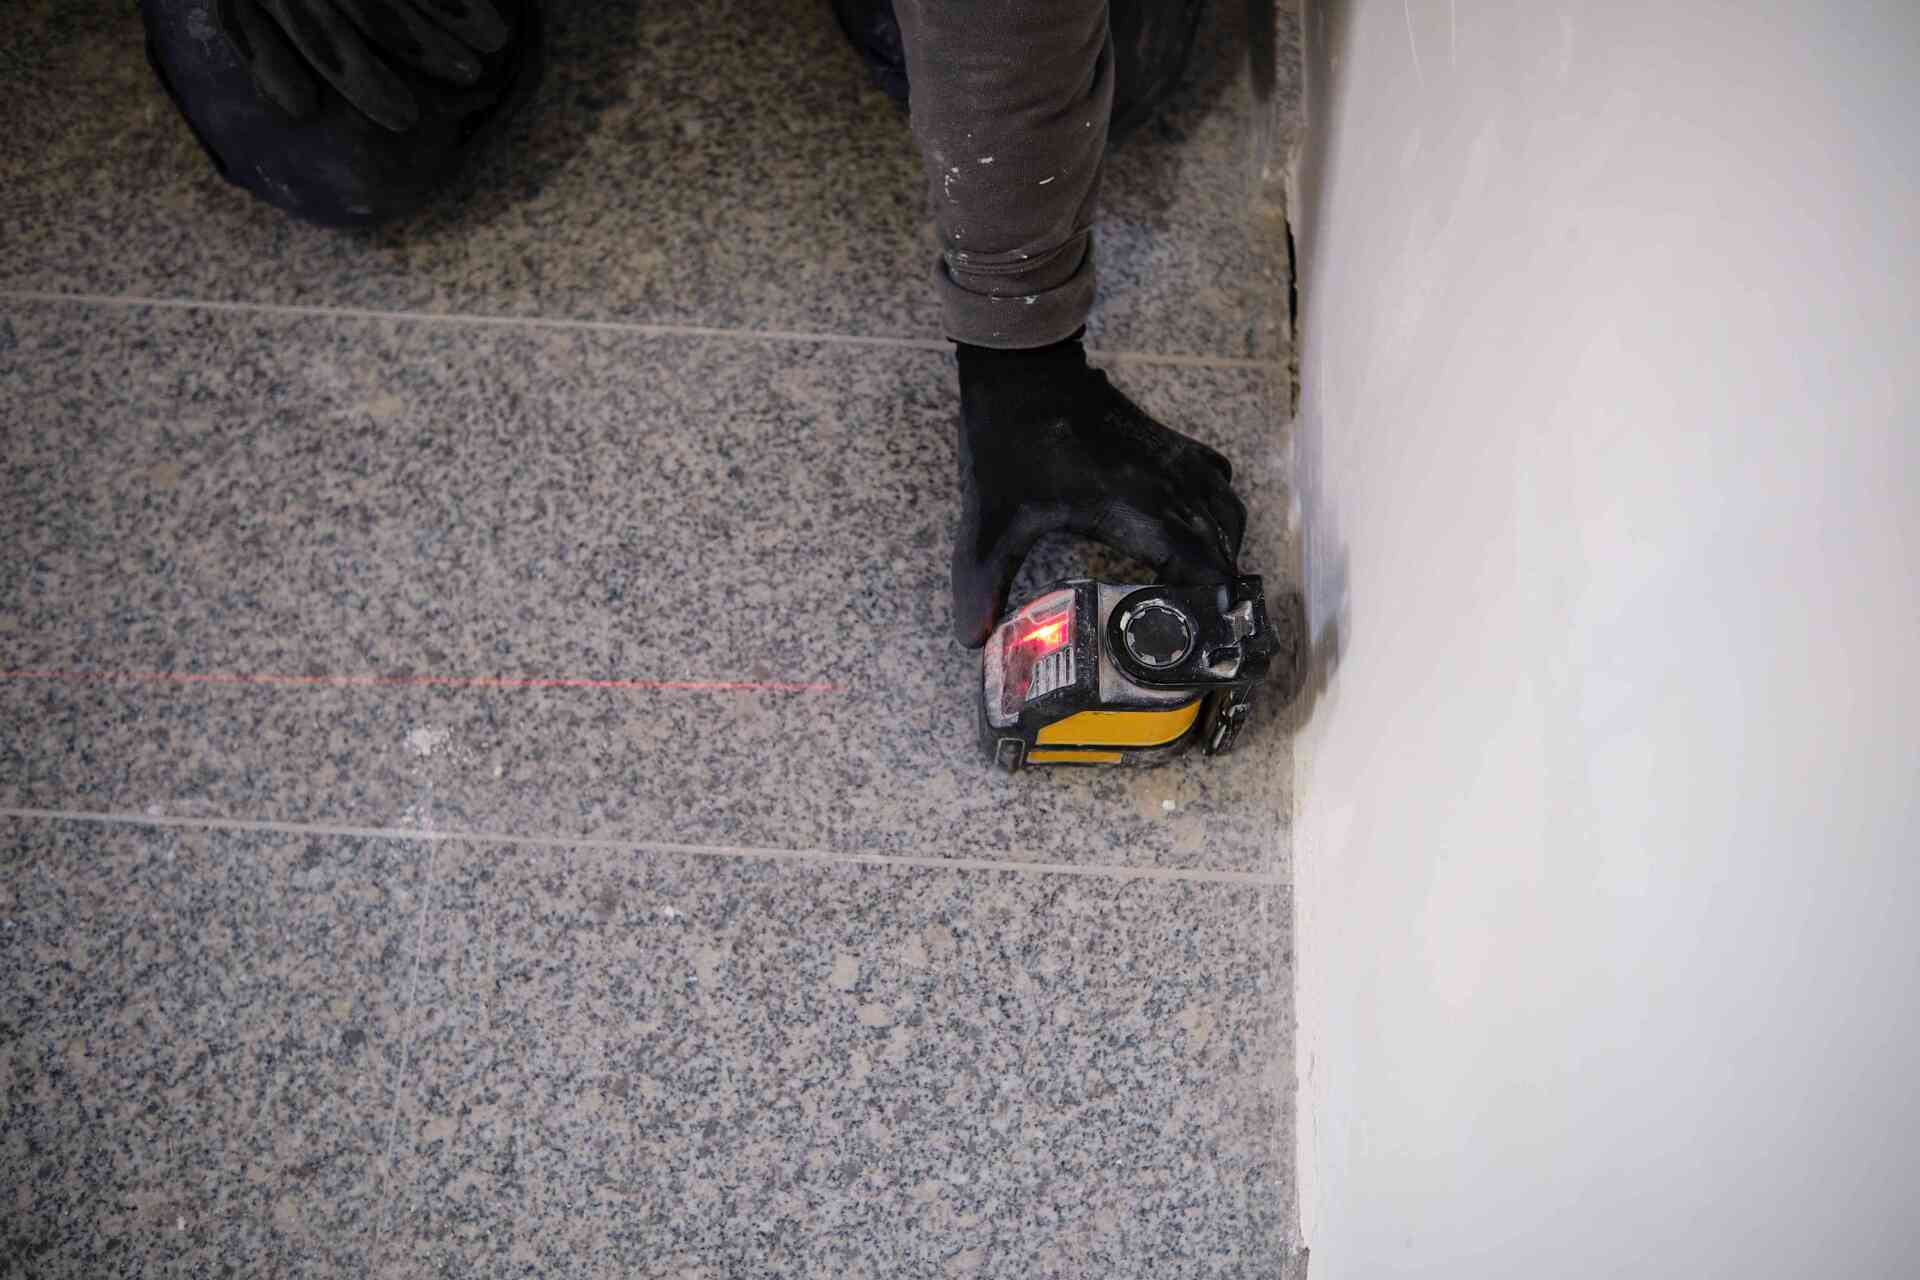
The Stanley Cubix Laser Level projects a laser beam that serves as a visual reference for leveling or alignment. The laser beam can be projected in either a horizontal or vertical line, depending on the selected mode. Pay attention to the laser beam projection and ensure that it aligns with the desired reference point or line. Adjust the position of the laser level and the mounting surface as needed to achieve the desired alignment.
4. Marking reference points on walls or surfaces:
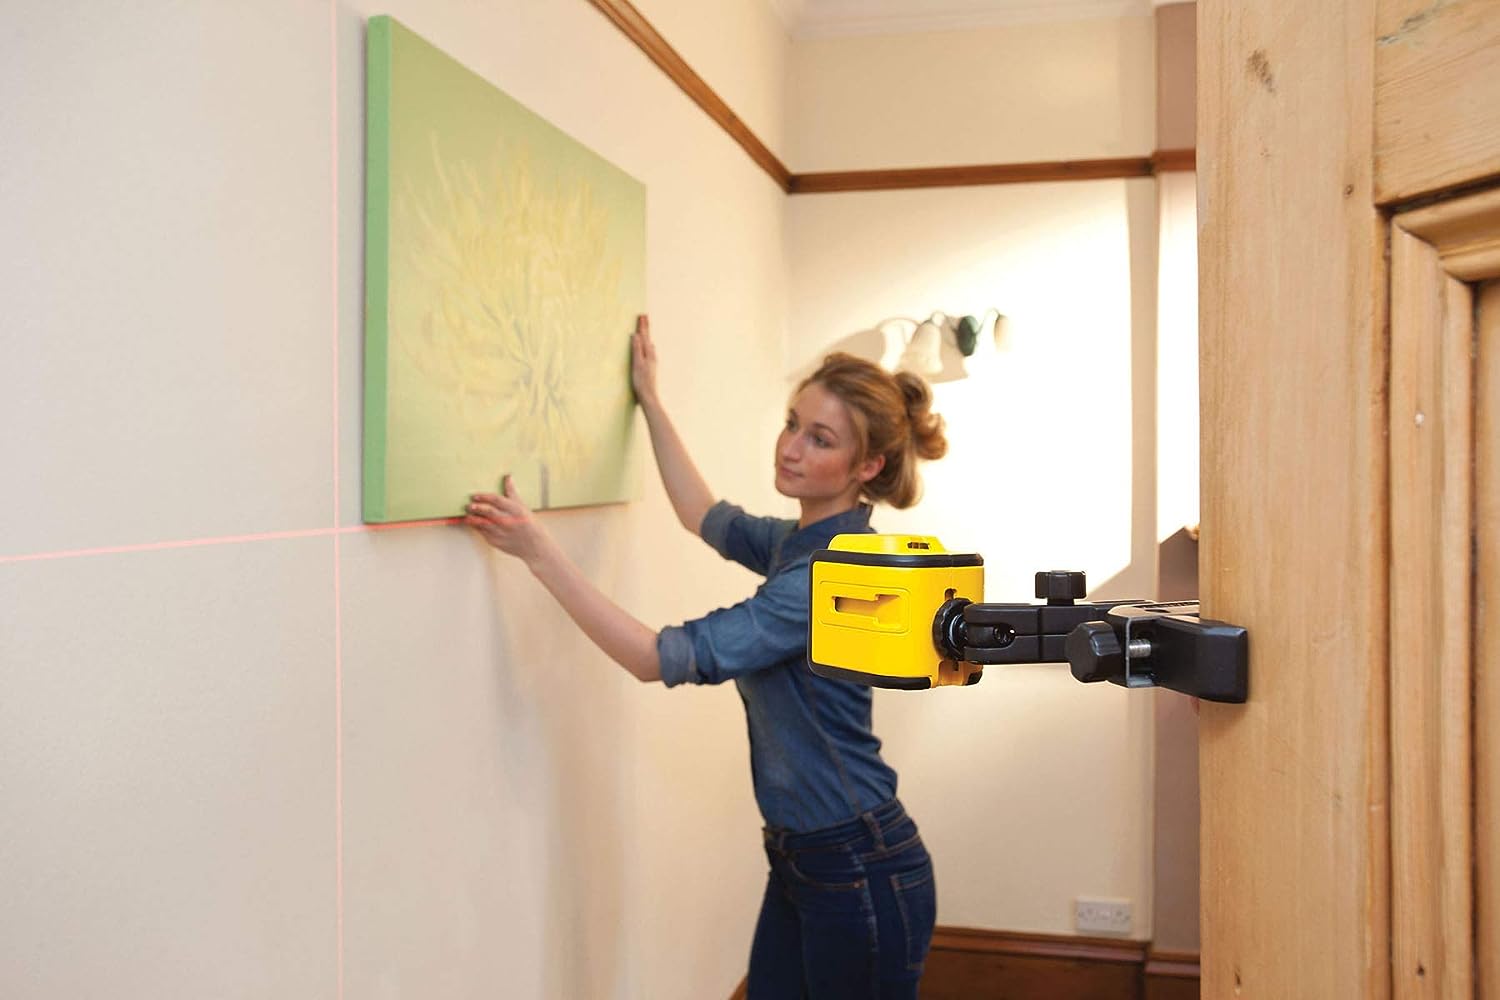
Once the laser level is properly adjusted and aligned, you can use it to mark reference points on walls or surfaces. The laser beam serves as a guide for marking straight lines or points that require alignment. Use a pencil or marker to mark the position of the laser beam on the surface. These reference points will help you accurately position and install items such as shelves, cabinets, or picture frames.
By following these steps, you can effectively use the Stanley Cubix Laser Level for a variety of applications. Remember to mount the laser level securely, adjust the leveling screws for precise alignment, understand the laser beam projection, and mark reference points for accurate positioning. In the next section, we will explore additional features and functions of the Stanley Cubix Laser Level.
Additional Features and Functions
The Stanley Cubix Laser Level offers a range of advanced features and functions that further enhance its versatility and usability. Let’s dive into exploring these features and understand how they can benefit your projects.
1. Exploring advanced features (e.g., pulse mode, manual mode):
In addition to the basic operation, the Stanley Cubix Laser Level may come with advanced features that expand its capabilities. For example, some models have a pulse mode that allows the laser beam to be detected by a separate laser detector. This is especially useful for outdoor applications or when working in bright lighting conditions where the laser beam may be difficult to see with the naked eye. Another feature you may find is a manual mode, which allows you to manually adjust the laser beam angle to suit your specific requirements. Familiarize yourself with these advanced features by referring to the instruction manual for your specific model.
2. Activating the self-leveling mode:
The self-leveling mode is a convenient feature of the Stanley Cubix Laser Level. When activated, it automatically adjusts the laser level to ensure that the laser beam remains level even if the device is not perfectly level itself. This saves you time and effort by eliminating the need to manually level the device. To activate the self-leveling mode, simply power on the laser level and allow it a few seconds to self-level. Once self-leveling is complete, the laser beam will be projected at a level position.
3. Using the lock function for angled projections:
The lock function is particularly useful when you need to project angled lines or reference points. With the lock function, you can manually adjust the laser level’s position to project the laser beam at an angle, such as for staircases or railing installations. The lock function ensures that the laser level maintains its position and angle during use, providing you with accurate and precise projections.
It’s important to consult the instruction manual for your specific model of the Stanley Cubix Laser Level to understand the exact method of activating and using these additional features. By taking advantage of these advanced functions, you can accomplish a wider range of tasks and increase the efficiency and accuracy of your work.
In the next section, we will provide some helpful tips for achieving accurate measurements with your Stanley Cubix Laser Level.
When using the Stanley Cubix Laser Level, make sure to calibrate it on a flat surface before use to ensure accurate and precise leveling.
Read more: How To Use Stanley S2 Laser Level Square
Tips for Accurate Measurements
To get the most accurate measurements with your Stanley Cubix Laser Level, it’s important to follow some essential tips. These tips will help you maintain stability, avoid common errors, and maximize the performance of your laser level for precise results. Let’s explore these tips in detail:
1. Maintaining a steady hand while using the laser level:
To ensure accuracy, it’s crucial to keep your hand steady while using the Stanley Cubix Laser Level. Shaky hands can result in an unstable laser beam, leading to inaccuracies in measurements. When positioning the laser level or marking reference points, take a moment to steady your hand and maintain a stable grip on the device. This will help produce consistent and reliable results.
2. Avoiding common errors in measurement:
When using a laser level, it’s important to be aware of common errors that can occur during measurements. One common mistake is not placing the laser level on a stable surface or mounting it securely on a tripod. Ensure that your laser level is properly leveled and mounted to eliminate any potential errors caused by an unstable position. Additionally, avoid obstructing or blocking the laser beam as it may affect the accuracy of your measurements. Be mindful of any obstacles or obstructions in the path of the laser beam.
3. Using a laser detector for outdoor applications:
For outdoor applications where the laser beam may be difficult to see under bright sunlight, consider using a laser detector in conjunction with your Stanley Cubix Laser Level. A laser detector is a device that can detect the laser beam and provide audio or visual signals to indicate its position. This allows you to accurately align and measure even in outdoor or high-visibility settings. Consult the instruction manual for your specific laser detector to understand how to use it with your laser level.
By following these tips, you can enhance the accuracy and precision of your measurements with the Stanley Cubix Laser Level. Remember to maintain a steady hand, avoid common errors, and utilize a laser detector for outdoor applications. These practices will help you achieve reliable and professional results in your projects.
In the next section, we will discuss the care and maintenance of your Stanley Cubix Laser Level to ensure its longevity and optimal performance.
Care and Maintenance
To ensure the longevity and optimal performance of your Stanley Cubix Laser Level, it’s important to take proper care of the device. Here are some key tips for caring for and maintaining your laser level:
1. Proper storage of the Stanley Cubix Laser Level:
When you are not using the laser level, it’s important to store it in a safe and dry location. Ideally, keep it in its original carrying case or a protective storage box to protect it from dust, moisture, and potential damage. Store it in a place where it is easily accessible for future use, but away from excessive heat or cold environments that may affect its performance.
2. Cleaning the device after use:
After each use, it’s important to clean your Stanley Cubix Laser Level to remove any dust, debris, or residue that may have accumulated on its surfaces. Use a soft, lint-free cloth or a slightly damp cloth to gently wipe down the device. Avoid using harsh chemicals, as they may damage the device or affect its laser performance. Pay special attention to the lens and laser emitter area, ensuring they are clean and free from obstructions that could interfere with the laser beam projection.
3. Battery replacement:
If your Stanley Cubix Laser Level is battery-powered, it’s important to monitor the battery life and replace them as needed. When the battery level is low, the laser level may not perform optimally. Refer to the instruction manual for your specific model to understand the battery type and replacement process. Always use high-quality, compatible batteries to ensure proper functioning of the device.
Regular care and maintenance of your Stanley Cubix Laser Level will help prolong its lifespan and ensure its accurate performance. By storing it properly, cleaning it after use, and replacing batteries as needed, you can rely on your laser level for multiple projects for years to come.
In the next section, we will address some common troubleshooting issues you may encounter with your Stanley Cubix Laser Level and how to resolve them.
Troubleshooting Common Issues
While the Stanley Cubix Laser Level is a reliable and user-friendly tool, you may encounter some common issues during its operation. Understanding how to troubleshoot these issues can help you resolve them quickly and effectively. Here are some troubleshooting tips for common issues:
1. LED indicators and their meanings:
The Stanley Cubix Laser Level is often equipped with LED indicators that provide essential information about its operation. Familiarize yourself with the LED indicators and their meanings as outlined in the instruction manual for your specific model. These indicators may include battery status, self-leveling mode, pulse mode, out-of-level, or other status indicators. Refer to the manual to interpret the LED indicators correctly and troubleshoot any related issues.
2. Common problems and solutions:
Here are some common problems you may encounter with your Stanley Cubix Laser Level, along with their potential solutions:
– Laser level not powering on: Ensure that the batteries are correctly inserted and have sufficient charge. Check for any battery corrosion and clean the contacts if necessary. If the problem persists, replace the batteries with new ones. Also, verify that the power switch is in the correct position and try again.
– Inaccurate leveling: Check that the device is properly leveled using the built-in leveling bubble or self-leveling feature. Verify that the surface or mounting area is stable and leveled. Make sure there are no obstructions or debris obstructing the laser beam, as this can affect the accuracy of the leveling.
– Dim or faint laser beam: Adjust the laser beam visibility settings to increase the brightness if available. Clean the lens and laser emitter area with a soft, lint-free cloth to remove any dirt or smudges that may be obstructing the beam. Also, ensure that the device is not running low on battery power, as this can affect the laser brightness.
– Laser beam not visible outdoors: If you are working outdoors or in high-visibility conditions, consider using a laser detector compatible with your Stanley Cubix Laser Level. A laser detector can amplify the laser beam and provide visual or audio signals to help you locate the beam accurately.
If you encounter any issues not covered here or if these solutions do not resolve the problem, consult the instruction manual or reach out to the Stanley Cubix customer support team for assistance.
By troubleshooting common issues and finding appropriate solutions, you can ensure that your Stanley Cubix Laser Level operates smoothly and provides reliable measurements for your projects.
To wrap up, we have covered the unboxing and setup process, basic operation, using the laser level, additional features and functions, tips for accurate measurements, care and maintenance, and troubleshooting common issues. With this knowledge, you can confidently use your Stanley Cubix Laser Level to achieve precise and professional results in your construction, woodworking, or home improvement projects.
Conclusion
In conclusion, the Stanley Cubix Laser Level is a powerful and versatile tool that can greatly enhance the accuracy and efficiency of your measurements. Let’s summarize the key points we have covered:
– The Stanley Cubix Laser Level is designed for professionals and DIY enthusiasts alike, offering a range of features and functions to ensure precise and accurate measurements.
– The unboxing and setup process involves unpacking the laser level, checking the components, installing batteries if required, and calibrating the device for accurate measurements.
– Basic operation involves powering on/off the device, selecting the desired mode (horizontal or vertical), adjusting the laser beam visibility, and using the built-in leveling bubble for alignment.
– Using the laser level entails mounting it securely on a tripod or other surfaces, adjusting the leveling screws for precise alignment, understanding the laser beam projection, and marking reference points for accurate positioning.
– The Stanley Cubix Laser Level offers additional features such as pulse mode, manual mode, self-leveling capability, and a lock function for angled projections, providing versatility for various applications.
– To achieve accurate measurements, it is important to maintain a steady hand, avoid common errors, and consider using a laser detector for outdoor applications.
– Proper care and maintenance, including appropriate storage, regular cleaning, and battery replacement, will ensure the longevity and optimal performance of your Stanley Cubix Laser Level.
– If any issues arise, consult the LED indicators and their meanings, and troubleshoot common problems by checking batteries, leveling, beam visibility, and cleanliness.
The Stanley Cubix Laser Level is a valuable tool that empowers you to achieve precise measurements in construction, woodworking, and home improvement projects. By using this laser level, you can save time, reduce errors, and elevate the quality of your work. Invest in the Stanley Cubix Laser Level today and experience the benefits of accurate and efficient measurements.
Frequently Asked Questions about How To Use Stanley Cubix Laser Level
Was this page helpful?
At Storables.com, we guarantee accurate and reliable information. Our content, validated by Expert Board Contributors, is crafted following stringent Editorial Policies. We're committed to providing you with well-researched, expert-backed insights for all your informational needs.


0 thoughts on “How To Use Stanley Cubix Laser Level”