Home>Articles>How To Use A Rotary Laser Level For Bole Barns
Articles
How To Use A Rotary Laser Level For Bole Barns
Modified: August 21, 2024
Learn how to use a rotary laser level for building pole barns with our informative articles. Gain the guidance you need for accurate and efficient construction.
(Many of the links in this article redirect to a specific reviewed product. Your purchase of these products through affiliate links helps to generate commission for Storables.com, at no extra cost. Learn more)
Introduction
Building a pole barn requires precision and accuracy to ensure that the structure is properly leveled. One of the most efficient tools for achieving this is a rotary laser level. A rotary laser level is a device that emits a level laser beam in a rotating motion, providing a reference line for leveling and aligning construction projects.
In this article, we will explore the process of using a rotary laser level for pole barns. We will guide you through the steps involved in setting up and using the rotary laser level, as well as provide tips to ensure your pole barn is level and structurally sound.
By following the techniques outlined in this article, you will be able to create a level and perfect pole barn, whether it’s for agricultural purposes, storage, or any other application.
So, let’s dive into the world of rotary laser levels and discover how they can assist you in building the pole barn of your dreams.
Key Takeaways:
- Achieve precision and accuracy in pole barn construction by using a rotary laser level. Follow the step-by-step process to ensure a leveled, aligned, and structurally sound pole barn for various applications.
- From preparing the site to finishing touches, the rotary laser level streamlines the leveling process, resulting in a polished and reliable pole barn. Follow the guidelines to create a high-quality structure with ease.
Read more: Who Uses Rotary Laser Level
Understanding Rotary Laser Levels
Before we delve into the process of using a rotary laser level, it’s essential to have a clear understanding of how these devices work and the benefits they offer in construction projects.
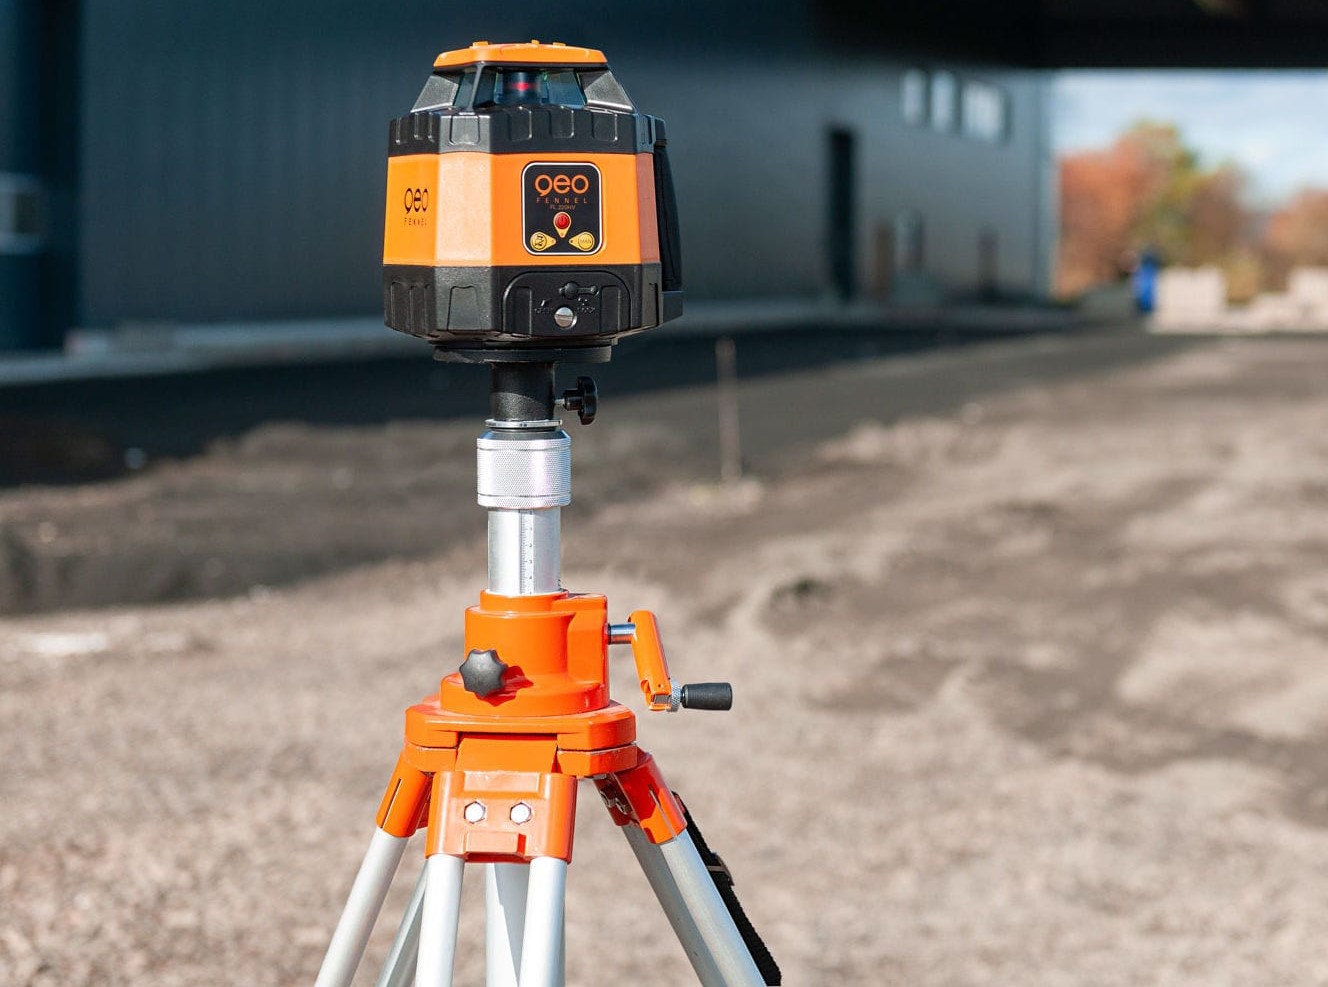
A rotary laser level consists of a laser emitter mounted on a rotating base. This emitter projects a laser beam that spins 360 degrees in a horizontal plane. The laser beam creates a visual reference line, allowing builders and contractors to accurately measure and align surfaces.
One of the primary advantages of using a rotary laser level is its ability to provide a level reference over long distances. Unlike traditional bubble levels, which can only be used for short distances, rotary laser levels can project a beam for up to several hundred feet.
Rotary laser levels can be used for a wide range of applications, including leveling floors, installing drop ceilings, aligning walls, and, of course, building pole barns. They are particularly well-suited for large-scale construction projects where precision is crucial for structural integrity.
When choosing a rotary laser level, consider factors such as accuracy, range, self-leveling capability, and durability. These features will ensure that you are equipped with a reliable and efficient tool for your pole barn construction project.
Now that you have a basic understanding of rotary laser levels and their significance in construction, let’s move on to the next steps involved in using this tool for building your pole barn.
Preparing for Leveling
Before you can begin using a rotary laser level to level your pole barn, it’s important to make the necessary preparations to ensure a smooth and accurate leveling process. Here are some steps you should take to prepare for leveling:
- Clear the area: Remove any debris, tools, or obstacles from the construction site. This will provide a clean and clear space for accurate measurements and leveling.
- Survey the site: Take a close look at the site where the pole barn will be built. Look for any uneven ground, slopes, or obstructions that may affect the leveling process. Identify any areas that may require additional attention or adjustments.
- Establish reference points: Determine the desired height and position of the pole barn. Mark reference points on the ground using stakes or markers. These points will serve as a guide for leveling the structure.
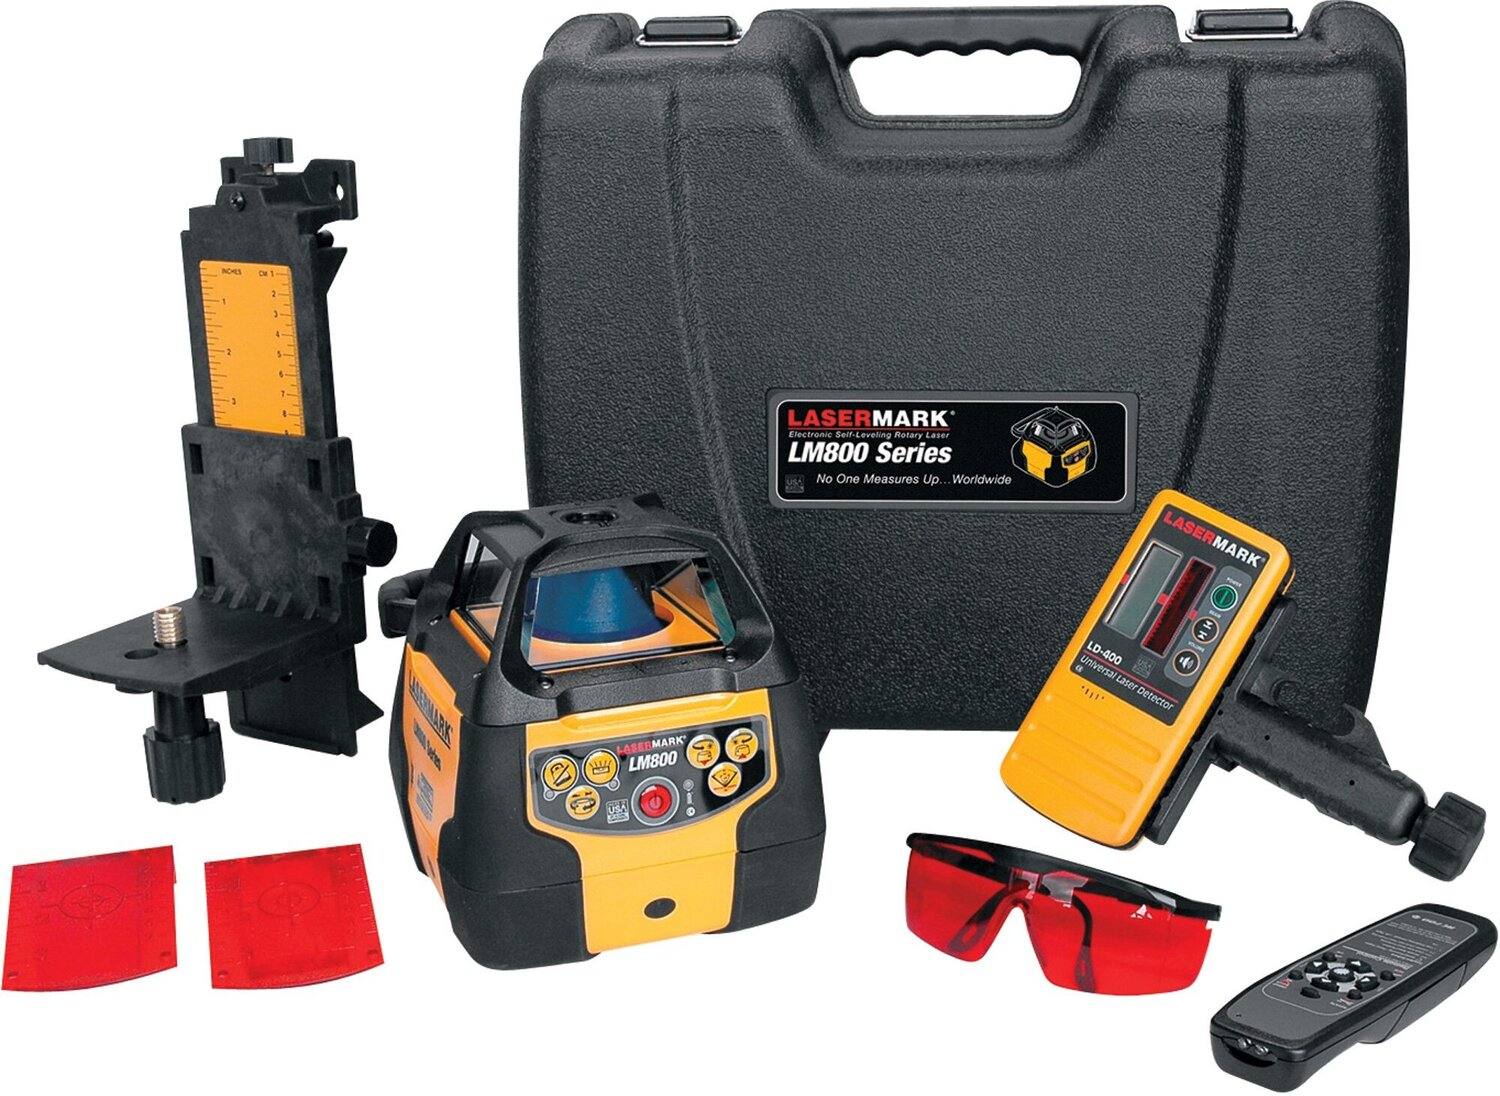
- Gather the necessary tools: Ensure that you have all the tools and equipment required for the leveling process, including the rotary laser level, a tripod, a grade rod, and a receiver (if necessary).
- Check the laser level: Before starting, make sure that the rotary laser level is in proper working condition. Check the batteries, ensure the laser beam is visible, and verify that all the components are securely attached.
- Calibrate the laser level: Follow the manufacturer’s instructions to calibrate the rotary laser level. This step is crucial to ensure accurate measurements and leveling throughout the construction project.
By taking these preparatory steps, you will set a solid foundation for the leveling process. This will help you achieve accurate and precise results when using the rotary laser level for your pole barn construction.
Setting Up the Rotary Laser Level
Once you have prepared the construction site and gathered all the necessary tools, it’s time to set up the rotary laser level. Follow these steps to ensure a proper setup:
- Choose a stable location: Select a stable, flat area where you can set up the rotary laser level. This will ensure that the level remains steady and accurately projects the laser beam.
- Attach the rotary laser to the tripod: Attach the laser emitter to the tripod securely. Make sure it is tightened adequately to prevent any movement during the leveling process.
- Extend the tripod legs: Extend the tripod legs to the desired height. Adjust the legs so that the rotary laser level is at a comfortable working height. Ensure that the tripod is stable and level by adjusting the leg lengths if necessary.
- Turn on the laser level: Power on the rotary laser level and wait for it to self-level. Most modern rotary laser levels have a self-leveling feature that automatically adjusts the laser beam to be perfectly level. This process may take a few seconds or minutes, depending on the model.
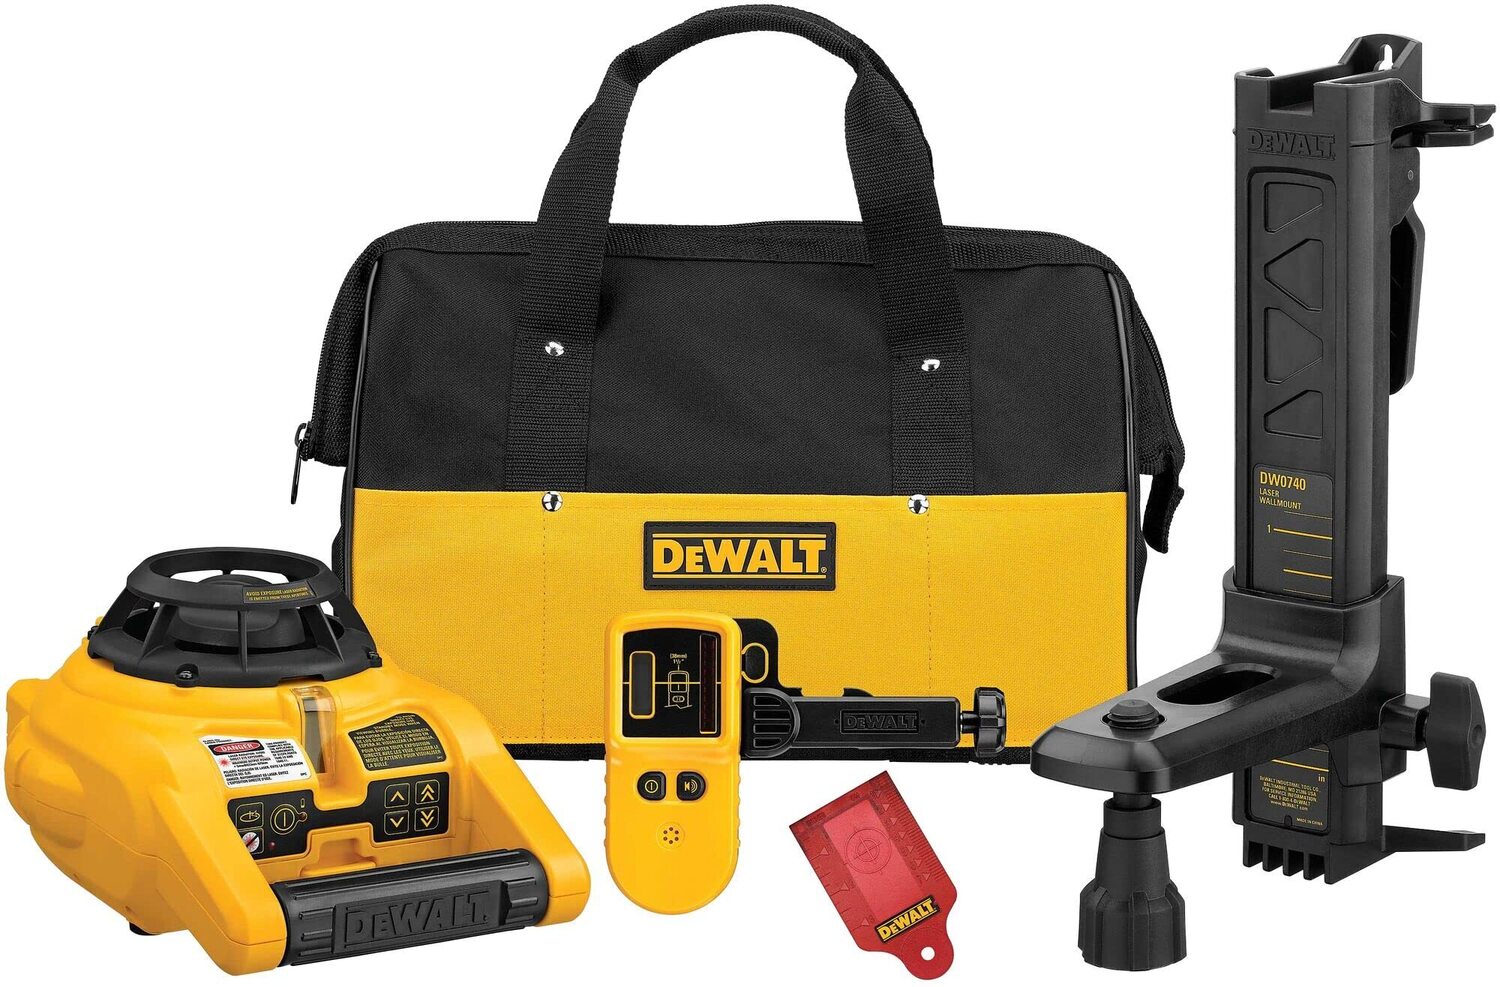
- Ensure the laser beam is visible: Check that the laser beam is visible by checking the ambient lighting conditions. If needed, you can use a receiver to detect the laser beam in bright or outdoor environments.
- Aim the laser in the desired direction: Rotate the rotary laser level until the laser beam aligns with the reference points or the desired direction. Use the built-in controls or adjustments on the laser level to fine-tune the beam’s positioning.
By following these steps, you will have a properly set-up rotary laser level ready for use. The laser level will project a leveled reference line, which will serve as a guide for leveling the pole barn walls.
Now that the rotary laser level is set up, we can move on to establishing a baseline for accurate leveling.
Establishing a Baseline
Establishing a baseline is a crucial step in using a rotary laser level to level your pole barn accurately. The baseline serves as the reference line from which all other measurements and leveling will be based upon. Follow these steps to establish a baseline:
- Select a starting point: Choose a corner or a wall as your starting point for establishing the baseline. This will be the reference point from which you will measure the levelness of other walls or surfaces.
- Place the rotary laser level: Position the rotary laser level at a suitable distance from the starting point. Ensure that the laser beam is projected directly onto the wall or surface you have chosen to establish the baseline.
- Measure the baseline height: Use a grade rod to measure the height of the laser beam at the starting point. Adjust the grade rod until it aligns with the laser beam, and record the height measurement.
- Mark reference points: Use a pencil or marking tool to mark the height measurement on the wall or surface at several locations along the baseline. These reference points will help you maintain the desired levelness as you proceed with the leveling process.
- Repeat the process for other walls: Move the rotary laser level to the next wall or corner, ensuring that the laser beam aligns with the marked reference points from the previous wall. Measure the height of the laser beam at the new location and mark the reference points accordingly.
By establishing a baseline, you create a consistent reference line that ensures the levelness and alignment of the entire pole barn structure. This step is essential for maintaining accuracy and preventing any inconsistencies in the leveling process.
With the baseline established, we can now proceed to level the first wall of your pole barn.
When using a rotary laser level for building barns, make sure to set it up on a stable surface and calibrate it properly to ensure accurate and level measurements throughout the construction process.
Leveling the First Wall
Now that you have established a baseline for your pole barn, it’s time to begin leveling the walls. We will start with the first wall using the reference points set in the previous steps. Follow these instructions to ensure a level and aligned first wall:
- Position the rotary laser level: Move the rotary laser level to a position where the laser beam aligns with the marked reference points on the first wall. Ensure that the laser beam is projected onto the wall at the desired height.
- Adjust the wall height: Measure the height of the laser beam on the wall using a grade rod. Compare this measurement to the reference points on the wall. If the laser beam is too high or too low, adjust the wall’s height accordingly.
- Use leveling materials: If the wall needs to be raised or lowered, use appropriate leveling materials such as shims or wedges to achieve the desired height. Place the leveling materials at strategic points as needed to create a level surface.
- Check for levelness: Use a level or a straightedge to verify that the first wall is level both horizontally and vertically. Adjust the leveling materials as necessary to achieve a perfectly leveled wall.
- Secure the wall: Once the first wall is perfectly leveled, secure it in place using nails, screws, or other appropriate fasteners. Ensure that the wall remains level and secure during the construction process.
By carefully following these steps, you will be able to level the first wall of your pole barn accurately. Remember to double-check the levelness using a level or straightedge and make any necessary adjustments before proceeding to the next wall.
Once the first wall is leveled, we can move on to leveling the remaining walls of your pole barn.
Leveling the Remaining Walls
With the first wall of your pole barn level and secure, it’s time to move on to leveling the remaining walls. Follow these steps to ensure that all the walls are aligned and leveled:
- Reposition the rotary laser level: Move the rotary laser level to the next wall, aligning the laser beam with the marked reference points from the baseline. Ensure that the laser beam is projected onto the wall at the desired height.
- Measure the height and compare: Use a grade rod to measure the height of the laser beam on the wall. Compare this measurement to the reference points on the wall and adjust the wall’s height if necessary.
- Use leveling materials: If the wall needs to be raised or lowered, use shims or wedges to achieve the desired height. Place the leveling materials strategically along the wall to create a level surface.
- Check for levelness: Use a level or straightedge to verify that the wall is level both horizontally and vertically. Make any necessary adjustments to the leveling materials until the wall is perfectly leveled.
- Secure the wall: Once the remaining wall is level, secure it in place using nails, screws, or other appropriate fasteners. Ensure that the wall remains level and secure as you move on to the next wall.
- Repeat for all walls: Repeat the process for all the remaining walls of your pole barn, moving the rotary laser level and adjusting the leveling materials as needed. Take your time to ensure that each wall is precisely leveled.
By carefully following these steps for each wall, you will achieve a pole barn structure that is level, aligned, and structurally sound. Regularly check the levelness of the walls using a level or straightedge throughout the construction process to ensure accuracy.
Once all the walls are leveled, we can proceed to the next step of checking for plumb and square to further enhance the stability and integrity of your pole barn construction.
Checking for Plumb and Square
Once all the walls of your pole barn are leveled, the next step is to check for plumb and square. Checking for plumb ensures that the walls are perfectly vertical, while checking for square ensures that the corners are at 90-degree angles. Follow these steps to ensure your pole barn is plumb and square:
- Check for plumb: Select a wall to start with and place a plumb bob or level against it. A plumb bob is a weighted object that hangs from a string and provides a vertical reference line. Adjust the position of the wall as necessary until the plumb bob aligns with the reference points on the ground. Repeat this process for each wall, making sure they are all perfectly plumb.
- Check for square: To check for squareness, measure the diagonals of your pole barn using a measuring tape or a laser distance measure. The length of the diagonals should be equal if your pole barn is perfectly square. If the lengths differ, adjust the position of the walls until the measurements match.
- Secure the walls: Once your pole barn is both plumb and square, secure the walls in their final positions. Use nails, screws, or other appropriate fasteners to firmly attach the walls to the foundation or supporting posts. This will ensure the stability and structural integrity of your pole barn.
Checking for plumb and square is crucial to ensure the stability and overall quality of your pole barn. It helps prevent future issues such as leaning walls or uneven structures, ensuring that your pole barn stands the test of time. Take the time to double-check the plumb and square measurements before proceeding to the next steps of the construction process.
With your pole barn walls leveled, plumb, and square, it’s time to move on to the finishing touches to complete your construction project.
Finishing Touches
With your pole barn walls leveled, plumb, and square, it’s time to focus on the finishing touches to complete your construction project. Here are some important steps to consider for a polished and well-constructed pole barn:
- Roof Installation: Install the roofing materials, whether it’s metal panels, shingles, or another type of roofing system. Make sure to follow the manufacturer’s instructions for proper installation techniques.
- Sidings: Apply the chosen sidings to the walls of your pole barn. This could be anything from wooden siding to metal cladding, depending on your preference and the desired aesthetic appeal.
- Doors and Windows: Install doors and windows according to your design plans. Ensure that they are properly aligned and securely attached to the walls. Seal any gaps around the openings to prevent water infiltration.
- Interior Finishing: If desired, finish the interior of your pole barn with insulation, drywall, or any other materials that suit your needs. Consider adding electrical wiring and lighting fixtures as well.
- Ventilation: Incorporate proper ventilation systems to ensure airflow within the pole barn. This will help regulate temperature, prevent moisture buildup, and enhance air quality.
- Painting or Staining: Apply a coat of paint or stain to the exterior of your pole barn to protect the wood or other materials from weathering and enhance its overall appearance.
- Site Cleanup: Once your pole barn is complete, ensure that the construction site is thoroughly cleaned up. Remove any debris, unused materials, and tools from the area. This will leave you with a tidy and functional pole barn.
By following these finishing touches, you will transform your leveled and aligned pole barn into a functional and visually appealing structure. The attention to detail in this final phase will ensure that your pole barn is ready to serve its intended purpose.
Remember to consult local building codes and regulations throughout the construction process to ensure compliance and safety. It is also recommended to seek professional assistance if needed, especially for complex installations or specific requirements.
With the finishing touches complete, step back and admire your newly constructed pole barn, knowing that you have achieved a level and structurally sound building using the rotary laser level and proper construction techniques.
Congratulations on a job well done!
Read more: How Many Ft. Will Rotary Laser Level Go
Conclusion
Building a pole barn requires precision and accuracy to ensure a sturdy and reliable structure. By utilizing a rotary laser level and following the steps outlined in this article, you can achieve an accurately leveled and aligned pole barn. The use of a rotary laser level provides a precise reference line, making the leveling process more efficient and ensuring the structural integrity of your pole barn.
We discussed the importance of understanding how rotary laser levels work and their benefits in construction projects. Proper preparation, including clearing the site and establishing reference points, is crucial before setting up the rotary laser level. Setting up the device correctly is essential to ensure accurate measurements and a stable level projection.
We then walked through the process of establishing a baseline and leveling the walls, both the first wall and the remaining walls. Checking for plumb and square is another vital step in ensuring the stability and consistency of your pole barn.
Finally, we explored the finishing touches that complete your pole barn, including roof installation, sidings, doors, windows, interior finishes, ventilation, and site cleanup. Paying attention to these details will result in a polished and functional pole barn that meets your needs and requirements.
Remember to consult local building codes and regulations throughout the construction process and consider seeking professional assistance if needed.
By following the techniques and guidelines outlined in this article, you can confidently build a leveled, aligned, and structurally sound pole barn using a rotary laser level. Enjoy the process of construction and take pride in the finished product, knowing that you have created a high-quality building that will serve its intended purpose for years to come.
Frequently Asked Questions about How To Use A Rotary Laser Level For Bole Barns
Was this page helpful?
At Storables.com, we guarantee accurate and reliable information. Our content, validated by Expert Board Contributors, is crafted following stringent Editorial Policies. We're committed to providing you with well-researched, expert-backed insights for all your informational needs.


0 thoughts on “How To Use A Rotary Laser Level For Bole Barns”