Home>Articles>How To Use A Home Depot Rotary Laser Level For Grading

Articles
How To Use A Home Depot Rotary Laser Level For Grading
Modified: March 1, 2024
Learn how to use a Home Depot rotary laser level for grading with our informative articles. Achieve accurate and precise results for your grading projects.
(Many of the links in this article redirect to a specific reviewed product. Your purchase of these products through affiliate links helps to generate commission for Storables.com, at no extra cost. Learn more)
Introduction
When it comes to grading your land for various projects, such as preparing for landscaping, installing a patio, or constructing a foundation, precision is key. Uneven or incorrect grading can lead to costly and time-consuming mistakes. That’s where a home depot rotary laser level comes in handy.
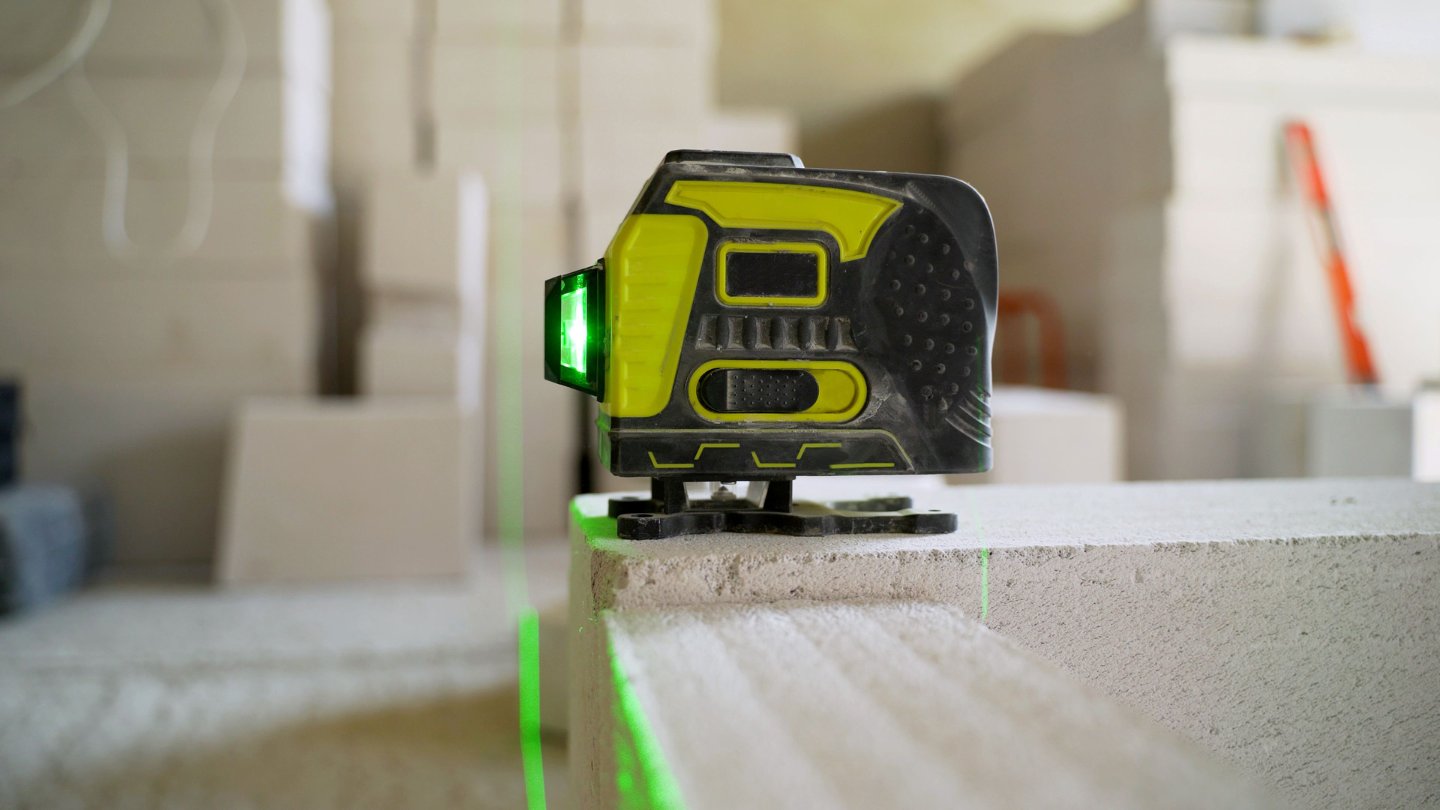
A rotary laser level is a device that emits a beam of light in a 360-degree rotation. It helps you achieve accurate and level surfaces by projecting a horizontal or vertical line onto the area you’re working on. This ensures that the ground is properly graded and leveled, resulting in a professional and aesthetically pleasing outcome.
In this article, we will guide you on how to use a home depot rotary laser level for grading. We will walk you through the steps of setting up the device, calibrating it, and adjusting it to achieve the desired grading. With the help of this tool, you can say goodbye to uneven surfaces and hello to a precisely leveled project.
Before we dive into the practical aspects, let’s take a moment to understand how rotary laser levels work and the significance they hold in the grading process.
Key Takeaways:
- Properly setting up, calibrating, and adjusting a home depot rotary laser level is crucial for achieving precise and professional grading results, ensuring accurate and level surfaces for various projects.
- Understanding the features and troubleshooting common issues of a rotary laser level can help users overcome challenges and achieve efficient and accurate grading, ultimately saving time and effort in their projects.
Read more: How To Use Laser Level For Grading
Understanding Rotary Laser Levels
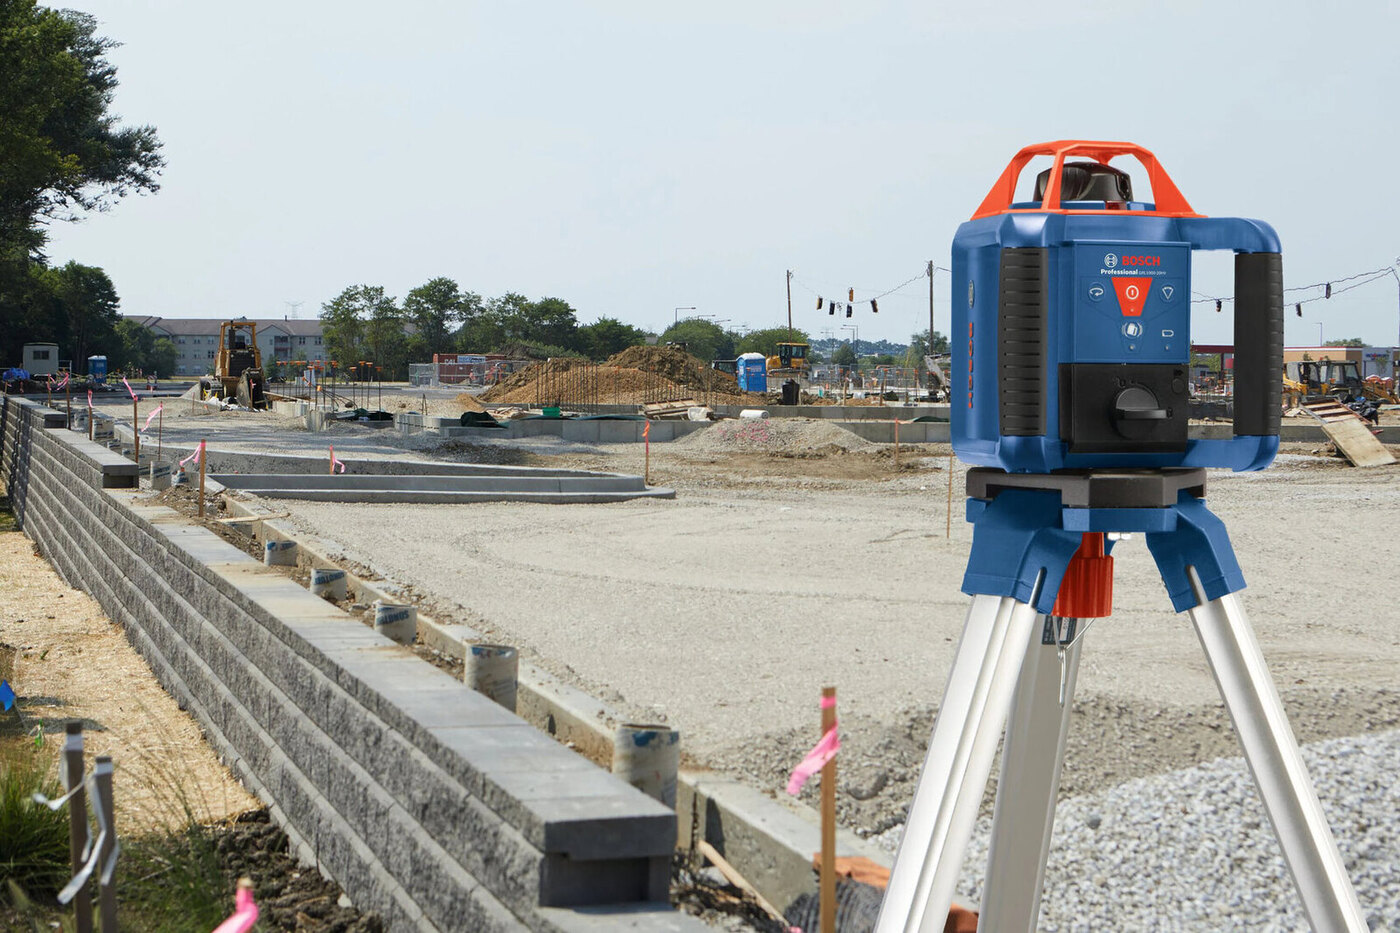
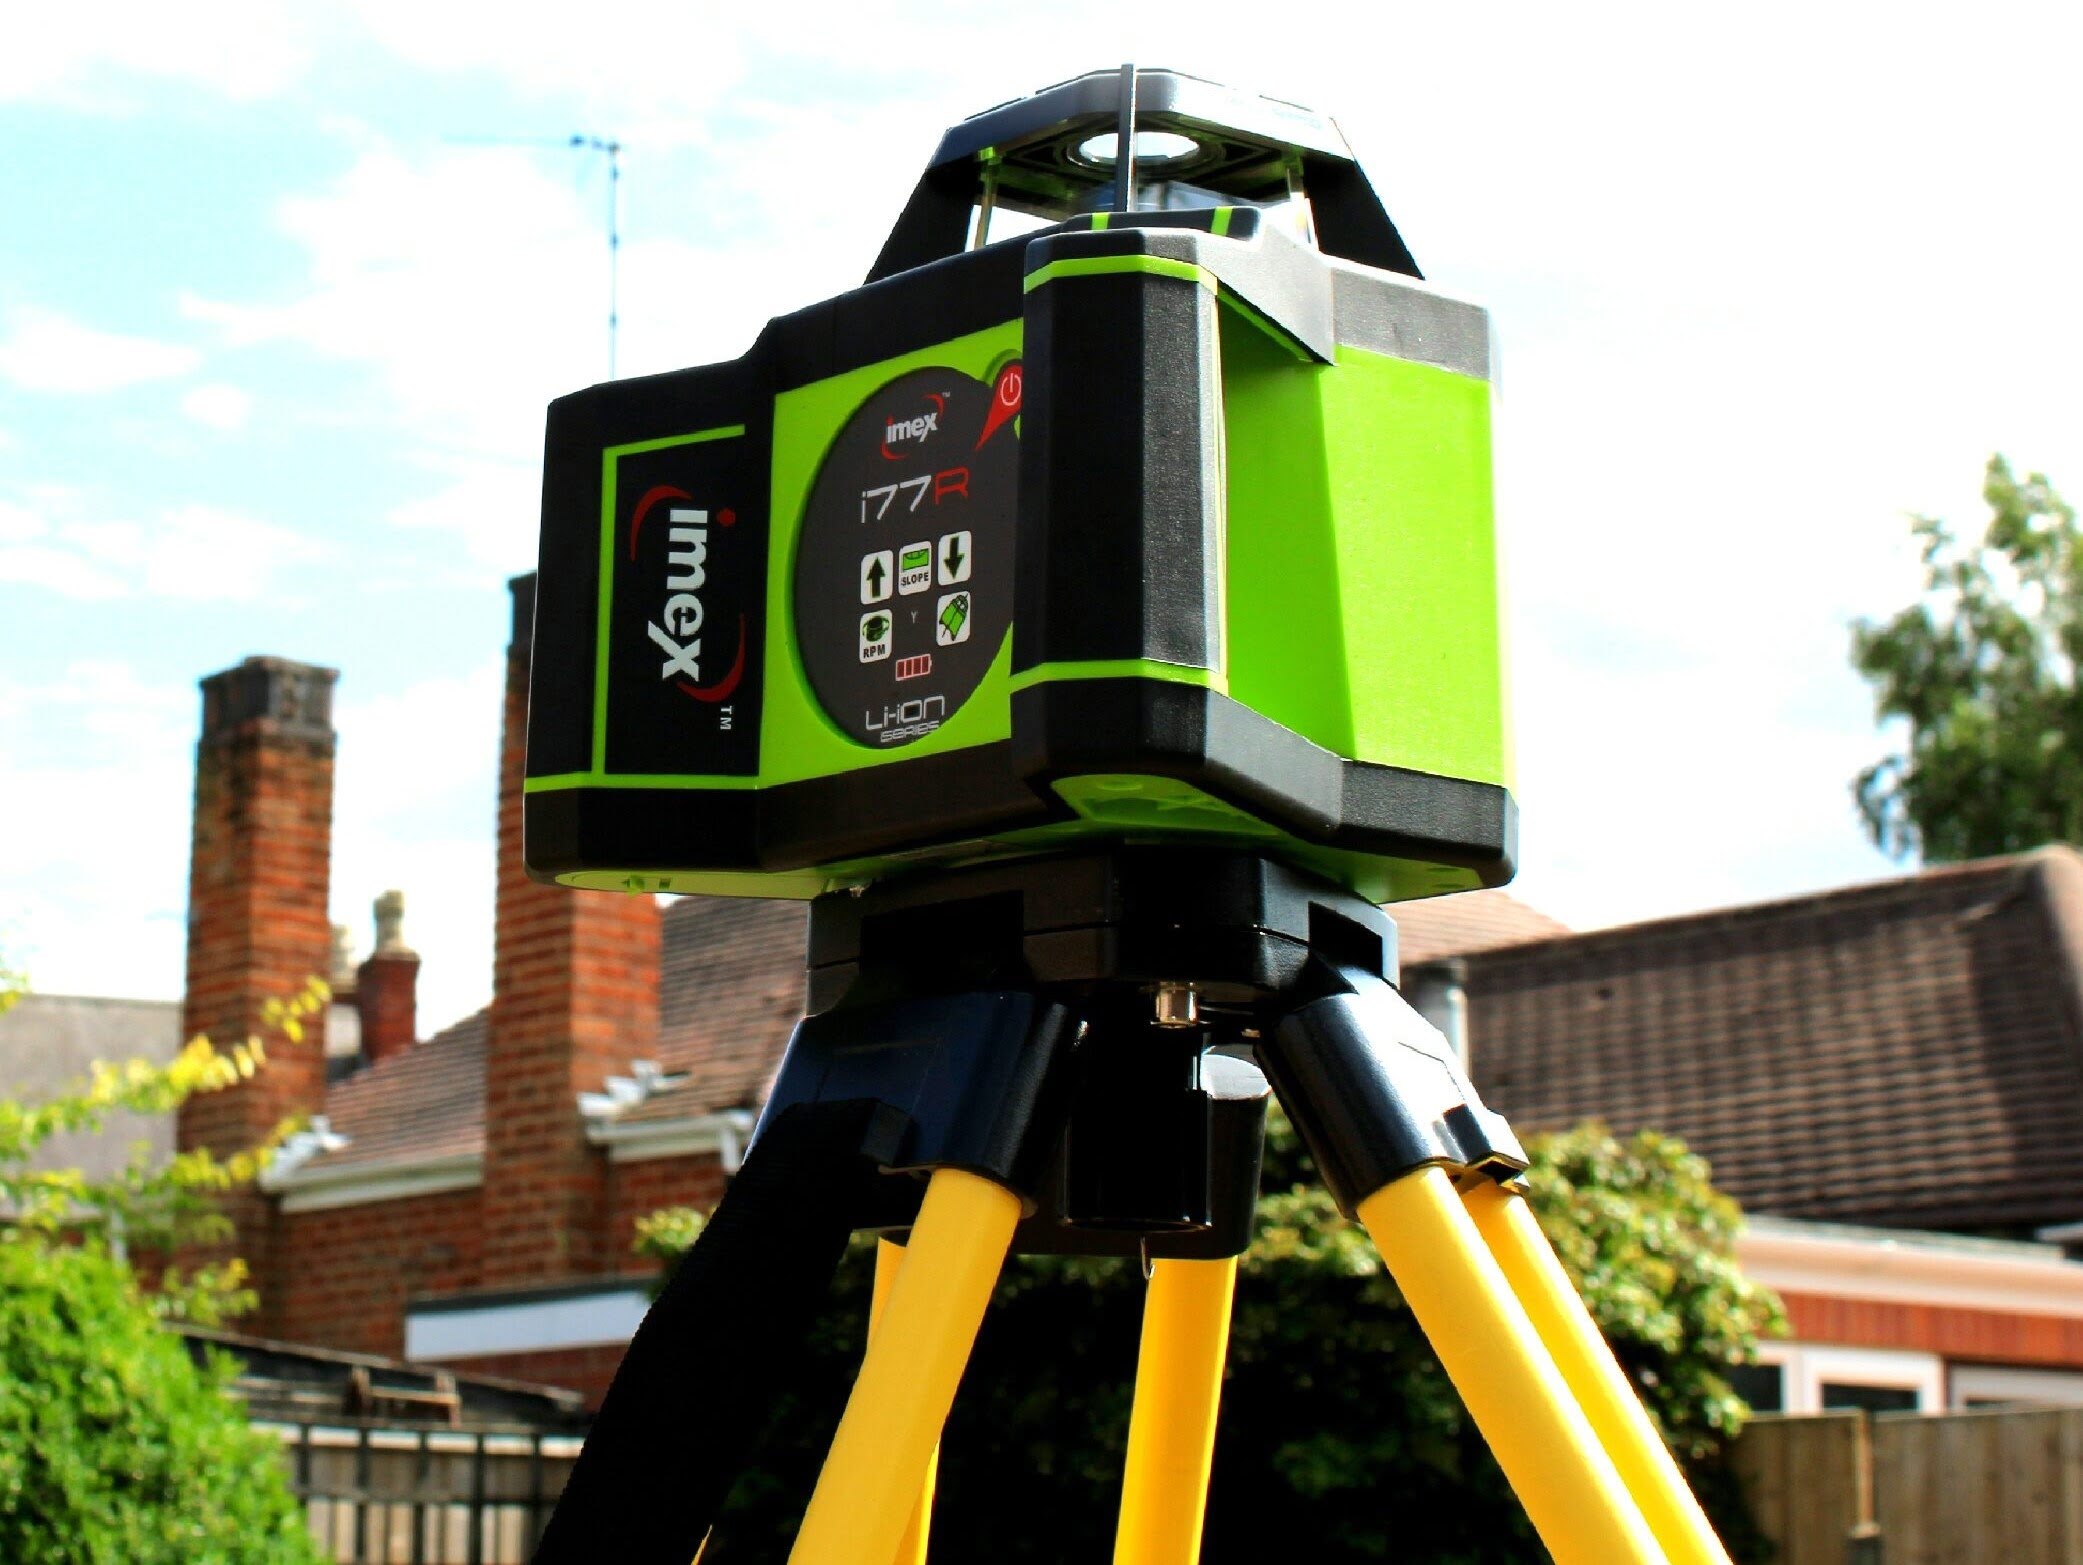
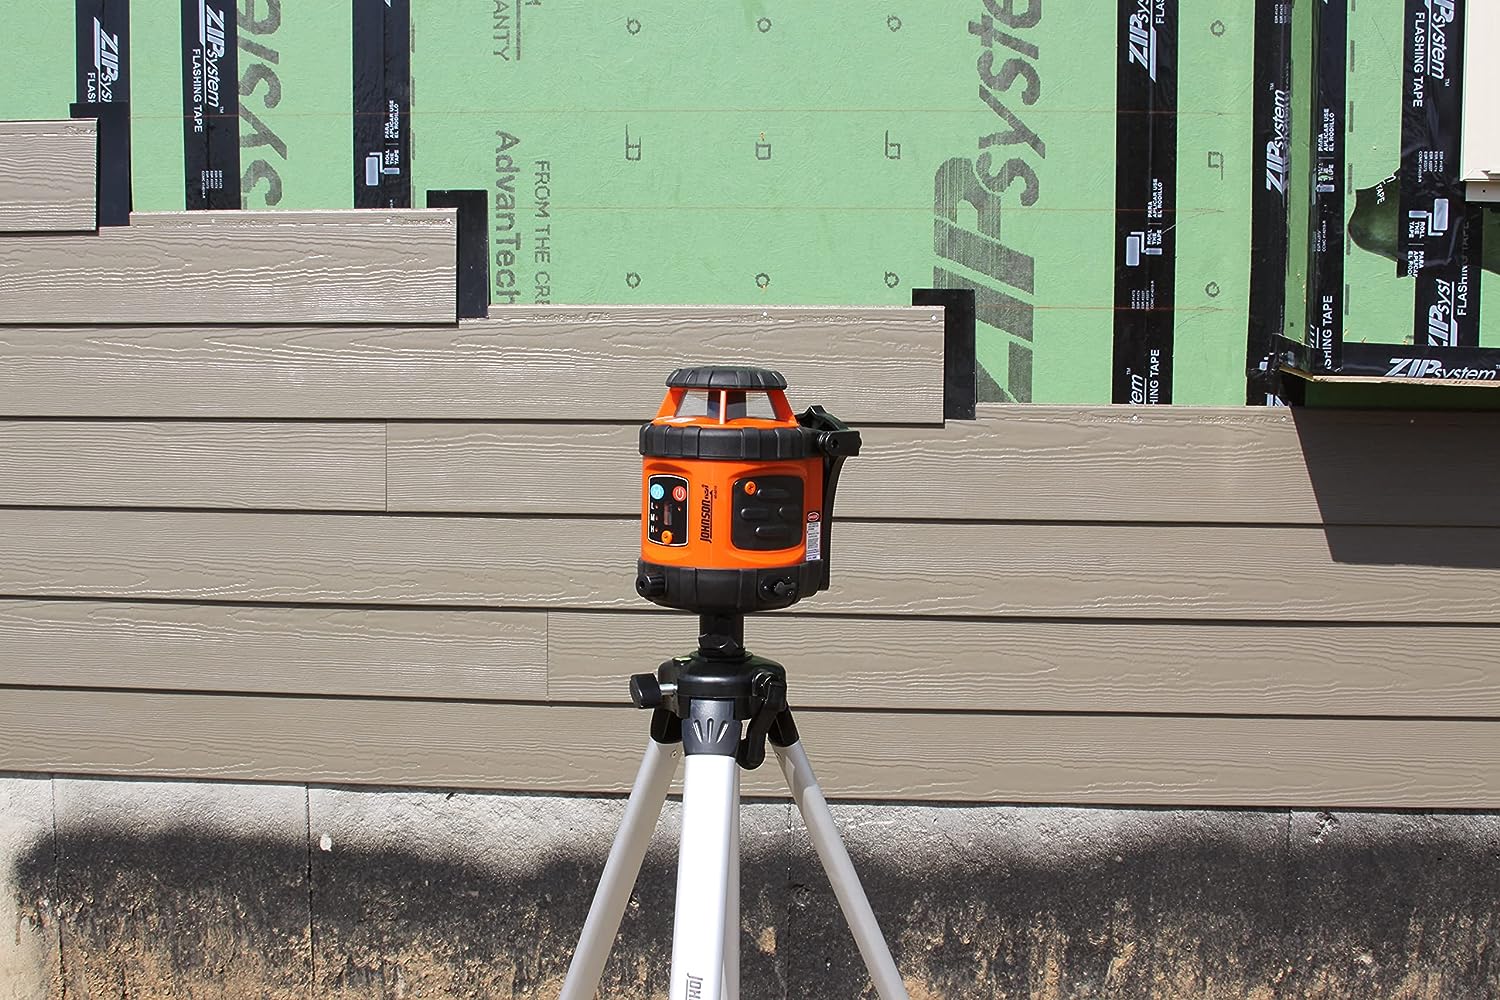
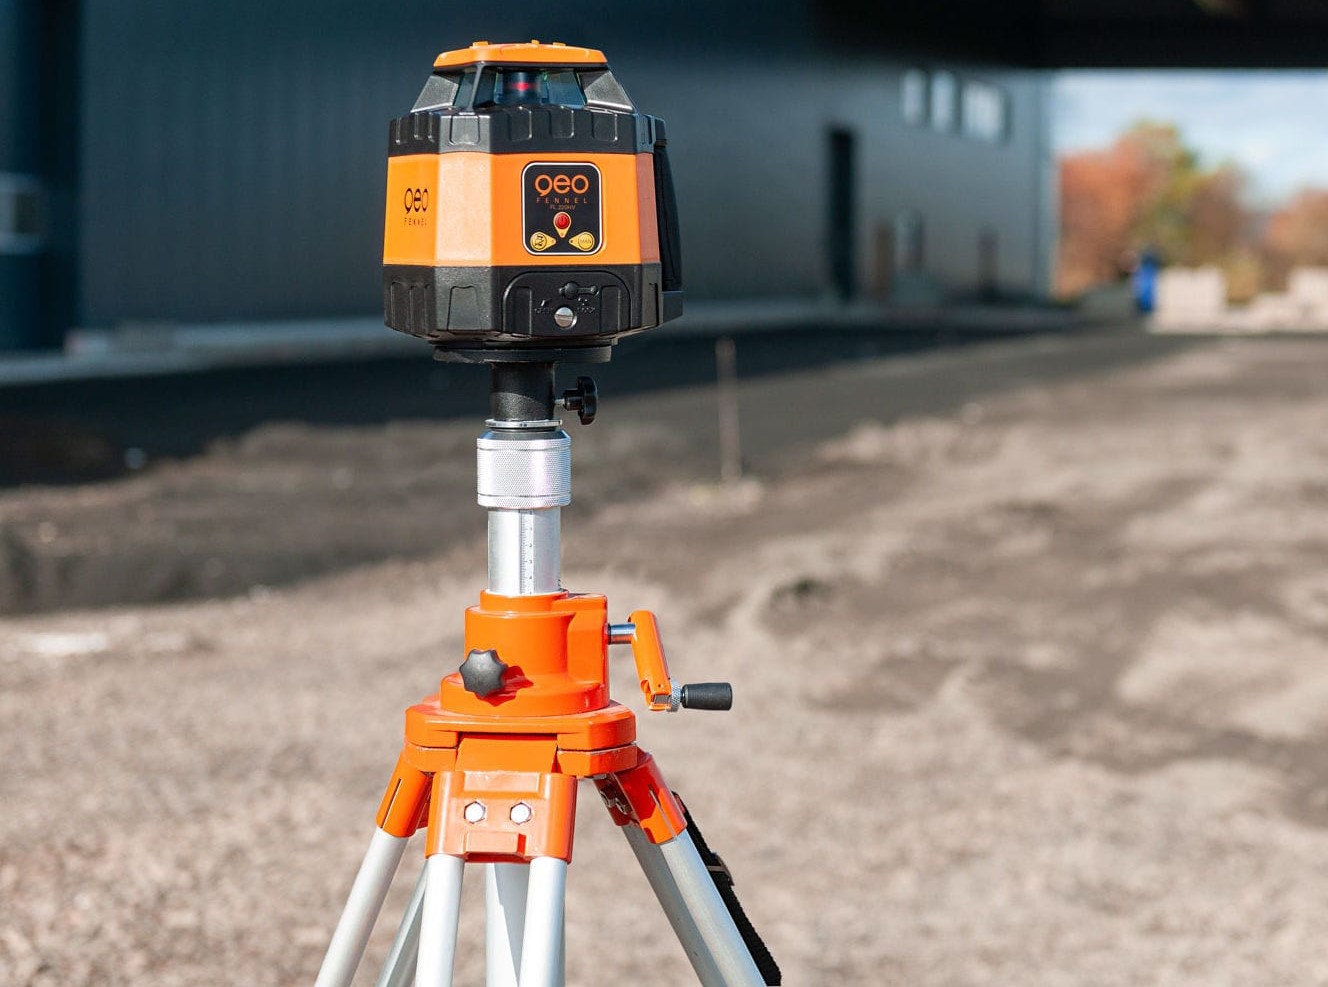
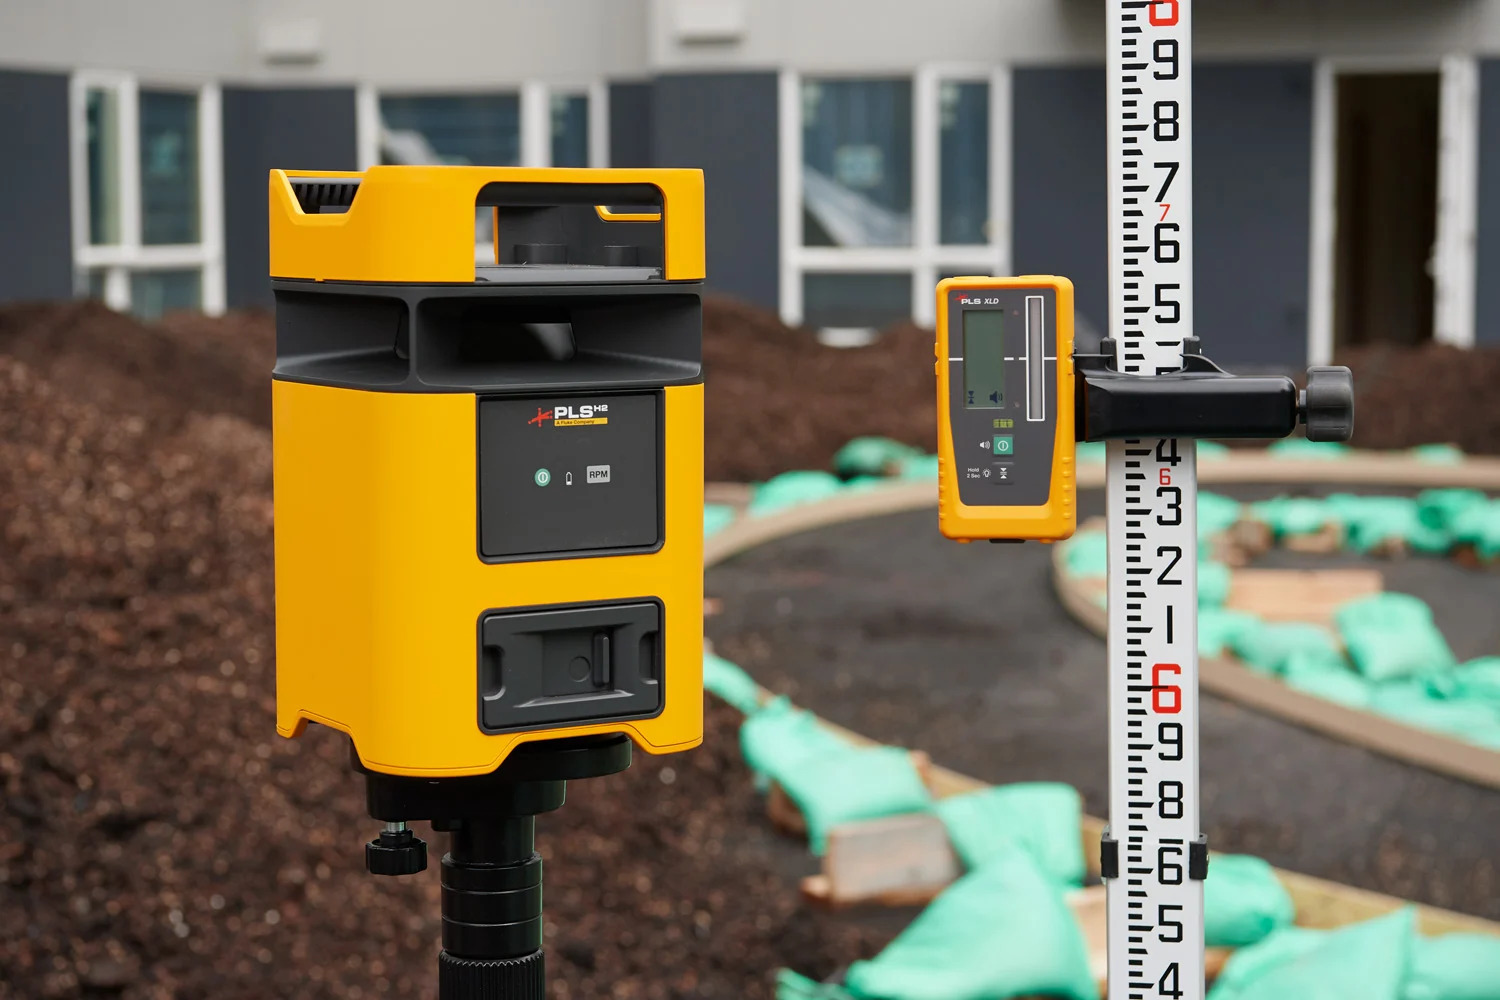
Rotary laser levels are sophisticated tools that utilize a rotating laser beam to project a 360-degree line onto a surface. This line serves as a reference point for leveling and grading purposes. Understanding the key components and features of a rotary laser level will help you make the most of this tool.
First and foremost, rotary laser levels consist of a laser emitter and a rotating motor. The laser emitter emits a laser beam that rotates horizontally or vertically, depending on the desired application. The rotating motor ensures that the laser beam covers a complete 360-degree radius.
Rotary laser levels come with a variety of features that enhance their usability. Some models offer self-leveling capabilities, which means that the laser beam automatically adjusts to maintain a level line. This feature is particularly useful when working on uneven terrain or inclines.
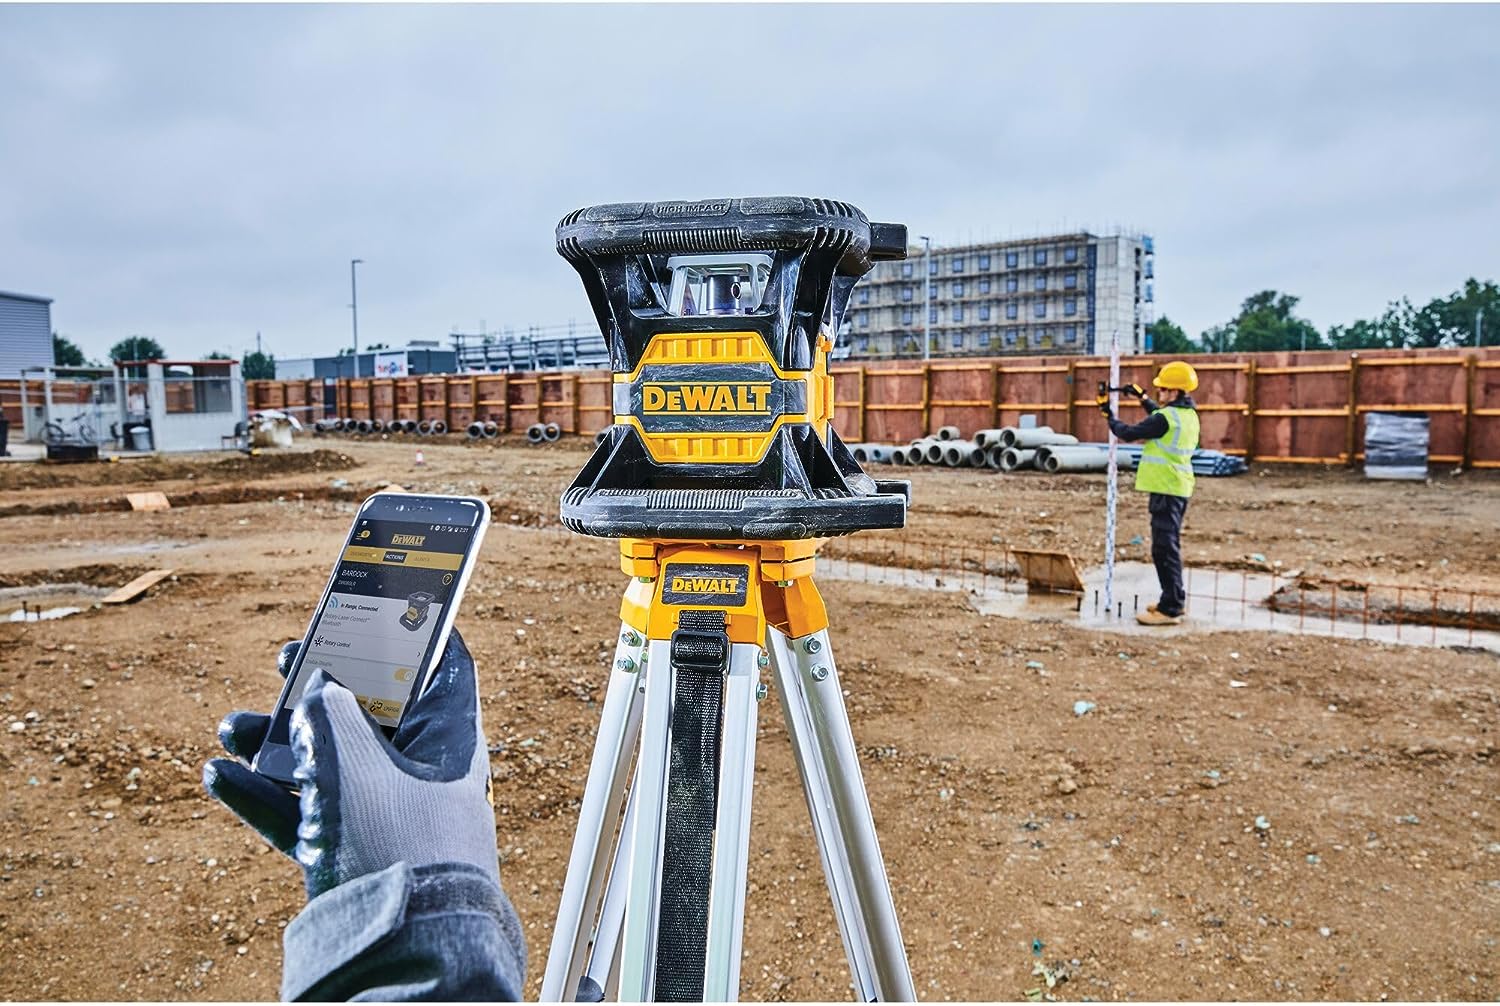
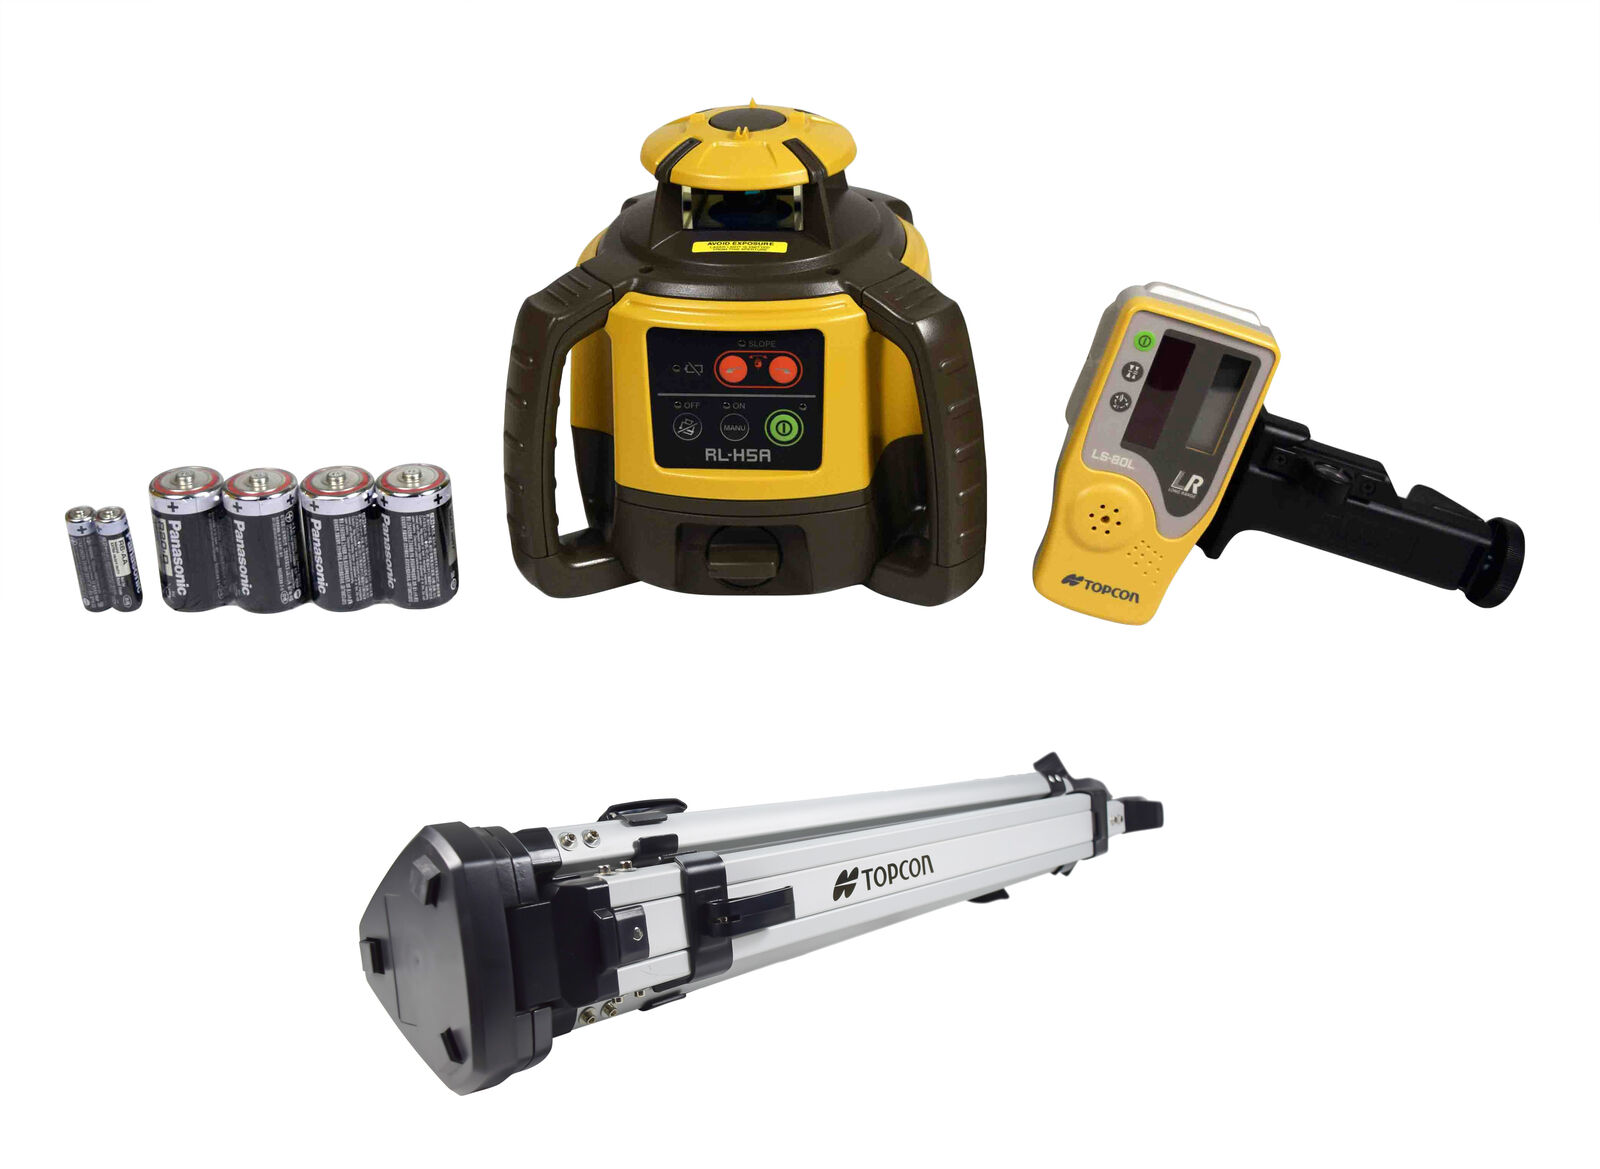
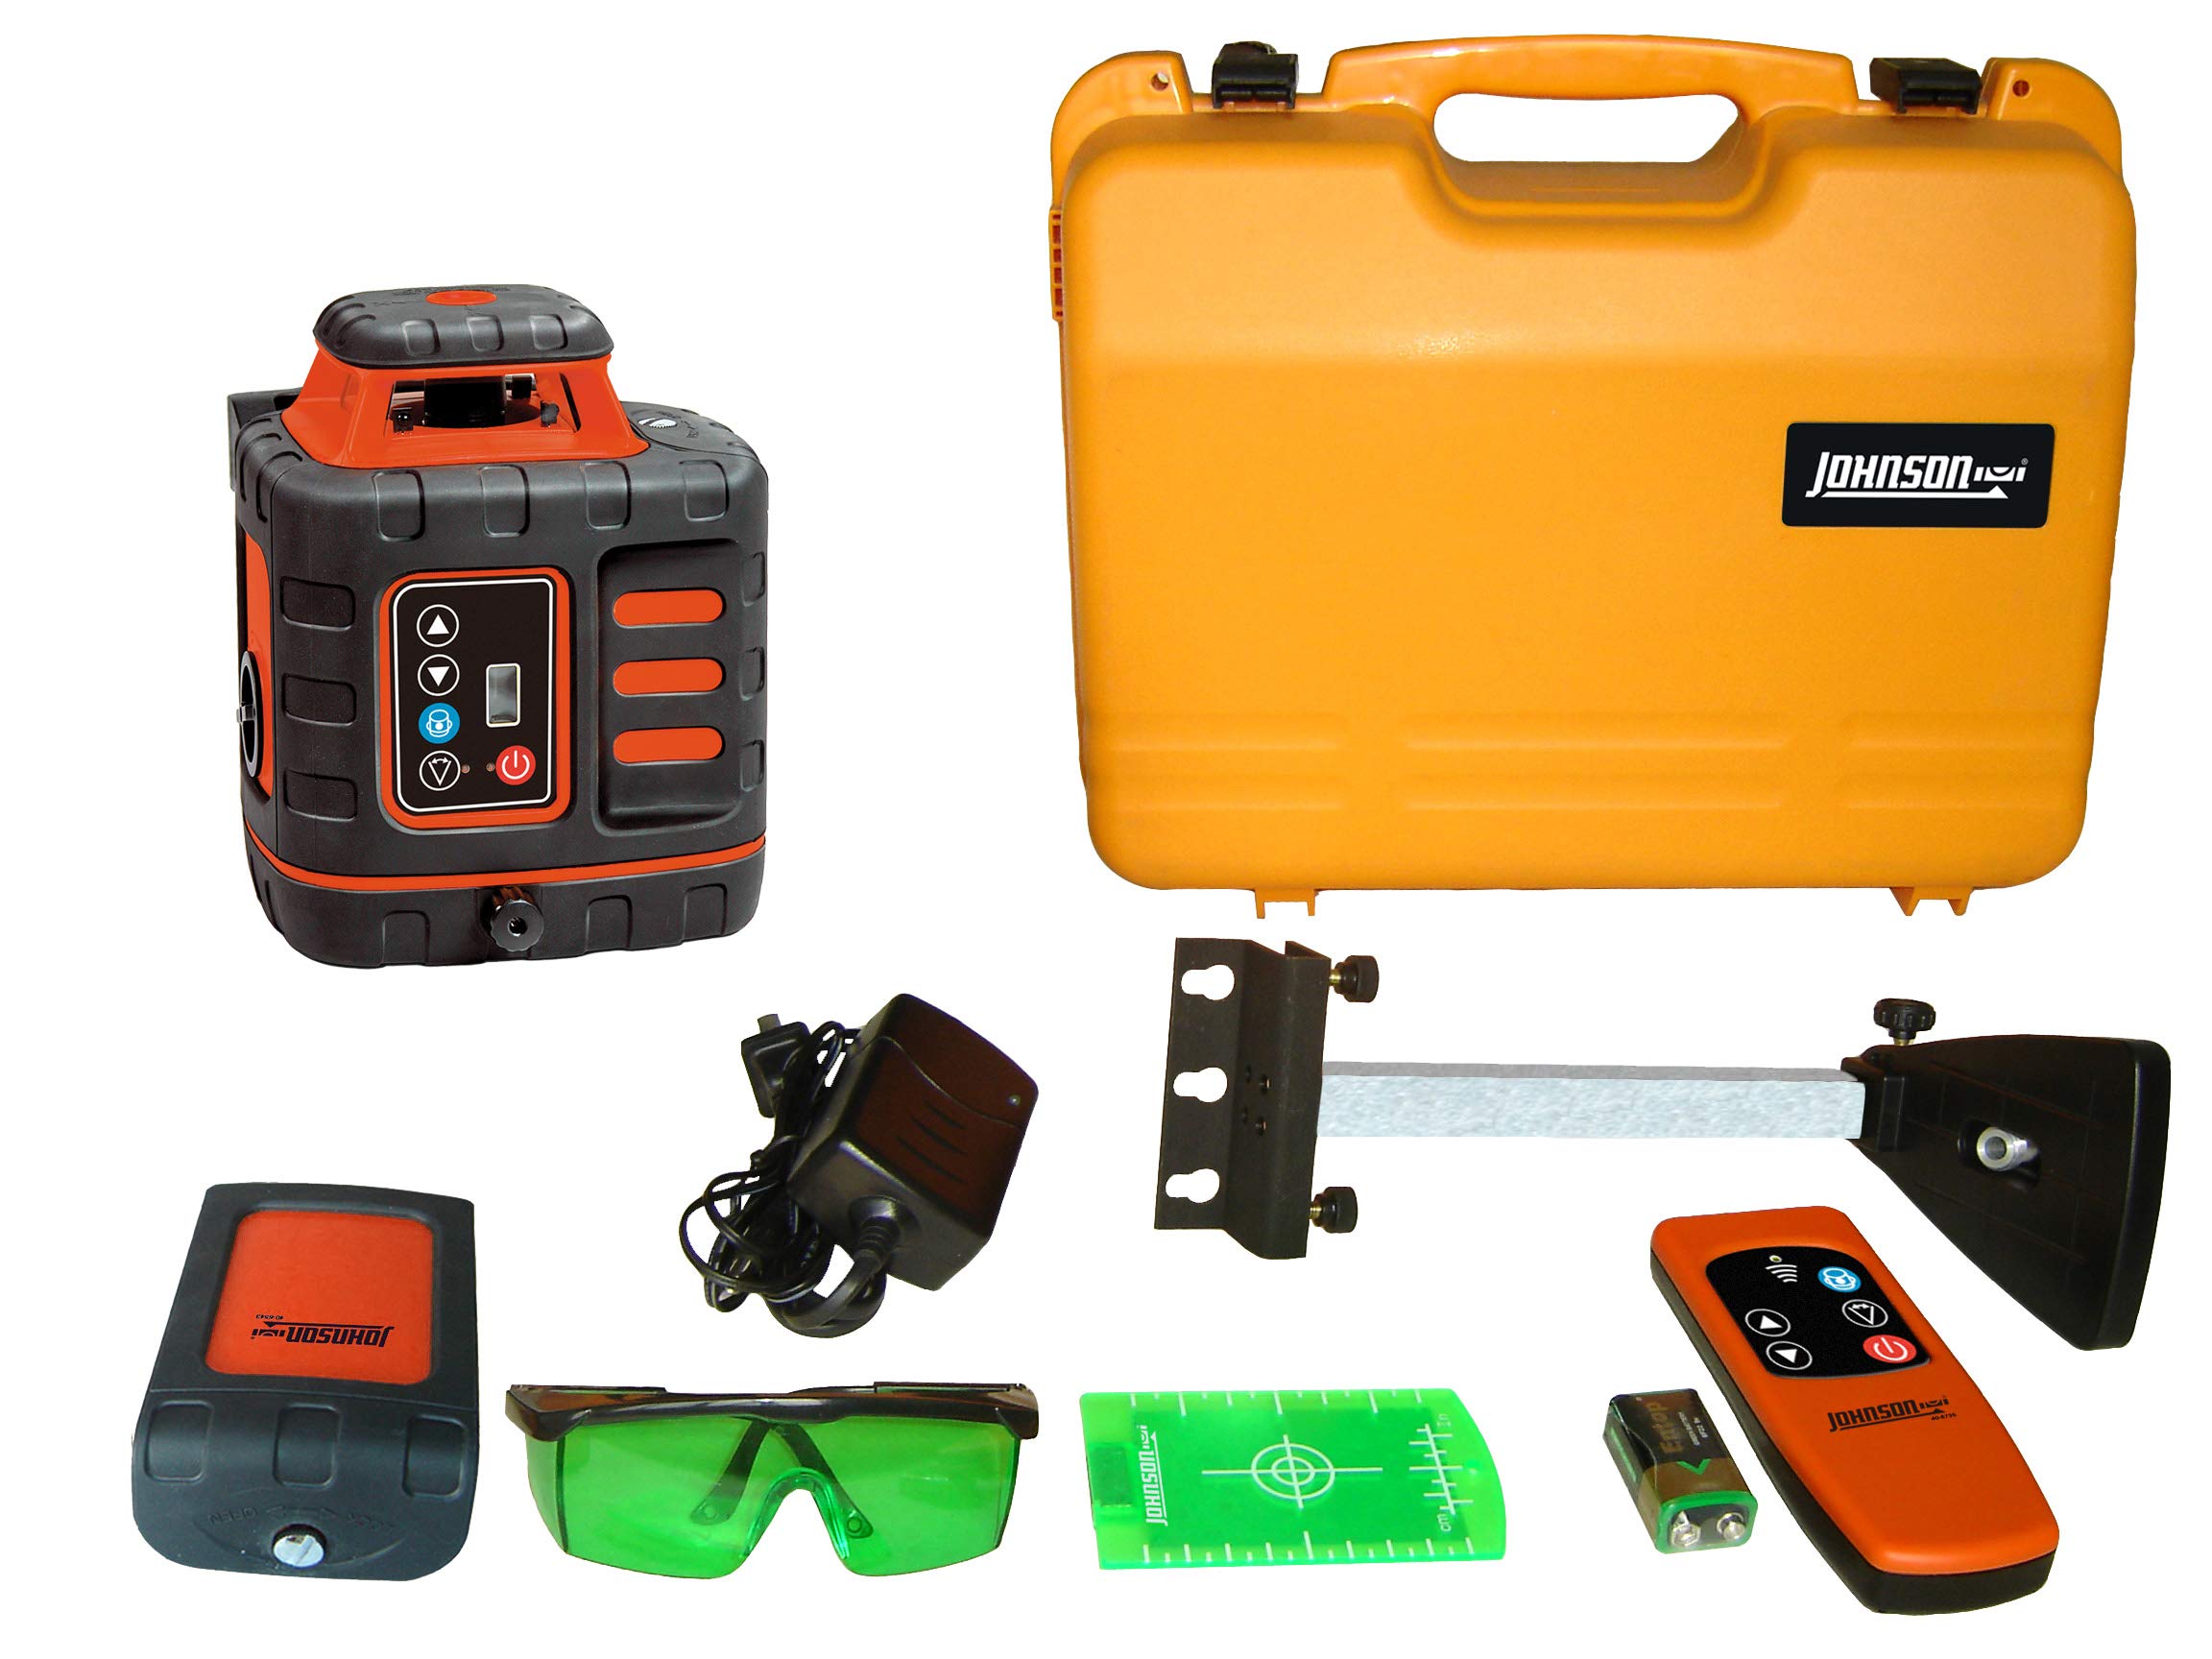
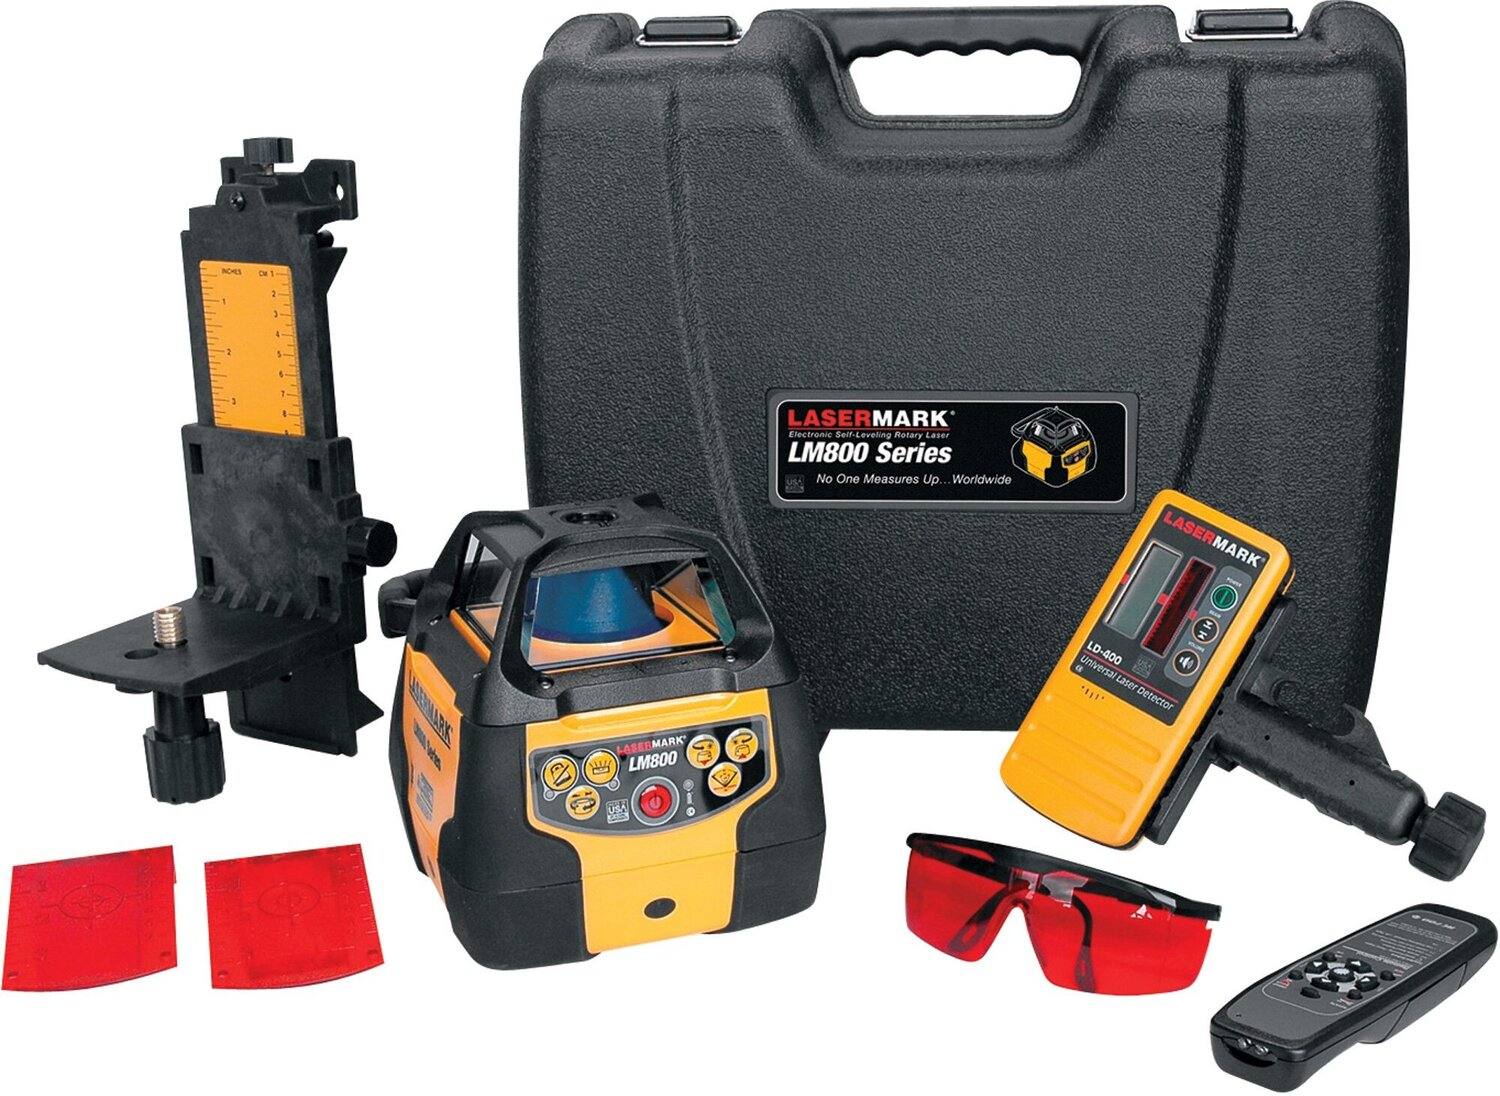
Additionally, rotary laser levels often come with a remote control, allowing you to conveniently operate the device from a distance. This comes in handy when you need to make adjustments or change the rotation speed of the laser beam.
Another important feature to consider is the laser’s visibility range. The range determines how far the laser beam can be seen, which is crucial when working on larger projects or outdoor settings where ambient light can affect visibility. Make sure to choose a rotary laser level with the appropriate visibility range for your specific needs.
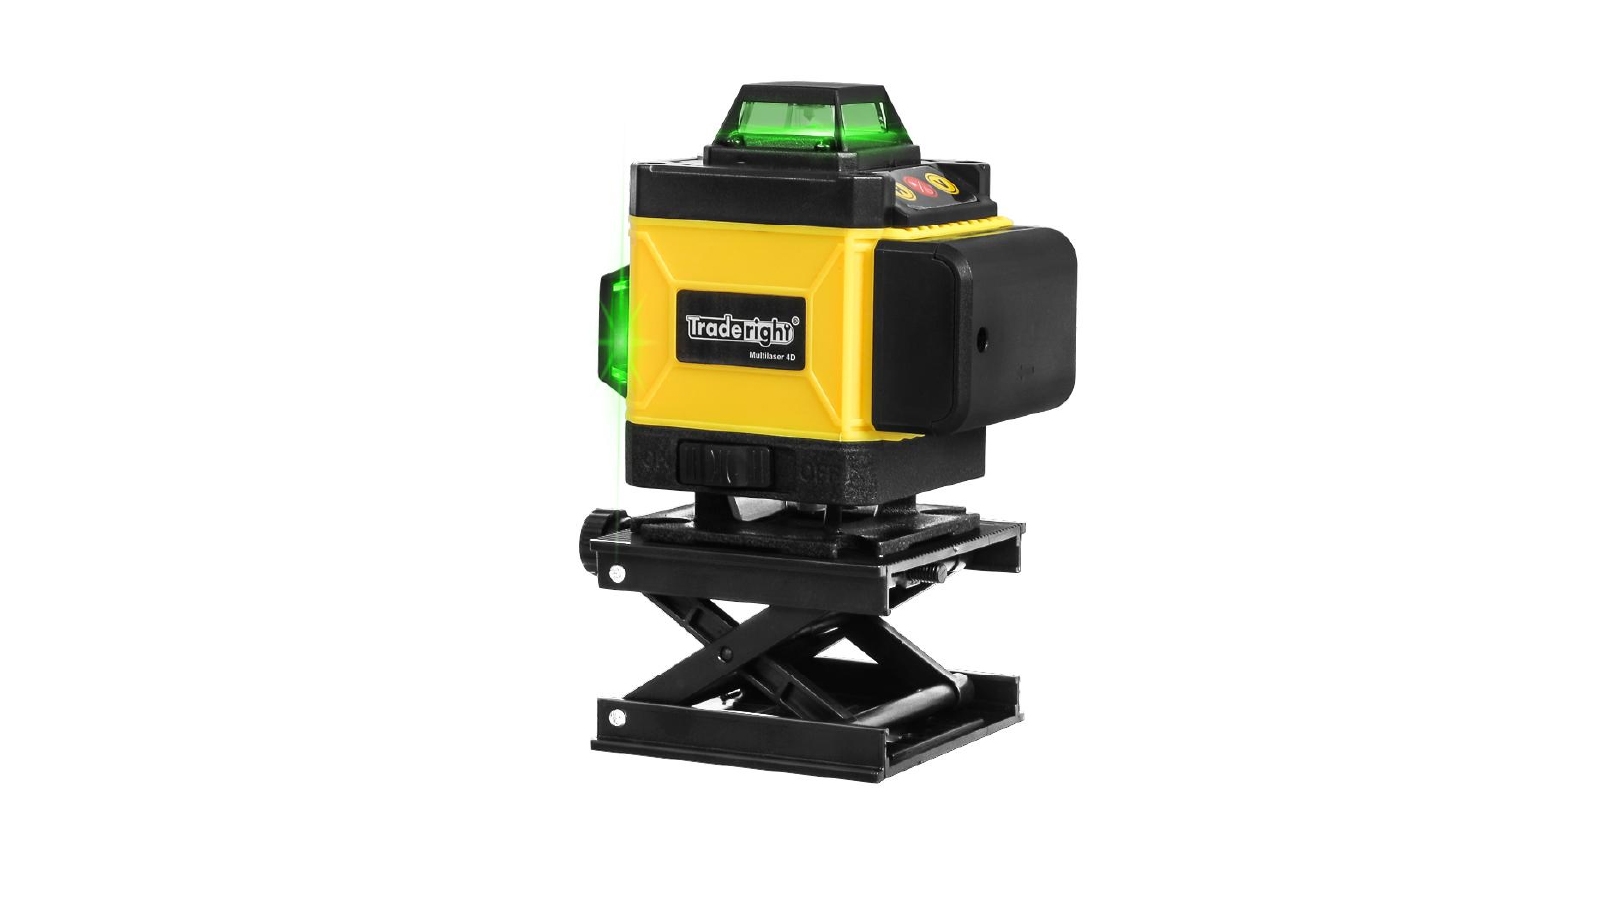
Some advanced models also offer features such as dual-axis leveling, tilt mode, and slope matching. These additional functionalities allow for even greater precision and versatility in grading and leveling various surfaces.
Now that we have a basic understanding of rotary laser levels, it’s time to move onto the practical aspects of using one for grading.
Preparing for Grading
Before you can start using a home depot rotary laser level for grading, there are a few important steps you need to take to ensure a smooth and successful process. Preparing the site properly will help you achieve accurate results and minimize potential issues.
The first step is to survey the area you plan to grade. This involves checking for any obstacles, such as trees, rocks, or structures, that may hinder the grading process. Clearing the area of debris and removing any obstructions will allow for a more seamless operation.
Next, mark out the boundaries of the area you wish to grade. Using stakes and string, create a perimeter that outlines the specific section of land you will be working on. This will give you a clear reference point and help you stay within the designated area.
It’s also important to consider the slope or pitch you want to achieve in your grading. Determine the desired elevation of the surface and calculate the degree of slope needed. This will guide you in setting up the rotary laser level correctly and achieving the desired result.
Additionally, ensure that you have the necessary tools and equipment to support the grading process. This may include shovels, rakes, wheelbarrows, and any other tools specific to your project. Having everything prepared and easily accessible will save you time and effort as you progress.
Lastly, don’t forget about safety measures. Grading can involve working with heavy machinery and uneven terrain, so it’s crucial to prioritize safety. Wear appropriate protective gear, such as gloves, goggles, and sturdy footwear, and be mindful of your surroundings at all times.
By adequately preparing the site for grading, you set yourself up for a successful project. With everything in place, you can now move on to setting up the rotary laser level and getting ready to achieve precise and accurate grading results.
Setting Up the Rotary Laser Level
Setting up a home depot rotary laser level correctly is crucial to ensure accurate and reliable grading results. Follow these steps to properly set up the device before you begin the grading process.
1. Choose the right location: Find a sturdy and level spot within the area you will be working on to set up the rotary laser level. This will serve as the base from which the laser beam will project onto the surface.
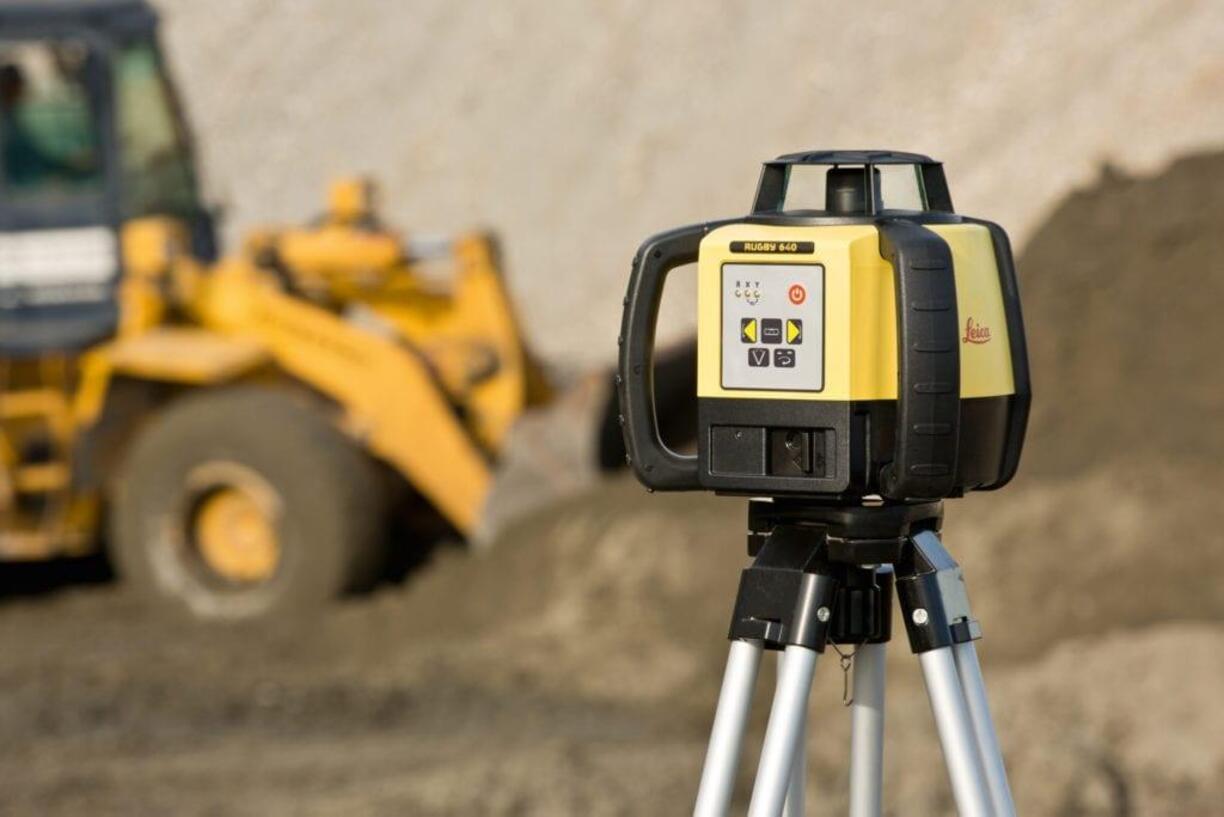
2. Mount the rotary laser level: Depending on the type of rotary laser level you have, there are different mounting options available. Some models come with a tripod, while others can be attached to a wall or placed on a flat surface. Follow the manufacturer’s instructions to securely mount the device.
3. Ensure stability: Once the rotary laser level is mounted, make sure it is stable and not prone to wobbling or movement. This will prevent any disruptions in the laser beam projection and maintain accuracy throughout the grading process.
4. Power on the device: Connect the rotary laser level to a power source or insert the required batteries. Power on the device and allow it to go through its initialization process. Make sure the laser beam is activated and visible before proceeding.
5. Adjust the laser beam height: Use the vertical adjustment feature on the rotary laser level to set the desired height for the laser beam. This will depend on the slope or pitch you want to achieve in your grading. Ensure that the laser beam is at the correct height to accurately guide your grading process.
6. Fine-tune the leveling: If your rotary laser level has a self-leveling feature, wait for it to complete the leveling process. If it doesn’t have this feature, use the built-in bubble level or electronic leveling functions to manually level the device. This will ensure that your laser beam projection remains accurate and level throughout the grading process.
7. Test the laser beam visibility: Walk around the perimeter of the graded area to ensure that the laser beam is clearly visible from all angles. If necessary, adjust the laser beam’s rotation speed or the device’s position to improve visibility. This will allow you to work confidently and accurately during the grading process.
By following these steps, you can ensure that your home depot rotary laser level is correctly set up and ready to assist you in achieving precise and accurate grading for your project. Once the device is set up, it’s time to move on to calibrating the rotary laser level.
Calibrating the Rotary Laser Level
Calibrating your home depot rotary laser level is a crucial step to ensure accurate and reliable grading results. Proper calibration ensures that the laser beam is correctly aligned and projects a level line onto the surface. Follow these steps to calibrate your rotary laser level:
- Place the device on a stable surface: Ensure that the rotary laser level is securely positioned on a level surface or mounted on a tripod. This will prevent any interference or disruptions during the calibration process.
- Activate the self-leveling feature: If your rotary laser level has a self-leveling feature, activate it and allow the device to automatically level itself. This feature ensures that the laser beam is perfectly horizontal or vertical, depending on the mode you’re using.
- Use the calibration screws: Most rotary laser levels have calibration screws that allow you to fine-tune the level of the laser beam. Use a screwdriver or the provided tool to make small adjustments to the screws. Turn them clockwise or counterclockwise to align the laser beam with the desired level.
- Check the bubble level: Many rotary laser levels have a built-in bubble level that helps determine whether the device is accurately leveled. Use this bubble level as a reference to ensure that the calibration adjustments are precise. Make adjustments to the screws as needed to align the bubble level.
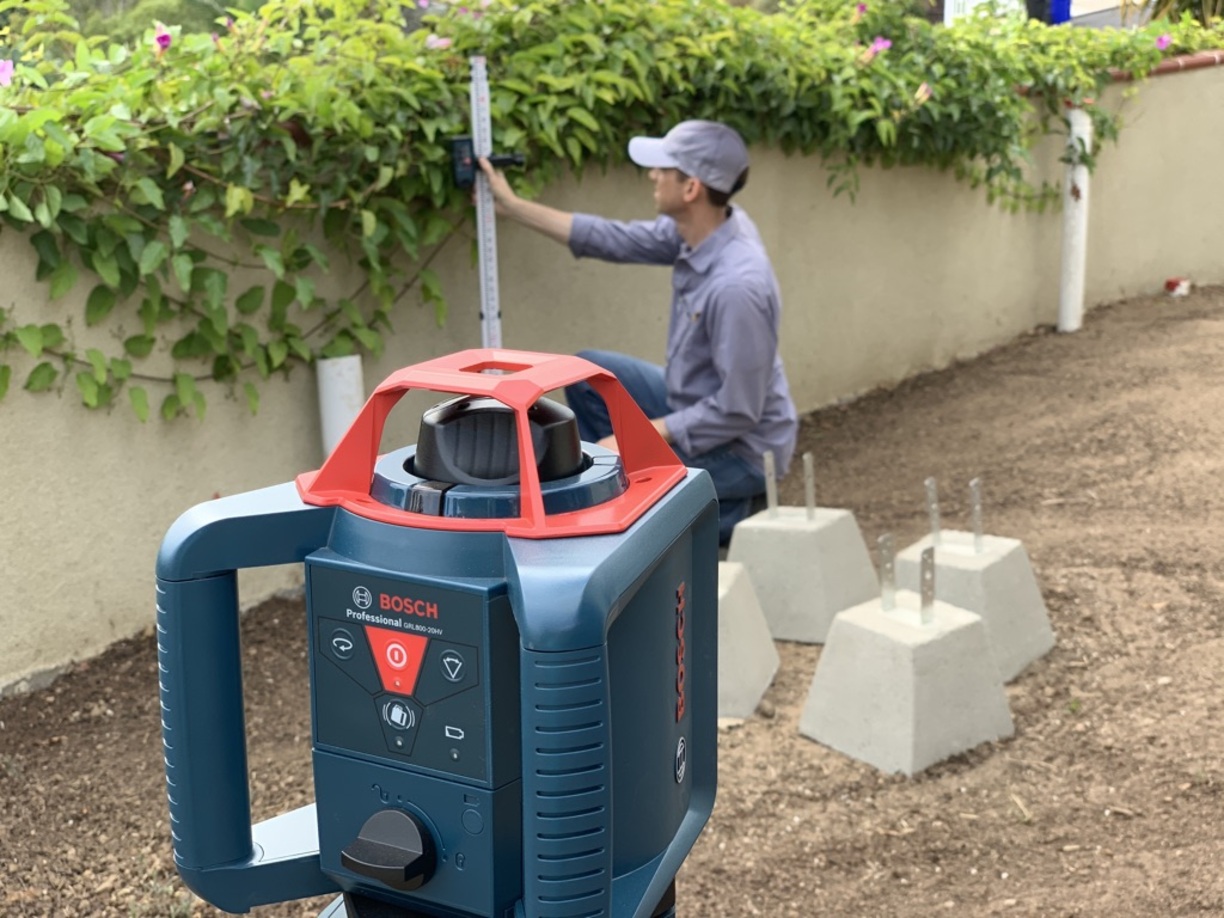
- Verify the alignment with a leveling rod: To confirm the accuracy of the calibration, use a leveling rod placed a short distance away from the rotary laser level. Move the rod up and down along the laser beam, checking that it remains in line with the projected level line. If any discrepancies are found, recalibrate the device until the alignment is precise.
- Perform a final check: Walk around the graded area and observe the laser beam projection from different angles. Ensure that the line stays level and consistent throughout the rotation. Make any necessary adjustments to the calibration to maintain accuracy.
Properly calibrating your rotary laser level is essential for achieving precise grading results. It ensures that the laser beam projects a level line onto the surface, allowing you to accurately grade the area according to your desired slope or pitch. Once the calibration is complete, you are ready to adjust the laser level for grading.
When using a Home Depot rotary laser level for grading, make sure to set up the level on a stable surface and adjust the height and angle according to the grading requirements. Double check the accuracy before starting the grading process.
Read more: How To Use A Rotary Laser Level
Adjusting the Laser Level for Grading
Now that your home depot rotary laser level is calibrated and ready, it’s time to adjust it for the specific grading requirements of your project. Follow these steps to properly adjust the laser level for grading:
- Set the desired slope: Determine the slope or pitch you want to achieve in your grading. This will depend on the purpose of your project and any specific requirements. For example, a patio may require a slight slope for proper drainage. Use a measuring tool or a slope indicator to set the desired slope.
- Align the laser beam with the slope: Adjust the height of the rotary laser level to align the laser beam with the desired slope. Use the vertical adjustment feature to raise or lower the laser beam accordingly. Ensure that the laser beam is parallel to the slope you want to achieve.
- Position the laser level: Move the rotary laser level to a position where the laser beam covers the entire area you intend to grade. It’s important to have a clear line of sight to the laser beam from all points of the grading area. Adjust the positioning of the device as needed to achieve this.
- Secure the laser level: Once the laser level is in the appropriate position, ensure that it is stable and securely mounted or placed on a stable surface. Any movement or vibrations can affect the accuracy of the grading process. Use the locking mechanism or tighten any mounting screws to secure the device.
- Verify the laser beam’s projection: Walk along the perimeter of the grading area and observe the laser beam’s projection. Check that it remains level and aligned with the desired slope throughout the rotation. Make any necessary adjustments to the laser level’s height or position to maintain accuracy.
- Mark the laser level’s reference line: Once you’re satisfied with the laser beam’s alignment and projection, mark the ground at the point where the laser beam intersects with the surface. This reference line will guide your grading process and ensure that the surface is appropriately sloped.
By properly adjusting the laser level for grading, you can confidently proceed with the actual grading process. The laser beam will serve as a precise reference guide, allowing you to achieve the desired slope or pitch in a consistent and accurate manner. With the laser level set up correctly, it’s time to move on to the actual grading process.
Performing the Grading Process
Now that your home depot rotary laser level is properly set up and adjusted, you’re ready to start the grading process. Follow these steps to perform the grading accurately and efficiently:
- Start at the reference line: Begin at the point where the laser beam intersects with the ground, which you marked during the adjustment process. This will serve as your starting point for grading the area. Ensure that your tools, such as shovels and rakes, are easily accessible.
- Remove excess soil: If the area is uneven or has excessive soil, start by removing the excess. Use shovels or a grading rake to level the ground and create a uniform surface. Take care to follow the laser beam’s projection and maintain the desired slope or pitch.
- Distribute soil as needed: If the area requires additional soil to achieve the desired grading, use a wheelbarrow or other appropriate equipment to bring in the necessary soil. Spread the soil evenly across the area and use the grading tools to distribute and level it properly.
- Check the grading regularly: As you progress with the grading process, frequently check the alignment of the laser beam with the reference line. It’s normal for slight adjustments to be necessary as you work. Make any necessary changes to maintain the desired slope or pitch throughout the entire area.
- Smooth the surface: Once the grading is complete, use a grading rake or leveling tool to smooth out the surface. This will help remove any remaining unevenness and create a uniform and level area. Pay close attention to ensuring that the grade remains consistent across the entire area.
- Inspect the grading: After completing the grading process, take the time to walk around the area and inspect the finished result. Check for any areas that may require additional leveling or adjustments. If necessary, make any final touches to ensure that the grading meets your desired specifications.
- Clean up and dispose of excess soil: Remove any excess soil or debris from the grading area and dispose of it properly. This will leave you with a clean and tidy work area.
By following these steps and working with the guidance of the rotary laser level, you can perform the grading process accurately and efficiently. The laser beam’s projection provides a precise and consistent reference point, ensuring that you achieve the desired slope or pitch throughout the entire area. With the grading complete, you have successfully utilized your home depot rotary laser level to achieve professional results.
Troubleshooting Common Issues
While using a home depot rotary laser level for grading, you may encounter a few common issues. Understanding how to troubleshoot these problems can help you overcome them and ensure a smooth grading process. Here are some common issues and their troubleshooting steps:
1. Poor laser visibility: If the laser beam is not clearly visible, it may be due to ambient light or dust obstructing the beam. Try adjusting the rotation speed or positioning of the laser level to improve visibility. If necessary, consider using a laser detector to enhance the visibility in outdoor settings or areas with high ambient light.
2. Inaccurate leveling: If you notice that the laser level is not properly leveling or maintaining a consistent horizontal or vertical line, it may require recalibration. Follow the steps outlined earlier in the article for calibrating the rotary laser level to ensure accurate leveling.
3. Unstable mount or movement: If the rotary laser level is unstable or prone to movement, it can affect the accuracy of your grading. Ensure that the device is securely mounted or placed on a stable surface. Tighten any mounting screws or use the locking mechanism to prevent movement during the grading process.
4. Battery or power issues: If the rotary laser level is battery-operated, ensure that the batteries are fully charged or replaced as needed. If the device is powered by a cord, check the power connection and make sure it is secure. Lack of power can cause the device to malfunction or shut off.
5. External interference: Sometimes, external factors such as nearby machinery or strong electromagnetic fields can interfere with the laser level’s operation. If you suspect interference, try moving the device to a different location away from potential sources of interference.
6. Rough or uneven ground: Grading can be challenging on rough or uneven terrain. Use grading tools such as shovels or rakes to level the ground as best as possible before using the laser level. Smooth out any bumps or irregularities to ensure accurate grading.
If you encounter any of these issues or other unexpected challenges, don’t hesitate to consult the user manual or reach out to the manufacturer for specific troubleshooting guidance. Remember to prioritize safety and take precautions when using and troubleshooting the rotary laser level.
By being prepared to troubleshoot common issues, you can overcome any obstacles that may arise during the grading process and continue to achieve accurate and precise results with your home depot rotary laser level.
Conclusion
Using a home depot rotary laser level for grading can greatly enhance the precision and accuracy of your projects. By following the steps outlined in this article, you can set up, calibrate, and adjust the laser level to achieve the desired slope or pitch in your grading process.
The rotary laser level serves as a valuable tool in ensuring that your surfaces are level and properly graded, whether you’re preparing for landscaping, constructing a foundation, or installing a patio. Its 360-degree rotating laser beam provides a consistent and reliable reference point, guiding you in achieving professional results.
Throughout the article, we discussed the importance of understanding rotary laser levels and their features, as well as the essential steps to prepare for grading. We also provided guidance on setting up the laser level, calibrating it, adjusting it for grading, and troubleshooting common issues that may arise.
Remember to always prioritize safety and follow the manufacturer’s instructions while using the rotary laser level. Take the time to survey and prepare the area for grading, ensuring that the ground is clear of obstacles and properly marked. With careful attention to detail, you can achieve accurate and level surfaces for your projects.
As you embark on your grading journey, don’t hesitate to consult the user manual or seek expert advice if needed. The rotary laser level is a powerful tool that can greatly simplify and streamline the grading process, ultimately saving you time, effort, and costly mistakes.
In conclusion, with the proper understanding, preparation, and utilization of a home depot rotary laser level, you can achieve professional results in your grading projects. Embrace the precision and efficiency it offers, and enjoy the satisfaction of a beautifully graded surface.
Frequently Asked Questions about How To Use A Home Depot Rotary Laser Level For Grading
Was this page helpful?
At Storables.com, we guarantee accurate and reliable information. Our content, validated by Expert Board Contributors, is crafted following stringent Editorial Policies. We're committed to providing you with well-researched, expert-backed insights for all your informational needs.



0 thoughts on “How To Use A Home Depot Rotary Laser Level For Grading”